
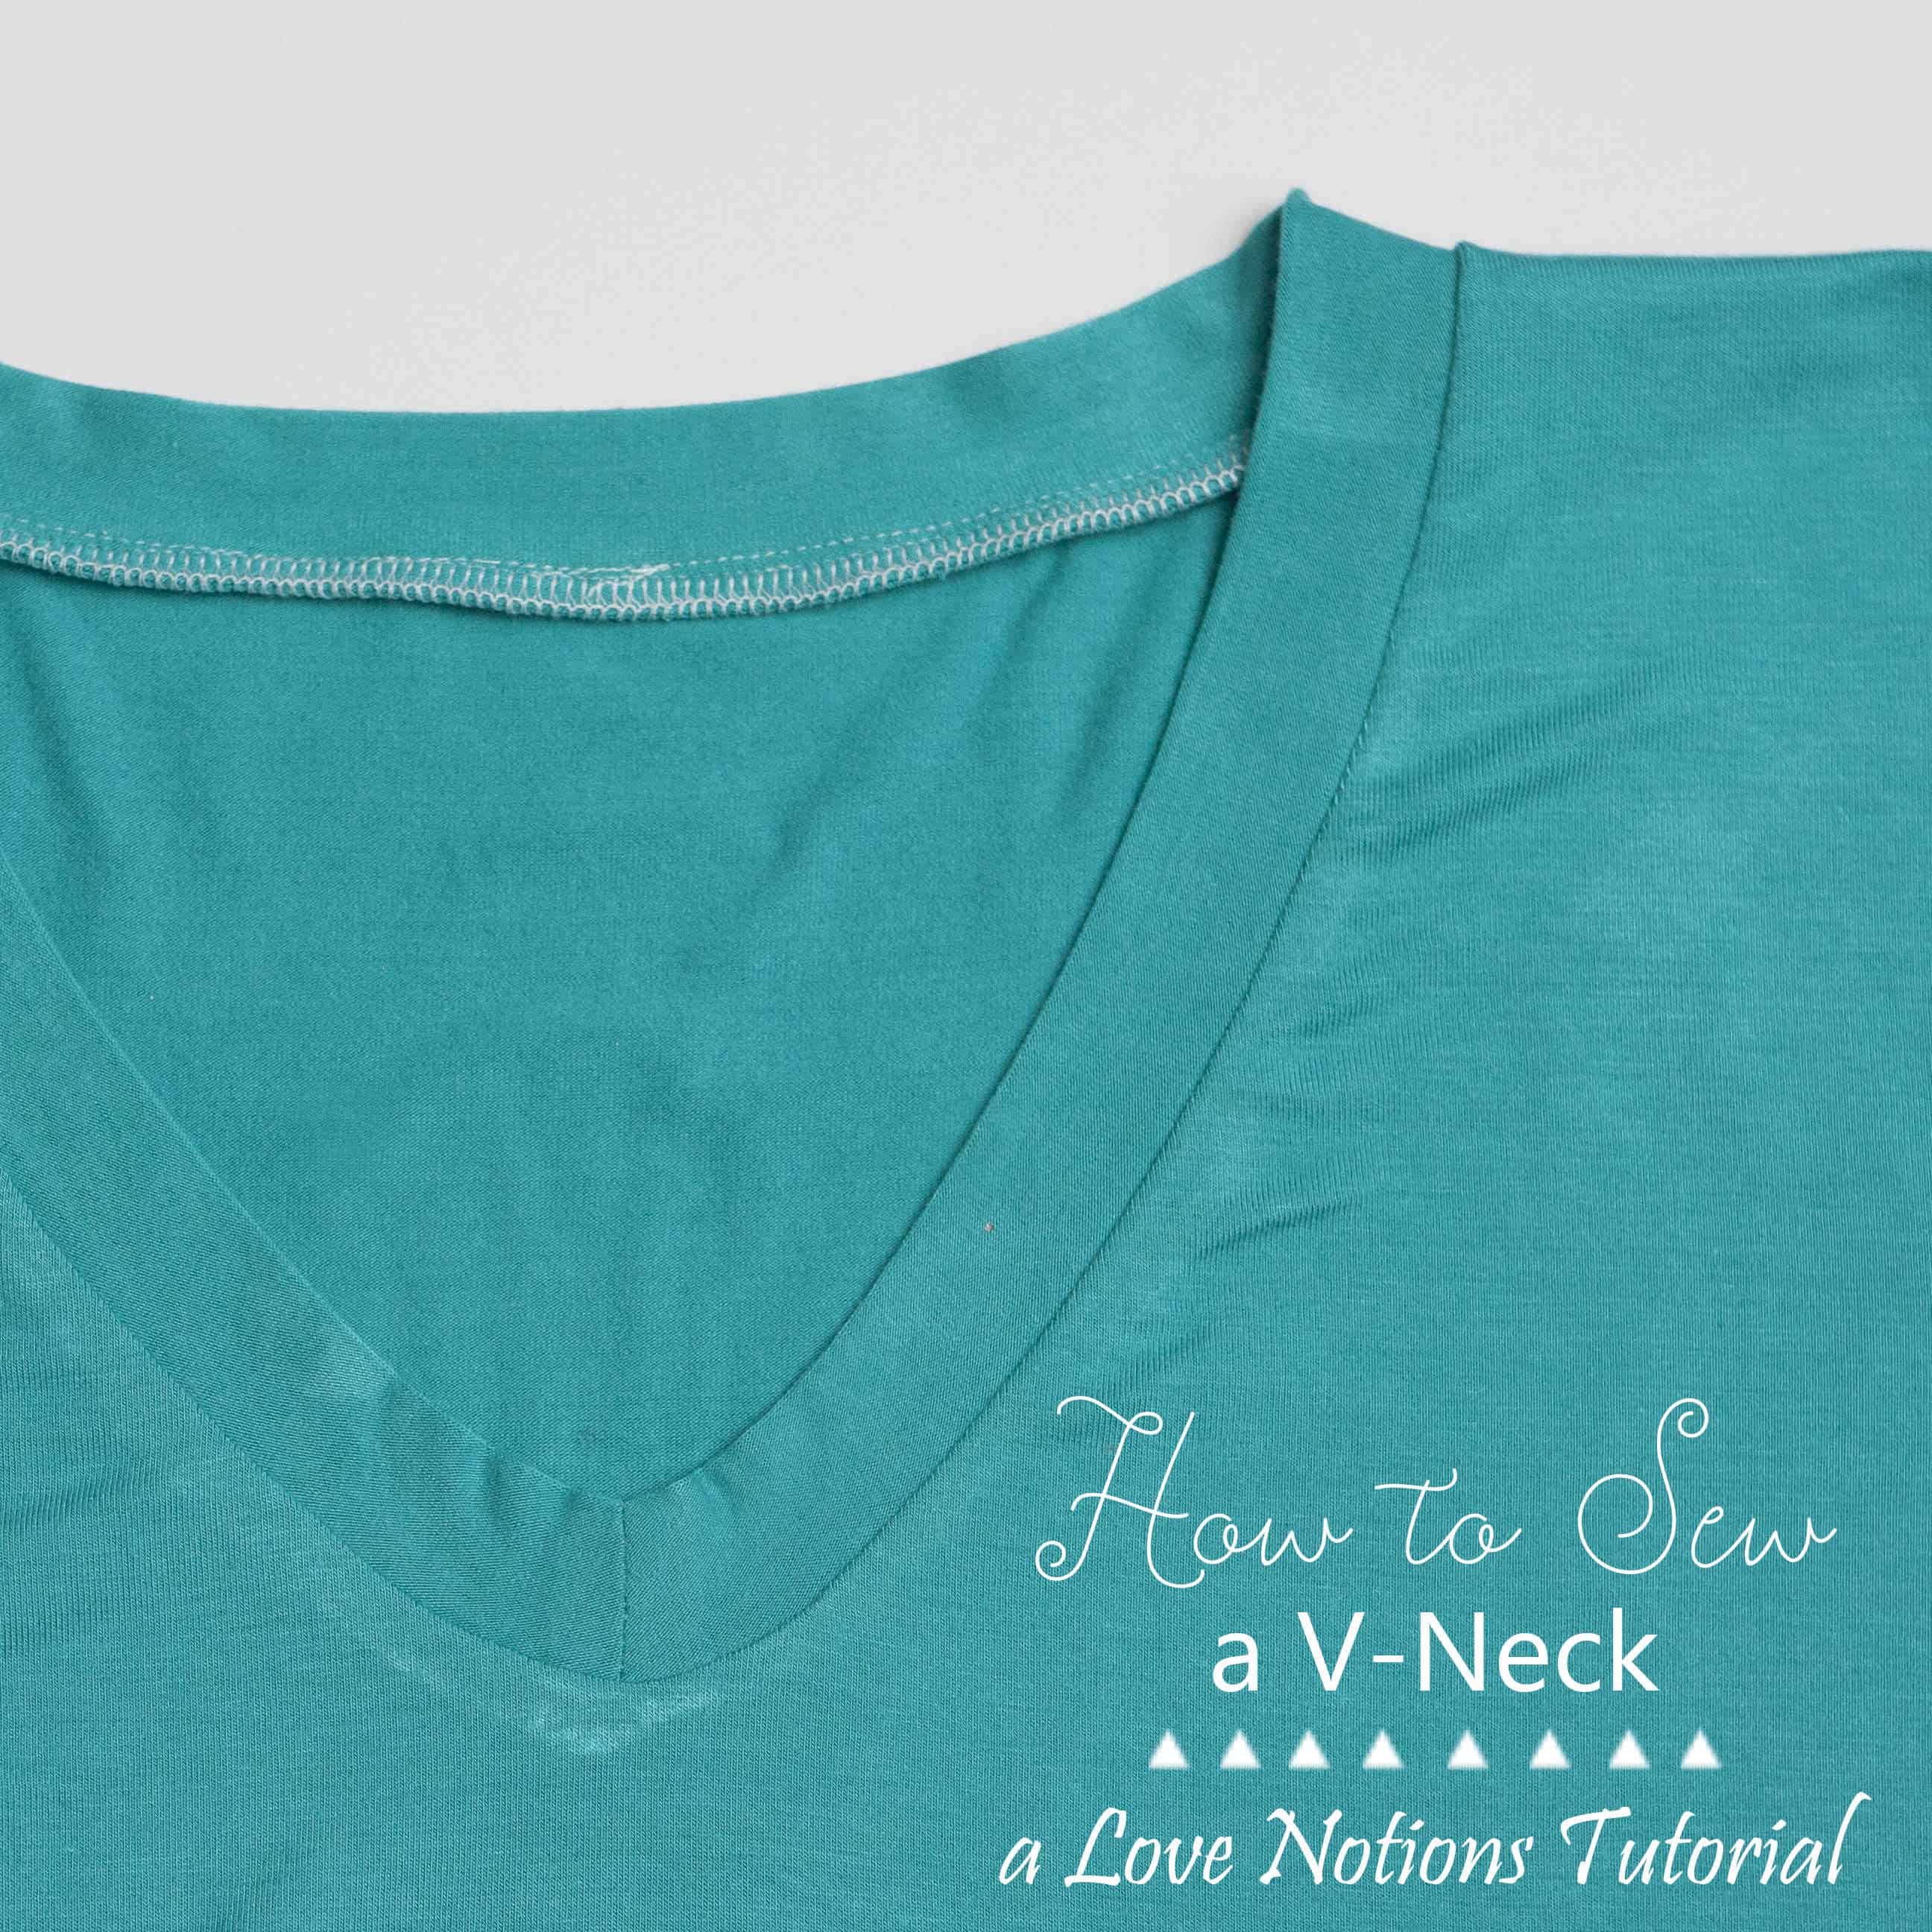
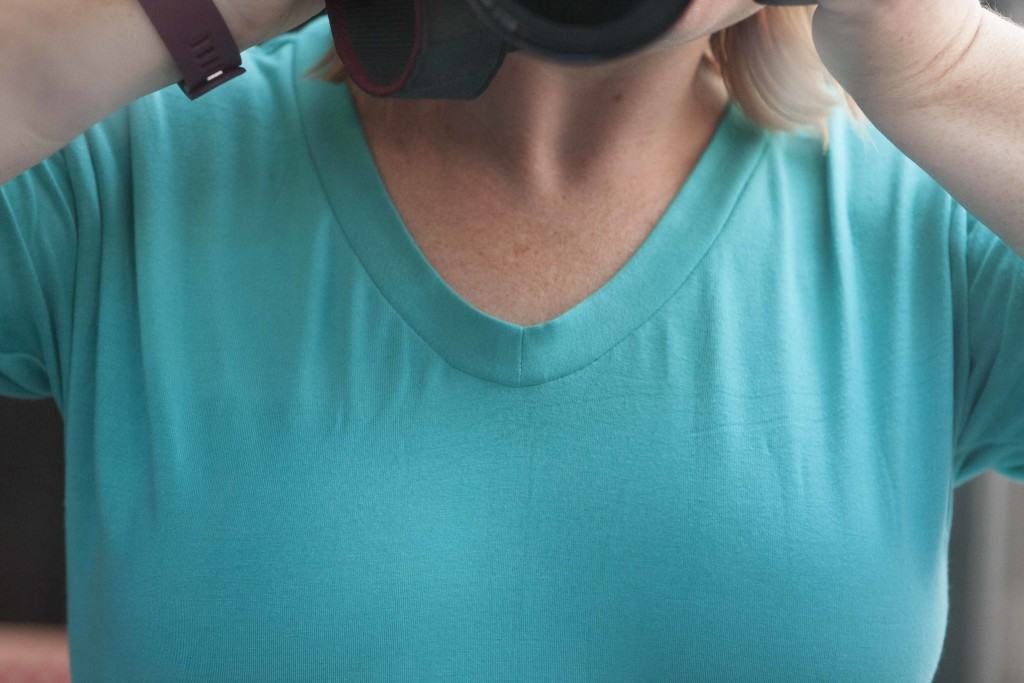
Hello! Kelly here, and today I’m going to show you how to sew a V-neck. Specifically, the Laundry Day Tee V-neck. I’m going to go through the way it is done in the pattern, and then I’m going to show you my little cheater method. Are you ready?
So, we are going to assume you have your shirt assembled per the pattern and now you are at the neckband portion.
When you assemble your neckband, you will want to clip into the seam allowance as shown below. This allows your neckband to sit flat at the seam.
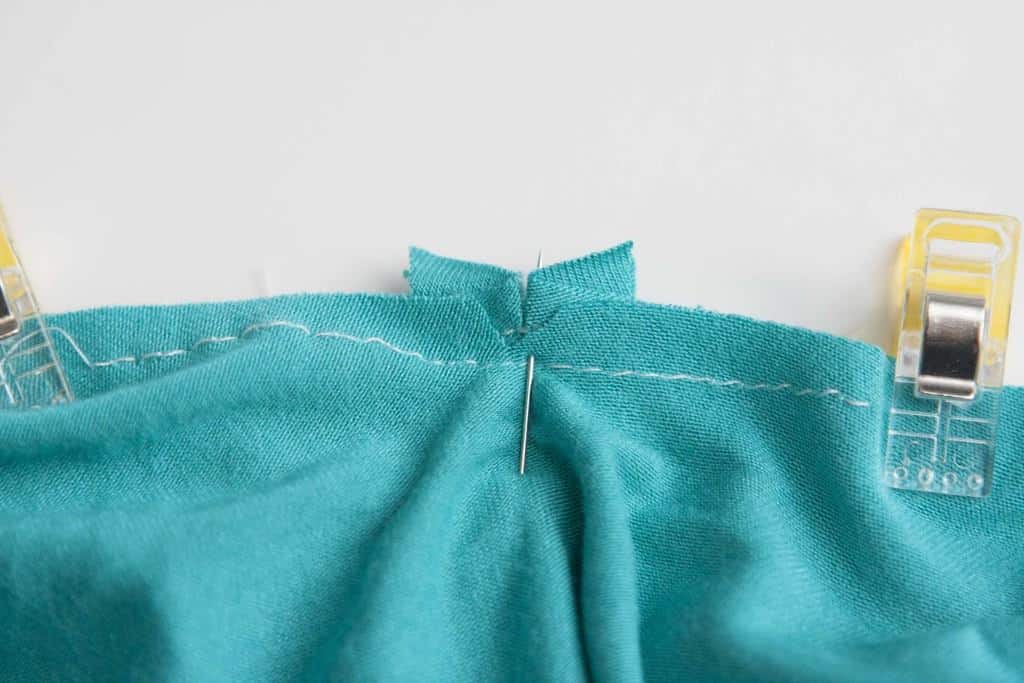
After sewing the ends of your neckband together, turn your neckband right side out and press. I like to baste the V portion together to make sure it stays lined up nicely.
I place a pin right at the tip of my V to make sure I get my basting stitches lined up with the V. Drop your needle and pivot the shirt when you reach the needle.
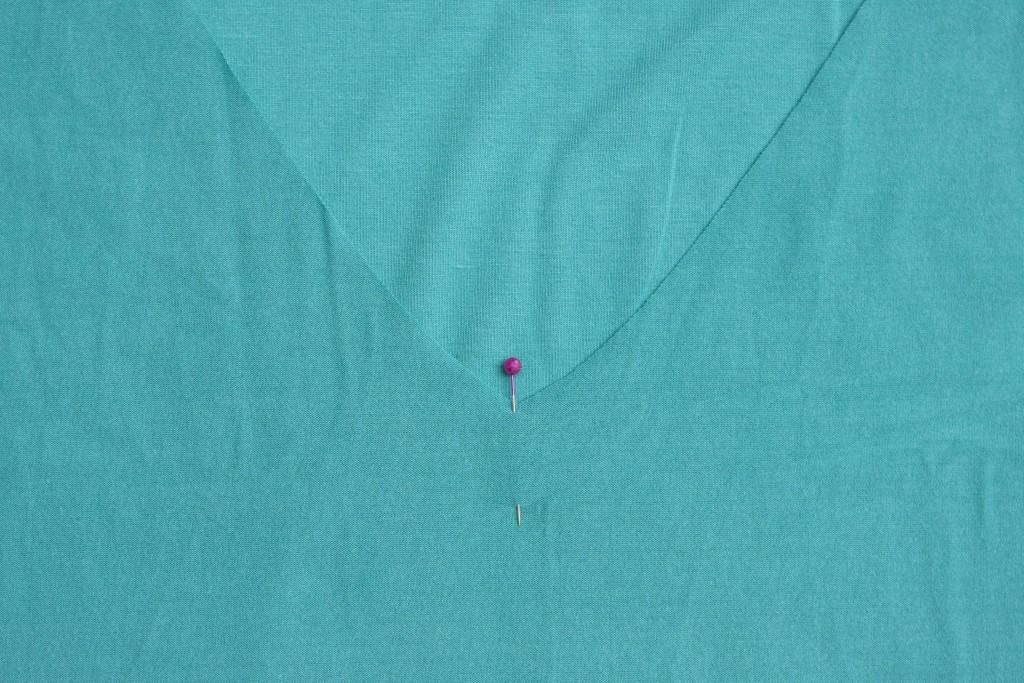
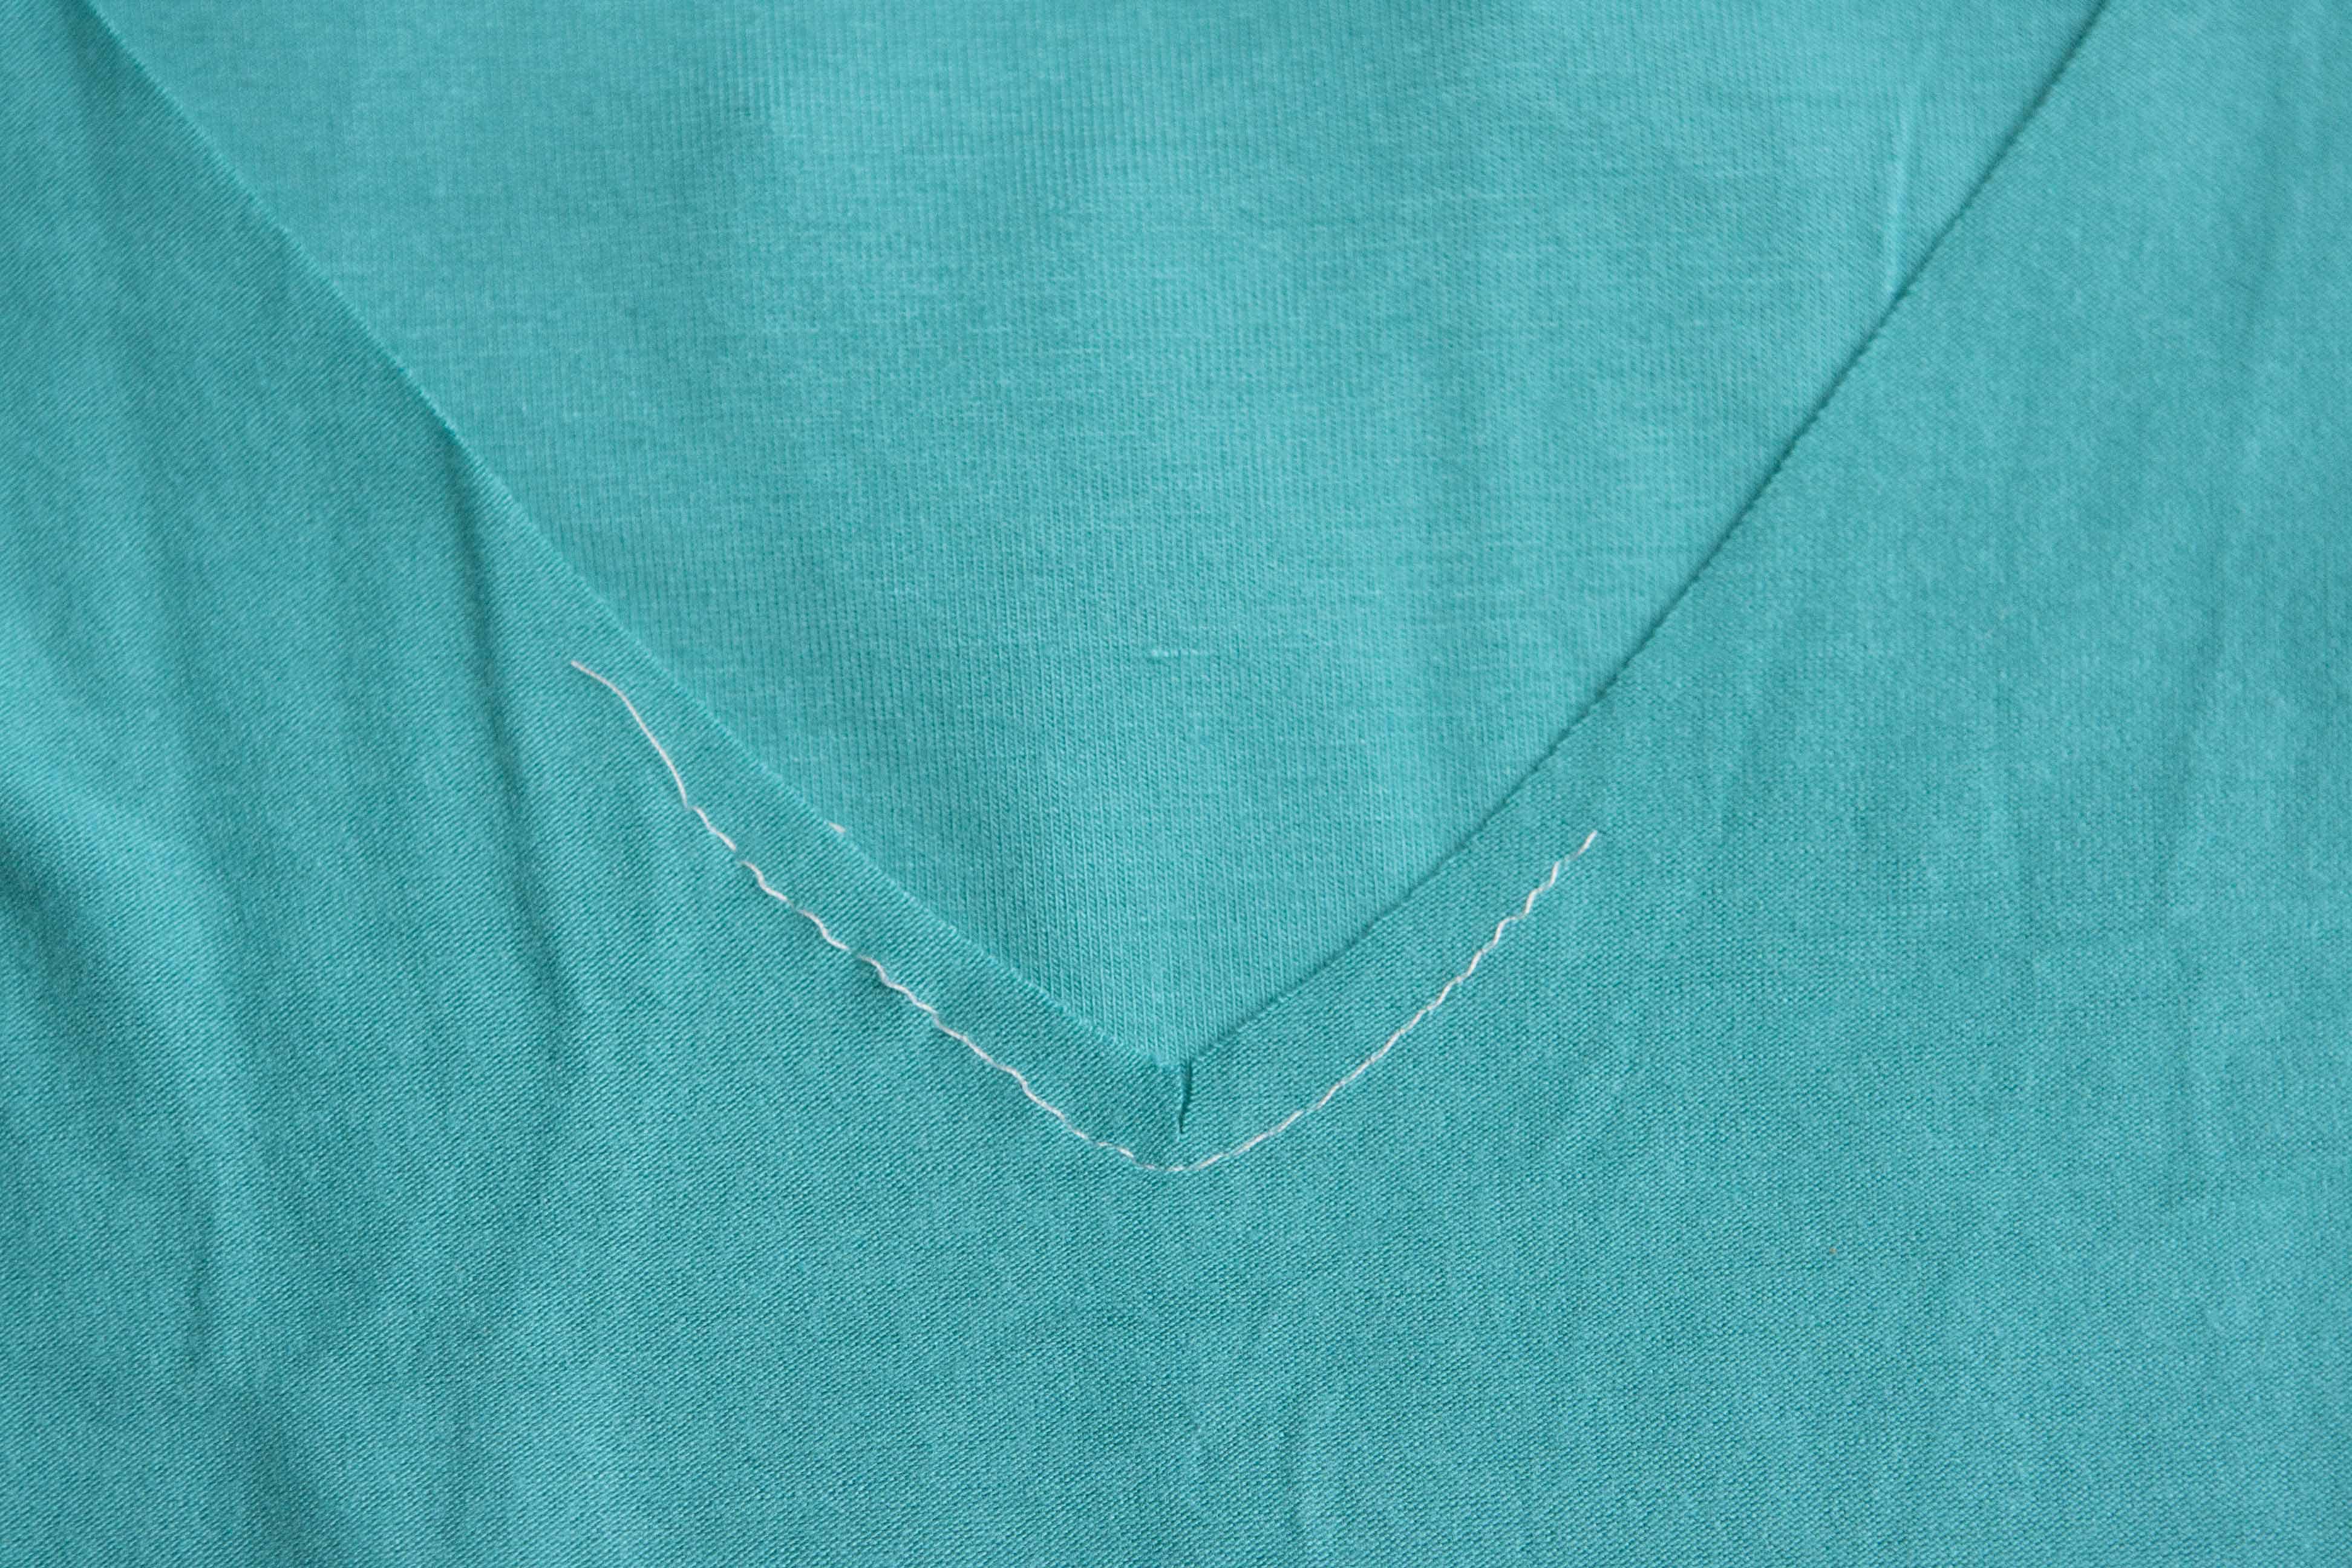
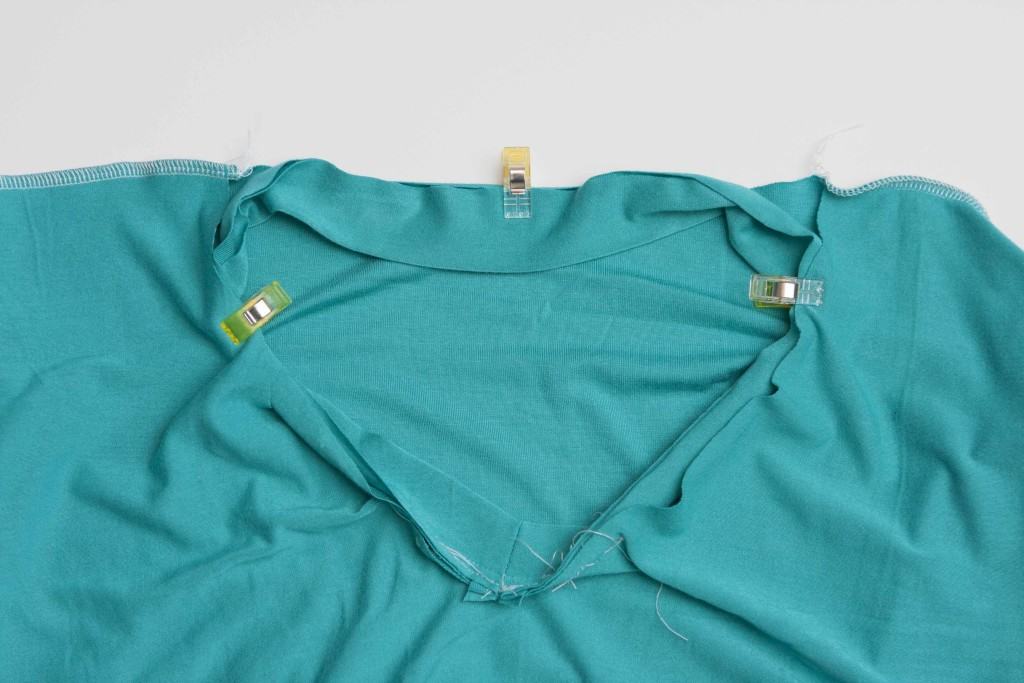
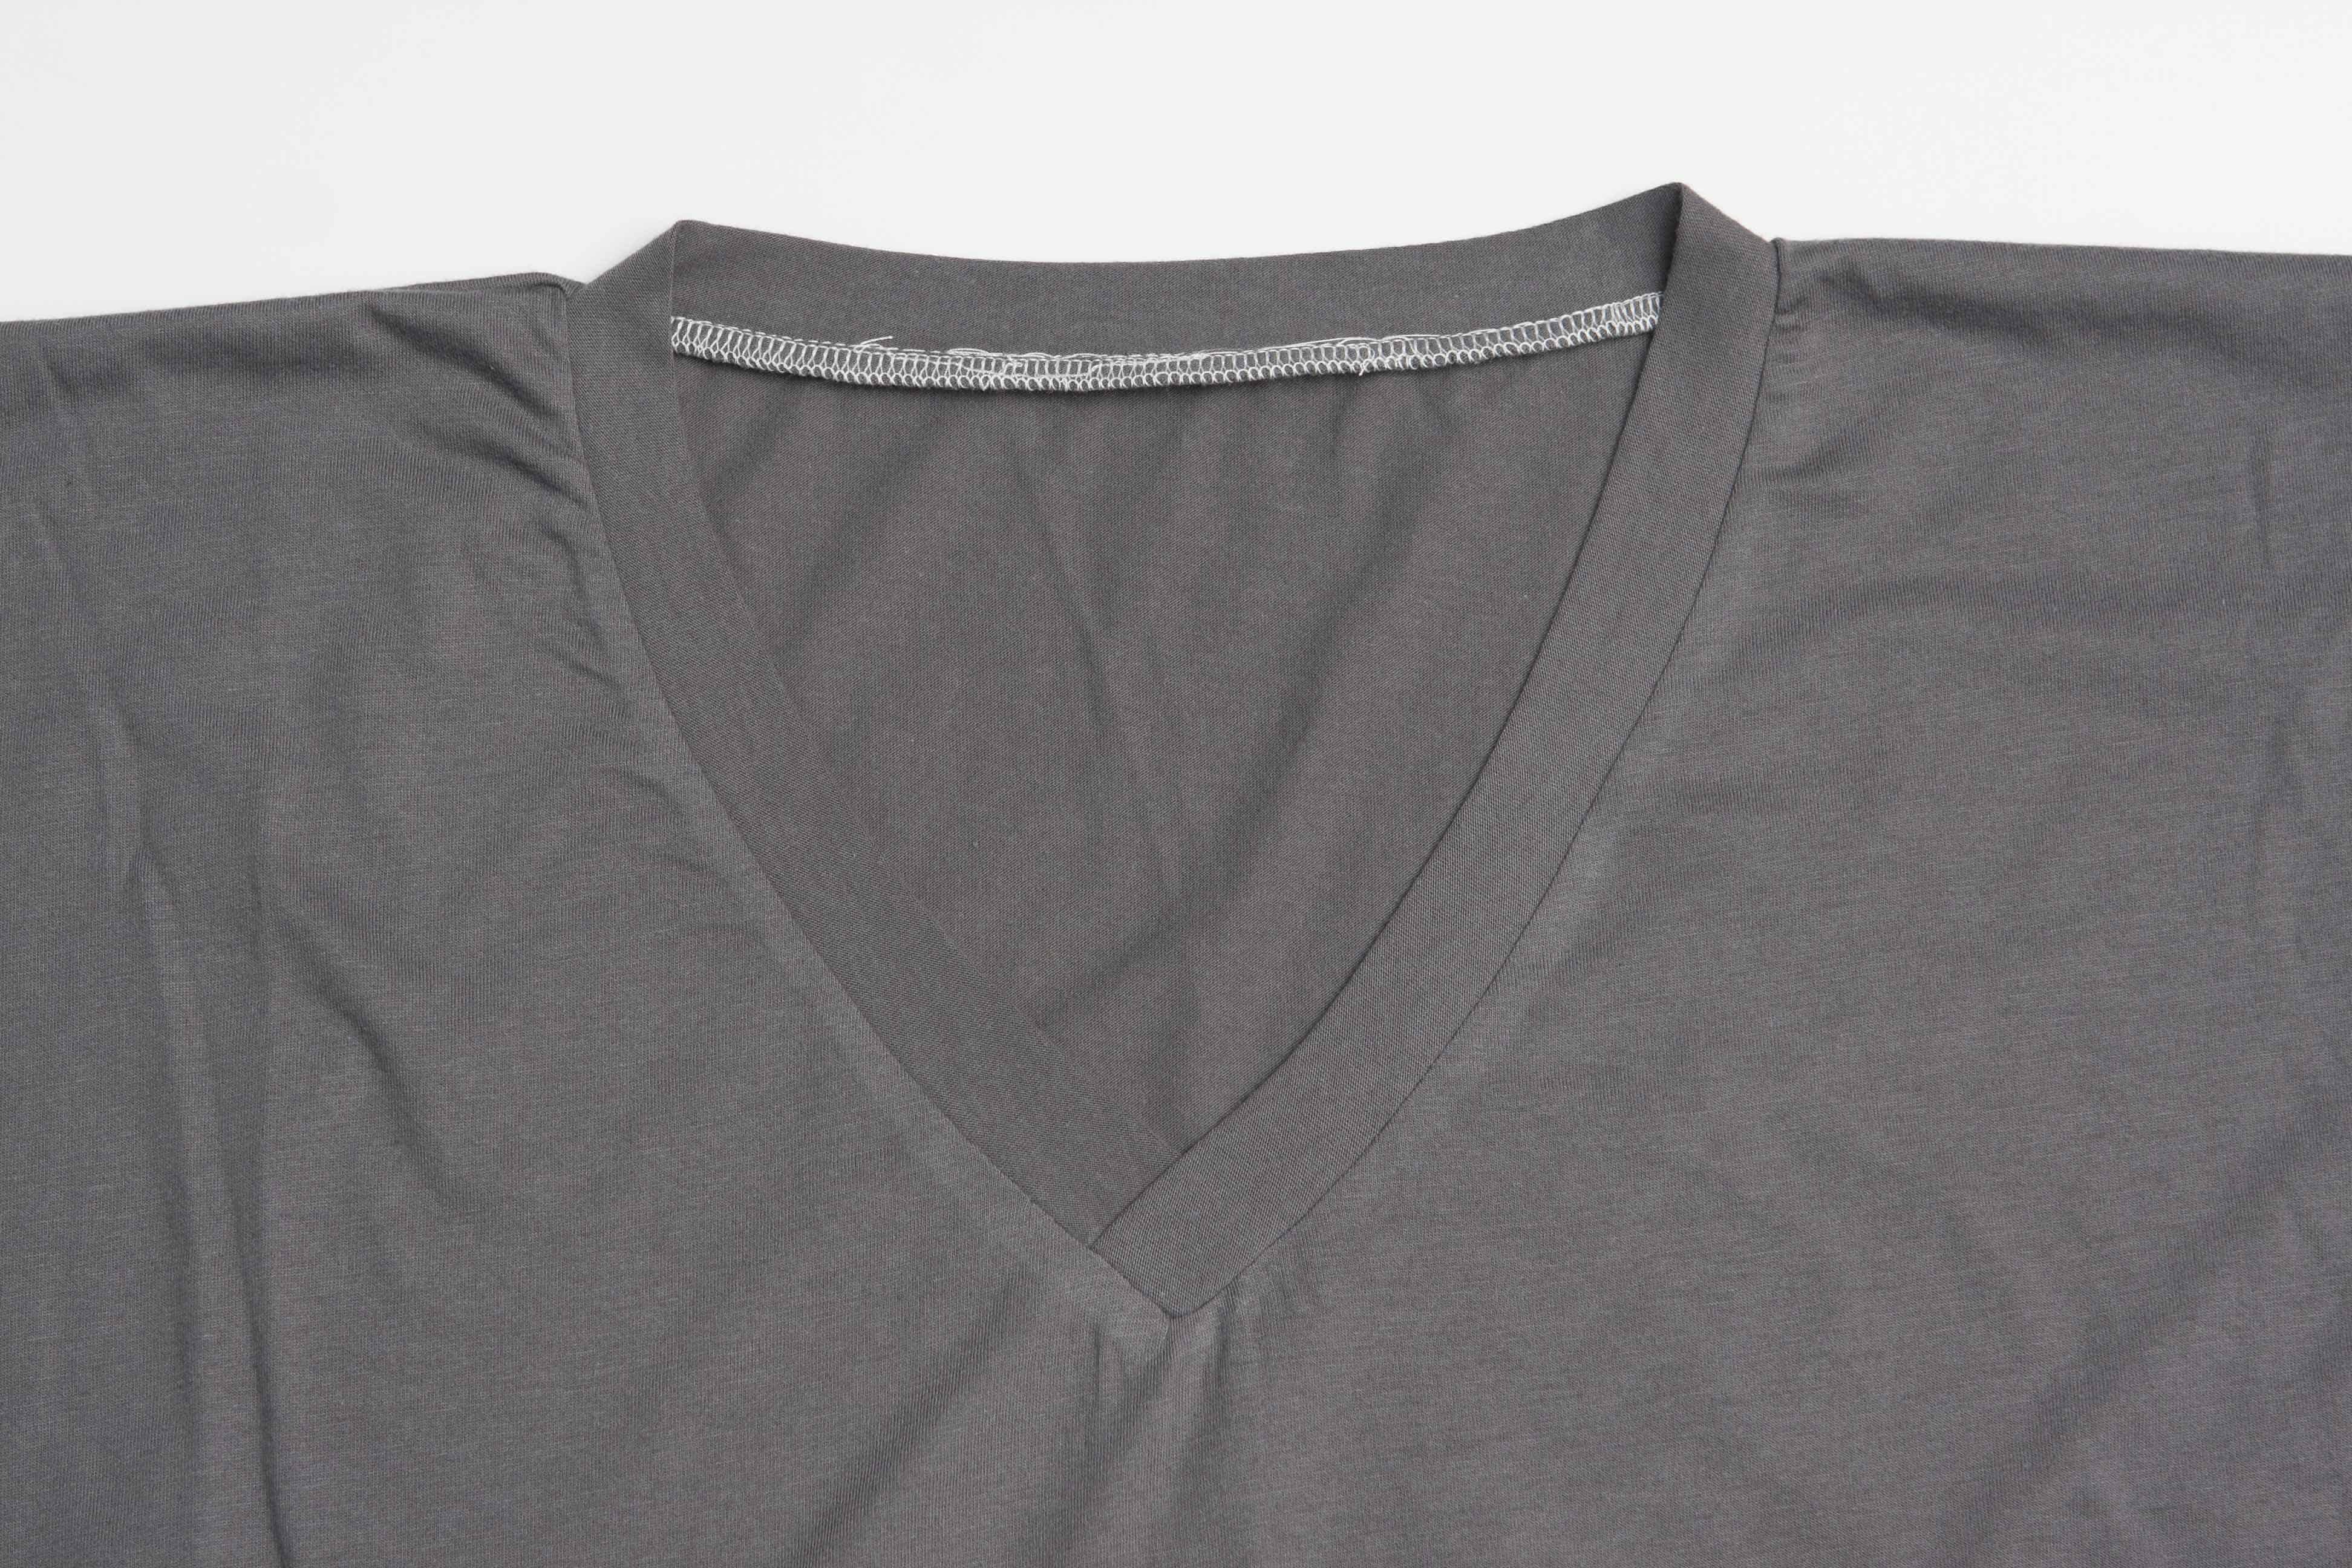
Stay stitch your neckline. This helps keep your shirt from stretching out. Clip into the seam allowance at the center of the V. Refer to the pattern for how deep to cut.
With the shirt right side up, line up the point of the neckband with the snip in the bottom V of the shirt’s neck. Pin into place.
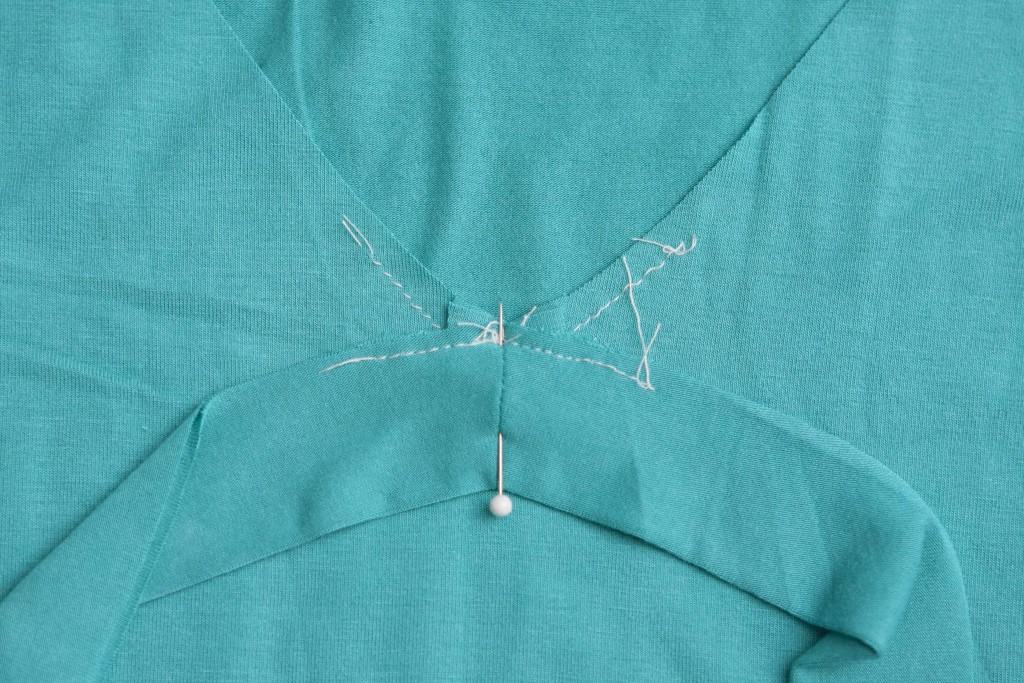
Using very little stretch, but making sure your neckband isn’t slack at all, pin one side up the neckband into place about an inch from the point.
Repeat with the other side. Notice how the neck is pulled straight at the bottom of the V. Don’t worry, it will fall back into place after we sew it.

When turned to the wrong side, you can see that the neck is pulled a little bit opening up that snippet at the bottom of the V.
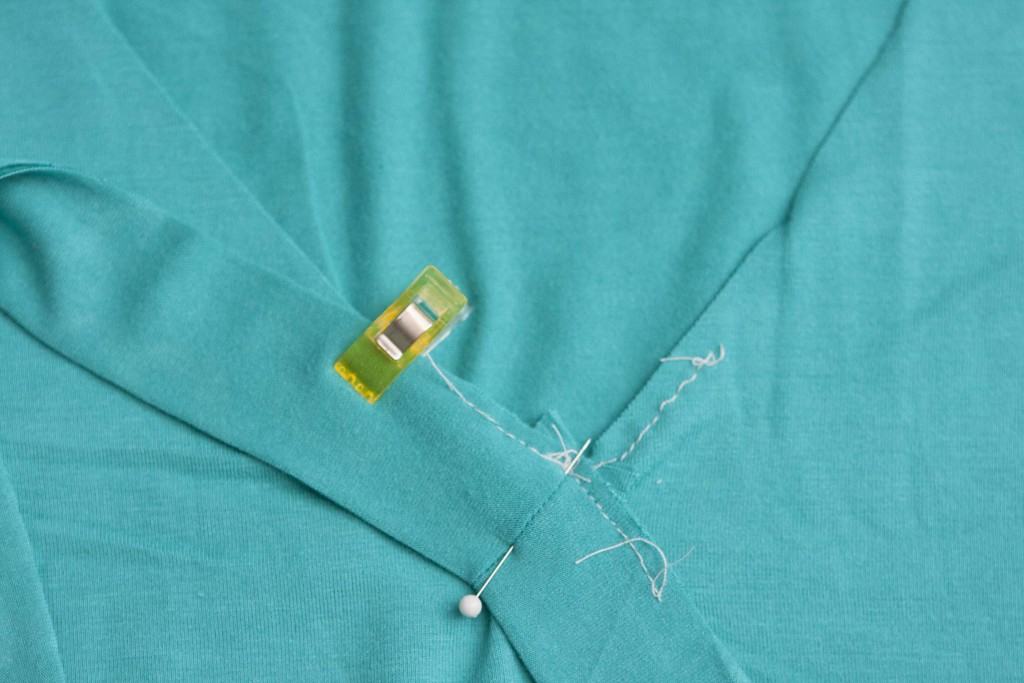
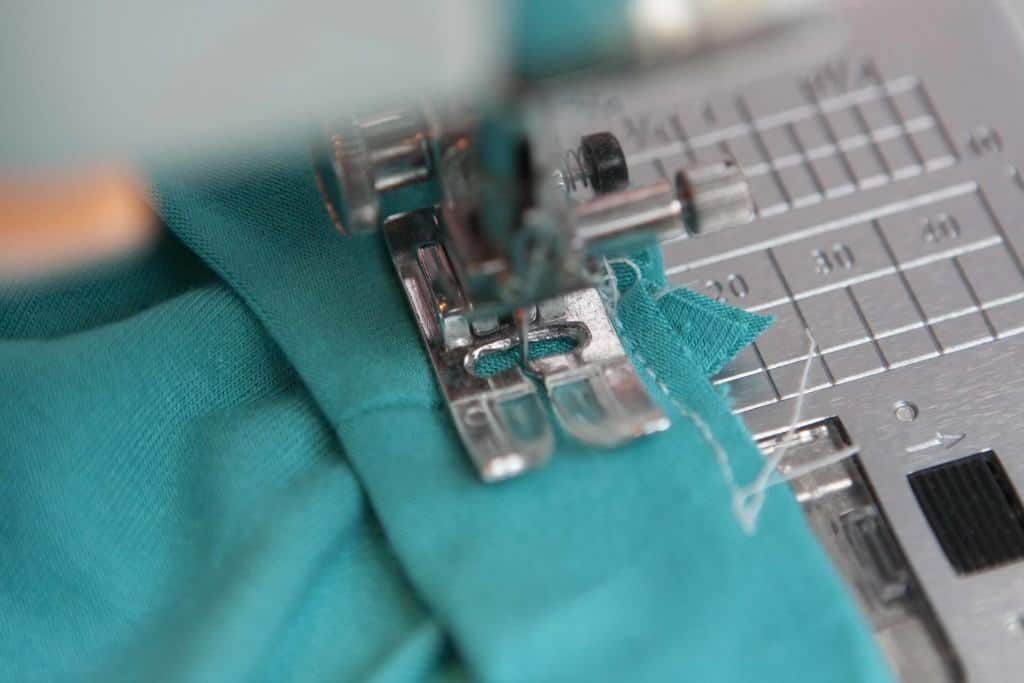
Stitch point into place. Drop the needle into the neckband when you are at the seam in the center and then pivot your shirt so you get a nice point. You only need to sew about 2″ on each side of the point for now. Go slowly. You may need to maneuver the fabric while you go to make sure it lays flat. Just take your time.
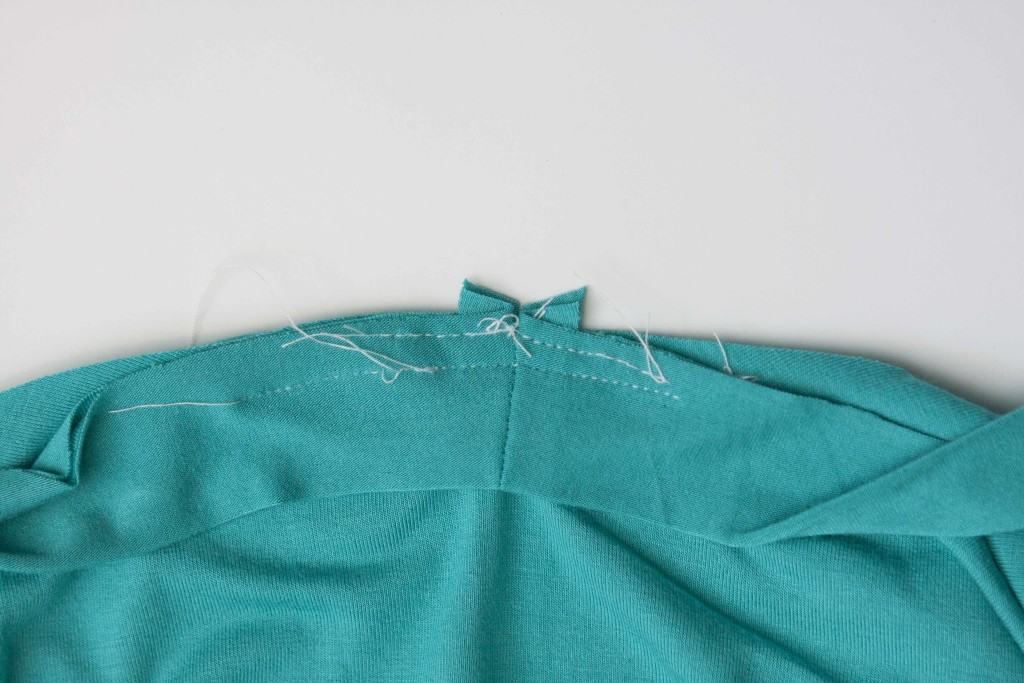
This is what the inside of your neckband will look like after you have attached the center of the V. Check to make sure you didn’t get any puckers at this point.
Match the center of the neckband to the center of the back of the shirt. I also match up the quarter point to make things simpler to ease into place. Sew neckband into place. I like to attach it with my machine and then go back over it with my serger after I am sure I have everything lined up properly. This is also a good idea when using mystery fabric that may require adjusting the length of the neckband so it lays properly.
That’s it! Give your neckband a good steaming and you’re set!
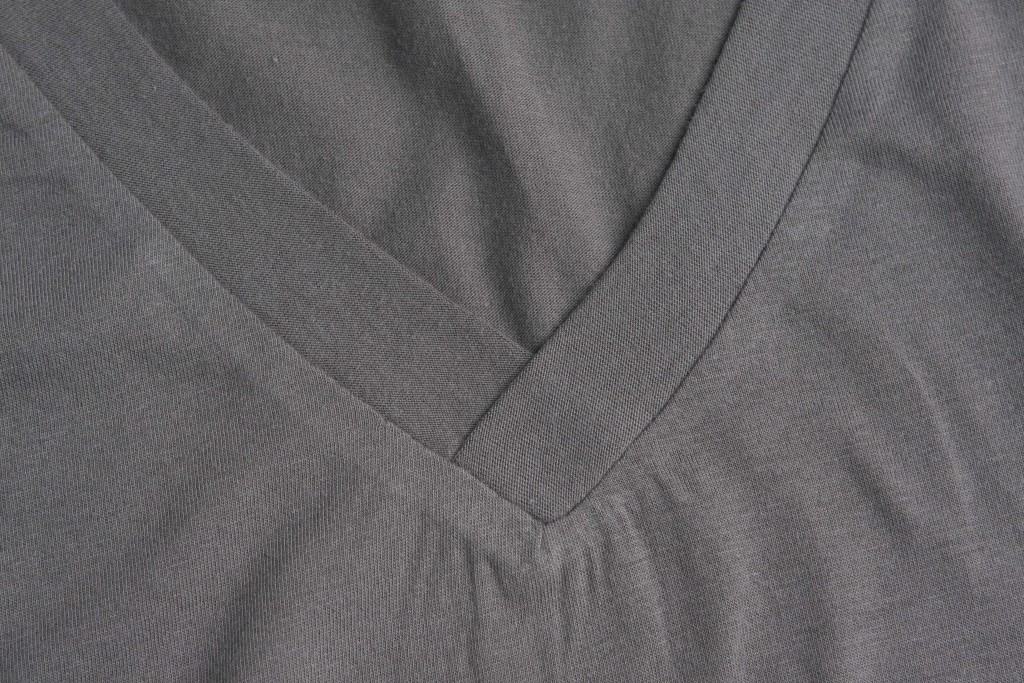
Now for the cheater method! I call it cheater, because you don’t have to worry about getting that seam lined up perfectly with the bottom of the V. See that neat little cross over? I’m going to show you how to make that!
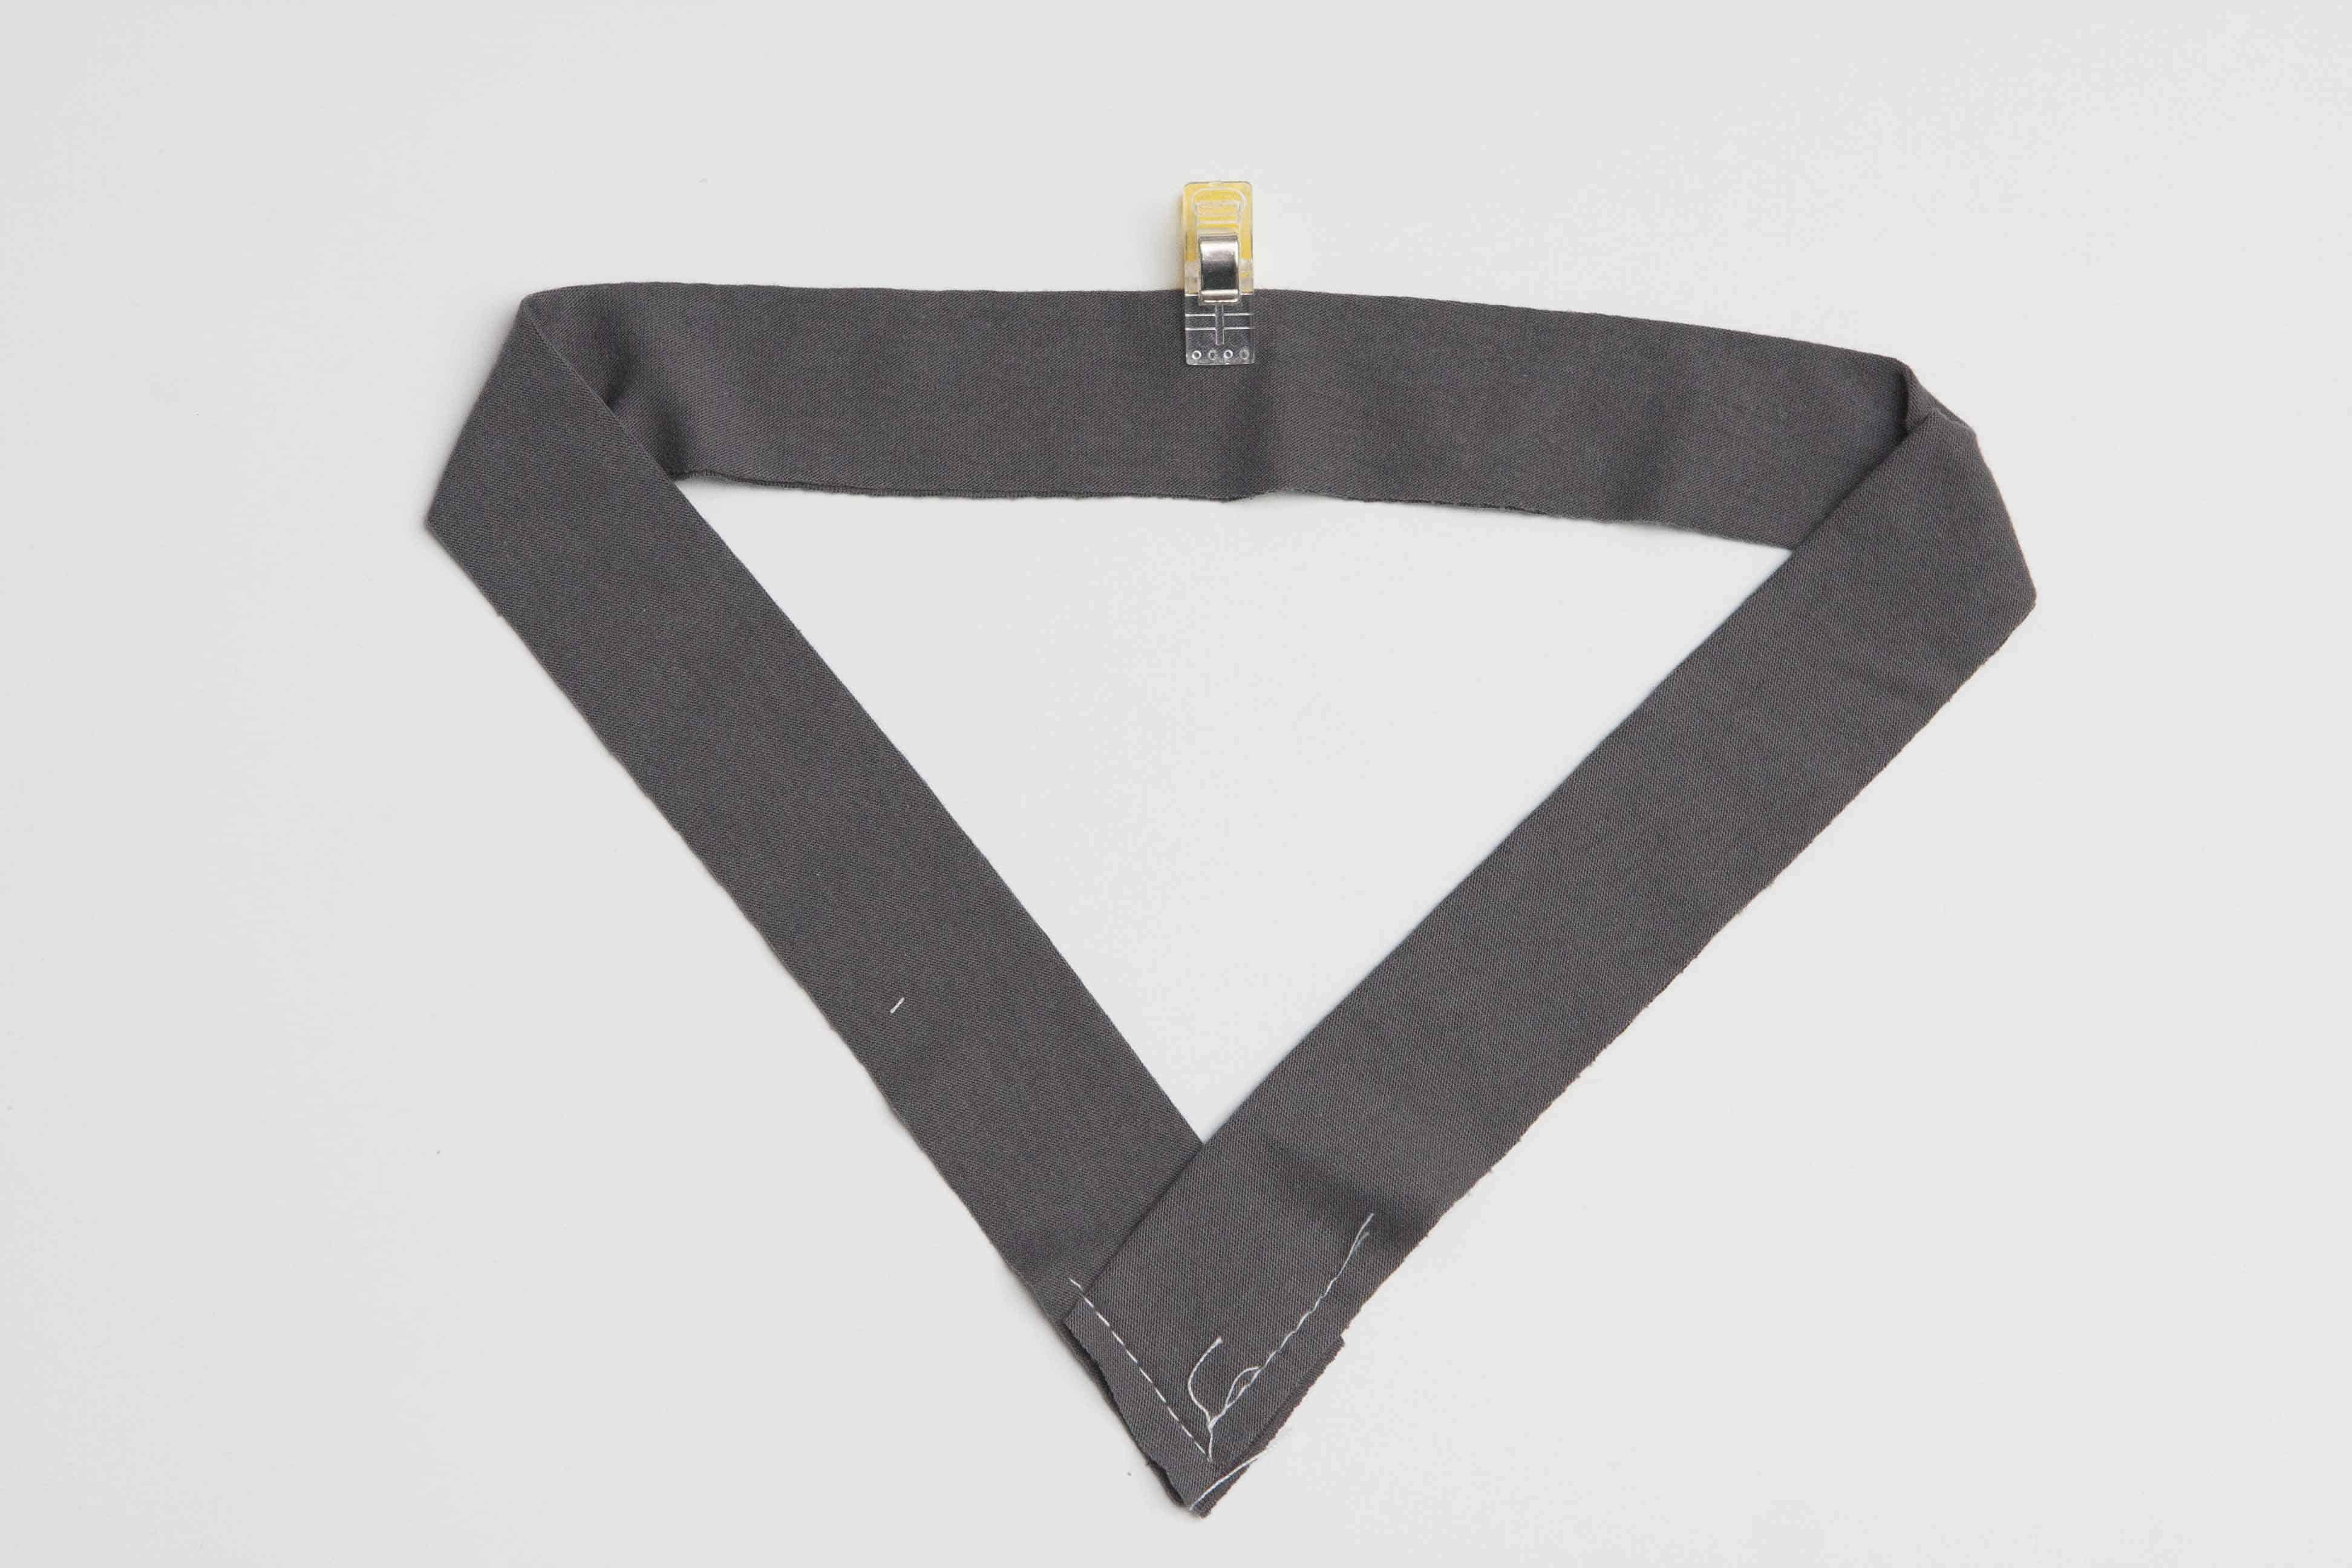
Using the same neckband in the pattern, you are going to press it in half lengthwise wrong sides together.
Mark center (this will be lined up with the center back of the neckline) and line up ends to create a V and baste into place. Find the quarter points of the neckband and mark.
Close up. Notice that the raw edges line up.
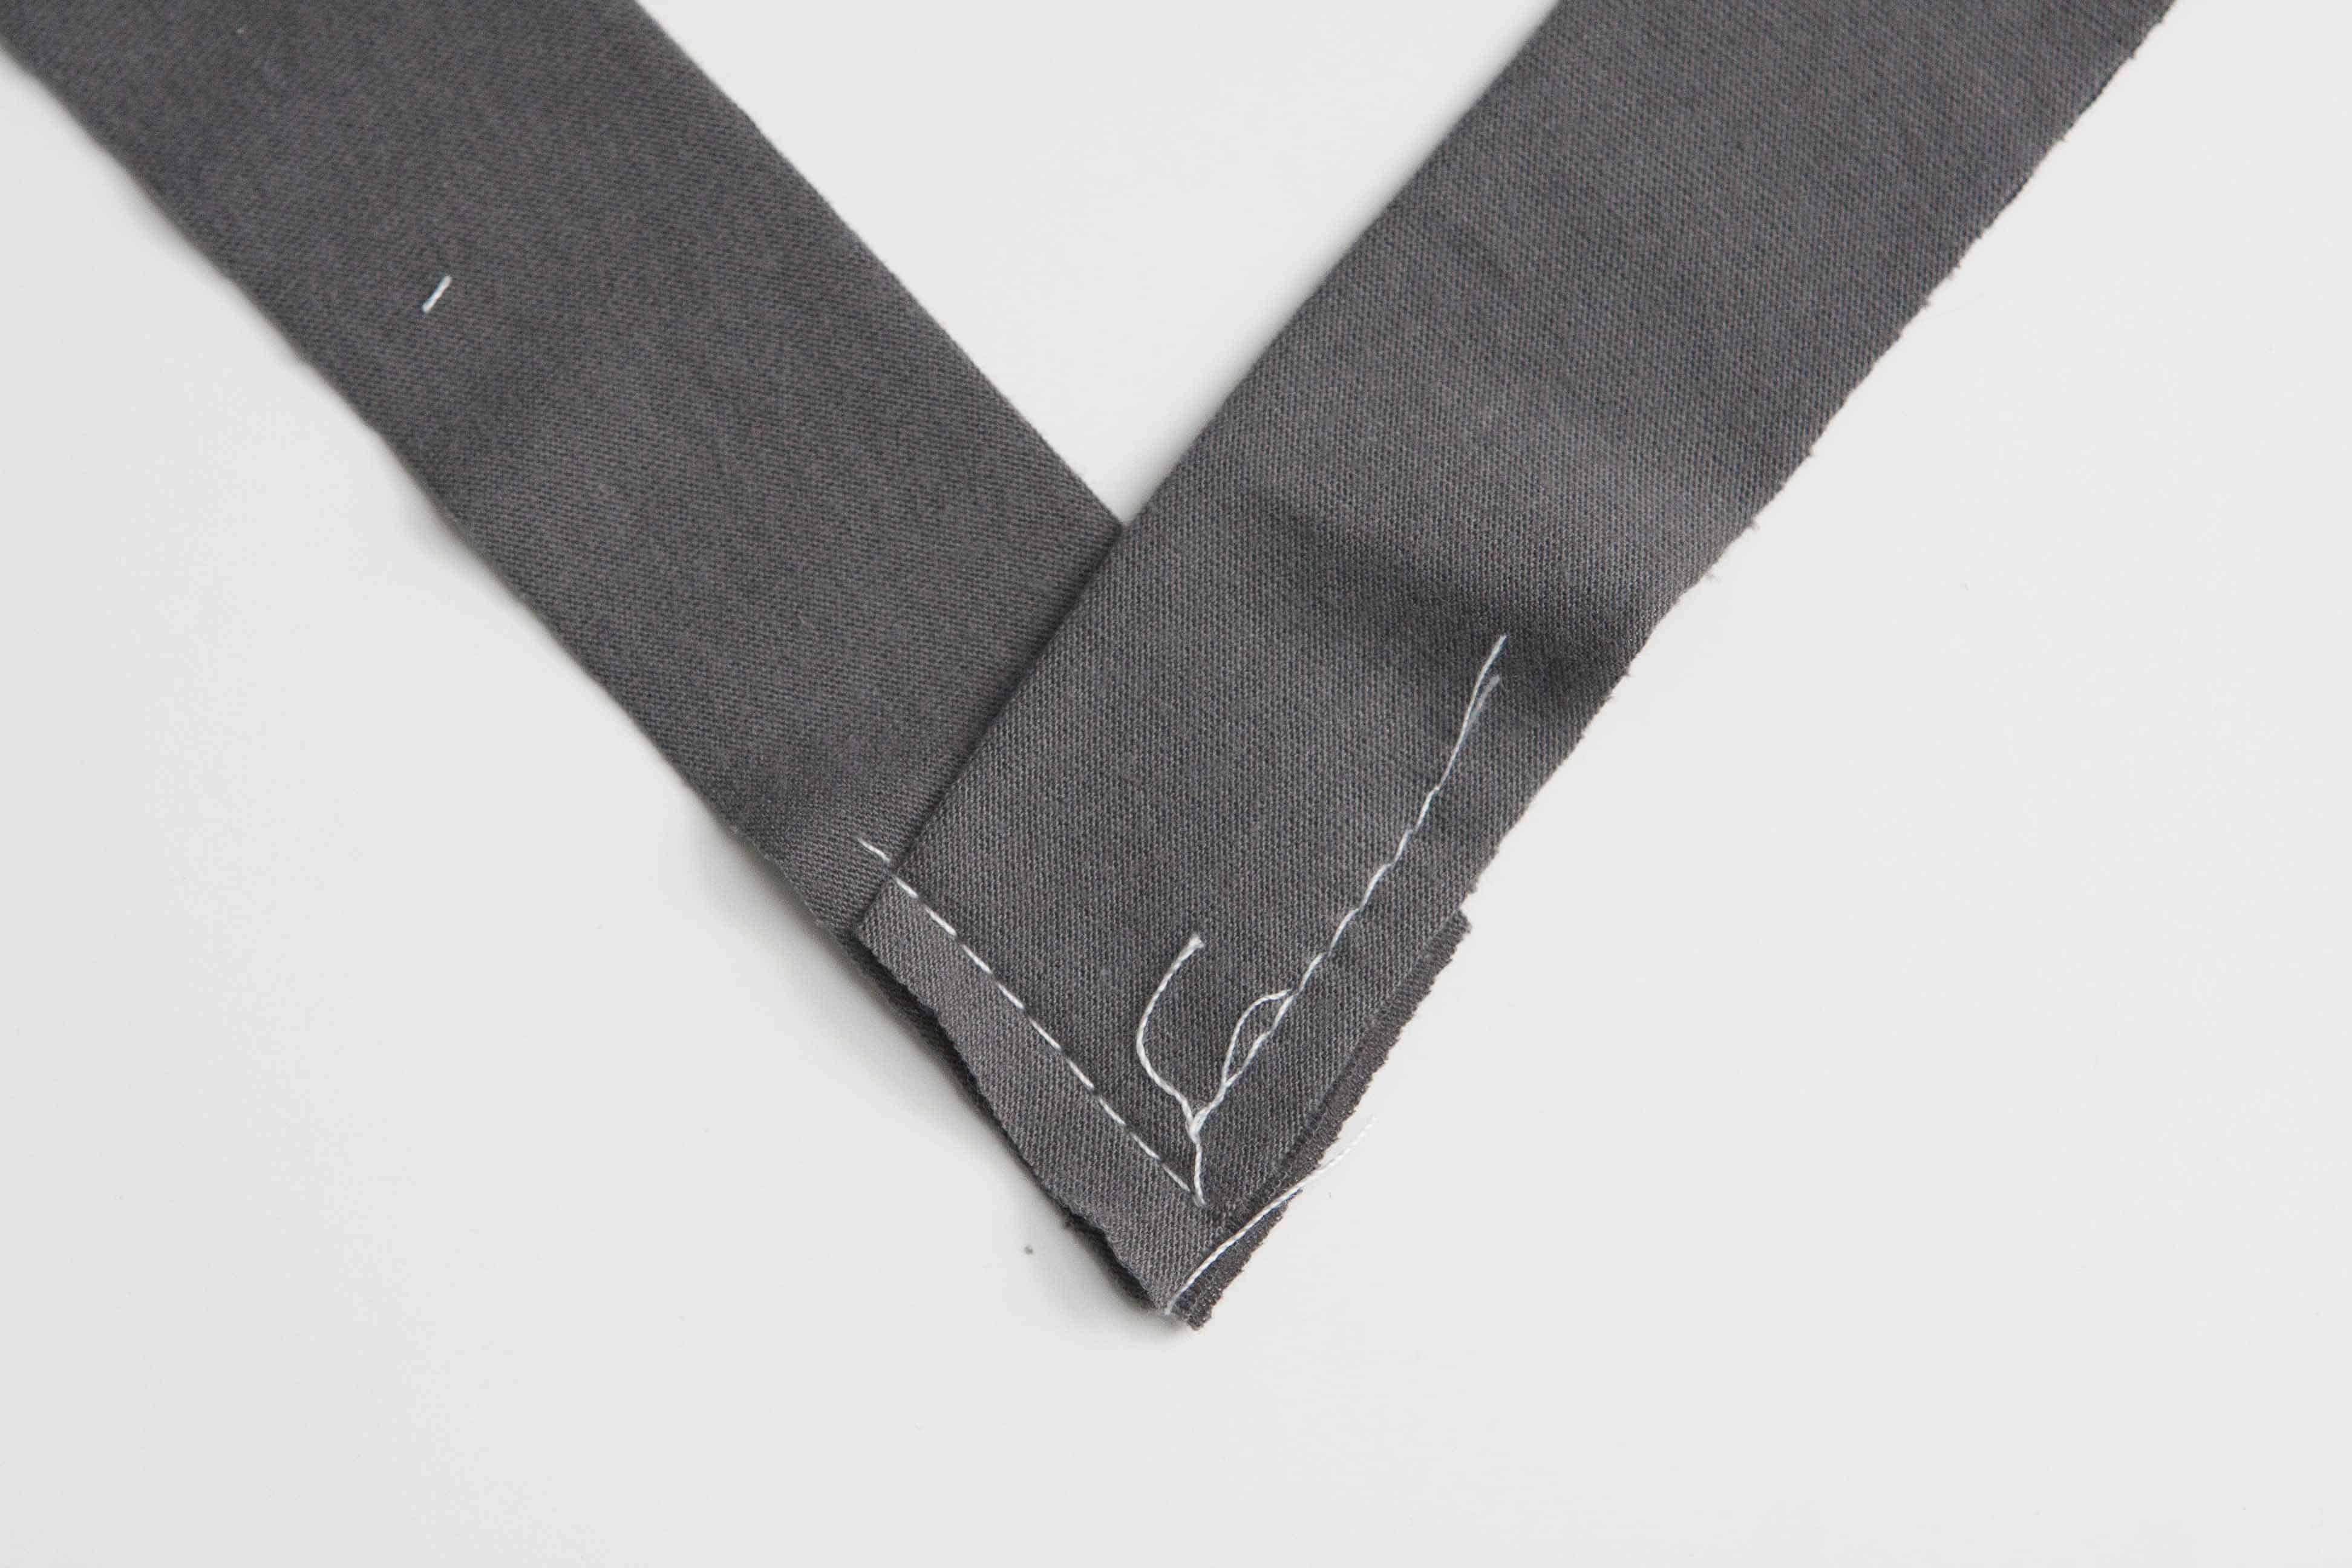
Line the point of the collar up with the bottom of the V. Now you will proceed the same way we did the original V-neck band.

And there you have it, the cheater V neck! I feel this one is a bit more casual. But I really like it and tend it use it more often than the original method.
.You can find the Laundry Day Tee here. Be sure to join the Facebook group to find a discount code to get the pattern for free! And if you caught it, I’m actually making V-neck La Bella Donnas! You can find the tutorial for that hack here.
Don’t let V-necks intimidate you any longer! You got this!
Kelly


Thanks for the tutorial. I decided when cutting out my expensive fabric that I would take a chance and cut it for a v-neck. I used the cheater method (I like the way it looks, better). It came out looking perfect the first time.
Thank you so much for this tutorial! So helpful!