

Hello!! It’s Kelly, Tami’s VA, and I’m going to talk to you about pattern modifying today. Most of the time, when you need to add length to a shirt, you can get away with simply extending the pattern along the length/shorten line provided. But, that doesn’t always result in a good fit. If your child (or yourself) is several sizes taller than her chest measurement, you may need to adjust the armscye (the arm hole) also.
This is the case for my daughter and I had to make some adjustments to the new Girls Tidal Top and Dress to get a good fit for her frame. In this pattern, Kate is a size 10 chest, but a size 14 for height. Because she is three sizes different between her chest and height, I have to blend the size 10 and the size 14 instead of just lengthening the size 10 pattern pieces. Blending sizes is incredibly easy to do! Simply print the two sizes you need, in my case, I needed the size 10 (for chest) and 14 (for height). You will need to print each size separately or print two copies of both sizes nested together like I did. You will only need the neckline and armscye of the larger size, so don’t bother printing the entire pattern twice. Save a tree. 😉 Cut out the larger size, but don’t cut out the smaller size yet.
We will be blending the larger armscye size into the smaller chest size pattern. Starting with the back piece, take the larger size and lay it onto of the smaller pattern piece lining up the shoulder seam and keeping the center fold lines parallel. Slide the larger size along the shoulder seam until the armscye curves blend together.
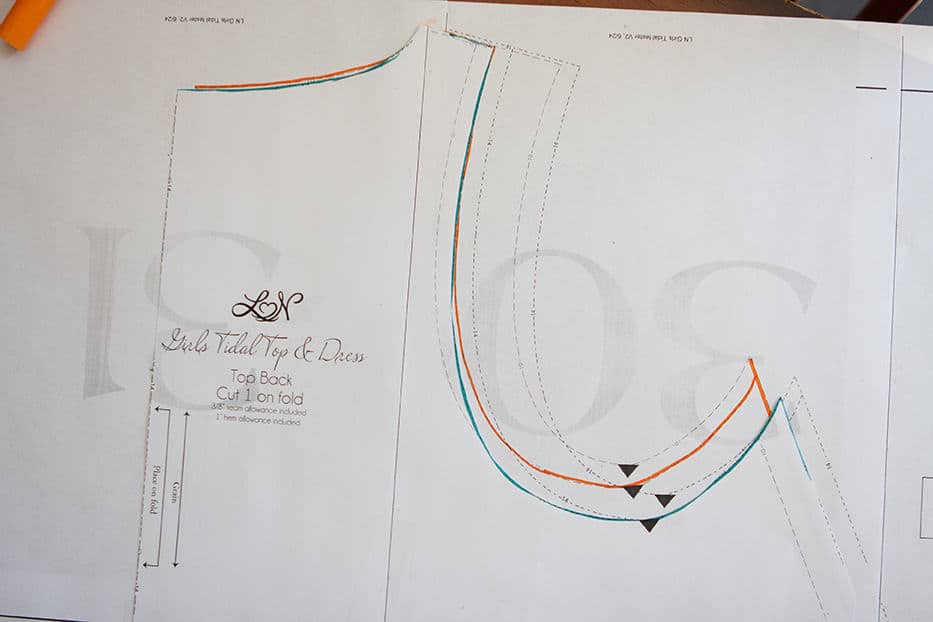
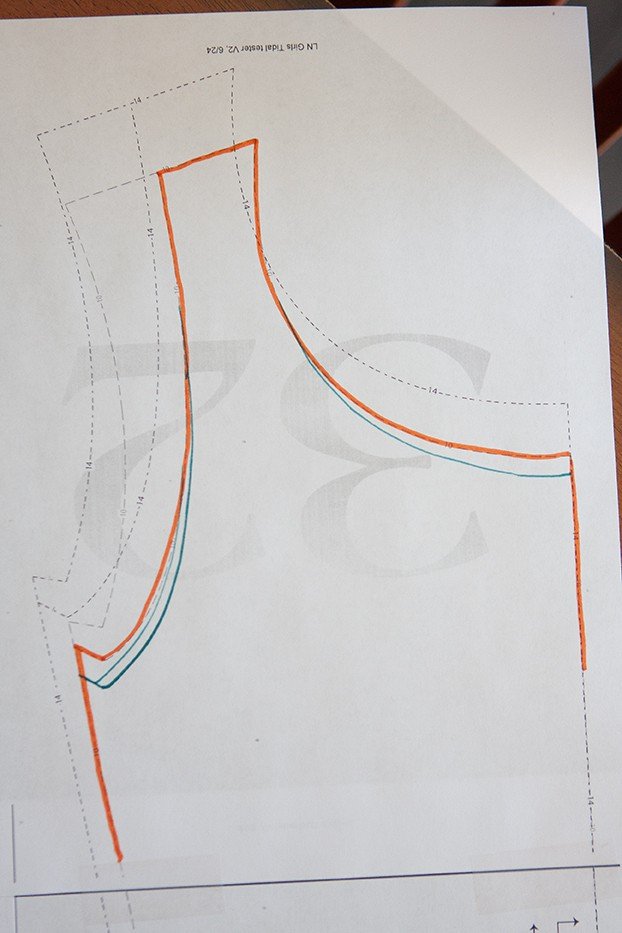
I have traced the size 10 with orange so you can see which lines I’m using better. I will be cutting the tank version of the Tidal Top. Trace the larger size armscye onto the smaller pattern piece.
Here you can see the original size 10 in orange and the new size 14 in teal.
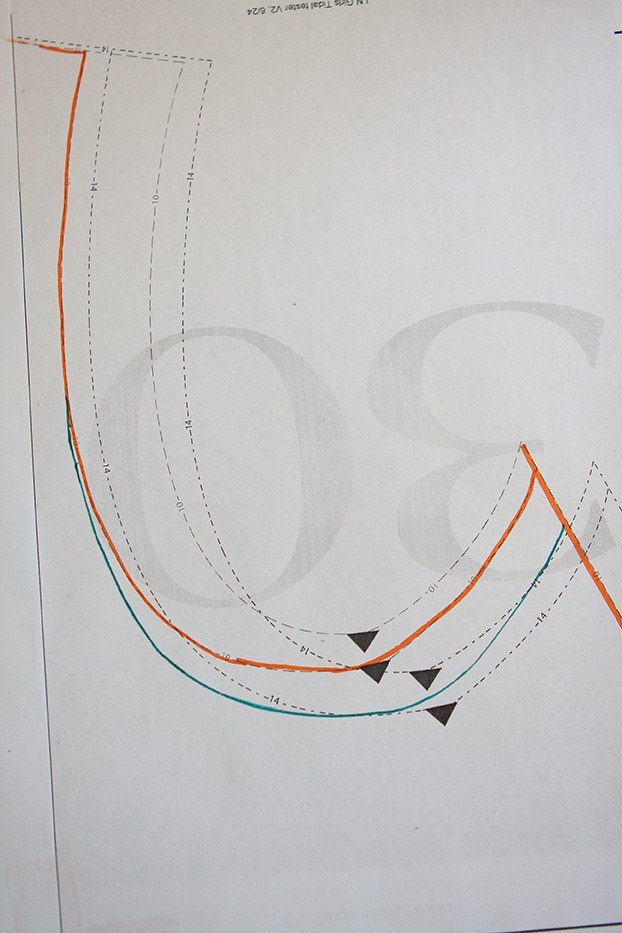
Now repeat for the front pattern piece. Again, keep the center fold lines parallel and line up the shoulder seam and blend the curve of the arm hole.
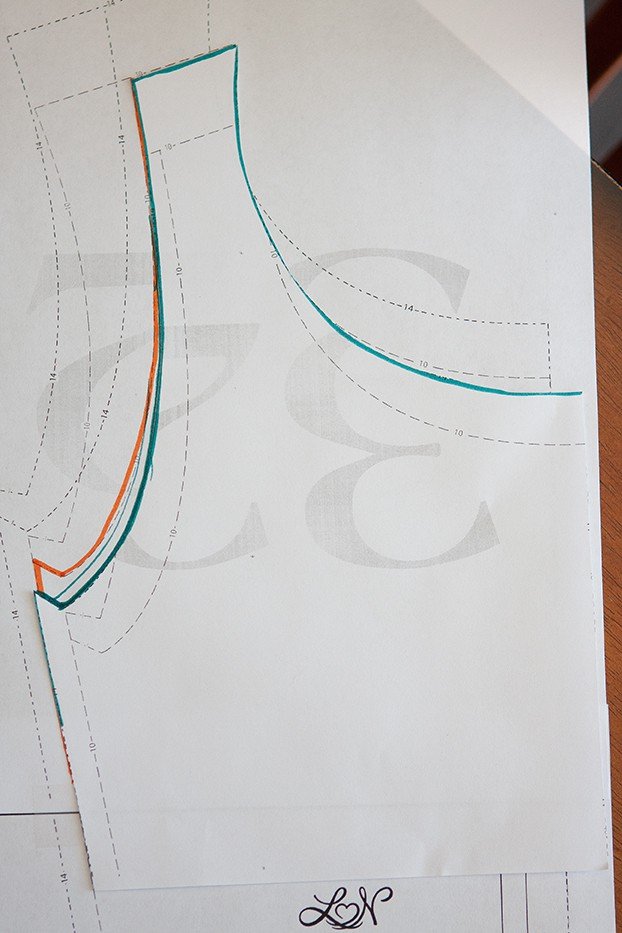
Now, we also have to adjust the neckline, otherwise the neckline will be much higher up than intended. Using the same technique we used to blend the armscye, slide the larger pattern piece so that the curves of the two neckline sizes blend together. Trace the new neckline.
Here is what your new front piece will look like. Again, our original size 10 in orange and the new size 14 in teal.
And now, I still need to add length over all. Kate is 60″ tall, 5″ taller than the size 10 height recommendation, so I added 2″ to the pattern piece at the lengthen/shorten line as suggested in the pattern. If I was planning to hem the shirt, I would have added an extra inch. I simply followed the pattern instructions to lengthen the shirt, cutting along the line and extending the pattern and blending the edges back together.
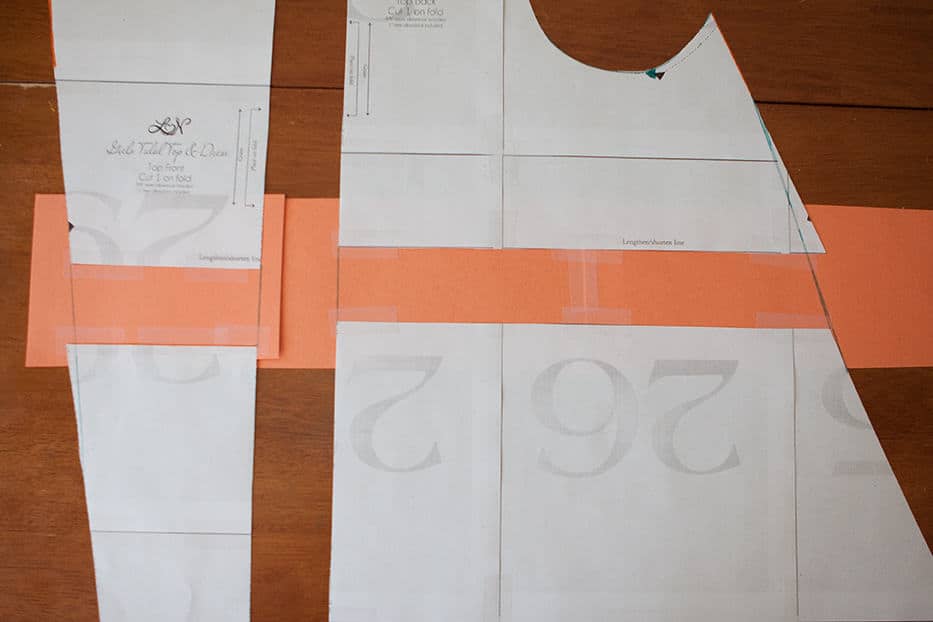
The only things left are the neckband and armbands. Since we scooped down to the larger size, you will need to use the neckband and armbands size related to the neckline and armscye you cut. I will be using the size 14 neckband and armbands.
And that’s it! New pattern pieces tailored to fit my daughter! And really, check out this fit!
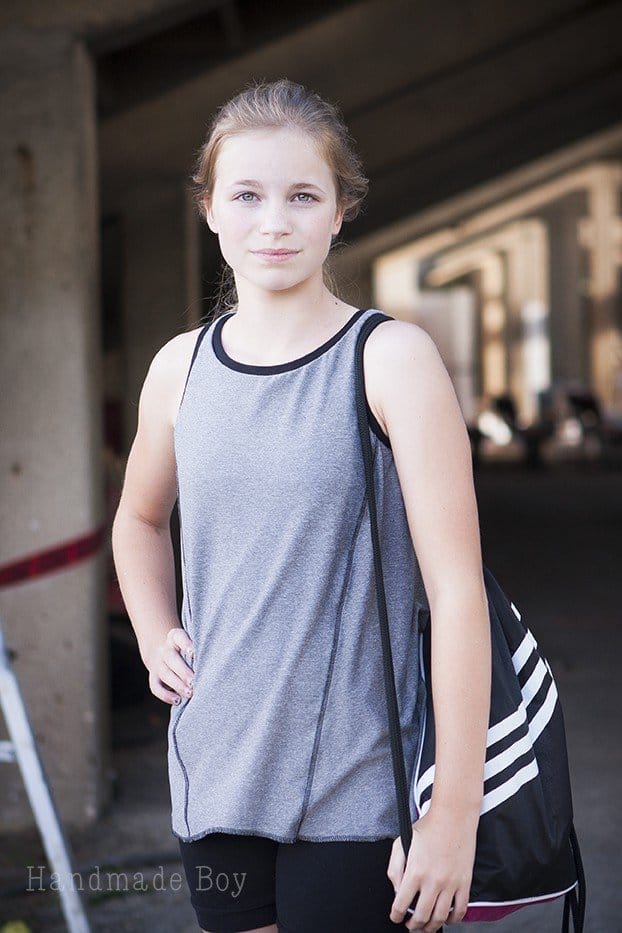
It fits nicely across her chest, but doesn’t dig into her arm pit like it would have had I used a straight size 10. If I would have used a size 14, which also happens to be her ready to wear size, this shirt would have been huge on her and likely would have gapped at the arm holes exposing her.
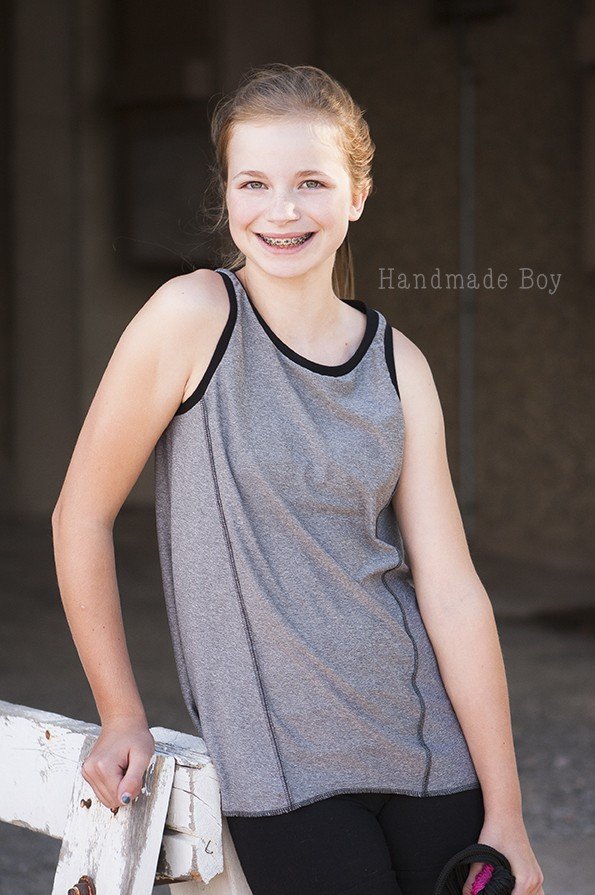
Happy tween in her new shirt. If you are interested in how I did the detailing along the princess seams, you can hop over to my blog, Handmade Boy.


This is a big help, thank you!