
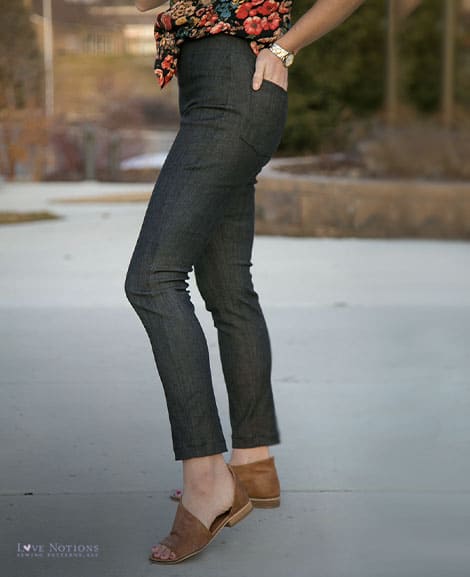
I know I’m not the only Sabrina Slims (affiliate link) lover out there, right? The Sabrinas check almost all my boxes — great leg shape, slim silhouette, universally flattering.
Notice I said almost all my boxes. That’s because ever since the testing period for this amazing pattern, I’ve had one wish for the Sabrinas — a zipper. Read on to learn how to alter the Sabrina Slims for a side zipper.
“Now Katie,” you may be asking, “why would you want to add a zipper to a pattern that’s drafted without one??” Well, there are really two reasons: (1) it’s easy — trust me, it really is, and (2) it adds so many options!

The main limiting factor with the Sabrinas is the stretch percentage needed for woven fabric. I know there are a lot of people out there who prefer knit pants, and so this has less applicability for them. But I will choose woven pants over knit pants 90% of the time (more than that if it’s for work), so this limitation is a real issue for me. It can be hard to find woven fabric with at least 30% stretch. That eliminates almost all denim and twill, and also most sateens, suitings, etc, all of which will usually have about 15% stretch.

Add a zipper, though, and all of those fabrics are back on the table!
Since I figured others may share my wish, I put together a tutorial for you to adjust the waist of the Sabrinas so they are fitted and flat, and add an invisible side zipper.

Let’s get down to business.
Supplies:
- Sabrina Slims pattern (affiliate link)
- Main fabric (fabric yardage requirements per the pattern instructions)
- Waistband lining fabric (1/4 yard)
- Woven fusible interfacing (1/4 yard)
- 9″ invisible zipper (don’t worry if your zipper is longer — I’ll show you how to shorten it)
- Matching thread
Sizing:
The Sabrina Slims are drafted for either knit or exceptionally stretchy woven fabric. That means that the pattern depends on the fabric stretch to a certain degree to fit correctly, and parts of the pattern are drafted with either negative ease or no ease.
All of that means that when making the Sabrina from fabric with less stretch, you may need to size up. Even with this modification I’m demonstrating, I still would recommend using a stretch woven — non-stretch fabric will require pattern modifications that I’m not doing here. Still, the ability to use a basic stretch woven with 10-15% stretch will dramatically expand your fabric options.
So if you fall in between sizes on the Sabrinas and sized down, you will probably want to size up for this. Also if you fall at the very top end of a size range, you may consider sizing up when using a fabric with less stretch. If you already sized up or fall comfortably in your size range, you’re probably fine.
As for me, my measurements put me in between a size 8 and a size 10 for the Sabrinas. I previously sized down to an 8, but for this purpose, I sized up to a 10.
Instructions:
Before you start: Cut a wider seam allowance on the outseam of the pants leg where your zipper will go. I like my zipper on the right side, so I cut my right outseam (on the right leg front and back pieces) with a 1/2″ seam allowance rather than the included 3/8″. This gives me a little more working room with my zipper.
Preparing your pattern:
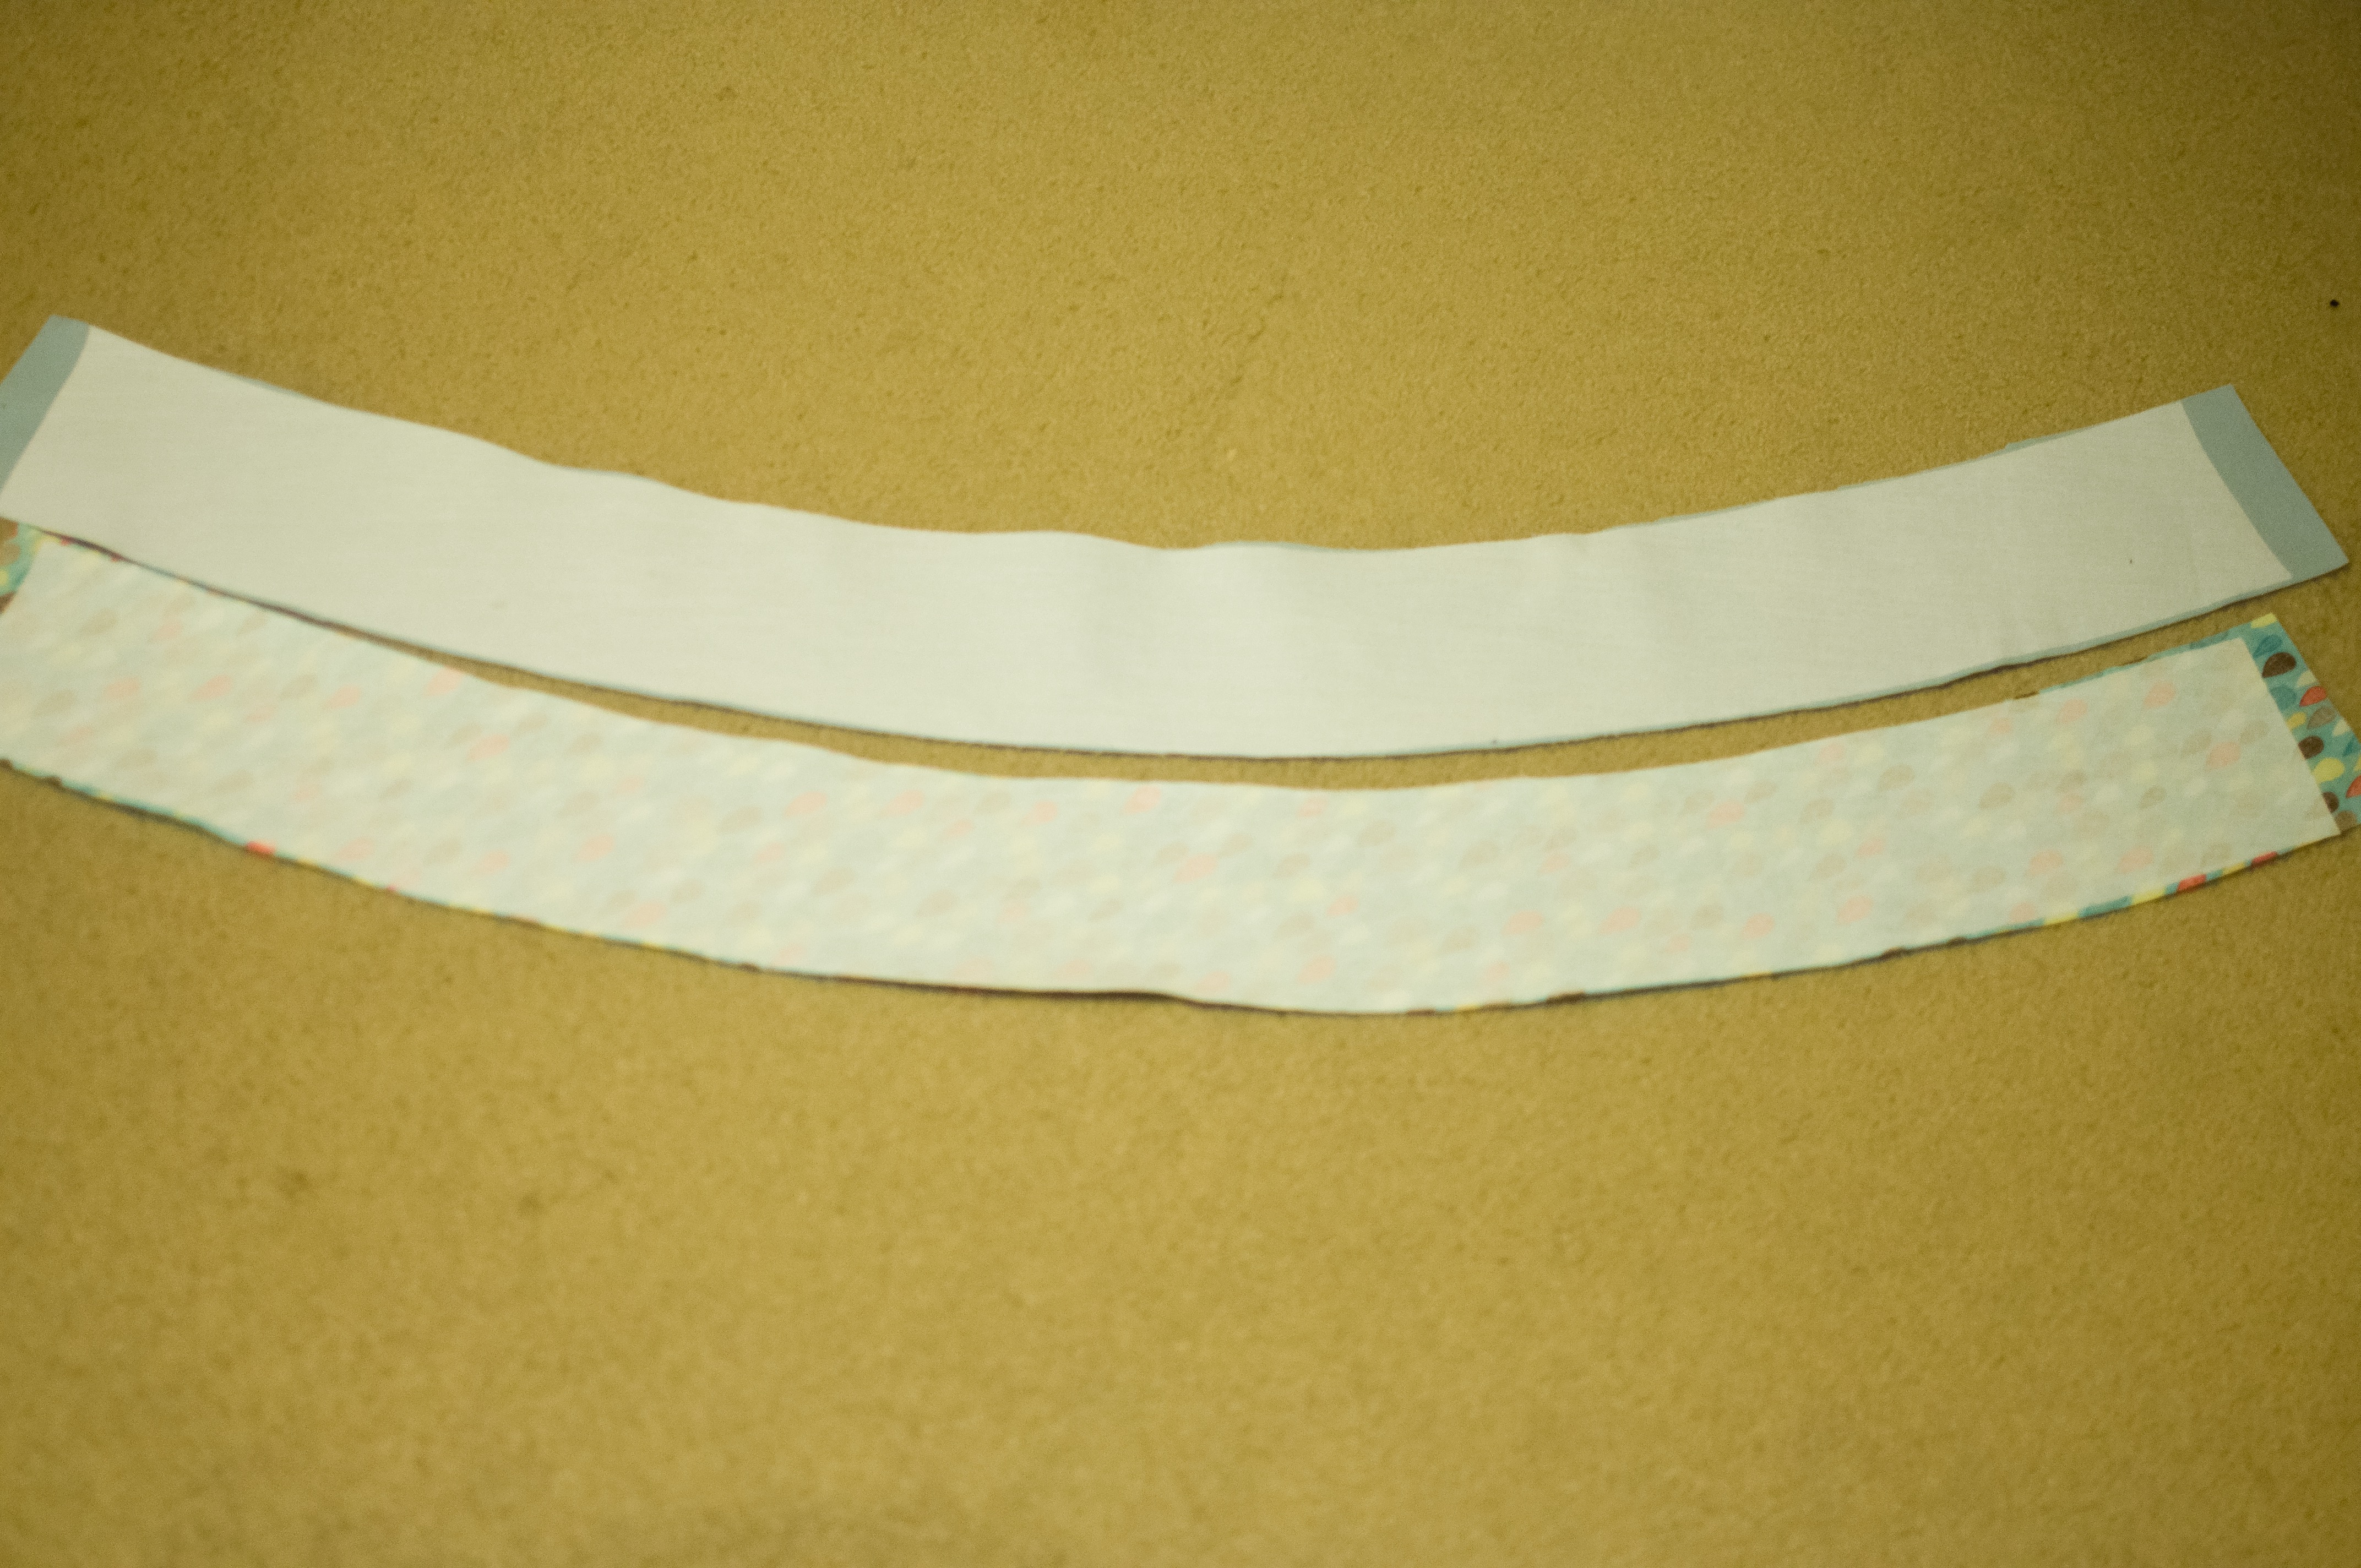
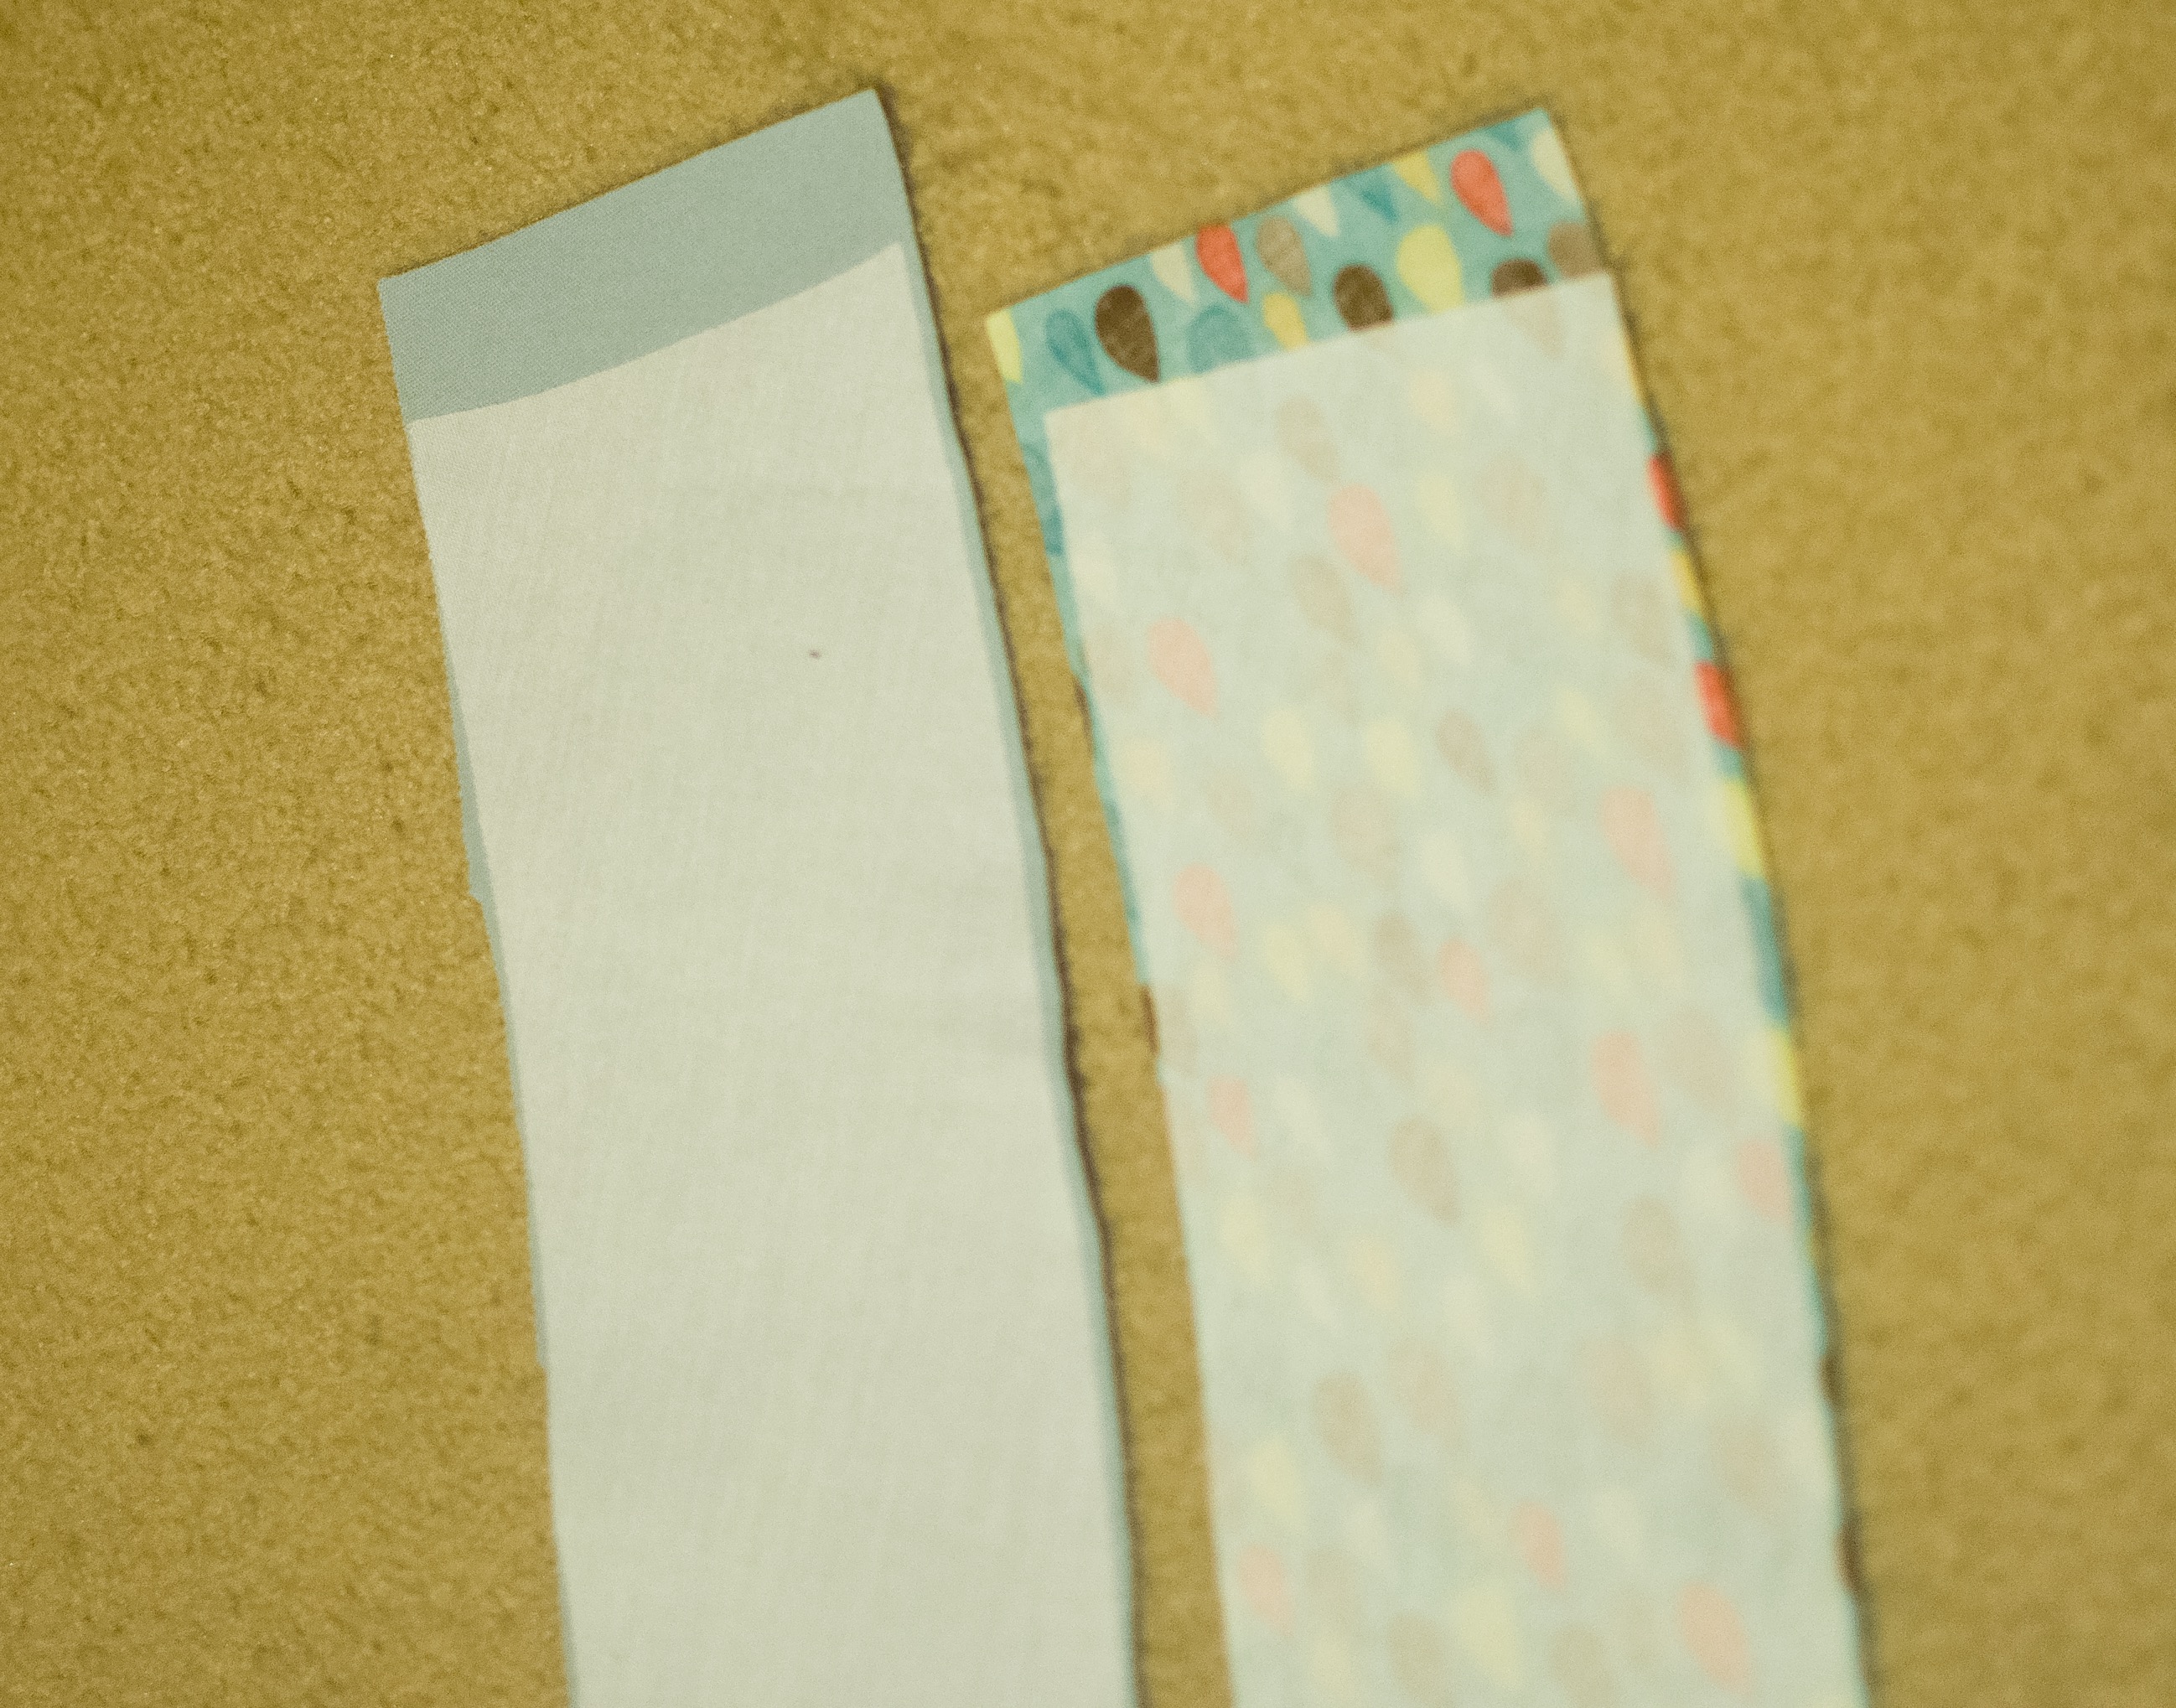
1. Cut your pattern pieces per the pattern cutting instructions, EXCEPT for the following: (a) Cut only one waistband piece from the main fabric. This is your outer waistband. (b) Cut a second, mirror image, waistband from your lining fabric. This is your inner waistband. (c) Cut two mirror image waistband pieces from your woven interfacing. Trim about an inch off your interfacing pieces.
- Note: You can use your main fabric for both the inner and outer waistband, but using a lighter lining fabric will reduce bulk in your waistband and make your zipper easier to pull up and down.
Assembling the legs:
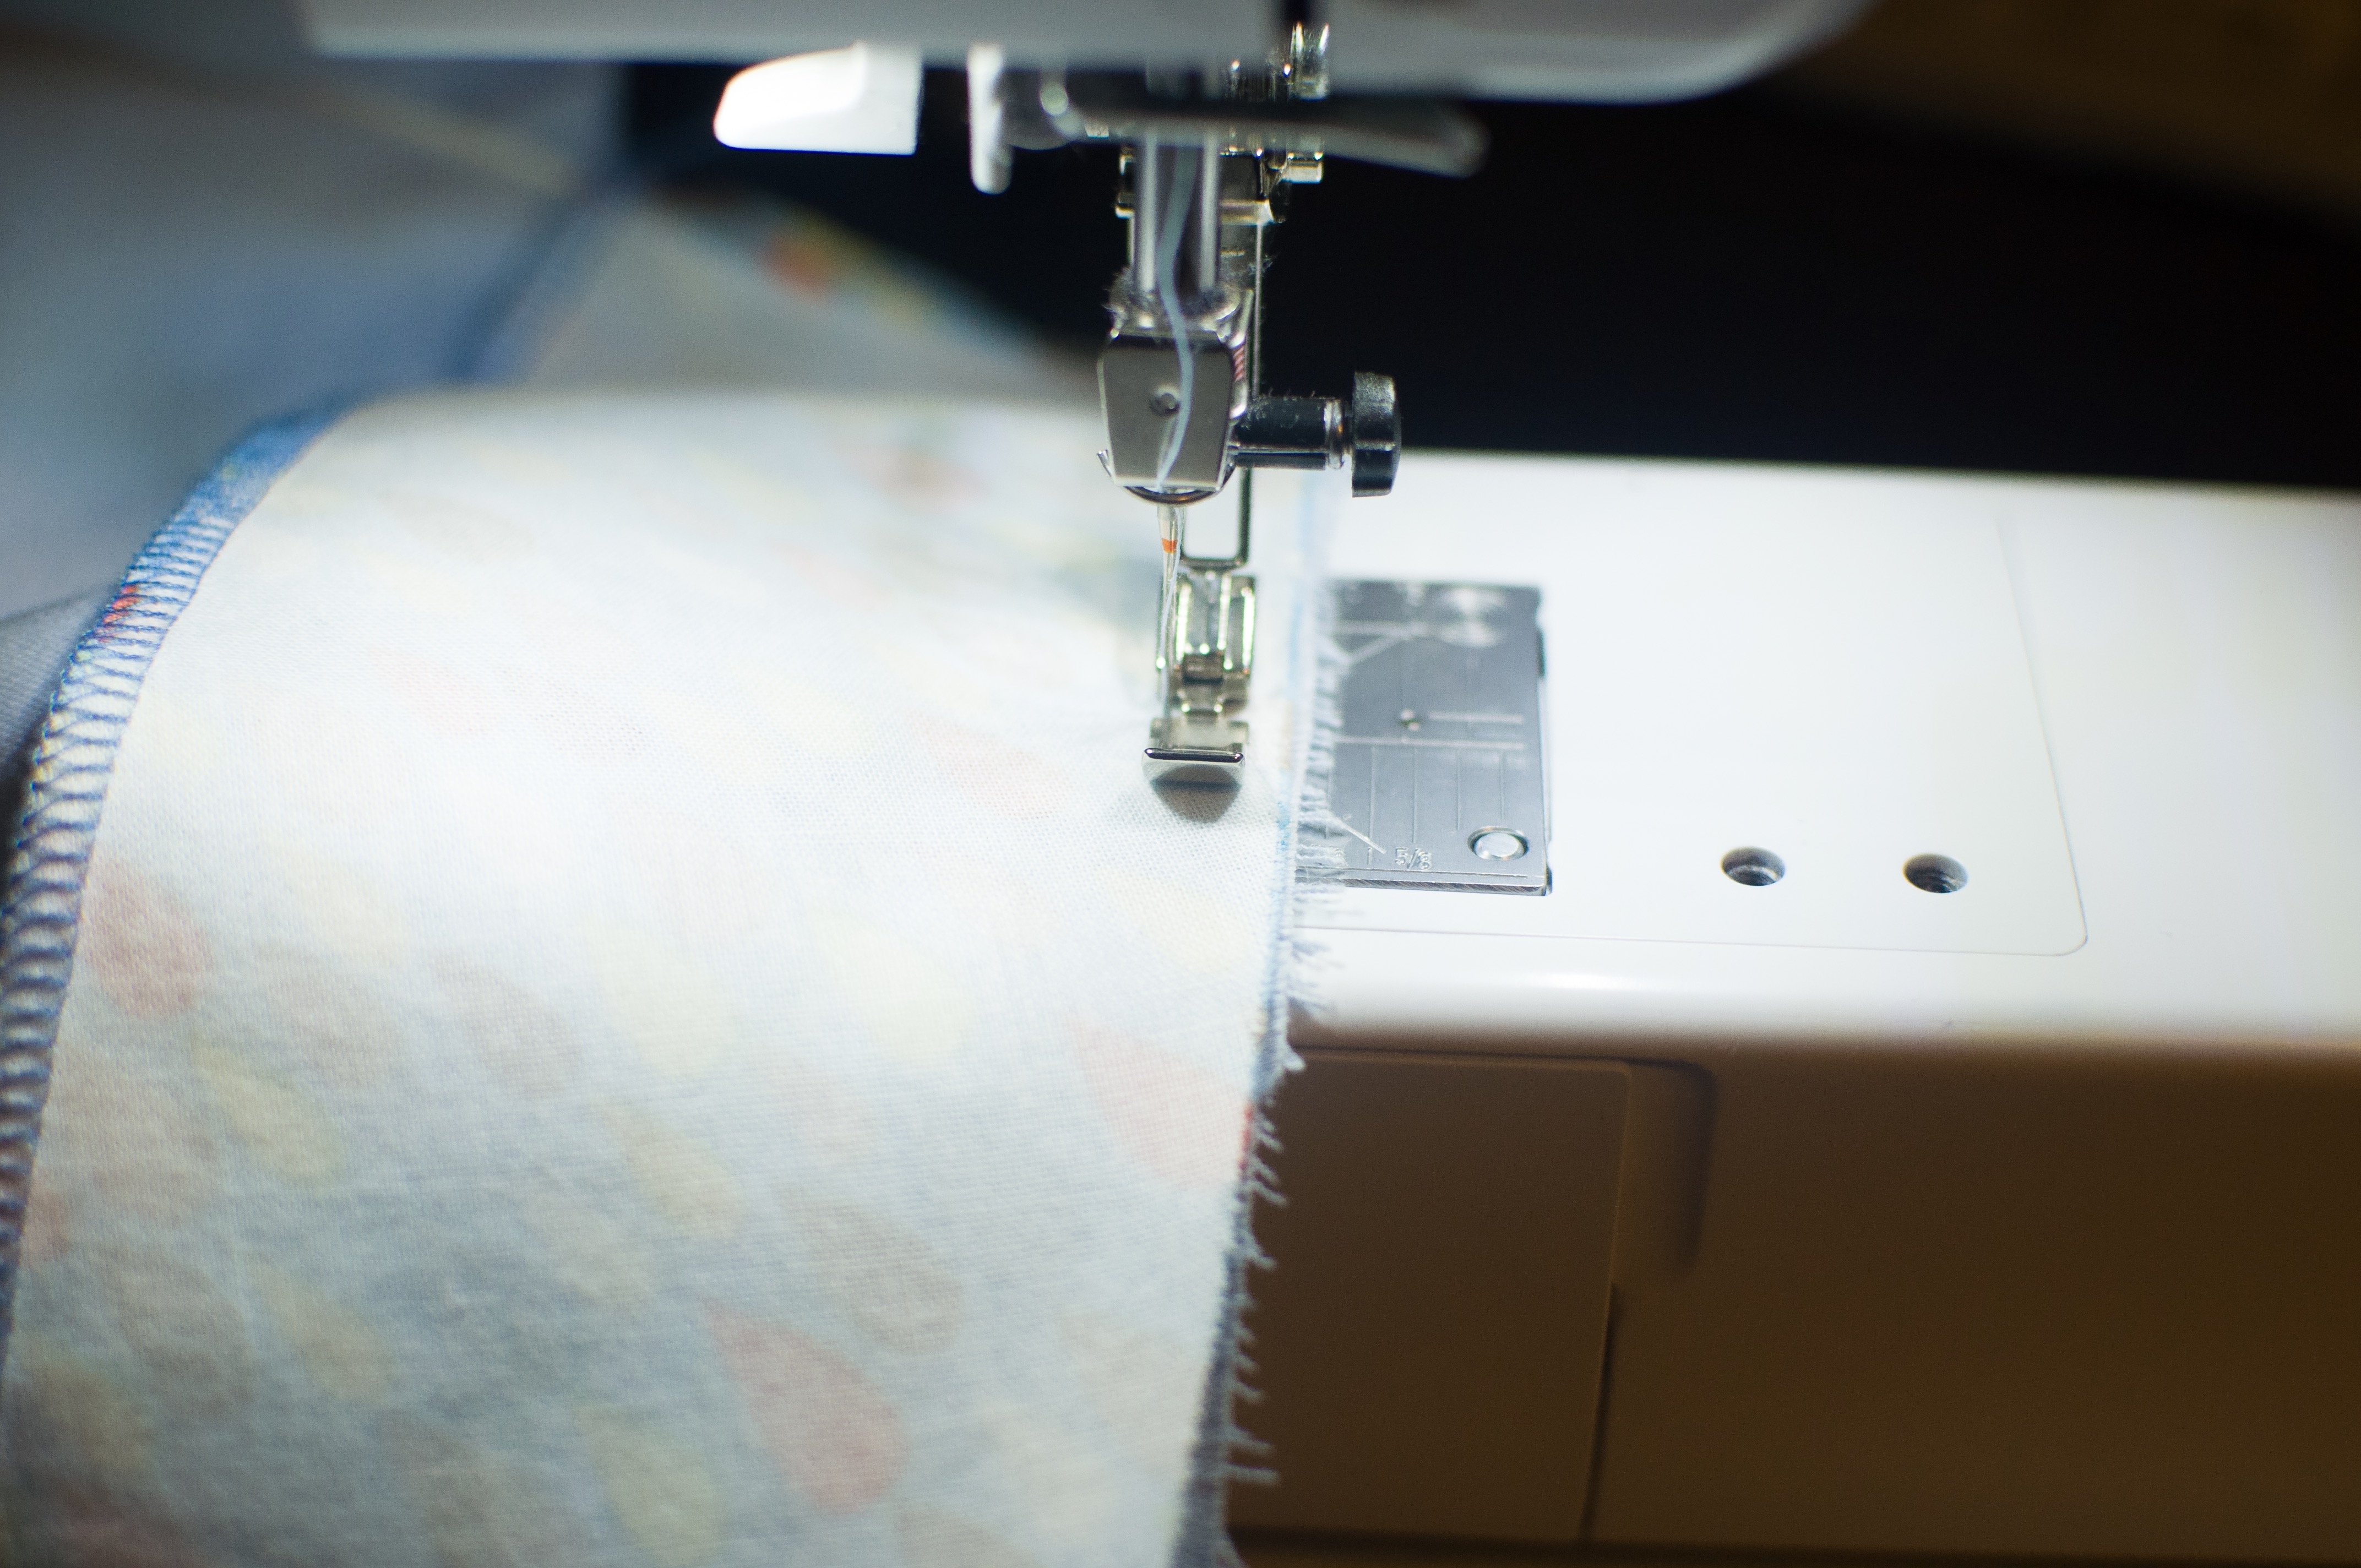
2. Finish the raw edges of the outseam on the right leg, either with a serger or a zig zag stitch. You will need to press the right outseam open to accommodate your zipper, so you will not be able to finish that seam with a single serger pass on both raw edges. Finish those raw edges before you start sewing to make your life easier later on.

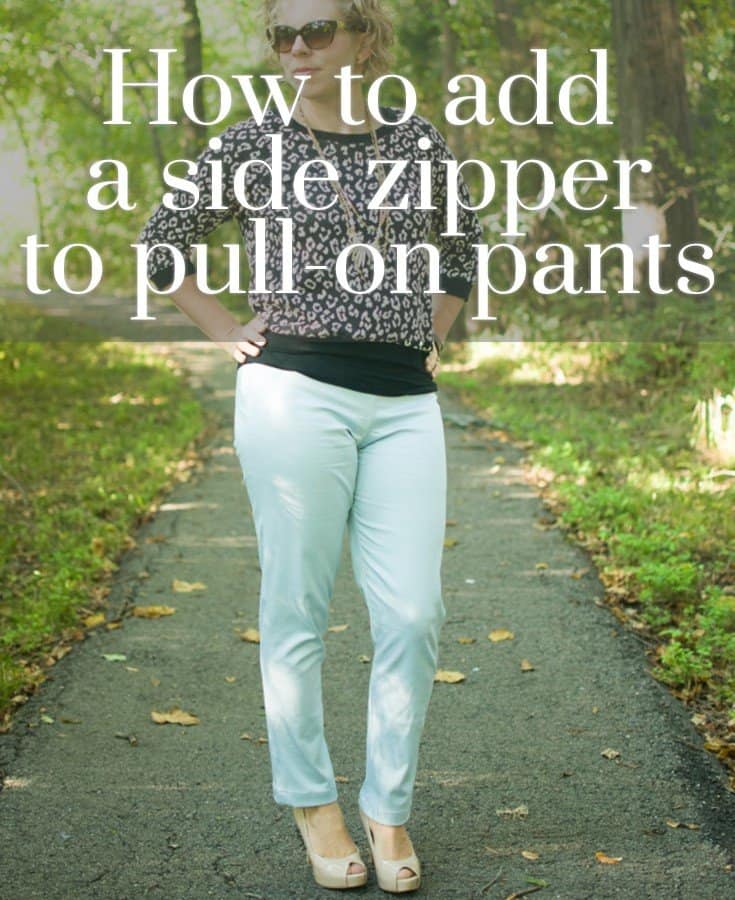
3. Place the left front leg on top of the left back leg right sides together. Sew the outseam and inseam. Finish the seams and press to the back.
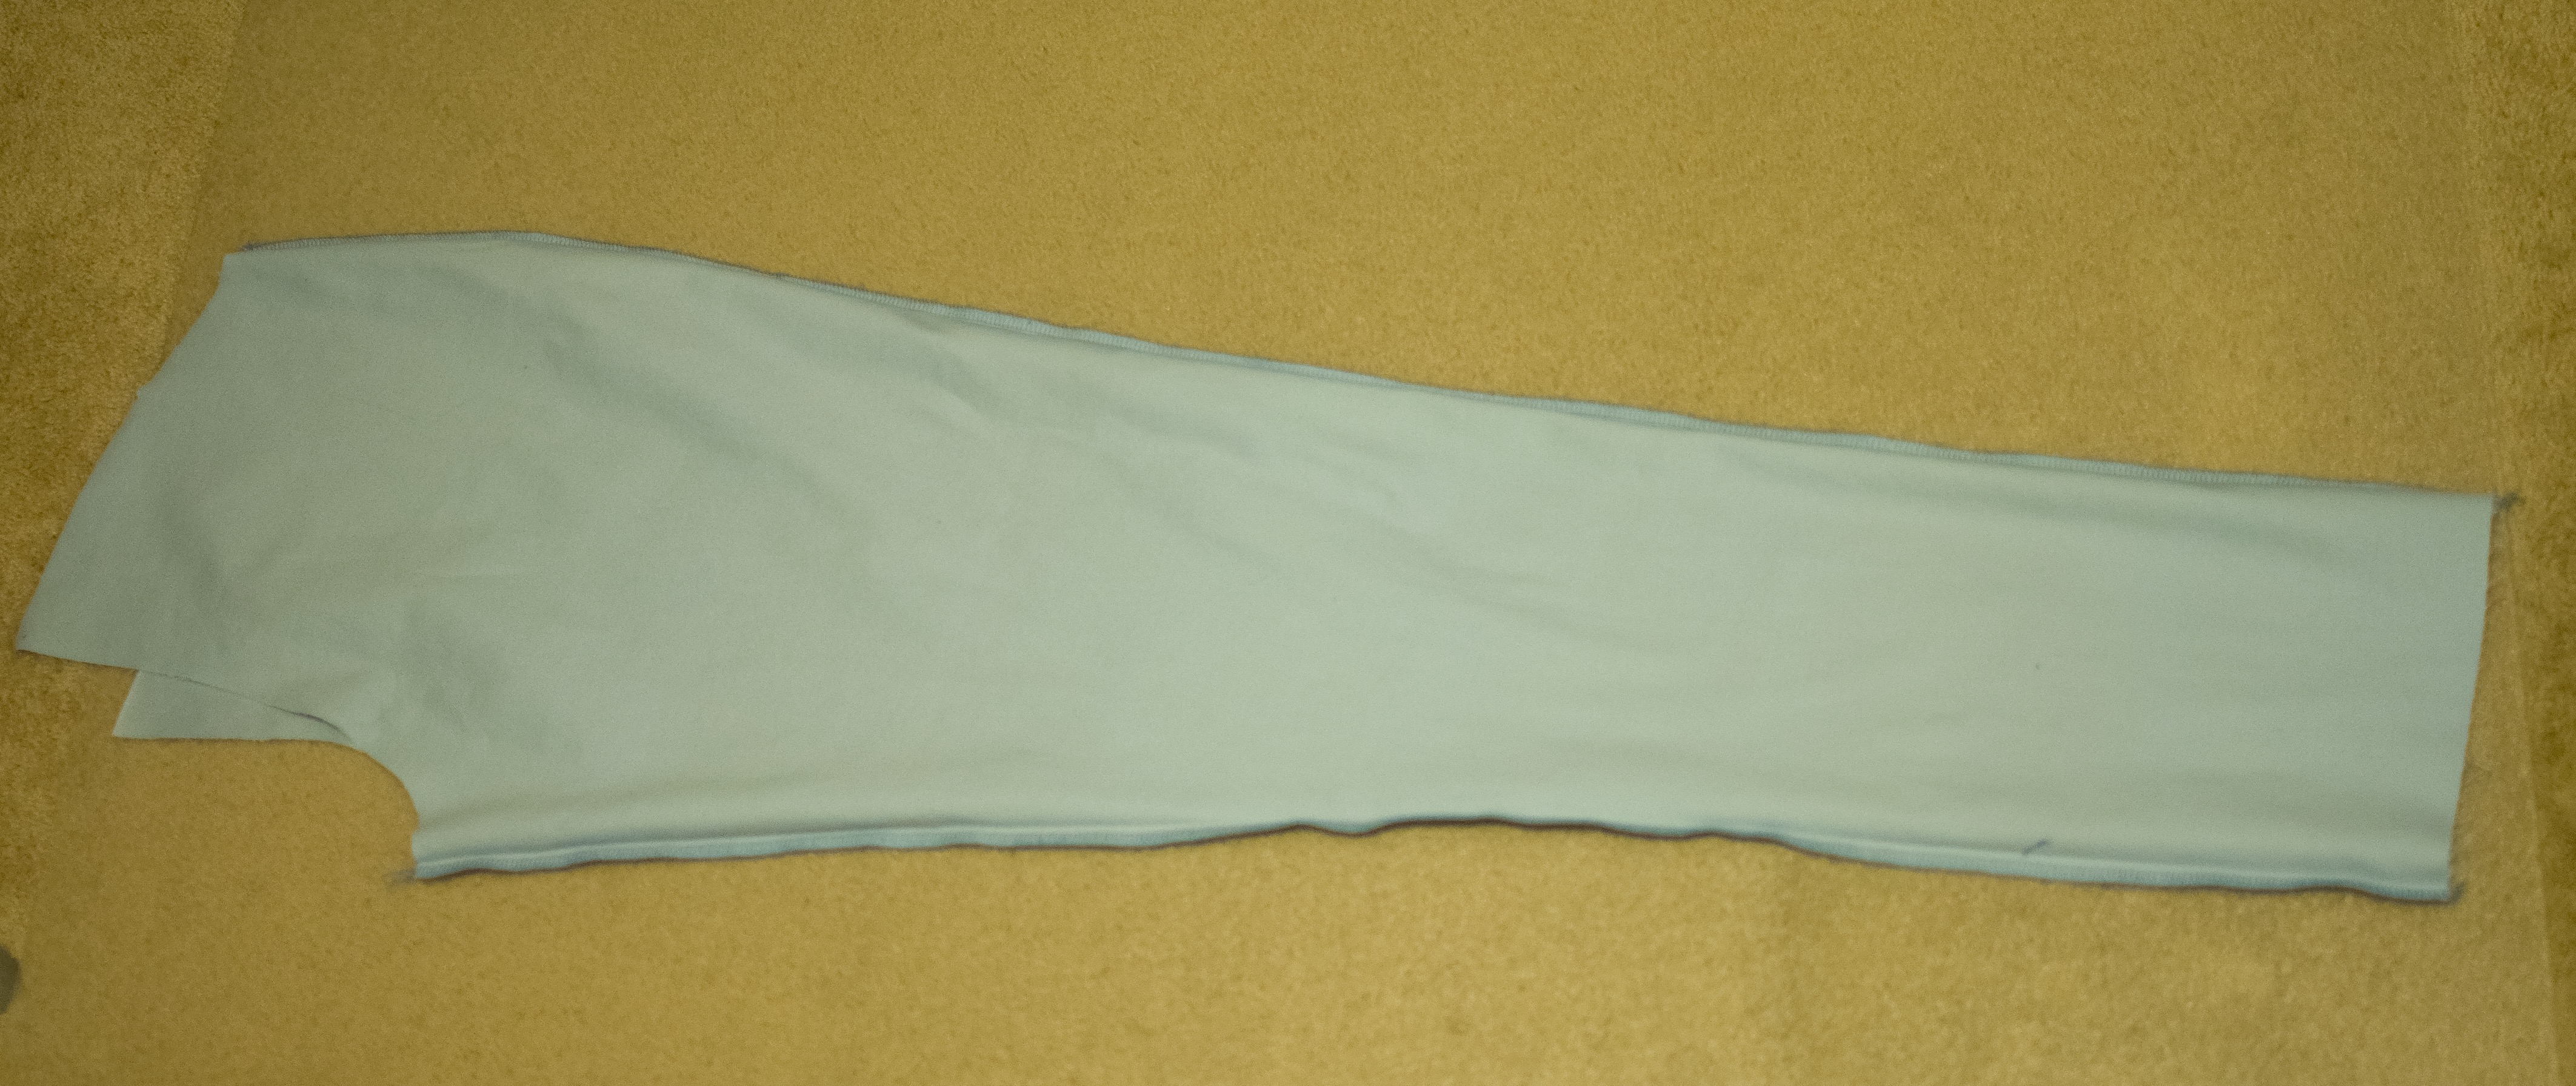
4. Place the right front leg on top of the right back leg right sides together. Sew the outseam starting at the bottom and sew until approximately 12-15 inches from the top of the piece, backstitching at the beginning and end of the stitch. Press the seam open.
5. Sew the right inseam, finish the seam and press towards the back.
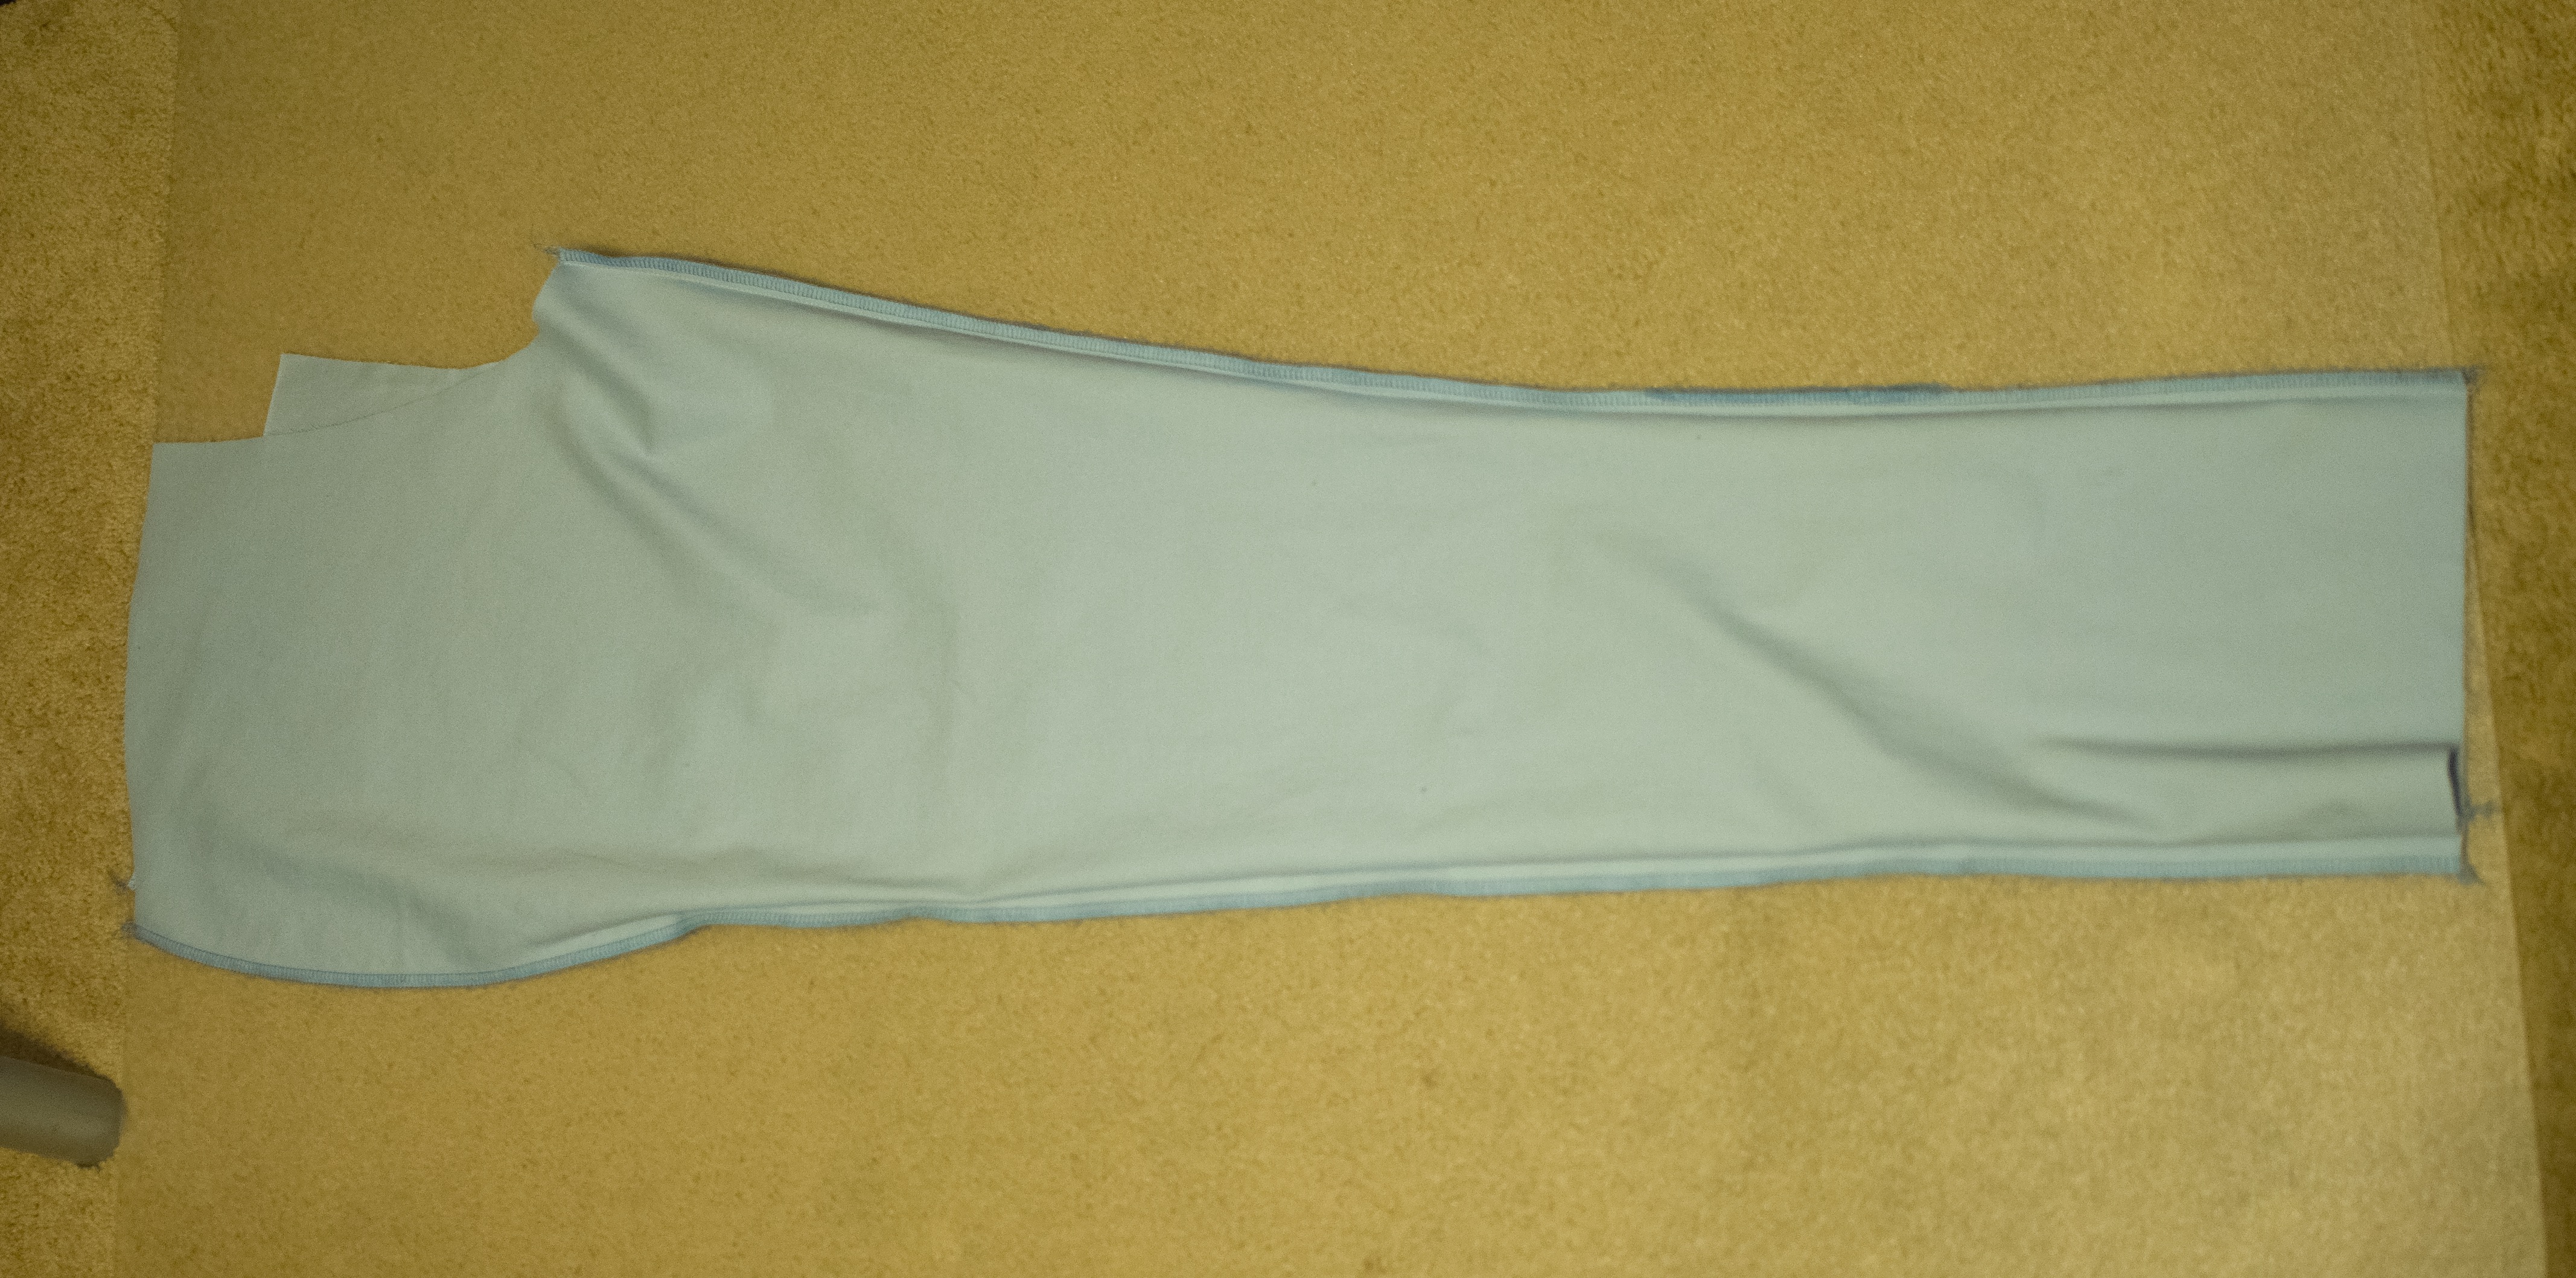
6. Turn one of your legs inside out. Place the other leg inside the leg that is inside out and line up the crotch, right sides together.
Adjusting the pattern to remove waist ease:
7. Stitch the crotch curve. Do not finish the seam yet.
- Note: The Sabrina Slims are drafted with extra width at the waist so that they will go on over the hips without a closure. Since we are adding a closure, we need to remove that extra at the waist to get a nice, smooth fit. We’ll take part of that excess out of the crotch curve, and add a couple of darts at the back.
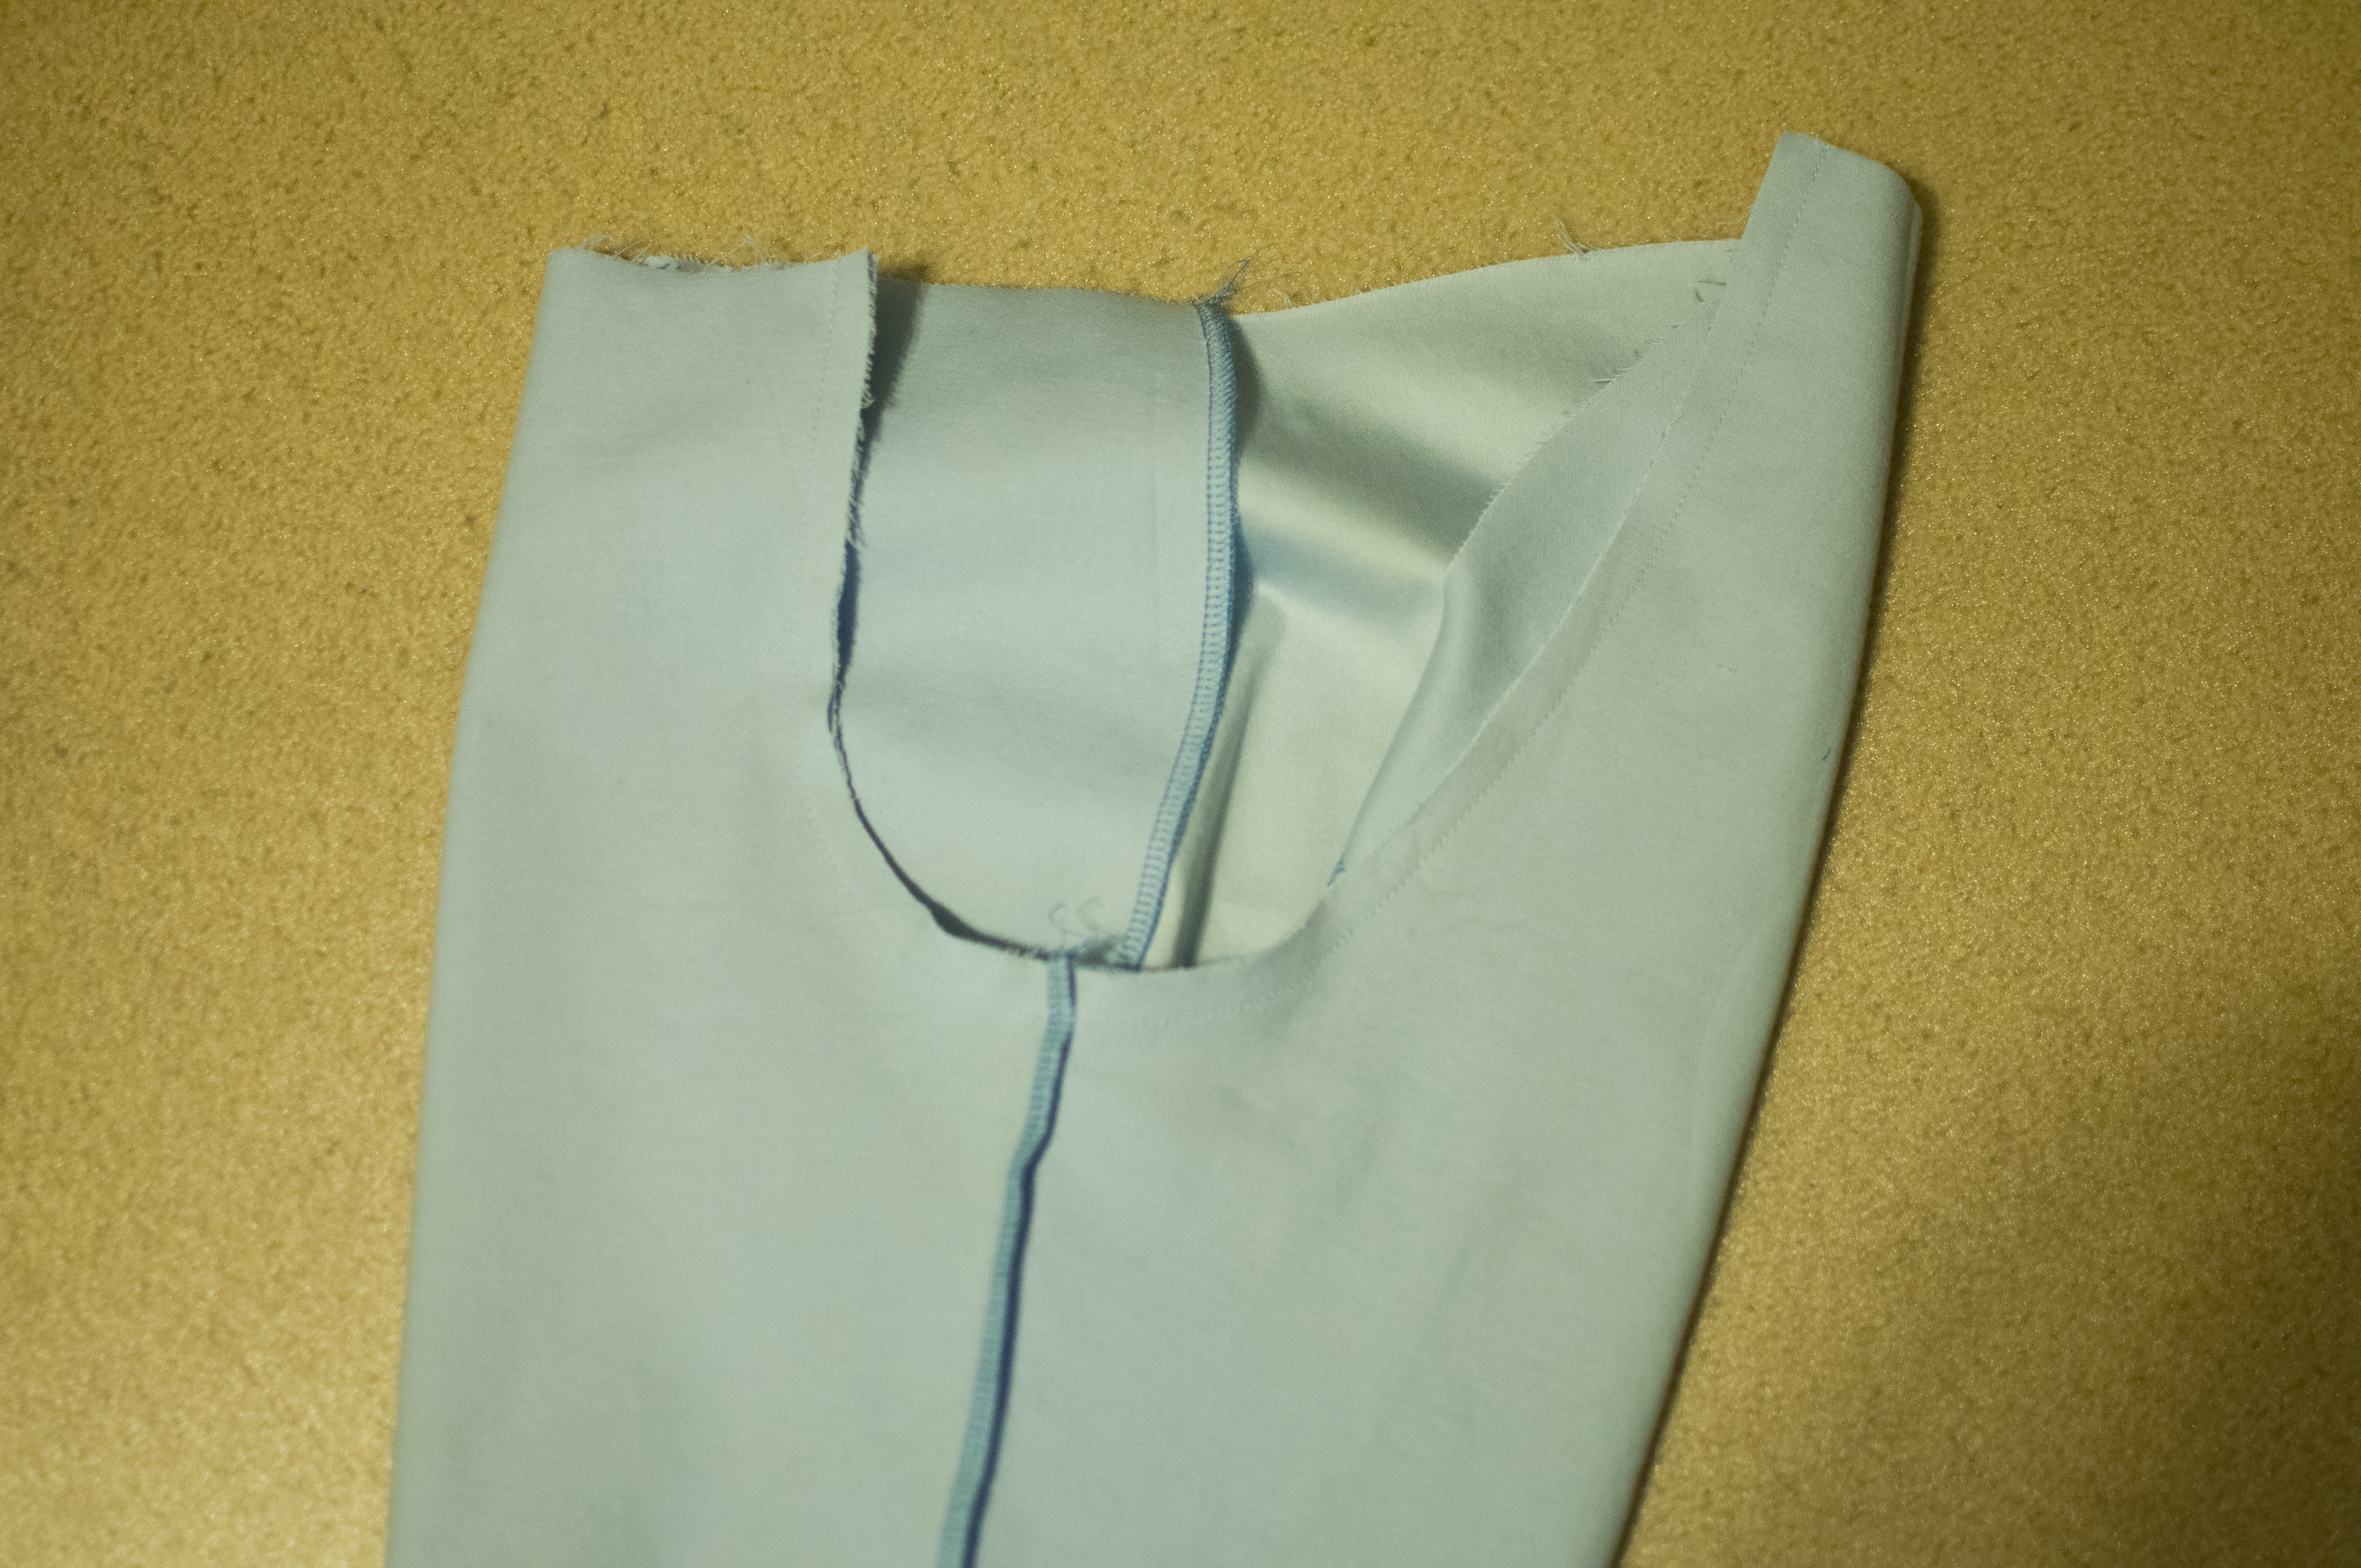
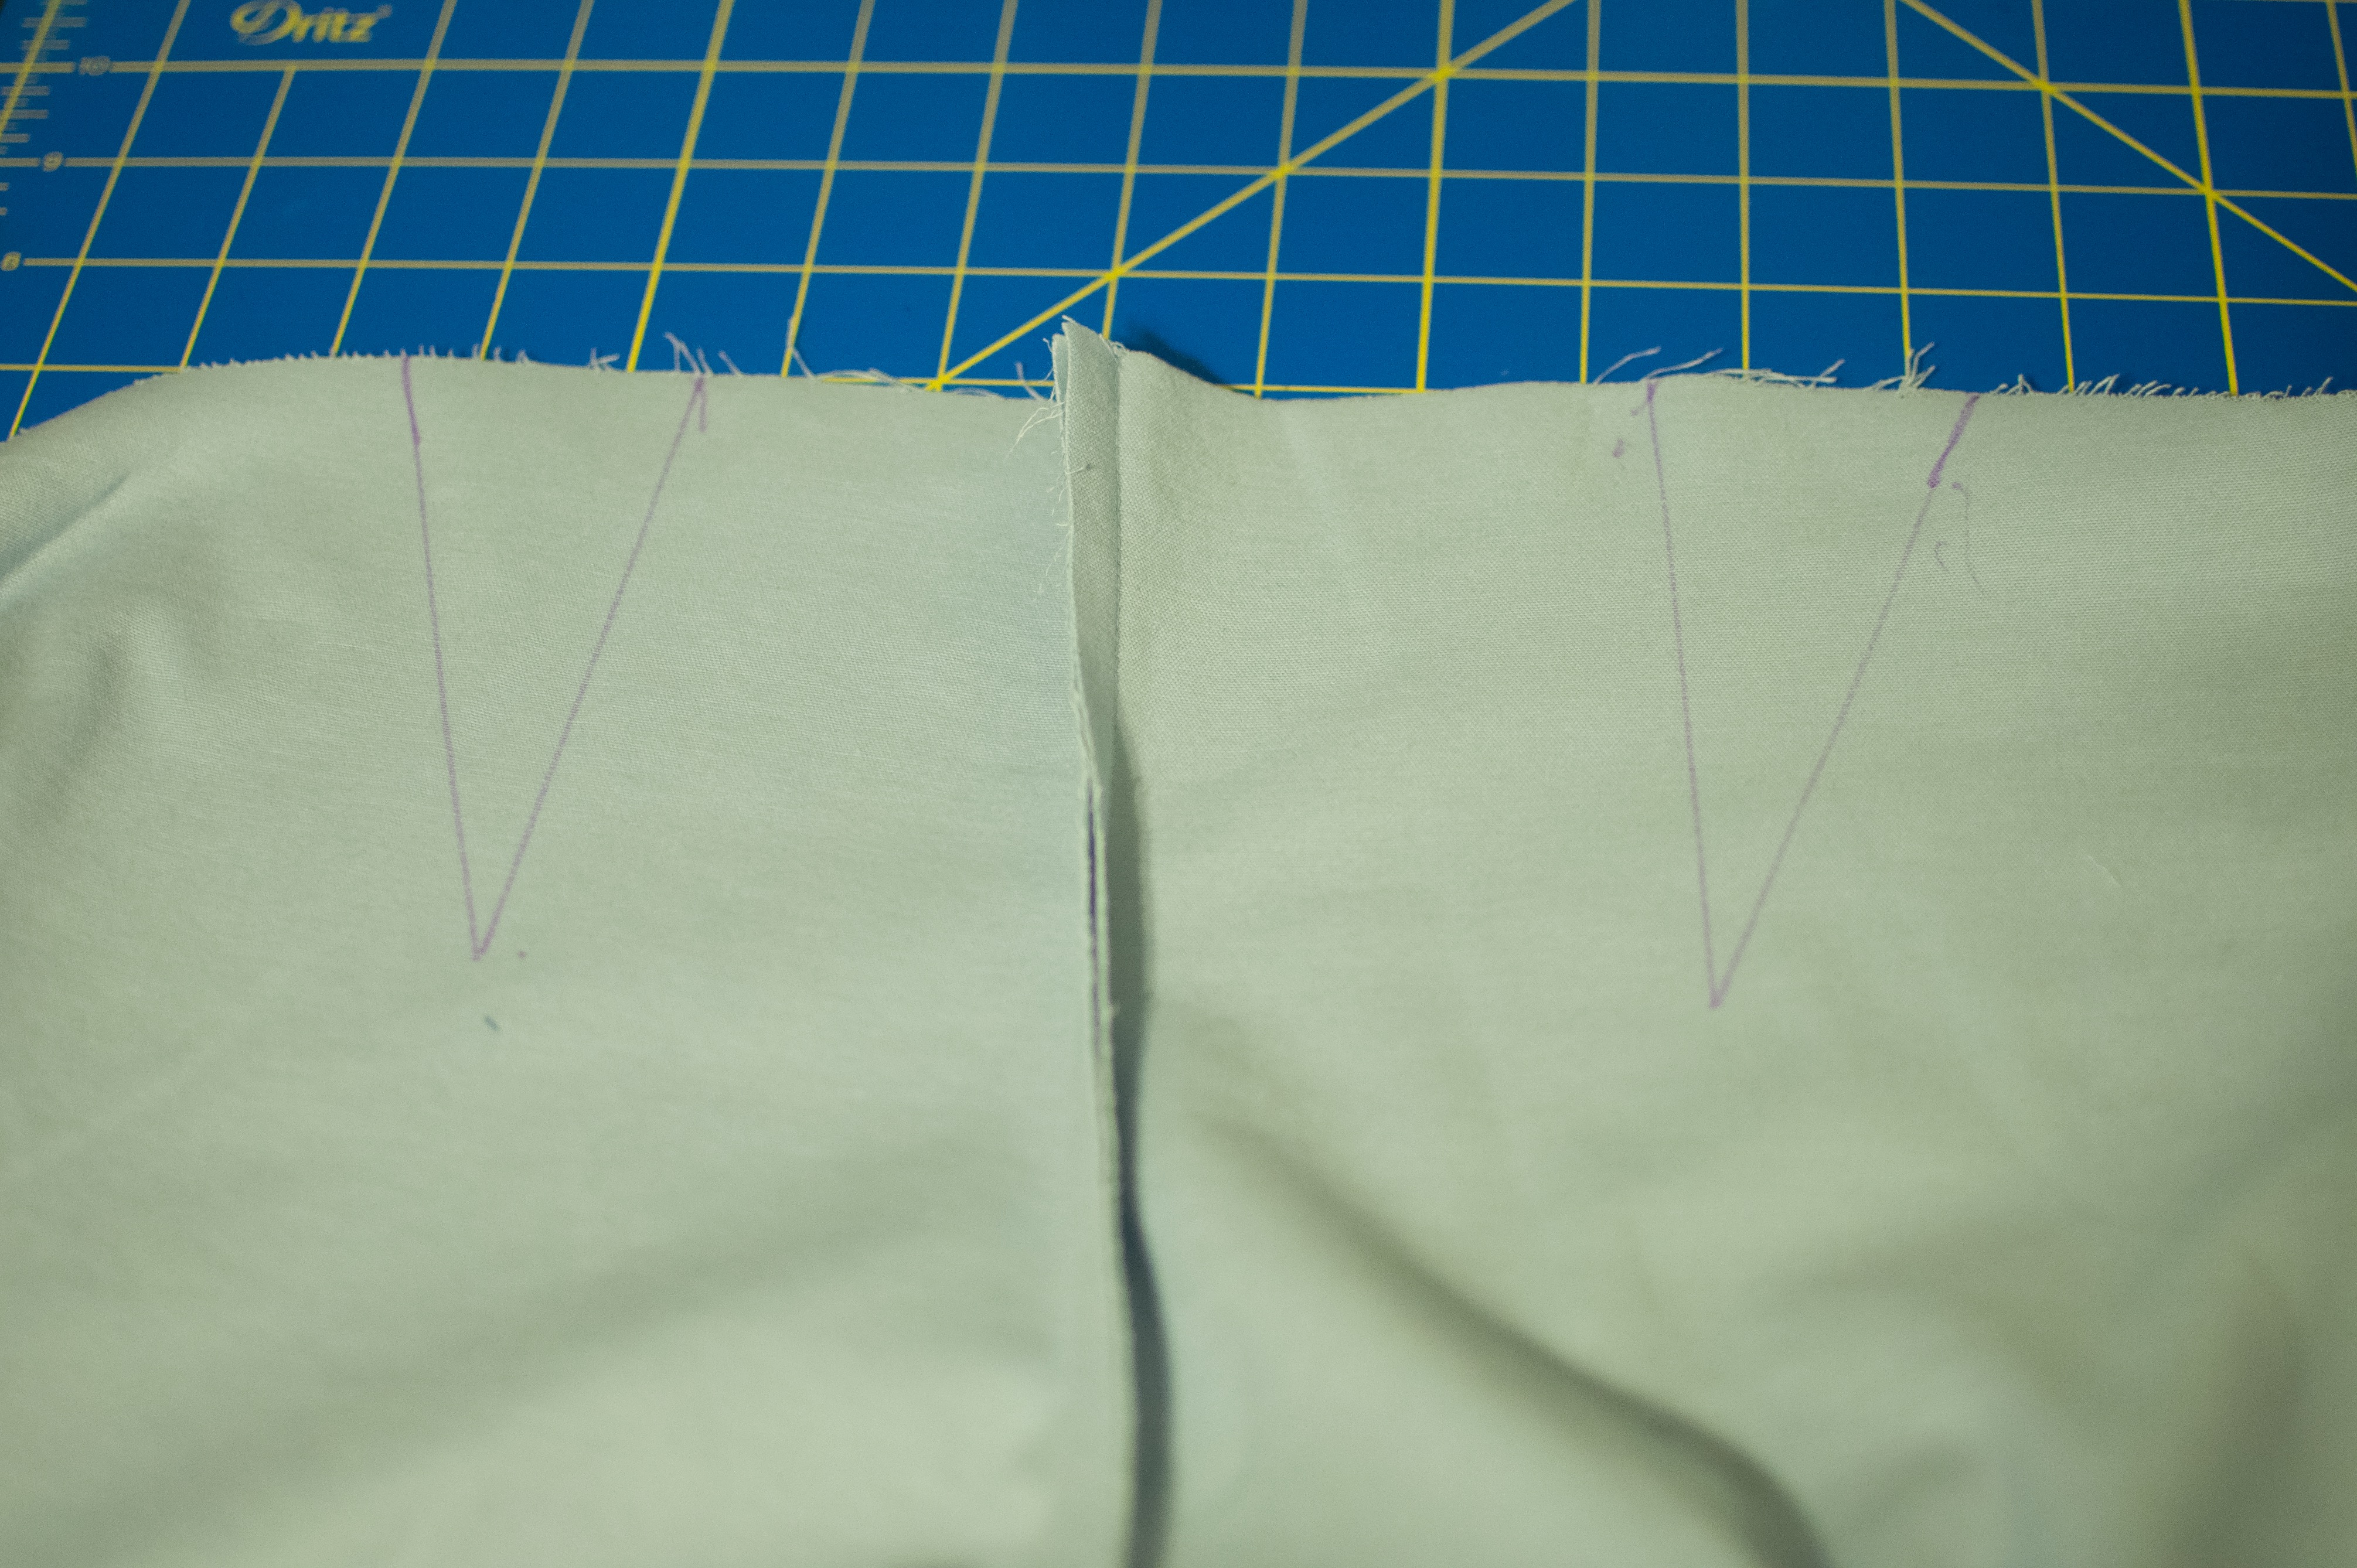
8. Turn the pants inside out and try them on with the right side facing your body and the wrong side exposed. This is where we’re going to remove the excess at the waist. You probably don’t even notice it in the Sabrinas because the elastic pulls the excess in closer to the body, but the Sabrinas are drafted with several inches of positive ease around the waist so that they will pull on over the hips. We’re going to remove that. Pinch out the excess in both the front and the back. I took out about 2″ of excess from the center front seam, and then added two darts to the back to remove another 4″ or so of excess width. Mark your new center front seam and darts.

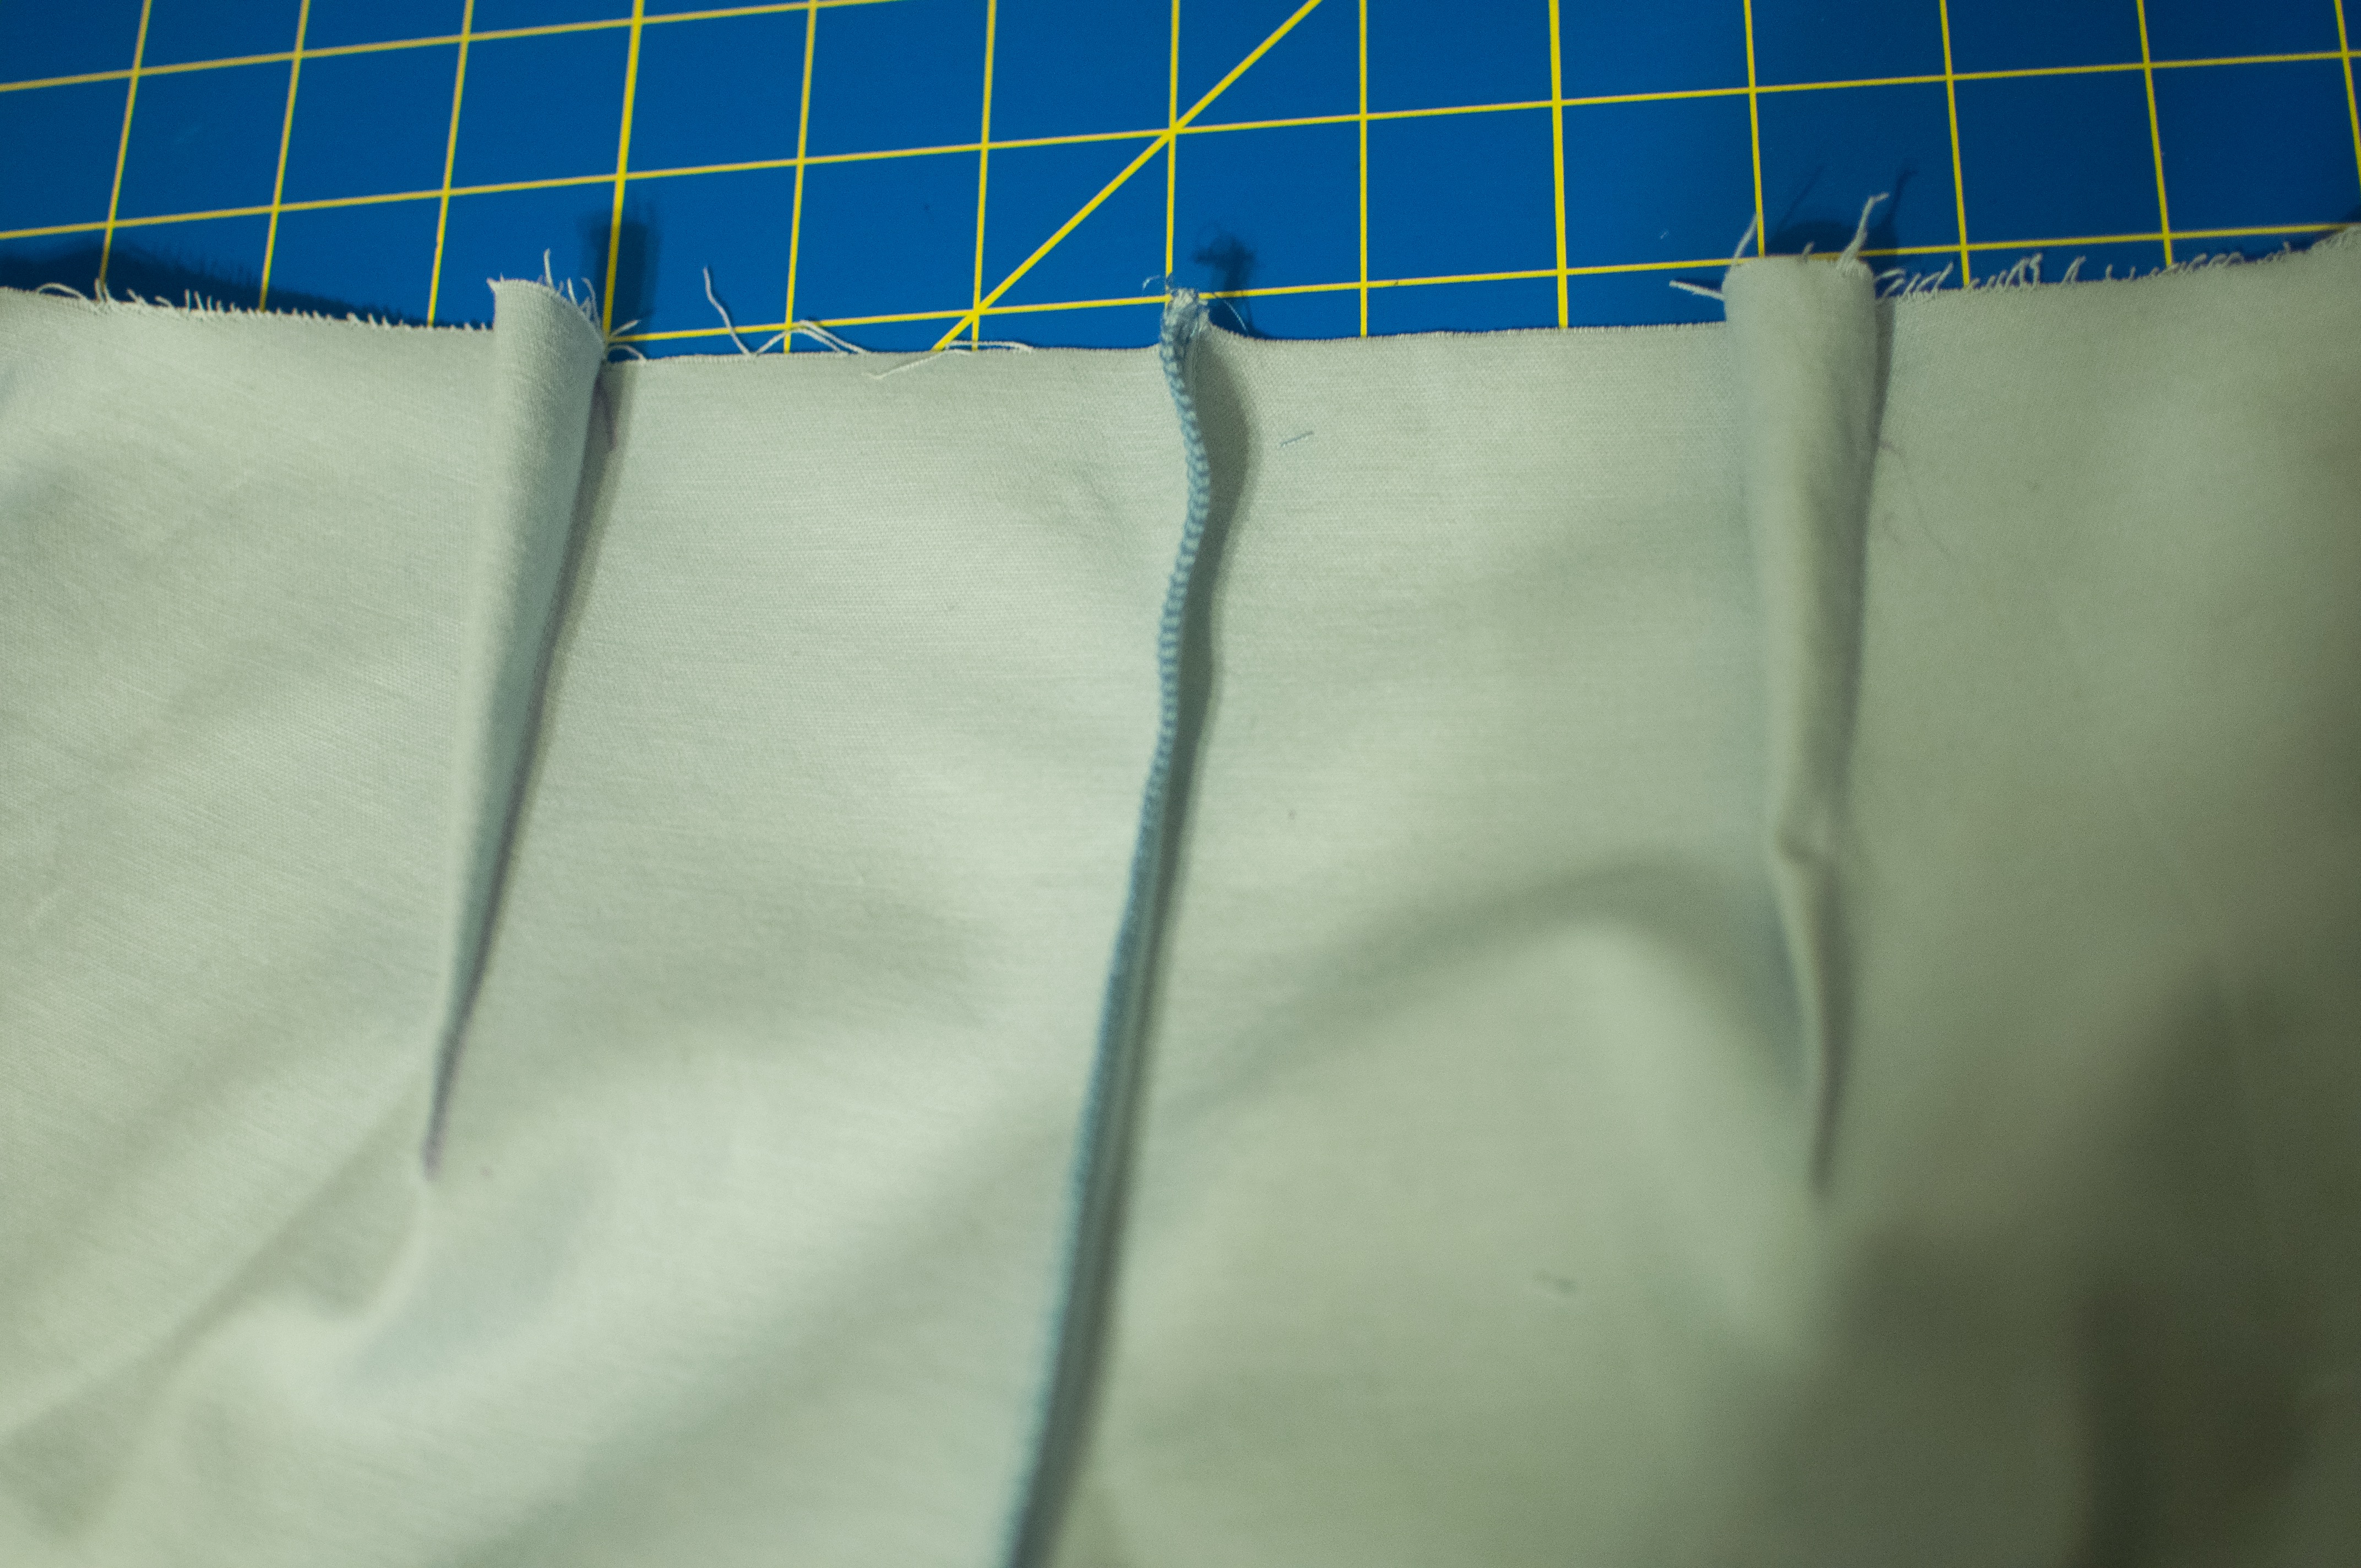
9. Sew your sew center front seam and darts. Press the darts towards the outseams. Finish the crotch seam with a serger or zig zag stitch.
Shortening the zipper.
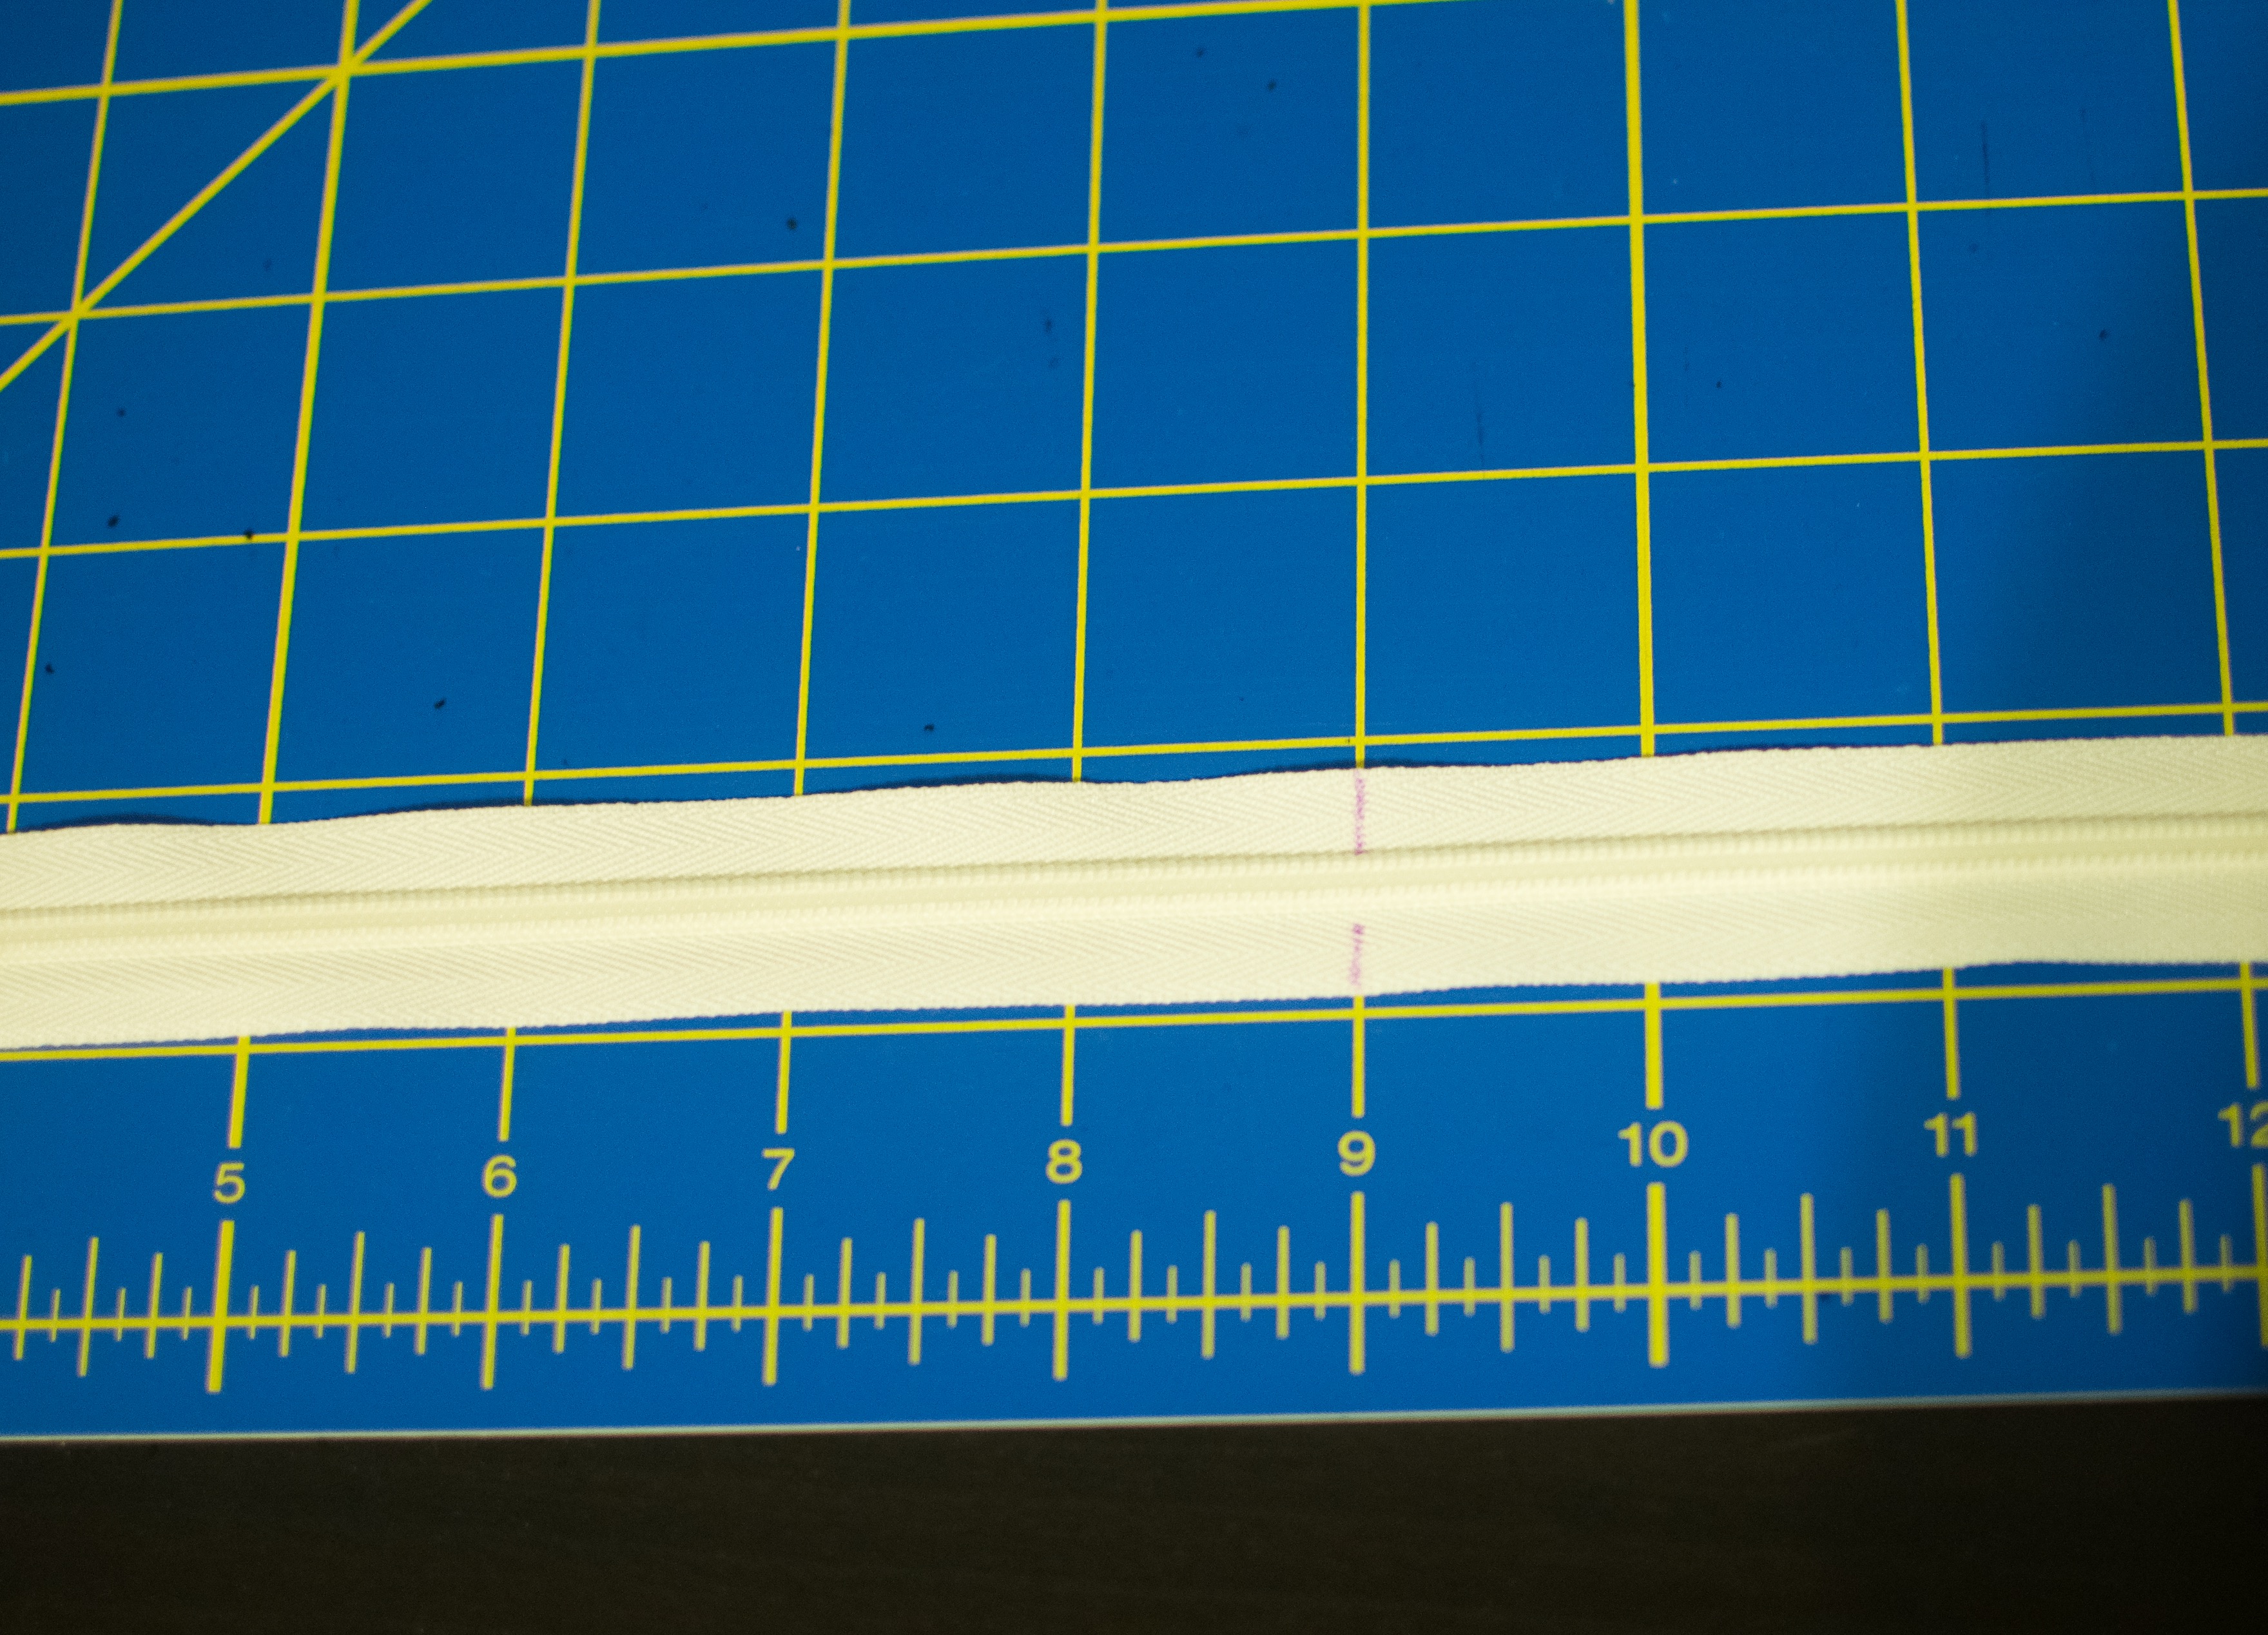
10. For this project, you need about a 9″ invisible zipper. If your zipper is longer than that, don’t worry! Shortening it may be the easiest thing you’ve ever done. First measure 9″ down from the top of your zipper and mark that spot.
11. Set your sewing machine to a zig zag stitch at its widest width and 0 length.
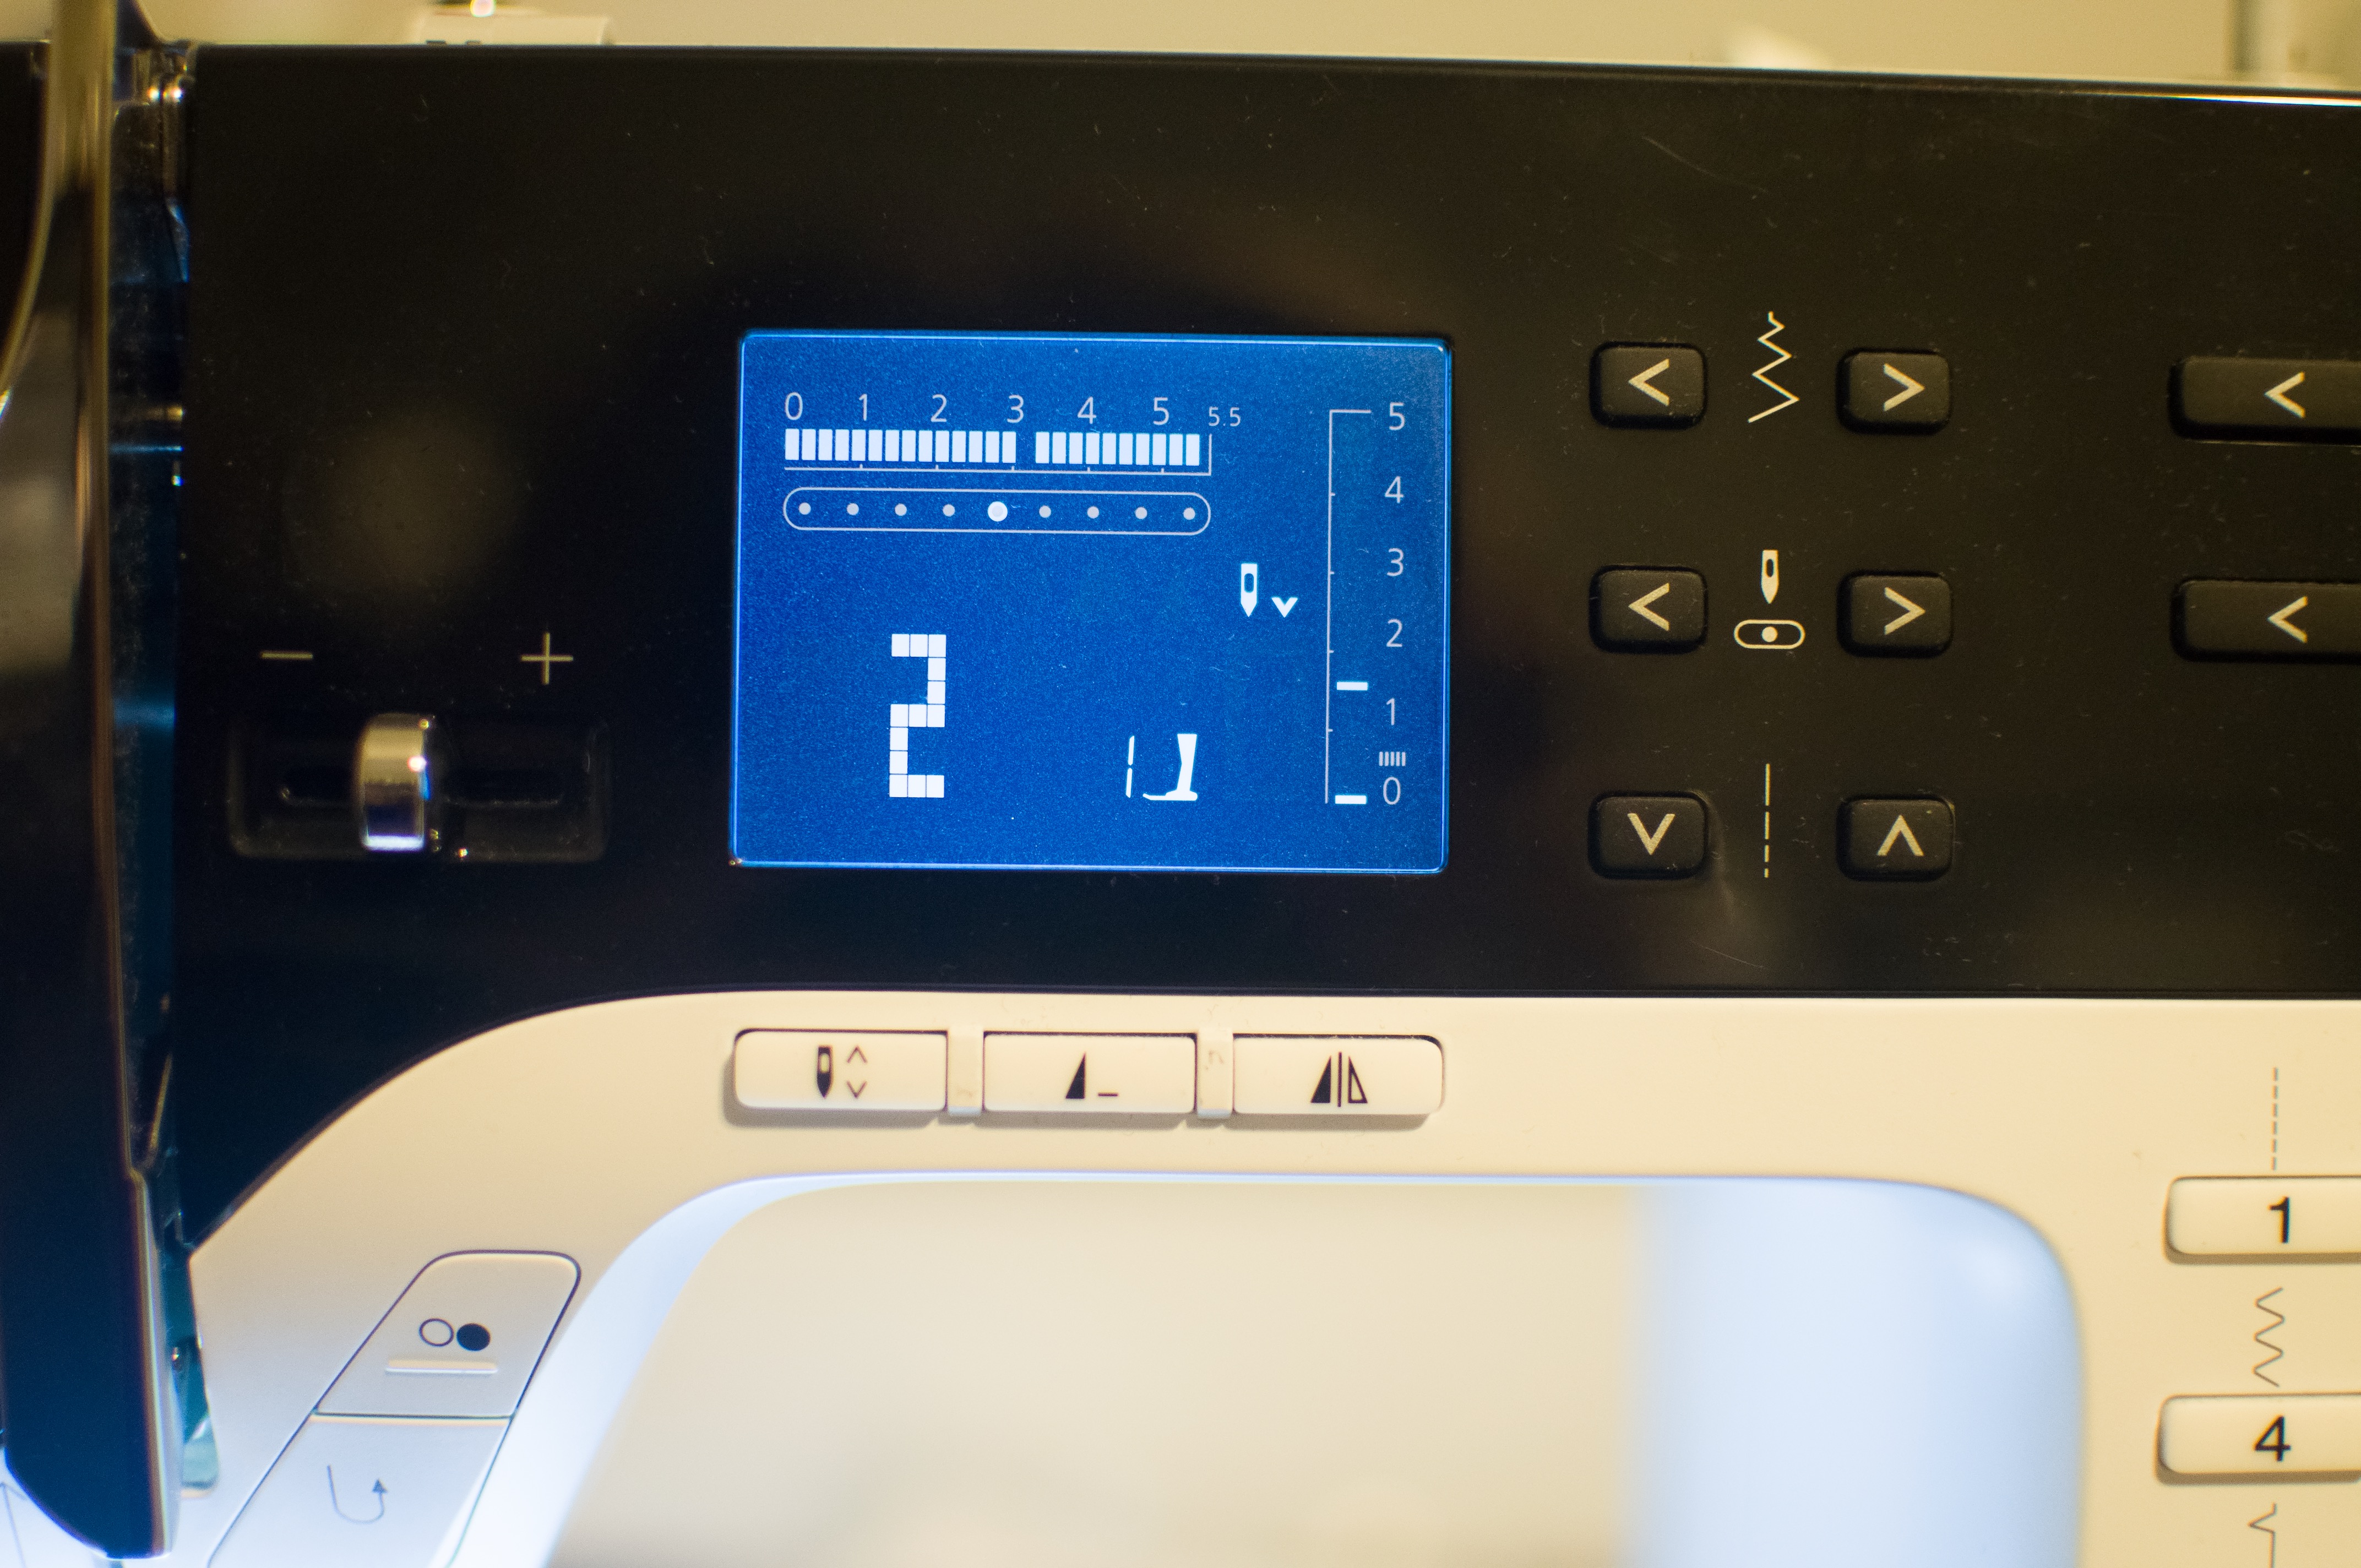
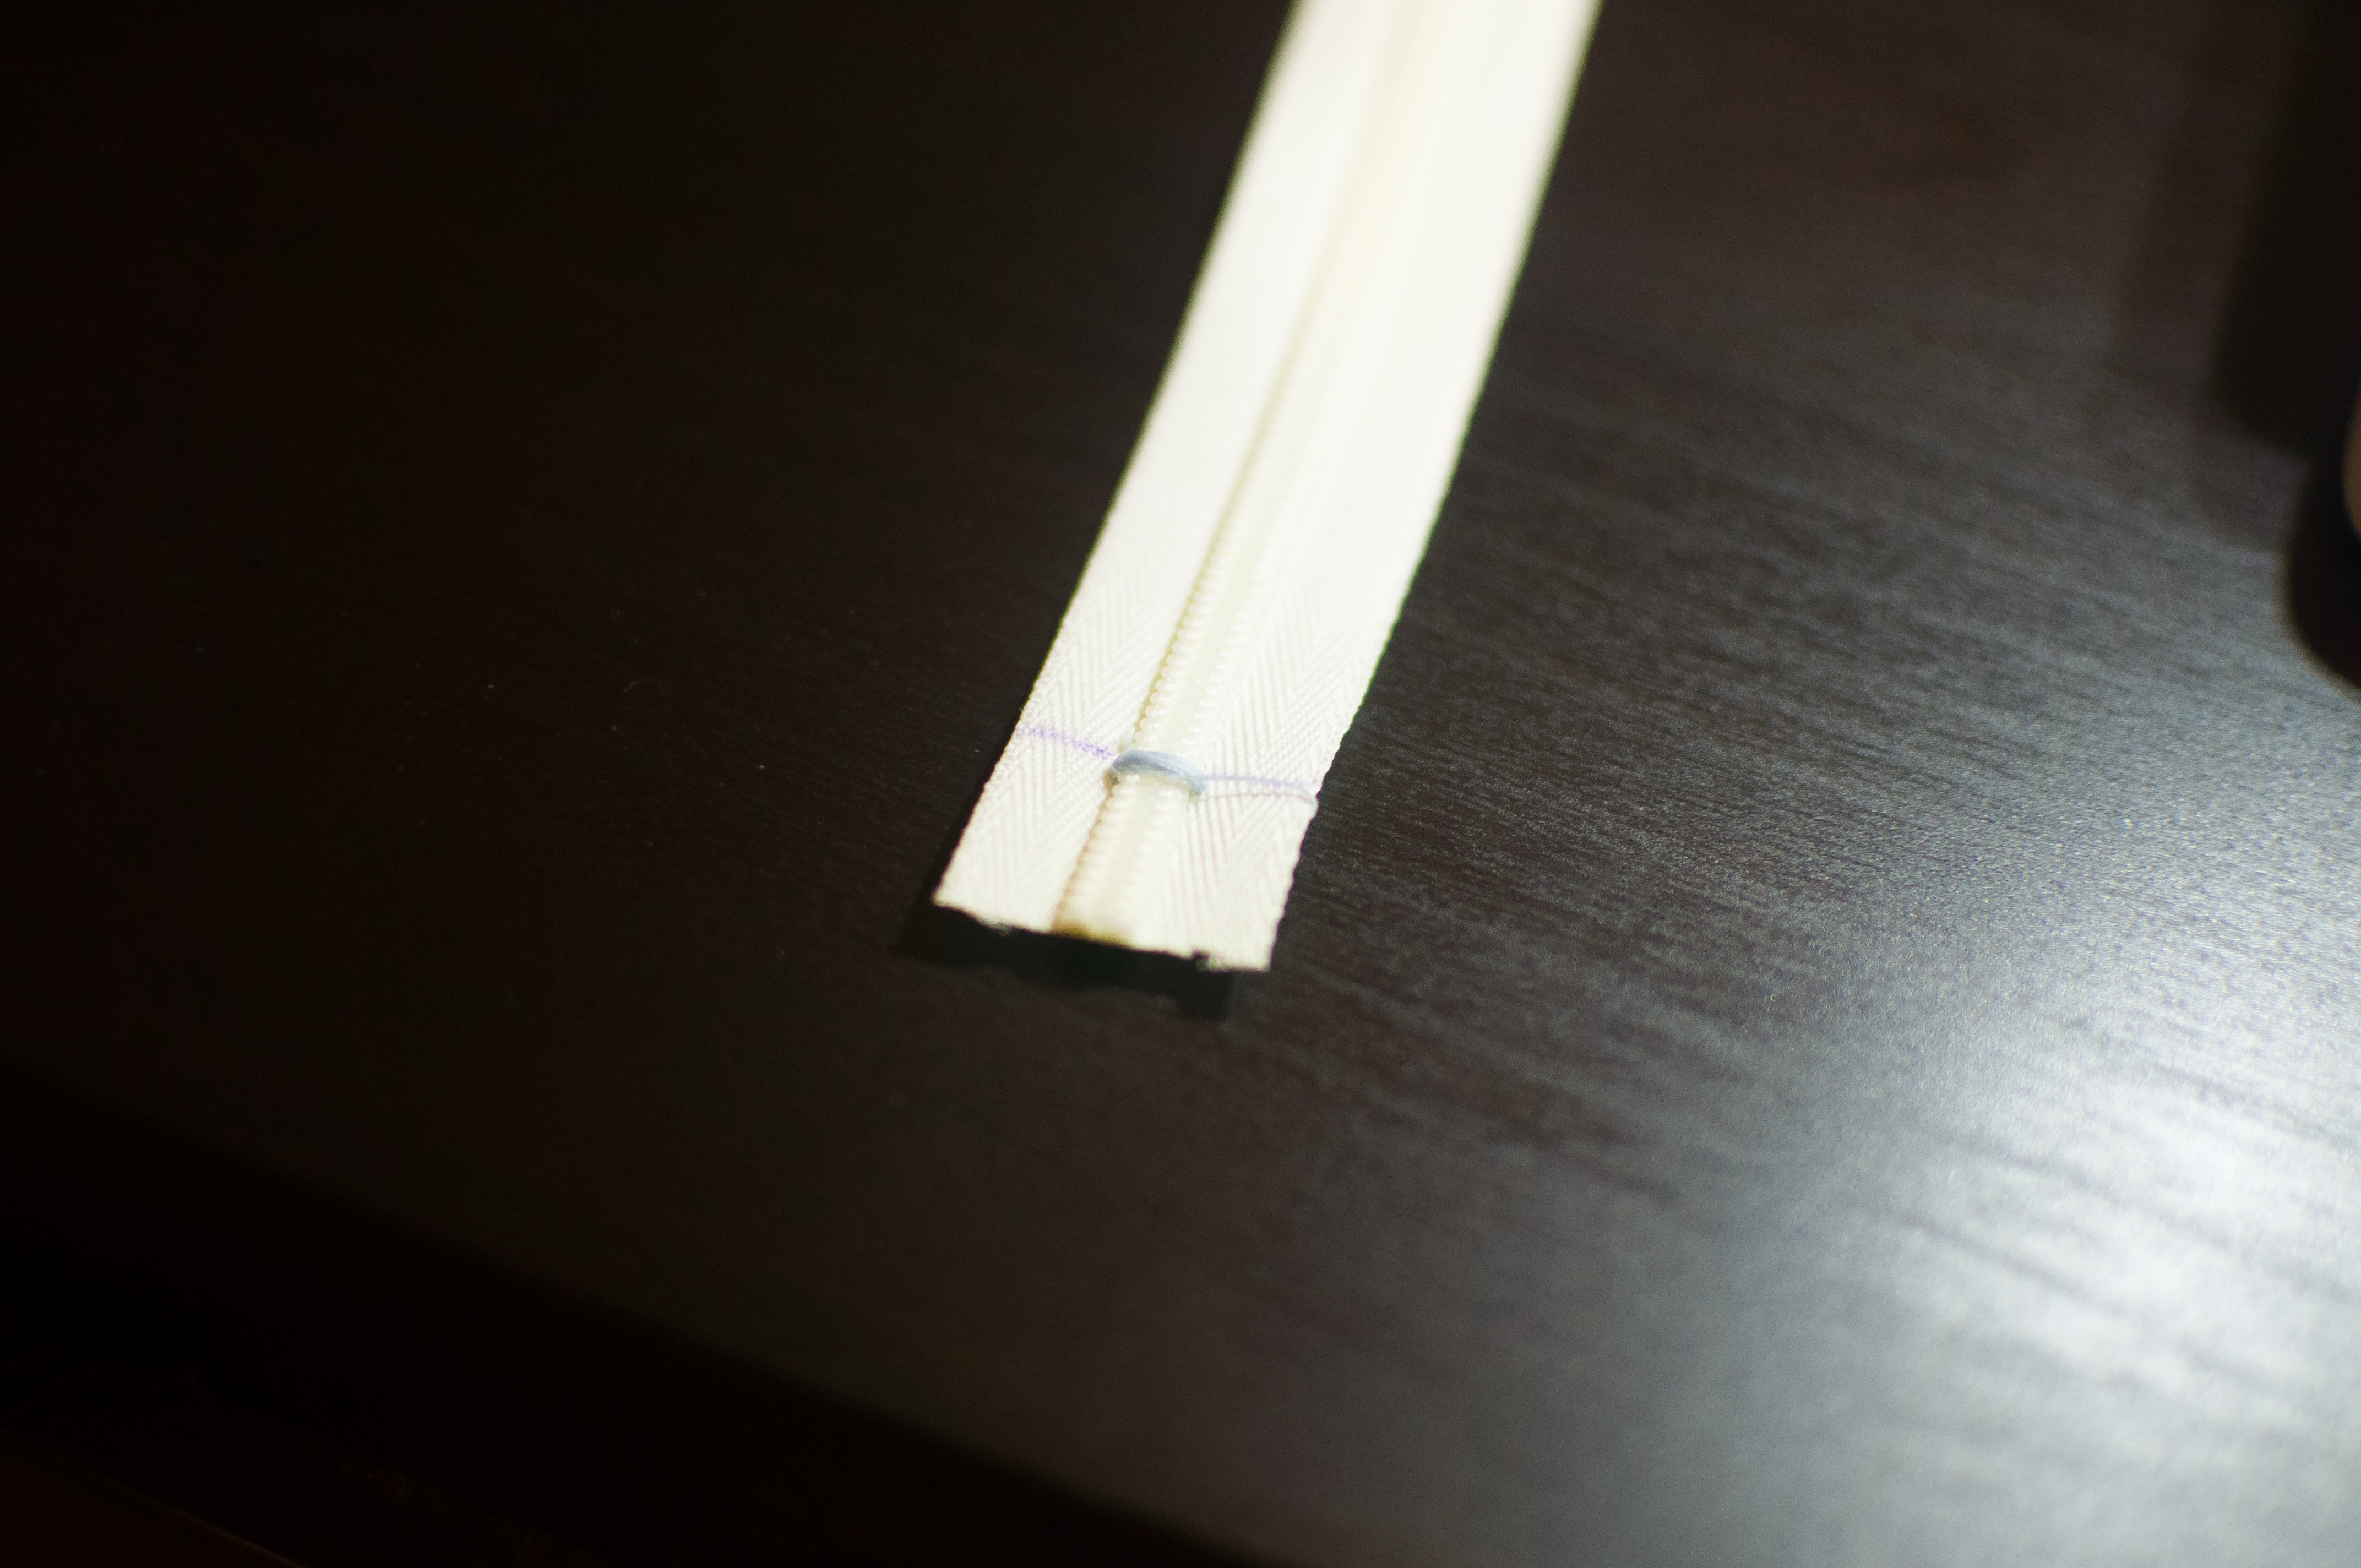
12. Place your zipper under your needle where you made your mark. Sew across the zipper with your wide zig zag several times. That is now your new zipper stop!
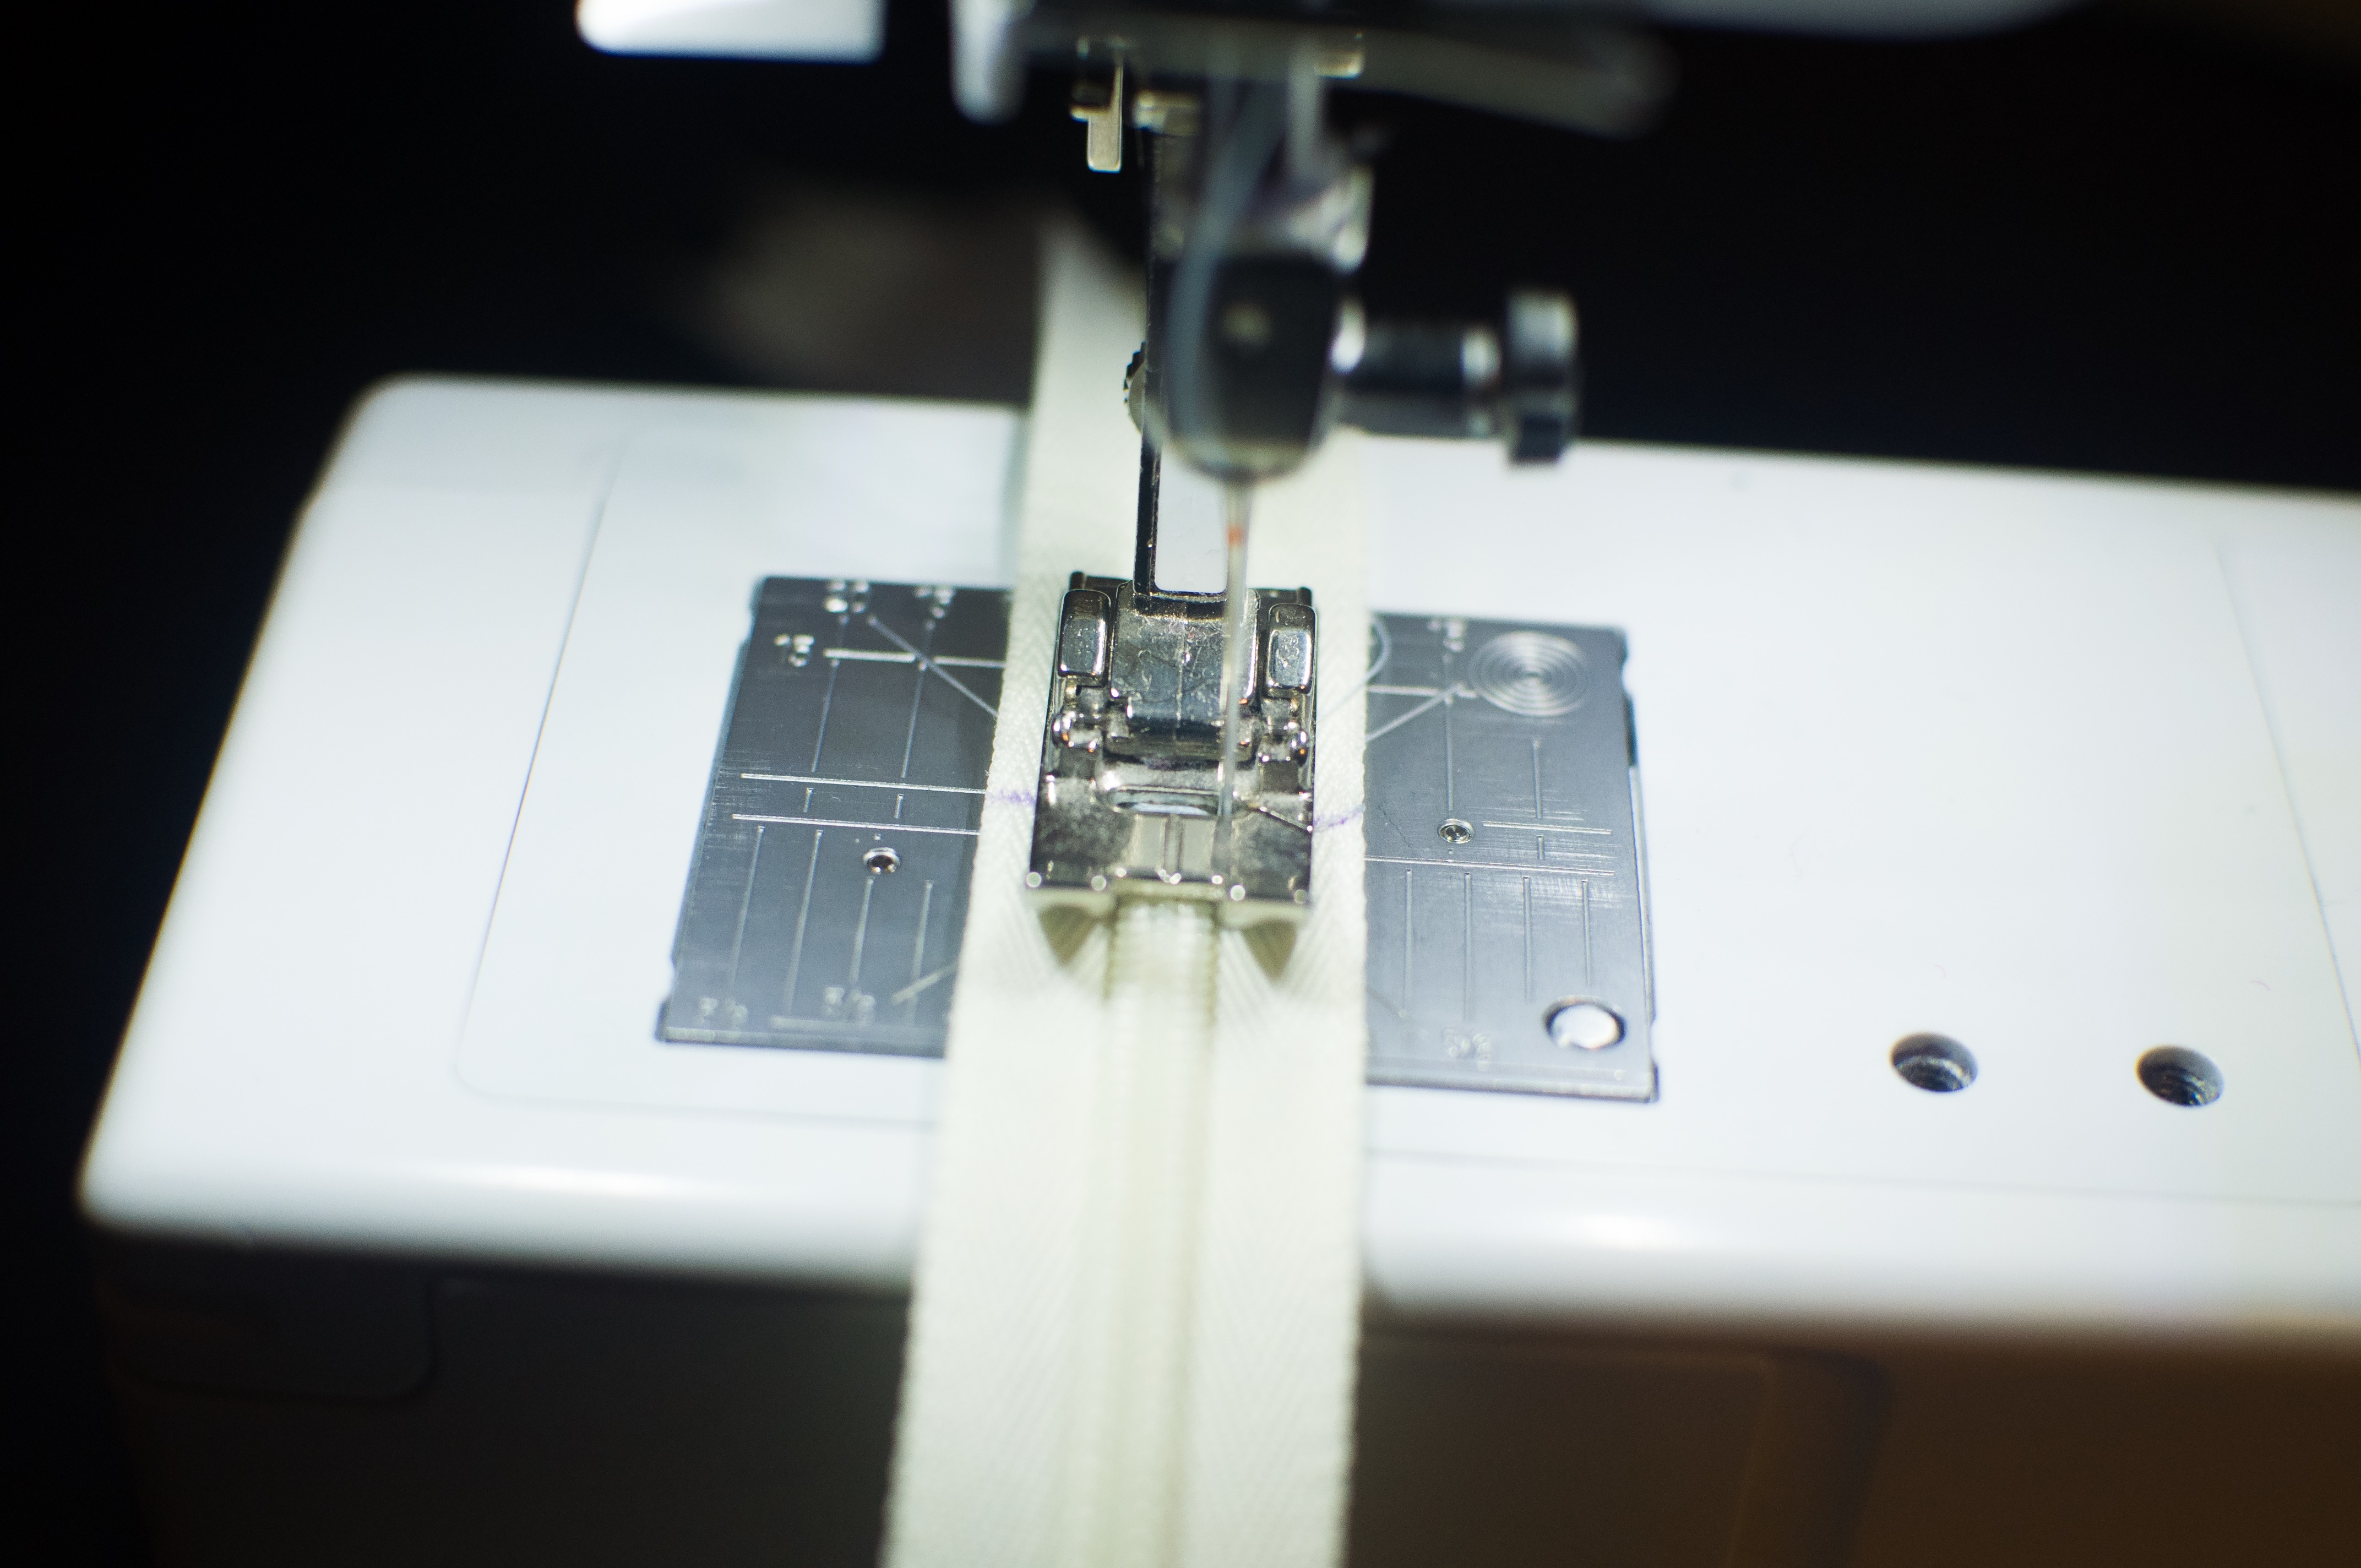
13. Cut off the excess zipper below the new stop. Voila! 9″ zipper.
Attaching the waistband:
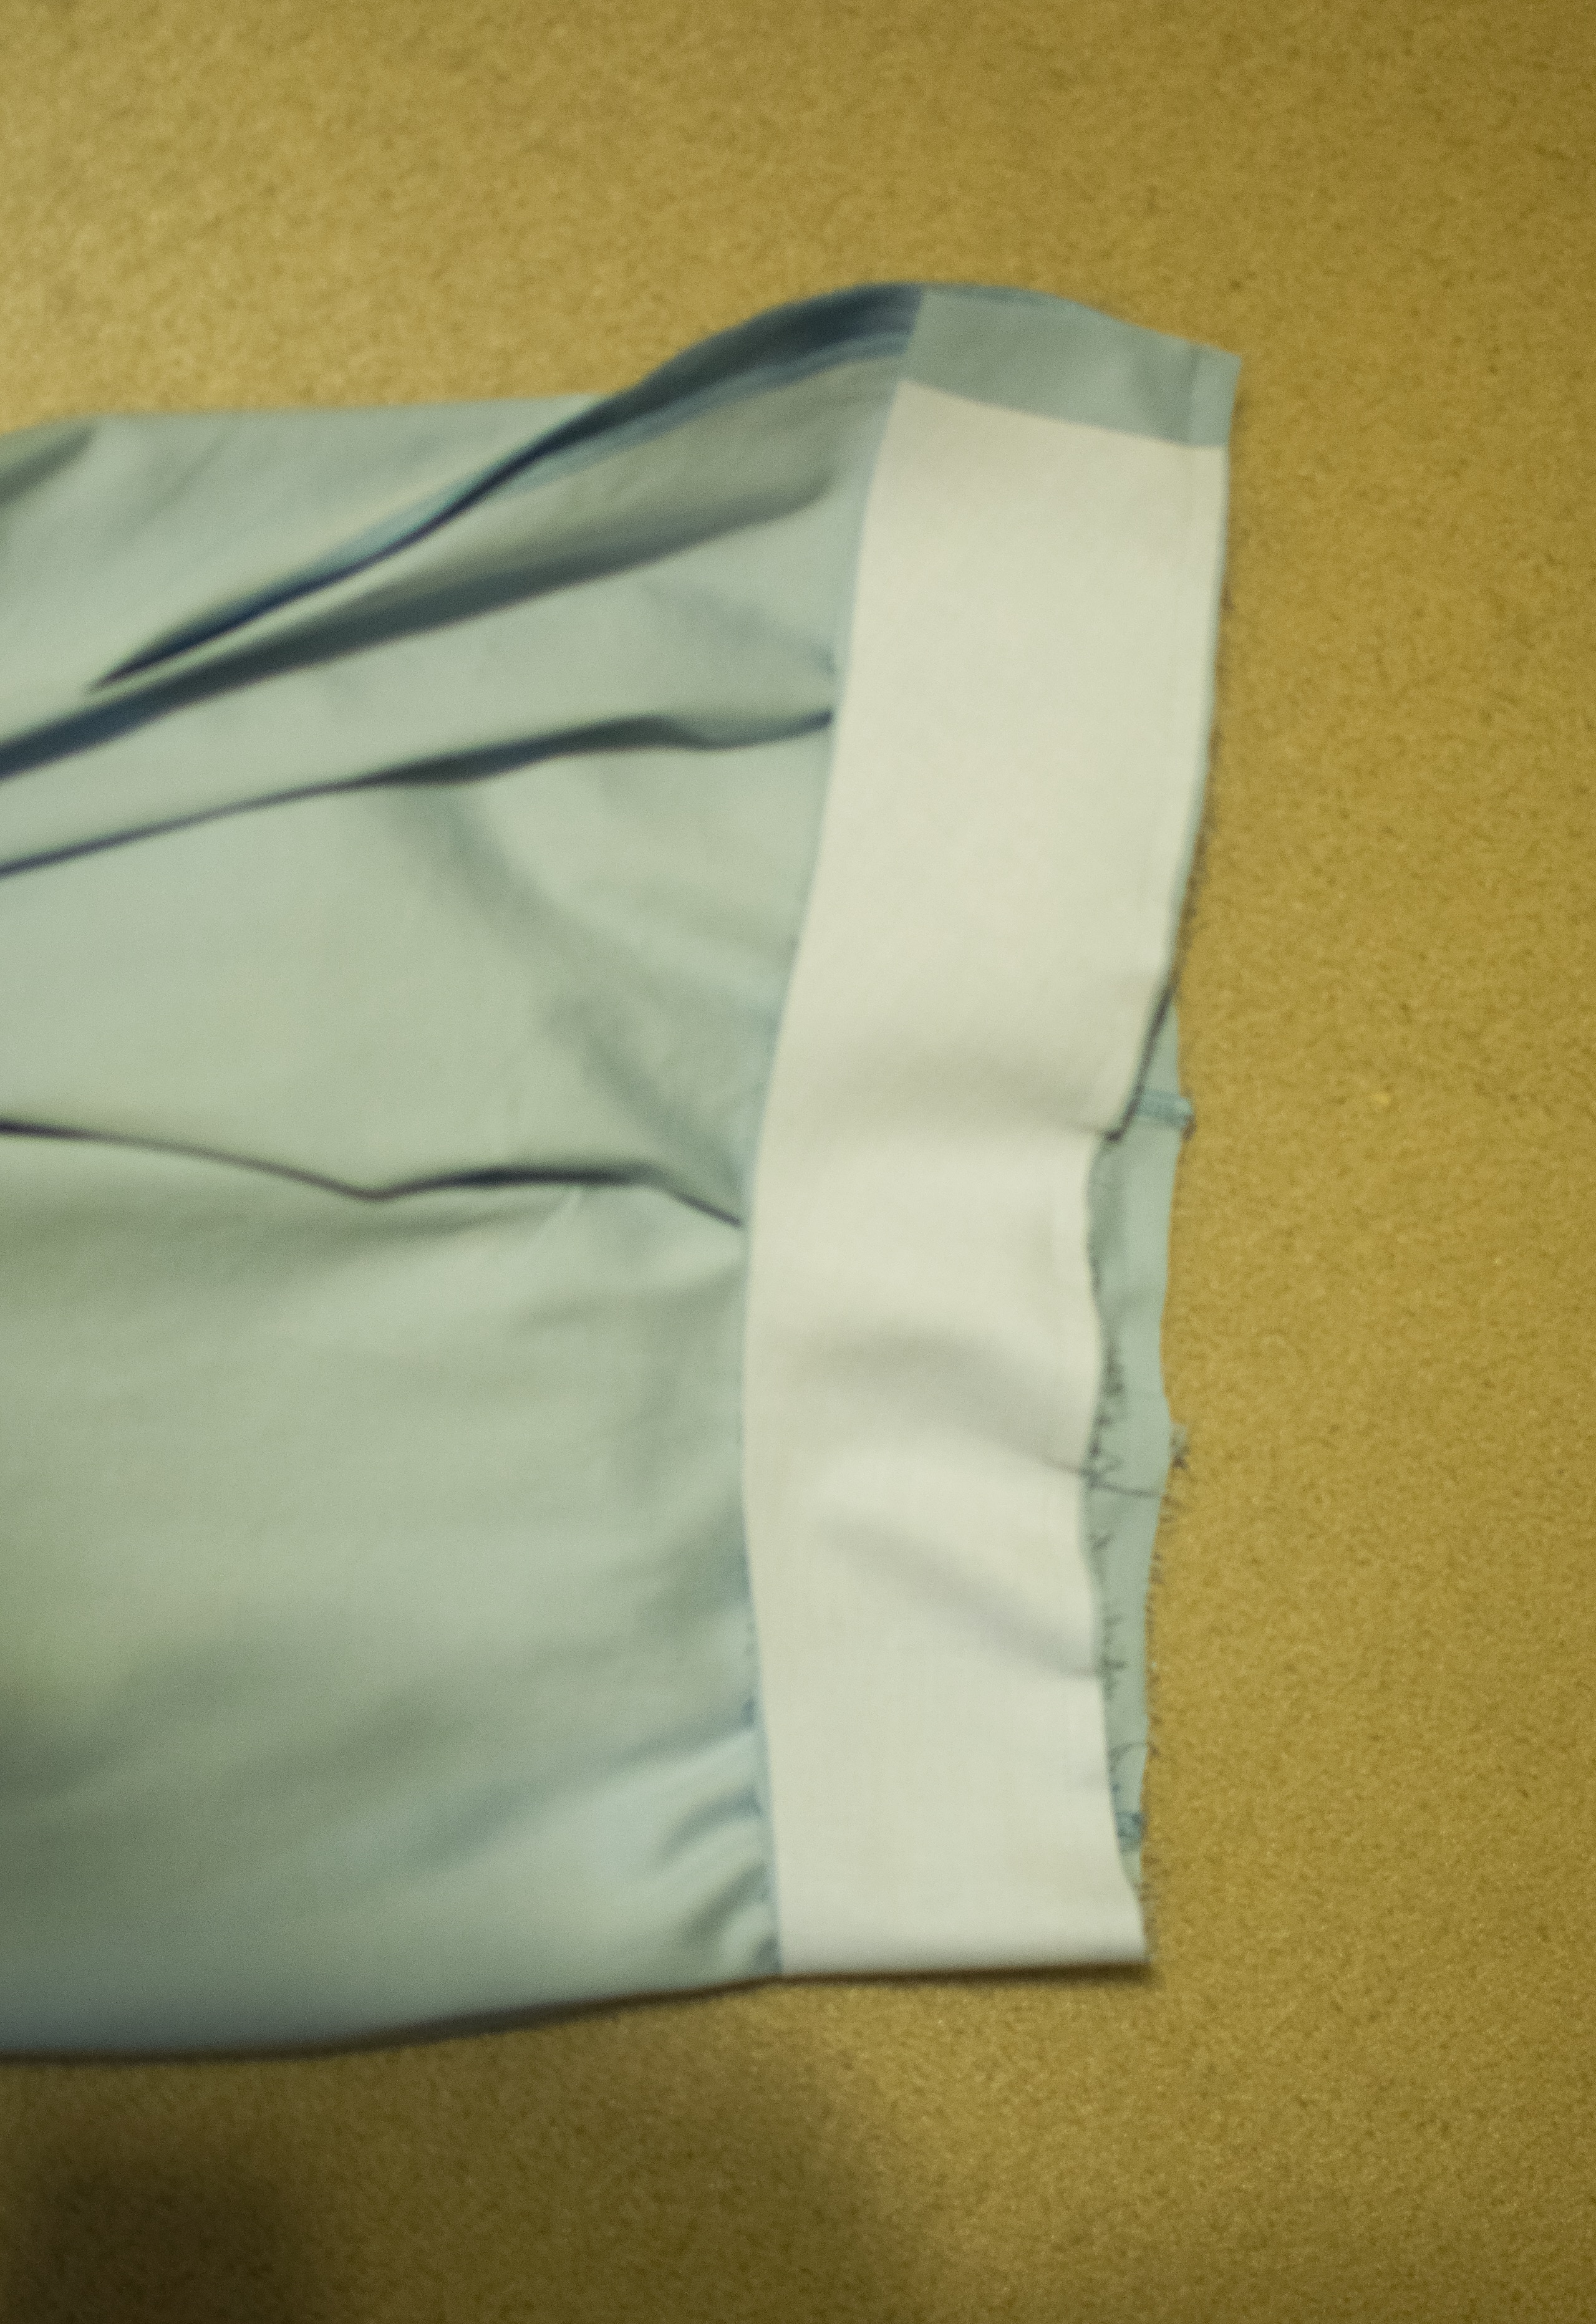
10. Compare your waistband piece to your pants to determine whether you need to shorten the waistband. Remove any excess from the waistband pieces and the interfacing. Fuse the interfacing to your waistband pieces. Center the interfacing onto the waistband piece — this will leave about 1/2″ at each end of the waistband that doesn’t have interfacing. We’re doing that to reduce bulk in our zipper (I found removing the interfacing from the zipper seam significantly reduced the bulk in my zipper and made it much easier to zip. But if you are using a thin fabric, you may want to keep the interfacing in the zipper seam to stabilize the fabric.). Put your waistband pieces aside.
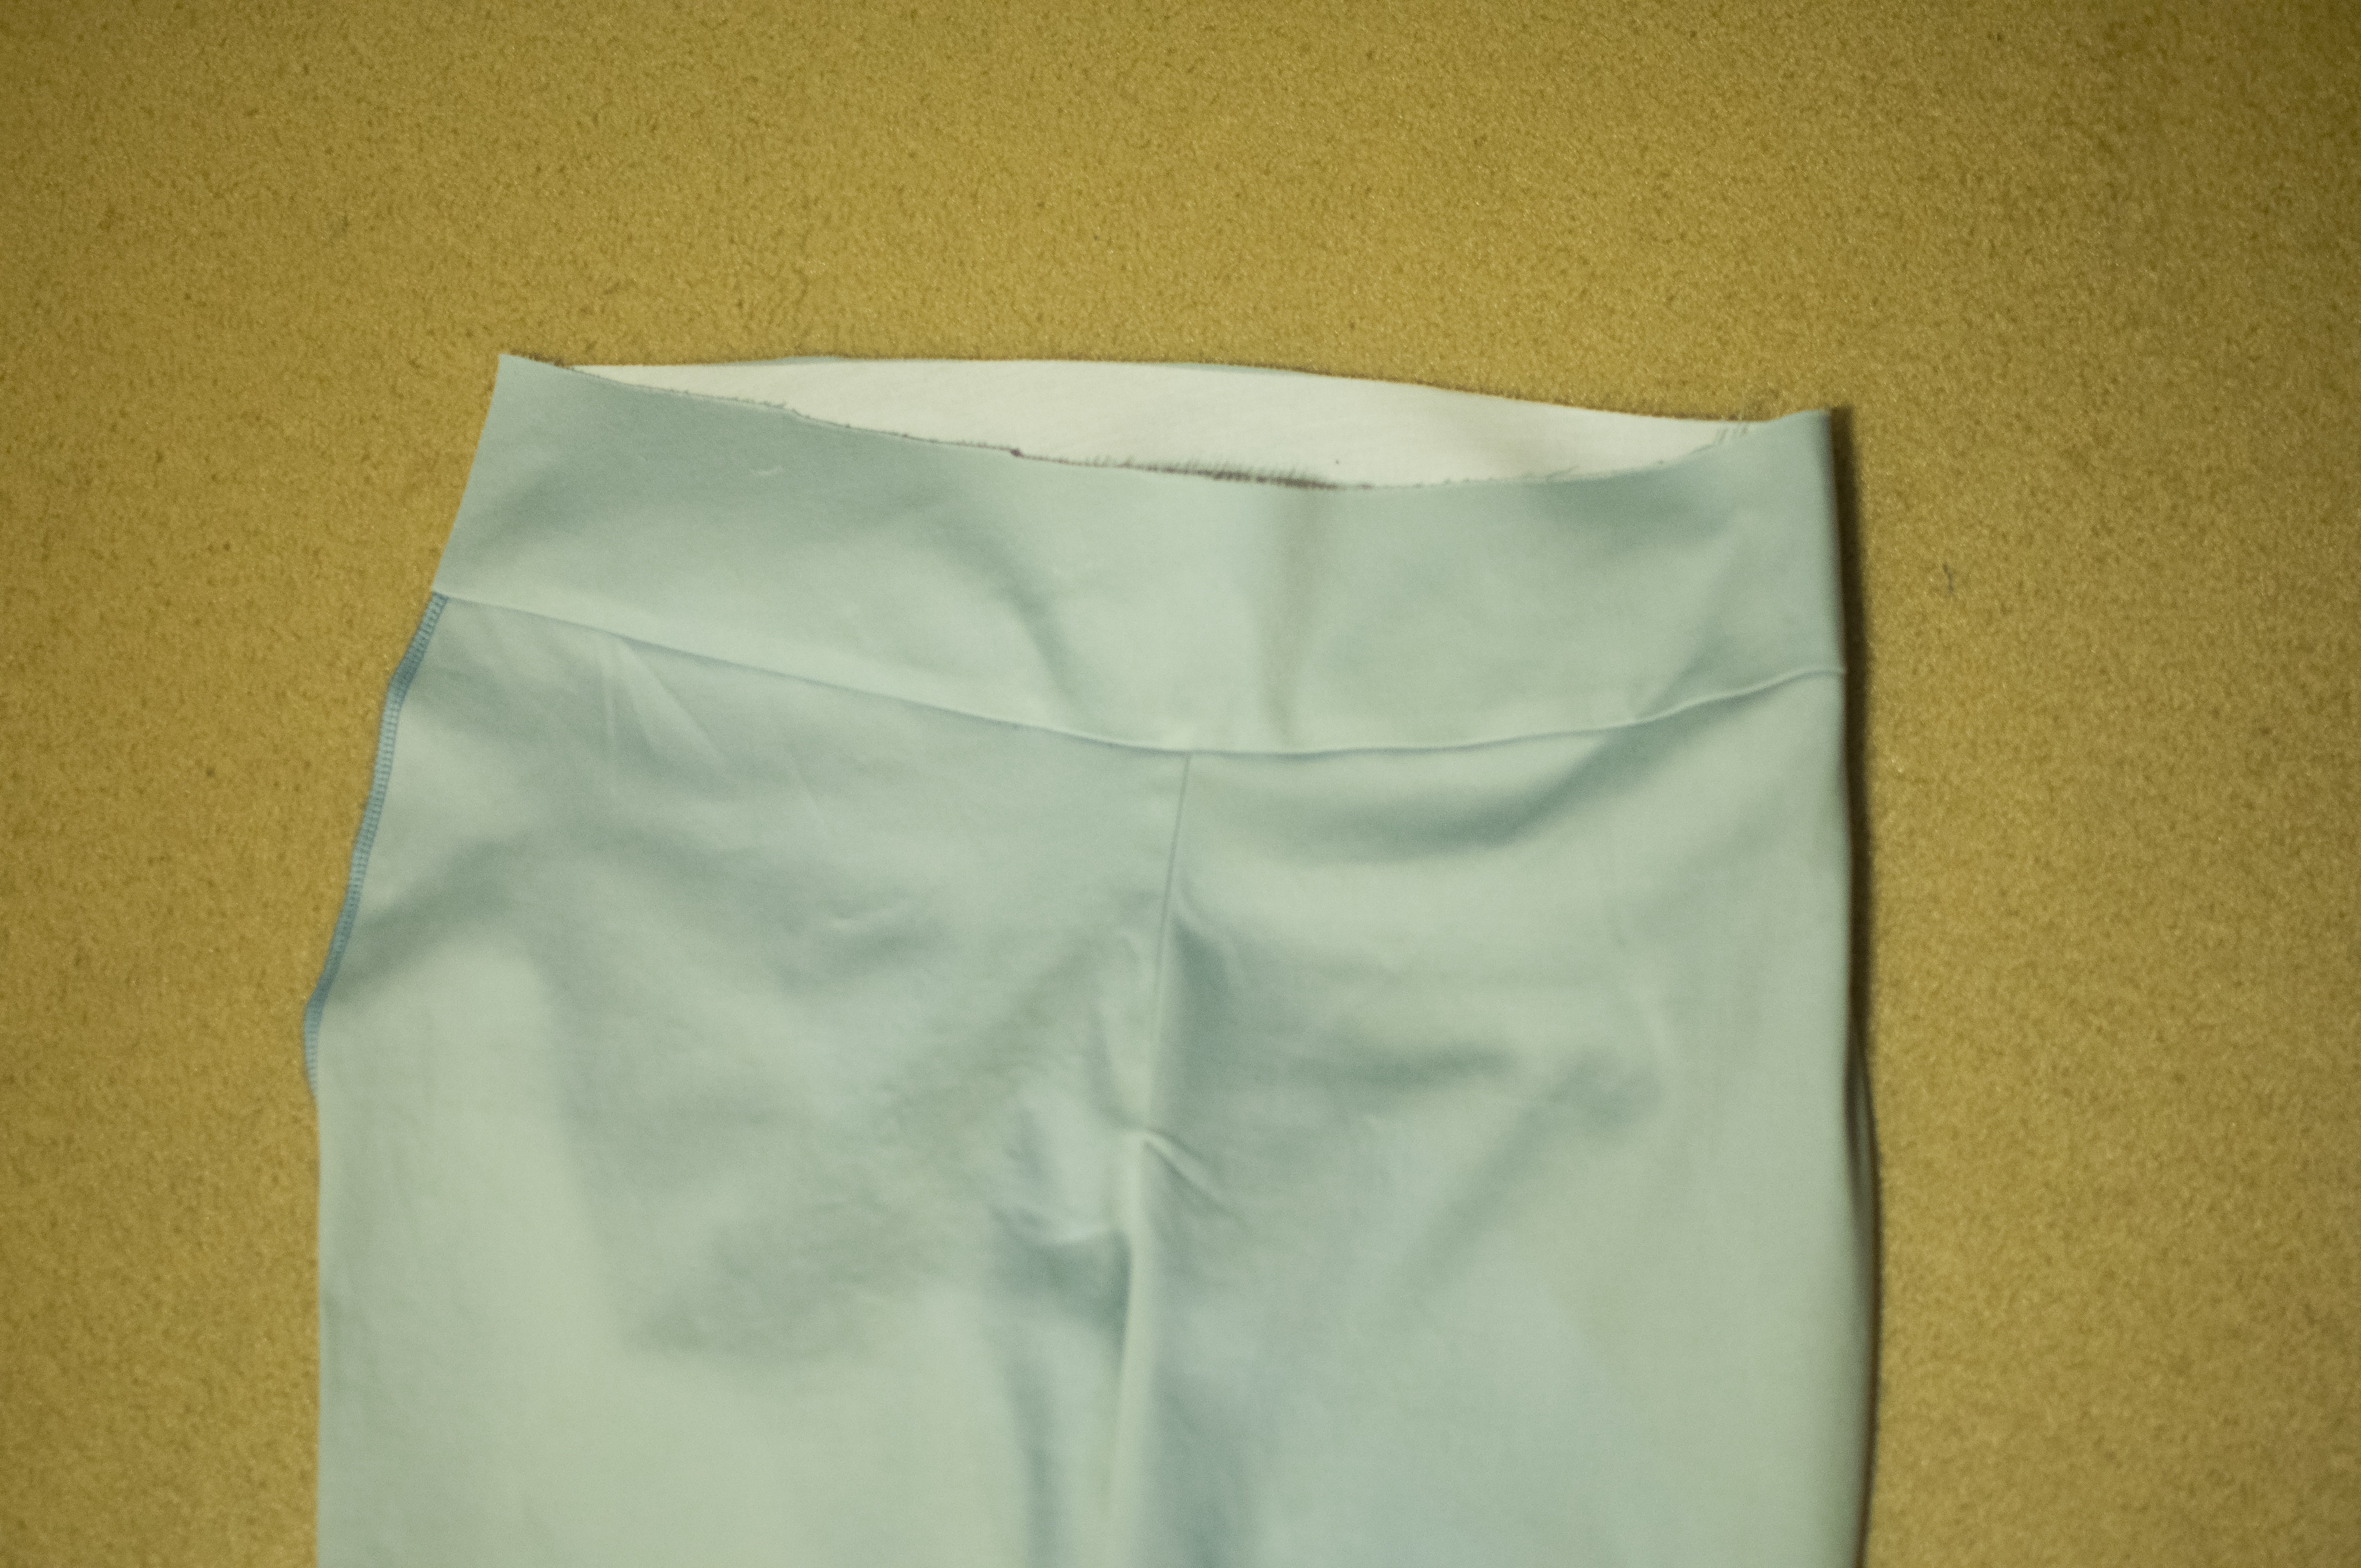
11. Pin the bottom of the outer waistband to the pants, right sides together. Sew on the outer waistband. Your waistband will be open on one side. Press the waistband up.
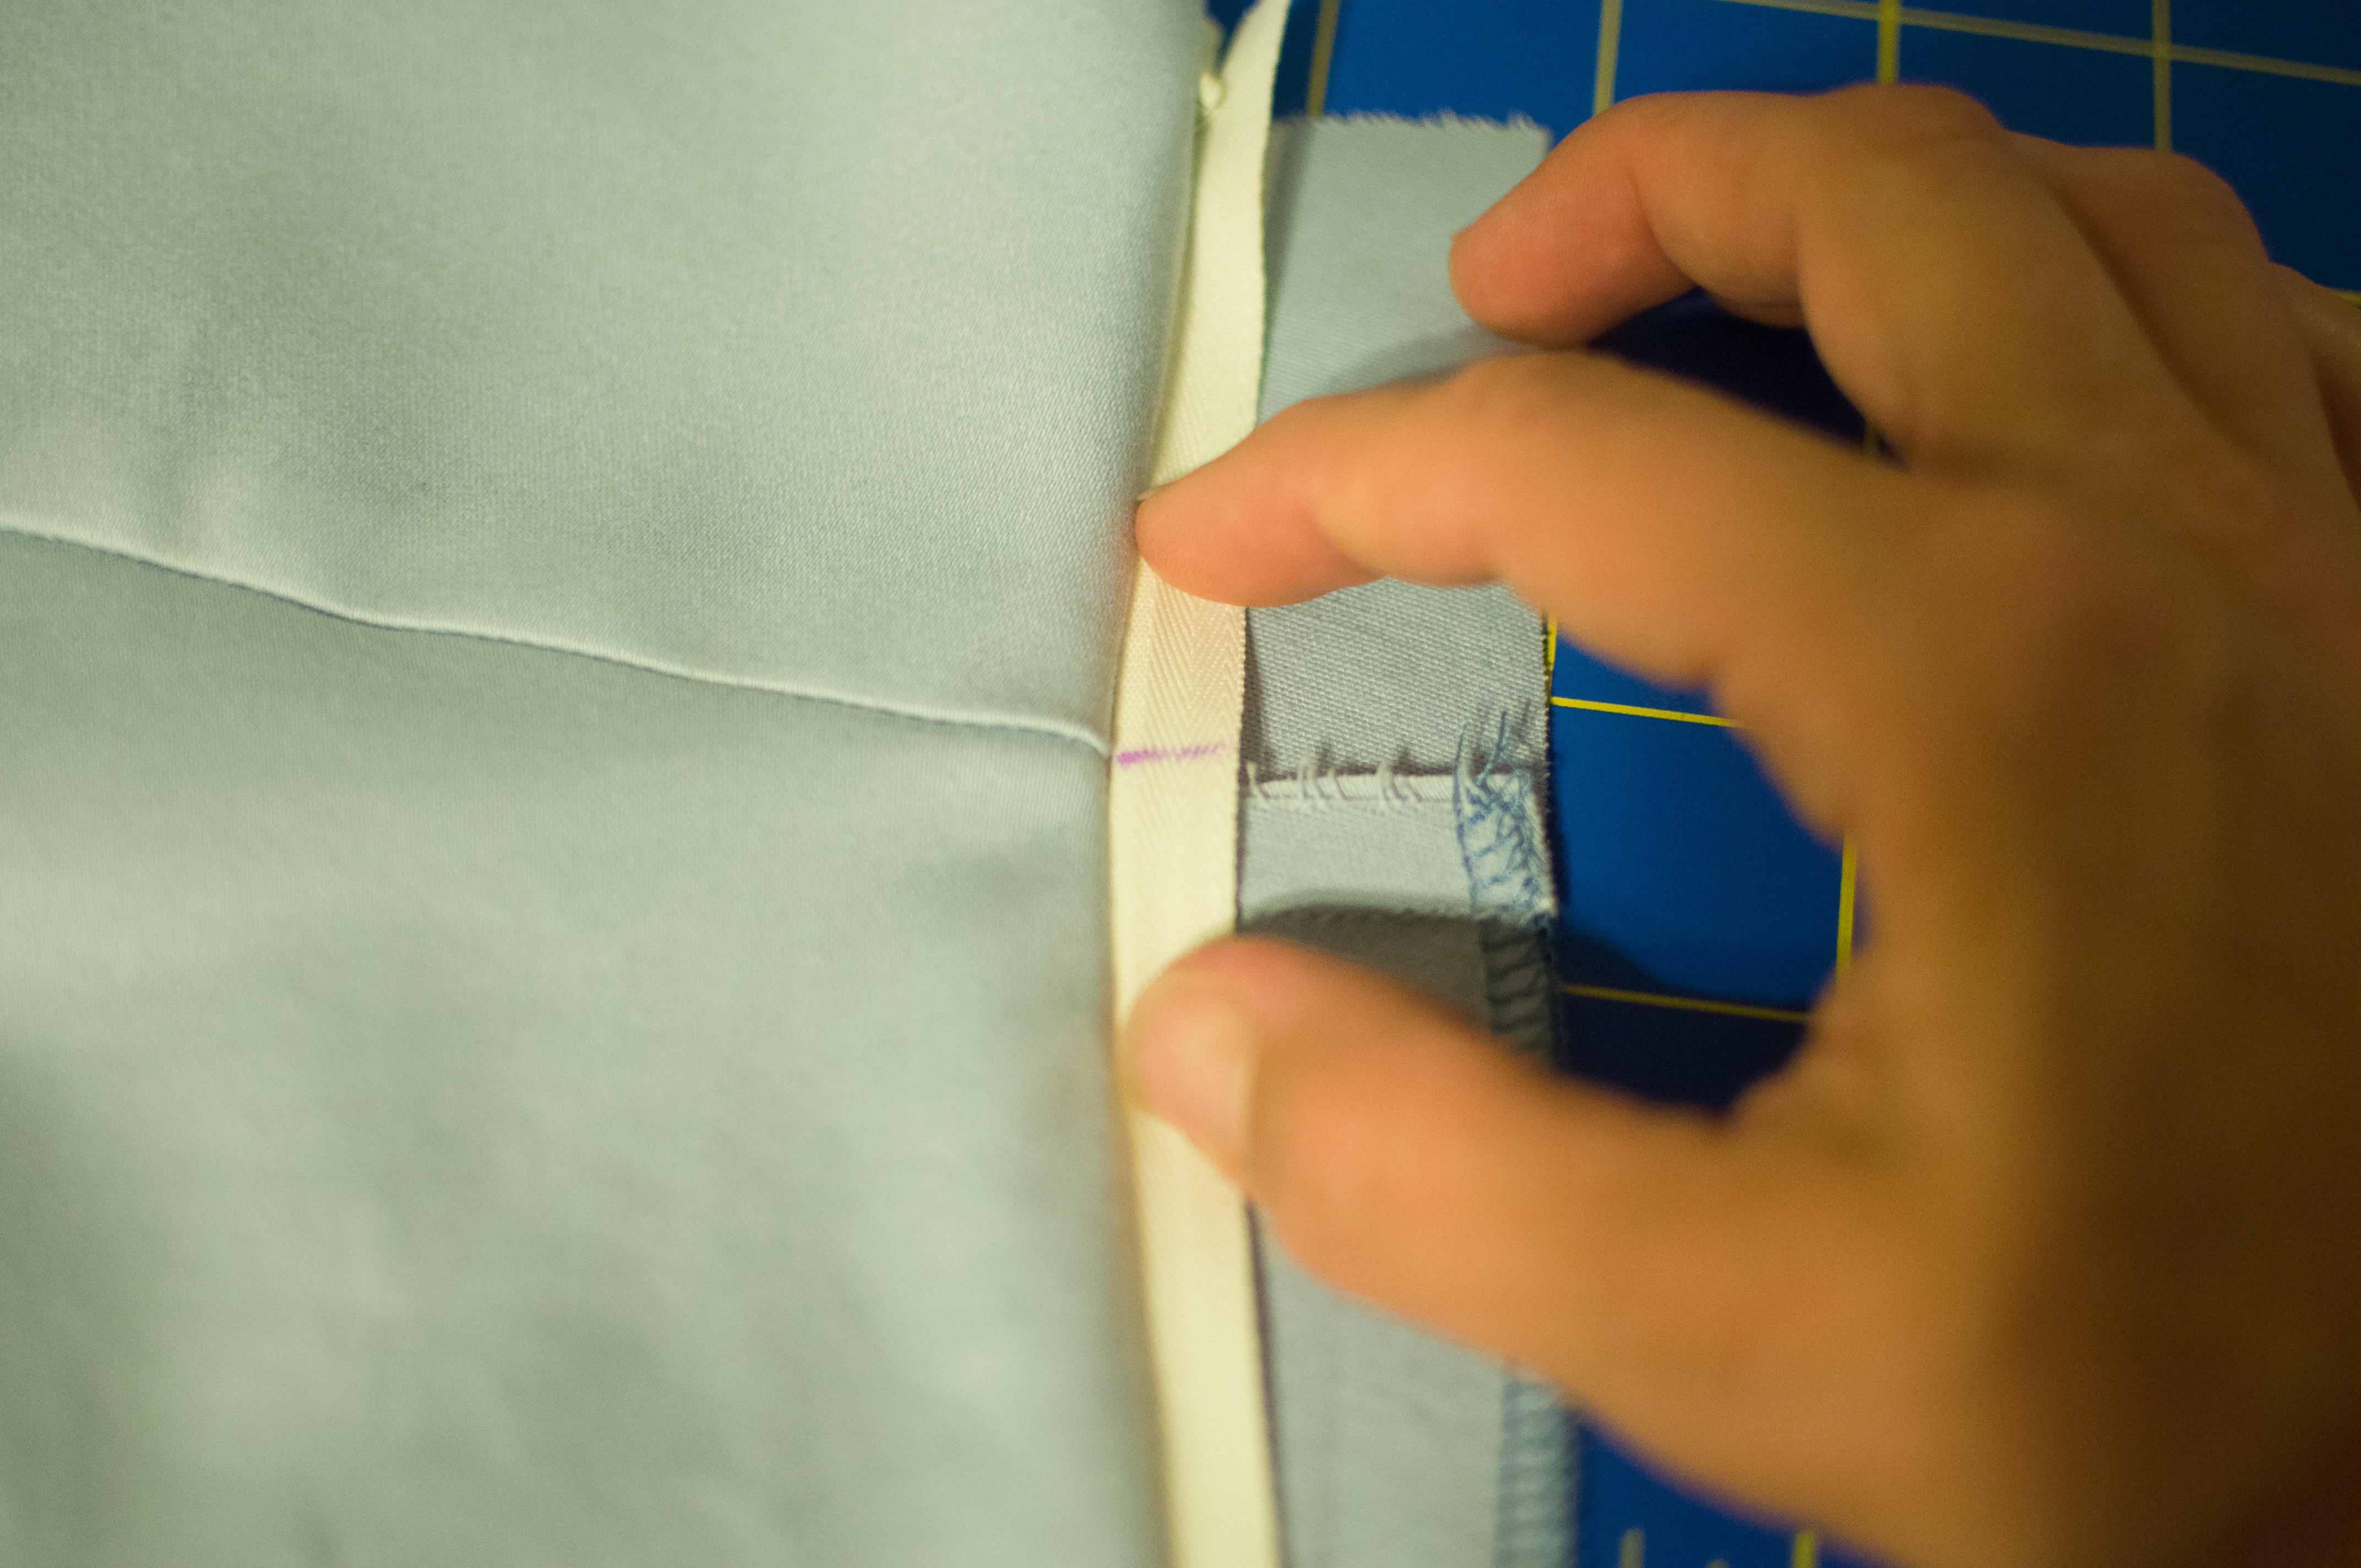
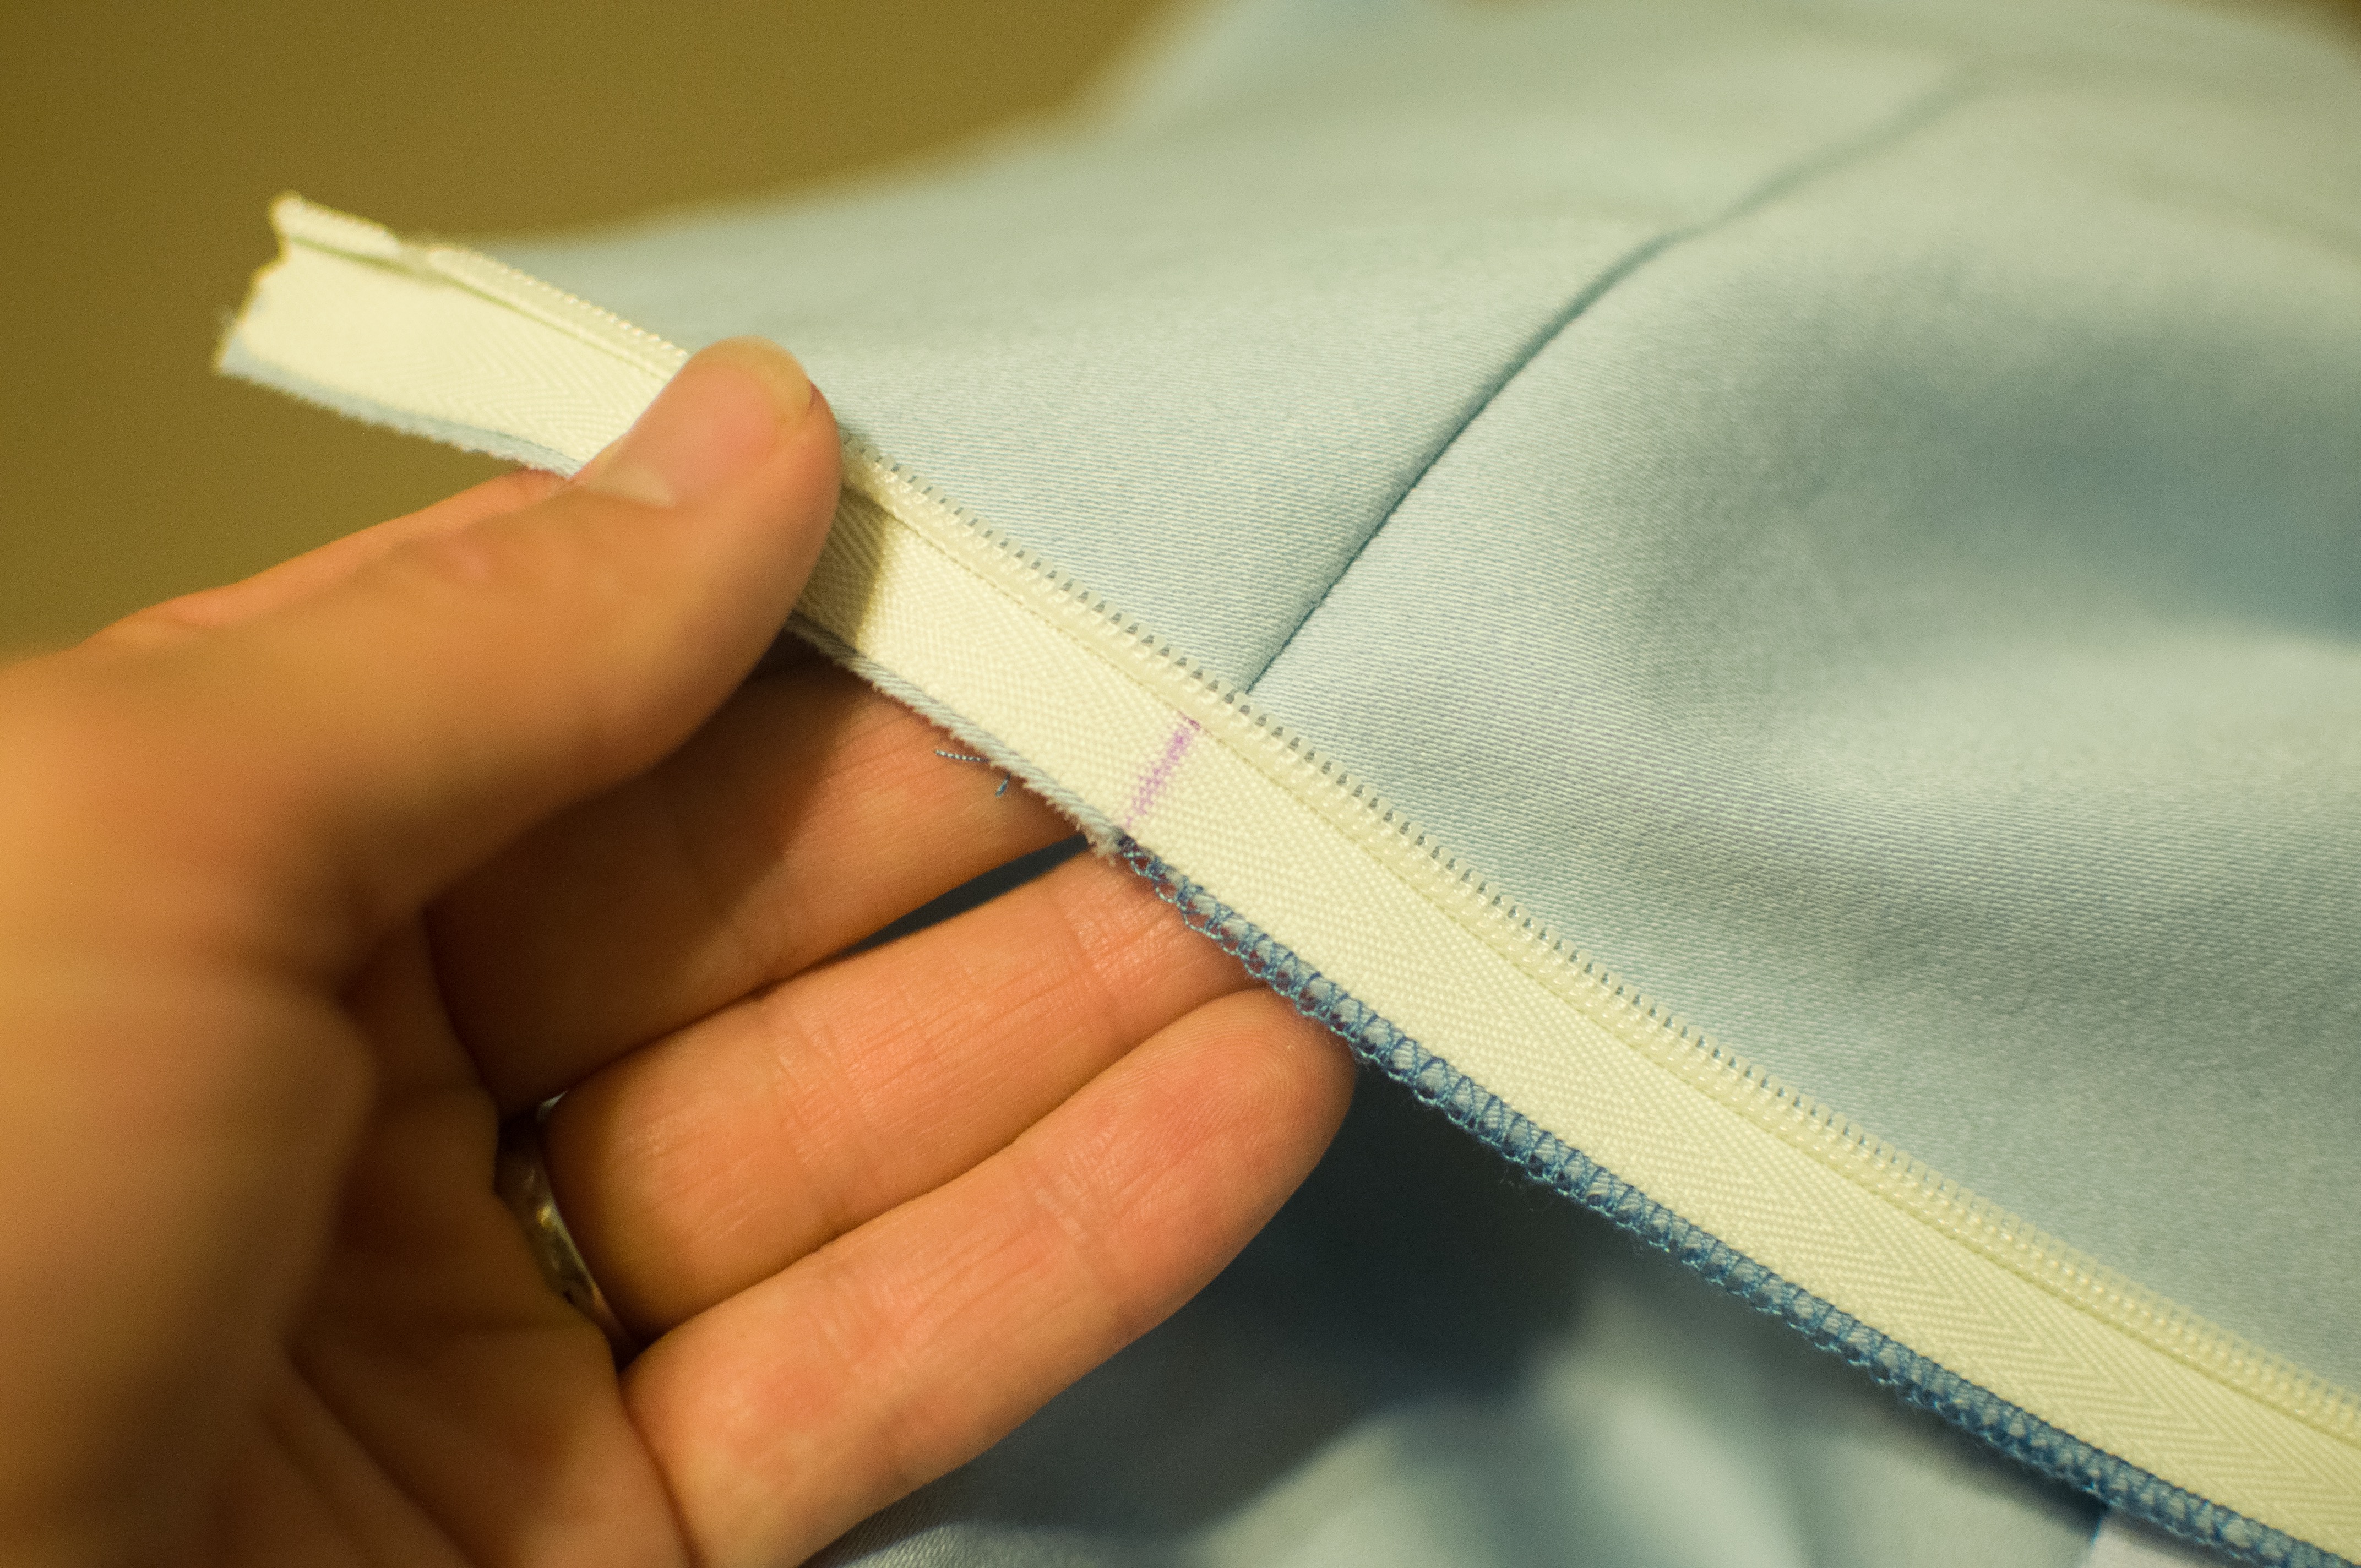
12. Unzip your invisible zipper. Turn the zipper upside down and line up the right edge of the zipper tape with the edge of the right side of the back pants piece. Make sure the top of the zipper tape is aligned with the top of your waistband. Secure the zipper in place with pins or double-sided washaway tape.

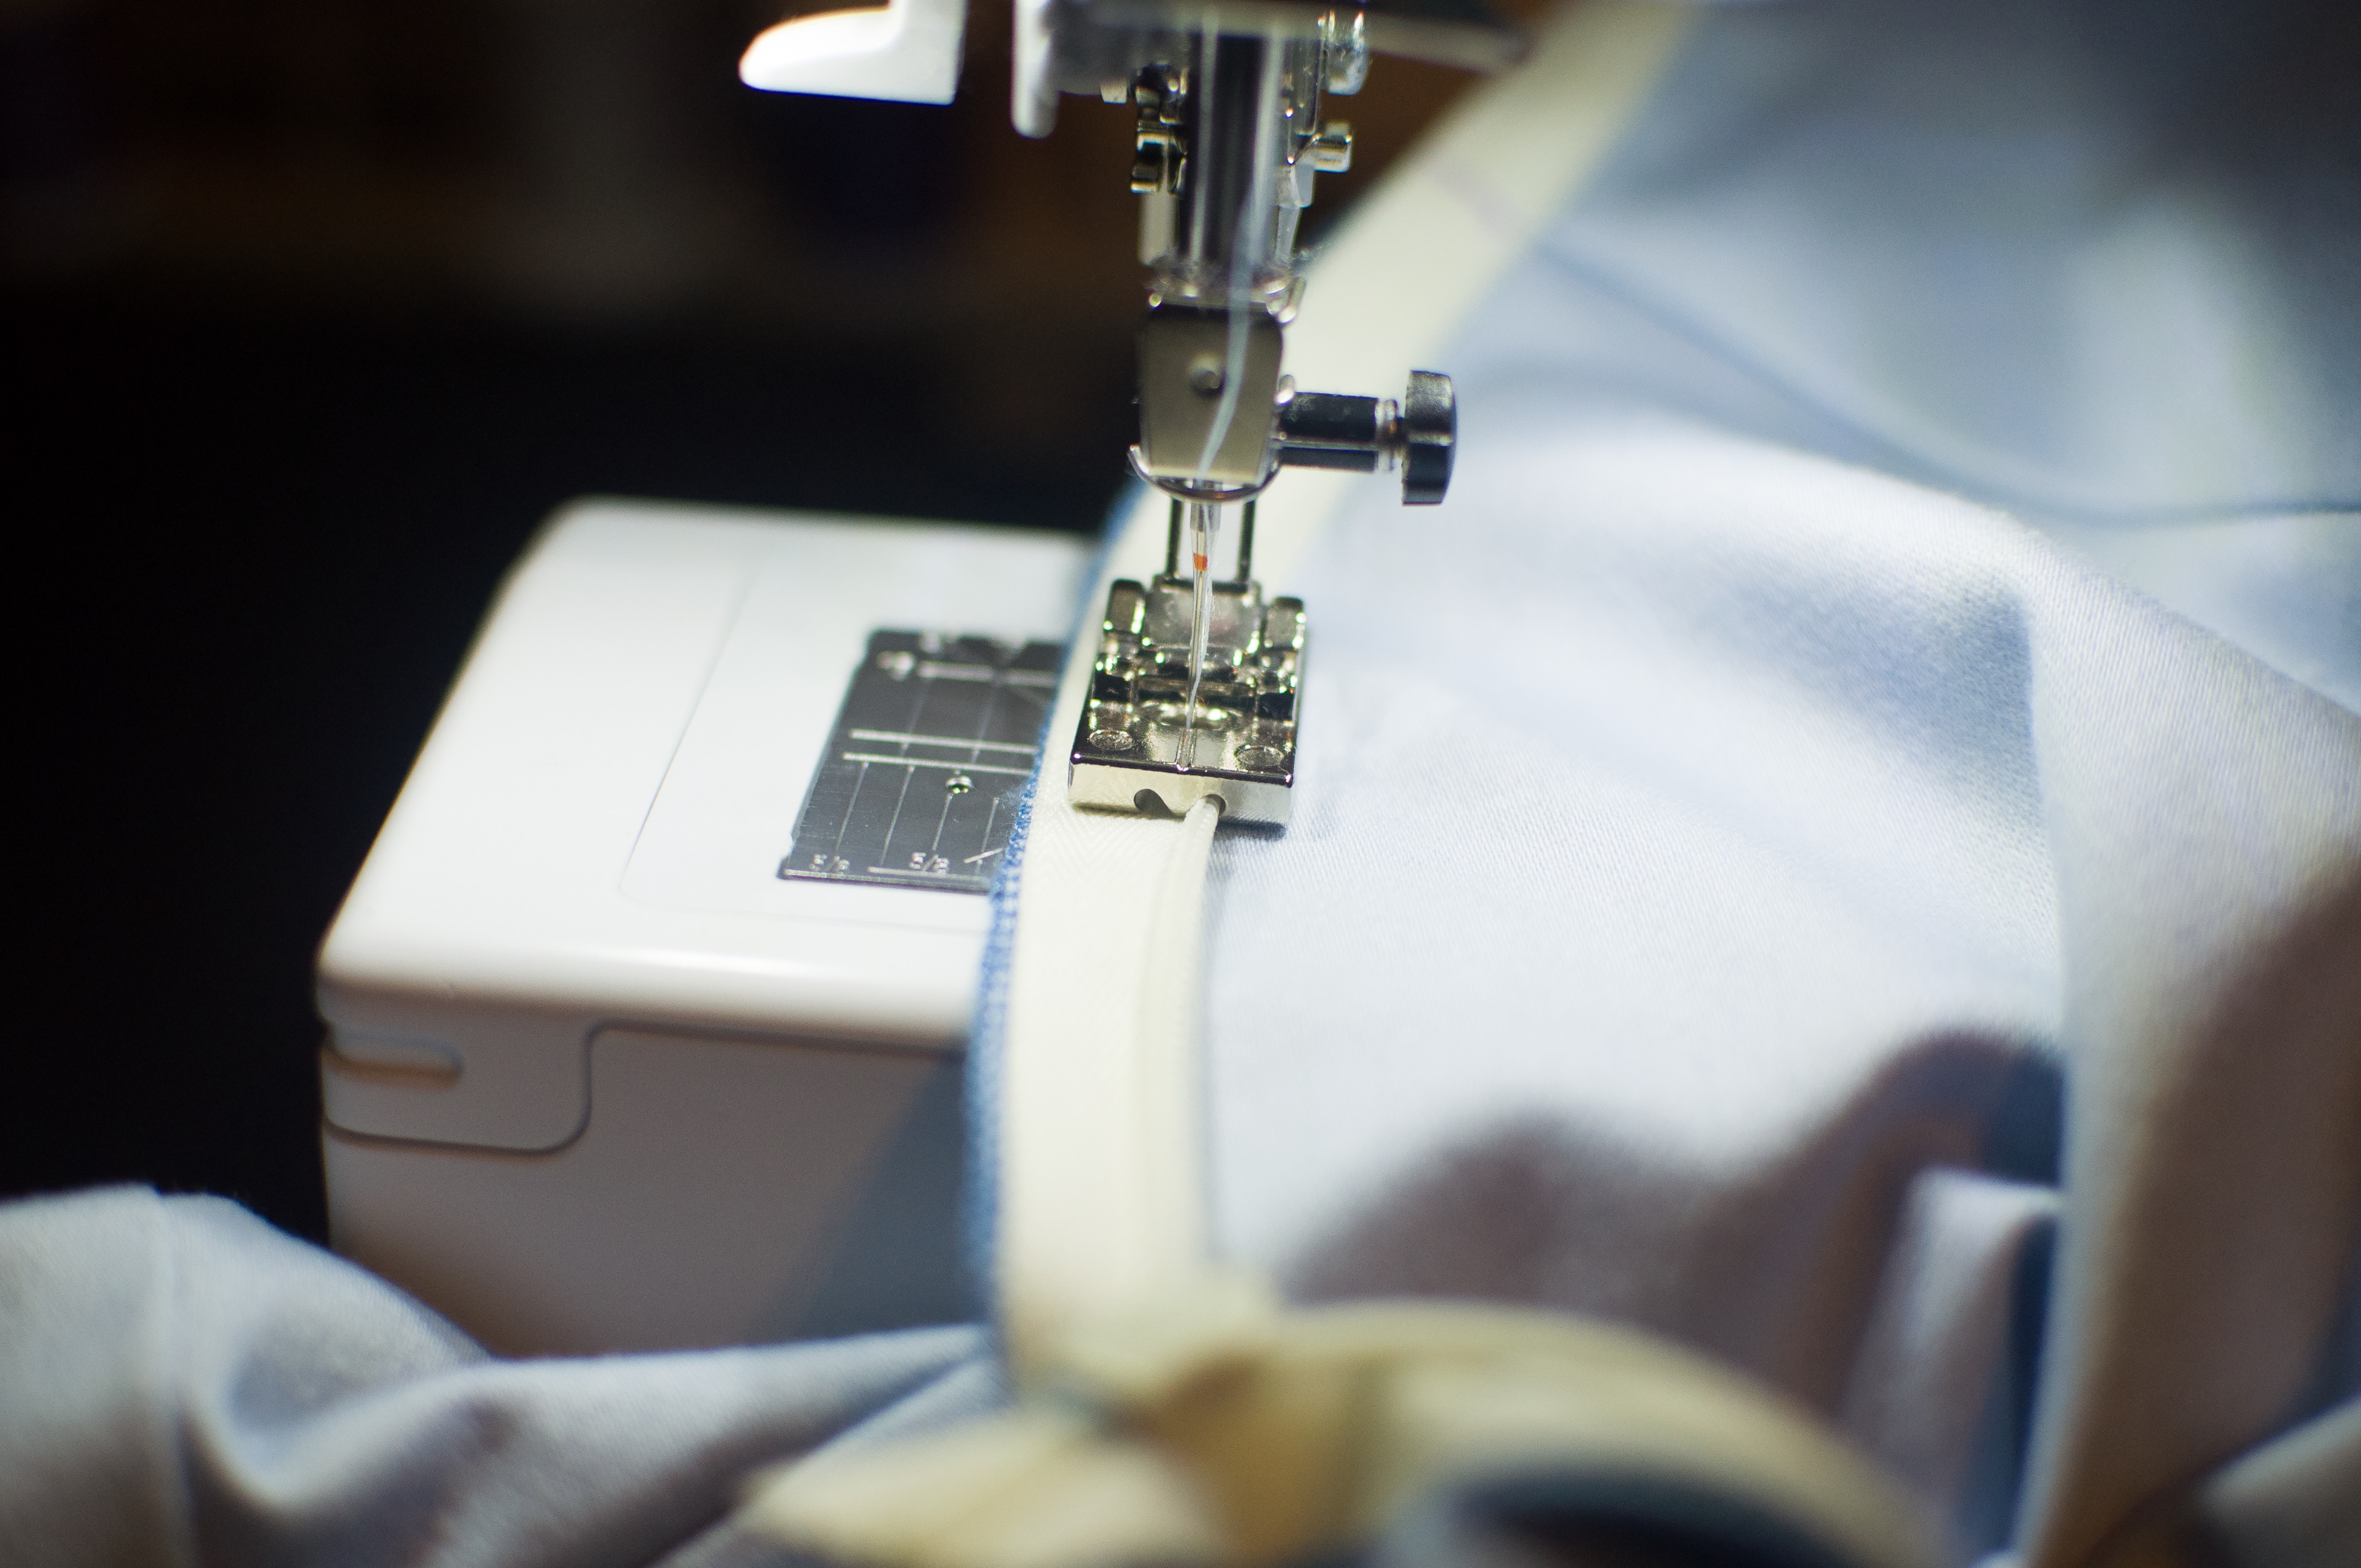
13. Using an invisible zipper foot if you have one, and a regular zipper foot if you don’t, sew the right side of the zipper to the pants as close to the zipper teeth as you can. Secure your stitching at the top and bottom. You likely will not be able to sew all the way t the bottom of the zipper tape because the pull will get in the way.
14. Zip your zipper. With a fabric marker or calk, mark your waistband seam on the opposite side of the zipper (be sure to mark both sides of the zipper tape). Unzip your zipper.
15. Now line up the left edge of the zipper tape with the edge of the right side of the front pants piece. Use the mark you made on your zipper to make sure that your waistband seam will line up correctly. Secure the zipper in place.
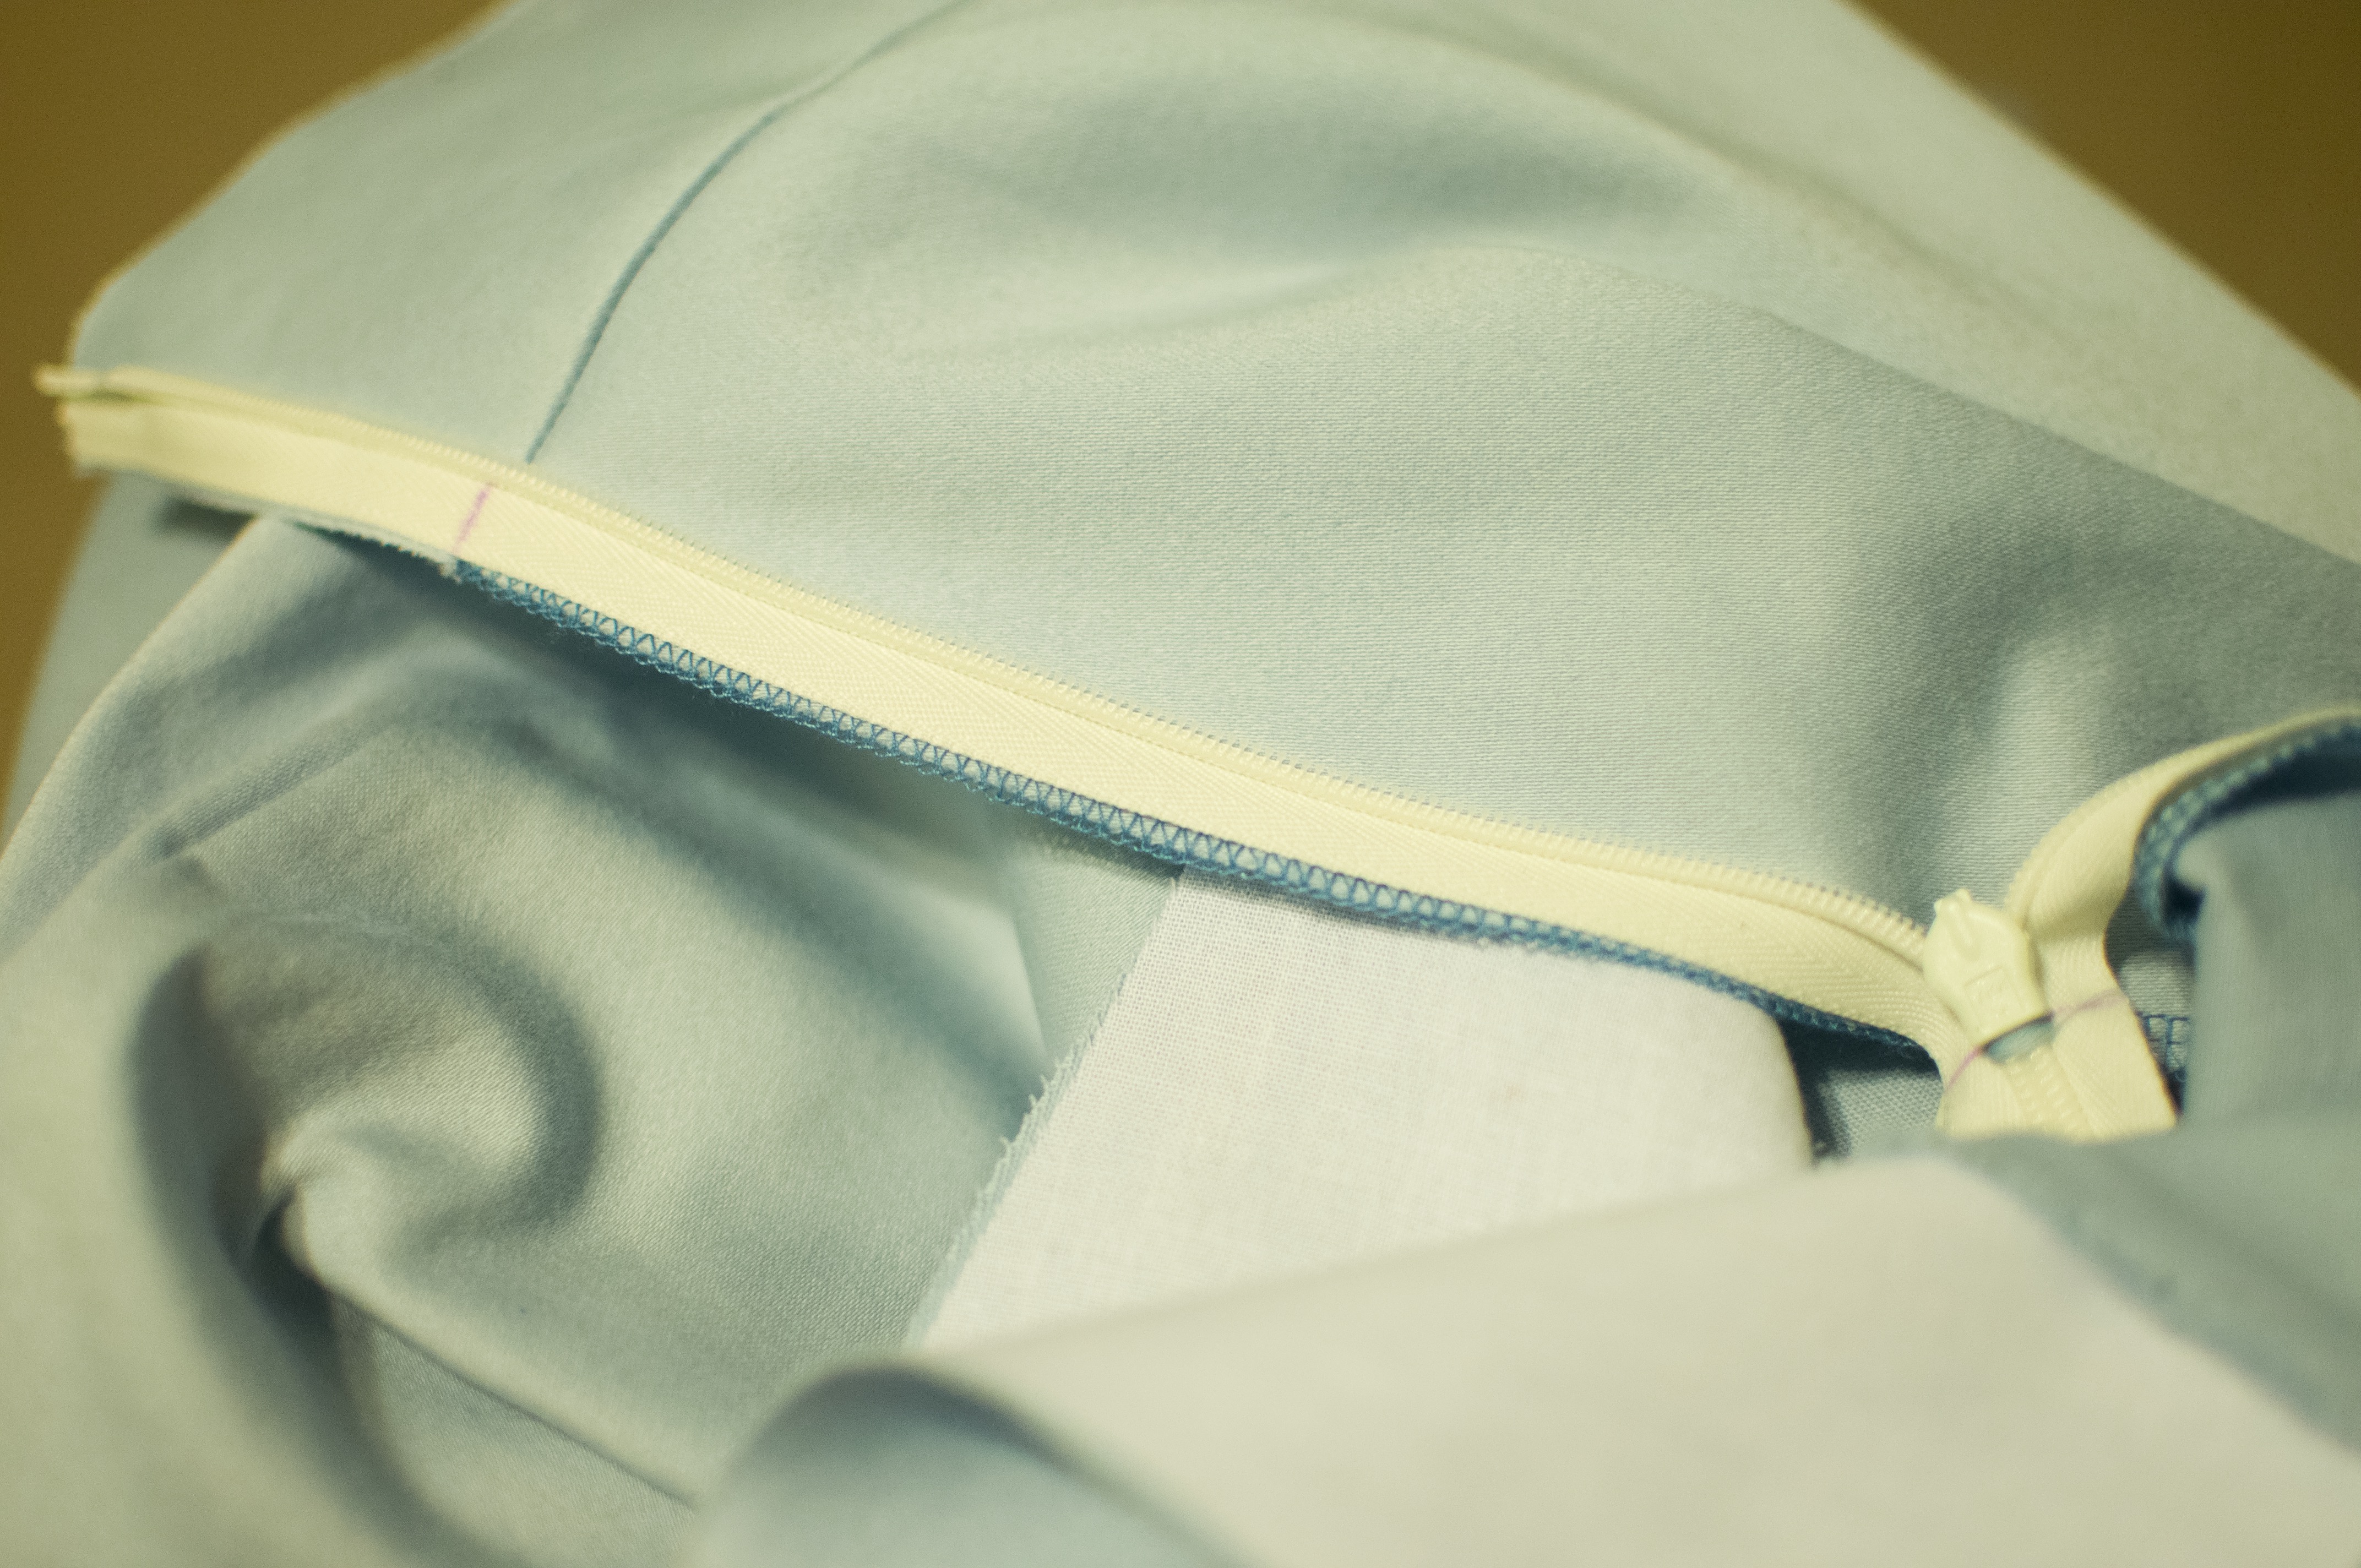
16. Using an invisible zipper foot if you have one, and a regular zipper foot if you don’t, sew the left side of the zipper to the pants as close to the zipper teeth as you can. Secure your stitching at the top and bottom. Zip that up and admire how nicely your seams line up.
Closing the rest of the right outseam.
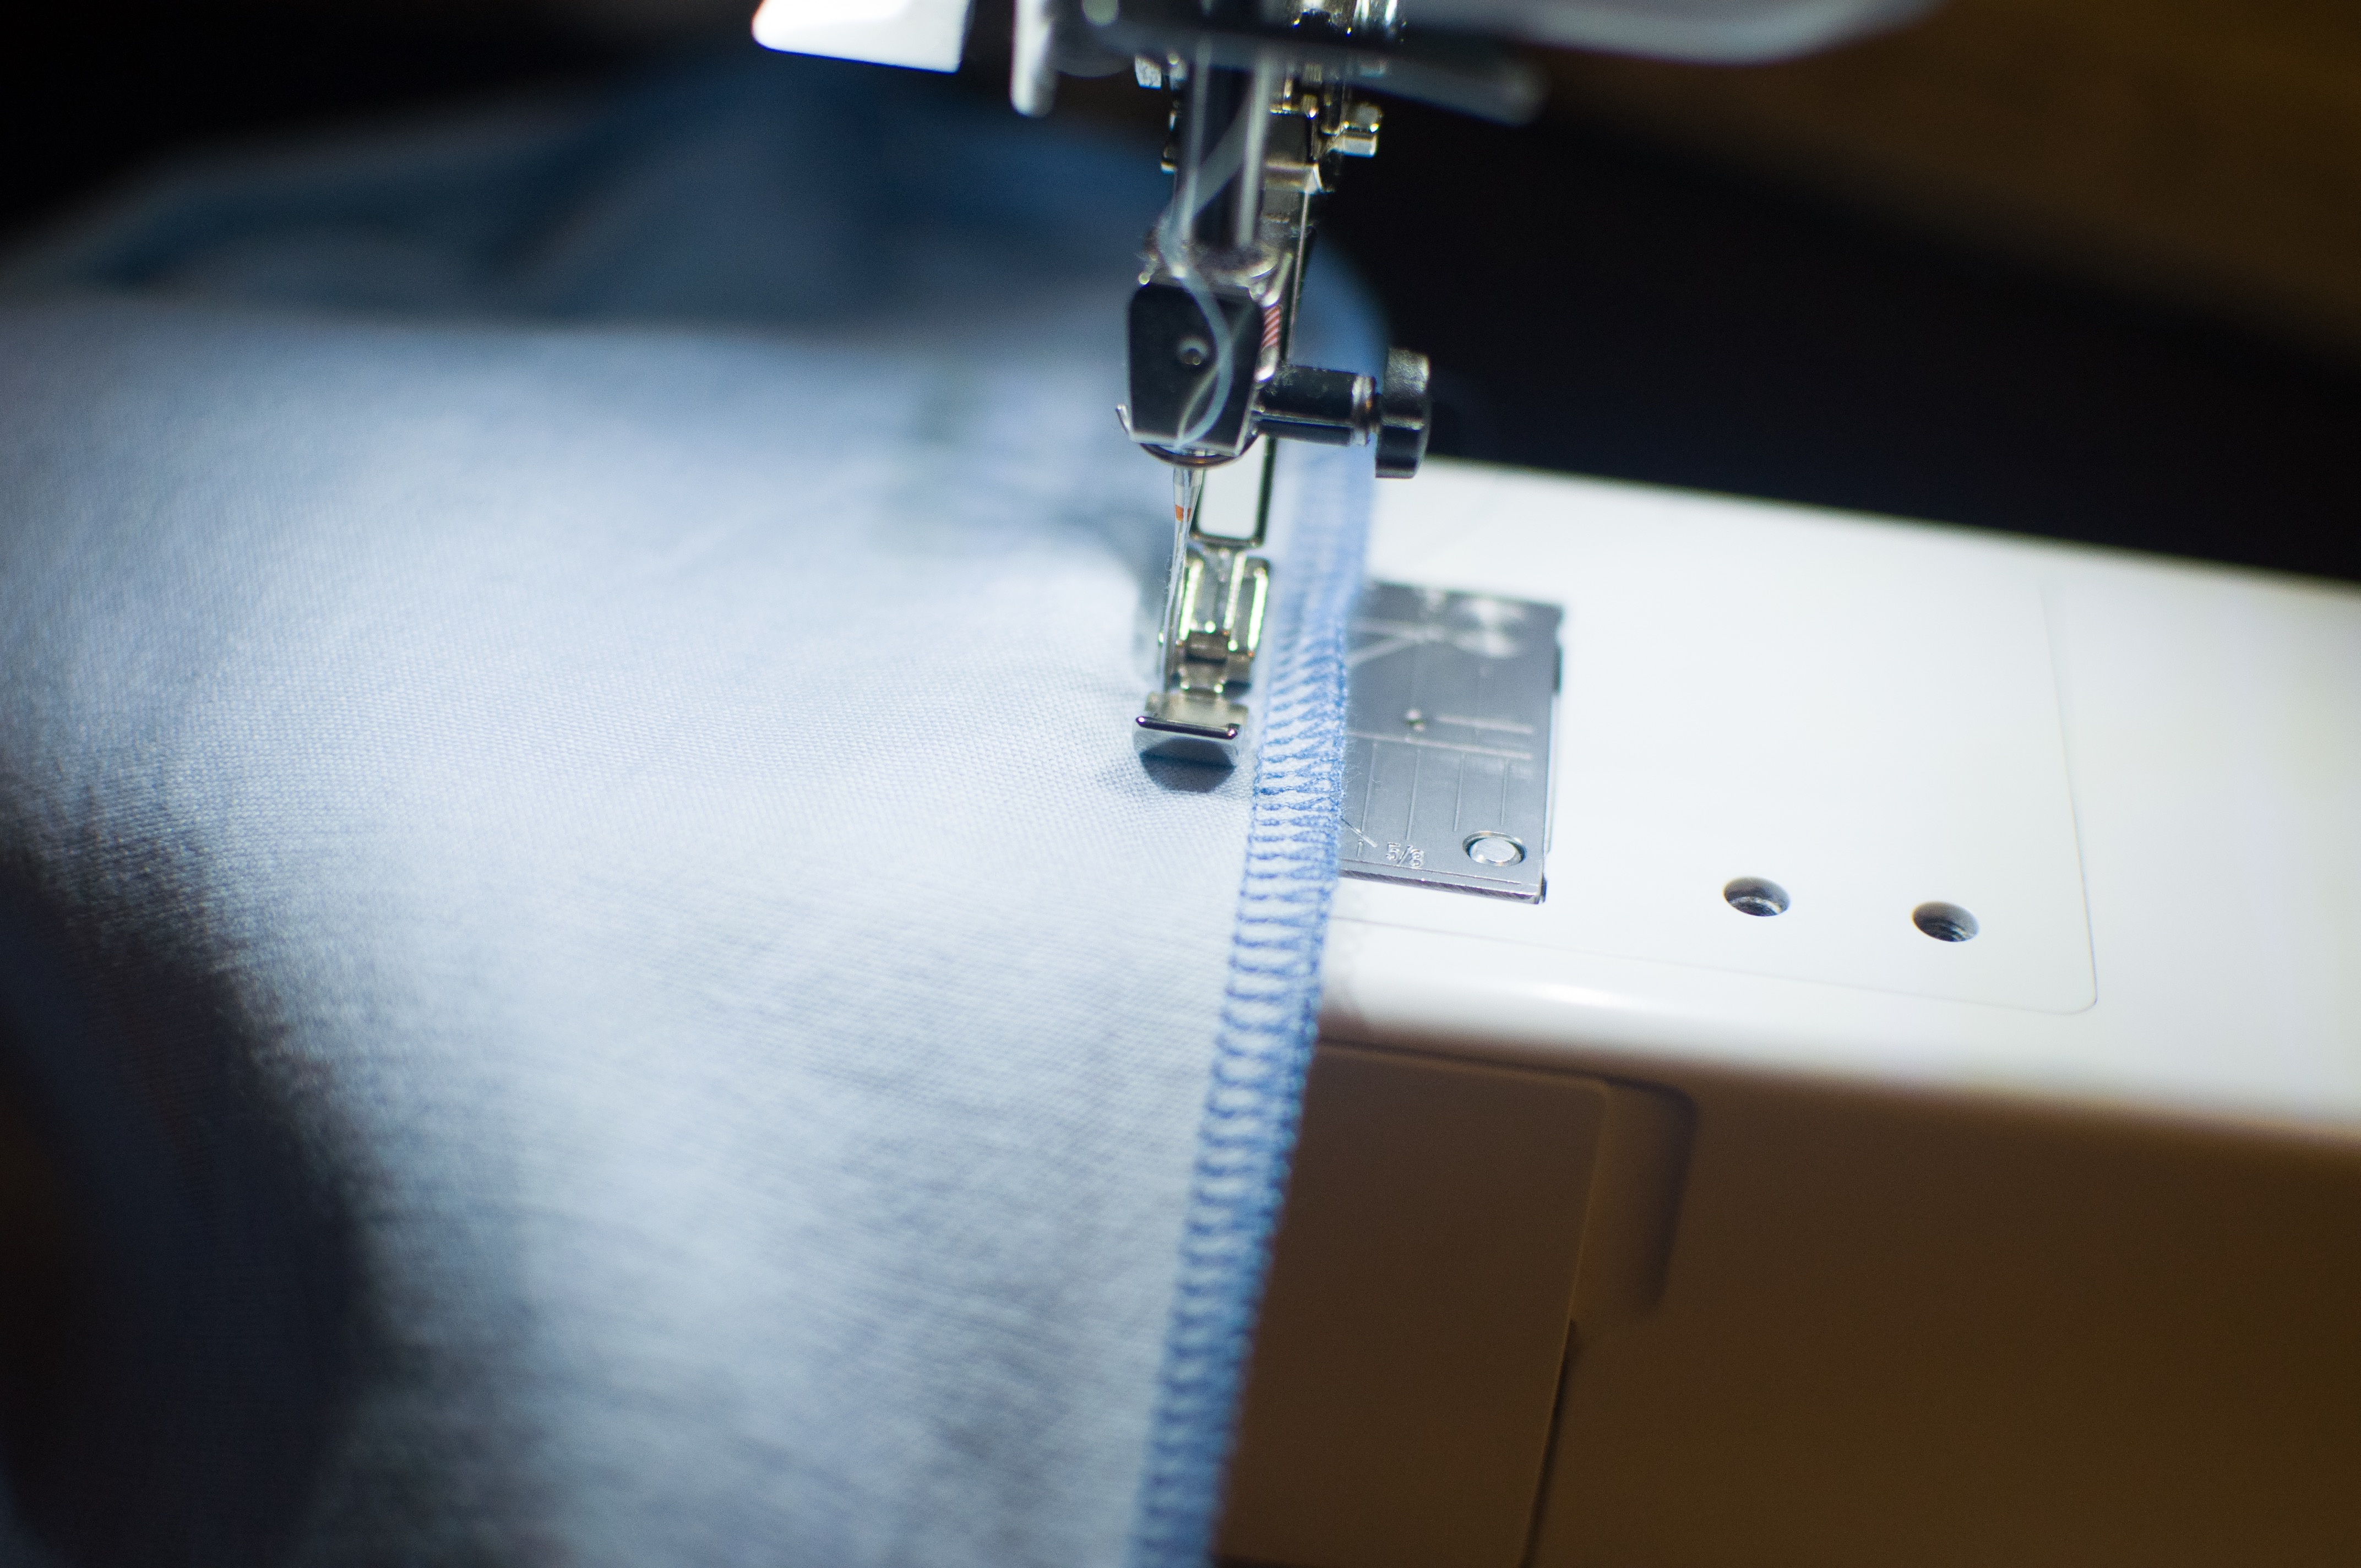
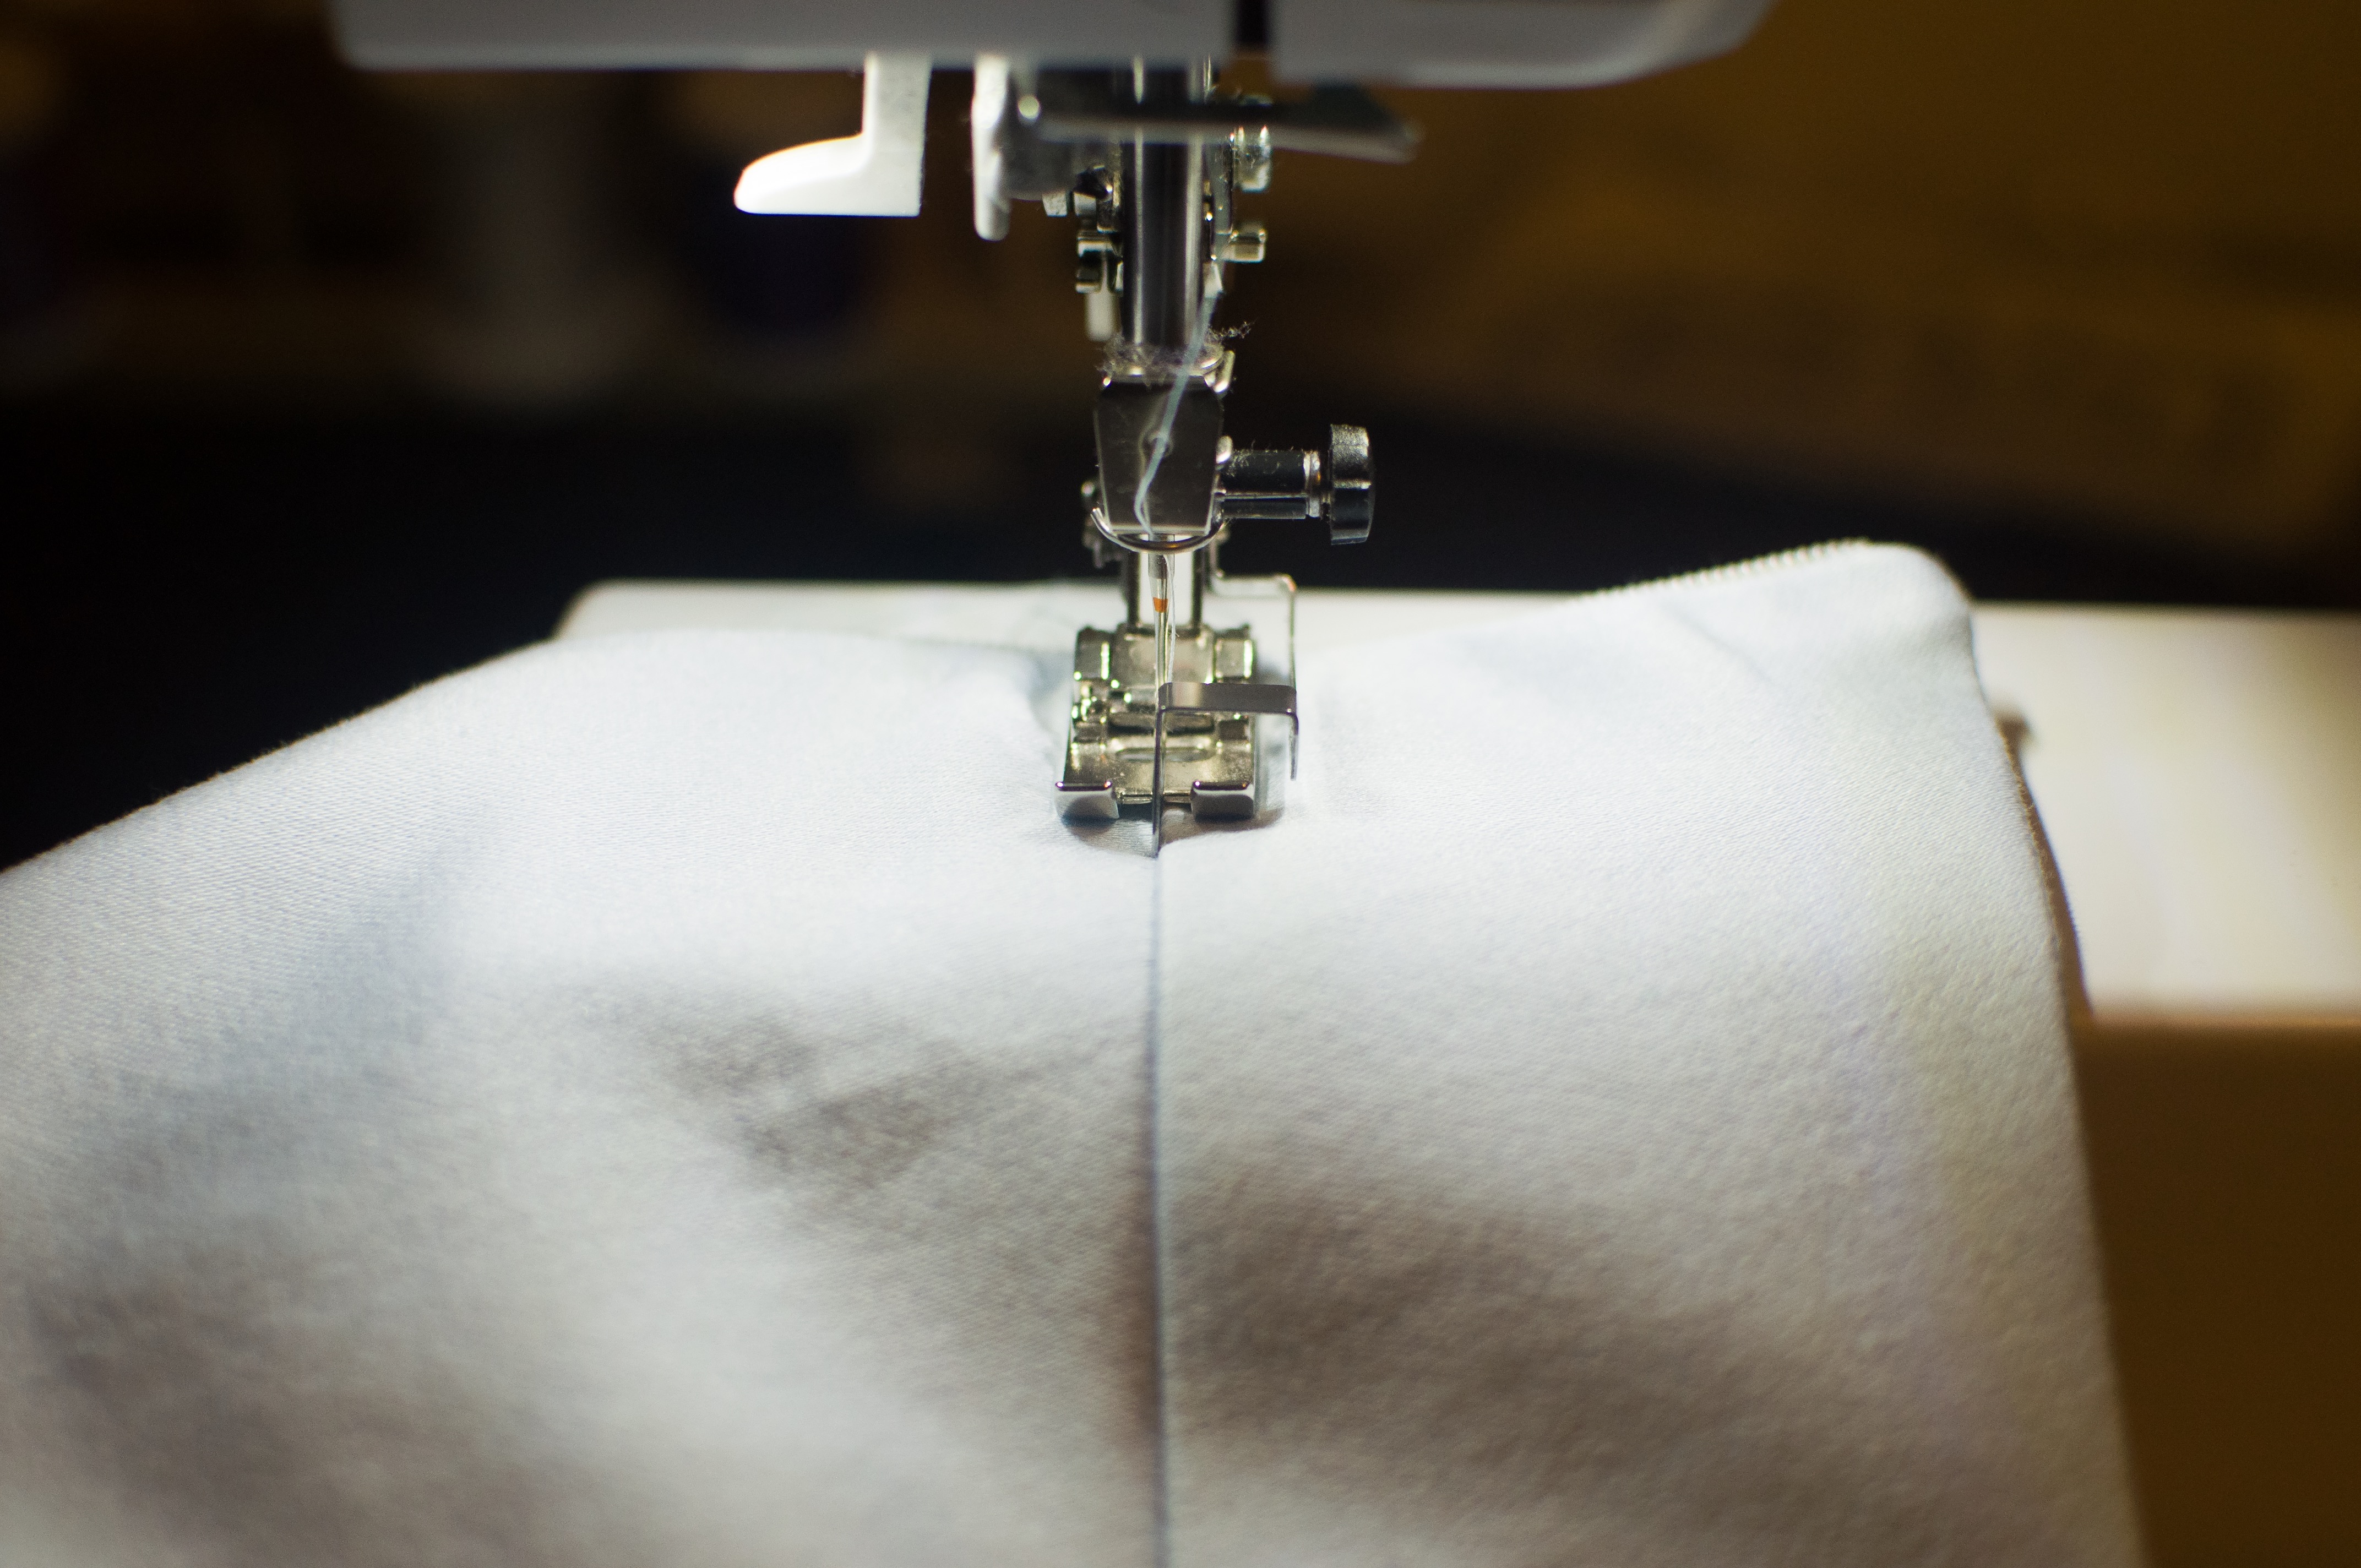
17. Turn your pants inside out. With your regular zipper foot, start stitching where you left off on the right outseam of your pants. Sew up to where your zipper stitching ends. Your seamlines may be offset a small amount, and that’s okay.
Finishing the waistband.
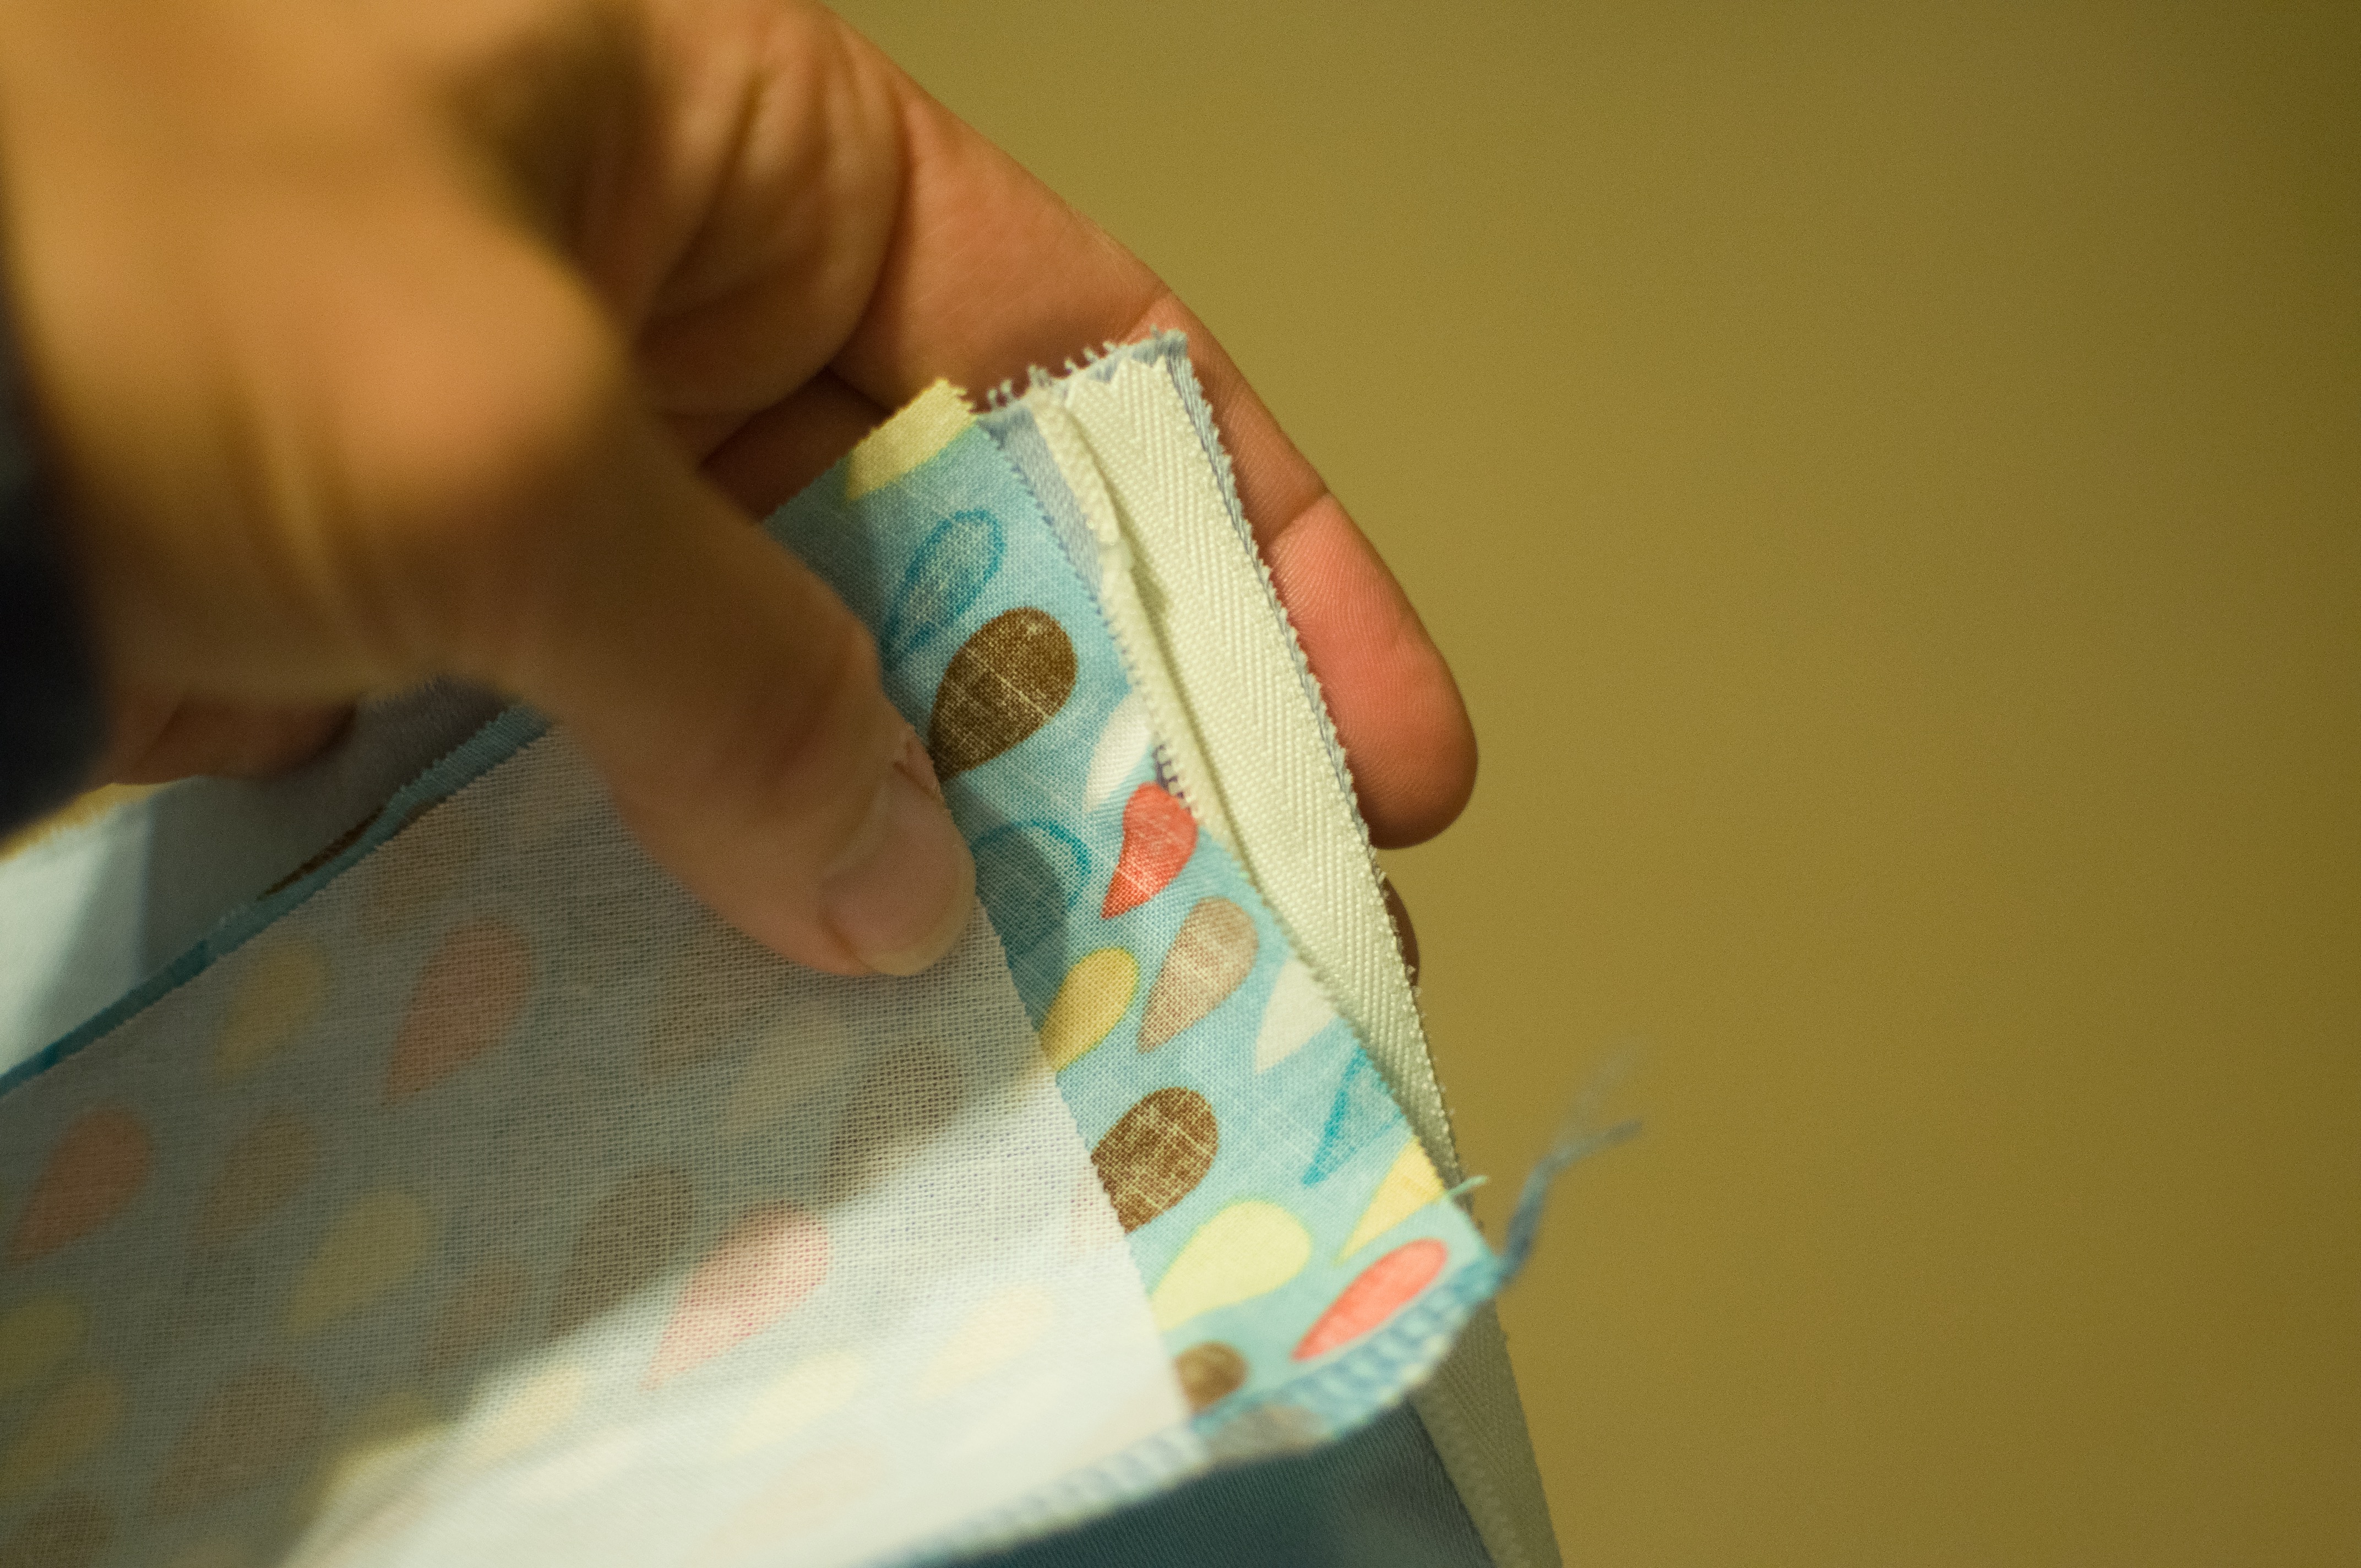
18. Turn your pants right side out and unzip the zipper. Lay your inner waistband piece over your outer waistband, right sides together. Use your fingers to turn the zipper so the tape is visible while you line up the outer waist band. Pin in place.
19. Using your zipper foot and starting about 3/8″ from the bottom of one of the short sides of your waistband, sew up the short side of the waistband (catching the zipper tape in your seam) to 3/8″ from the edge, pivot, sew all along the top of the waistband (sewing over the zipper) to 3/8″ from the edge, pivot, and sew along the other short edge until 3/8″ from the bottom of your waistband, again being sure to catch the zipper tape in your seam.

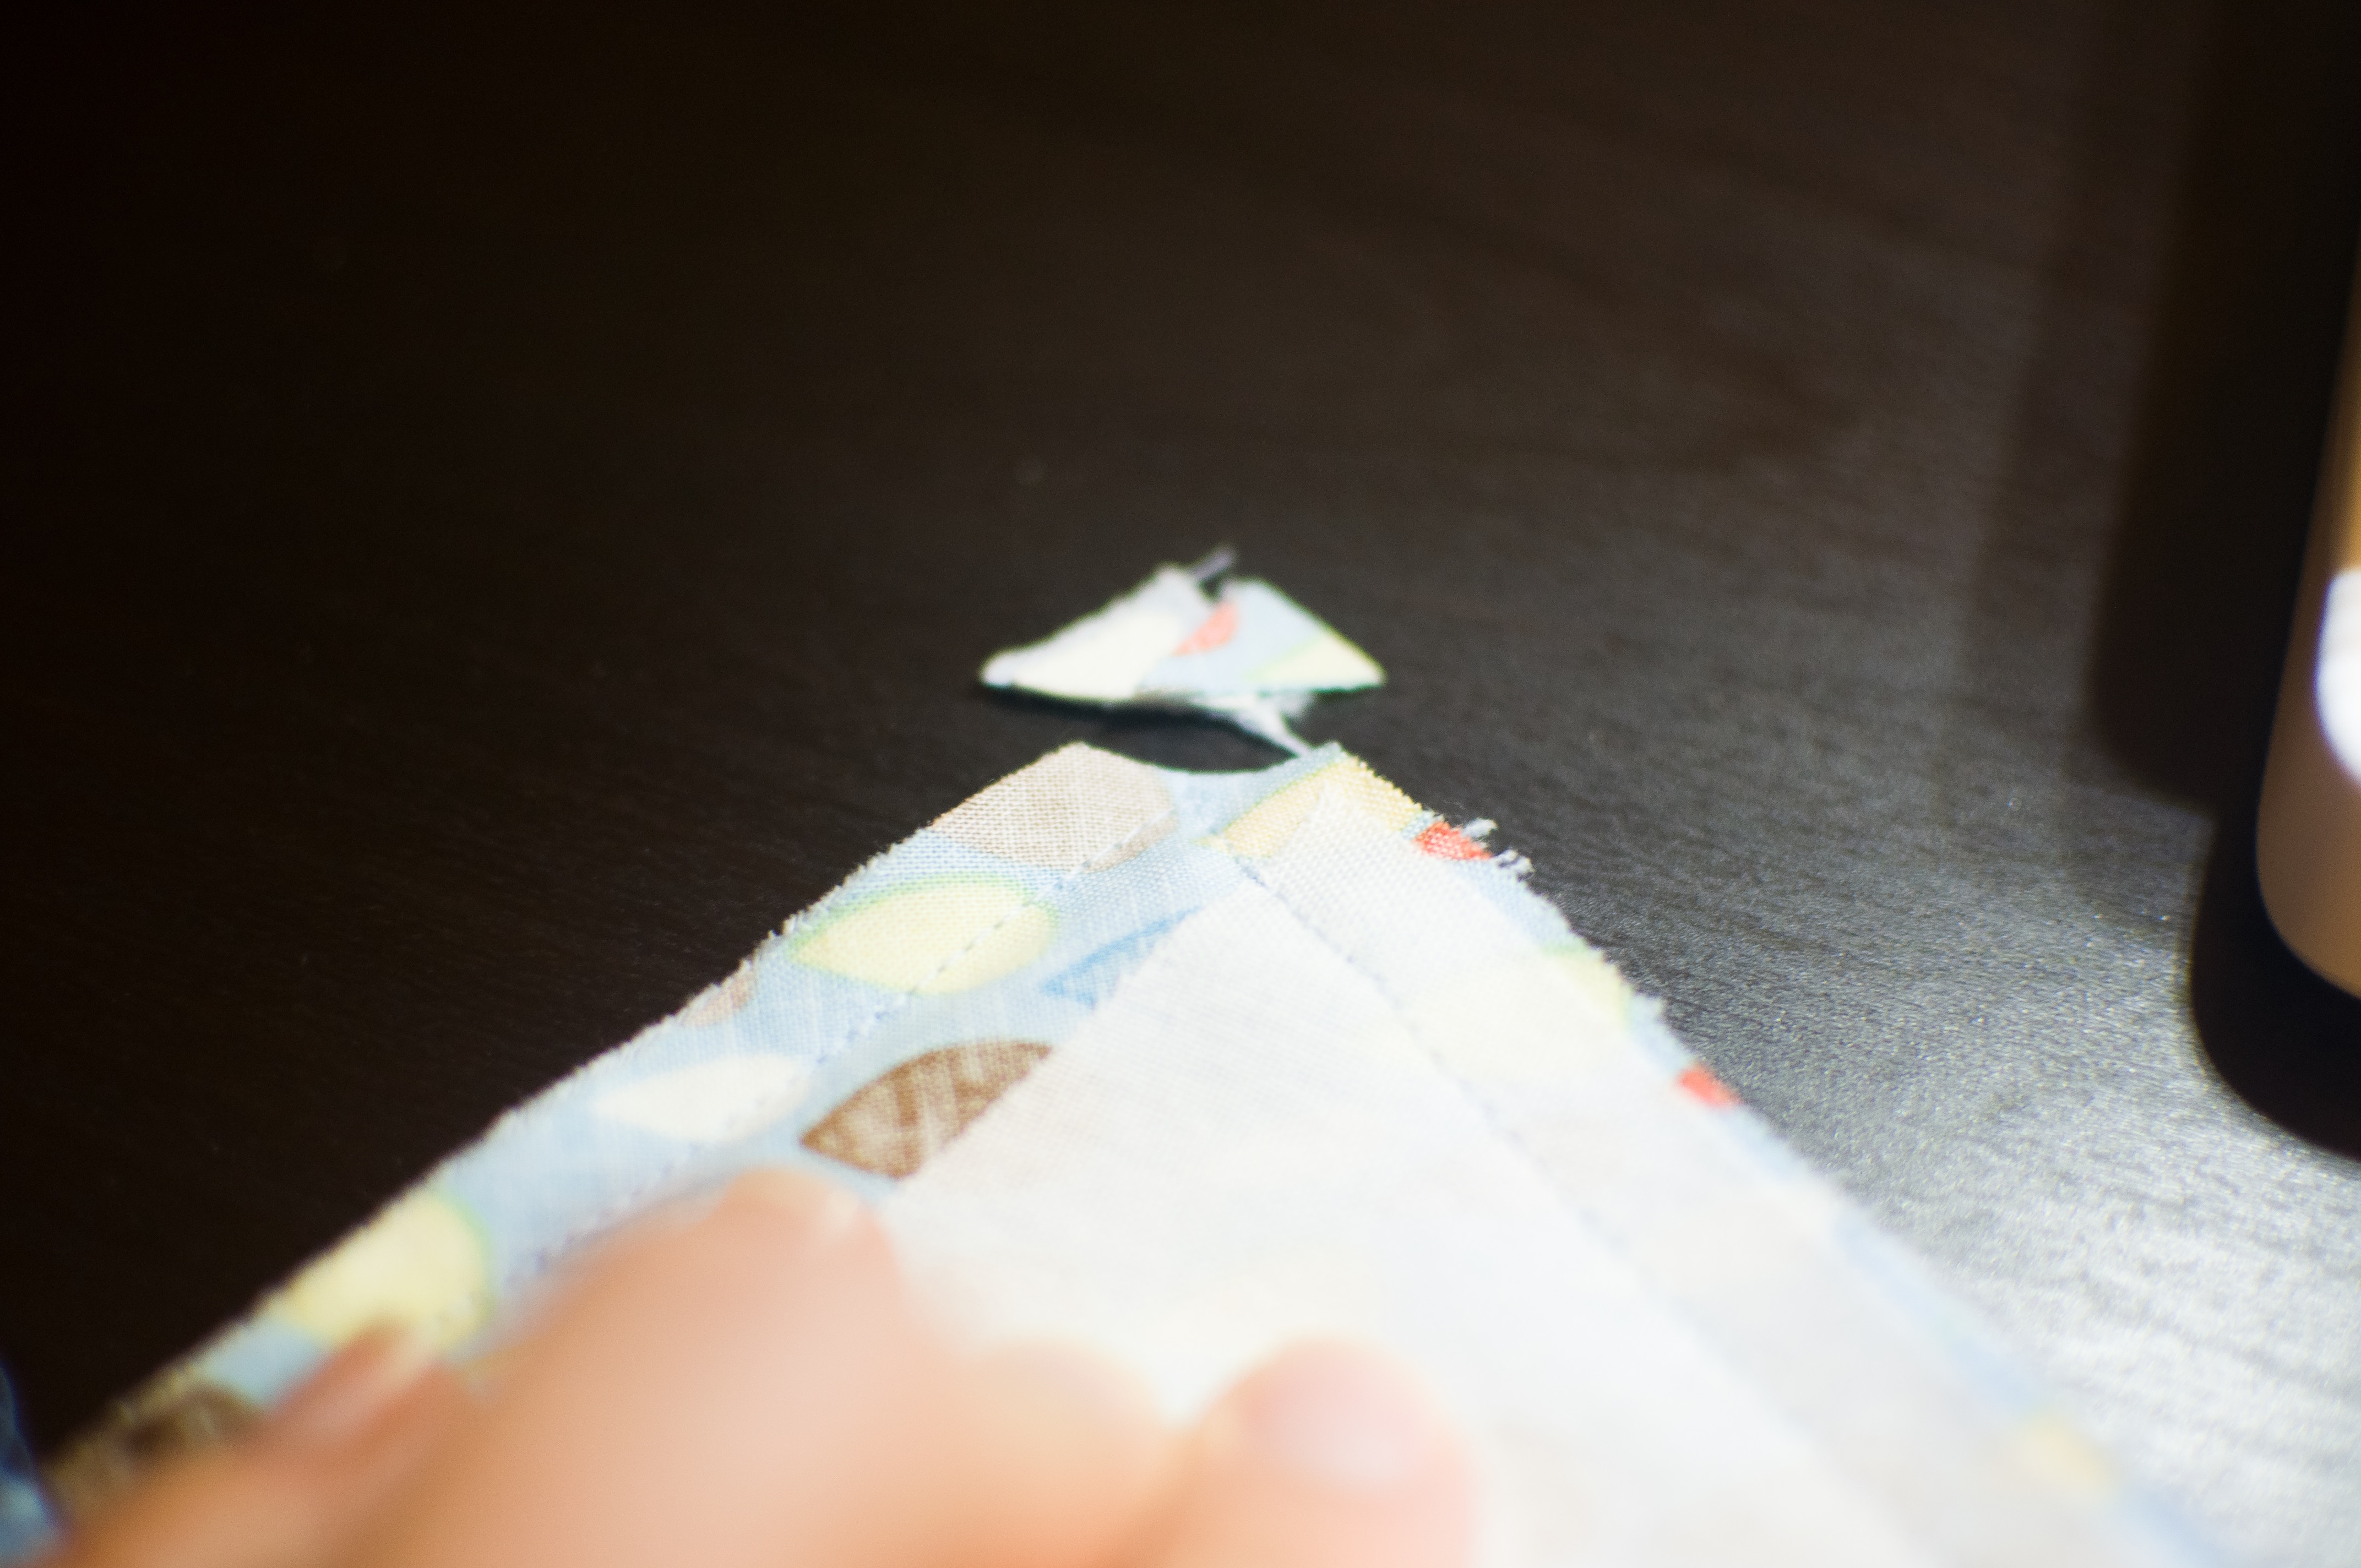
20. Trim the corners of your waistband, and turn the inner waistband to the inside. Use a chopstick or turning tool to help smooth out the seam and press.
21. At the bottom of each short edge of the waistband, fold the corner under. On the right side of the pants, stitch in the ditch of the waistband seam to secure the lining in place. You can also handstitch the lining in place if you prefer. Your zipper is now done!
Hemming.
22. Try on your pants, pin your hem in place and hem your pants.
You’re done! I know it was a lot of steps, but invisible zippers are really easy once you’ve done one or two. And now you can use almost any fabric you want for the Sabrinas. Happy sewing!

-
Sabrina Slims Pants
$12.50


Looking forward to trying this, once I finally get my knit pull-on version muslined. Thanks, Katie! 🙂
Thanks, Katie!! This is great!
Thanks Katie. Great idea and tutorial.
Thank you so much for the tutorial about adding a zipper to the Sabrinas! I, too, love the style, but never made them after buying the pattern because I can’t stand the elastic waist look/feel. I learned so much from the tutorial and am ready to make a few more now. They’re really comfy and I think the fit is perfect. (I might try adding the knock knee adjustment next time though!). Thanks again.