
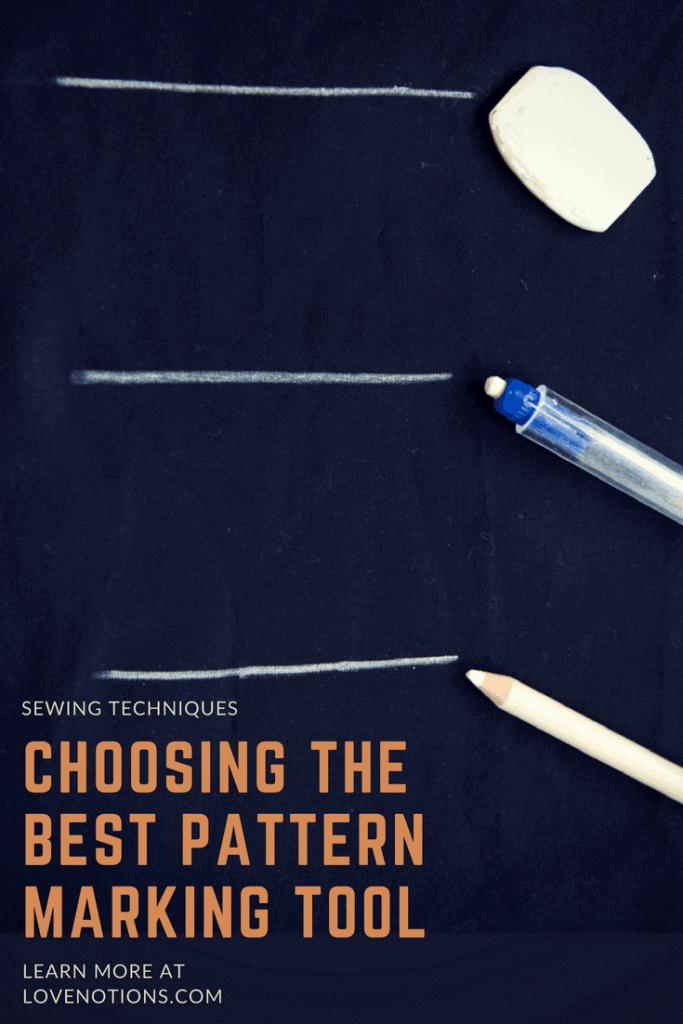
Choosing the Best Pattern Marking Tool
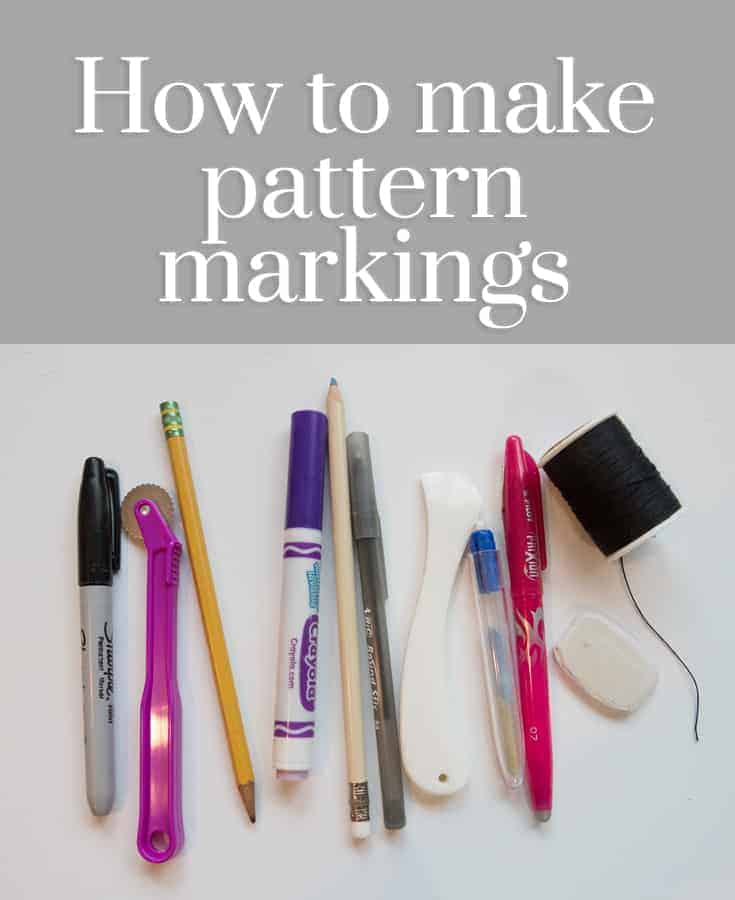
With so many great woven patterns now in the Love Notions shop, I figured it was time for a post on pattern marking tools. There are so many different ones to choose from and each one has it’s place. From tailor’s chalk, disappearing pens, to washable markers, and everything in between, we are going to explore your options when choosing the best pattern marking tool for the job!
How do you know what the best pattern marking tool is?
The simple answer, trial and error. And the tool you love for one fabric, may not work for another. So it’s best to have a wide variety of pattern marking tools available at your side. Heck, I may even use two different methods on the same fabric depending on what I’m marking! Now, you may notice that not all of the tools pictured are traditional marking tools. And some are even permament (yes Sharpie, I’m looking at you!) This post comes with a disclosure, ALWAYS test your marking tool on a scrap piece of fabric from your project. Nothing is more horrifying than finding out that marking you made for the dart will never ever wash out.
Let’s start with a classic, chalk.
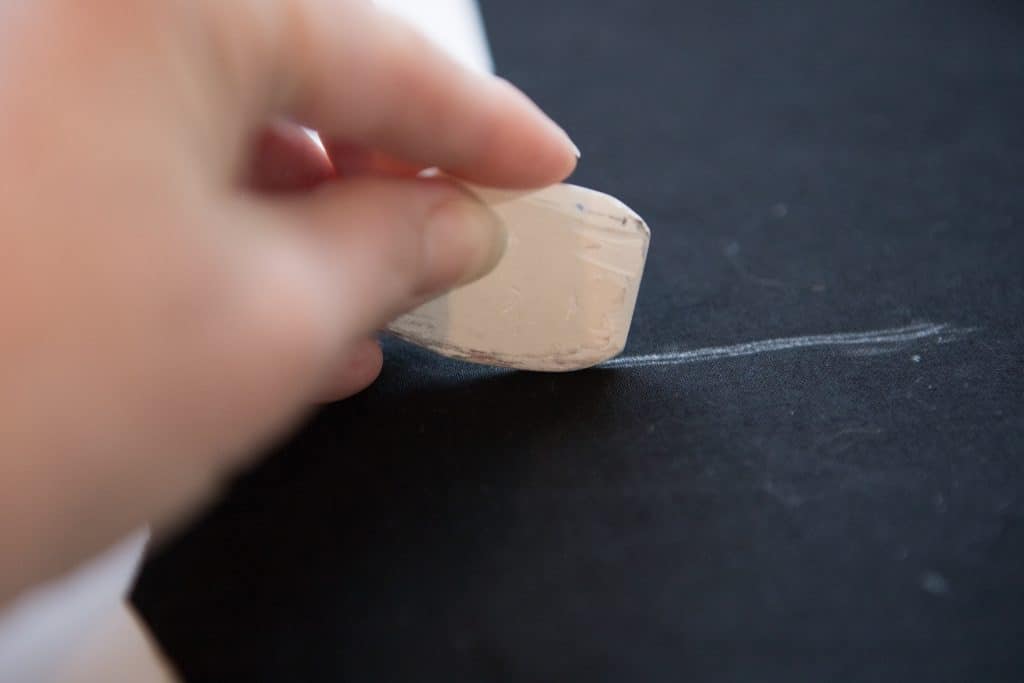
Pattern marking chalk comes in many different forms now. The classic tailors chalk is a thin, rectangle piece of chalk that is smooth to the touch. It’s not like your old school chalk board chalk that leaves a dusty mess all over your hands and everything it touches. Tailors chalk is clean to the touch and only marks when you apply pressure with it. It can be sharpened with a special tool to leave very accurate marks.
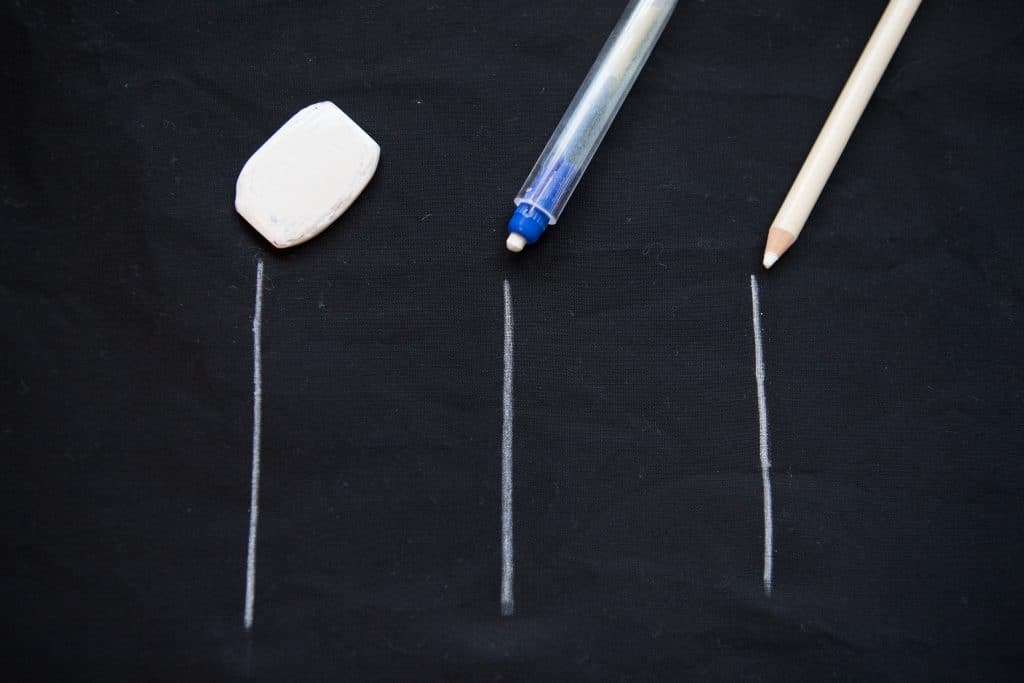
You use the side of tailor’s chalk to mark your fabrics. To remove it, simply brush it off your fabric. It comes in a small variety of colors, including white, blue, yellow and pink. Occasionally, you can also find black. Tailors chalk is inexpensive and works on a wide variety of fabrics including wovens and knits. Tailor’s chalk is not ideal for furs or fleece.
You can also find chalk in the form of a traditional pencil that can be sharpened, often called a dressmakers pencil. Again, you can find chalk pencils in a small range of colors, making marking on different color fabrics quick and easy.
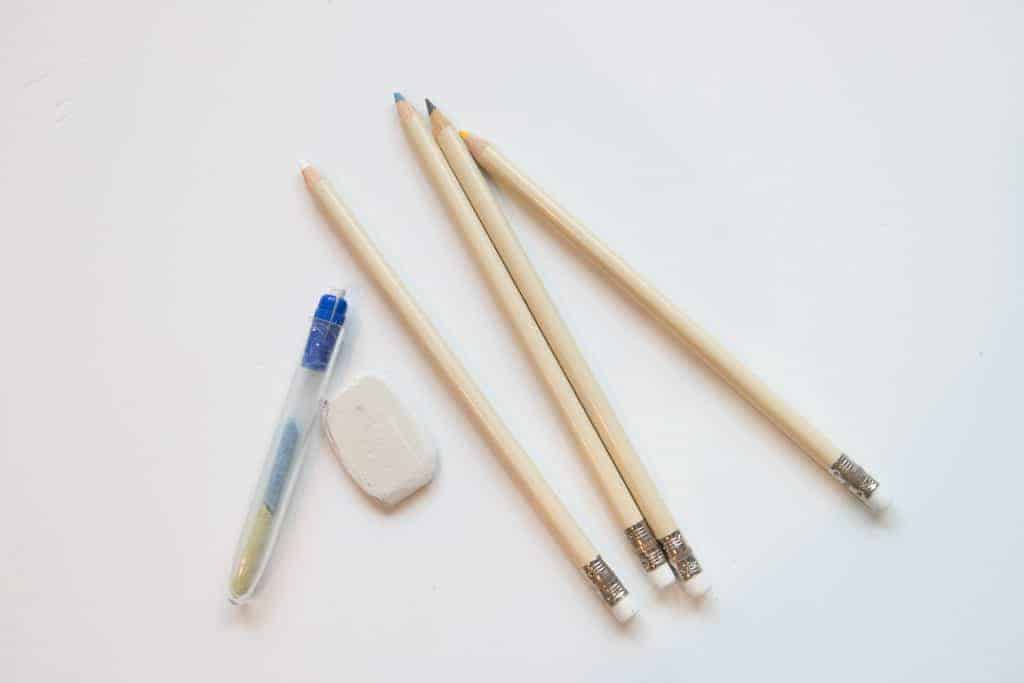
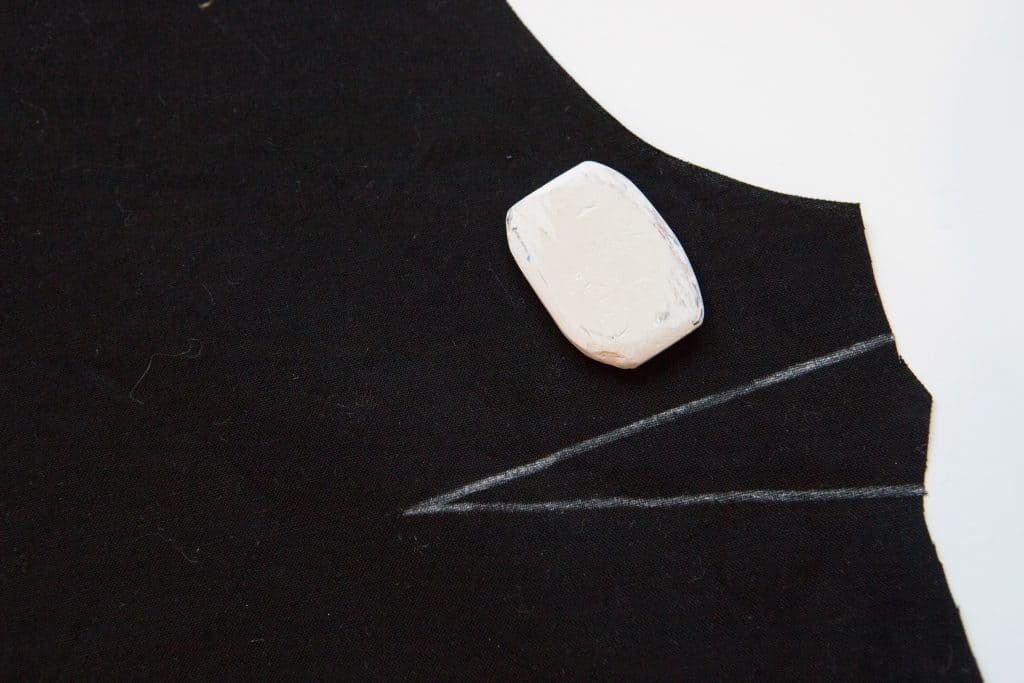
These cool mechanical chalk pencils are also available now. It works well, but I find I can get a sharper, more accurate line with tailors chalk or a traditional chalk pencil. As you can see, chalk is a great option for marking on dark fabrics.
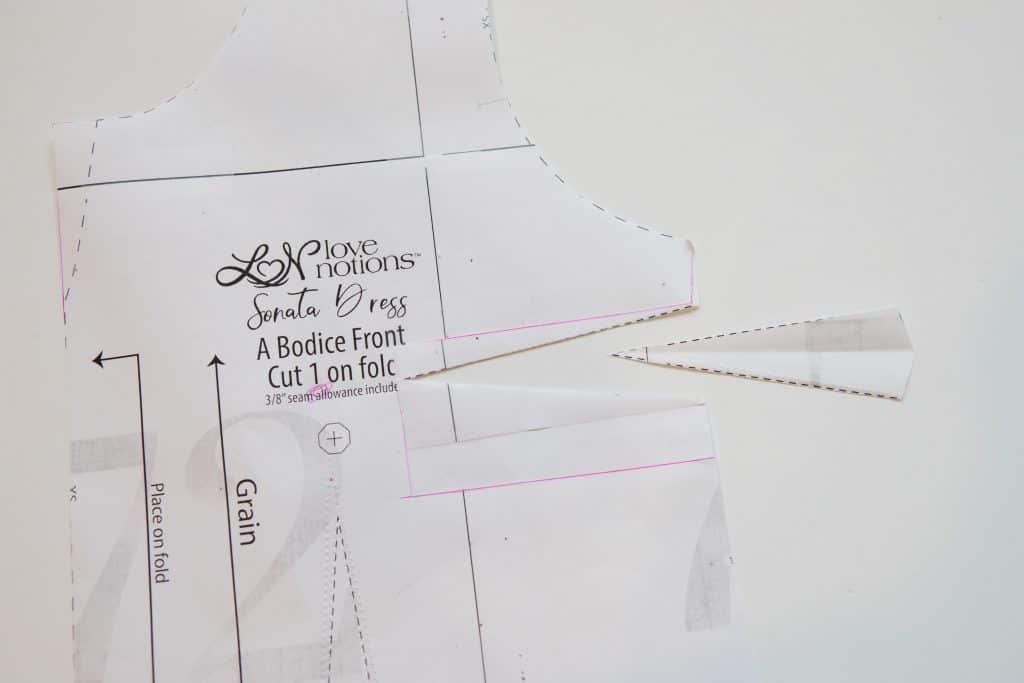
To mark your darts using a pen, pencil or chalk, you will have to cut out your dart on your pattern piece to make accurate marks. Just clip it out and set it aside. Tape it back in place next time you cut your pattern. If you tape with just one piece of tape, you can fold it up and out of the way the next time you sew.

Your Grandmother’s Tracing Wheel and Paper
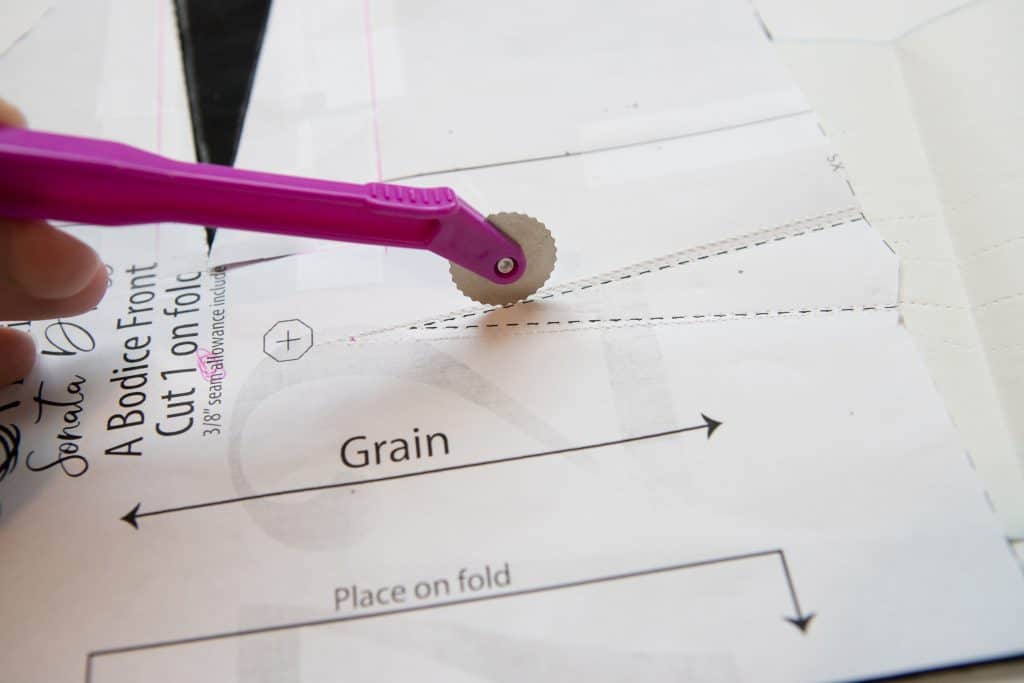
This is one of those tools you may have found in your grandmother’s sewing basket and wondered what in the world it’s for. The tracing wheel.
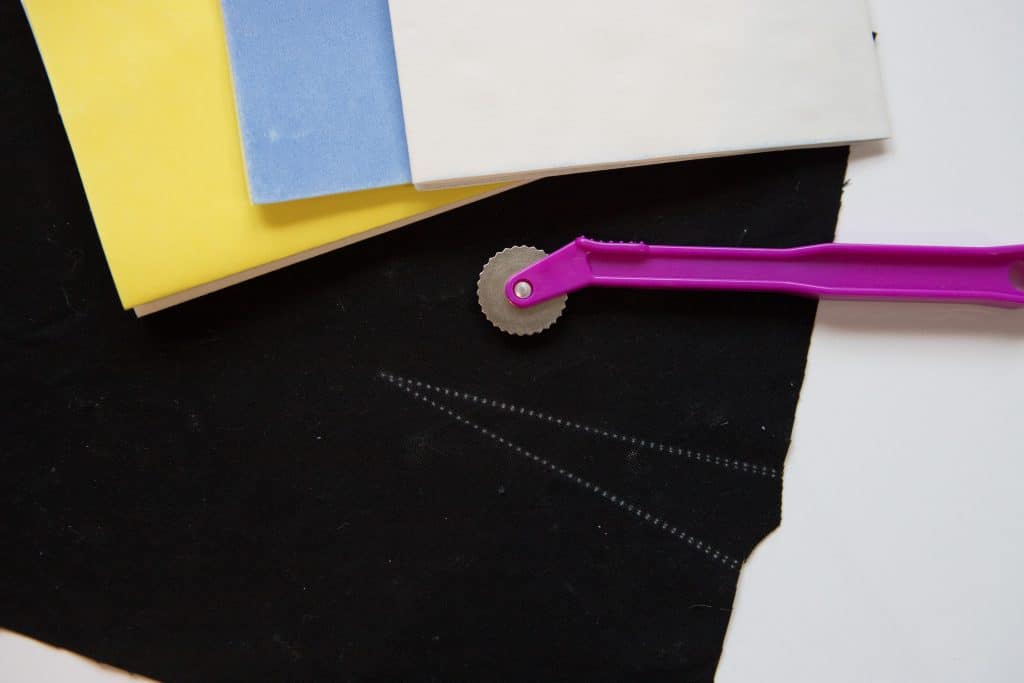
Let me tell you, this little tool, paired with some tracing paper, makes marking darts a breeze! Simply slide your tracing paper under the pattern piece and roll the tracing wheel along the dart markings. And BAM! Perfectly marked darts!!! Hands down, my favorite way to mark darts.
Tracing paper comes in a small range of colors making marking on a rainbow of fabrics easy.
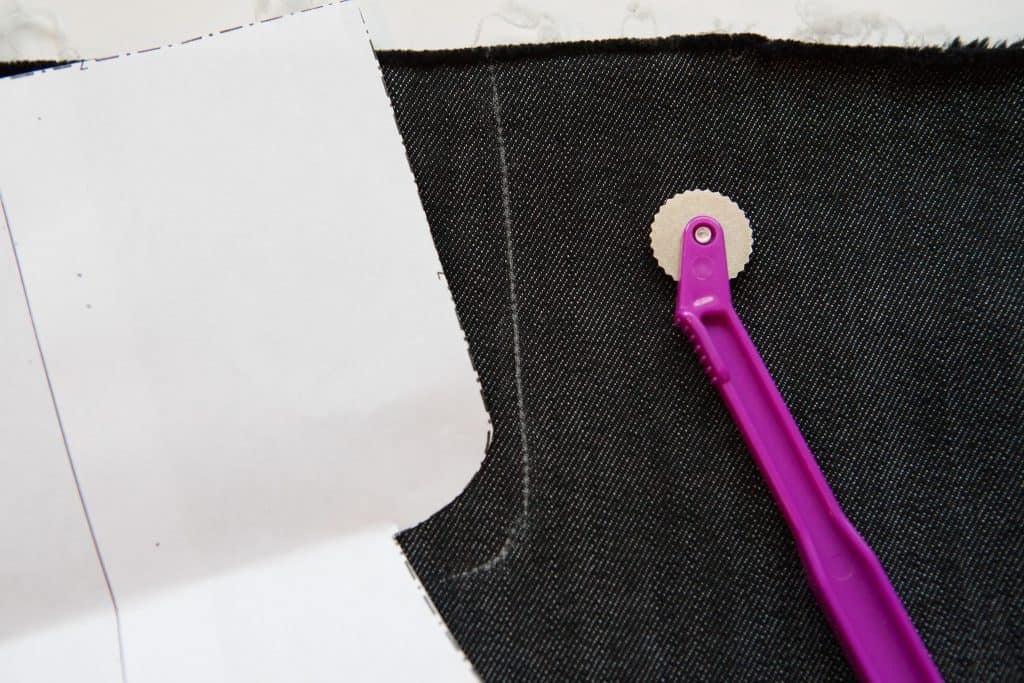
The tracing wheel is also amazing for marking where to topstitch a faux fly! After you have the front of your pants assembled, lay the pattern piece on top, with the tracing paper between the pattern and the fabric. Line the fly extension up in the proper place. You can feel where this is if you run your fingers over the pants. Mark the extension with the tracing wheel. There you go, perfect line to follow for topstitching! And just like chalk, tracing paper marks can be brushed off when you no longer need the line.
The magical disappearing pen
These pens are great for marking things like pocket placement and pattern notches as well as marking darts. Disappearing markers come in two types, water soluble and air soluble. Some markers are both air and water soluble Or, you can get both combined into one tool. To remove the mark, just let time do the trick if you have an air soluble marker. The mark will gradually fade away. If you have a water soluble marker, rub the mark gently with a damp cloth.
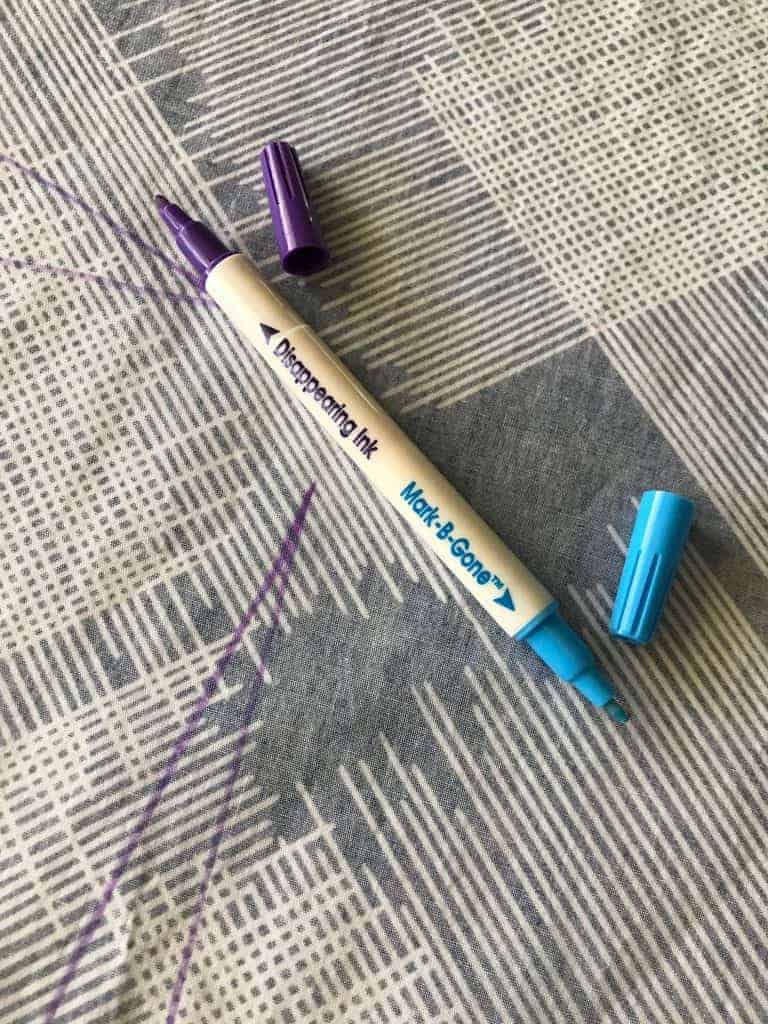
These markers are not idea for marking fabrics when there may be some time between when you can sew. Even the water soluble ones can disappear gradually over time. And if it’s really humid near your sewing space (say you sew in the laundry room, or in a tropical climate) they can disappear rather quickly. However, if you need a quick mark for just a short amount of time, these tools are great! Be sure to keep the caps snuggly in place though, because they can dry out.
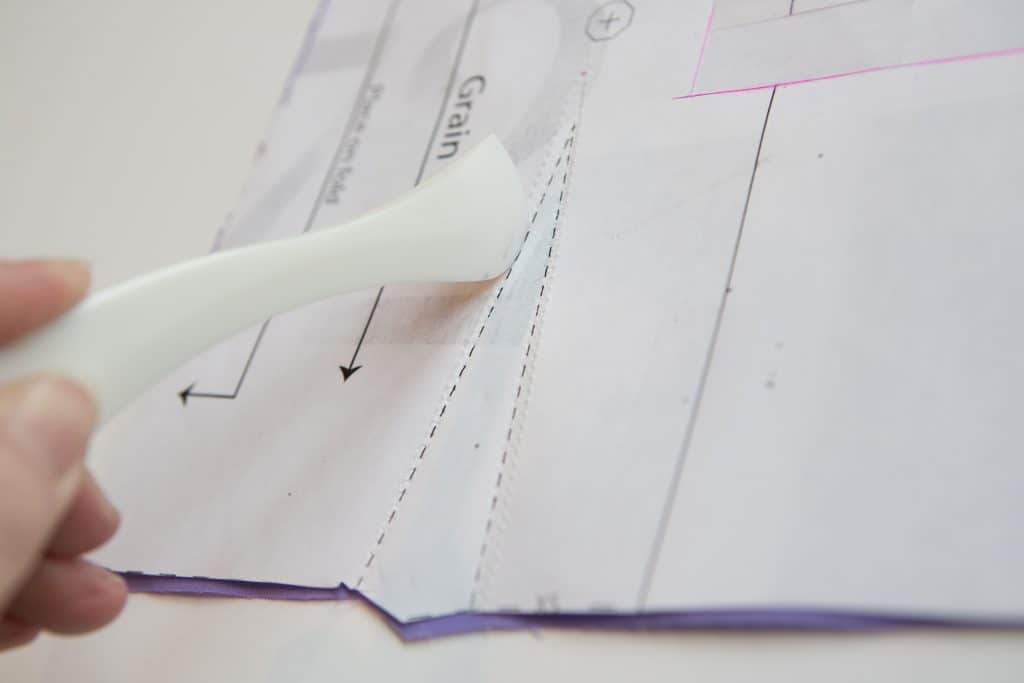
Clover Hera Marker
Quite possibly another one of those tools you found in grandma’s sewing box that made you scratch your head. Let me tell you, the Clover Hera Marker is pattern marking genius! You can mark front and back of a piece of fabric in one stroke. You can also mark though multiple layers of fabric. What?! Yes, you read that right! I can mark three layers of light weight woven fabric with this baby, two if it’s medium weight!
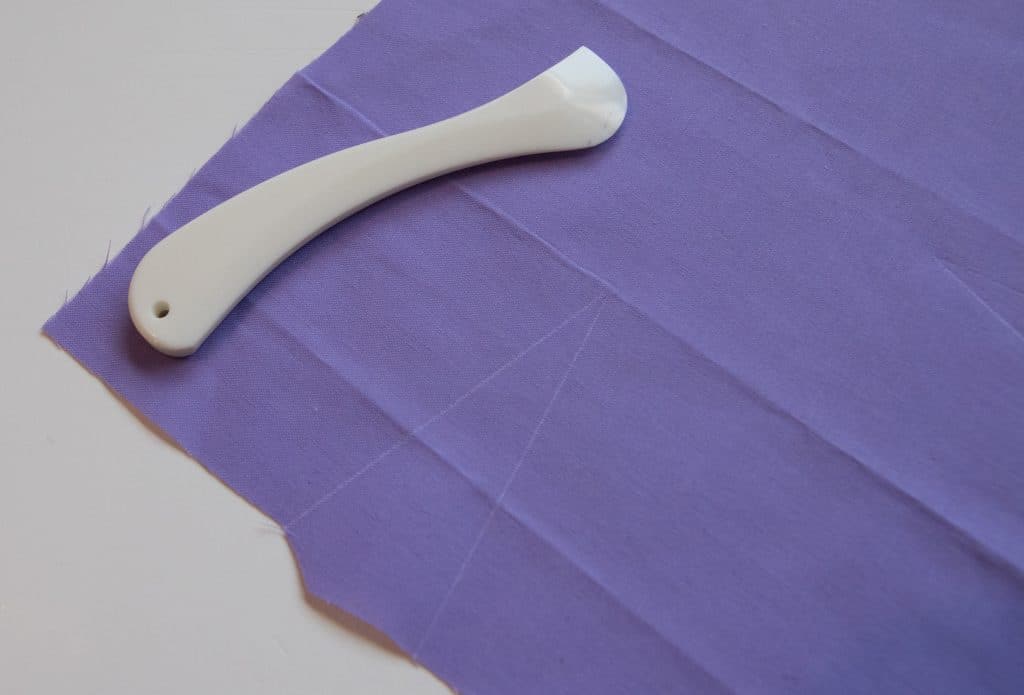
Simply hold the tool like a pencil and use the curved end to “write” on your fabric. You have to apply some pressure to it. It leaves a crease in the fibers of the fabric. It’s not ideal for busy prints, but solid fabric shows the marks beautifully. And, they disappear in the wash. This is one mark that is pretty much a guarantee to NOT stain your fabric, however, it doesn’t work well on shifty loosely woven fibers. Again, not a good choice for fabrics with a nap.
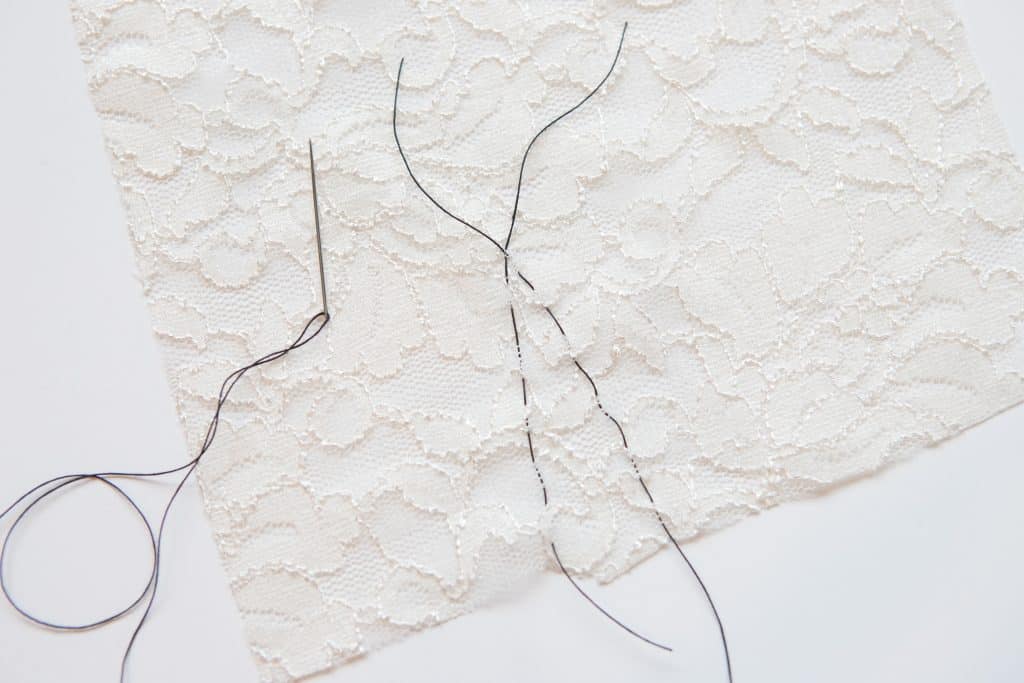
Good ol’ tailors tacks
Kicking back to old school tricks, tailors tacks are wonderful for a wide range of fabric types and colors. They may take a little more time than simply picking up a marking and drawing on your fabric, but they definitely still have their place. I couldn’t imagine marking darts on a delicate lace with a marking pen or pencil. Tailors tacks are the perfect solution! (anybody else want to make a lace overlay Sonata now?)
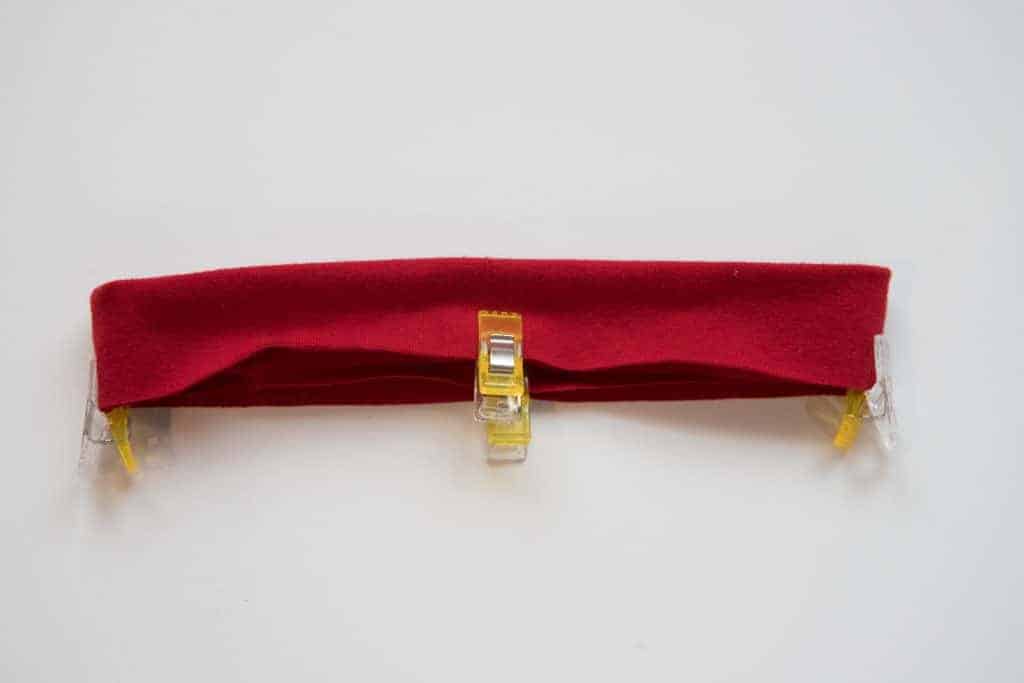
Really, pins and wonder clips!
Seriously, yes. Pins and wonder clips are on this list. And let me tell you, I use them a LOT, especially for marking the notches for sleeves. I really really REALLY dislike cutting notches. Sorry, but it’s true. However, I do know how important those notches are! So, I just reach into my bowl, yep, I keep each in their own bowl, and mark away! Two pins or clips for double notches, and one for a single. Depending on the fabric, pins or clips may be more secure. If you are using a very delicate fabric, make sure to keep your pin or clip in the seam allowance to avoid damaging the fibers.
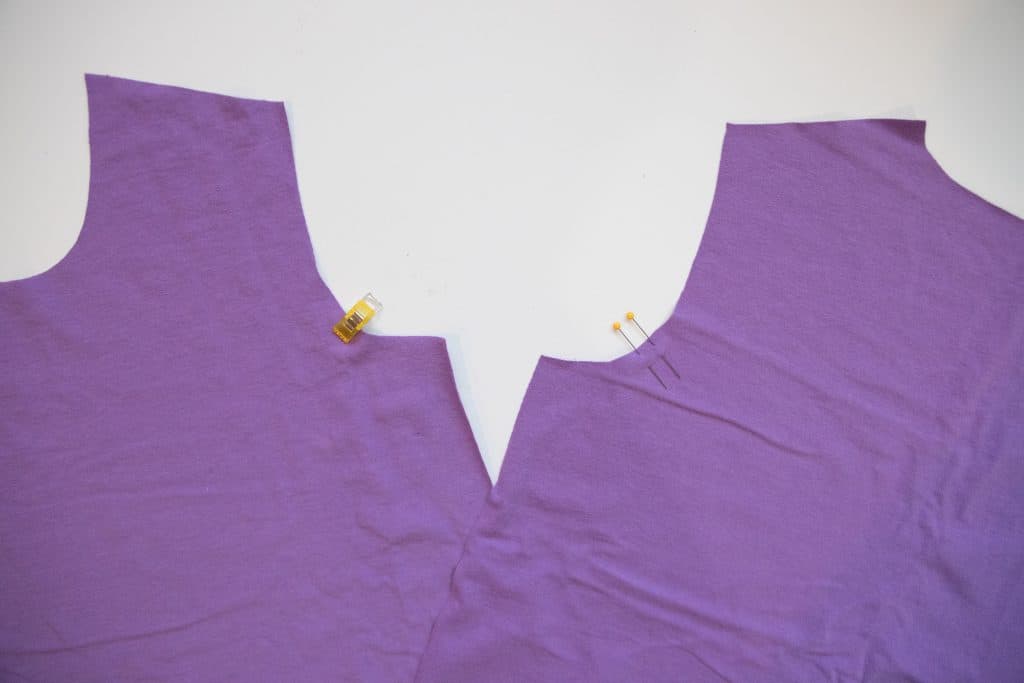
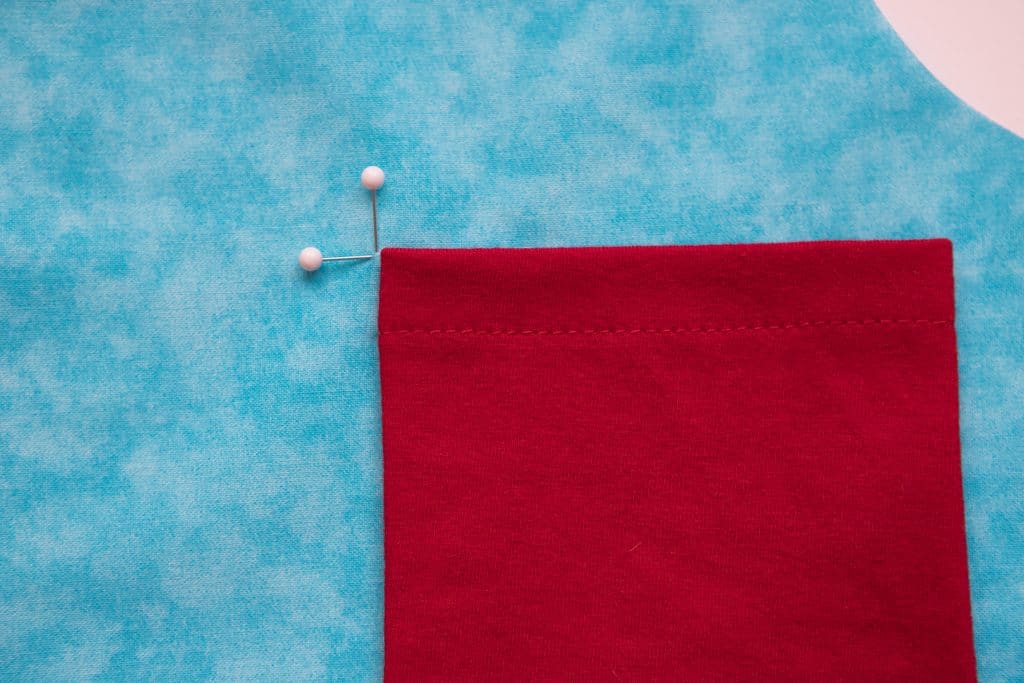
I also like to use pins occasionally for marking the pocket placement on a shirt. I cross two pins at the inner top corner marking. Then, I line that up with the pocket piece. Make sure to get the pins straight, so your pocket is straight as well.
Clips are also great for marking the quarter points on neckbands and necklines! Of course, you can use pins here as well.
The more permanent marks
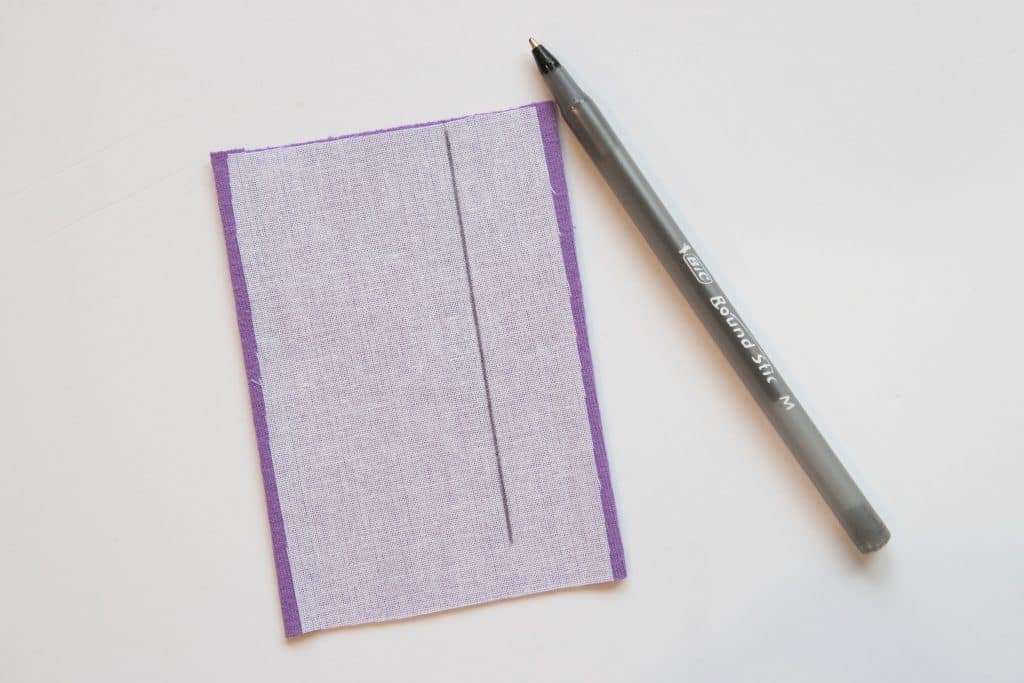
The items in this list are definitely more of a “use at your own risk”. However, I will state that I do use them all. the. time. You just have to be very mindful that these marks may NOT wash out. Even a washable marker can lie to you and leave a stain. I reserve these tools for marking where I either need to cut, say tracing a pattern, or in the seam allowance only. You won’t find me reaching for a ball point pen to mark a bust apex! However, a ball point pen is amazing at marking where a button goes. Just poke it through a button hole and it leaves a small dot that will be concealed once the button is attached. Again, this isn’t going to wash out, usually. However, they write on most fabrics effortlessly (again, think notch markings in the seam allowance) and I almost always have a pen in reach. They are also fabulous for tracing patterns on leather. Nice thin line to cut on and it dries instantly so the ink doesn’t smear. Below I used a ball point pen to mark the cut line for a button placket.
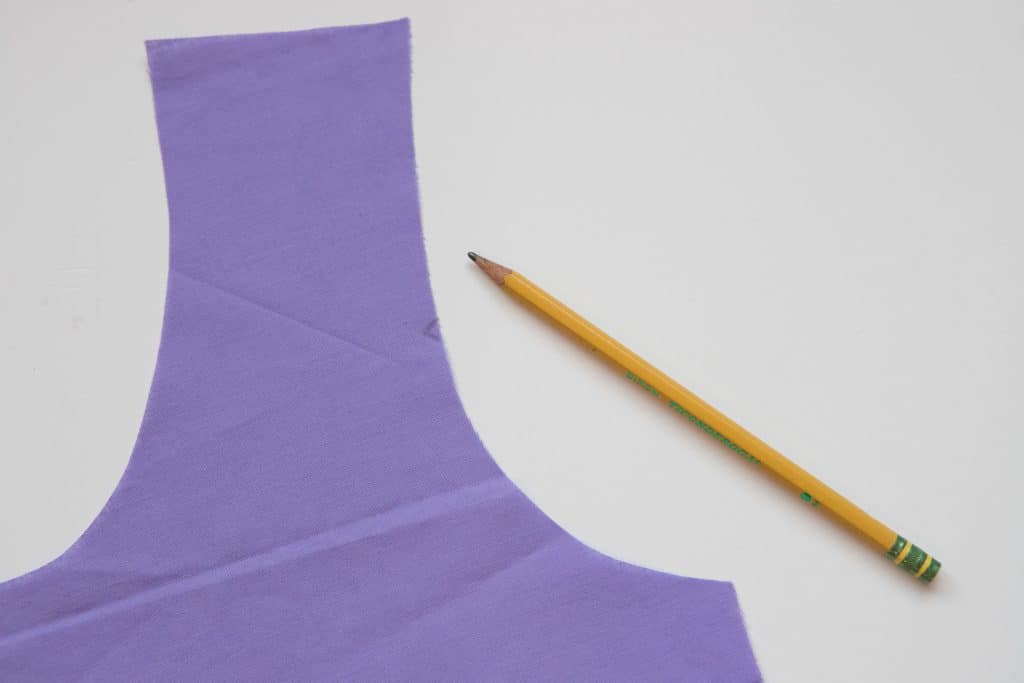
A standard pencil is awesome for marking sleeve notches in the sleeve allowance on lighter color fabric, or even where to cut when constructing a button placket.
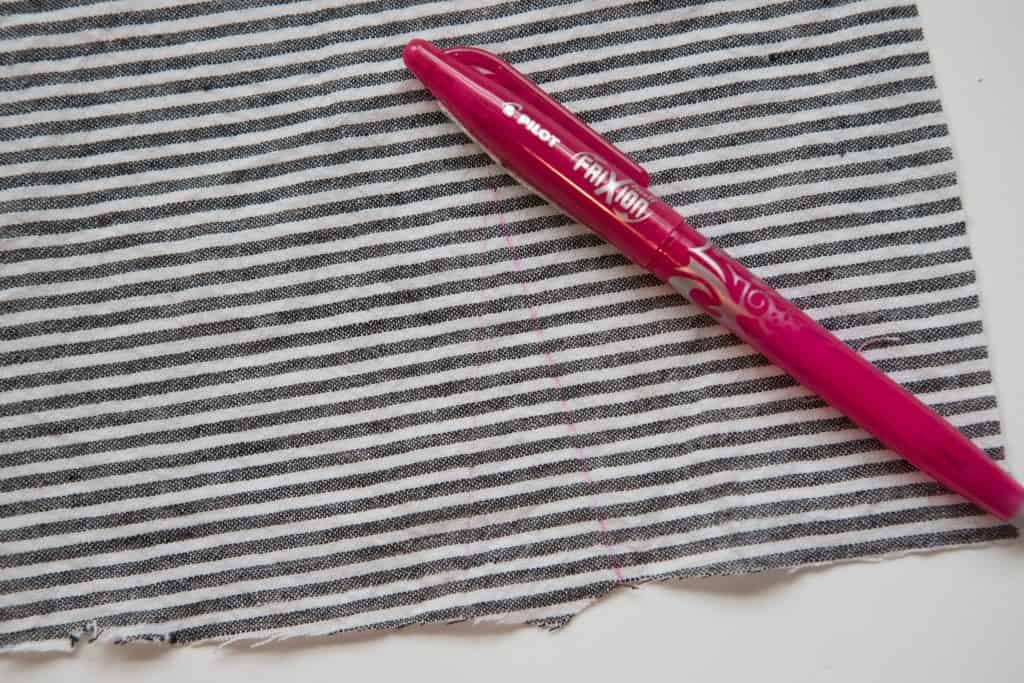
Frixion pens are a popular pattern marking tool for many seamstresses because the marks are no longer visible once you iron over them. However, use these with care! Sometimes the pens can leave a white stain on the fabric, or even worse, the ink marks can return when exposed to very cold temperatures! (sorry that the mark isn’t very visible here. My pen is running out of ink!)
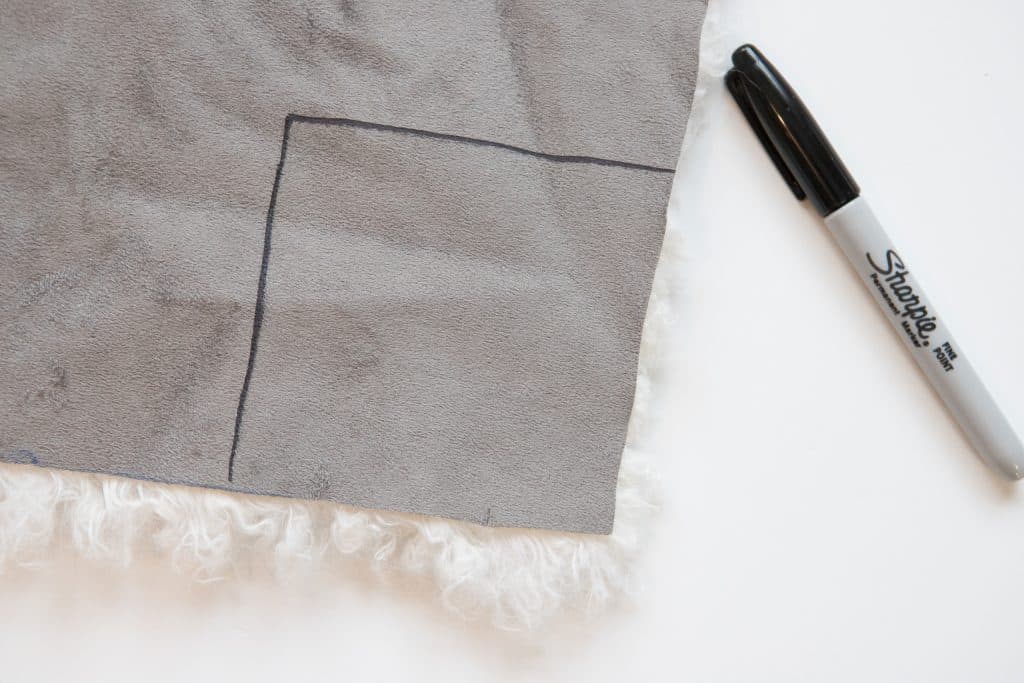
Sharpies. Yes. Sharpies. I have yet to find something better for marking the pattern on the back of faux fur. Yes, it’s permanent. However, since we are marking the BACK and we are cutting ON the line we are drawing, it’s fine.
There are other tools on the market as well that I know I missed. There are so many choices out there! Share your favorite way to mark your patterns in the comments below or share in our Facebook Support Group. I love new ideas!!!


I have been sewing for more years that most of you. There are some wonderful tips hiere. I learned some new tricks that I soon will be trying!
Very informative – thanks!!!
One of my favorites for many years is a sliver of bath soap. It marks on knits and wovens, of course washes out, lasts a very long time both as a mark and in the drawer. Smells wonderful if you use the end of some fancy hard milled scented soap. No good on nappy fabrics, or fabrics of the same color as the soap!
Great tips! Marking fabrics and using the tools properly has always mystified me!!