
Hi all! Tami here. As we were re-testing the Rhapsody we stumbled upon a couple of great pattern hacks that Pam/Rocketcitysewist & I wanted to share with you all. One of the great things about sewing is you can pretty much turn any pattern into your own creation. I truly love to see others use Love Notions patterns as a base to their unique vision. It’s so rewarding to know I’ve created a pattern that can work as a base to other’s creativity. So let’s jump in!
Tie Waist Rhapsody Dress
As written the Rhapsody Dress calls for thin elastic (1/2″ or 3/8″ works well) in a casing at the waist. Thin elastic can be really hard to find these days due to all the mask-making going on. So today I’m going to show you how to do a tie waist instead of using that precious elastic.
- Before we begin construction, find the center of the front skirt piece and mark small buttonhole placement markings on either side of the center front marking. 1/2″ should be a nice size (either horizontal or verticle is fine, just stay out of the 3/8″ seam allowance). Fuse fusible interfacing close to the raw edge on the wrong side, covering both markings.
- Follow the pattern has written through page 17, step 2 where you align the bodice to the skirt at the waistline, right sides together. Once those pieces are aligned, serge or straight stitch using a 3/8″ seam allowance.
- Turn the dress right side out. Now, tuck the bodice into the skirt so wrong of the bodice is facing the wrong side of the skirt. Press along the waistline to get a crisp seam. Straight stitch 1″ from that seam. This will create a ‘flap’ that will be our new casing.

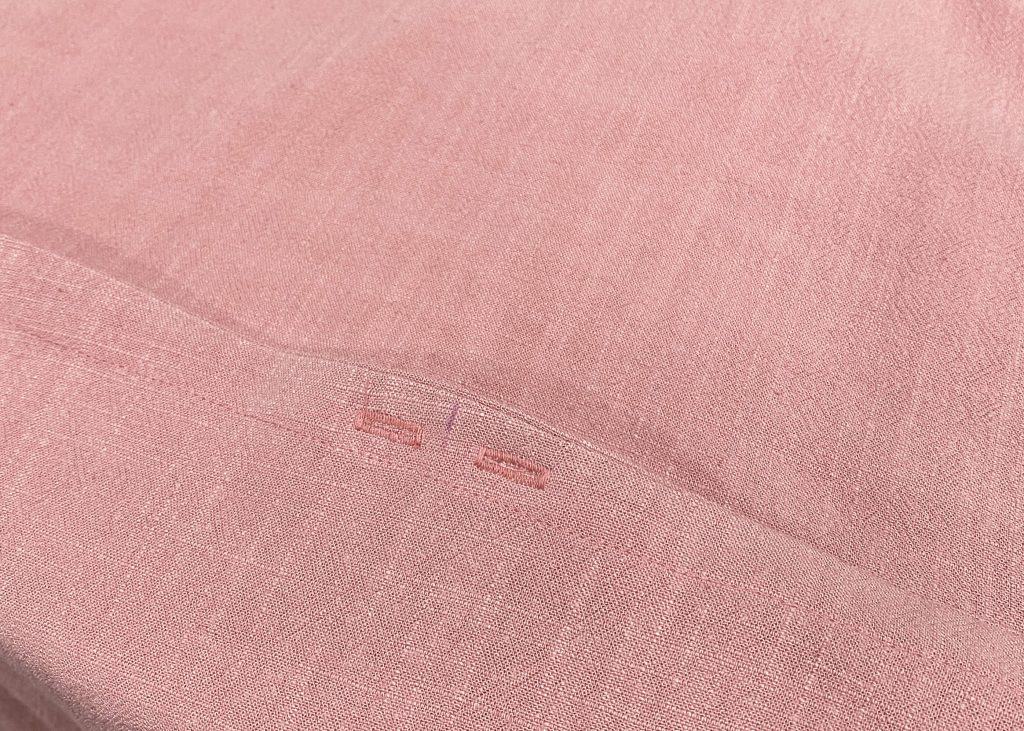
- Work your buttonholes at the markings.
- Press the flap up. This now the casing.

- Pin the casing up, all the way around the dress.
- Straight stitch as close as possible to the top seam.
- Your casing is ready for the tie! To create the tie, cut a strip long enough to go around your waist plus about 15″-20″ by 1 1/2″ wide. Straight stitch around strip leaving one short end open. Turn strip right side out with a turning tool. I like using the EZ Point & Turner but I’ve heard good things about Dritz’s Quick Turn as well. OR, you could just use 1/2″ wide bias tape and avoid turning completely.

- Insert your tie into one buttonhole using a bodkin or safety pin. Run it through the casing and out the other buttonhole. Try the dress on and adjust the tie to evenly gather.

That’s it! You now have a Rhapsody Dress with a tie waist instead of elastic.
![]()
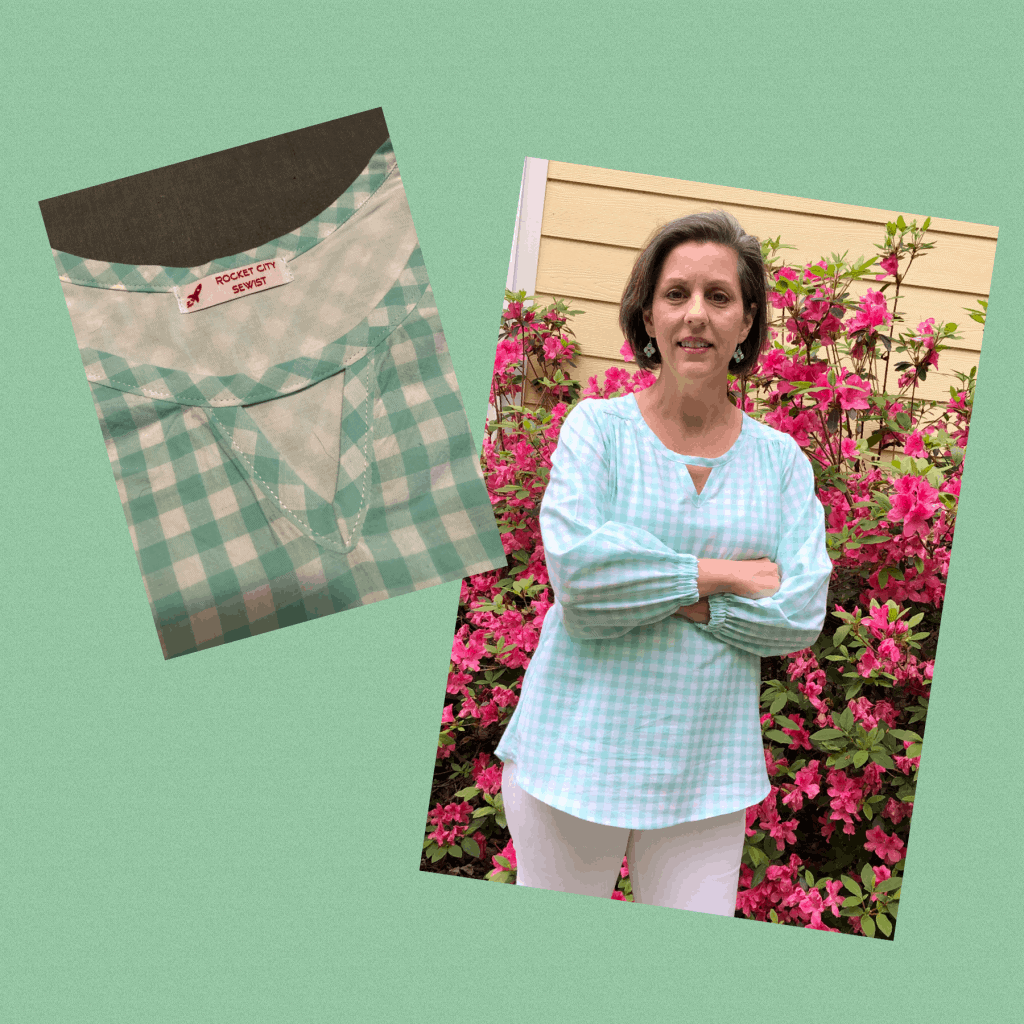
Pam has another hack for you– Create a Continuous Neckline
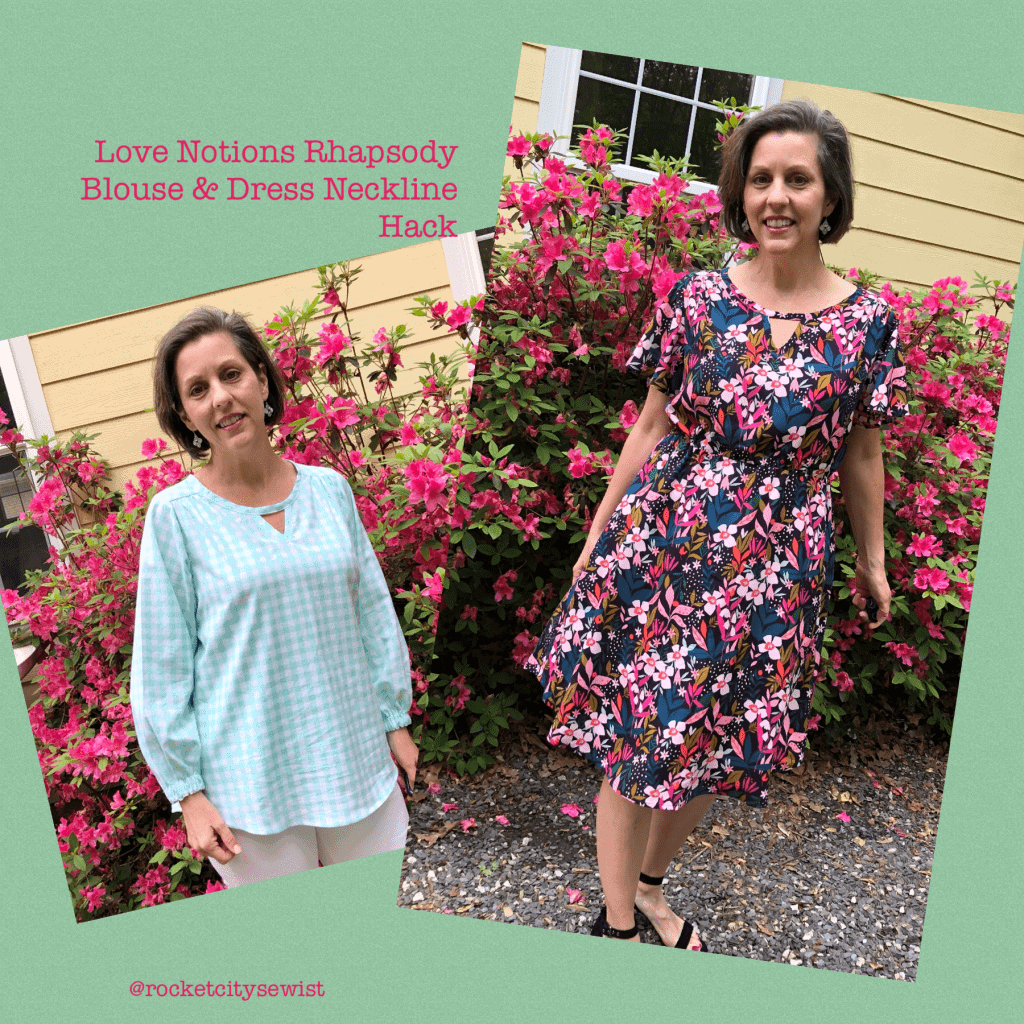
Hello! I’m Pam @rocketcitysewist and I’m excited to show another neckline version of the super versatile Rhapsody Blouse and Dress. It’s an easy little hack that gives a different look to the neckline and can offer a bit more modesty if you need it. Let’s get started!
Since we are only changing the neckline, there is only one slight change you will need to make when cutting out your pattern. In order to give a more substantial feel to the neckline band, cut your bias strips 2” wide. You will only need about a yard of the bias instead of the full two yards.
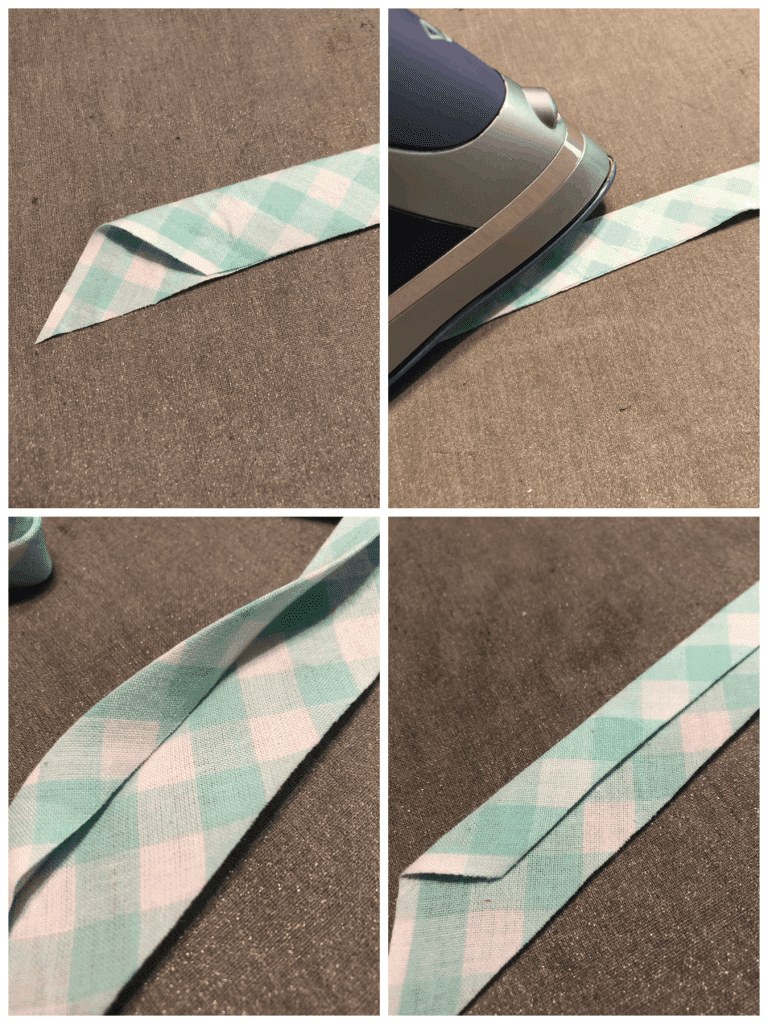
Instead of using a bias tape maker, I prefer to fold and press this small amount of bias myself. First, fold the strip in half lengthwise. Unfold it and then fold one long edge in to meet the first crease line. Give that a careful press without ironing out the first crease in the middle. Finally, fold it together and press it one more time. Notice that I didn’t fold in one long edge at all. That’s the side we will be stitching from first so there is no need to bother with a crease on that side.
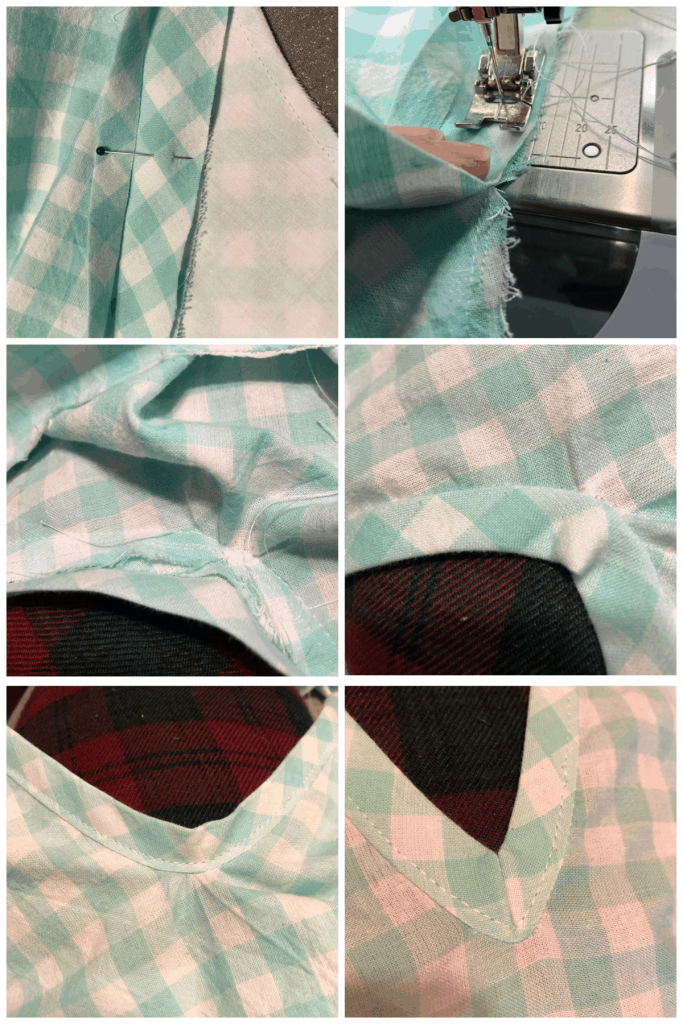
Follow the directions for your chosen view of the Rhapsody all the way through until you get to the steps for the neckline. Sew a nice short stay stitch 1/4” at the bottom of the V, about an inch on either side of the point. Snip close to the stitching without snipping through it at the bottom of the V. Since our bias is a little wider, snipping here is going to make attaching the bias easier.
Stitch the bias to the V using a 3/8” seam allowance, matching the raw, unfolded edge of the bias to the edge of the V, right sides together. Stitch with the bias tape on the bottom so that you can see and avoid any wrinkles in the fabric. Go slowly around the bottom of the V, pulling the wrinkles of the top out of the way as you stitch. Refold the bias tape and give the V a good press. Finish the bottom of the V according to the pattern directions.
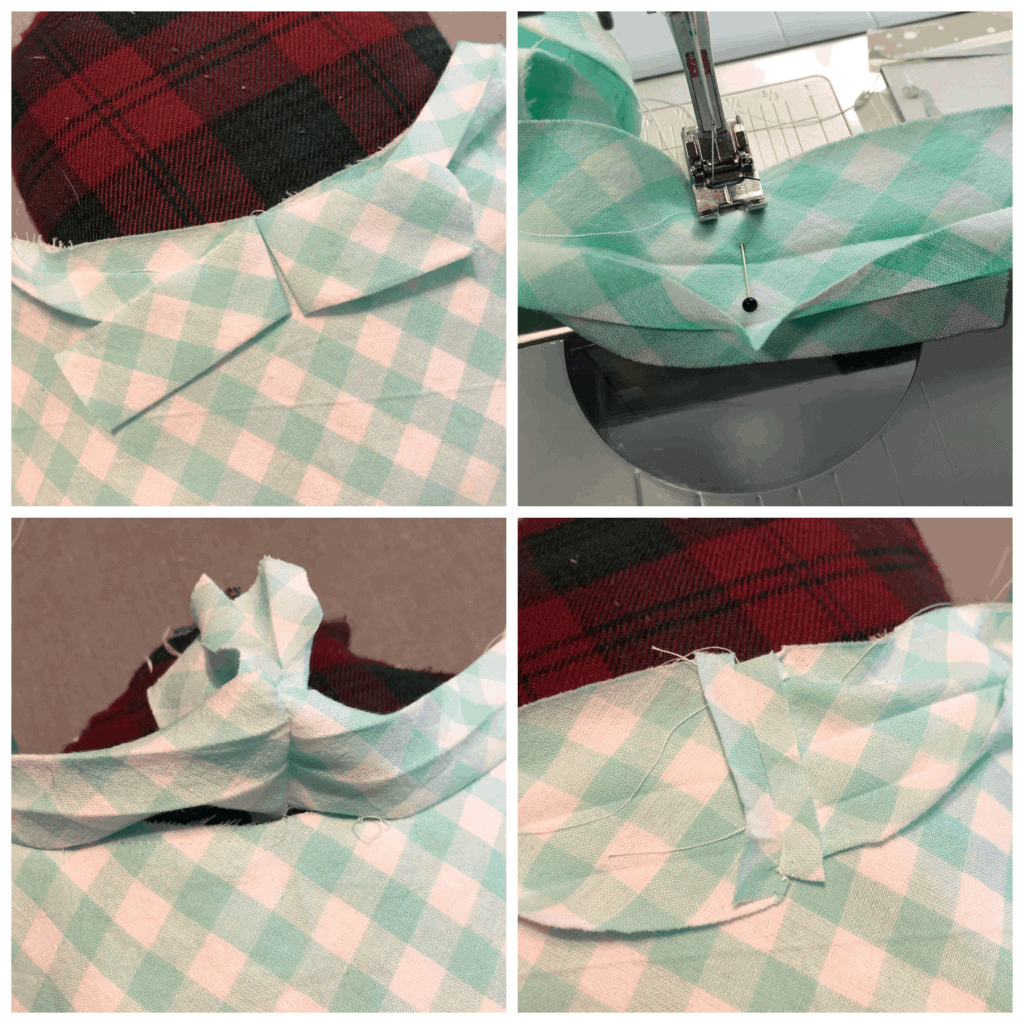
Now, align your bias tape to the neck edge. Start at the center back, leaving 2-3” of extra bias. Start pinning all the way around the neck. When you get to the front, lay your blouse flat, making sure the V is smooth and flat. Keep pinning, spanning across the top of the V, and continuing around to the center back. Starting about an inch from center, baste the bias tape using a 3/8” seam allowance. Don’t skip this step! You want to make sure the bias lies flat and smooth at the top of the V. (I learned this the hard way!)
Once you are happy with the neckline, match the ends of the bias at the back and stitch them together. Trim that seam to 1/4” and press open.
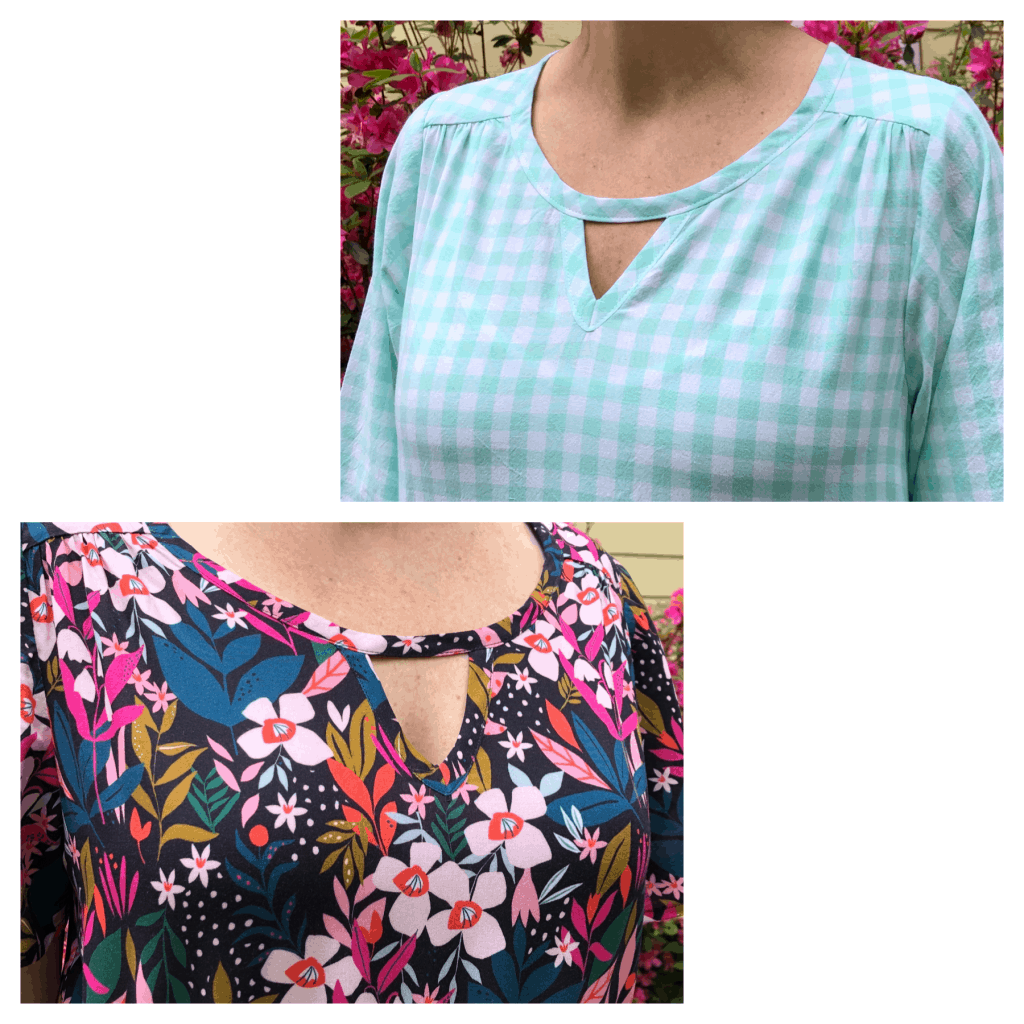
Stitch over the basting at 3/8” seam allowance. Skip stitching any of the bias over the span of the V. Flip the bias back over and give it all a good press. Make sure the folded edges of the bias tape match neatly at the span. Starting at the back, topstitch the bias tape all the way around, making sure to catch the edge of the bias on the backside.
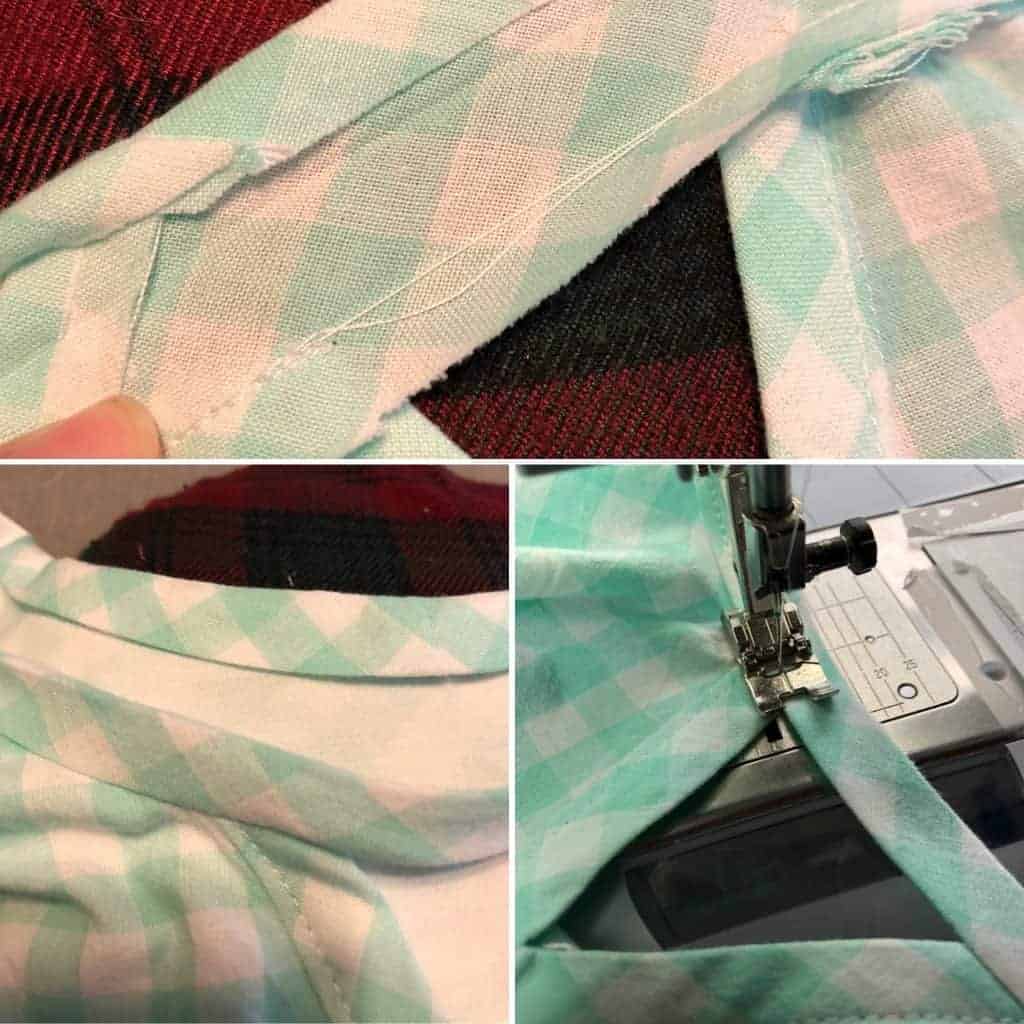
Give it all a good press, add a label to your fabulous new blouse and TA DA! You’re all done! Thanks for following along! Make sure you grab your Rhapsody Blouse & Dress pattern while it’s still on sale!
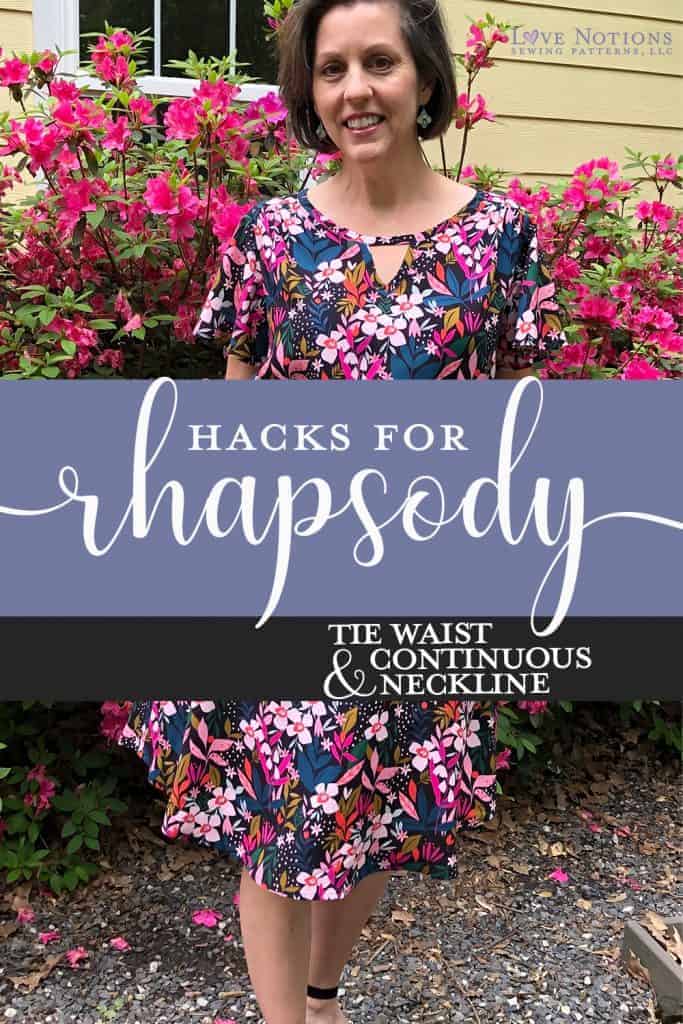
Pin this for later!


Love this ❤️!
Thanks Judi!
Great hack! I love both of them and can’t wait to try once I finish all the masks I’m making. Blessings to all and thanks for sharing.
Love this idea! Will try it on my next rhapsody. Thank you! 🙂
What a great way to change-up the pattern. Thanks! ????
I’m excited to try the continuous neck line. Even though you clearly state to “Stitch with the bias tape on the bottom…”, the pictures look as though you are stitching with it on top. I will try it on the bottom, since my first one I did it with bias on top and it could look better. Thanks for the hack.
I love this hack…it is so cute…
I’m trying to find the pattern. I see all the hacks, etc. but not where I buy the pattern.
here is a link to the patter, Verna! 🙂 https://www.lovenotions.com/product/rhapsody
I just love Love notions more and more and the community support is amazing, so thankful 🙂
I cut a 2x with full bust, based on upper bust measurement. But it doesn’t fit the front. Full bust measures 50 inches. Cup size is F or G.
Can someone help me achieve a fuller bust adjusted?
Hi Sandy. The 2X full bust piece will not give you enough ease for a 50″ bust measurement. You can use the 2X shoulders and high bust but grade to 3x from the full bust down as needed.
Alternatively, you can try a dartless full bust measurement. Helen’s Closet has a really good blog post on this method: https://helensclosetpatterns.com/2017/03/21/how-to-do-a-full-bust-adjustment-without-any-darts/
Also you mentioned that your cup size is F or G. It is important to note that sewing cup sizes differ from traditional bra cup sizes. For example, I wear a DD bra but sew a C cup in Love Notions patterns. You determine your sewing cup size by subtracting your high bust measurement from your full bust measurement. Here is our sizing chart with cup size measurement information: https://www.lovenotions.com/size-charts
I hope you find this information helpful. I highly recommend joining our Facebook group as well. There is tons of sewing support there and lots of help when it comes to sizing and fitting our patterns: https://www.facebook.com/groups/lovenotionspatternsupport
Happy Sewing ~K
I am so excited to buy this pattern today. I’ve been on a sewing hiatus for a year already and had this earmarked to look at in about 6 months. Taking a short break from my retirement “work” (renovating), I was looking through my patterns and remembered I wanted the Rhapsody. It’s on sale too, so bonus! Thanks so much.
So glad that this is this is the Feature Friday’s pattern this week. Can’t wait to make it this weekend.
I live in Mauritius and this pattern fits into my budget as our money to the $ is really expensive.
Thank you so much must have seen all the You Tube posts on this blouse.
Can’t wait to pair it with my Duet Trousers.
Oh yay! Oh it’s so nice to have someone from Mauritius here. Happy sewing! ~K