
Sonata Hacks
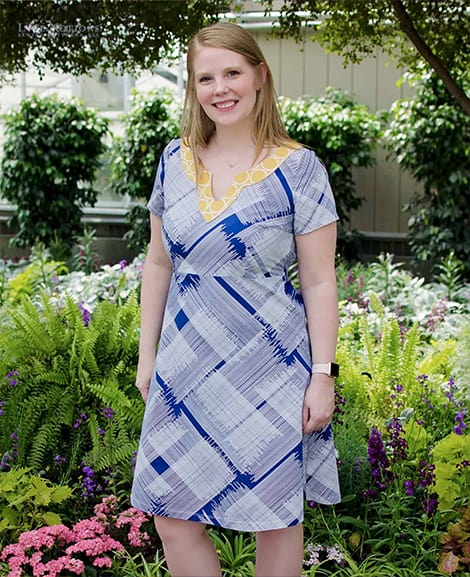
Sonata is the newest pattern from Love Notions and we just LOVE it, especially that neckline! However, what if you want to create a different look? It’s simple! Today, we are going to talk about how to modify the neckline and how to color block a curved hem skirt. Get out those rulers and pencils, we have some pattern hacking to tackle!
How to modify the Sonata neckline
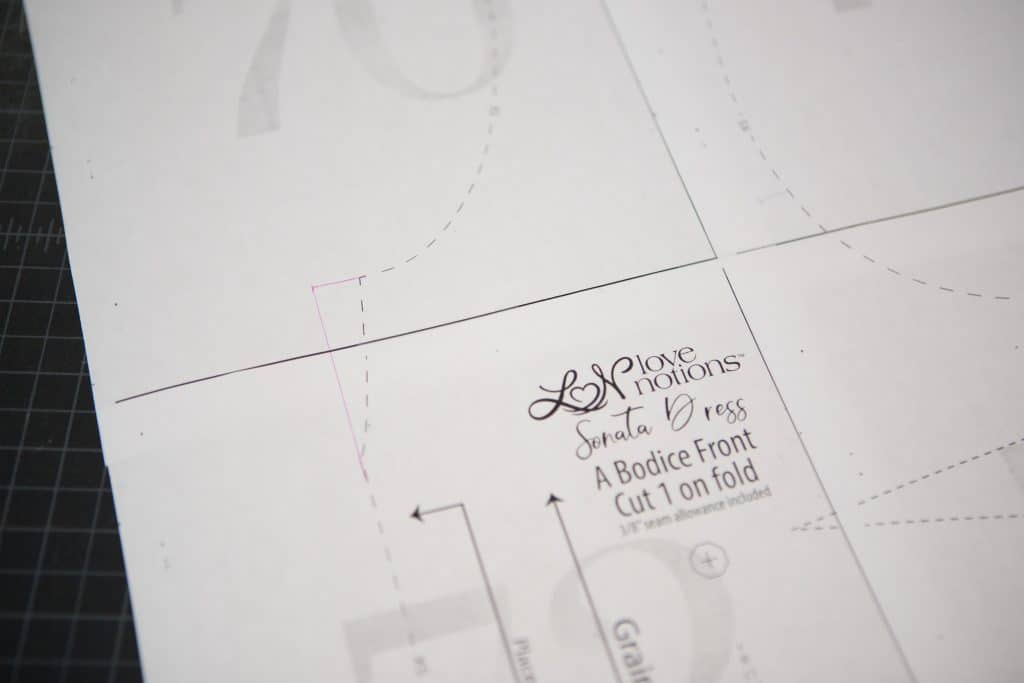
Modifying the neckline of Sonata to have a basic scoop neck is a VERY simple change. If you’ve never changed up a pattern before, this is a fantastic place to start. First, using a straight edge, extend the center fold up till it is the same height at the curved portion of the neckline. Next, carry the curved portion over till it meets the line you just drew. Keep this line pretty straight. I just freehanded it.
To finish the neckline off, you have two options. You can do a lined version of the dress and cut two bodices and sew them together at the neckline as the pattern instructs. Or, you can simply finish off with single fold bias tape in the same manner that the sleeveless version of the dress is finished. I went with bias tape for my daughter’s dress because I was sewing with Kona cotton and I wanted to keep the bulk down.

That’s all there is to creating a scoop neck on the Sonata dress! You can do this with pretty much any neckline with that v cutout! I’ve had plans of doing this with Rhapsody forever, but I can never bring myself to do it because I love those bias strip strings so much.
Now, let’s tackle that color blocked skirt

To start with, I did shorten the skirt 2″ using the shorten/lengthen line on the pattern piece. That alone can change the look of this dress! But let’s continue on with the color blocking, shall we?
The most difficult part of color blocking a curved hem skirt is keeping those curves consistent. If you have a French curve, great! Find the curve that matches the hem of the skirt and go to town drawing in your lines. I didn’t have a French curve, so I had to improvise. So, when cutting out my skirt piece, I carefully saved the portion that I cut off from beneath the bottom of the hem. Viola! We have a template! (Make sure your template is the same width as the bottom hem.) Now, decide how wide you want your stripes. If you want to keep it simple, just make them random, varying widths and call it a day. I wanted them all equal, so that required some math. I used the skirt FRONT to determine this since the skirt back has the elastic casing at the top.
Measure the length of the center fold of the skirt front. Subtract 3/8″ for the top seam allowance and 1″ for the hem. Then, divide that number by how many stripes you would like. I used the xs and my stripes ended up being 4 3/8″ inches tall. Starting 1″ up from the bottom hem (this allows for hemming) make your first mark and measure up the center fold marking for each stripe. Repeat with the back.
Now, take your curved hem template and line up the center with the center of the skirt and draw your curved line in. Repeat with the back piece.
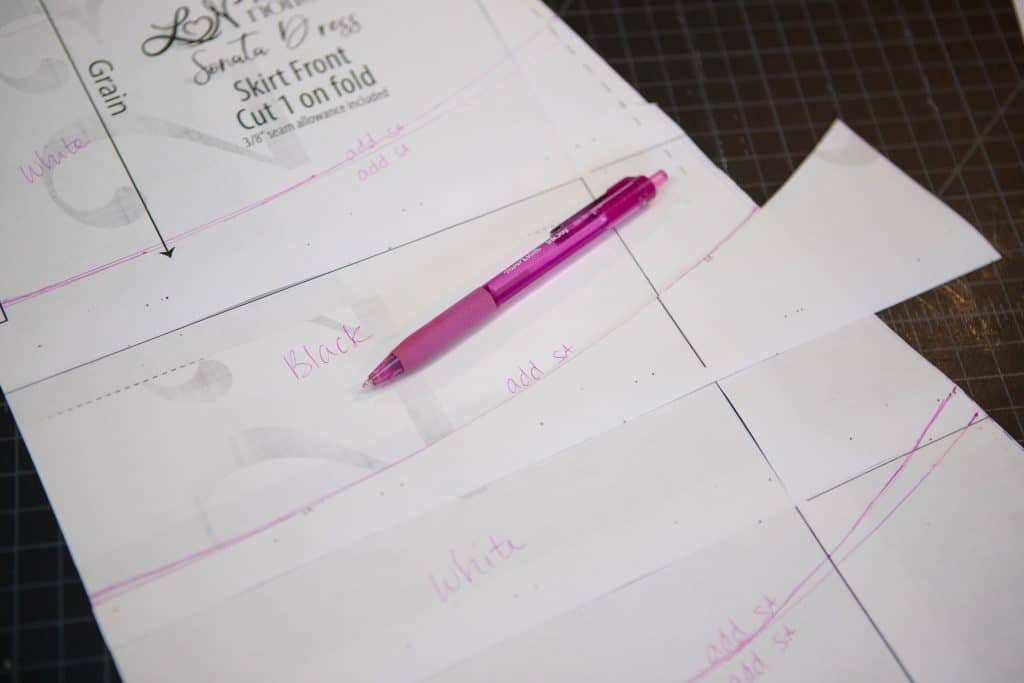
Okay, so here is where things tend to get a bit more tricky, with this Sonata hack. Because the back skirt is wider than the front skirt, the hems have different curves. Before you cut apart your skirt pieces, make sure the sides line up. You can see above where I had to make some slight adjustments. Not a bit deal, just go along the front piece and adjust. Remember to start at the BOTTOM since the back has the elastic casing at the top. I did measure along the side seam to make sure the curves were the same width at the side as the front. This is the trickiest part of the whole process. Just take your time, it’s completely doable!
Now that you are done drawing in your lines, make a little note on both sides of the lines to add seam allowance when cutting. You can either retrace your pieces onto paper creating new pattern pieces and add seam allowance accurately, or you can do as I did and just guestimate it as you cut your fabric. To keep track of what color I wanted each piece, I also marked black or white on each stripe section. To keep my fronts and back from getting mixed up, I cut the front and assembled, and then cut the back and assembled. When sewing your curved lines together, remember to pin in the center and then the ends and ease the curves together. Press well in the direction of the darker fabric and then topstitch in place. Then sew the dress as instructed.

-
Sonata Dress
$12.50