


This blog post and make is a Pinterest dream come true! Join Anjori as she showcases her stunning creation, and gives us all the scoop about making a dress from a tunic pattern. So often those pinned inspos can be a huge “pinterest fail,” but Anjori really nailed it, wouldn’t you agree?!
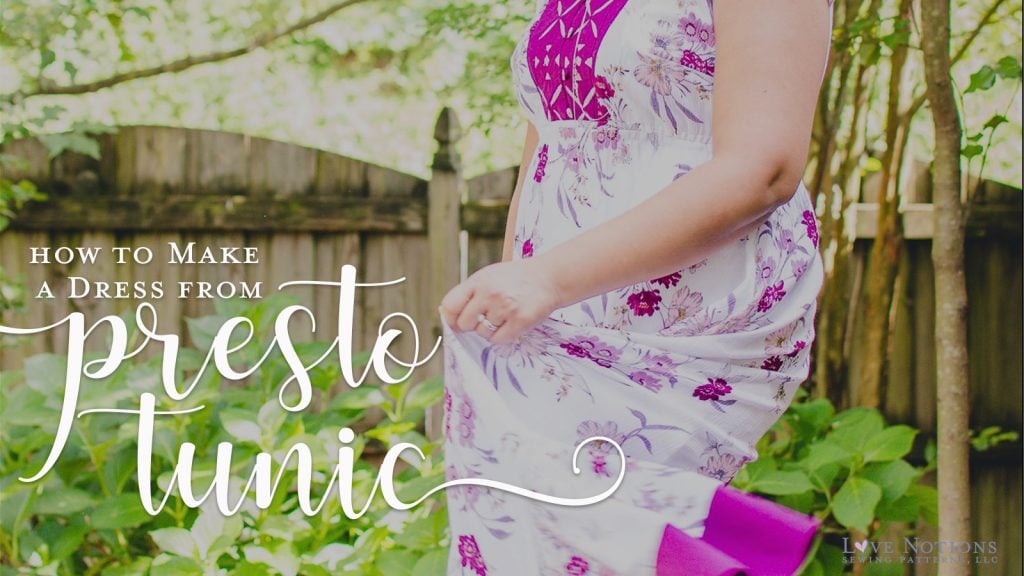
How to make a dress-length Presto Tunic
Hi everyone, it’s Anjori from Bee Threadly. I hope you are all staying safe and healthy!
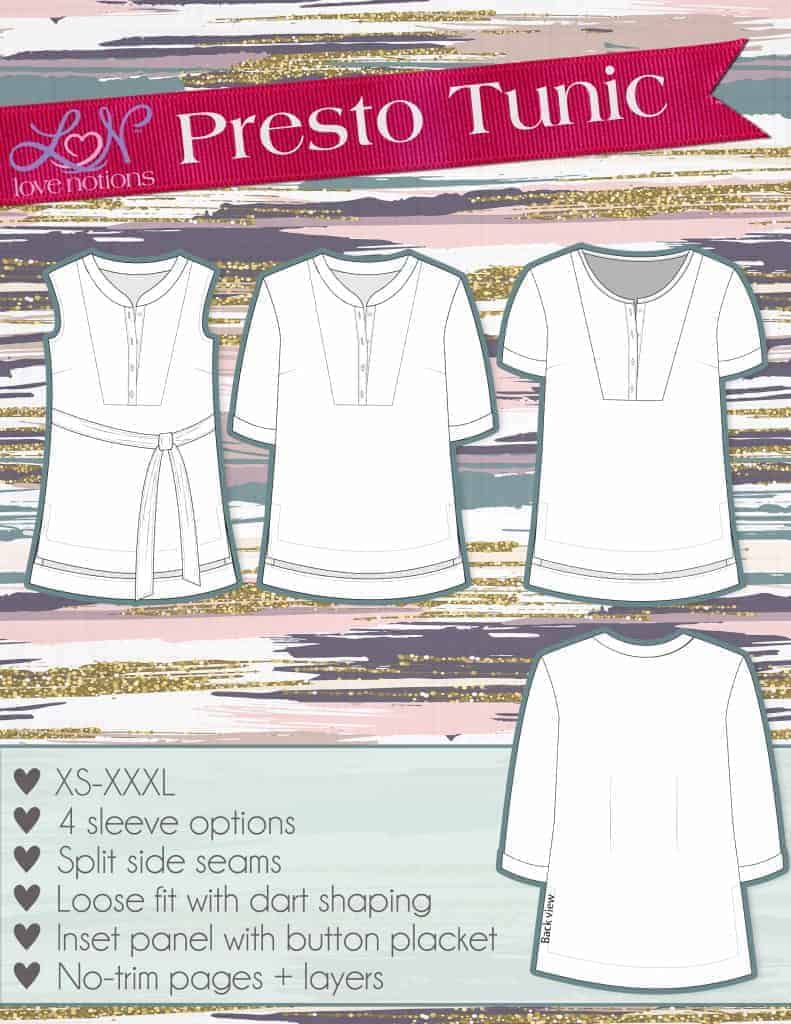
All About Presto Tunic
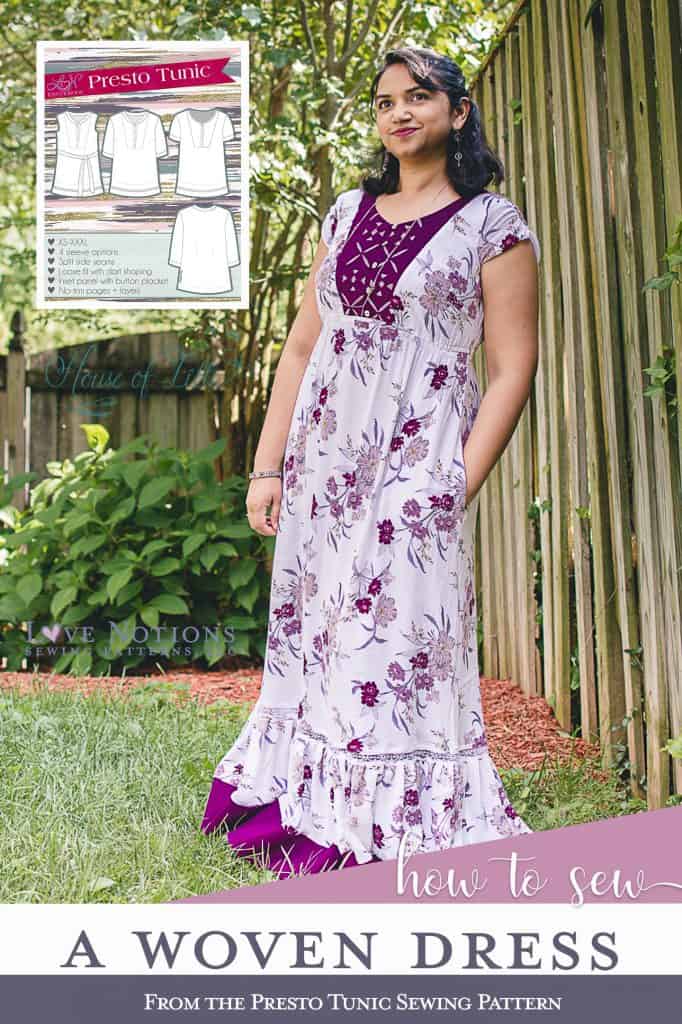
Today I’m going to talk to you about the Presto Tunic. As the name suggests, it’s a tunic with a looser fit and a front inset panel. The panel is perfect for mixing and matching Fabrics, Something I really like to do. I really wanted to make this pattern. But it Is a tunic, And I really, really, really like dresses. So, Today I’m going to show you how to turn it into a dress. The Presto Tunic is the Feature Friday Pattern this week. For today only, you can grab this fun top for only $5! I’ve linked to the pattern above with my affiliate link.
INSPIRATION FOR DRESS LENGTH PRESTO
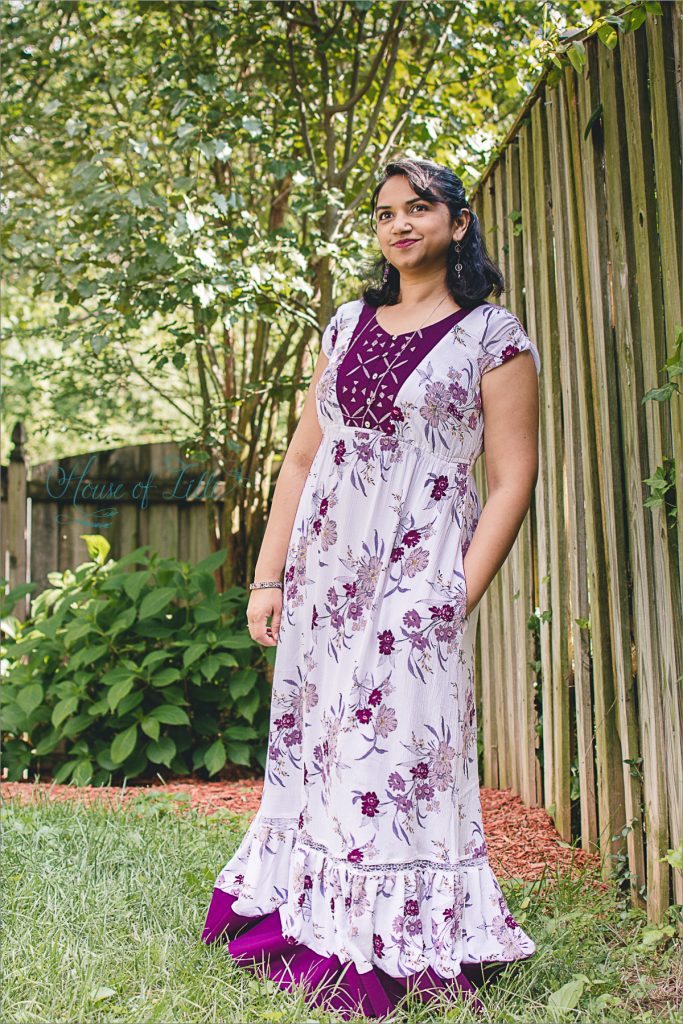
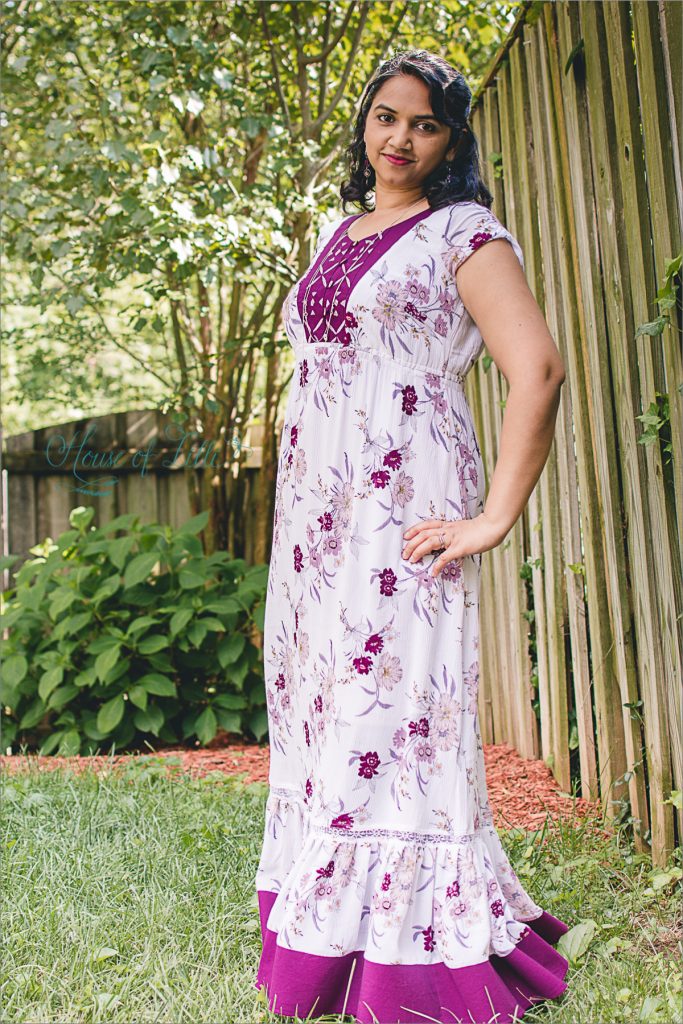
I saw this photo in the rabbit hole that is Pinterest and really loved everything about it. There is a front yoke just like the Presto so I figured I would give it a try.
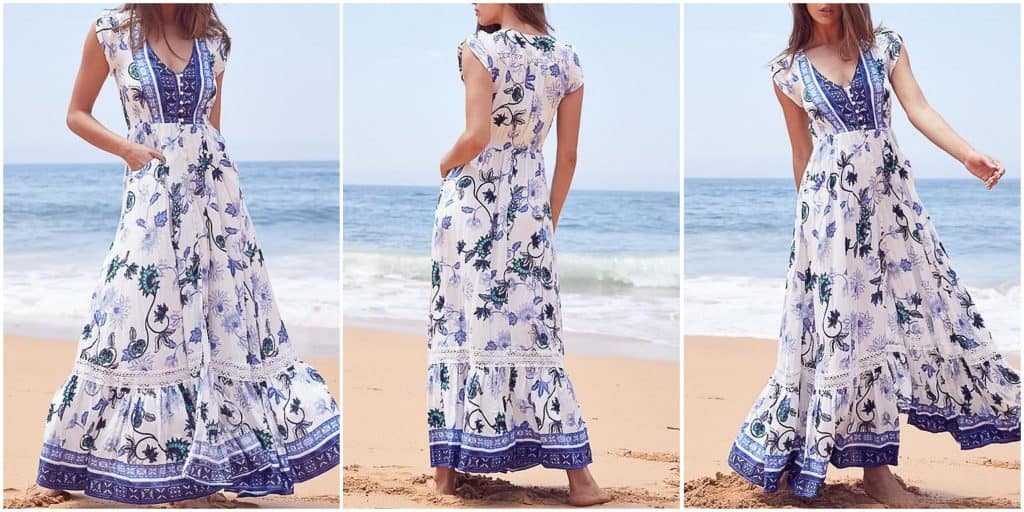
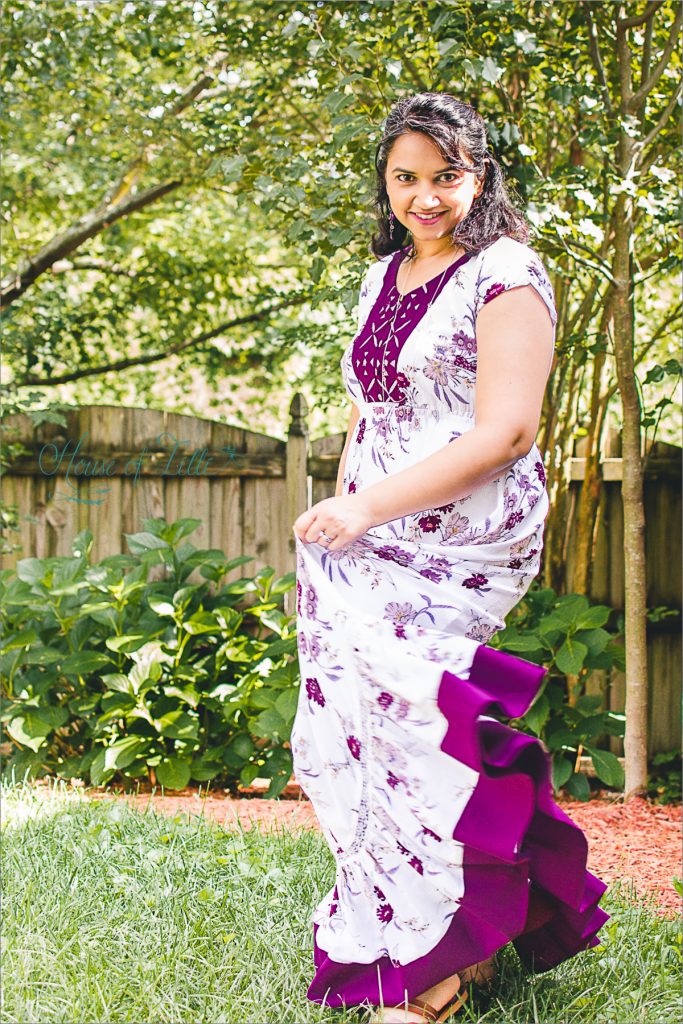
I got pretty close, right?!
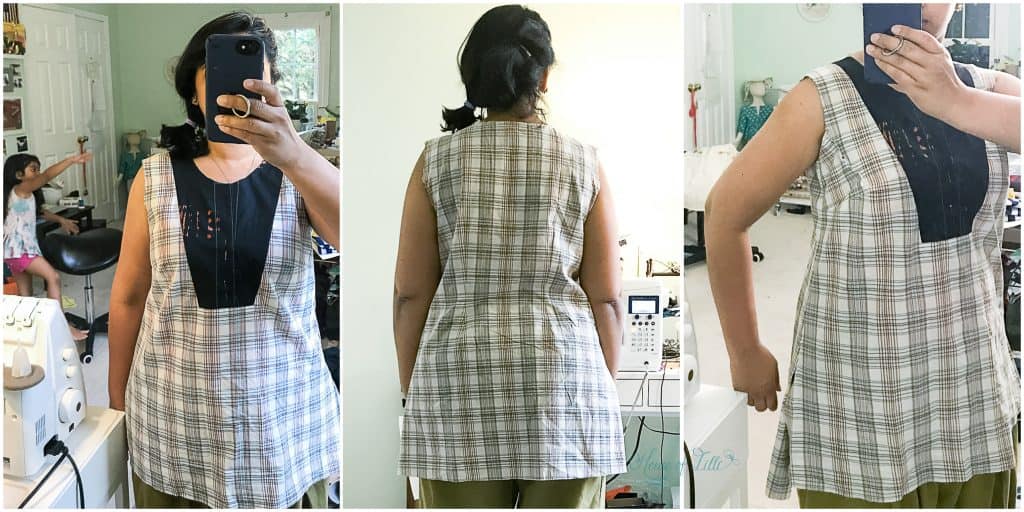
PREPARATION – TISSUE FIT AND MUSLINS FOR DRESS LENGTH PRESTO
Whenever I work with a new pattern, I always trace it on to art tracing paper. It’s transparent enough that no light box is needed. And it doesn’t rip easily. I got mine from Amazon; a wide roll that works perfectly for bigger pattern pieces and a shorter roll for my kid patterns.
After tracing, it’s time to make a few standard adjustments for me and do a tissue fitting to make sure that no more adjustments are needed before cutting out the muslin. I first learned about tissue fitting on the Love To Sew podcast. To learn more, check out this video by Melissa Watson (an expert).
Pre-tissue fit adjustments:
- 1) reduce height between shoulder and bust
- 2) move dart down
- 3) raise armscye
- 4) broad back adjustment
Post-tissue fit adjustments:
- 1) increase depth of back darts by 1/2″ each.

So far no fabric has been cut! The muslin you start with will be more accurate which cuts down on making more muslins – no one wants to do that. I ended up cutting the muslin of whole tunic length just to see how it fell on my body and better determine the length of the bodice piece.
FRONT INSET/YOKE
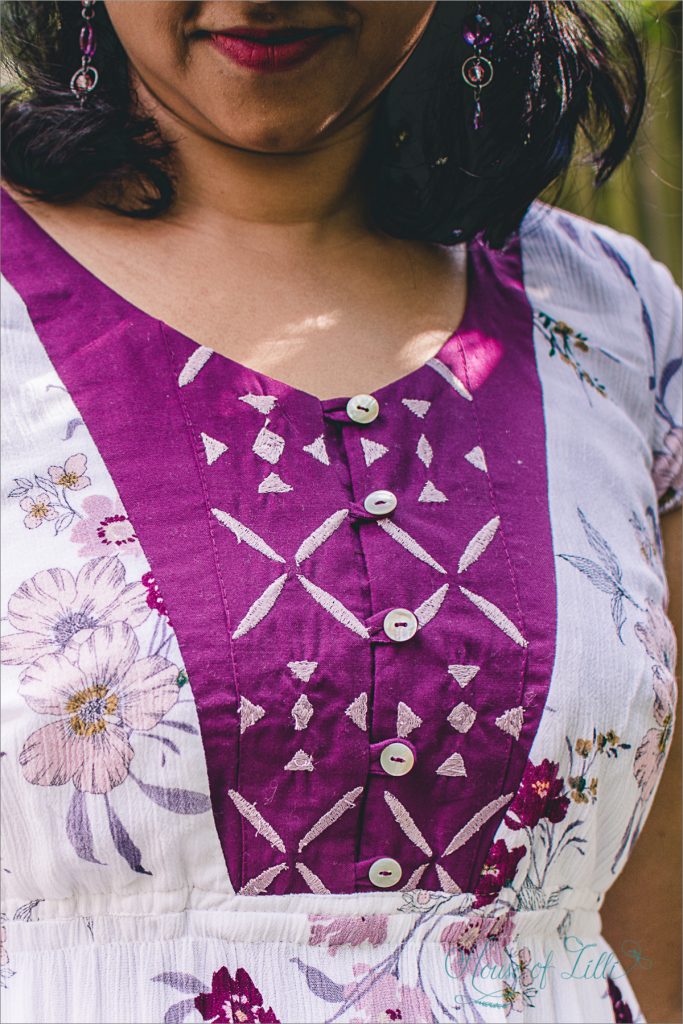
To match the inspiration, the placket needed some modifications; instead of overlapping, this placket sits side by side with button loops rather than buttonholes.
Now we’re on to the fun part! I took to my sewing machine and did something I like to call thread painting (or free-motion embroidery); drawing the design I wanted and got to stitching.
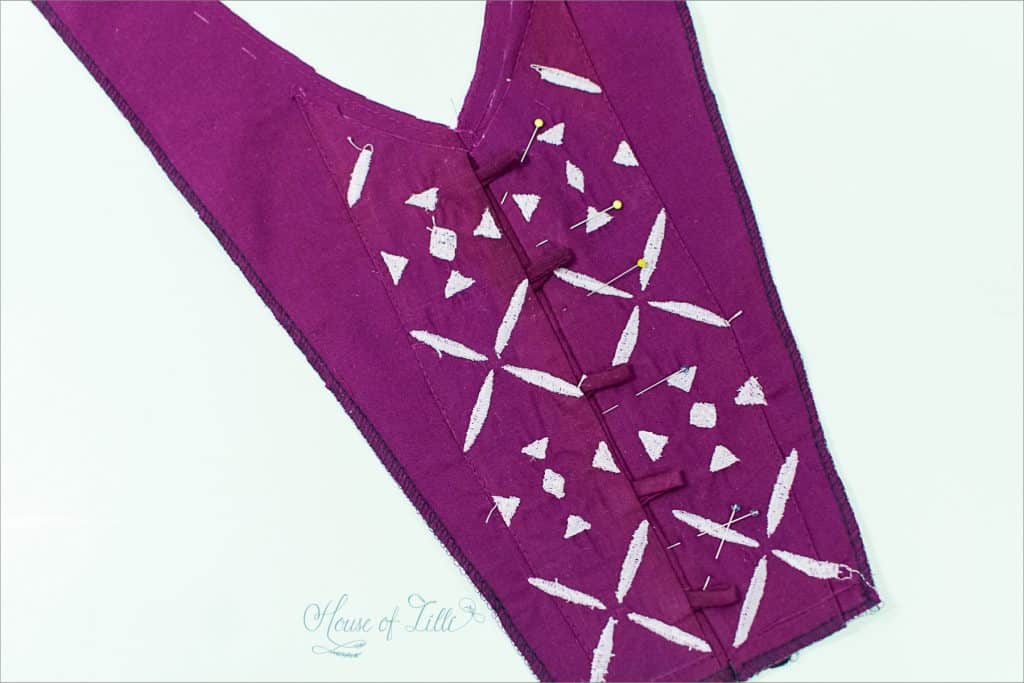
When sewing the inset to the front bodice on the muslin, I had some trouble lining it up. I did some digging and saw someone first sew the bottom of the inset first, make the slits (just like the instructions) then sew up each side separately. This way was much easier for me, especially with shifty fabric. So give it a try if you have had trouble in the past.

WALKING THE SKIRT
On to the skirt part of this dress. The Sonata Dress has a great A-line shape and was perfect to pair with the Presto. Bonus that the dress was cut and already measured to me.
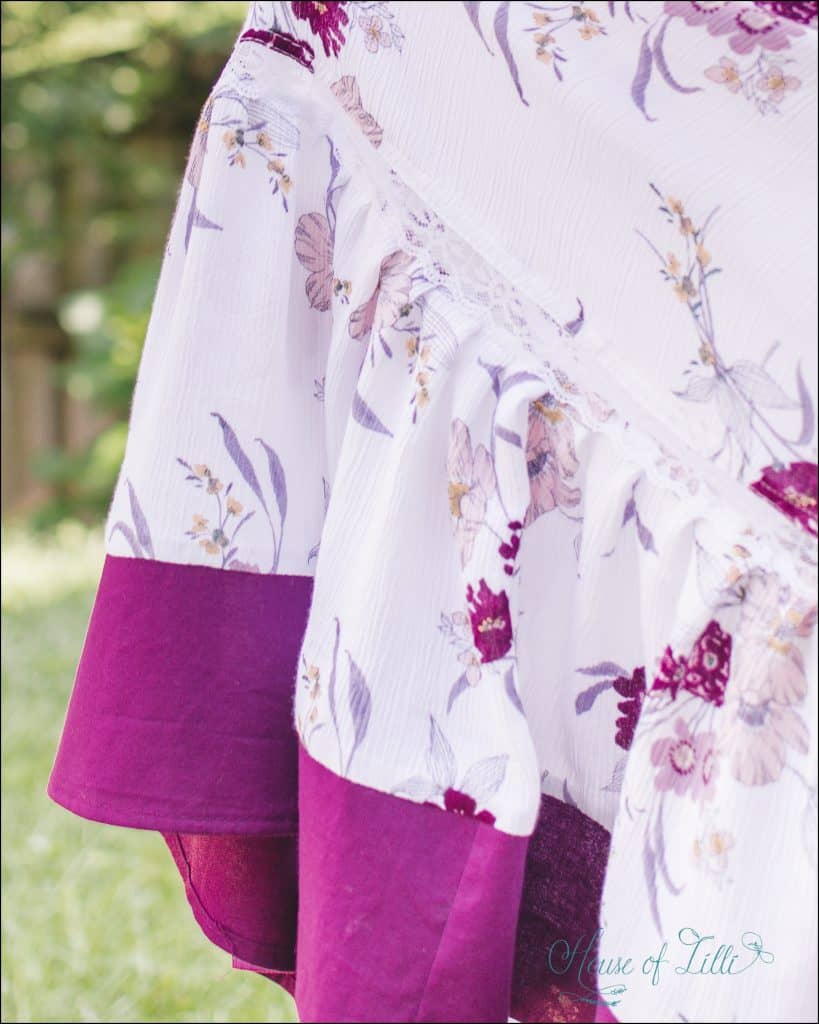
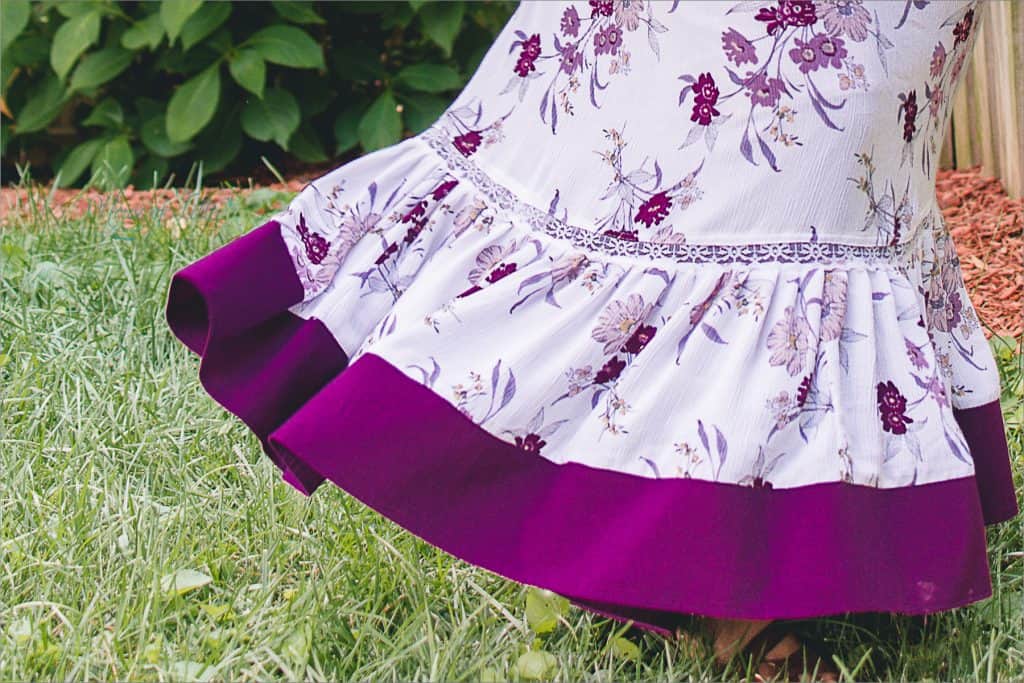
To start, measure the length you want the skirt to be. For me, I measured from where the bodice ended, to about where I want the bottom to end (appx. a few inches below my knees was what I decided, since the plan was to add lace then a ruffle tier, just like in the inspiration.
However, because the Sonata has a different amount of ease, we have to ‘walk the pattern‘ to determine if the bodice would fit the skirt. To do this, you’ll need to have your two pattern pieces (let’s start with the front).
- Draw in the seam allowance for both.
- Start at center front, overlap the bodice on to the skirt piece – matching up seam allowance and center front lines.
Note: this is when the art tracing paper gets super useful. - Follow the seam allowance with your finger until it starts to diverge. Place a finger there to hold it down and pivot the top just a bit until more seam allowance is lined up; ensuring the pieces don’t leave the seam allowance that is held down with your finger.
- Repeat step 3 until you get to the end of the bodice.
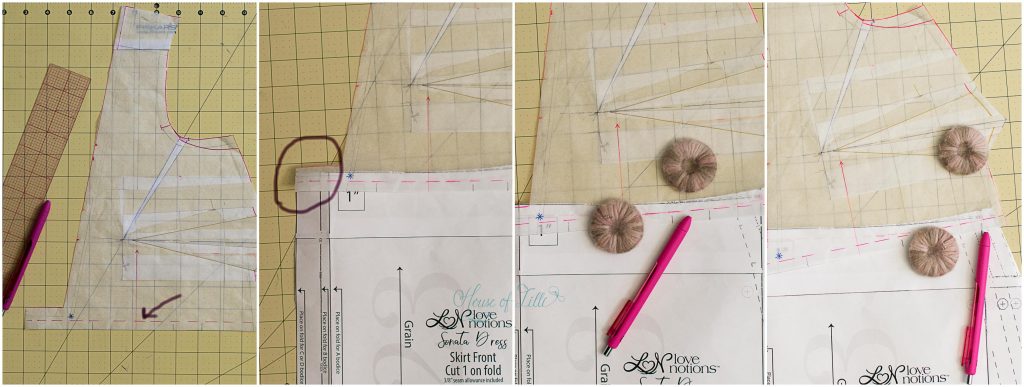
- At the end, you’ll be at the side seam. Check to see if both side seams match. Add or subtract from the skirt pattern to make the side seams match.
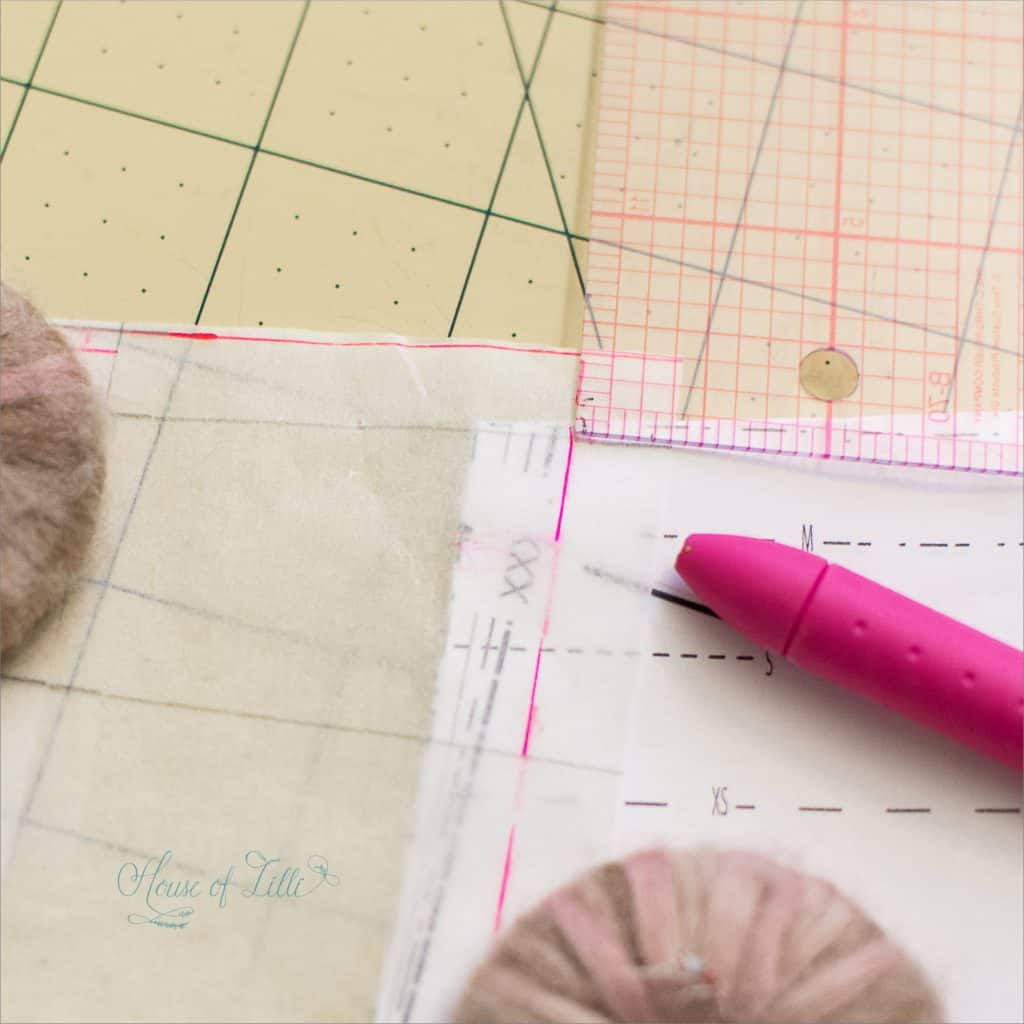
Since the front of the Sonata is more fitted, I had to add 1/2″ to the skirt. The back of the Sonata has elastic which meant that I had to remove some width in the back.
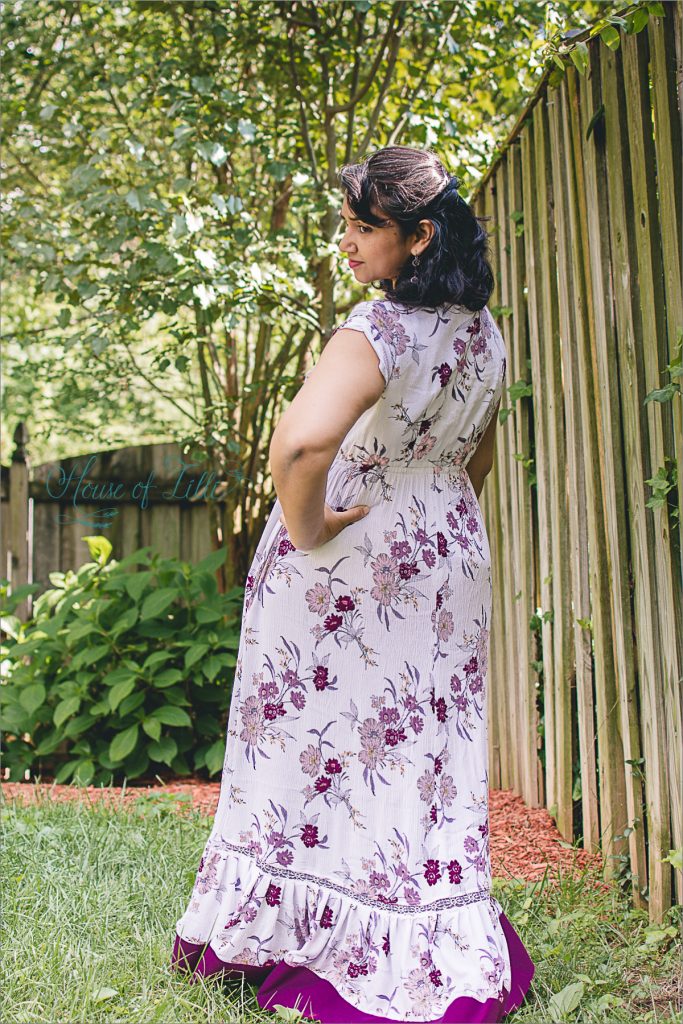
To get a more fitted look, I shirred the waist with three rows of elastic. To make it easier to shir, I did it before the side seams are sewn together
How fun is this twirl!?
CREPE FABRIC TIPS
Bonus notes about working with crepe fabric. This is the 3rd time I have used the fabric. It is nice to wear but time consuming to sew with. But not to fret, I’ve got some tips for you.
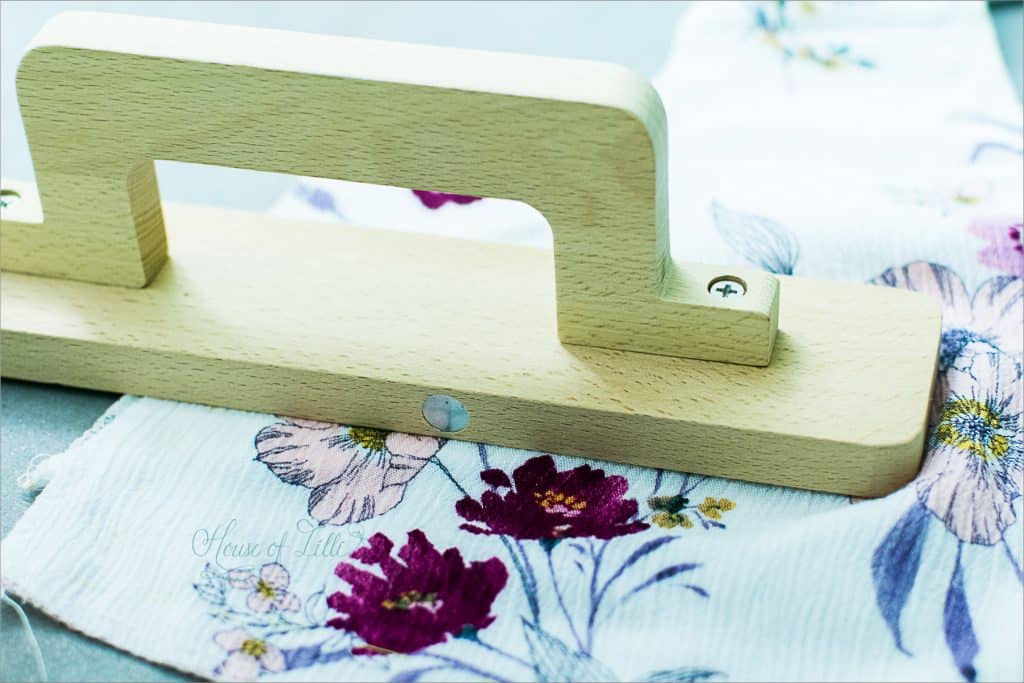
- Don’t iron the fabric! Crepe is evil and grows every time you look at it!
- To press seams, steam the seam, holding the iron just above the fabric. Then use a clapper or any hard wood to press the seam down.
- After cutting the pieces, it is best to hand baste around the pieces BEFORE moving it off your cutting surface
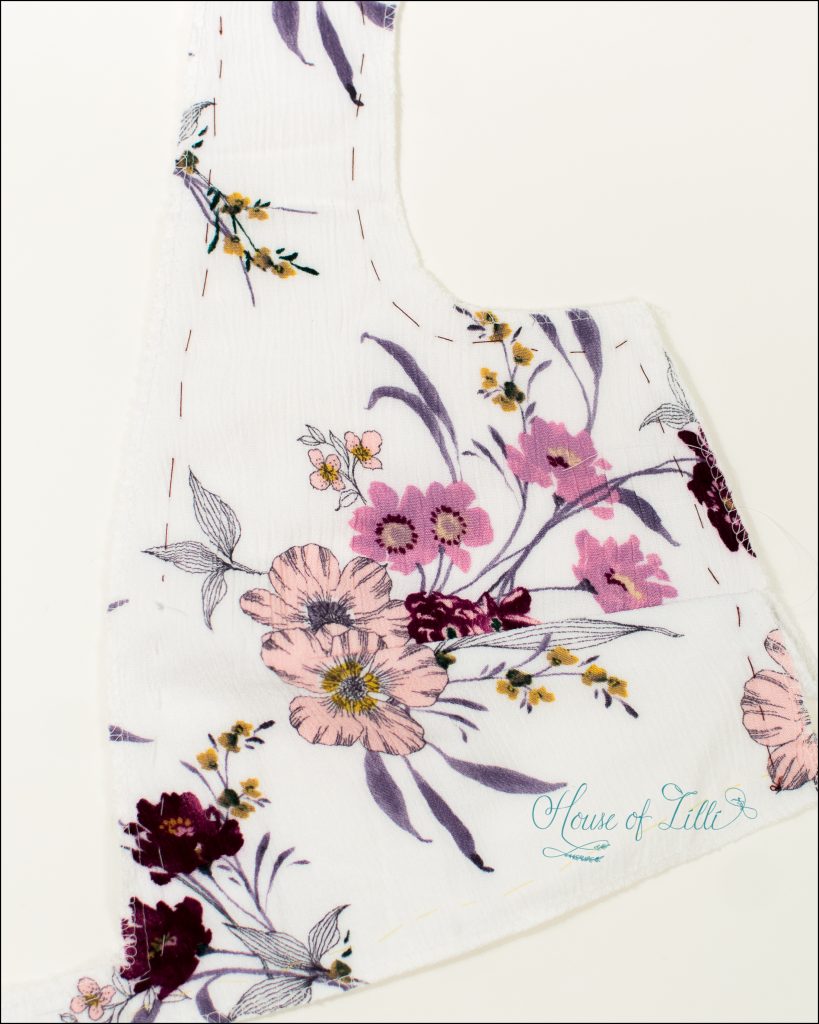
- If lining, cut the lining and pieces together and (you guessed it!), hand baste around.

Make the dress of YOUR dreams!
Don’t forget to grab the Presto Tunic for only $5 today! Turning this tunic into a dress is so much fun and opens up endless opportunities to showcase fun and precious fabric.
Happy Sewing!
You can follow me on Instagram @bee.threadly and my blog.
* Links to Love Notions patterns contain affiliate links, where I earn a percentage of the sale, as commission, at no extra cost to you. Thank you for your purchase.
Big News! Love Notions is on Youtube!
In addition to the blog post this week, Love Notions is working on its Youtube channel! Take a look at the new Presto pattern review by Tessa — and give us a subscribe while you’re there. Tessa has tons of details about the pattern and some in-person video that help you see this pattern up close and in person. Make sure that you get all the upcoming (and past) sewing content on our channel — like pattern hacks, full sew alongs, full pattern reviews, and notion and technique demos!
Today’s Youtube video is all about another easy way to make a summery, dress-length Presto Tunic with a full pattern reviews, some tips and tricks — and even a buttonhole demo!
Pin this for later!

Patterns for the Project of your Dreams
[carousel_slide id=’408209′]

