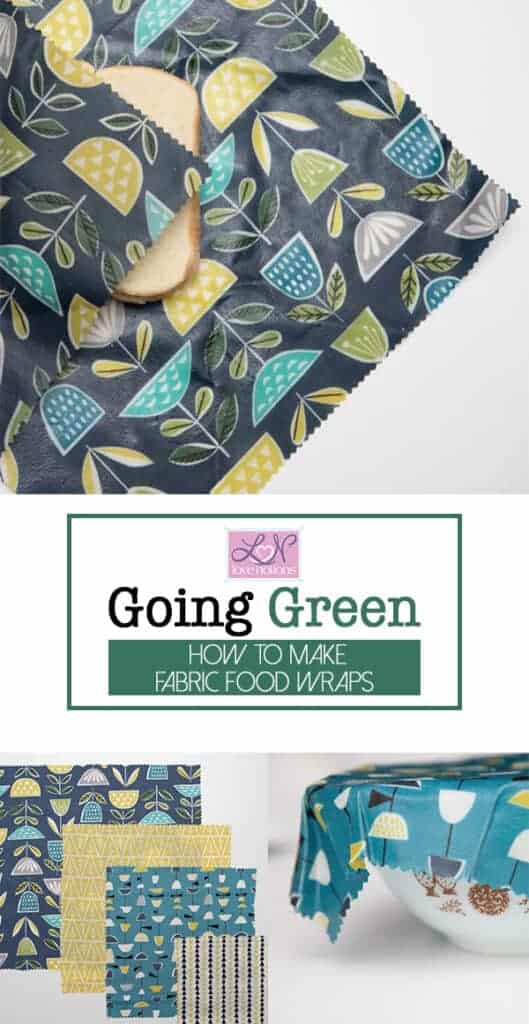
Going Green with Monaluna: How to make fabric food wraps
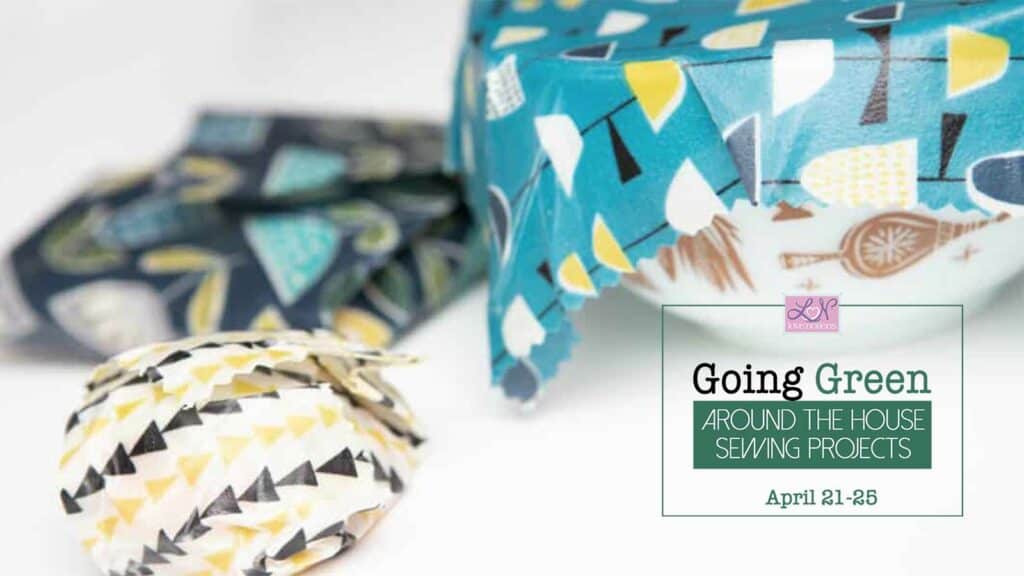
I am so excited to share this series with you this week! We paired up with Monaluna to create a Going Green series to recognize Earth Day. Each day this week, I will share a new tutorial with you using Monaluna fabrics to create DIY a reusable products for your home. The products are simple to make and simple to use. Win win!!! You can use any cotton woven fabric for this week’s projects and the sizes range from scraps to a full yard. Today, we are tackling reusable food wraps! It’s so easy and fun and I definitely found it addicting!
Over the last year, I have been moving my family to use more reusable products.
It really started with our great trip out West last summer. I purchased each of us a stainless steal, leak proof water bottle to use during the trip. I cringe at both the cost and the waste associated with single serve drink bottles, and with a two week trip for five people, the cost and waste really would have added up! The canteens were a GREAT investment! Each of us still use them daily. On the road, we would refill at gas stations (the fountain drink machine always had a water option) or water fountains. We always had a drink available to us whether we were driving in the car through Yellowstone, hiking up into the mountains, horseback riding, or on our day out on the boat. Nobody could whine “I’m thirsty!” It was fabulous!
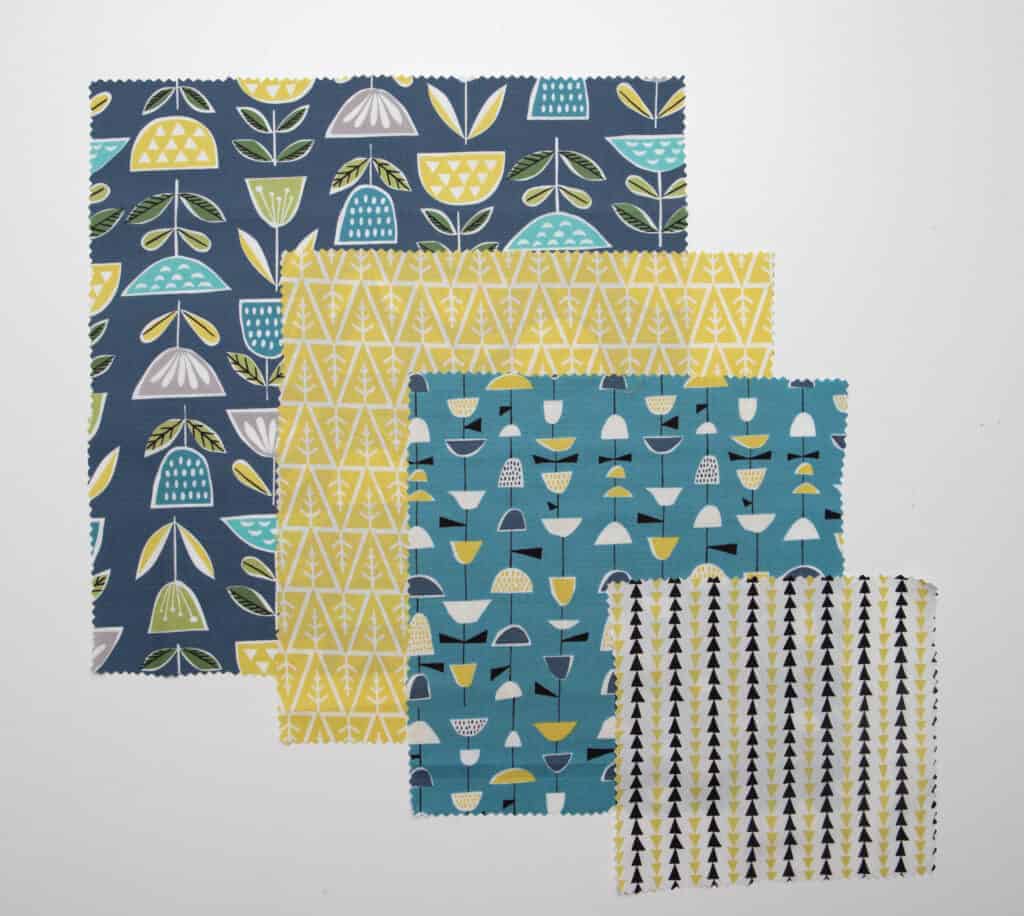
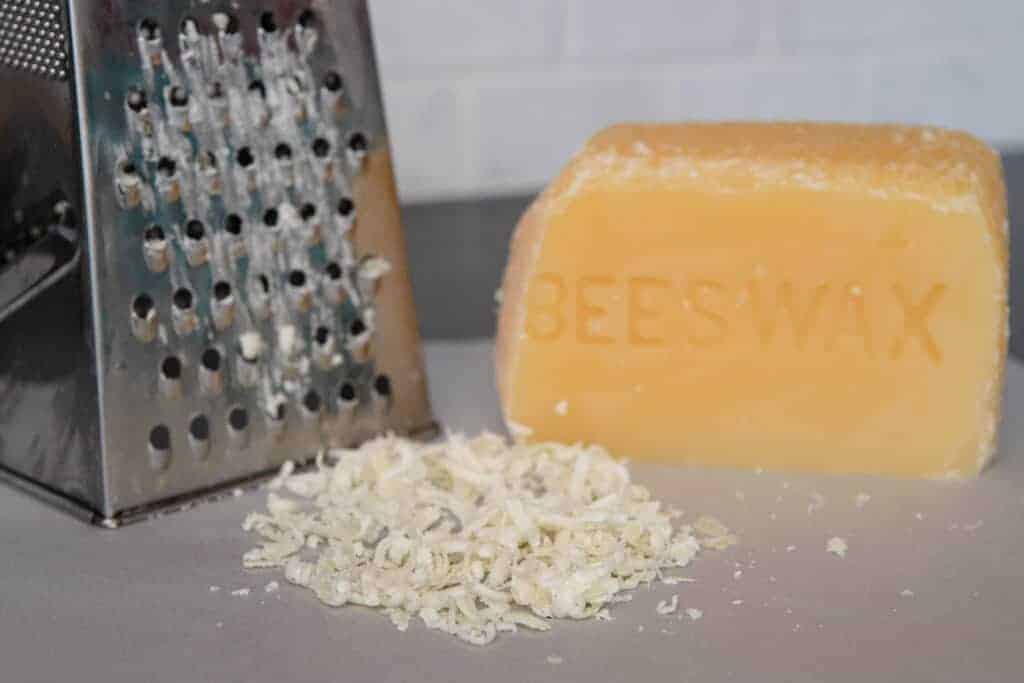
Along with the reusable water bottles, we try our best to use reusable containers for the kids’ school lunches. However, sometimes the dishwasher doesn’t get ran, or somebody forgets to unpack their lunch box, so we needed more. I started doing some reading up on the fabric food wraps and of course, I thought “Well, I can make that!” And guess what, it’s not hard! You will need some beeswax. I found mine off Amazon. There are different grades, you want food/cosmetic grade. You can buy a brick like I did to save a few bucks, but the pellets are much easier to work with. You also need some scraps of 100% cotton woven fabric. I used Monaluna’s organic cotton poplin from the Anya line. The less gross stuff in the item that is going to be in direct contact with your food, the better!! Also make sure to prewash your fabric before doing this project.
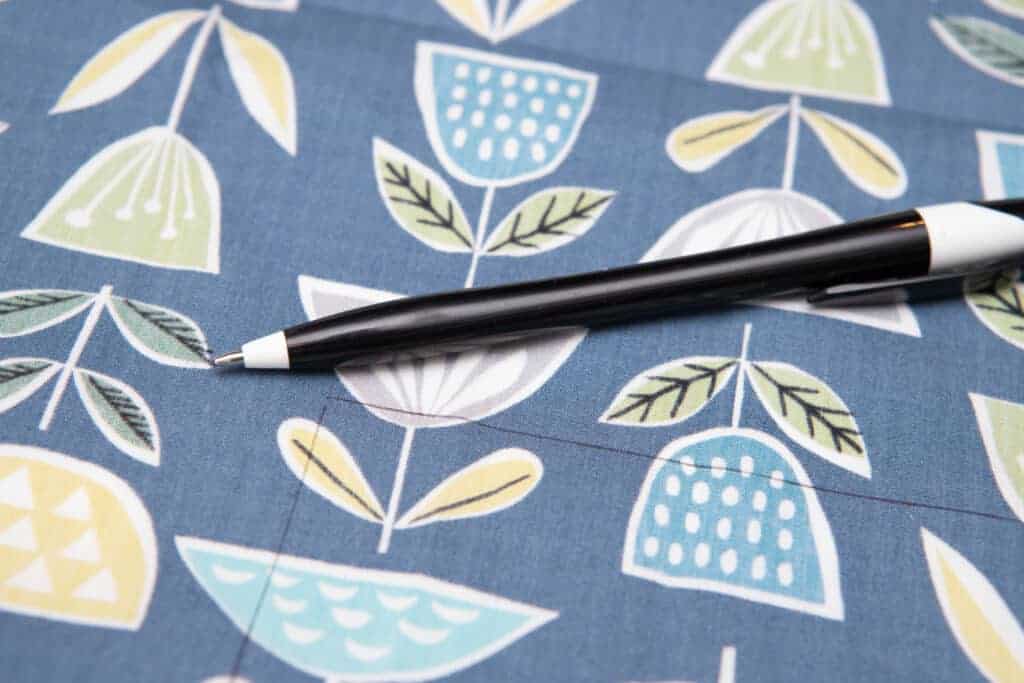
Draw some squares out on your fabric.
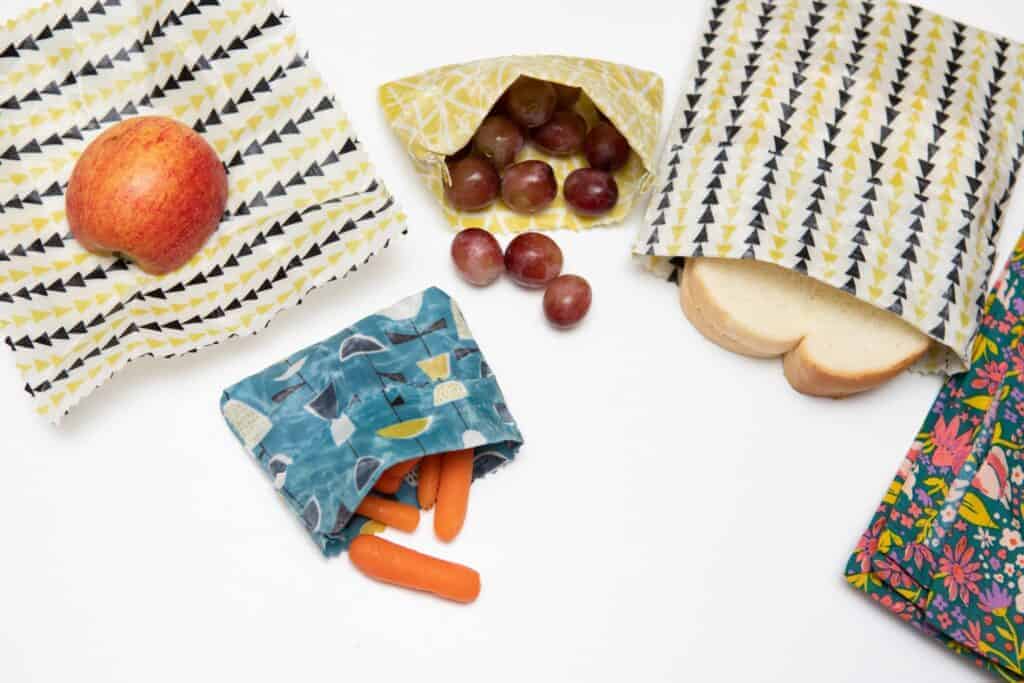
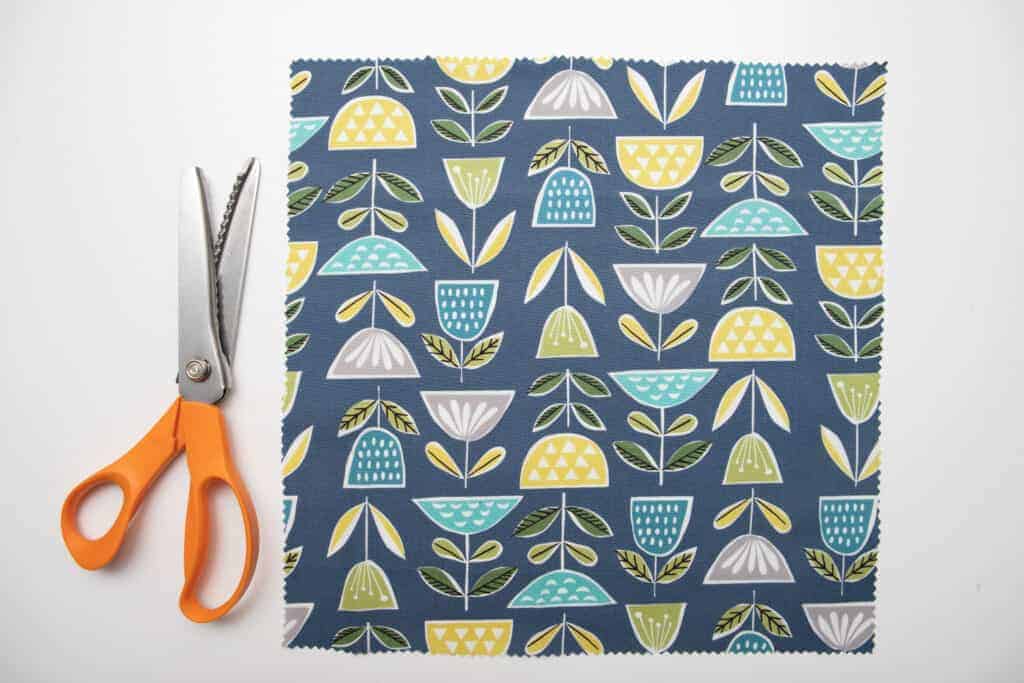
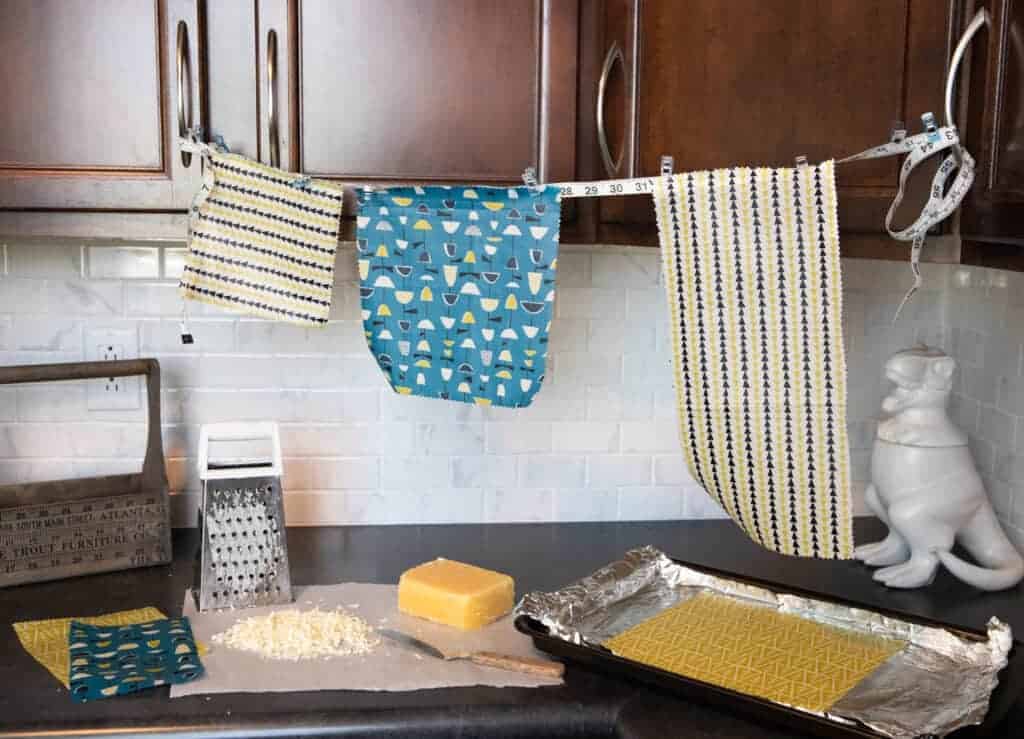
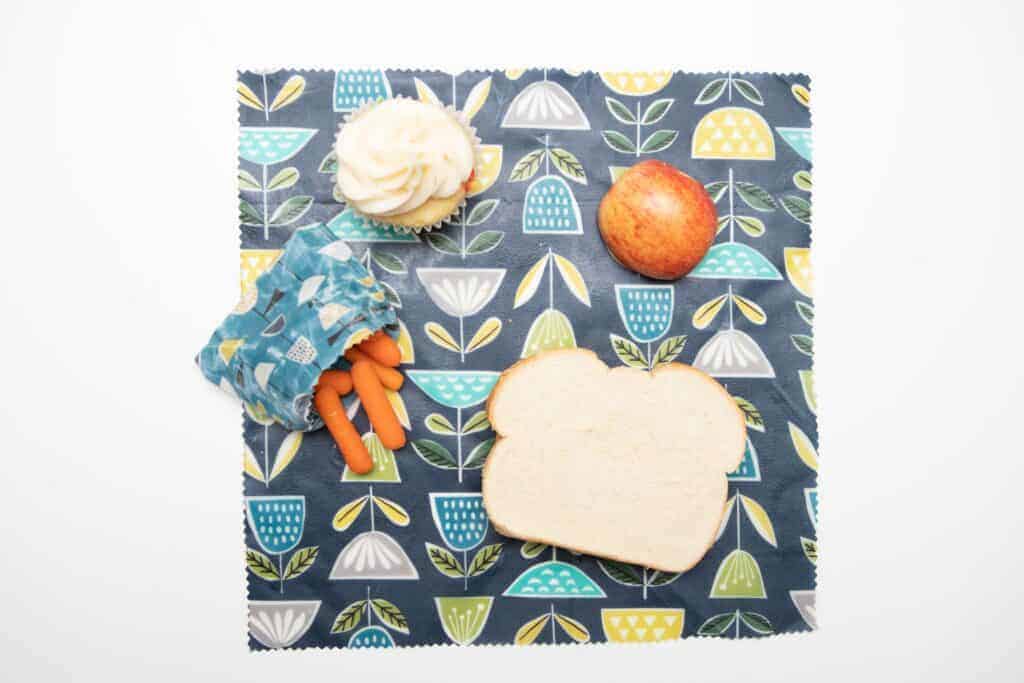
After some quick searches for standard sizes of reusable fabric food wraps, I went with 12″ square, 10″ square, 9″ square and a 7″ square. The 12″ is great for wrapping a medium bowl or a sandwich. I’ve been using my 7″ square to wrap up half an apple for my son’s snack at school.
Next, cut the squares out. I used pinking sheers. This isn’t a must, the beeswax keeps the fabric from fraying, but I liked the look.
Warm your oven up to 190ºF and line a cookie sheet with foil. You want to line your cookie sheet because you will have left over wax on it when you are finished and it can ruin your cookie sheet, from what I read. I was able to clean my box shredder easily by running under hot water and wiping with a soapy terry cloth when I was finished.
While the oven preheats, shred up your beeswax if you purchased a block. I found shredding it onto some parchment paper made the process a bit cleaner. The wax warms up a bit during the shredding and sticks to the counter slightly.
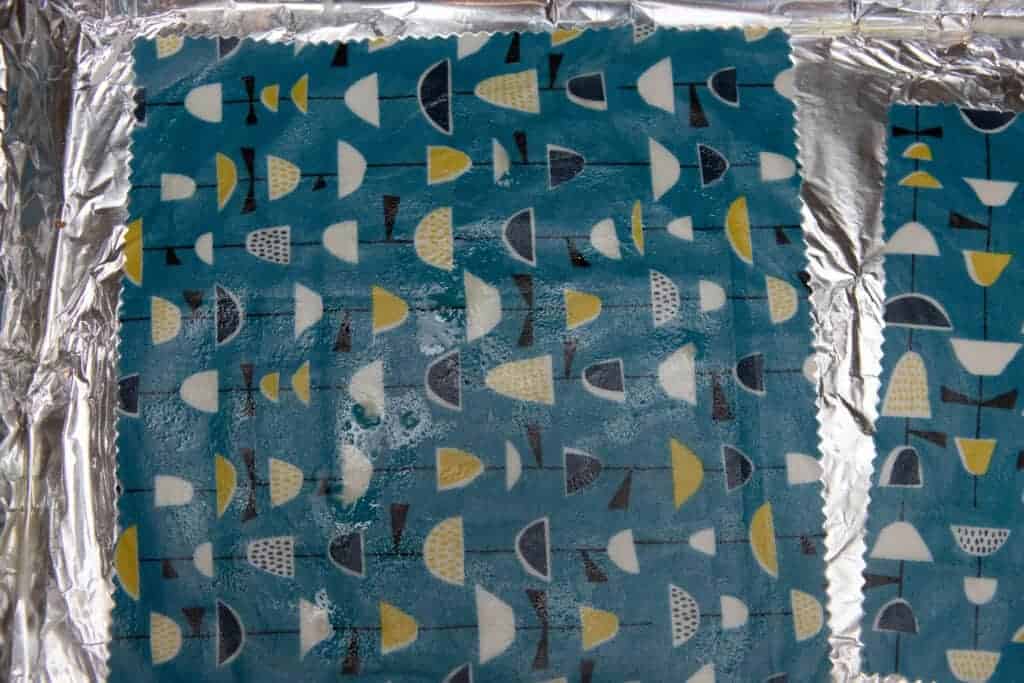
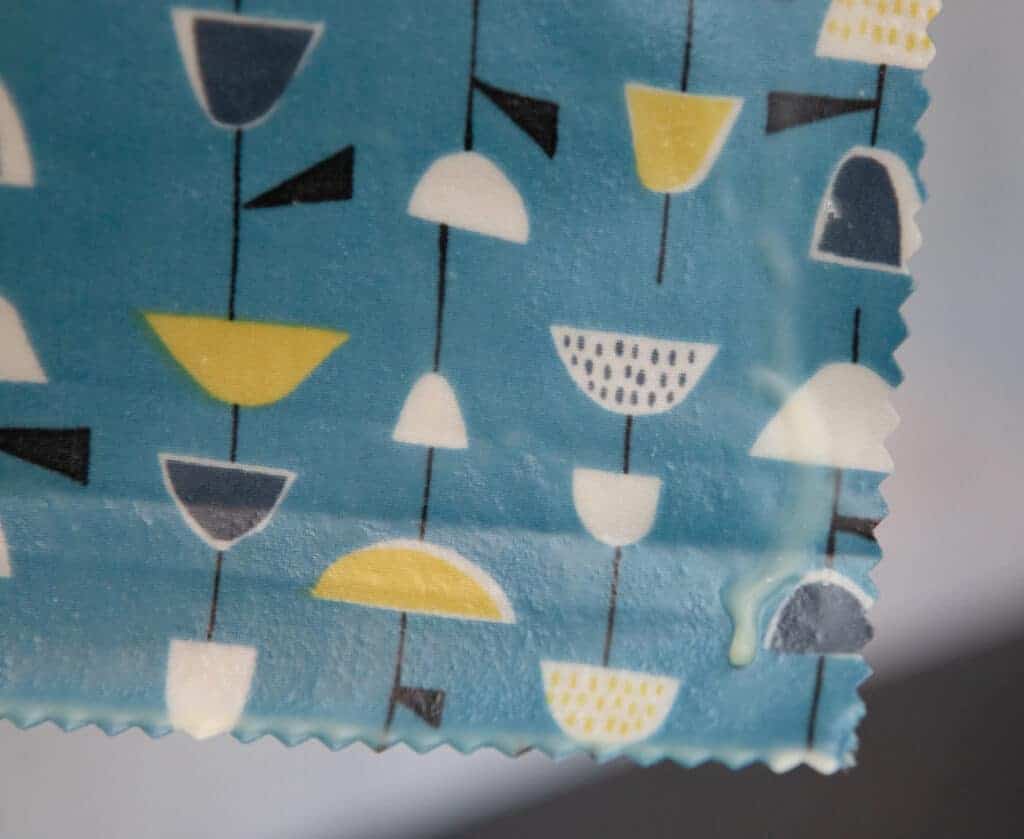
Lay your fabric onto the foil lined cookie sheet and sprinkle with the wax shreds. It doesn’t take much! (PS, this is actually a bit TOO MUCH in this photo below. Oopps!)

Place into the oven until the wax melts and absorbs into the fabric. It took about 5 minutes most of the time. Just keep an eye on it. It’s not quite ready in the below photo. It went back into the oven for a couple more minutes after that. If you have little lumps of wax, you can spread them around a bit with a butter knife to make sure all the fabric gets covered.
Let it rest for just a minute after you pull it out of the oven. Don’t wait too long because it will dry and stick to the foil. It will be warm, but shouldn’t burn you. But be careful, it will be pretty warm!! Hang your fabrics to dry.
Do you like my make shift drying line?
They dry pretty quickly, within a half hour, they should be completely done depending on the temperature of your home.
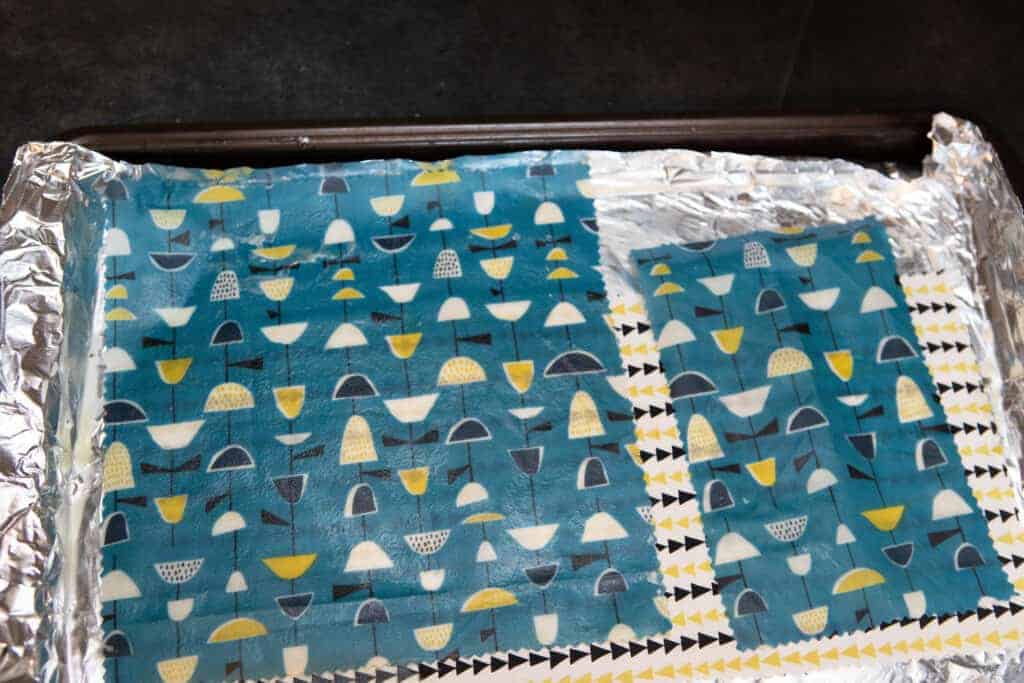
If you get too much wax on them, like I did here, just place them back onto the oven with a fabric piece that hasn’t been waxed yet. The new fabric will soak up the excess wax from the first one. Pretty neat, huh!
That’s it! Crazy, right! I let mine cure for a few days before I used them. I feel like that allows the wax to really set up well before these babies get used.
How to use your new beeswax food wraps.
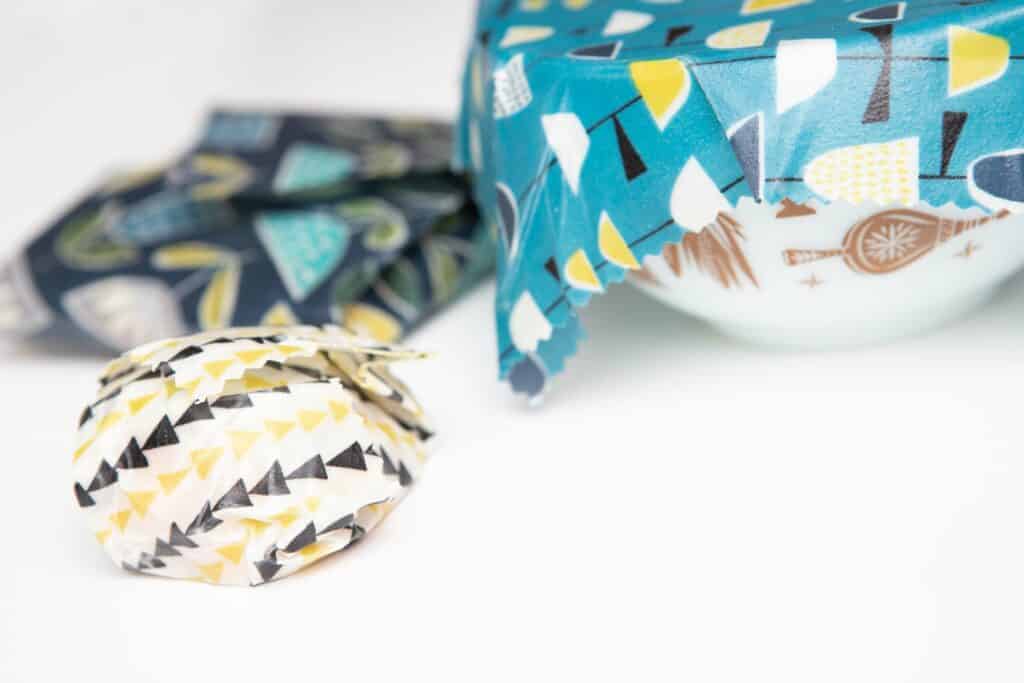
So, this is super easy!! Just place your food onto the wrap and wrap it up like you would foil or plastic wrap. Hold it in your hands for a few moments to allow your hands to warm the wax, when it does, the wax will take shape and mold to your food. If you have cold hands like I do, just rub them together first. LOL
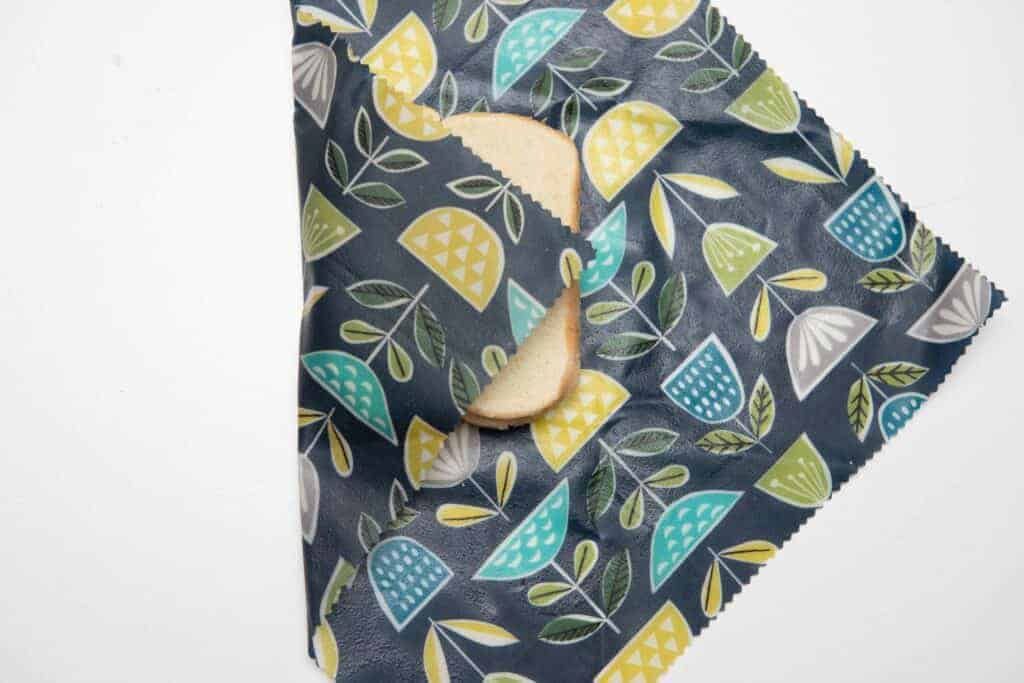
To get the sandwich wrap to stick, I pinched where the fabrics met. It stayed well, but you can always tie a ribbon or put a rubber band around it if you are unsure about it staying. I had an apple wrapped on the counter for a week without any issue!
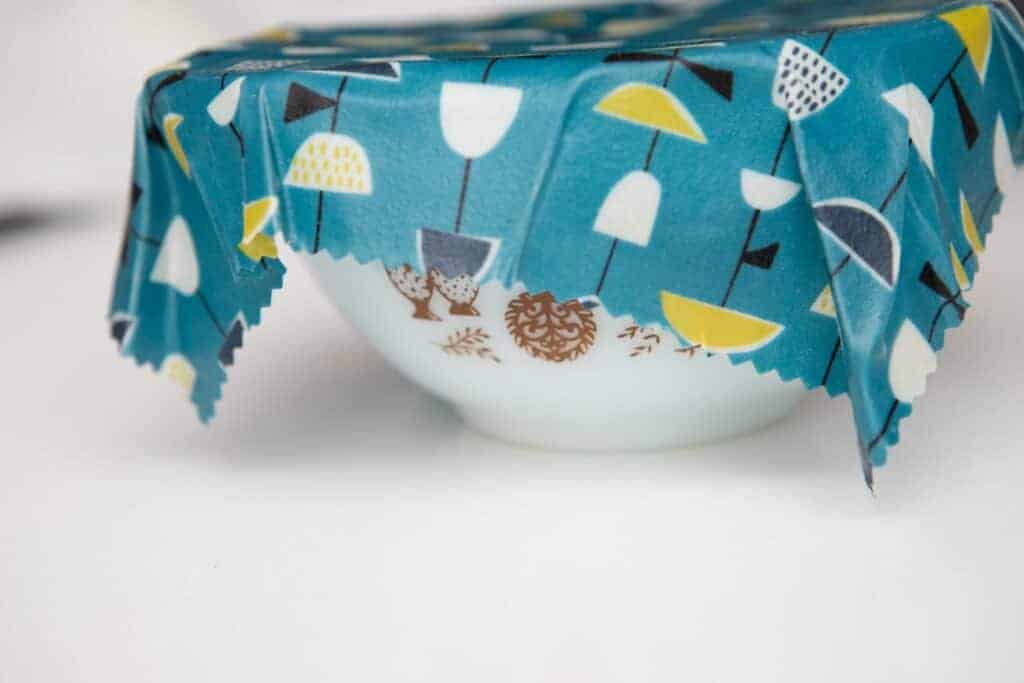
Same with the bowl! Just hold your hands around it to mold the fabric to the bowl. It won’t be air tight, but it does work well as a cover. You can always secure it with a ribbon or rubberband. Reading reviews of store bought food wraps, they don’t really cling to themselves or bowls like plastic wrap does, so I was prepared to rubberband them if needed, but I found I didn’t need to.
I just love how the 12″ square works as both a sandwich wrap and a placemat!!
My kids didn’t complain about any transfer of taste from the beeswax. You can definitely smell the beeswax. I did notice a slight taste transfer to the sandwich and some grapes. Not bad, it actually added a slight sweetness, in my opinion. Myself and my son have seasonal pollen allergies, we didn’t have any issues with the beeswax, but this is something to take into consideration before using.
How to clean beeswax food wraps.
You can NOT use fabric food wraps for raw meats. They can not be cleaned and sanitized. These are intended for already cooked foods only, or raw veggies and fruits, crackers, etc. They are not intended for wet food either.
To clean, simply run under cool water and wipe with a soapy cloth as needed. Lay out to dry, or hang. If you use hot water, you will melt the wax and it will run off your fabric.
Over time, the food wraps will look worn and the wax may crack. If you notice this happening, just place back into the oven at 190ºF for a few minutes to remelt the wax. I saved my foil piece with my beeswax shreds just for this purpose. And to make more in the future, of course!

Tomorrow’s tutorial will be a continuation of todays! We will be making reusable sandwich and snack bags using this same method. Waste free lunch, achieved!