


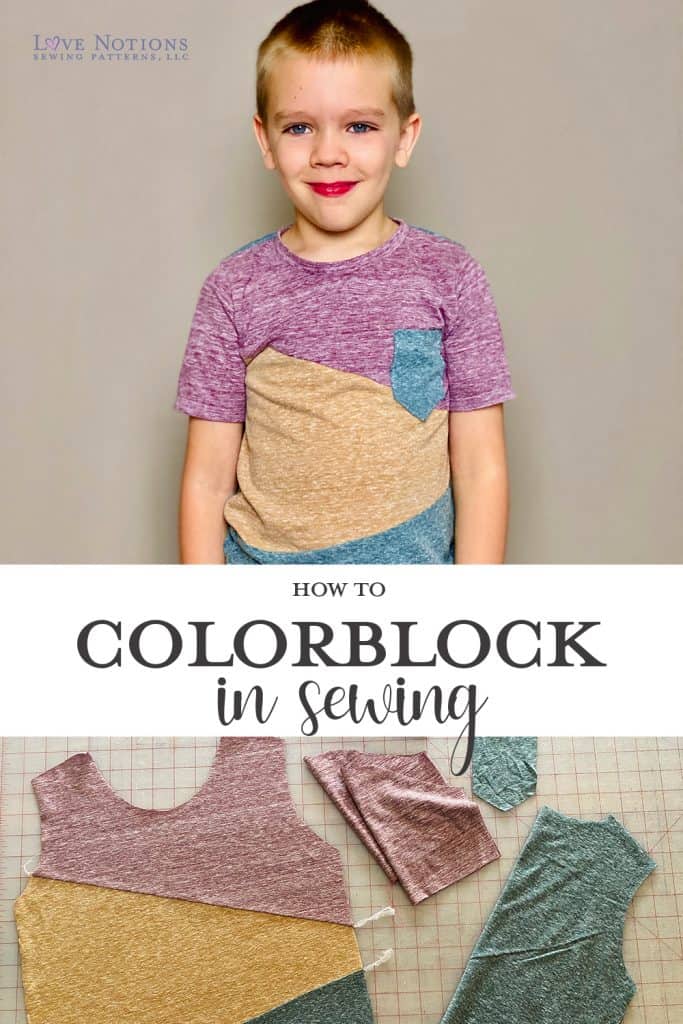
Ever wondered how to colorblock when you’re sewing? Colorblocking is a huge trend right now and the Vanguard Kit is the *perfect* pattern to experiment with it. Katie Kimmell has you covered with this awesome fabric tutorial and hack! Thanks for the inspiring post, Katie!
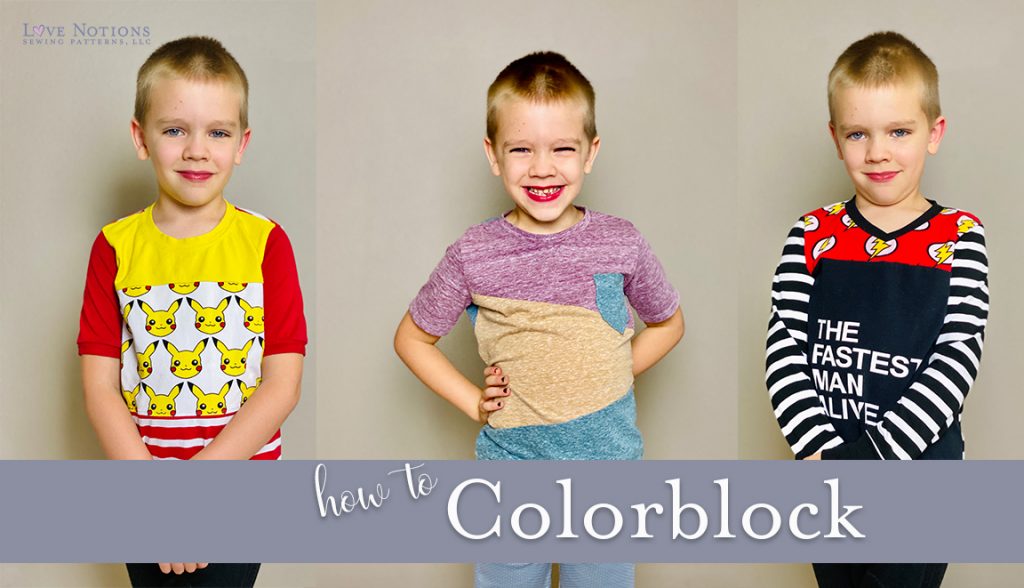
How to Colorblock
It’s Friday so that can only mean one thing, it’s Feature Friday! This week it’s the Vanguard Kit which includes a colorblock shirt + cargo pants all for $5 today only!
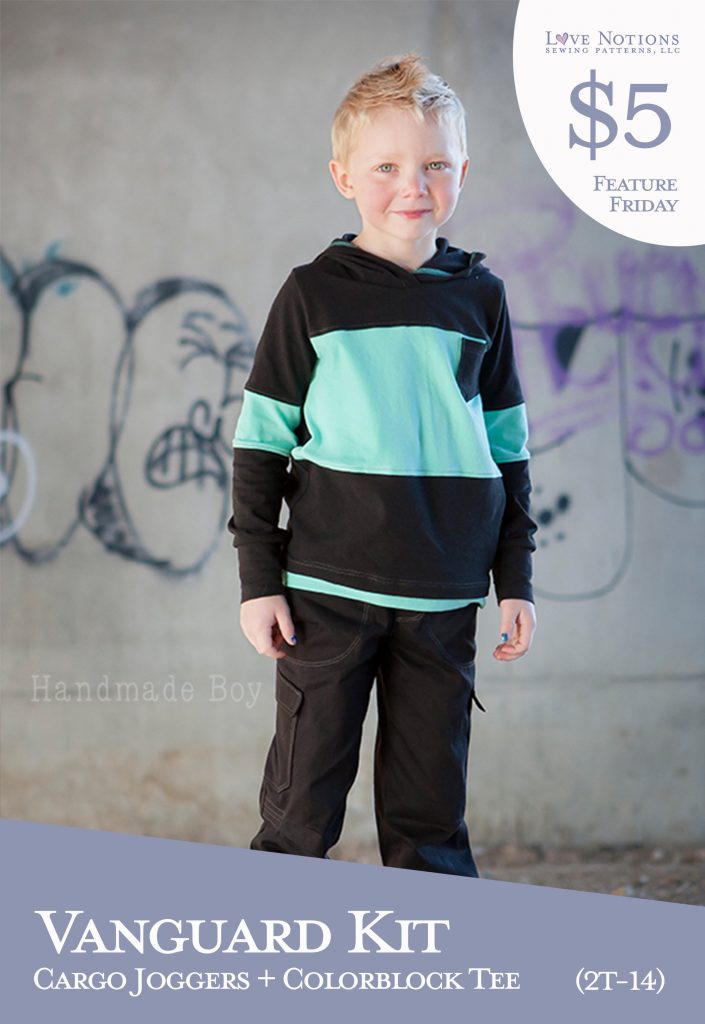
Colorblocking + Vanguard Kit
The colorblocking possibilities with the Vanguard shirt are limitless. It’s the perfect pattern for scrap busting, using panels or just making fun tops for boys. I’m a mom to two wild and crazy boys that love when I sew for them. Vanguard is one of our favorite tees to use for their tees! Now it includes a projector file too. Here’s where you can find all the Love Notions patterns with projector files.
Tons of details and options
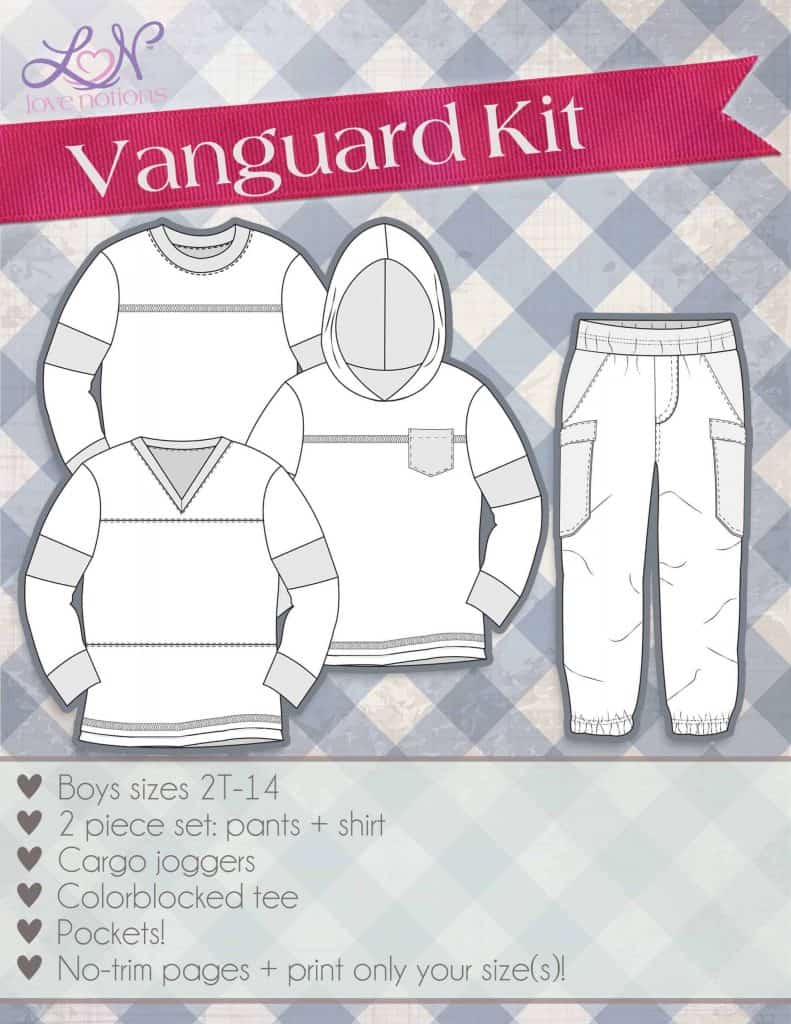
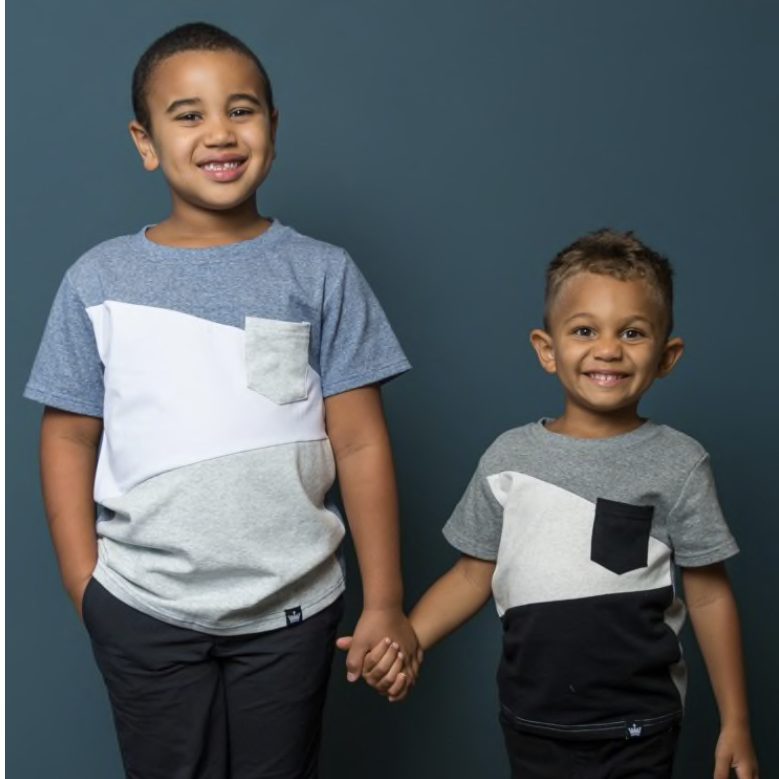
The Vanguard shirt not only includes 3 different front views but it has some fun details too. Choose from banded short, colorblock long, or plain long sleeves. There’s also the option for a crew neck, v-neck or hood neckline. The bottom is finished with a faux layered hem and optional chest pocket. I’ll give you a tip though, feel free to make your own options. As you’ll see, sometimes I hem the sleeves or add a classic waistband. This pattern is so versatile, feel free to make it your own! Not only do you get the shirt but you’ll get the Vanguard cargo joggers included too.
Colorblocking is great way to learn about fabrics
I absolutely love colorblocking and have so much to share about how I pick fabrics for colorblocking. When I first started sewing, I was drawn to colorblocking but struggled picking which fabrics to put together. I’ve since found a confidence with colorblocking that I want to share so that everyone can make colorblocked clothing to their hearts’ content.
How to Start Colorblocking
So how do you select fabrics for fabrics? What goes together? What’s the dos and don’ts of colorblock? Here’s the thing, there’s no golden rule. Anything goes! I have found there’s a few ideas I tend to follow though.
- Start with the busiest or main print. I find that I can pull colors easiest if I start with what’s the busiest. It also usually has the most colors to include.
- Pick more fabric options than you need. Once you have the main/busiest print, pull anything that coordinates. More is better. It’s easier to remove prints than try and work ones in later on.
- Don’t be afraid to mix shapes and prints. I find mixing solids, stripes, stars and any other shapes adds visual interest. Some people will use multiple colors of stars or stripes in one outfit. I prefer to use one of each.
- Keep with the same or similar fabric types and stretch. If you are using cotton lycra, pick all fabrics from cotton lycra, if possible. The reason for this is that different fabrics can lay differently when combined.
The Vanguard shirt is the perfect place to start with your colorblocking journey. Not only does it have 3 different views, including colorblock pieces, but kids clothes take less fabric. They are easiest to make utilizing scraps and experimenting with colorblocking.
The simplest Vanguard tee version is the plain front tee.
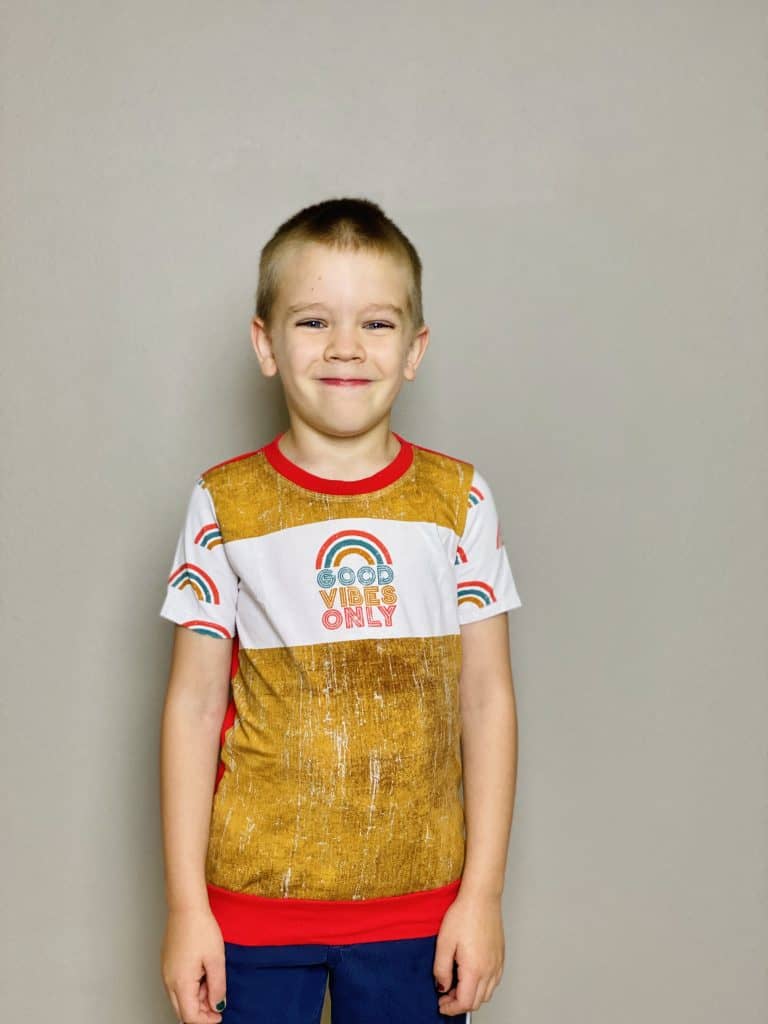
Plain View- Solid shirt front with hacked waistband
Next up is View A which features a top yoke and main body. If you have a panel to use, this is a great version to sew up.
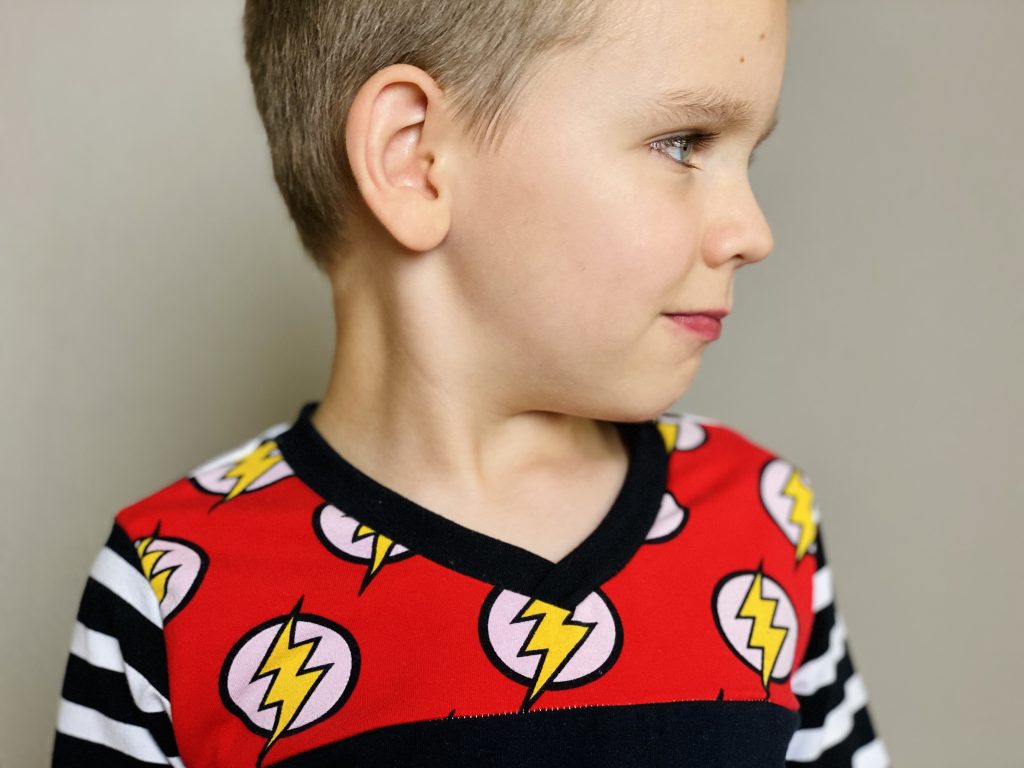
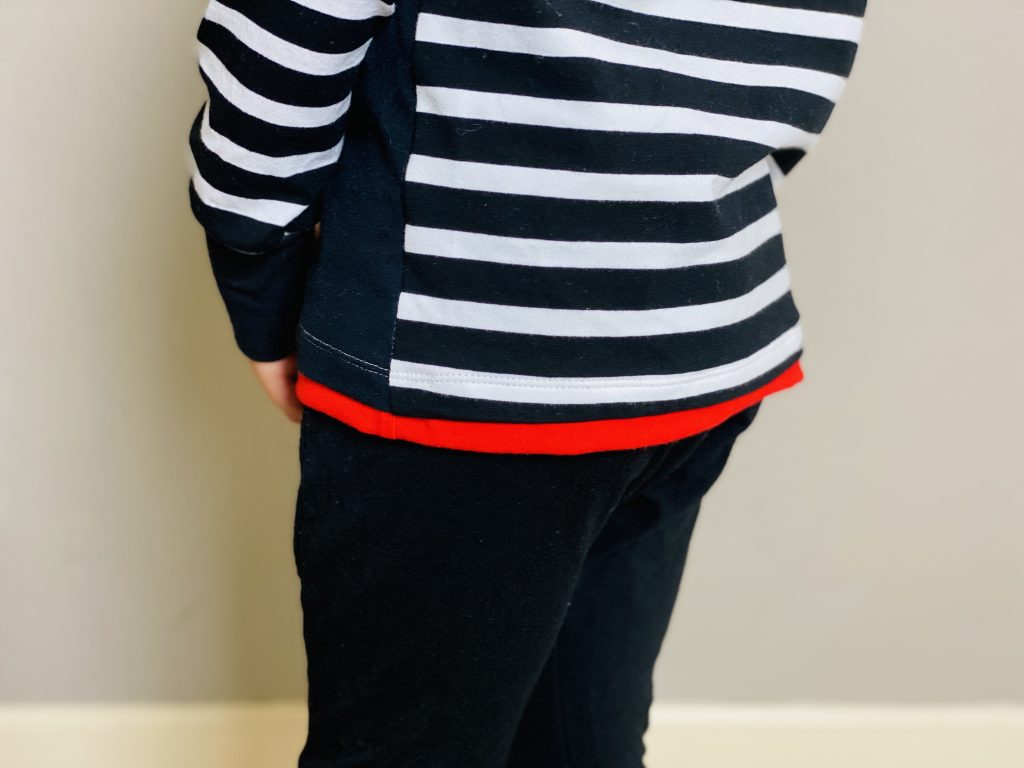
This is the one Vanguard I’ve made with with faux layered hem. Usually I forget about it until after I’ve already hemmed it. This is the V-neck version with plain long sleeves and cuffs.

View B
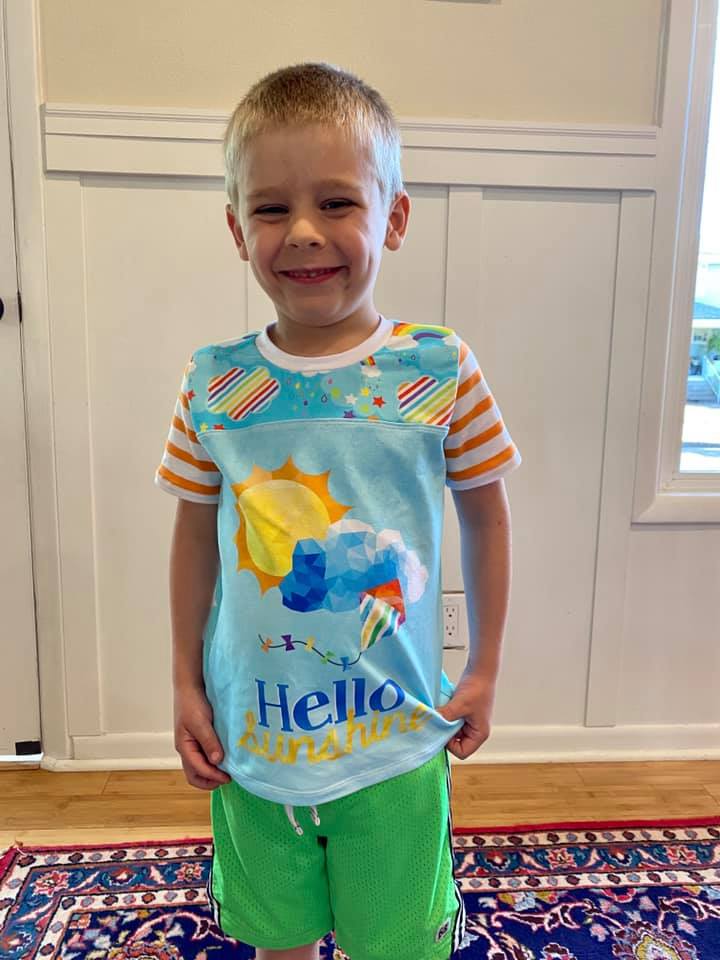
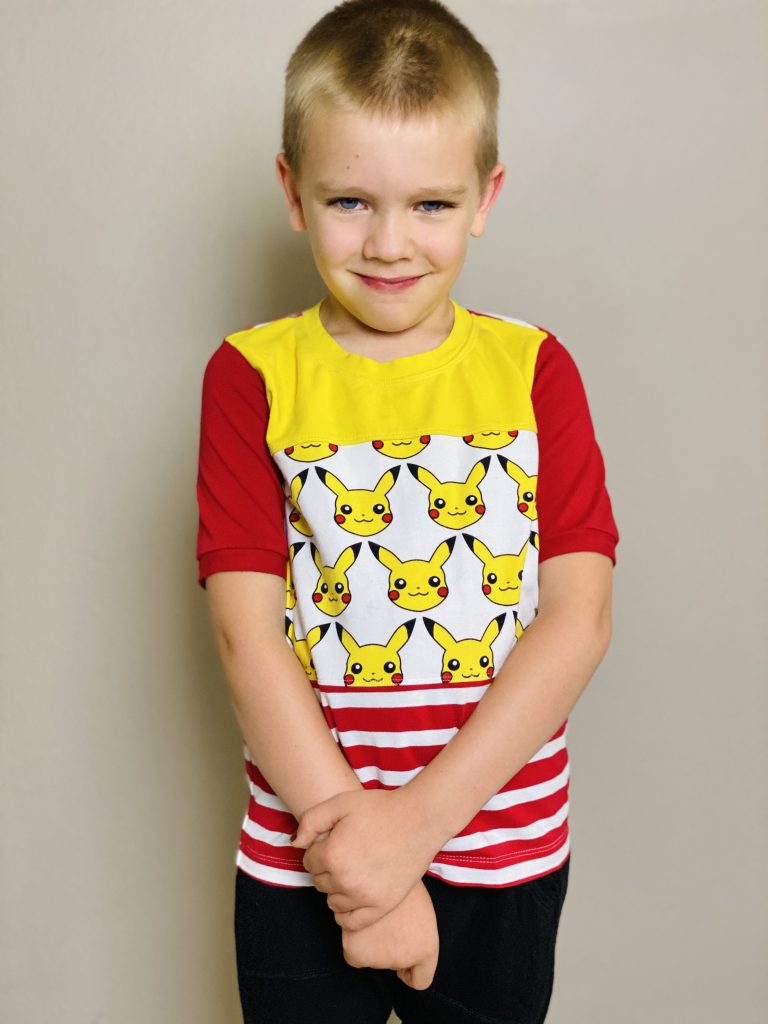
View B is my all time favorite to make fun tees with colorblocking for my kids. It has 3 front colorblocking pieces included so all you need to do is decide on your fabric placement and sew it up! So let’s walk through how I pick the fabric and sew it up. The trick is, I let my kids help since it’ll be for them!
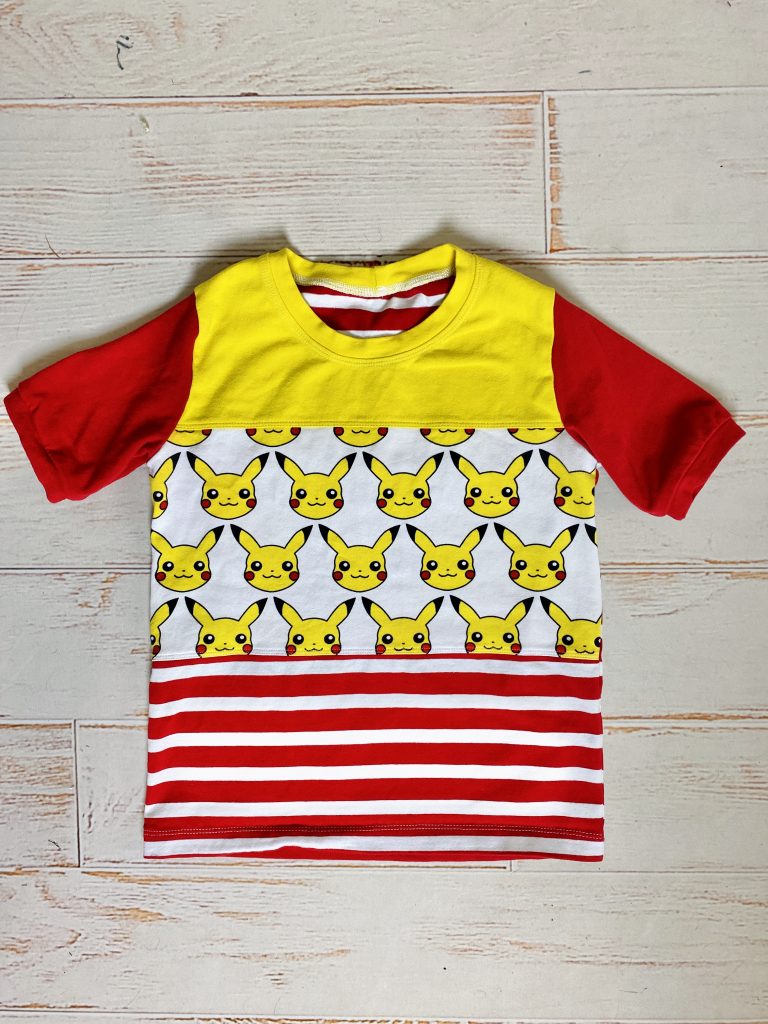
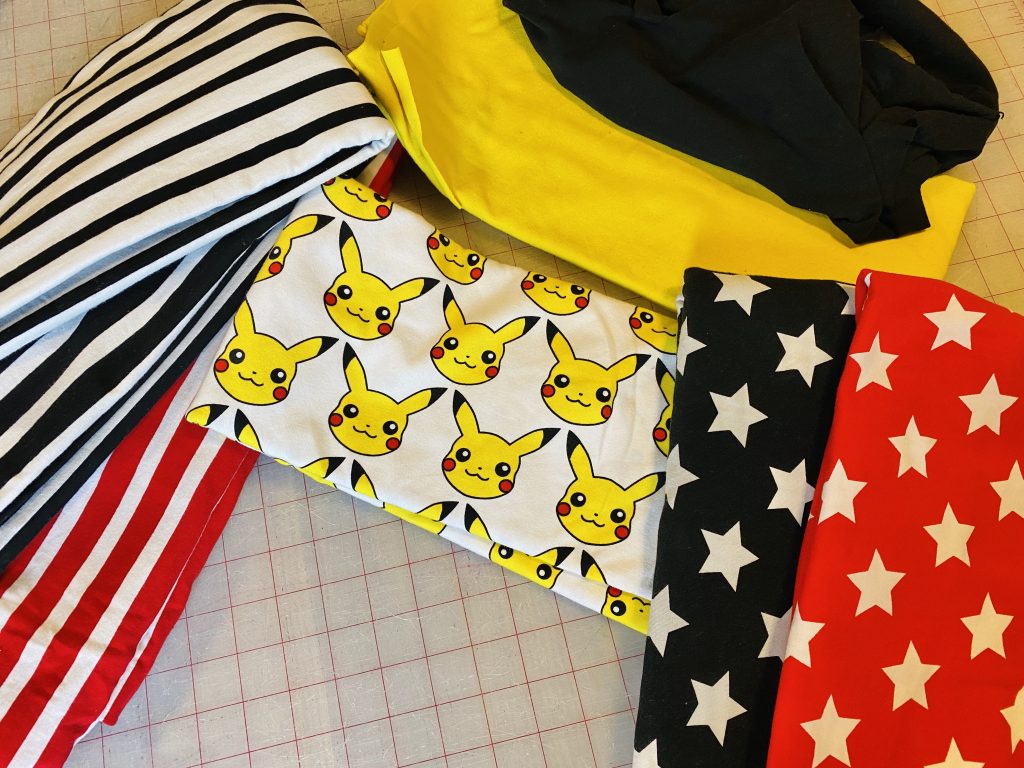
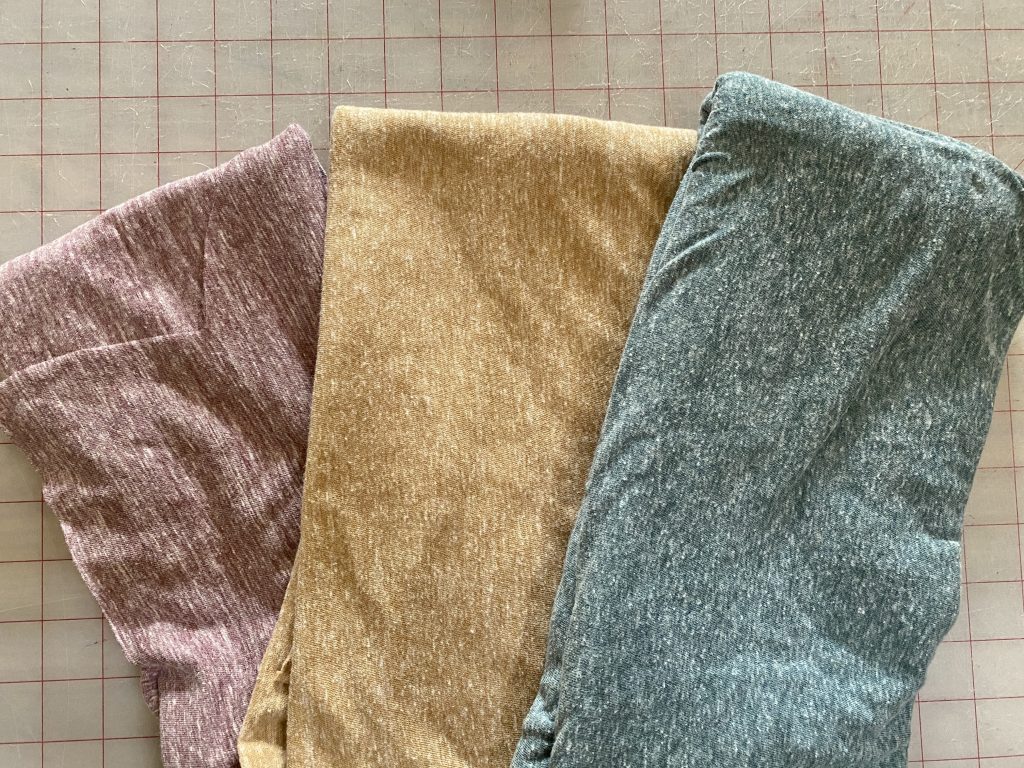
My main fabric for this tee is the Pokemon fabric from TKB Prints. This has been in my stash for several years and fortunately my kids love Pokemon now. I then pulled a bunch of different stars, stripes and solids that match the main colors of black, yellow, red and white in the main print. All of the fabrics I’m looking at are made of cotton lycra.
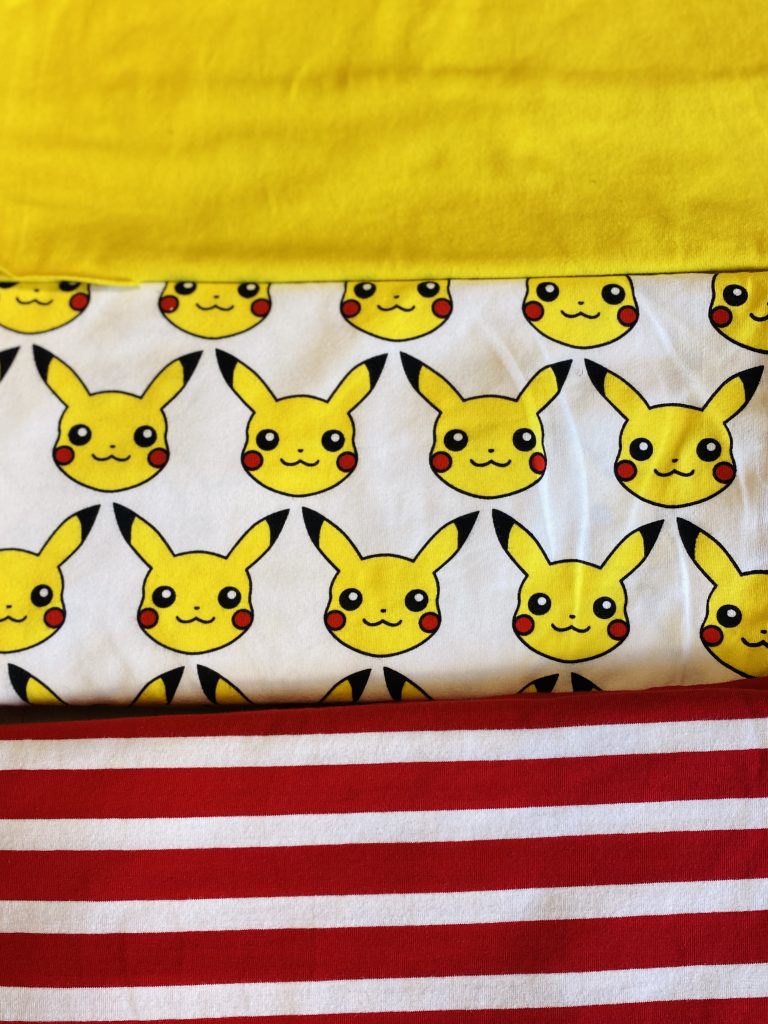
The next step is to arrange the fabrics until it’s the look I’m going for. Any of these would work but some I liked better than others. I ended up preferring yellow on top, pokemon in the middle and stripes on the bottom.
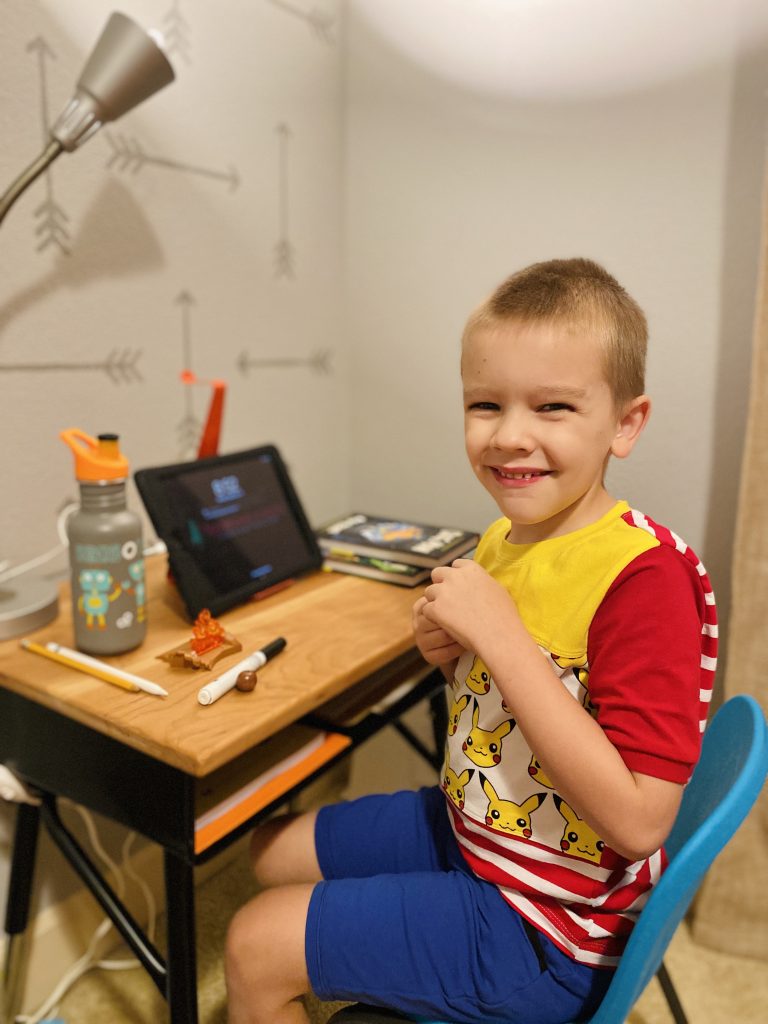
My kiddo requested solid red sleeves and a striped back. He was so happy with this shirt he ended up wearing it for his first day of virtual school. Now that’s a compliment!
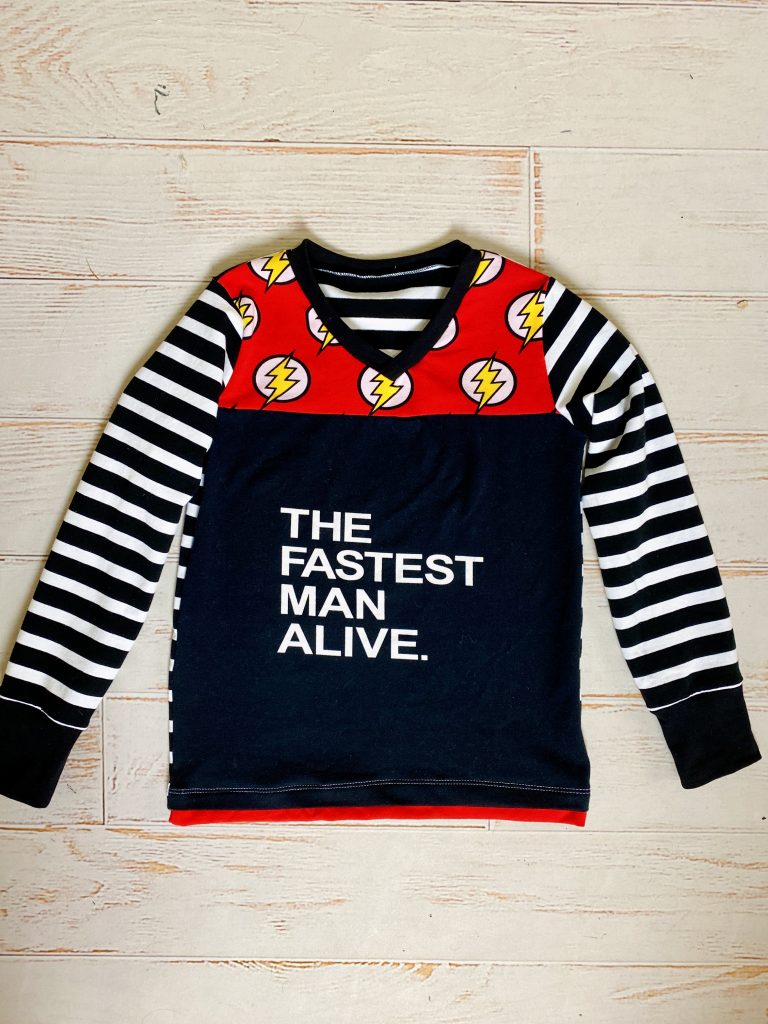
How to hack your own colorblocking design
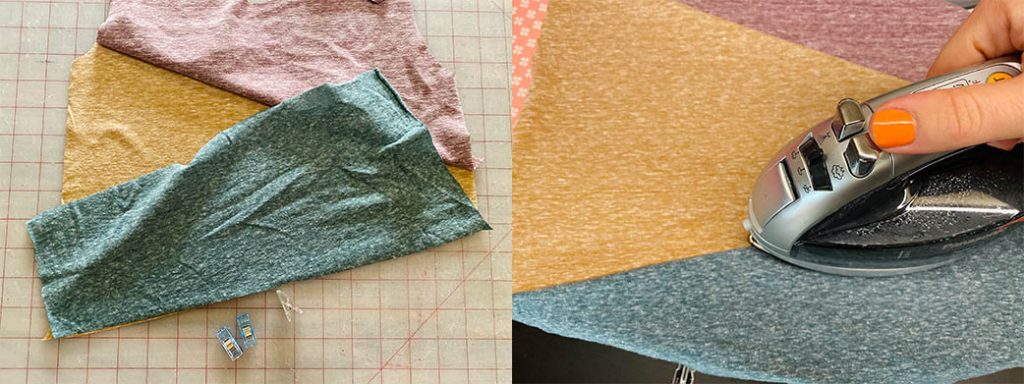
Wait, there’s more. You can create your own custom colorblocking too! It doesn’t need to be about crazy combinations. Using complimentary colors of the same fabric can create a neat look too. For this next project, I’m using triblend from Mily Mae Fabrics which is one of my favorite t-shirt fabrics for all ages.
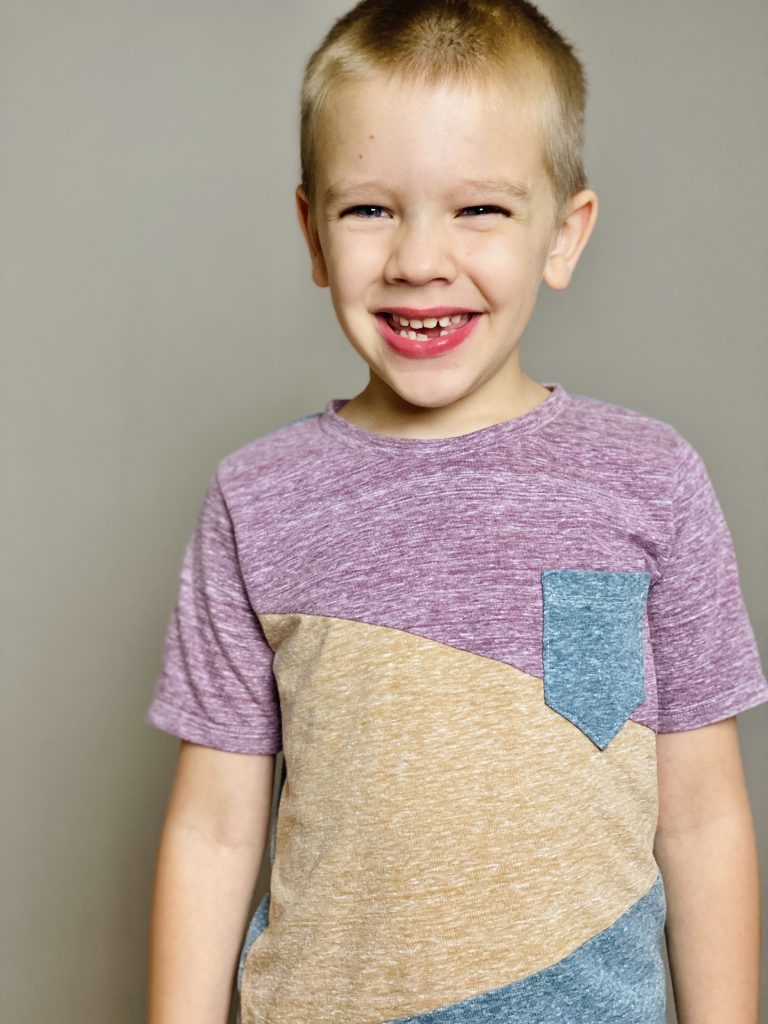
I saw this kids tee on jane.com that I knew I could create using the Vanguard. It’s similar to the Vanguard View B but rather than horizontal colorblocking pieces, the colorblocking is at angles. Let’s walk through how I created this look and how you can do it too.
This is not my photo, it comes from jane.com
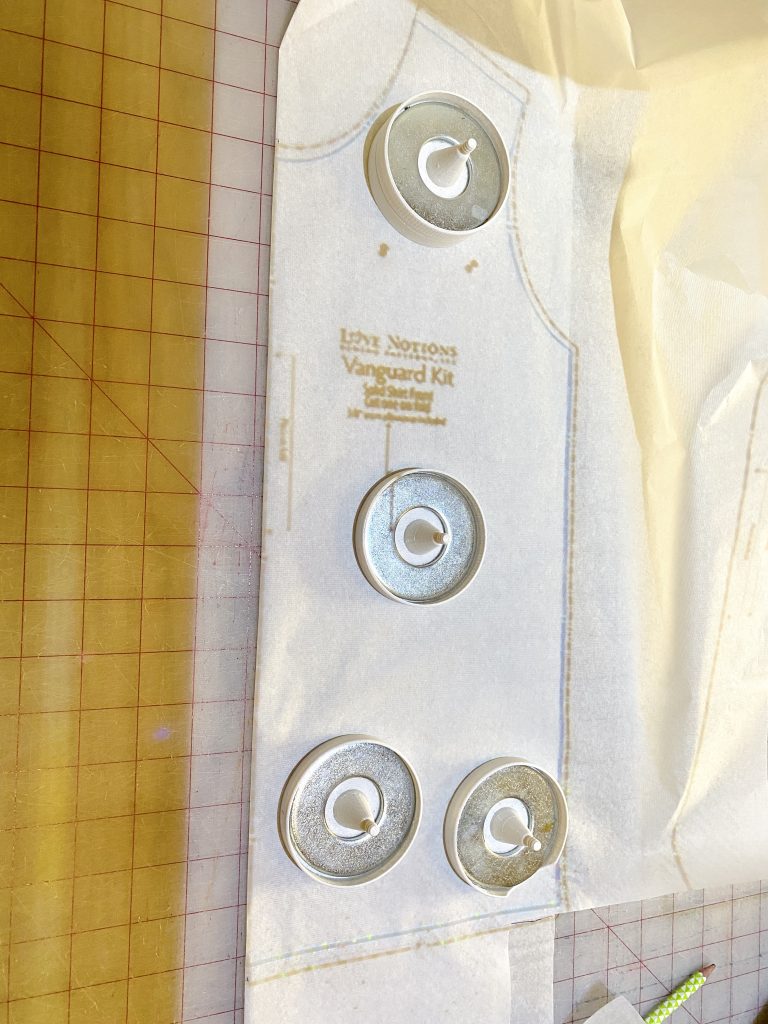
To start, I find it simplest to use the plain view front of the Vanguard shirt. I’m using a projector for this project so I folded my tracing paper and am tracing the plain front so that I have a full front pattern piece to work with.

Then I take my clear ruler and draw the diagonal lines. I was overly confident on this step and used a pen, I’d recommend using a pencil so you can make changes.
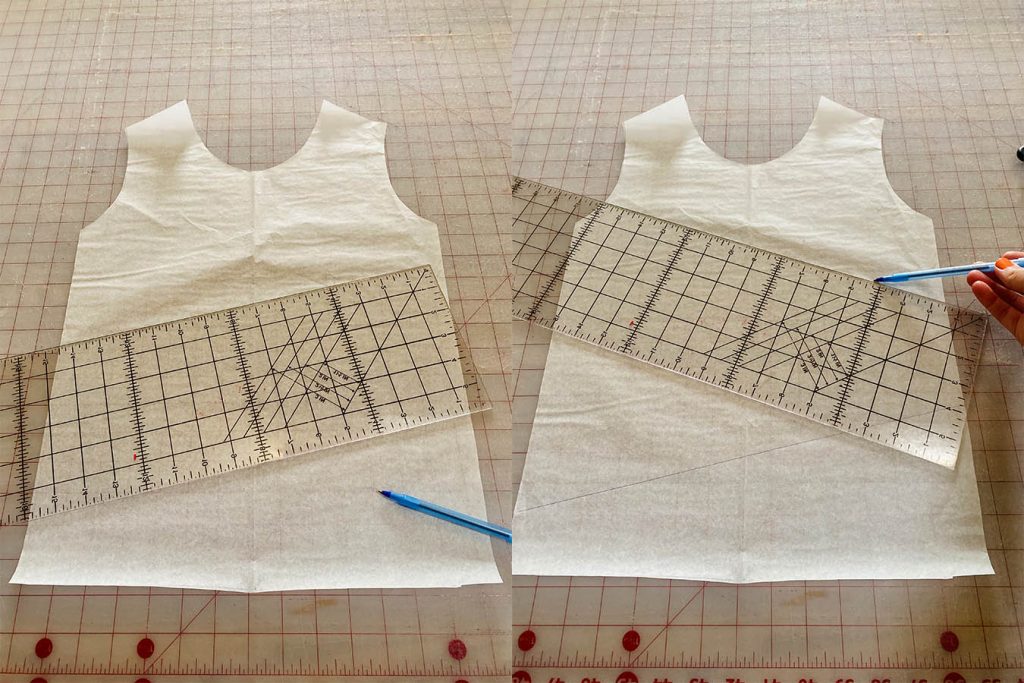
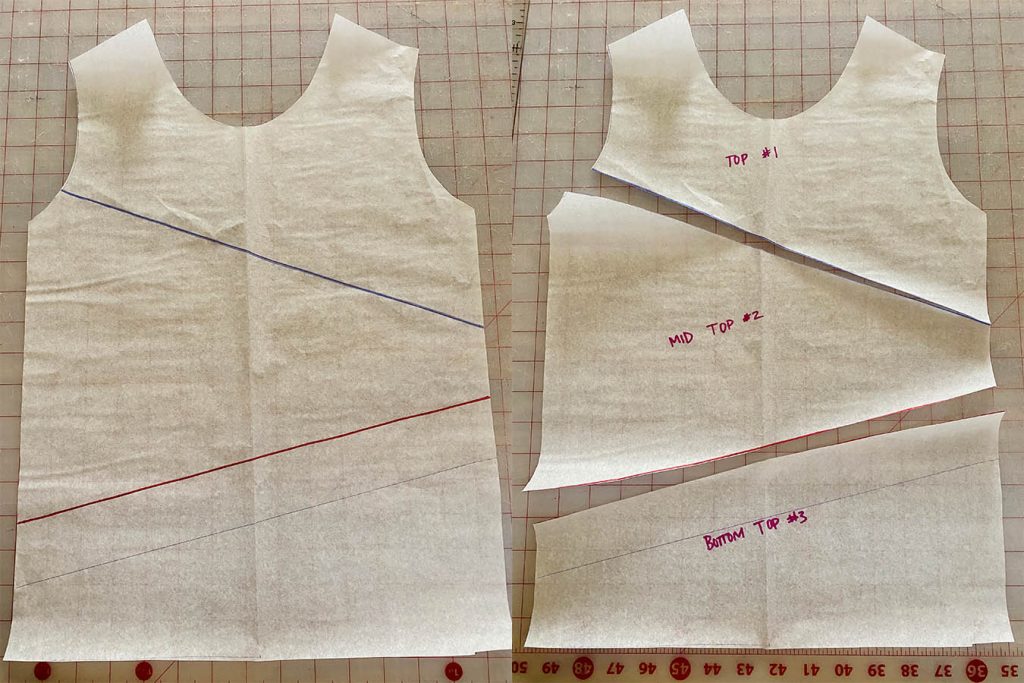
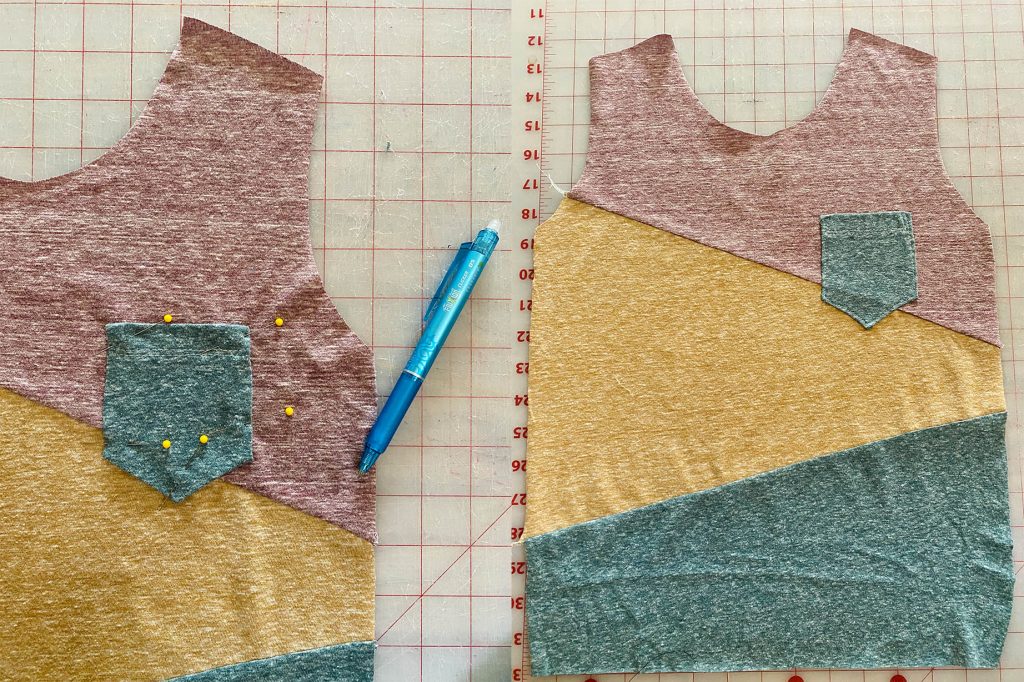
Once you are happy with your lines, cut along the new lines creating 3 pieces. Now label each piece. Don’t skip this step as you need to ensure all pieces are the same direction when cutting.
Next you need to add the ⅜” seam allowance to the new lines just created. This can be done by adding a ⅜” strip of tracing paper to each new edge or by just adding ⅜” when cutting. I prefer to do the latter by adding my clear ruler along the diagonal lines overlapped ⅜” past the edge.

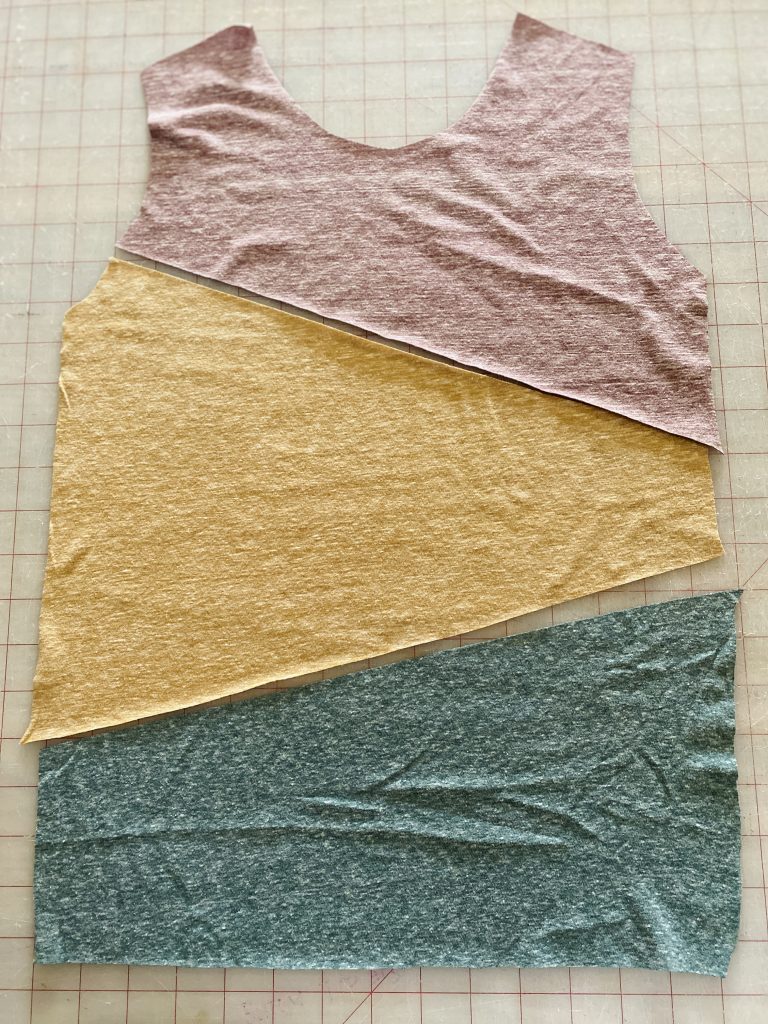
Repeat this step for cutting all three pieces. Once all the pieces are cut, lay them out right side up. This helps to ensure you cut correctly as well as ensures you match up the correct edges for assembling.
Flip the top piece 1 onto piece 2 matching right sides together along the diagonal edge. Sew/serge.
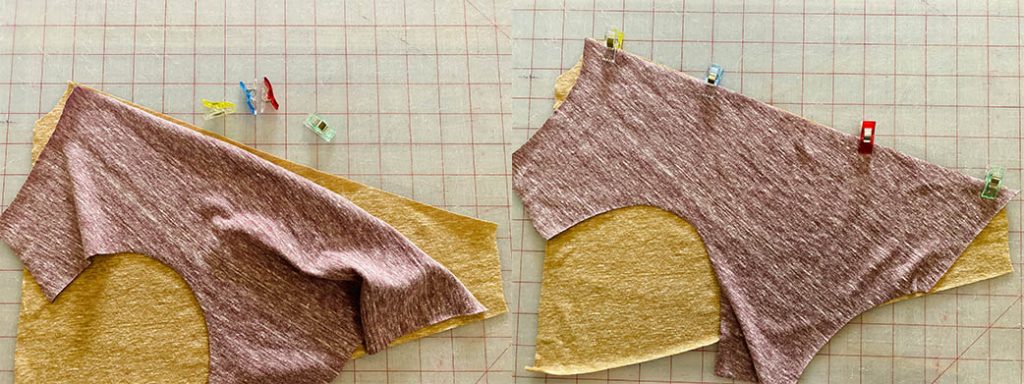
Lay this new piece right side up again. Flip piece 3 over onto the new piece along the diagonal, clipping in place. Sew/serge. Press the seams with steam.
If you want to add a jumbo like I did, I printed the pocket piece at 120% for this larger size.
Finish your hacked Vanguard by cutting the remaining pieces according to the tutorial.
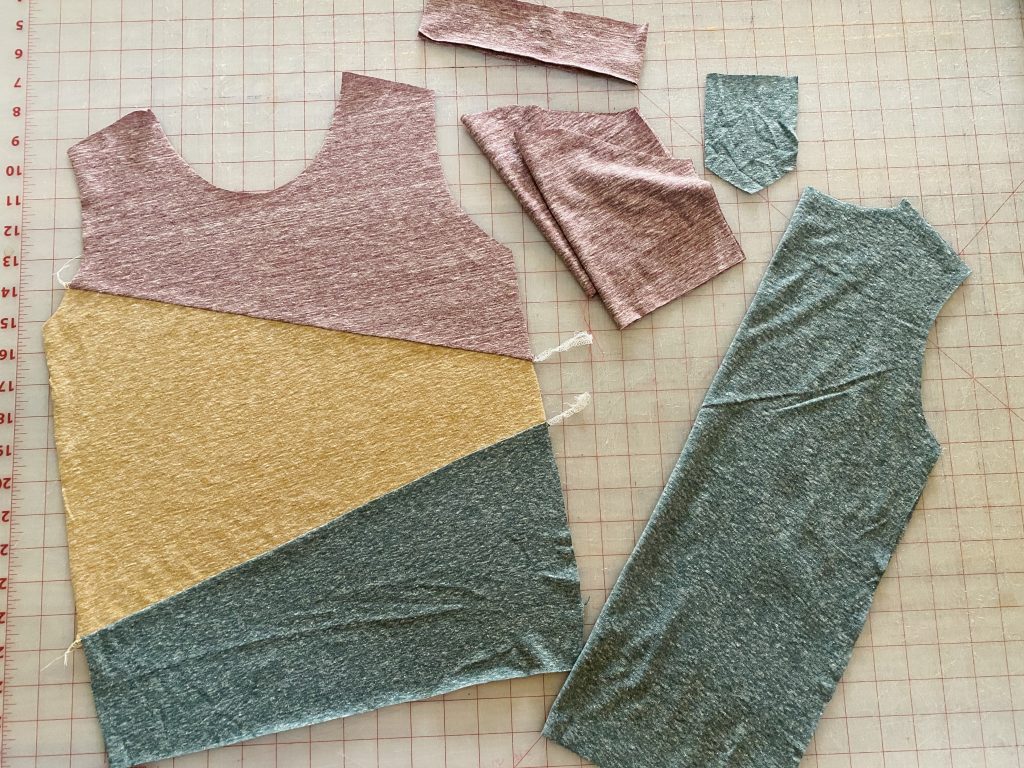
You will follow the directions in the tutorial to add the back, sleeves and finishes. You’ll end up with fun tees your kids will happily wear.
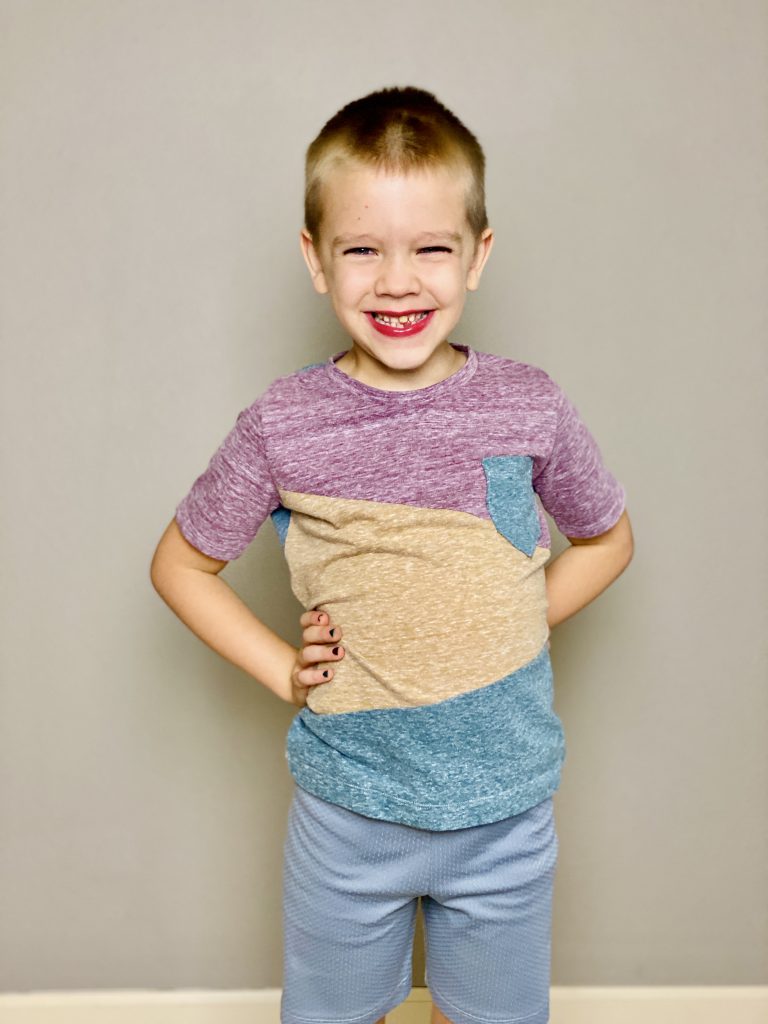

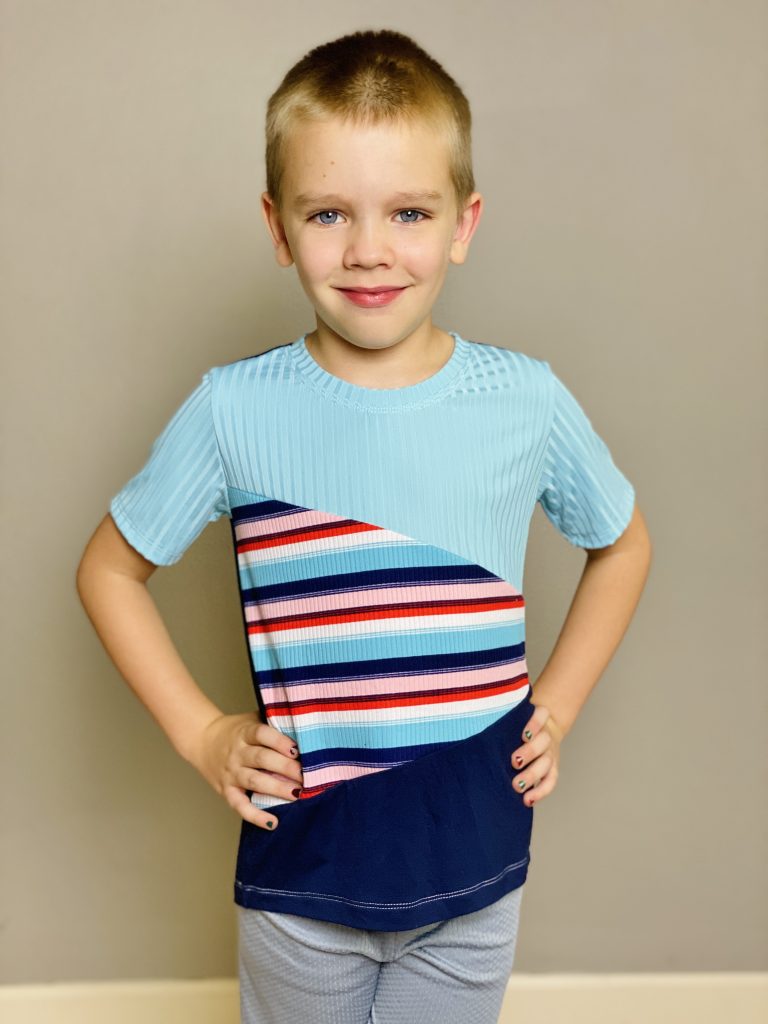
This design works with prints as well. I made one with stripes, solids and rib knits too, all from scraps. So go through your scrap bins and give colorblocking a try. Then share your makes in the Facebook group. We’d love to see what you come up with! You can grab your Vanguard copy here. And you can connect with me on Instagram @Gabeandzach
Have fun colorblocking!
Pin this for later!
Start Shopping
[carousel_slide id=’414175′]

