A Fuller Bicep Adjustment: What To Do When You Need a Little More Space
Pattern Fitting for Arms
Bodies come in all sorts of unique shapes and sizes – and that includes arms! So, imagine you are trying to make a nice fitting garment but the sleeves are just too small and a regular full bicep adjustment is giving you distorted sleeves AND you still don’t have enough space. Don’t get frustrated, this is an issue I have with many many patterns and it took a while for me to realize that there were a few other tips and tricks floating around out there to help me achieve a more comfortable fit.
Focus on Fit: Bicep Adjustments
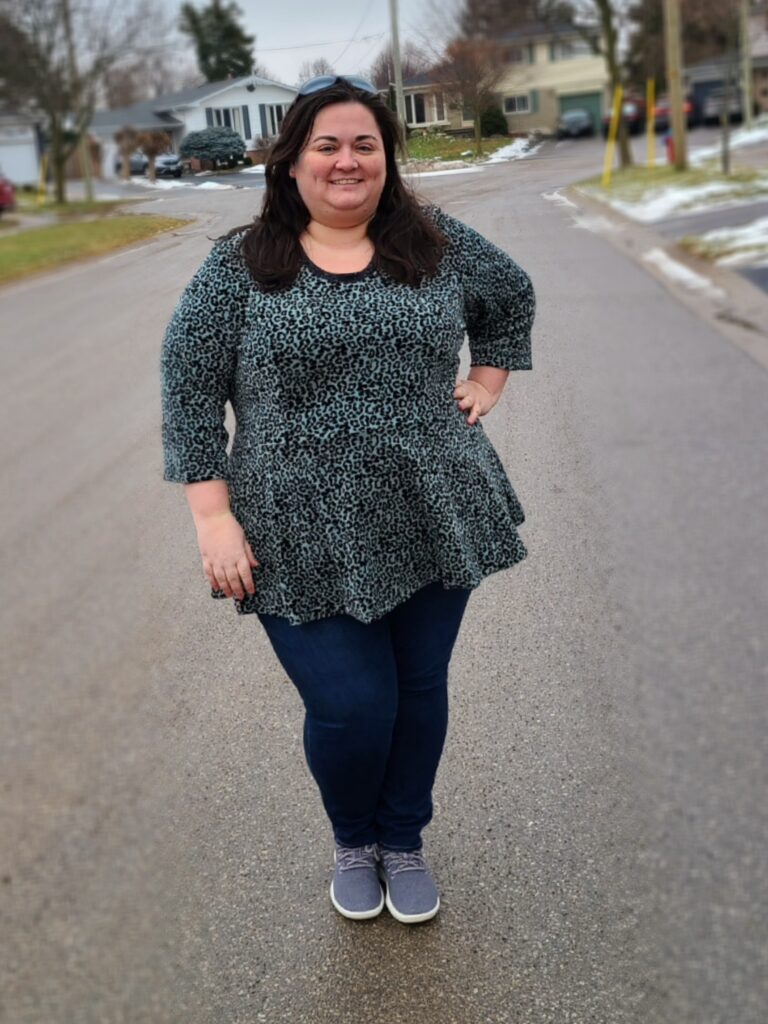
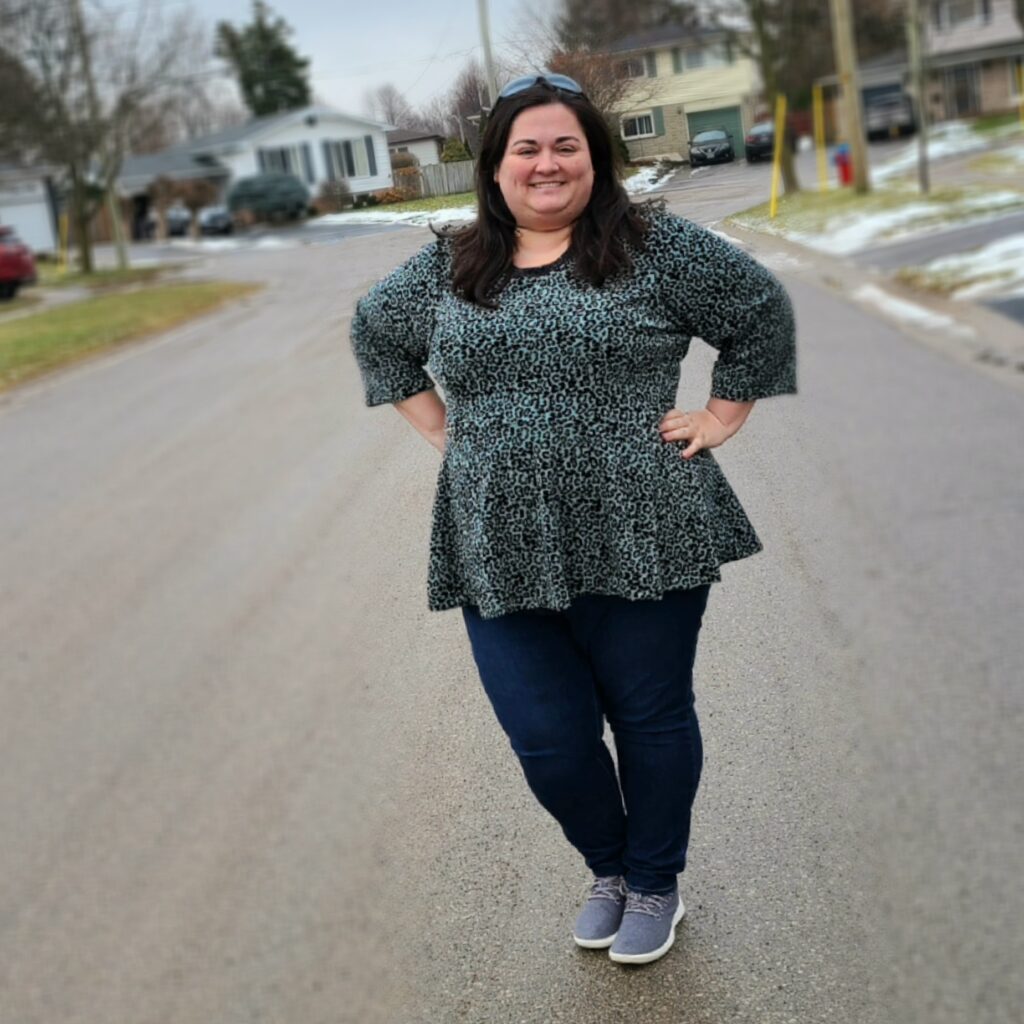
Hi, I’m Danielle
My name is Danielle and I’m a Canadian sewist and have been sewing garments since 2018. I sew primarily for myself and my husband. We both have bigger bodies, so representation, involvement in the online sewing community and advocacy about fatphobia has been paramount to my sewing journey. I also sew up fabrics exclusively for Mimifabrics which is a small business in Ottawa, Canada. Miriam has a wealth of fabric knowledge and stocks unique options for the whole family from European designers, many natural fibres and lovely textured fabrics. You can follow me on Instagram as The Healing Stitch. I also share periodically about grief and healing through creativity.

Breckenridge Henley 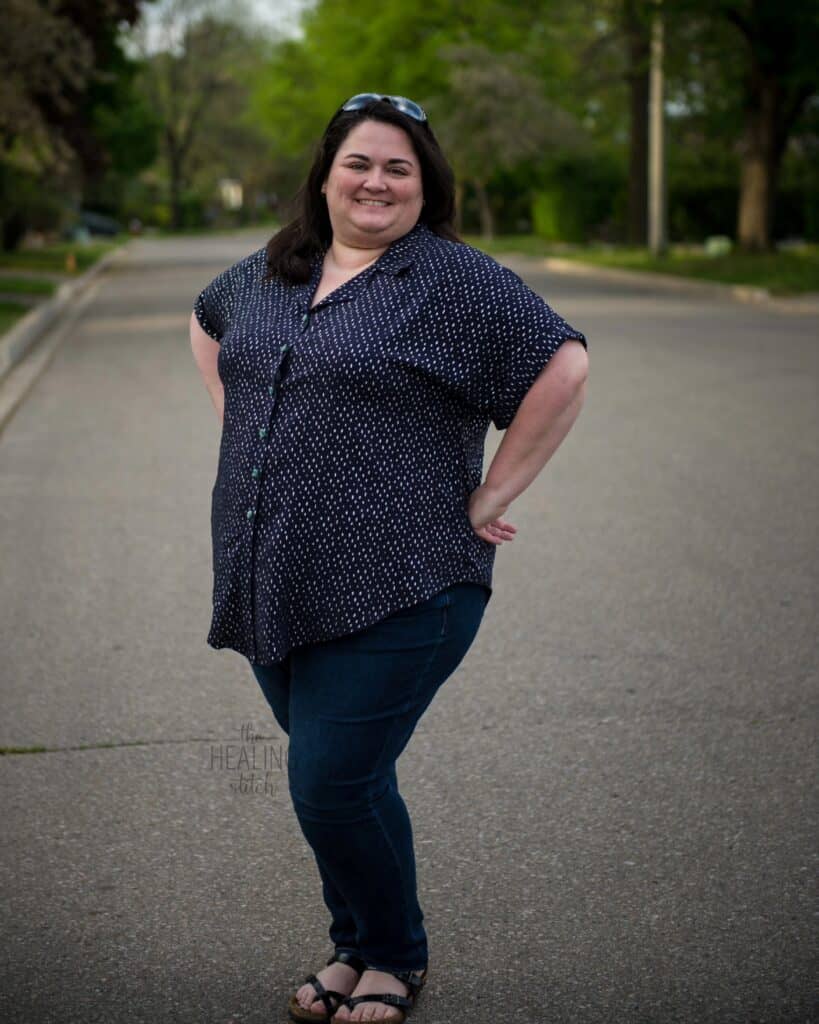
Melody Dolman 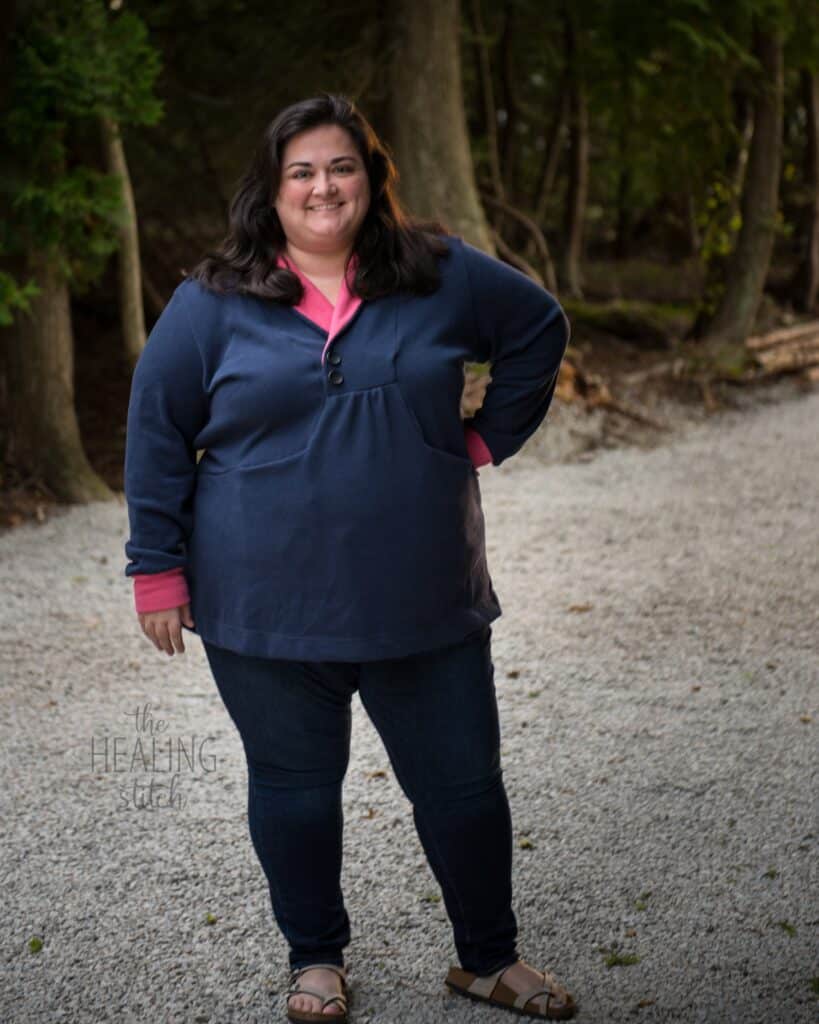
Whistler Sweater
Now let’s move on to the real reason we’re here today!
Why do we need Full Bicep Adjustments
First, let’s review the topic of full bicep adjustments and why we need them. In garment construction, when we mention the ‘bicep’ what we are really referring to is the entire upper arm between your elbow and shoulder. The challenge is that this area is closely related to the armscye (the sleeve opening on the bodice) and if you adjust one, you have to be cautious to make sure that the other pattern piece will still come together correctly. You may have seen this great tutorial recently from Sequoia for completing a full bicep adjustment, maybe even given it a try already. But maybe you still aren’t getting enough space in the arm or it’s distorting when the garment is being worn. Today I’ll walk you through a few additional steps that may help you get the fit you’d like to achieve.
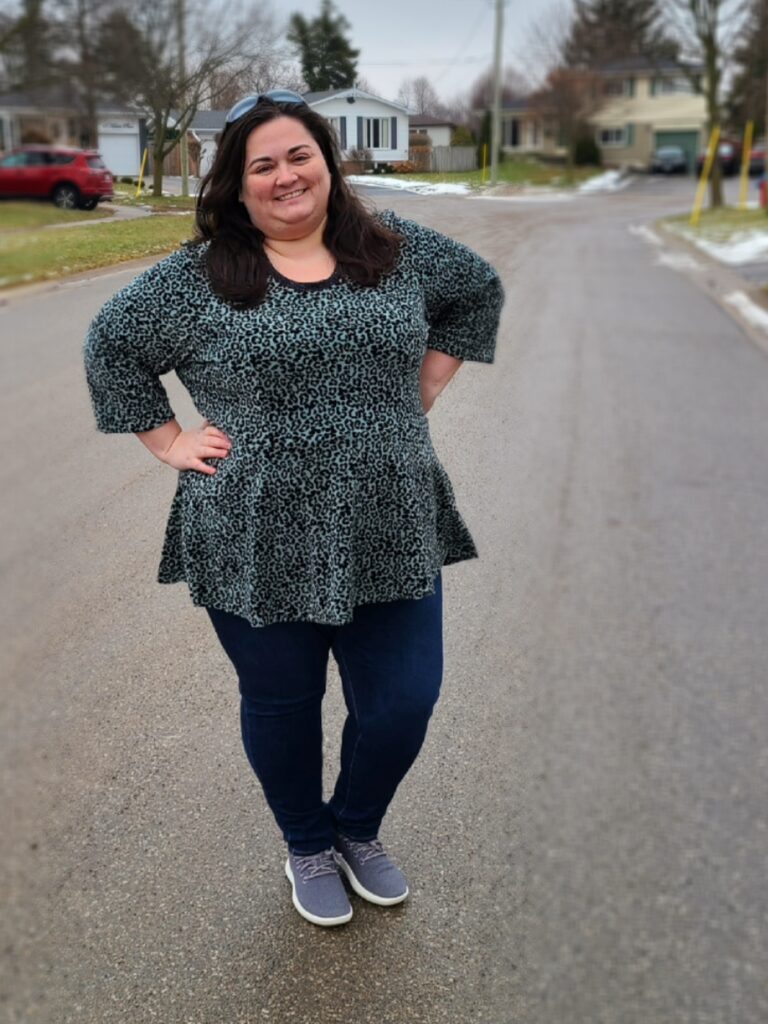
I am working with this week’s $5 feature, the Margot peplum which has a princess seamed bodice with options for a pleated, swing or gathered peplum skirt. This is the type of knit garment that can look professional and classic while still being very comfortable. As I prepare to return to work in a new job, I need to round out my wardrobe again with some easy wearing garments that are business casual. The Margot comes with set in sleeves, but even with a standard bicep adjustment I need more space.
How to know what you need
You may be asking yourself, “But how do I know I need a full bicep adjustment? It seems like the sleeves fit around my arm?” If a sleeve is too snug it may cause a few other issues that you can look out for. One that I commonly see is that sleeves and/or the sleeve cap ride up throughout the day and cause bunching under the arm and extra fabric just below the shoulder. You may also see drag marks pointing towards the sleeve cap starting somewhere mid upper arm. Believe it or not it may also look like you have bust fit issues as well as the snug sleeves are restricting the bodice from settling where intended. The shoulder seam can also sometimes appear to be ill-fitting or too short. You’ll want to adjust the sleeves and armscye before doing a bust adjustment.
Let’s get started!
How to Make a Fuller Bicep Adjustment
Step 1: Compare your actual bicep measurement to the pattern
Taking a bicep measurement is one of the more tricky ones to take by yourself, so if you’re struggling it’s time to call in an assistant. Patterns usually call for the bicep to be measured right at the level of the axilla. However, if the largest part of your arm is lower than this, you’ll want to take a few additional measurements. Find the widest part of your bicep and measure the circumference. Then measure how far down from the axilla this measurement is.
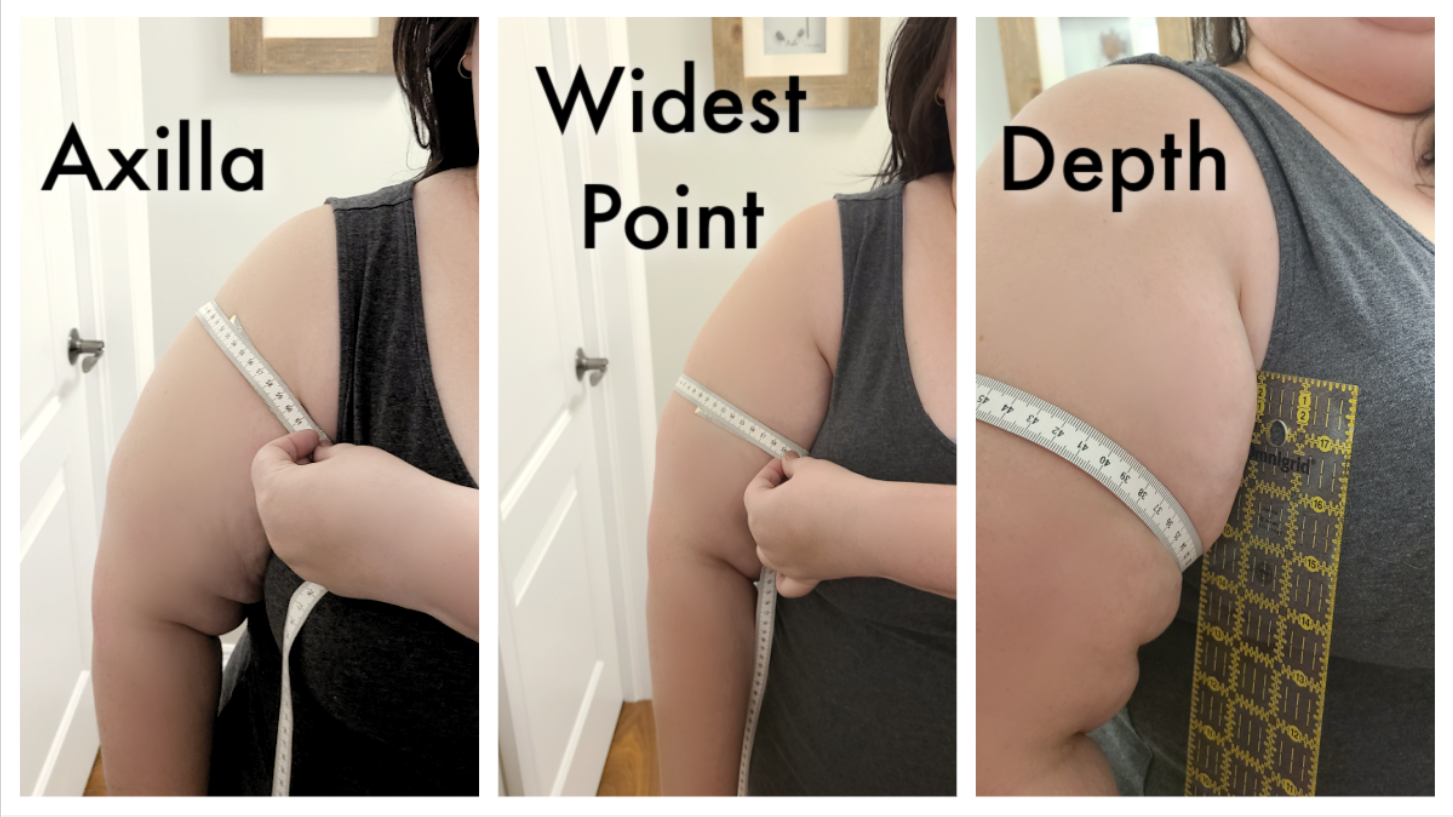
Pull out your pattern piece and mark off the seam allowance. Now measure the width of the pattern piece at the axilla as well as however far down your second measurement is.
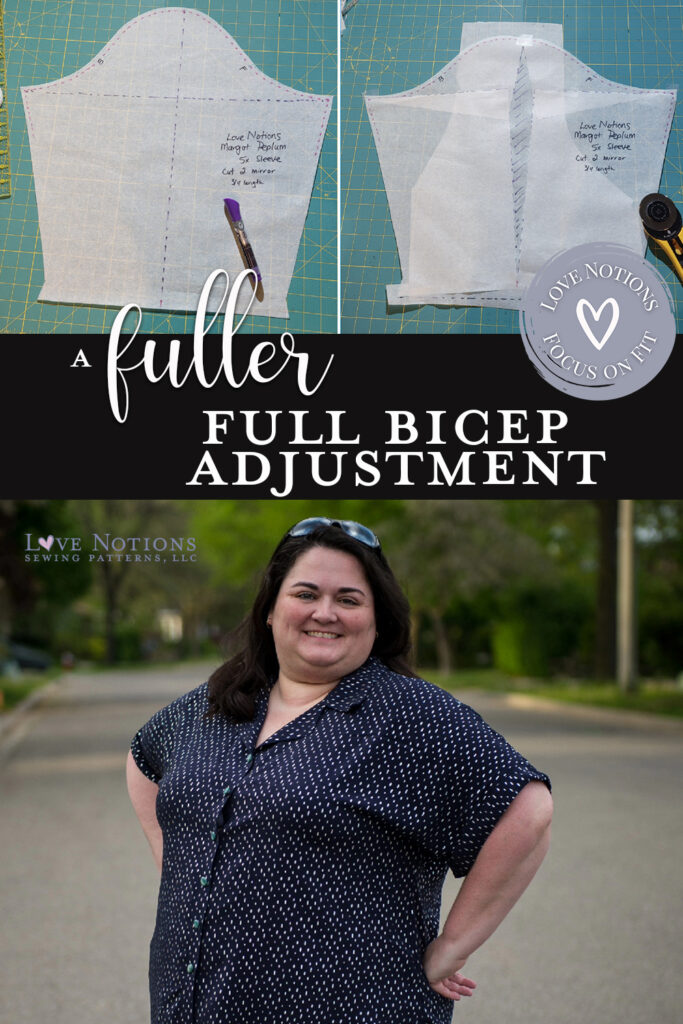
Step 2: Begin with a standard bicep adjustment
Start with the classic T-shaped slash and spread for a full bicep adjustment. If the difference between pattern and actual required is greater than about 1”, you will need to move on to the next steps or else your sleeve cap will be too distorted. In this example we are adding 2” at the axilla level.
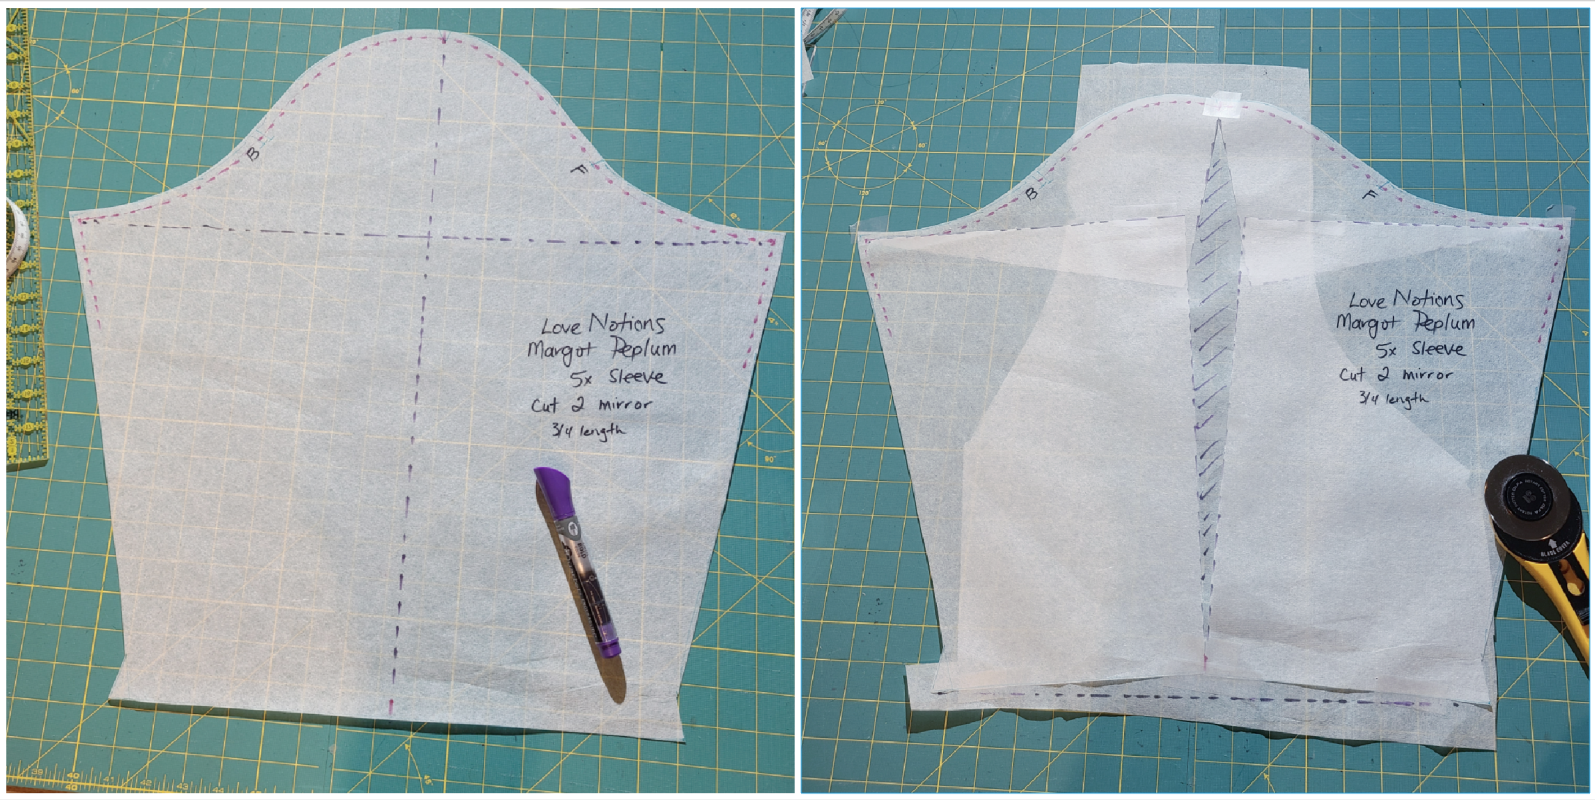
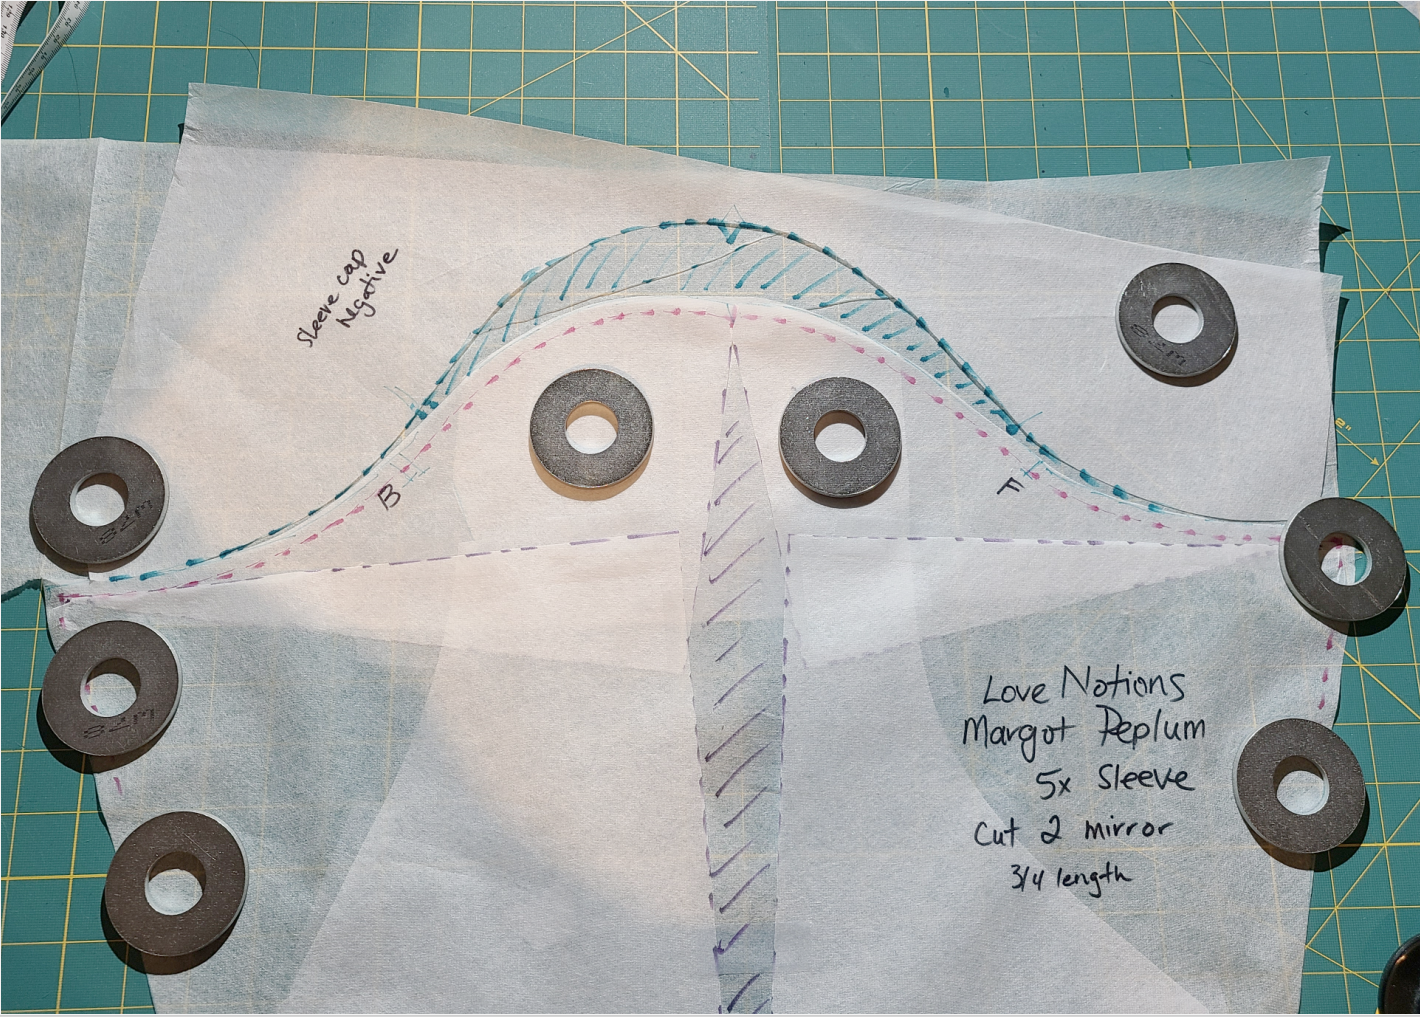
Why is a bigger adjustment a challenge? The sleeve cap is the rounded part at the top of the sleeve that looks like a ski hill. As you slash and spread the sleeve, this curve gets shallower which translates to less distance and less fabric on the outermost part of your sleeve. You can see side by side in the picture above how dramatic this change can be. This is why you see draglines as the upper part of your sleeve is trying to borrow fabric from lower down to fit correctly. The solution is to retrace the original sleeve cap shape onto your newly widened sleeve.
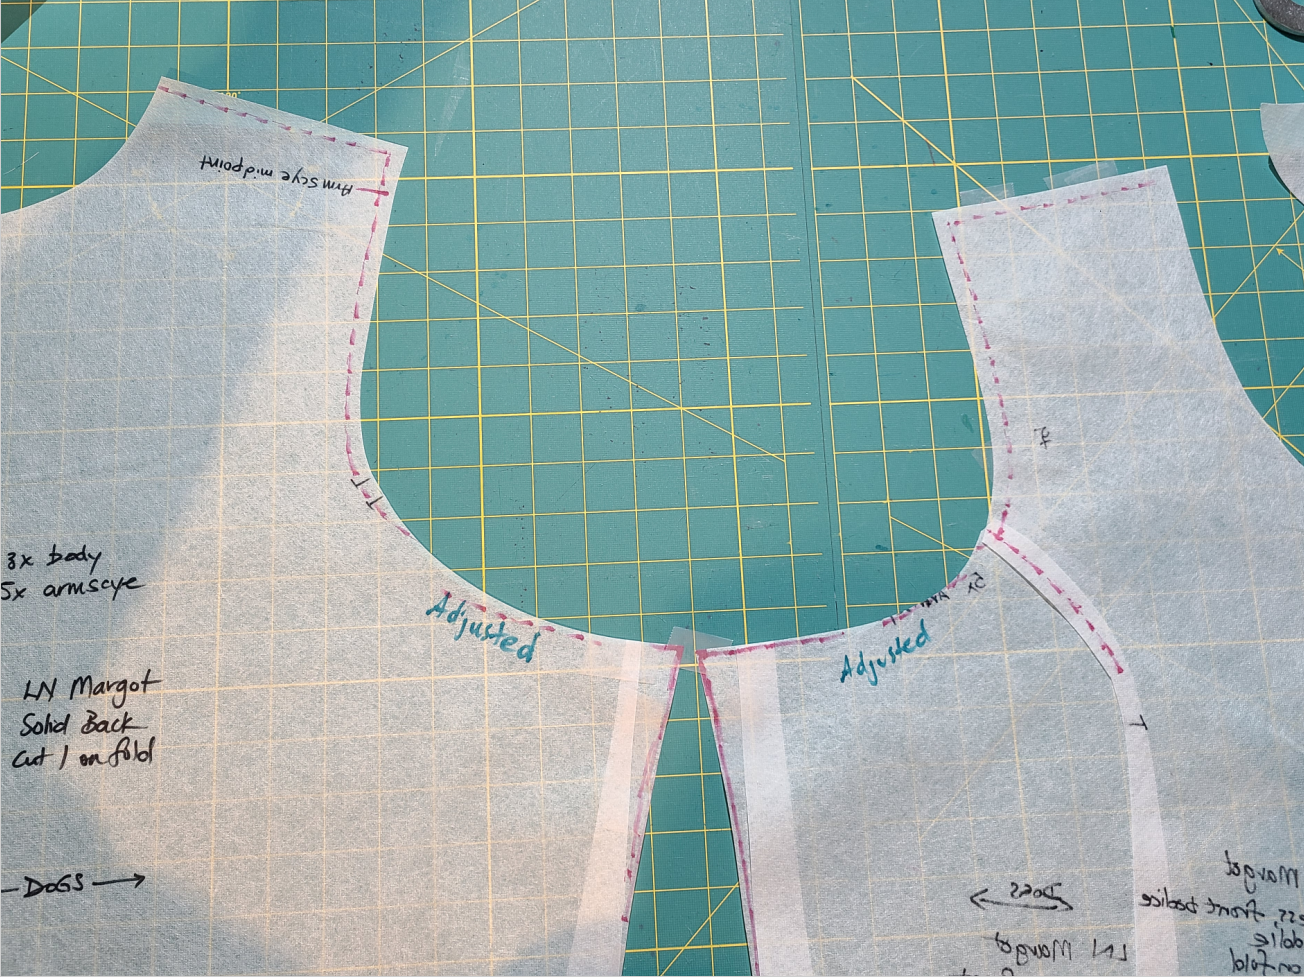
Step 3: Adjust the armscye
Your new sleeve cap seam line will be longer than the hole it’s meant to fit into. If you don’t adjust the armscye, you will end up gathering your sleeve to fit. Not only will this look out of place, but there’s a good chance you actually need a larger arm hole to put your arm through!
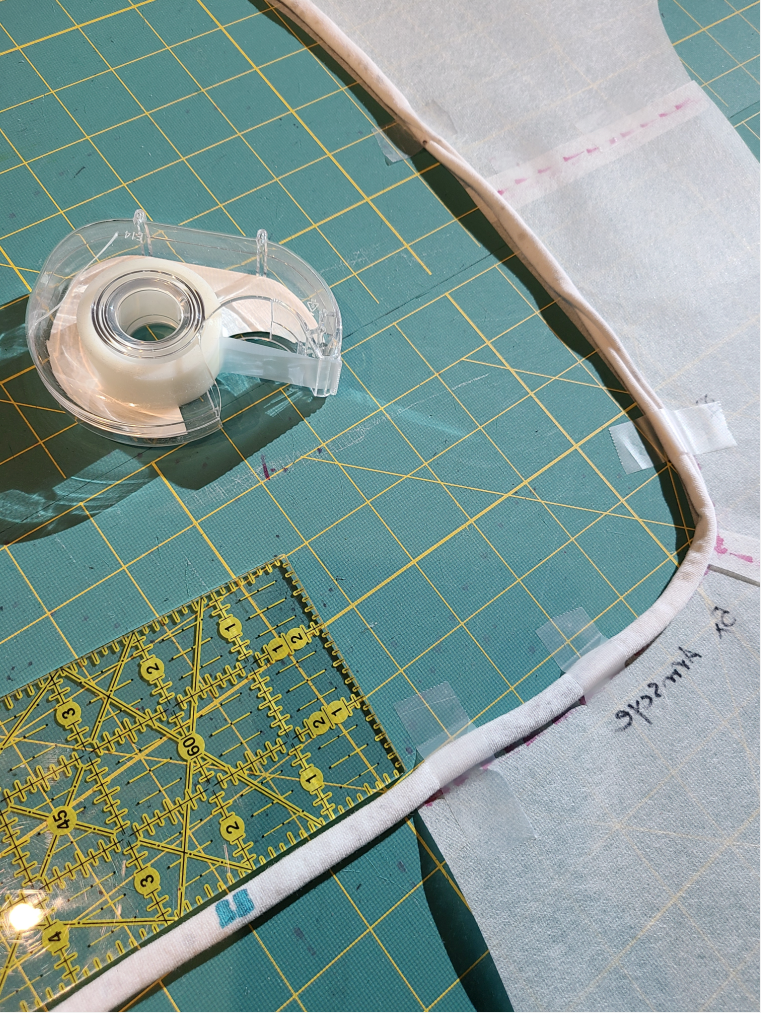
Mark the seam allowance on your bodice pieces around the armscye. Measure the seam line of the bodice as well as the sleeve cap. You can use a flexible ruler, a piece of string and measure it, or walk your tape measure along the seam line.
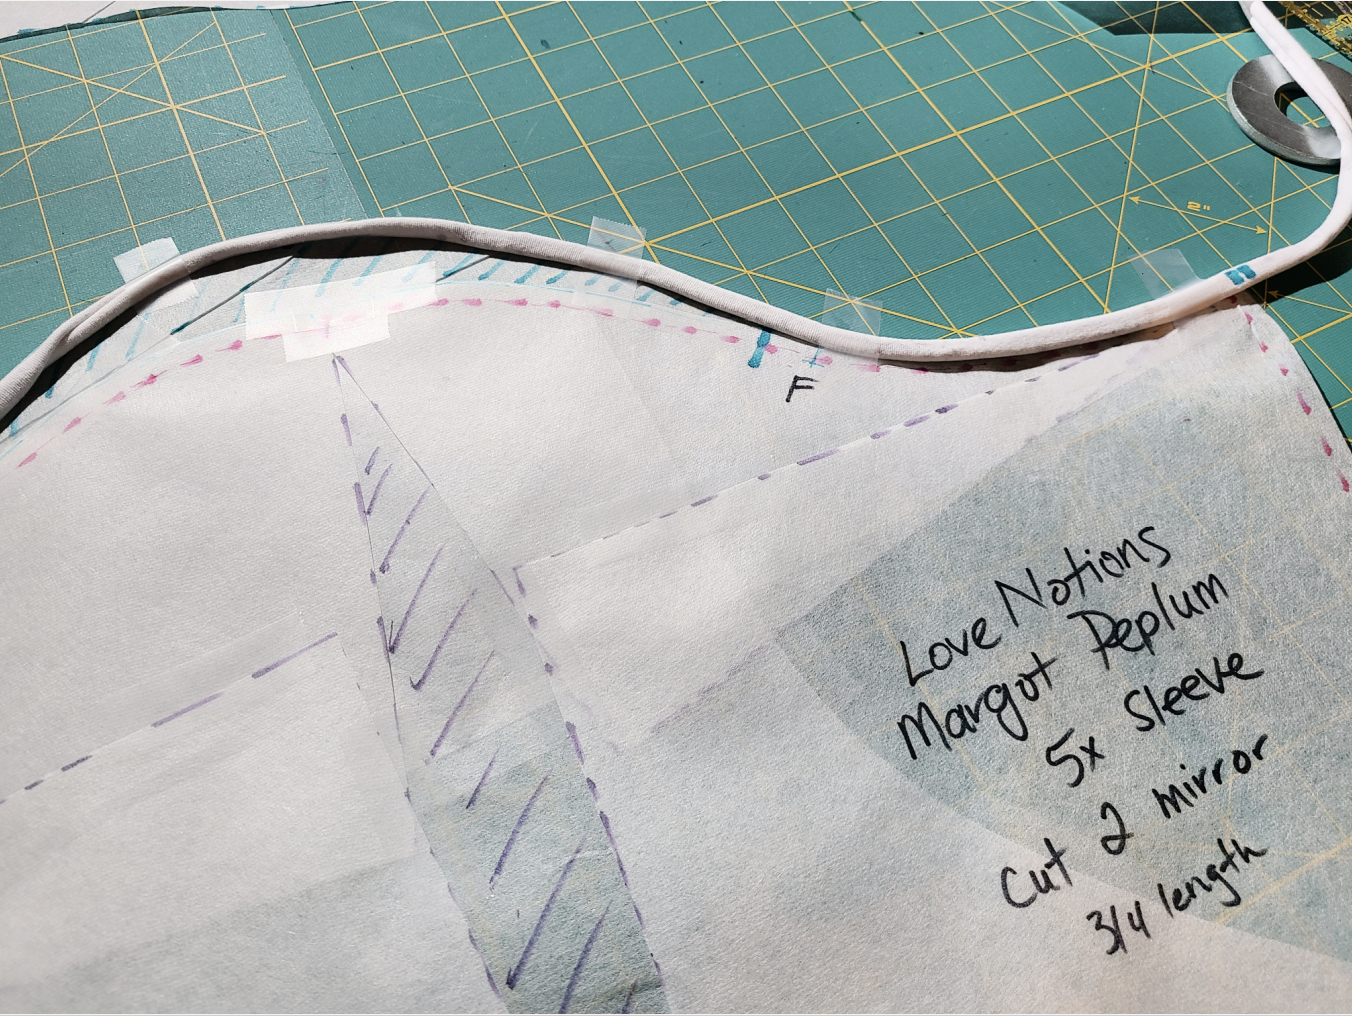
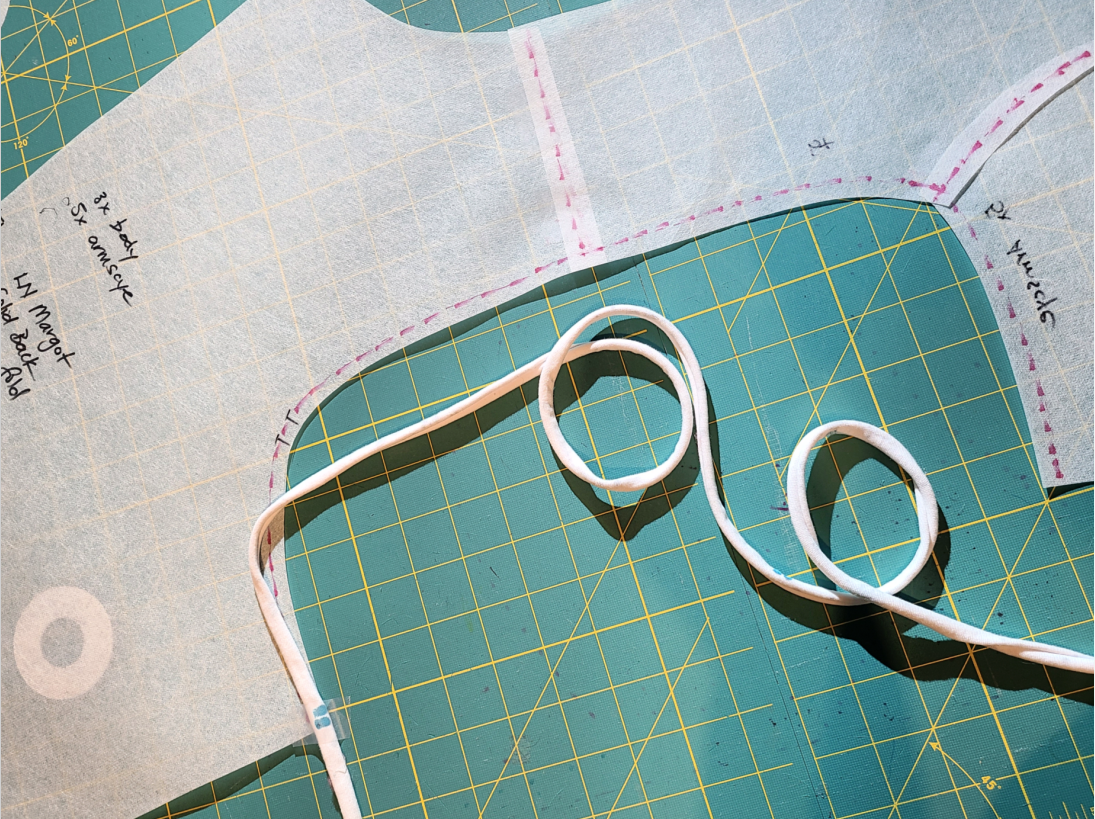
Calculate the difference between the two measurements so you know how much larger you need to make the armscye. Now, you have a choice as to which way to adjust, and this is something you’ll have to play around with to decide what works best. If you have a french curve ruler, this is a great time to pull it out to assist you in redrawing your curve. You will either lower or widen the sleeve opening, or a combination of both. This is what I need to do, I have to lower and widen this area. How to decide which is best for you? If you usually do a full bust adjustment as well, widening is probably a good place to start. If you only need a bit more length, you may be able to just lower the curve a smidge.
Tip: If you use a piece of string, you don’t even have to measure! Just mark the length of the new sleeve cap on your string and then use that to transfer the extra length to the armscye. Mark and line up the midpoint of the string and your armscye to make sure you are adding the same amount to the front and back. This won’t be at the shoulder seam but slightly to the back bodice.
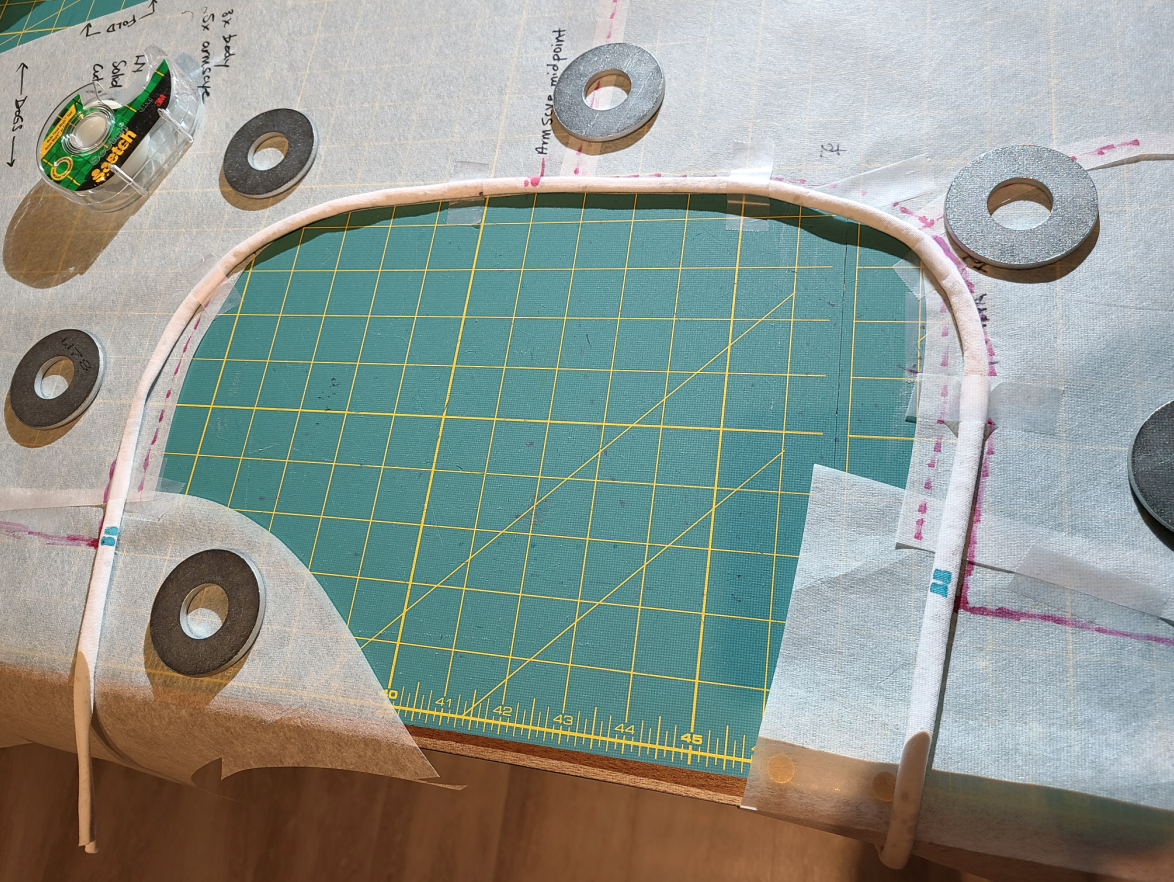
Remember to adjust the bodice front AND back. If you are using the princess seam bodice, remember to overlap at the seam allowance and treat is as one piece at this point. It may take some trial and error to get the measurements to match on the sleeve and bodice. This is where using a measured piece of string can speed things up.The sleeve is usually a little bit smaller than the opening by maybe ¼ to ½ an inch. If your fabric is very stretchy, you don’t have to worry about being super accurate. But with something more structured like ponte or interlock, take your time and work to get those lengths as close as possible.
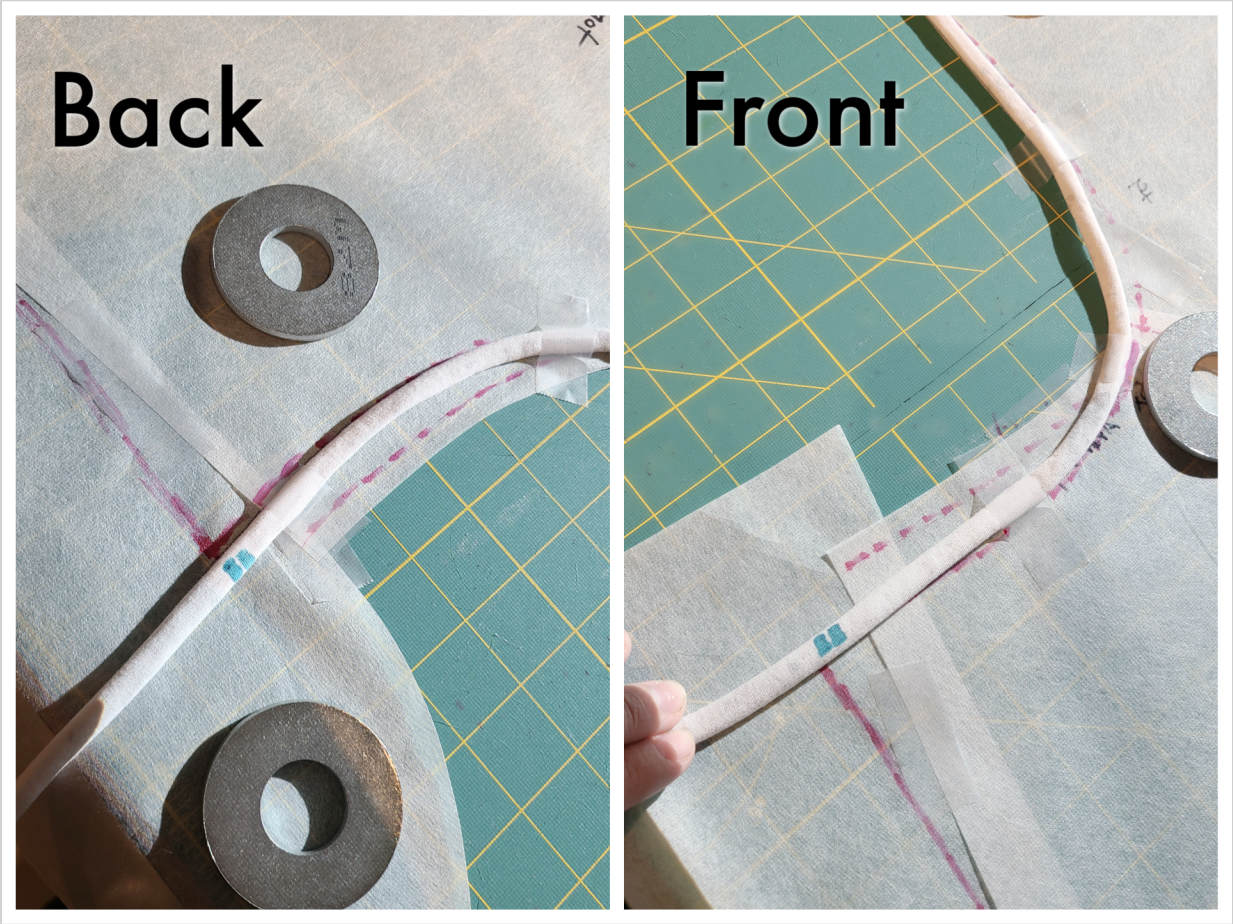
Tip: Don’t forget that we are excluding the seam allowances while we adjust, so make sure they are clearly marked and don’t get accidentally included in your measurement. When measuring a seam that encompasses two pattern pieces, I will overlap them at the seam line just as they would be sewn.
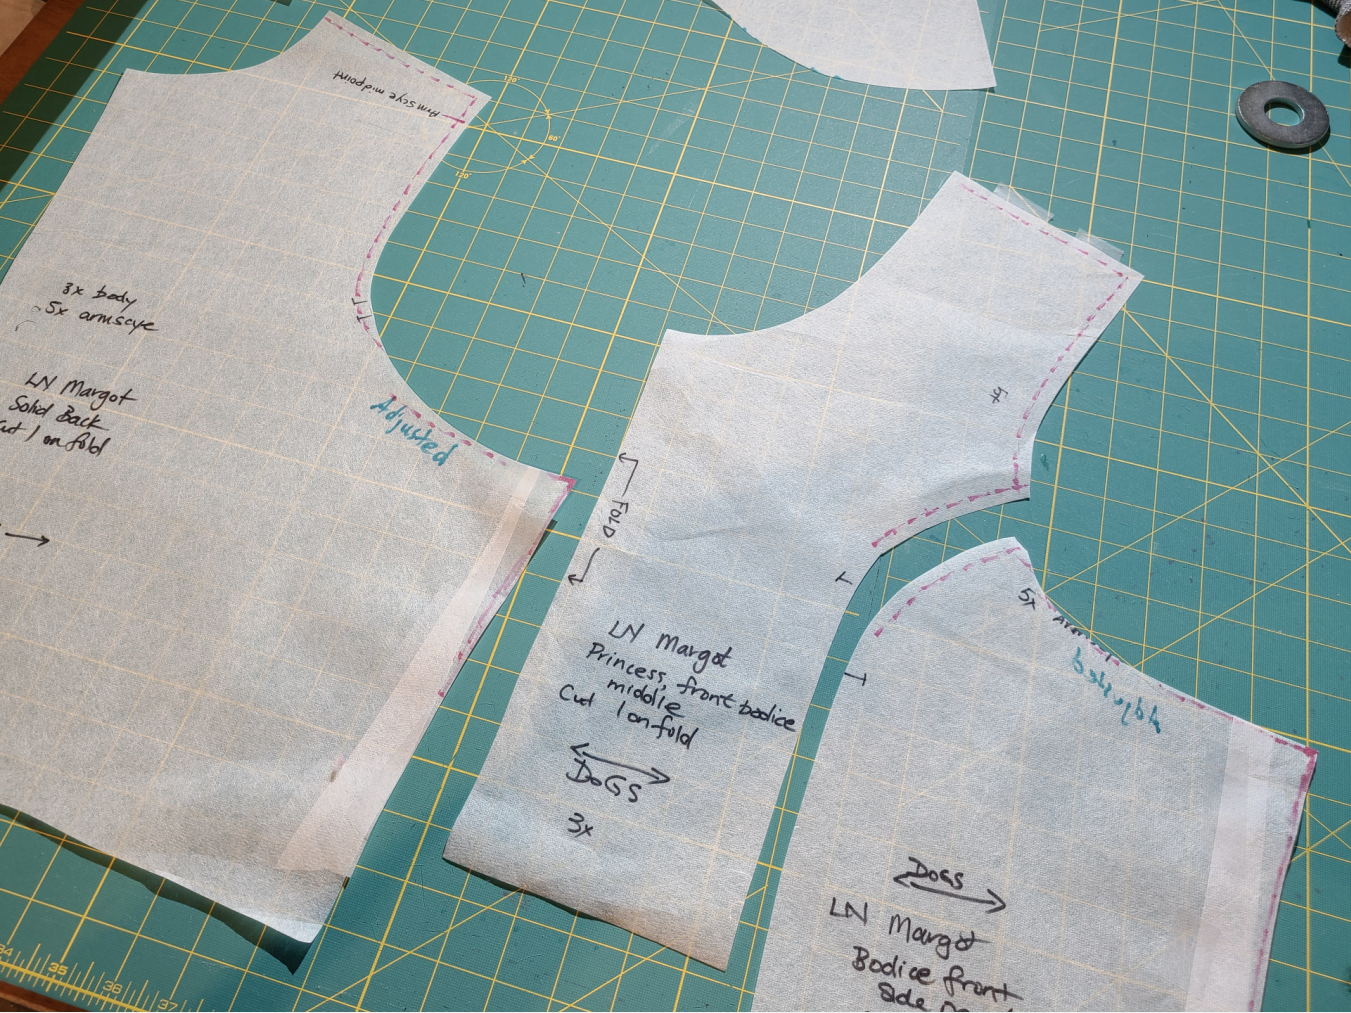
Step 5: Add back allowances and true up pattern pieces
Now that we’ve made our adjustment, time to go back and make sure our seam allowances are all intact and that we haven’t accidentally made any awkward wings, corners or angles. If you are making pattern adjustments on muslin or any type of tracing paper, you may want to tissue fit the sleeve at this point to make sure you have increased the size enough.
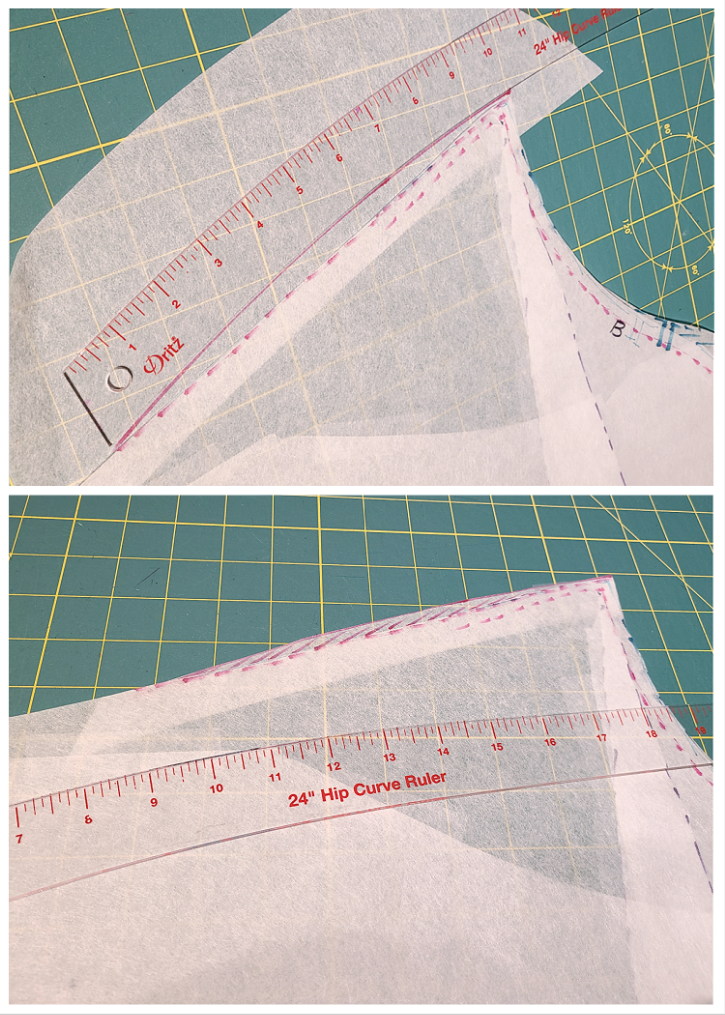
Step 6: Add a bit of wearing ease if preferred
While a pattern is fitted a certain way by the designer, you can choose to add extra wearing ease for personal preference. This may be desired if your arm fits well through the armscye, and the sleeve technically fits, but you are still just not quite comfortable with the fit in the upper arm. Maybe you need a lot of range of motion because of your job (hello, life of a nurse practitioner!) or you’re working with a more structured knit like ponte and you want positive ease (the garment is bigger than the area of the body it fits) just for personal preference.
If you have a hip curve ruler, pull that out! Decide where you want or need a bit more space and gently curve out the bicep area. If you had a ‘widest point’ when you first took your measurements, you can locate this on your pattern and add exactly the width you need. A word of caution, you can’t get carrrid away or else you will get an awkward fit. I’d recommend no more than half an inch on either side. I do NOT recommend this as an adjustment alone, as you are likely to run into a too small armscye, or a ‘stuffed sausage’ look which is just plain uncomfortable to wear.
Now you’re ready to sew up the rest of your garment with better fitting sleeves. The good news is that while this may seem like an intensive task the first few times you do it, eventually you’ll get really good at knowing how much adjustment and what type will benefit you the best. I now usually just eyeball the process as I’ve done it so many times. Typically, if I’m working with a Love Notions pattern, the sizing block is reliable and my adjustment across patterns is fairly consistent.
A few more thoughts on the topic of fitting arms….
Sometimes you can do all the adjustments you want and get a ‘proper’ fit, but you’re still not happy with how the garment looks. That’s ok, too. Since you’re the maker, you can customize your garment however you’d like! You may choose to swap out a new sleeve style altogether.
With a larger bicep, some styles are more forgiving by the nature of their design. This would include bishop sleeves such as Arlington, dolman sleeves like Vivace and Melody, or flutter sleeves such as Harmony or Rhapsody. Or of course, sleeveless!
Thank you for joining me and I hope you found these methods helpful in getting a more comfortable fit on your tops. You can follow me on Instagram as The Healing Stitch. If you visit me on my socials you can get a special extra discount. Hope to see you there!
Was this helpful? I’d love to be tagged in the Love Notions Support group on Facebook or on Instagram if you use these techniques and they worked well for you (or didn’t!). It’s really rewarding to help other sewists tackle the issues of fitting a larger body and helping them feel fantastic in their me-made garments.
Save this on Pinterest