Here’s what helped me, and hopefully will be useful for you, too!
Rachel Ring
First, Three Tools to Help you Get the Dreams of your Dreams
Hi, friends! Rachel here today with some tips and tricks I picked up during the Legato testing journey. Before we get started with my 10 tips for creating the jeans of your dreams, you should know there are three major tools available to help you on this jeans making journey.
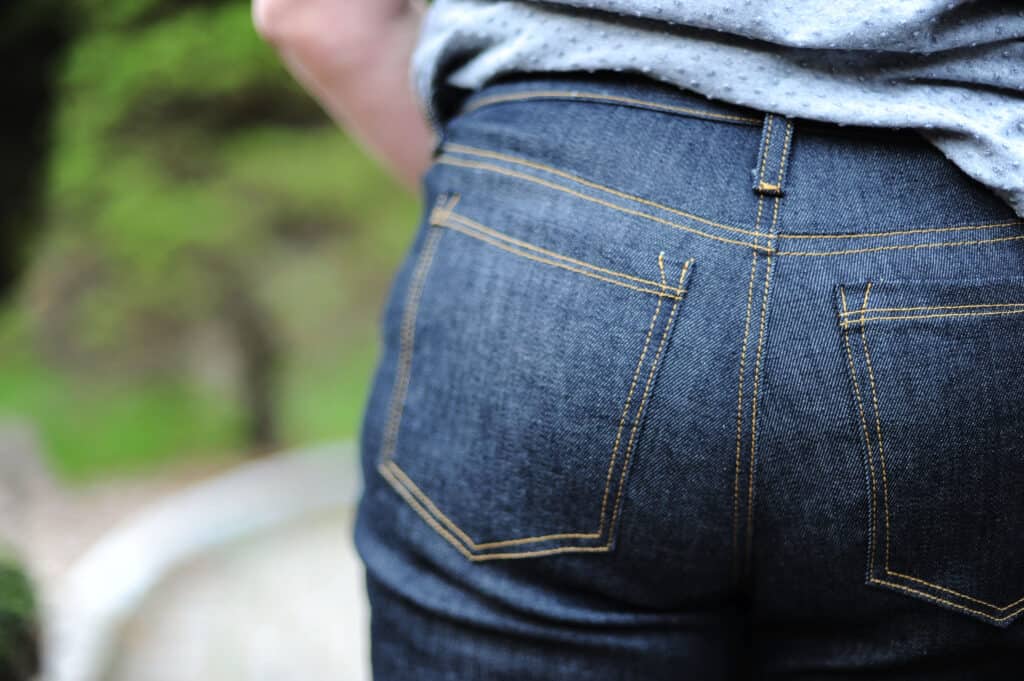
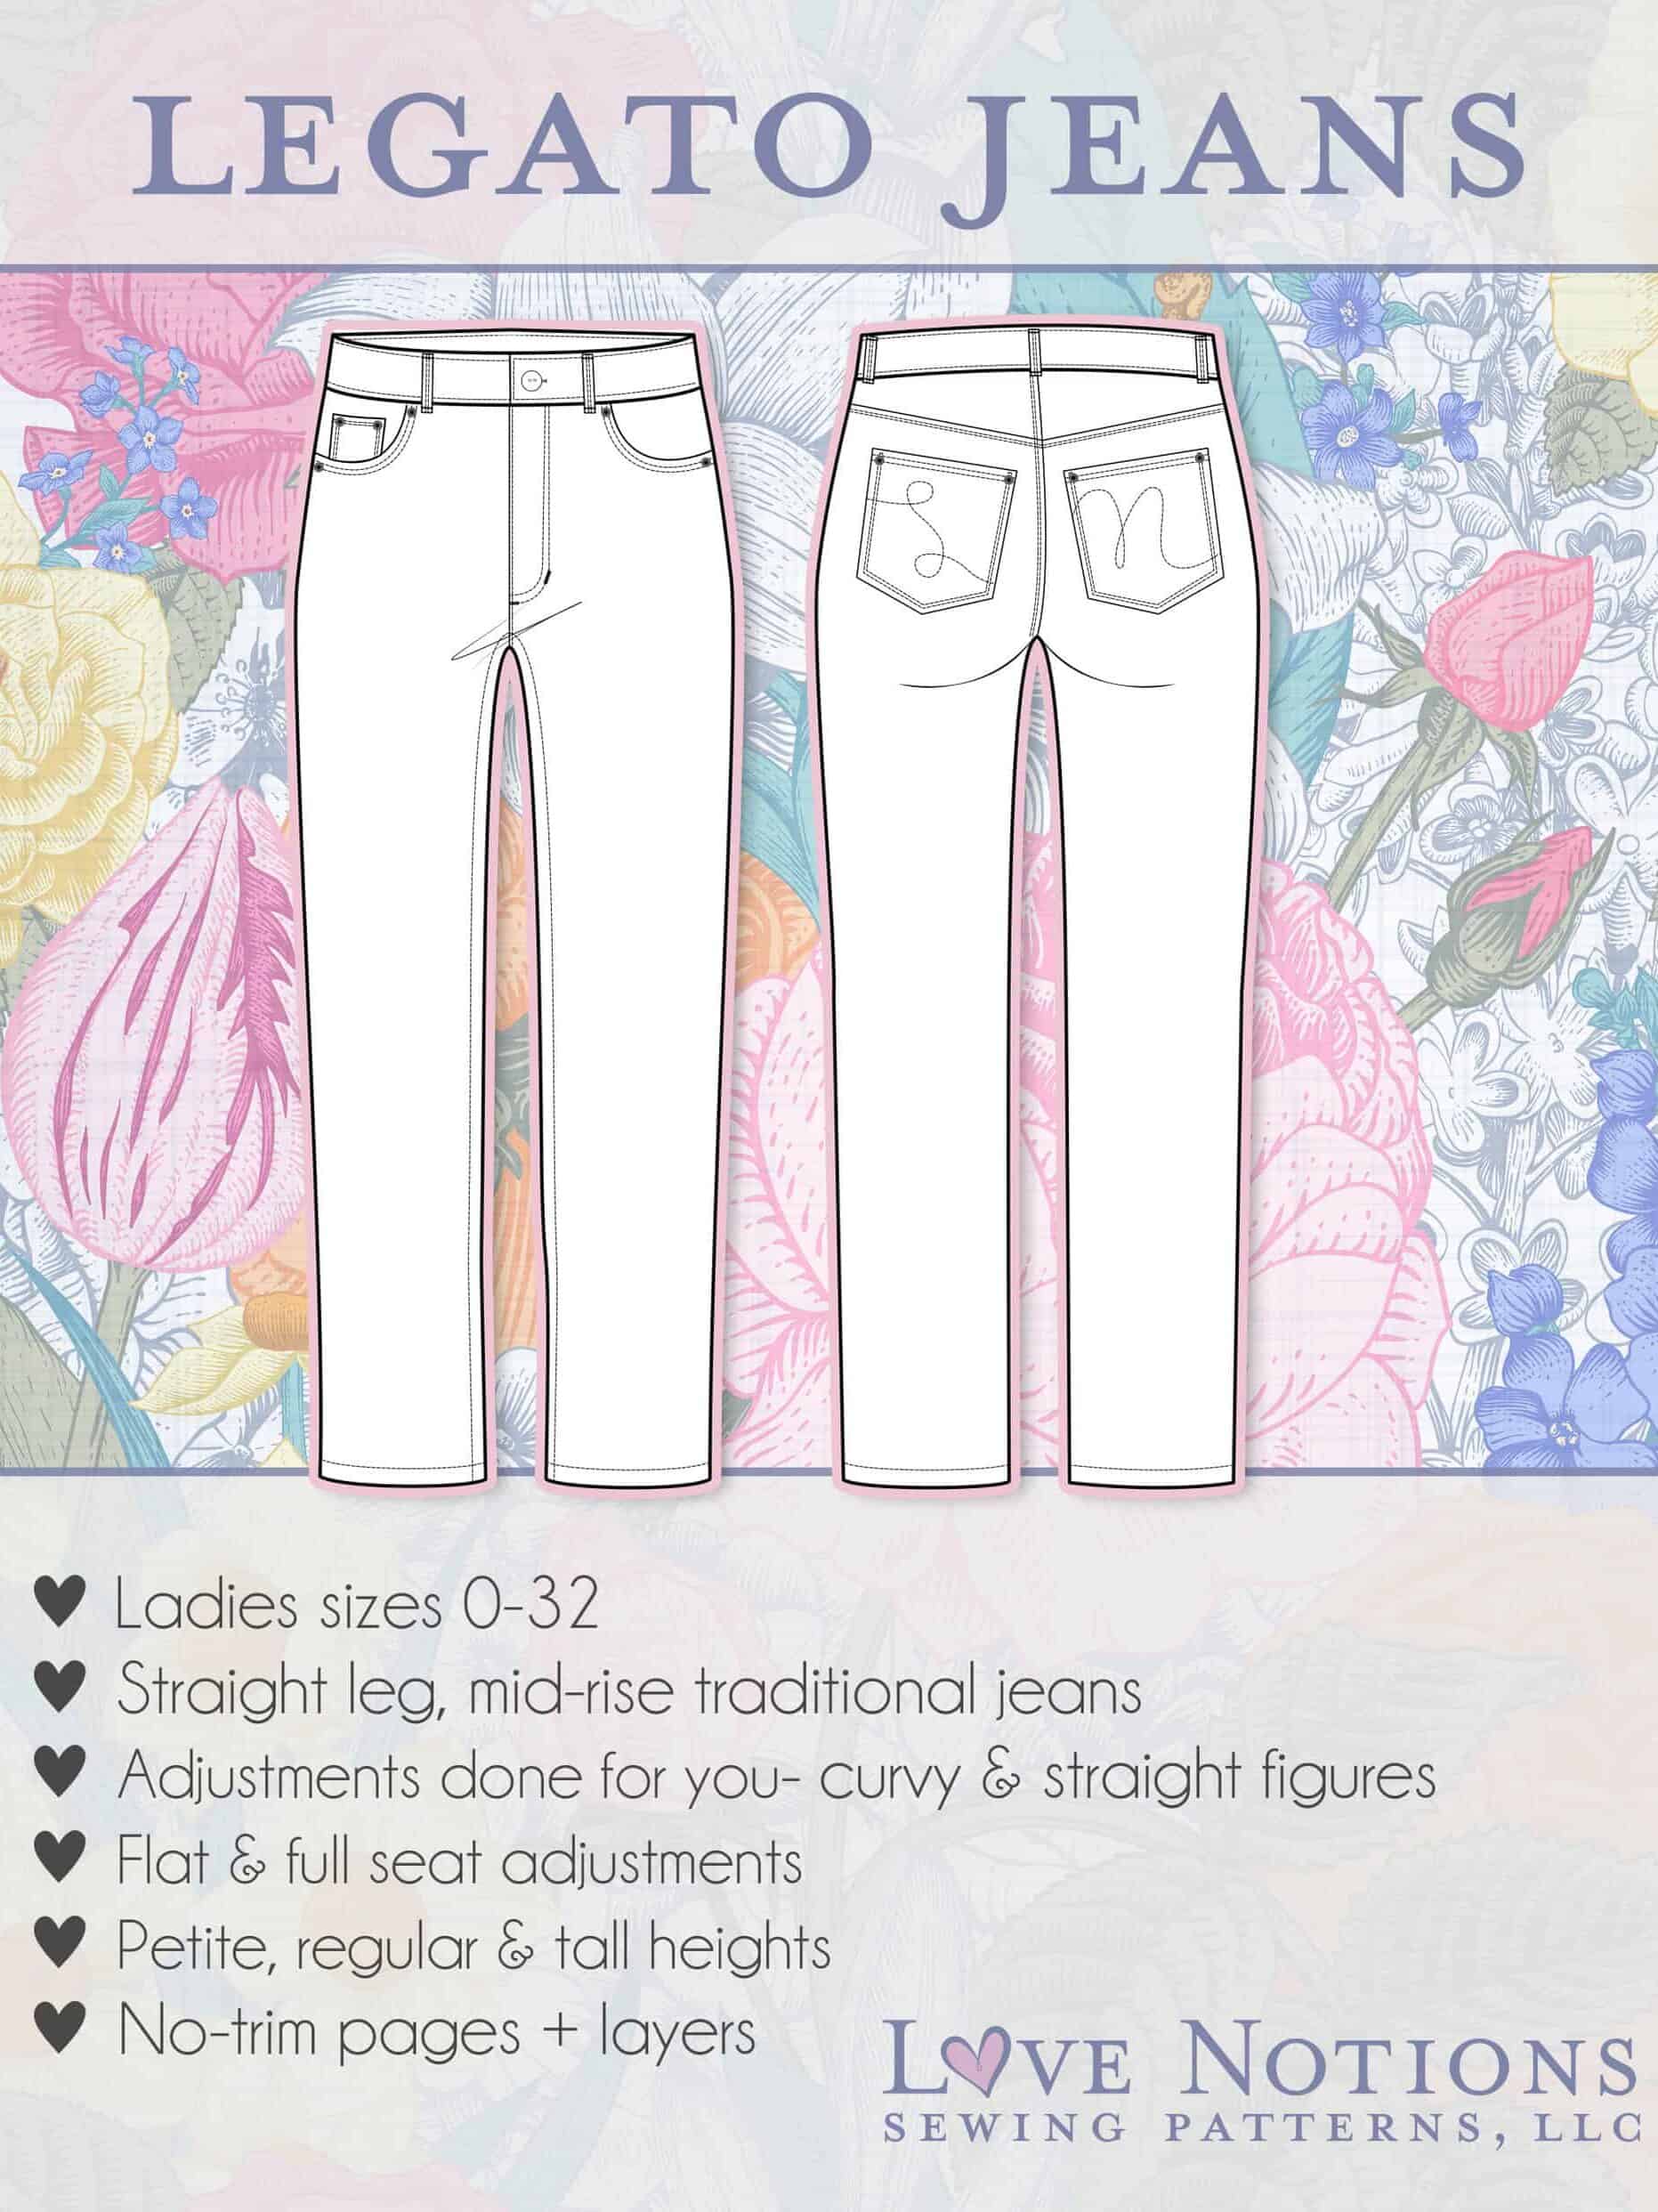
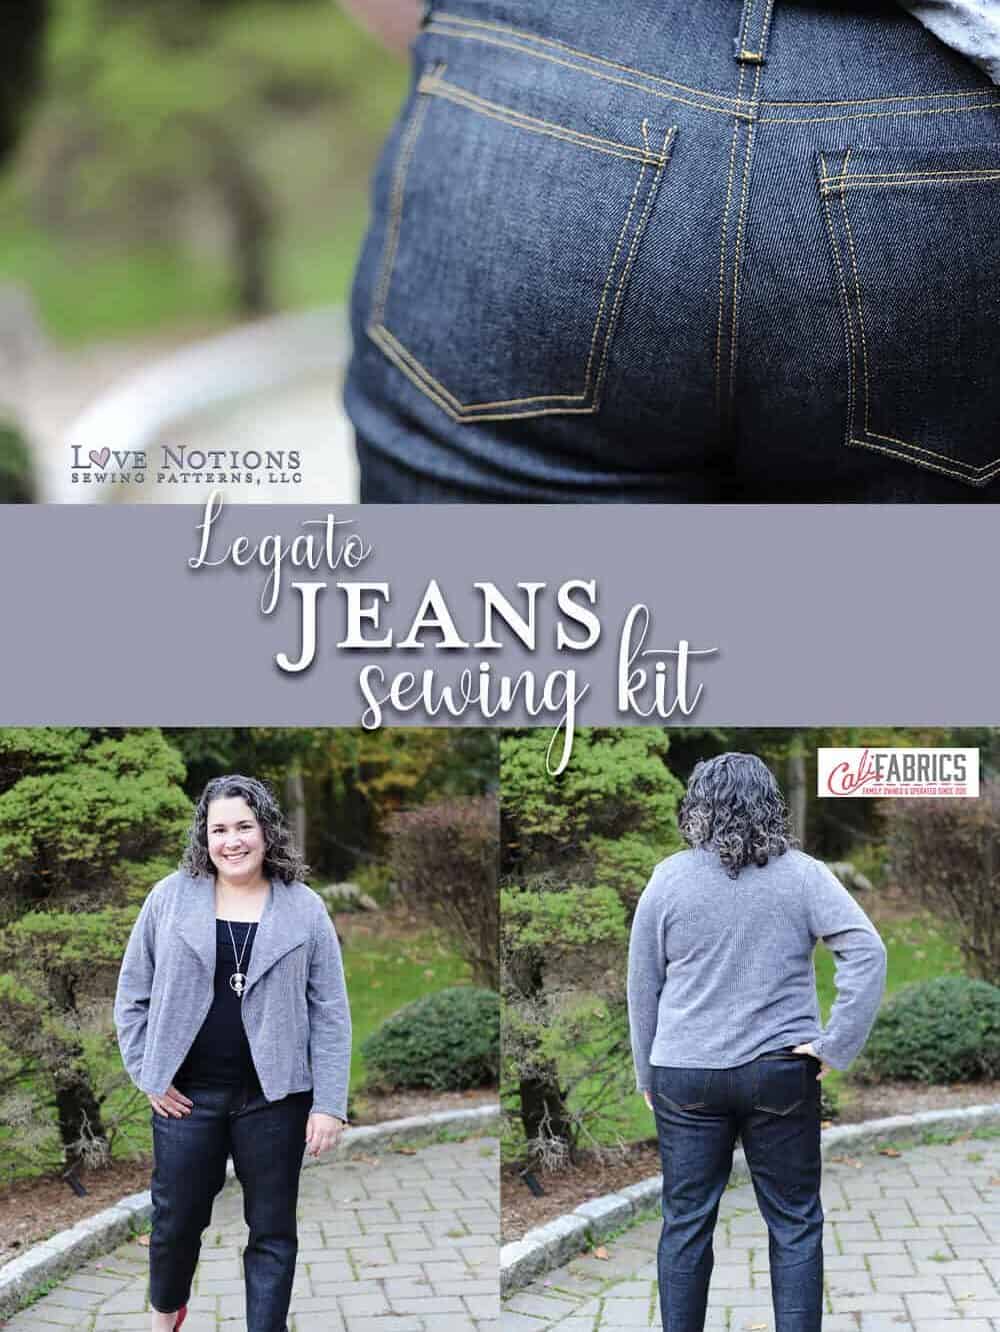
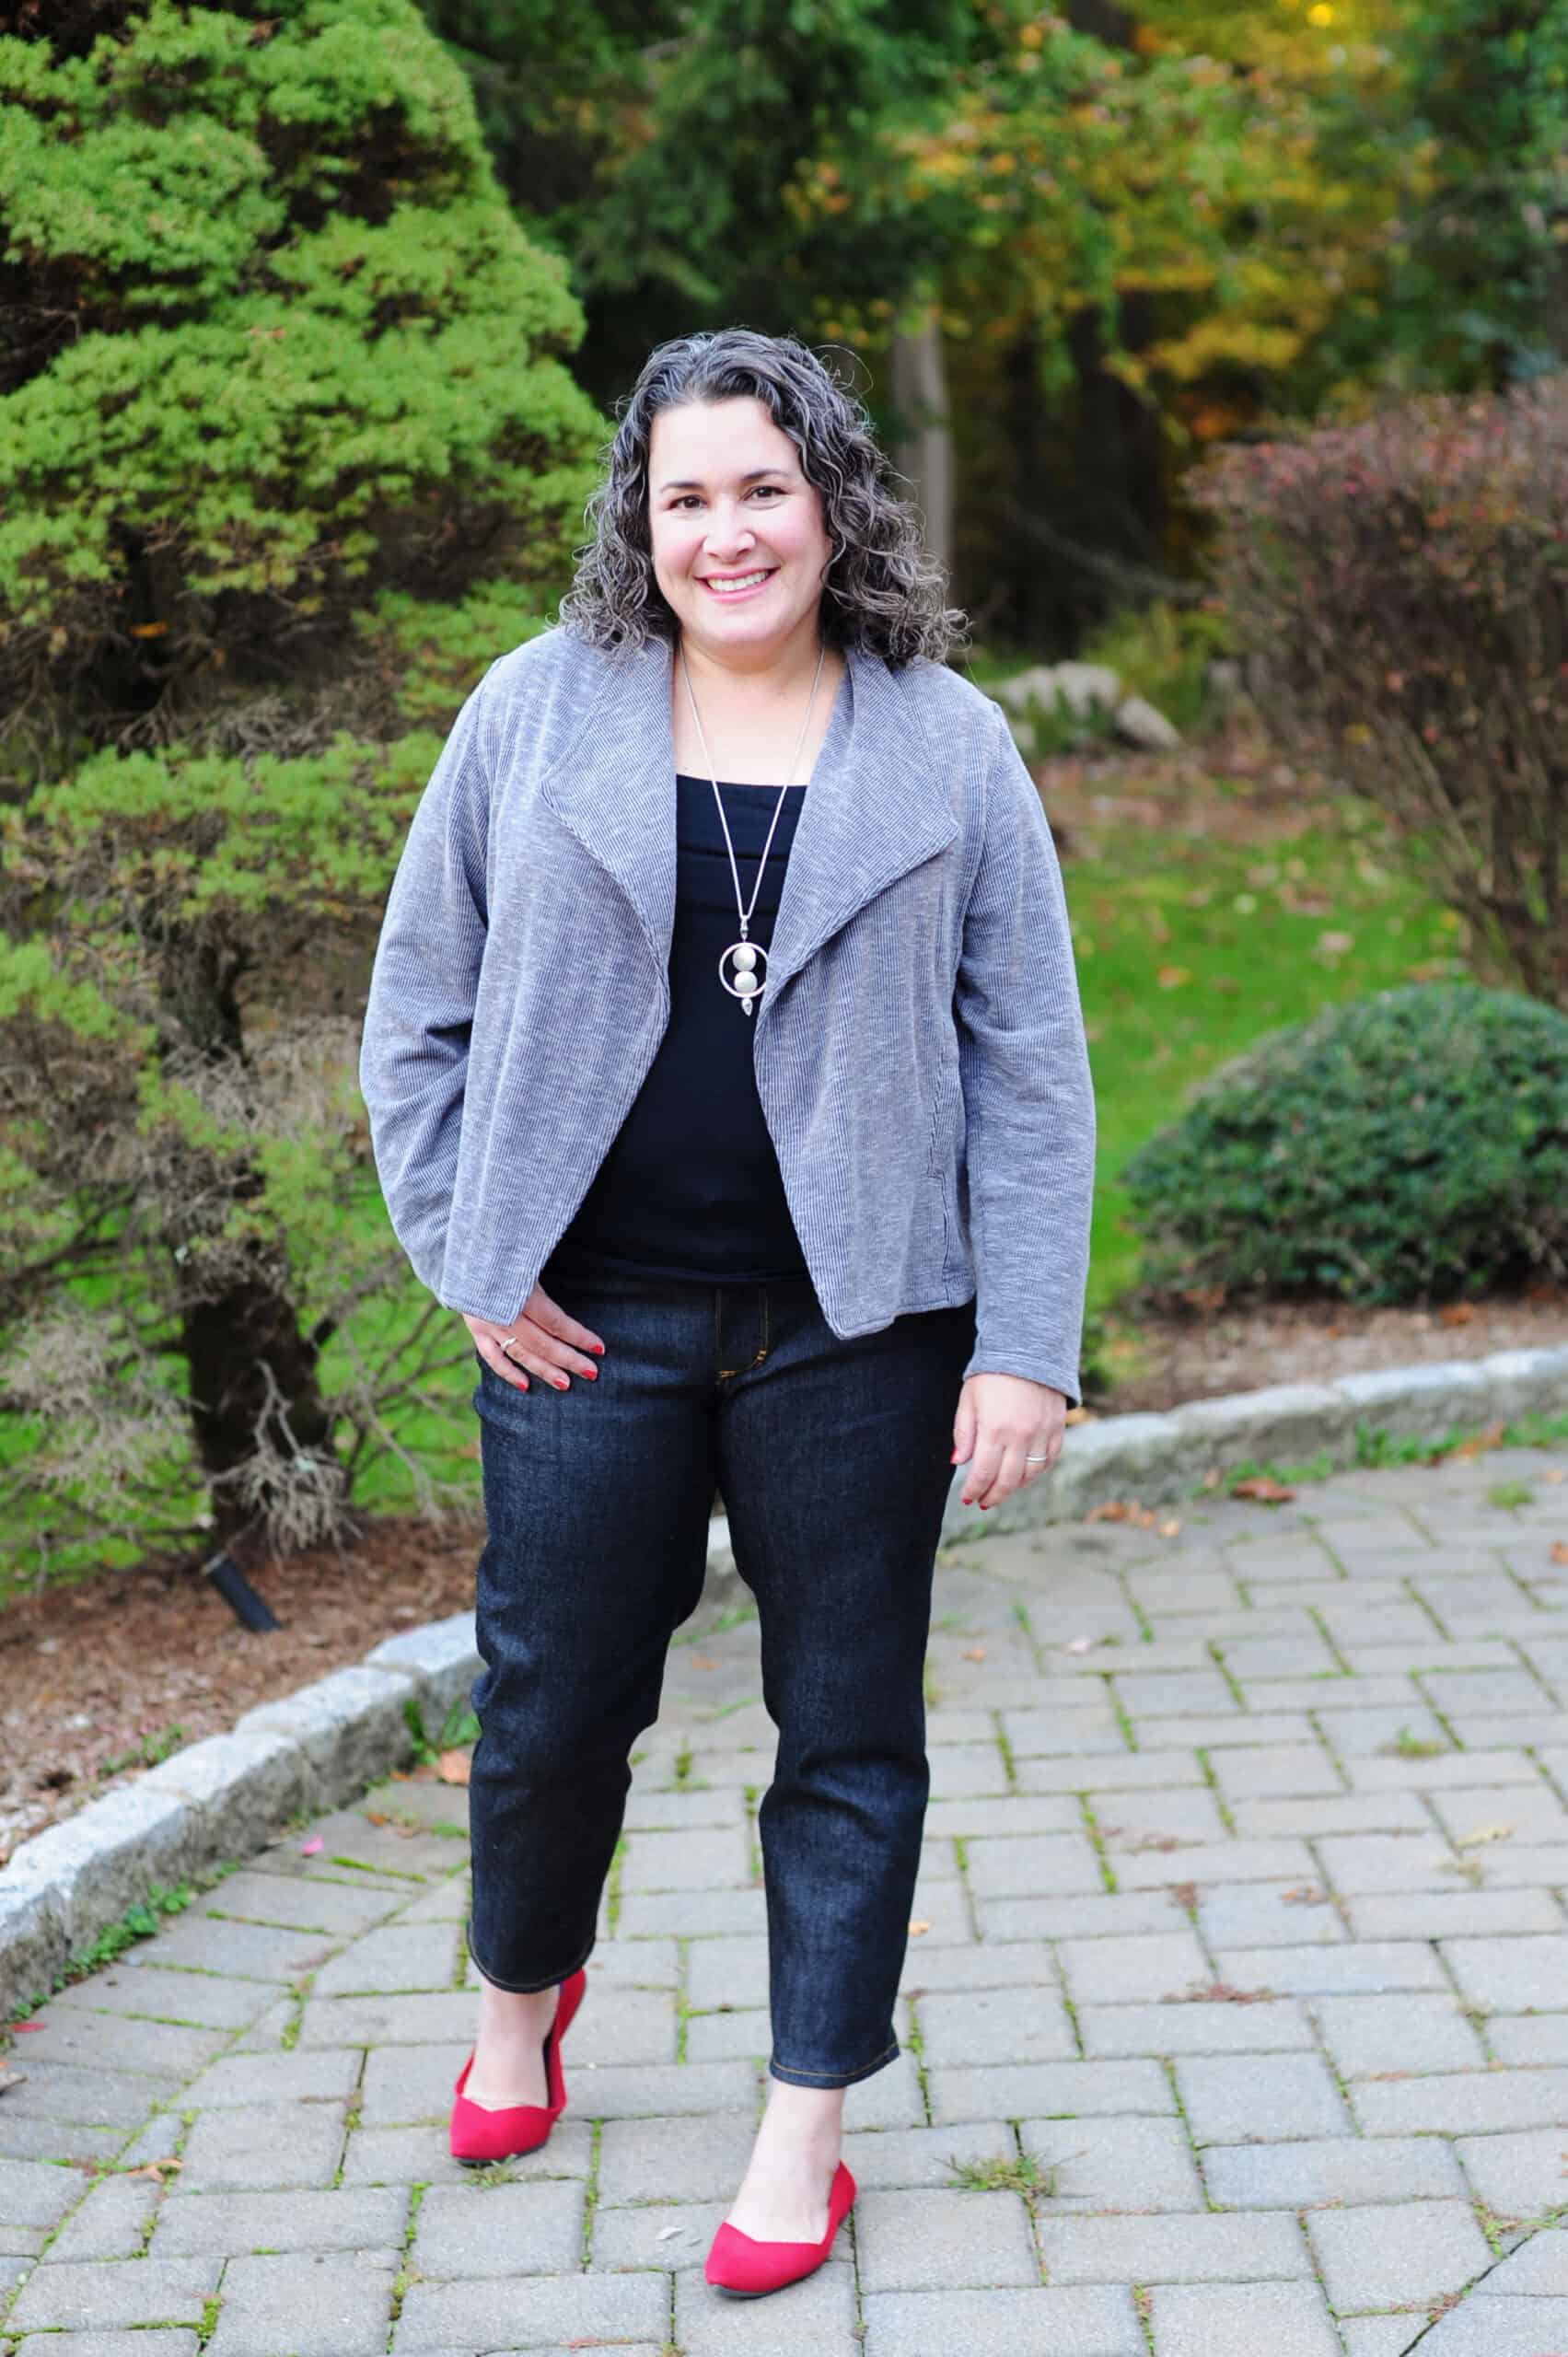
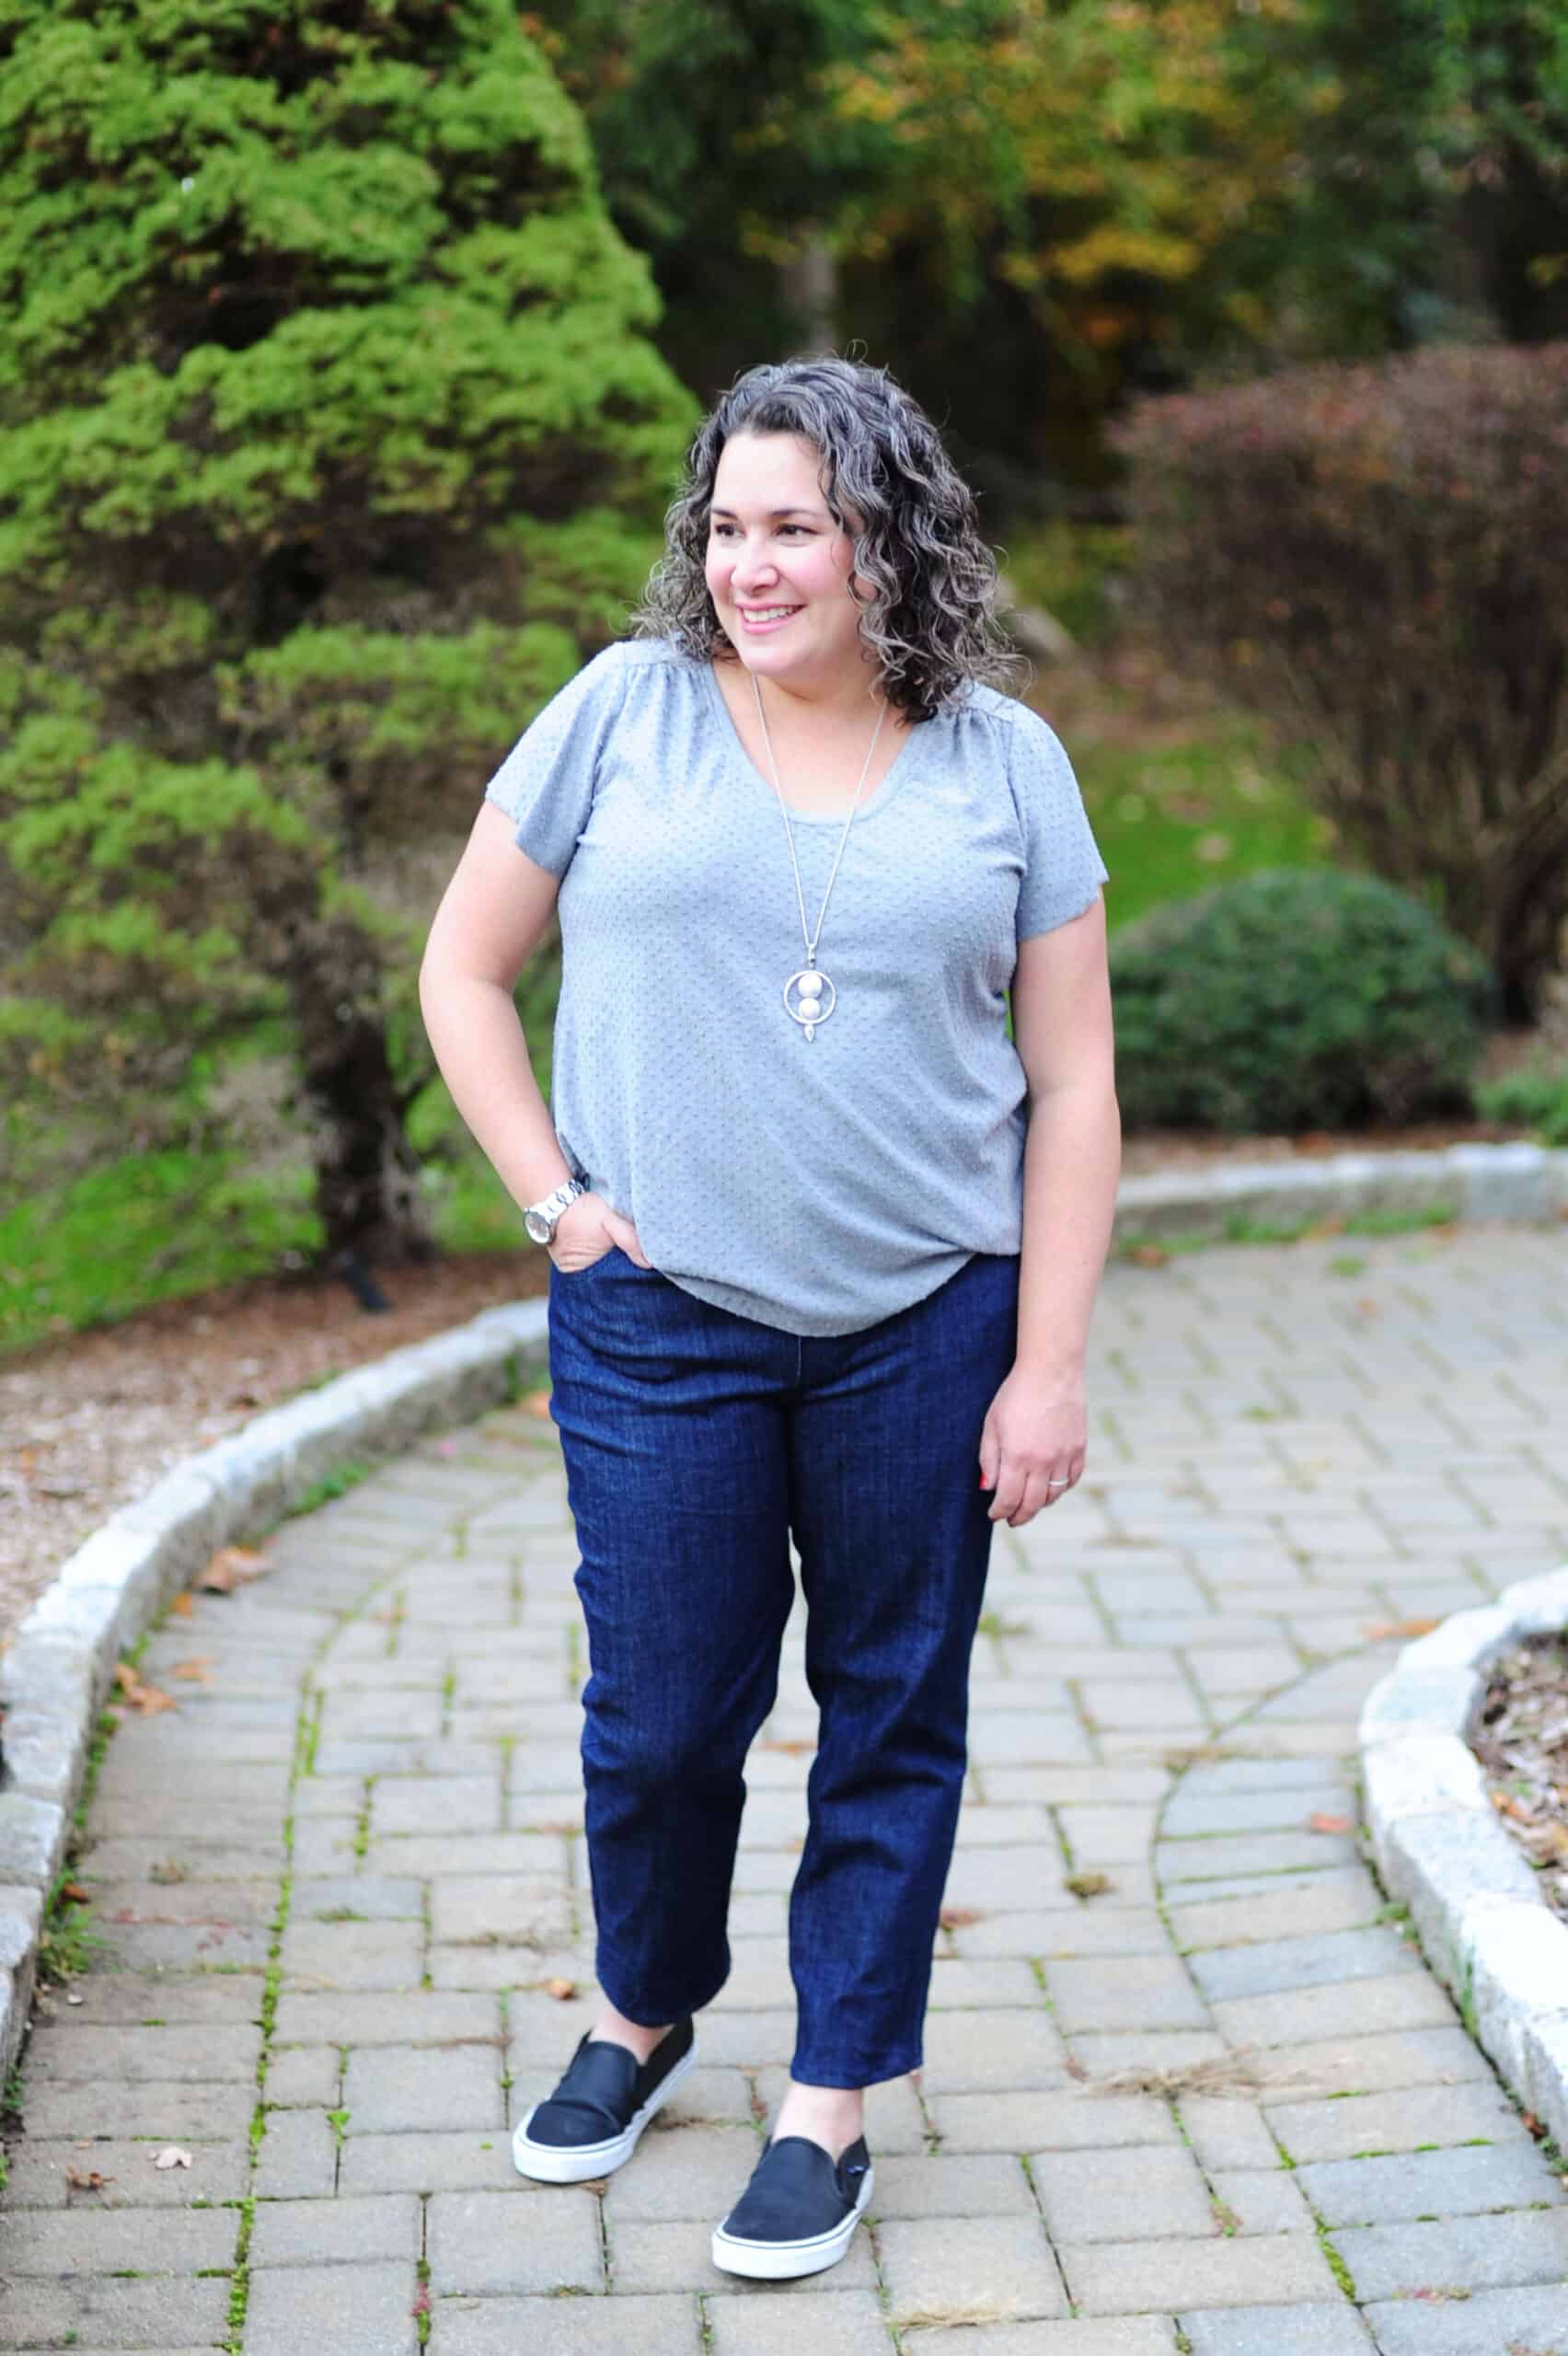
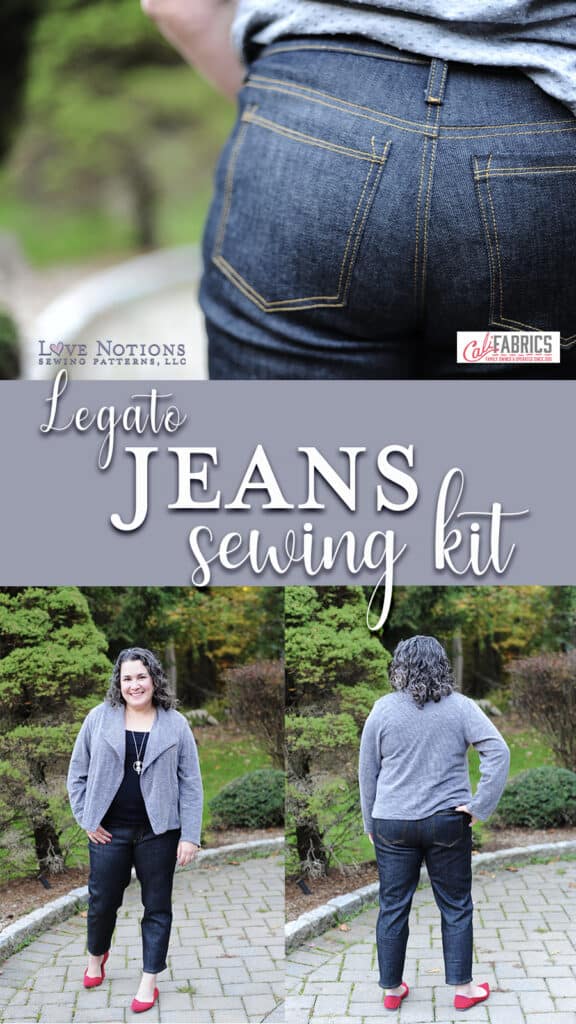
- First, great sewn jeans start with a fantastic pattern, and the new Legato Jeans from Love Notions fit that bill. They are a classic, mid-rise straight leg jean with all the traditional details: pockets, topstitching, zipper fly. This style is supportive, polished, and clean cut for a totally timeless pair of jeans.
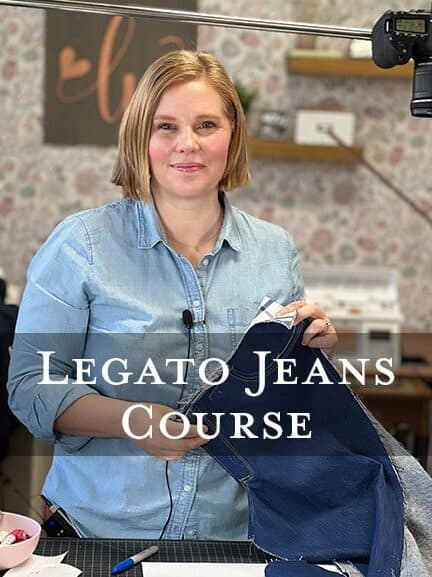
- Next, Love Notions offers a complete on-demand sewing course to help you stay on track, motivated, and supported as you sew. If you are new to sewing jeans – or bottoms of any kind — this course is just for you. It has in-depth visuals and full-length videos with exceptional clarity so you can see EXACTLY what you need to do step-by-step in the pattern. It also helps you through fitting adjustments, fabric selection, and tools. If you are nervous about sewing jeans, this course will help you get a pair of jeans you can be proud of.
- Lastly, Love Notions and Cali Fabrics teamed up to create a complete sewing kit with all the notions, fabric, and supplies you need to get the jeans of your dreams. The price is incredible and the kit has high quality fabrics that will help you achieve that professional look with your handmade denim jeans.
Ok, now let’s get into the 10 sewing tips I have to help you sew your new favorite pair of jeans!
What I learned from sewing my own jeans:
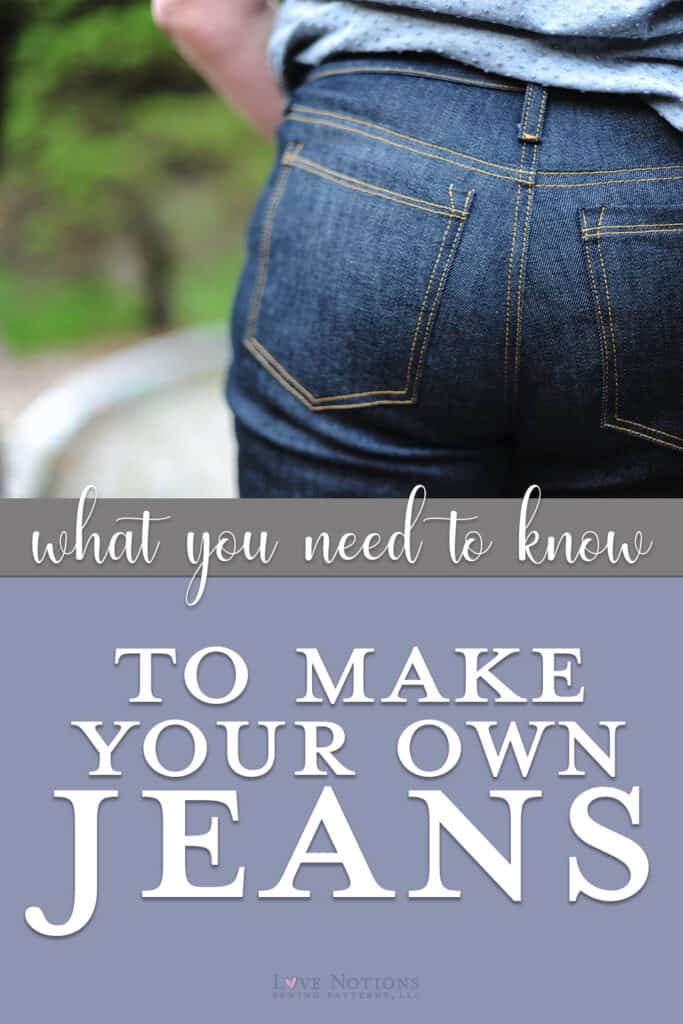
10 Jeans Sewing Tips
During the Legato Jeans pattern test, I sewed 2 partial versions and 2 finished pairs and I’ll be honest, I was nervous going into the process. I wasn’t sure how long it would take me to get a good fit (I’m not one who can easily buy jeans in the store that fit well in all ways) and I was definitely a bit apprehensive about the zipper. Well, I don’t know how Tami managed it, but this was FUN. I learned a lot, got the best fitting jeans I’ve probably ever had, and feel like I leveled up as my gamer family would say.
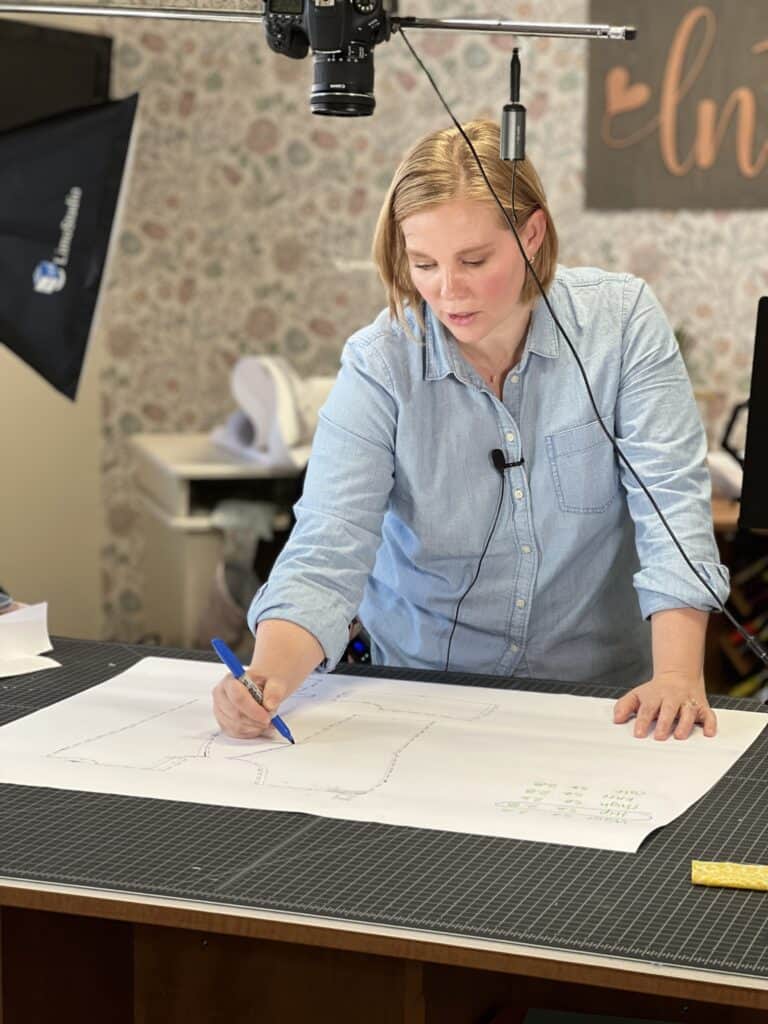
As I was sewing, I kept a piece of paper next to me and took some notes along the way. I wanted to remember what I was learning or figuring out for my next pair, but as I finished the testing process I had compiled quite a list.
- Before you start, look at your favorite, most-worn (most likely store-bought) jeans. Take a measuring tape and see how long the front and back rise measure, how long the inseam is, where the pockets are placed, etc. Compare those to the pattern pieces for the sizes you are planning to sew – it’s important to remember that those pieces have seam allowance included, but you can probably see if you’re on the right track. It might also help you decide if you’ll need to grade between sizes or not. Definitely prepare to make at least one or two muslins along the way. Trust me that it’s worth it to have a final pattern that is literally made for your body. Now that I’ve got that sorted out, I can adjust the style, leg width, pocket shape, etc. on future versions!
- Baste and check fit frequently! I would definitely recommend basting the side seams and checking the fit before adding the waistband. Adding the waistband will make a HUGE difference, especially for the rise, but you’ll get an idea if your jeans are much too big or too snug anywhere from hips to ankles. If you’re going to make adjustments, baste those in first, and start smallllll. Like, ⅛”-¼” small. You can always take more out later, but you might be surprised by how small adjustments can make a big difference.
- Once you’ve removed your basting stitches, sewn and finished your seams, it’s time for topstitching. Lengthening your stitch can help keep nice, even stitching even on multiple layers of thicker fabric.
- Speaking of topstitching, some of my ready-to-wear (RTW) jeans have topstitching that matches the color of the denim. I decided to try that on my first few pairs until I felt more confident in my topstitching, since the stitching isn’t as clearly visible. I bought a sampler of denim topstitching thread from Gutermann that had several shades of gold, black, navy, and grey, and it was perfect for this.
- Speaking of thread, use good thread! Try a few brands to see what works best for your machine and for you. For me (and for my Janome Horizon), it was Gutermann. I used the denim thread in my needle and regular polyester Gutermann thread in my bobbin.
- A denim needle (and a few backups!) is a must-have. I used Schmetz brand because I know my machine works well with them, and the 16 gauge needle was fine for the denim I was using. I did find that they dull more quickly than I am used to, so I replaced them once I found that they weren’t sewing as smoothly and my stitches weren’t as neat. I also used the Jean-a-ma-Jig tool that Tami recommends – it helped a lot to level the area under my presser foot and keep my topstitching even over thick seams, and also helped prevent needle breakage.
- I found the buttonhole was challenging for my machine, and I had come too far by that point to give up! I’d recommend putting a small piece of interfacing in the waistband at both ends to help support the buttonhole and the button insertion itself. I also opted to make a “cheater” buttonhole since I couldn’t get a neat finish with my buttonhole foot; I marked the length of the buttonhole using chalk, and then sewed two very narrow zigzag lines parallel to each other. I stitched over those lines several times to make this stitch more like a satin stitch, and then did a bartack vertically at each end of the lines that was wide enough to cover both of them. I used my seam ripper to VERY carefully open the space between the two lines, and it worked perfectly!
- Press all of your seams, and then press them again. With steam. And a HOT iron. It makes a huge difference both for the sewing process and also for the finished garment. I remember when I was starting to sew, it seemed like every blog I read said that pressing your seams would make a garment look more professional and less “homemade.” I rolled my eyes, I’ll admit it now, but that clearly stuck with me and made a visible enhancement to my finished Legato jeans.
- Slow down! For the best finish on my jeans, I really needed to slow down my sewing. It’s not a quick project and doesn’t deserve quick finishes. I broke the sewing down into several blocks of time, and worked on a few steps each time. I slowed down my machine, too, and took my time topstitching.
- Last but definitely not least, remember that we are our own worst critics! There was one day where I was getting frustrated and kept ripping and re-sewing the topstitching around the zipper. I looked at the project, less than 6 inches from my eyes, and realized that NO ONE else will ever be looking at my jeans that closely. I reminded myself of the same thing when I fought with my machine about stitching down the belt loops. In the end, the near-perfect custom fit means far more to me than the wonky stitching on a (few of my) belt loops.
Here’s an overview of what helped me make my best-fitting pair of jeans
- Analyze your favorite jeans
- Baste and check fit frequently!
- Lengthen your top stitching
- Match top stitching thread to jeans at first
- Use good thread that works best with your machine
- A denim needle (and a few backups!) is a must-have
- Interface or use a “cheater” buttonhole
- Press, press, press!
- Slow down
- Remember that we are our own worst critics


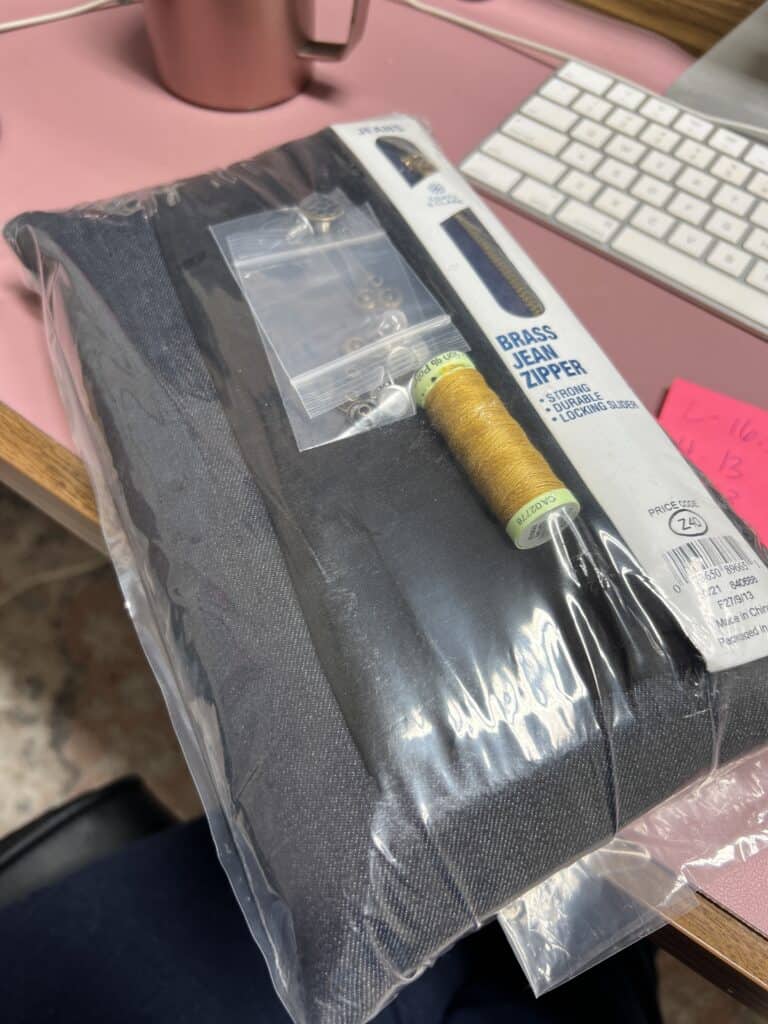
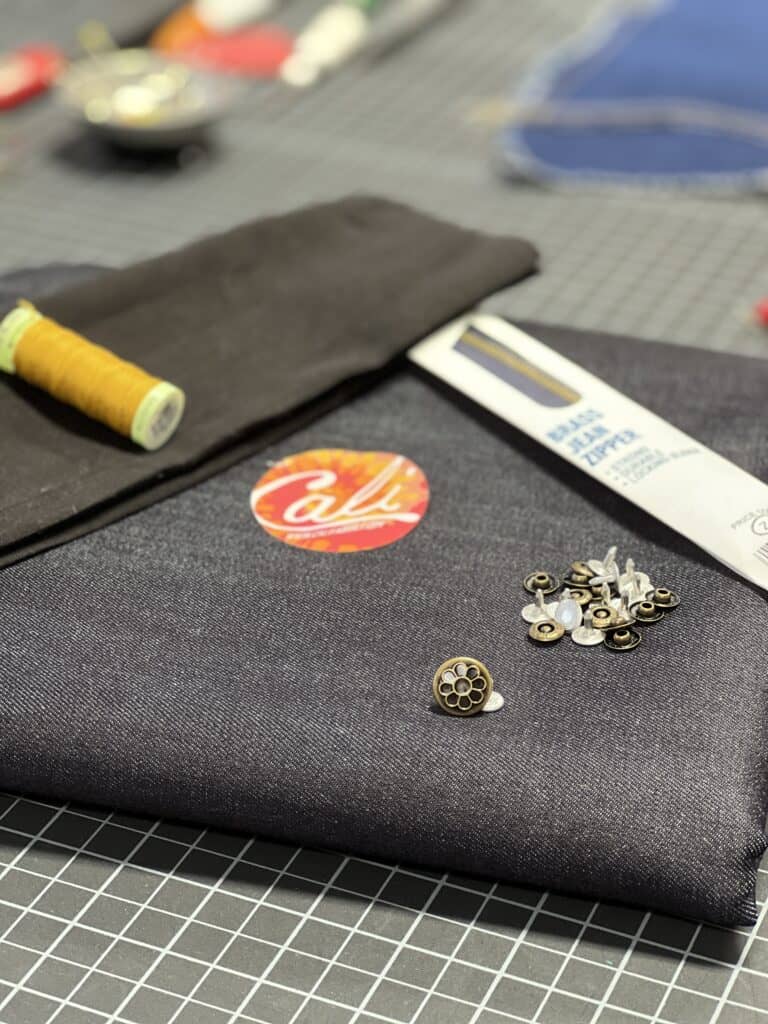
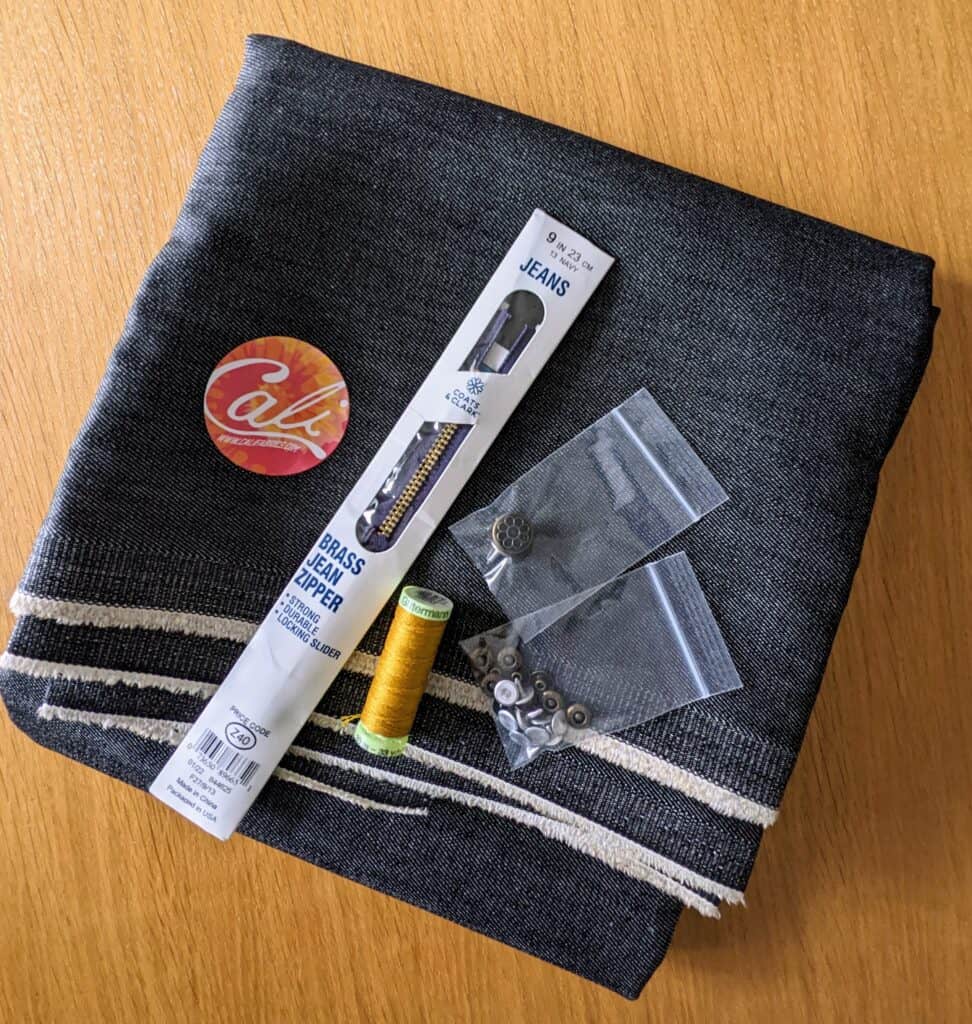
The Cali Fabrics Jeans Sewing Kit
Let’s talk a little more about the kit. Cali Fabrics sent me a kit for my final pair of jeans and it was so handy! Check out their collection of kits here — they specially made these kits specifically to coordinate with the Love Notions Legato jeans and the value inside these kits is incredible. They included everything you need to make a beautiful pair of jeans. Here’s what’s inside:
- 2-2.5 yards of 7 for all Mankind stretch denim
- Denim needle
- Gutterman top stitching thread (use regular thread in the bobbin)
- Metal Jeans Button
- 8-10 rivets
- Brass zipper
- Woven pocket lining fabric
They are selling these kits starting at just $35 which is an incredible price – and this one stop shopping means few barriers to getting that perfect fitting pair of jeans!
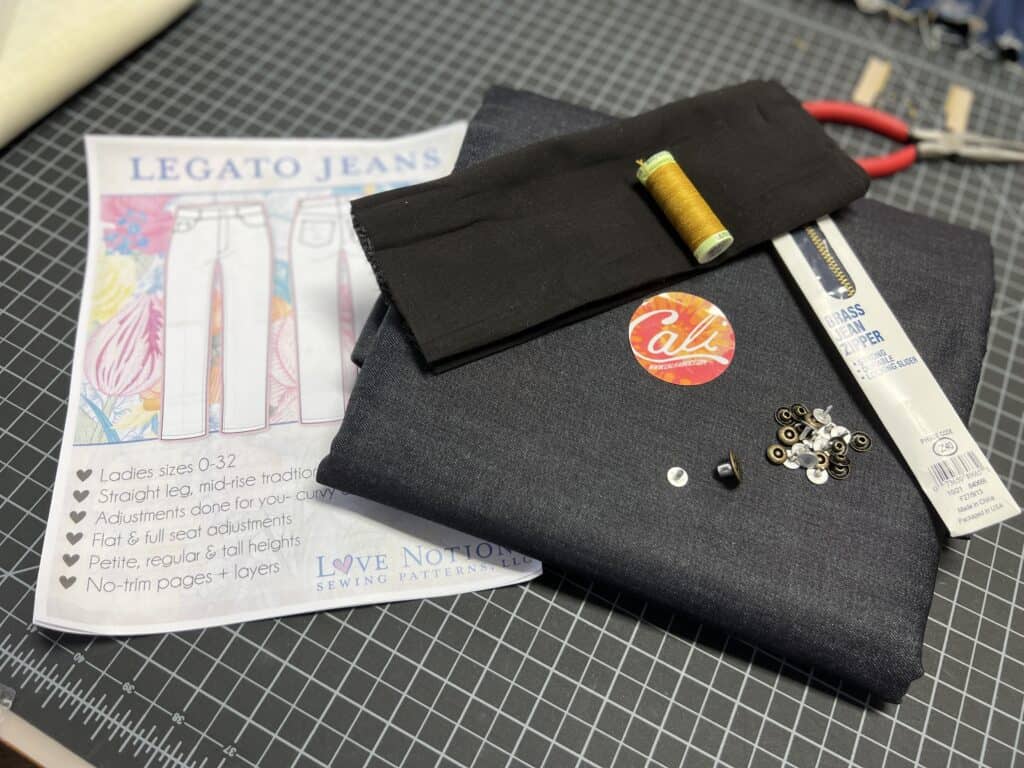
I used denim from Cali Fabrics for both of my finished pairs – their selection of deadstock denim was amazing and the prices were fantastic! For my black jeans, I was sent a sample of the kits that they’re offering. I loved having the denim and notions (zipper, thread, rivets, and button) organized for me like that, and their shipping is quick and well-packaged. The price I paid for premium denim (which feels a lot different after a few washes and was a dream to cut and sew) was actually slightly less than the price I paid locally for the basic stretch denim I used for my muslins!
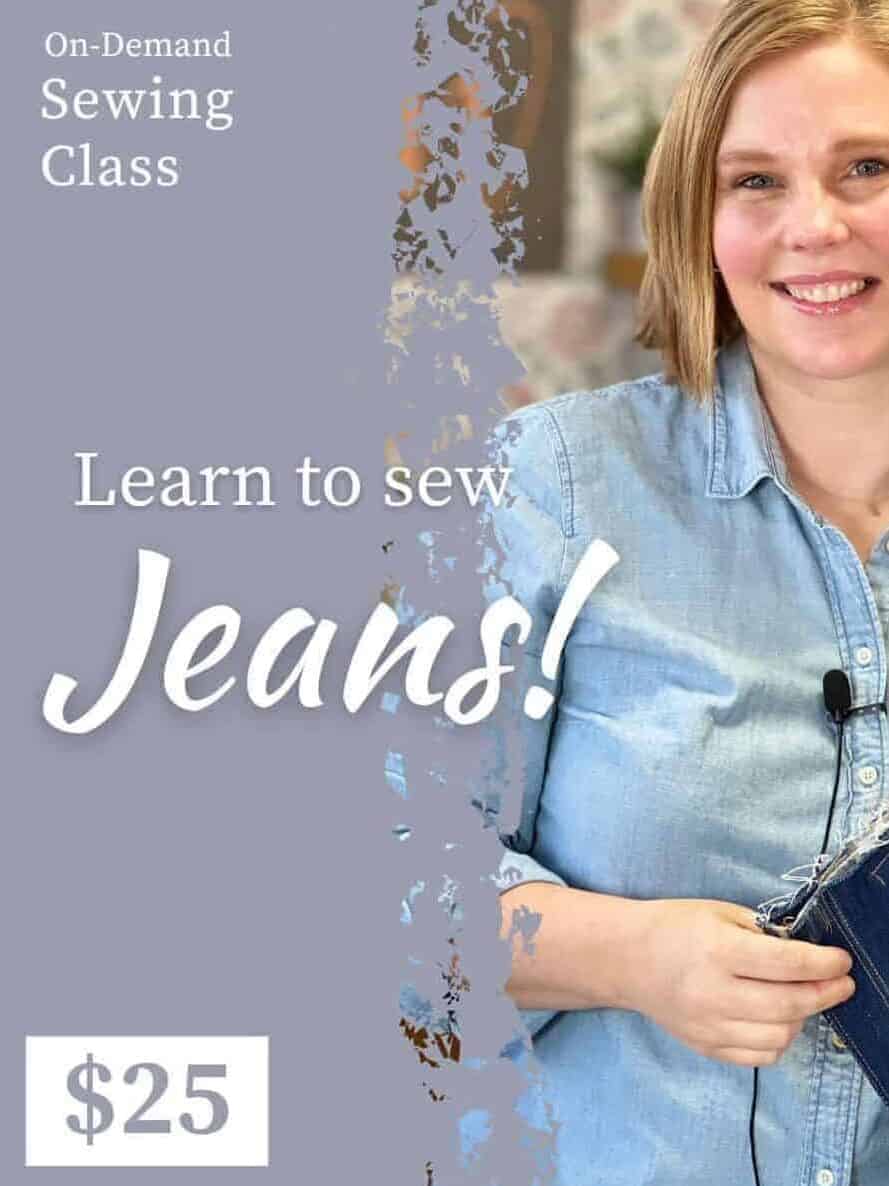
The Legato Jeans Workshop Course
Now, another item that will make your jeans sewing experience even more successful, is the Legato Jeans Workshop Course, If you are a confident intermediate to expert level sewist, this might be something you can pass up without any issues, but if you are a newbie or more of a beginner to intermediate sewist, this course might be just the ticket to take any frustration or confusion out of the process.
The pattern is more than clear when it comes to instructing you how to sew these jeans and it already includes a zipper sewing video tutorial, but for some people, full video visuals are just the trick to get everything to make sense! The workshop course will be best suited for people who want a little more motivation, accountability, and support as they sew. After all, what’s the use of buying the pattern if you are too intimidated to sew it?
In this course, Tami has created separate sewing modules that walk you through every single moment of sewing and it’s all conveniently housed on your Love Notions account so it will be available on your schedule. In the course, Tami includes adjustment instructions, fabric and tools instructions, and tons of clear sewing videos. Step-by-step, you will watch her sew first and then you will pause and tackle the step on your own. If you don’t get a certain step you can just pause and rewind and try again. When you complete the course, you will have a pair of jeans that you love and that fit like a dream.
For the first week of release, you will get the Legato Jeans pattern for free when you purchase the course (now through 10/31/2022). When you add the workshop course to your cart, the pattern will be automatically added for $0. After release week, you’ll purchase the workshop course and the pattern separately for $25 and $12.50 respectively.
In order to get the free pattern with the course during release week (10/25-10/31), please note that you must add the course first, and do not manually add or remove the pattern! The pattern should pop in there with the automatic discount code and once it is in your cart, don’t remove it or else you won’t be able to get it back in for $0.

Make jeans you’ll be proud of
I am so proud of my work on these jeans and find myself reaching for them over and over already. The testing group has been overflowing with excitement over the past month; it has been so much fun to see so many of us move from apprehension to elation as we sorted through the fitting and finishing of our jeans. We can’t wait to see what you come up with, and hope you’ll stop by the LN Facebook group to share your sews with us!
Pin this jeans sewing article to your sewing Pinterest board