Projector Sewing
Sewing with a projector is a fairly recent innovation in the sewing world. In this post, our guest blogger Katie is here to show us all about how to use projectors to save time, money, and resources. You can connect with Katie at GabeandZach on Instagram.
Our Projector Sewing Pattern
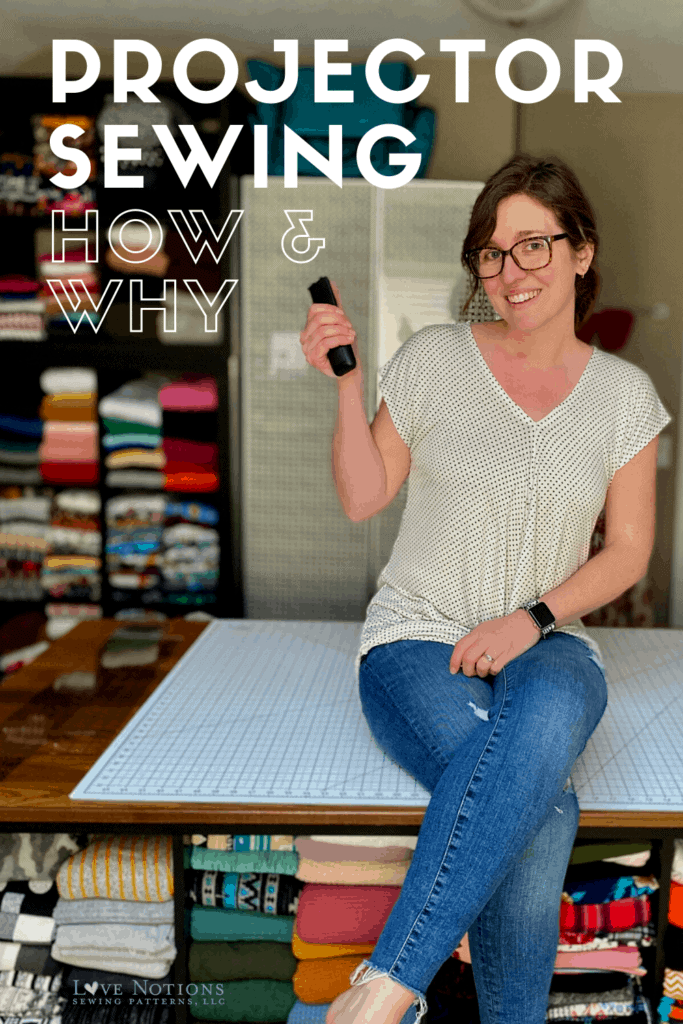
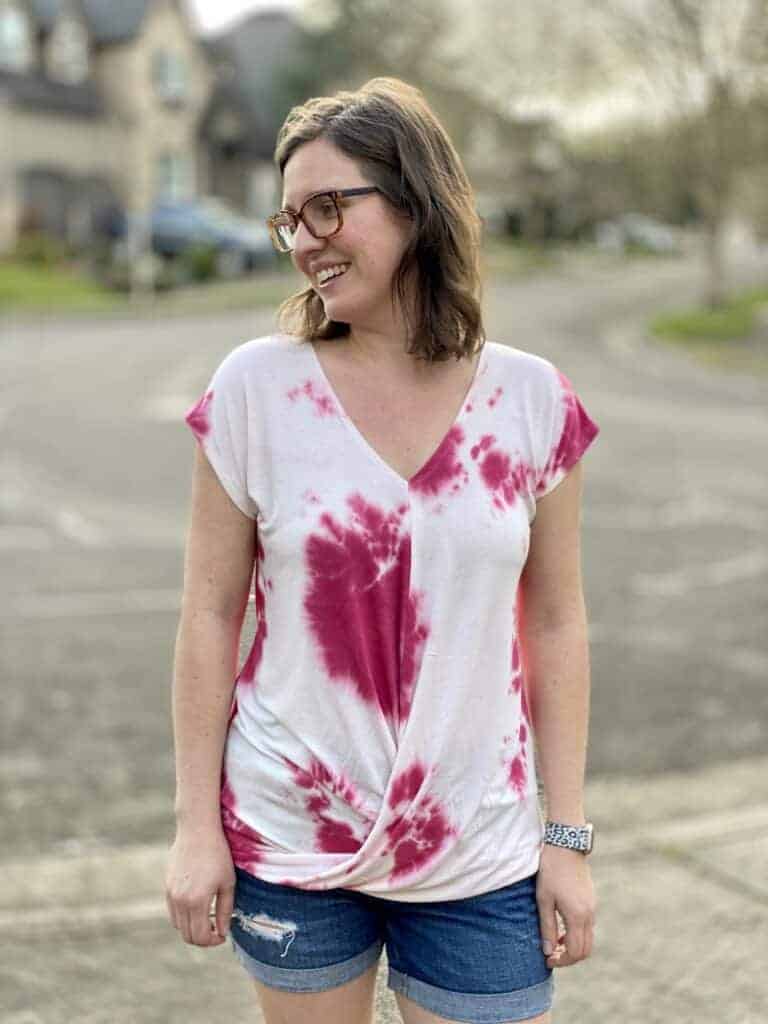
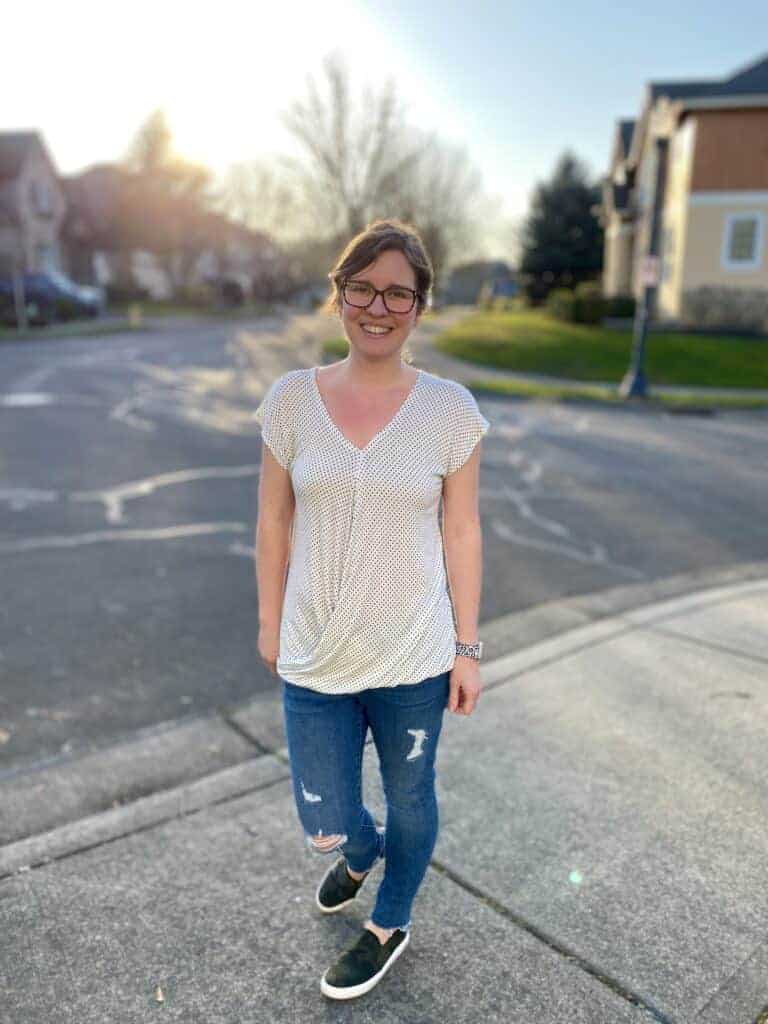
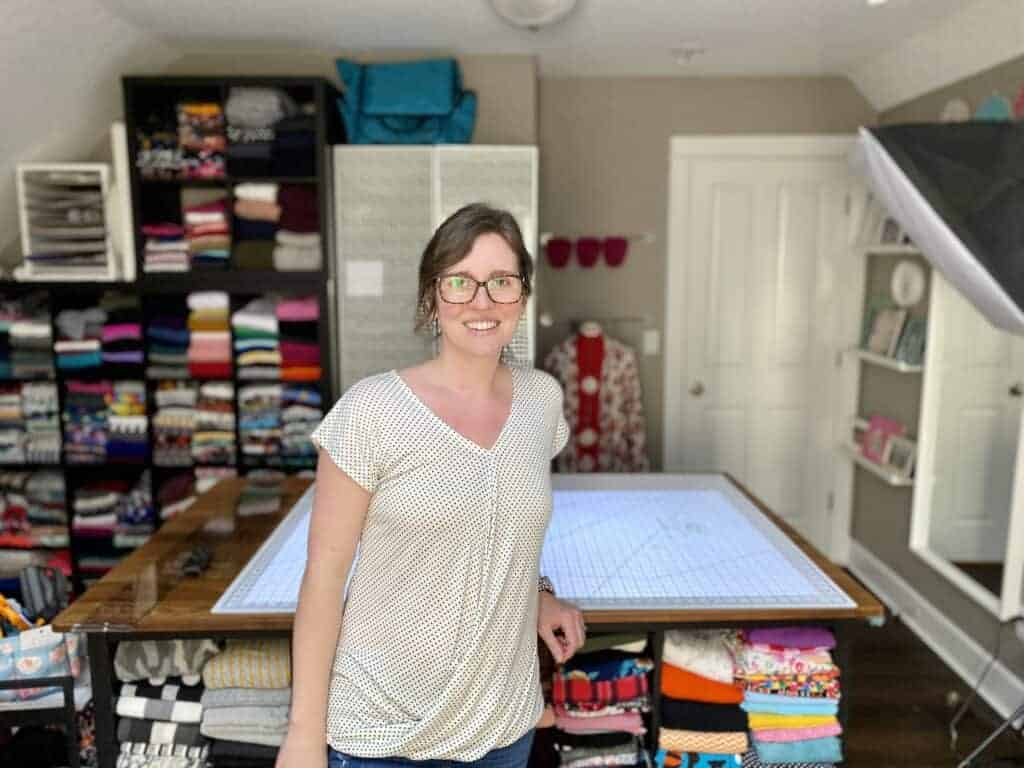
This week’s Feature Friday pattern is the Lotus Blossom and Girls’ Lotus Blossom. This is a fun twist top dolman with V-neckline and optional back detail that’s perfect for spring and summer. I’ve cut my Lotus Blossoms using a projector, one of my favorite sewing room items. Intrigued by this idea? Read on!
A Brief History of Sewing with a Projector
I bet you’ve heard someone sewing with a projector and you’ve thought… WHAT?! I had the same thought. Back in October 2019, I saw a video of a pocket projector being used to project patterns. I couldn’t believe what I was looking at. It seemed genius but when the video covered cost details, I quickly moved on. I was not in the market to try something new for $400+.
Well that’s all changed. The sewing industry has quickly adapted to this “sewing with a projector” movement and there’s great reasons to. I’ve been sewing with a projector for a year now and will never go back. Here’s what you need to know about this idea.
What does it mean to “sew with a projector?”
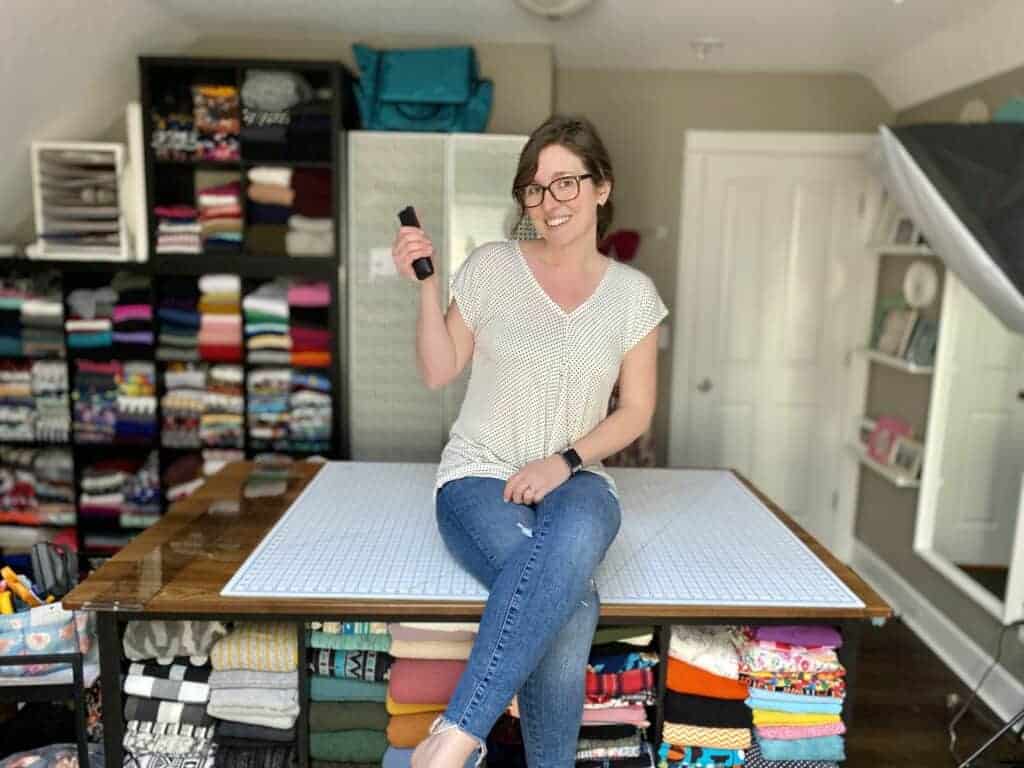
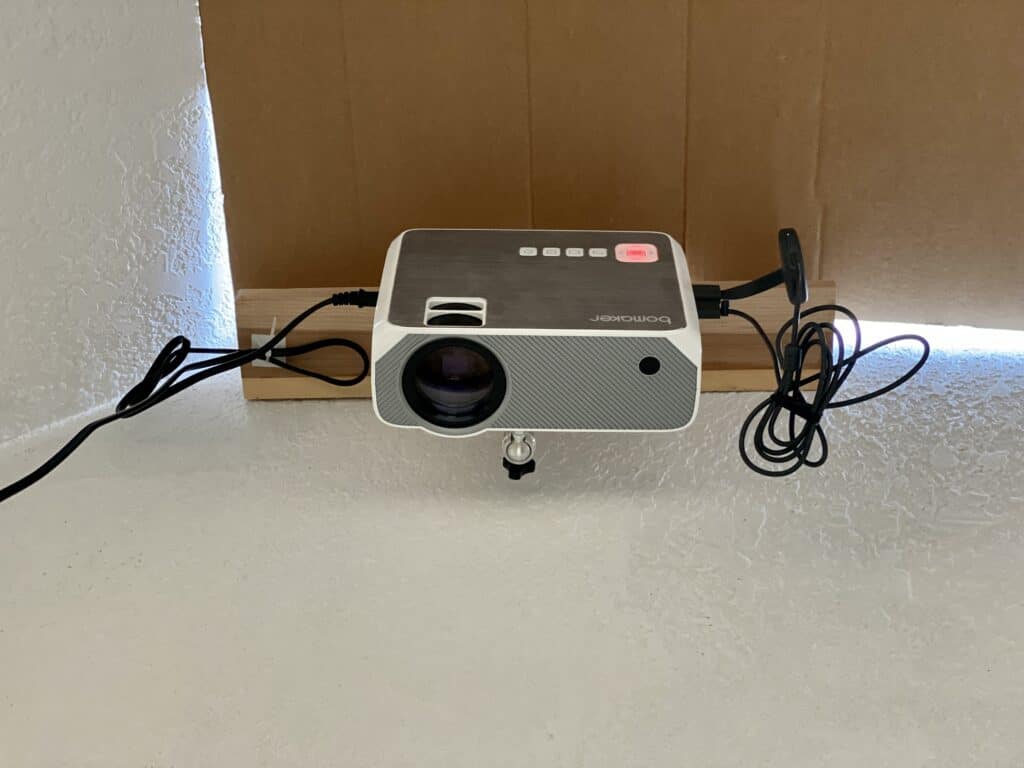
How it works is you have a projector, either mounted on the ceiling or sitting on a table, that projects the large format pattern from your computer or phone onto your cutting mat. This means you can have the cut lines and pattern pieces shown directly on the fabric, removing the need of physical pattern pieces altogether. You do need to connect the projector to your computer or phone using a cord or wireless connectivity so they can communicate. Here’s what it looks like projected onto my cut mat.
This means you can have the cut lines and pattern pieces shown directly on the fabric, removing the need of physical pattern pieces altogether.

What’s in a Projector-Friendly PDF Pattern?
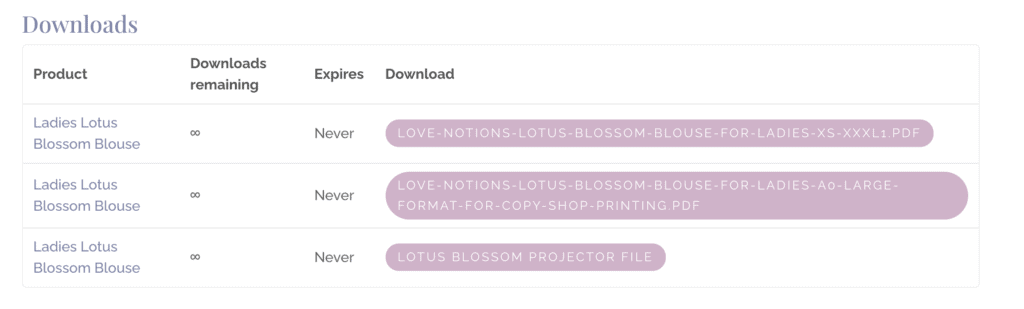
When sewists started using projectors, they would project the A0 file (the one you would send to a copy shop for a large format print) onto the fabric. What they found though is that a file optimized for a projector is ideal. While projector friendly files are becoming more standard amongst the indie pdf pattern industry, the elements they contain can vary. These “projector friendly files” usually have thicker lines, more prominent notches and labels, no size restraint and layers. Over the course of 2020, Tami (the owner and designer at Love Notions) has created and added a projector file for each and every Love Notions pattern. If you have a pattern you purchased in the past, you can simply sign into your account, click on that pattern then download the Projector File (shown below).
In regards to the Lotus Blossom, a projector file has been added to the size range available. Keep in mind, finding a projector file does not mean this pattern has been updated to the new Love Notions size range and block. That takes a bit more time with testing so currently this pattern is available for sizing XS-XXXL.
PROs of Sewing with a Projector
- No need to print patterns
- No need to assemble patterns
- Saves time
- Saves cost of printer, ink and paper supplies
- No need to reprint for new sizes
- Great tool for pattern testing
- Eliminates the need to store paper patterns
I personally find several benefits to projector sewing. The time saved is the biggest. I’ve been able to eliminate the need to print, assemble and cut patterns by using a projector. This in turn saves me money on printing costs. As a pattern tester, using a projector saves a significant amount of time and headaches with testing. Often pattern testing has several versions that change quickly, so projecting avoids the issue of printing, assembling and cutting then to have a new version come out.
Another benefit of a projector comes when sewing for children. Since children are continually growing, I find I often need a new size each time I make a garment. With the projector, I can simply cut the next size without needing to reprint the pattern.
Since children are continually growing, I find I often need a new size each time I make a garment. With the projector, I can simply cut the next size without needing to reprint the pattern.
CONs of Sewing with a Projector
- Cost
- Setup/calibration time
- Finding the optimal setup
- Adjustments can take extra steps
While the cost of your projector setup may depend on what type of projector you use, this can be a factor. I paid $110 for my projector setup (projector, chromecast and mount) which cost wise was about a 1 year return on my investment. Prior to the projector, I was spending approximately $60 a year on paper and $40 on ink for my printer. What that ROI doesn’t take into account though is my time saved.
If you do not have high ceilings or prefer a setup that isn’t affixed to a ceiling, a short throw projector would be for you. These are more expensive at $400+ or can be found used on eBay for less. Each person’s set-up is different so if you are wanting to look into which projector would be best for you, I’d recommend checking out the Projectors for Sewing Facebook group.
I found that calibrating my projector wasn’t an easy task. It requires patience (which I normally don’t have much of) and small adjustments. The Projectors for Sewing facebook group is a resource for how to do this with a tips guide in their announcements. If you don’t calibrate your projector accurately, it would be similar to printing a pattern that doesn’t line up. The fit just won’t be how it’s intended. One benefit to those projector friendly files Tami has added to each pattern is that they have a calibration grid layer so each time you open a new pattern, you can double check your projection accuracy.
Are there times that a projector isn’t ideal?
I do find there are a few times that’s the case. If you travel for sewing, some projector setups aren’t easily portable. That might be a time when pre-cutting your fabric would be helpful or just travel with printed patterns. I also find when scrap busting, adjusting the pattern pieces around on the fabric tends to be easier with a physical pattern piece.
How do you make adjustments while using a projector?
One option is to trace your projected pattern onto tracing paper then make adjustments. Although you’d still have a pattern to store, this is still saving time with the steps of printing and assembling the pattern. If your adjustments are for adding or removing height, I follow a process of cutting then sliding the projection or fabric the amount needed.
Projector Environment
There’s a few things to keep in mind to create an ideal environment for a projector. The best place to start is deciding where you would want your projector setup. If you want the projector to be portable or you have limited ceiling height then a short throw projector is best for you. If you prefer a mounted projector, then a standard projector may work for you. You will want to research the size of projection you can get from the height you’d be mounting, also known as the throw ratio, to make sure you can project a large enough size. Since I have a skylight, I’m able to get a larger distance from my cut table to the projector and larger throw ratio. I chose for my setup to go with a mounted Bomaker projector paired with a chromecast.
Another factor is light. Both the projector brightness and room lighting makes a difference when working with projectors. If you have a well lit room, the projection is harder to see. My room has skylights so I’ve added cardboard to make it darker over my cut table and projector. Let me show you the difference between a well lit room, room with window shades closed and window shades closed with lights off during the middle of a sunny day. The lighting changes at night, the lines are more visible then.
Lights on and window shades open:

Lights on with window shades closed:
Lights off with window shades closed:
Want to see what a projector looks like cutting out a pattern? I’ve made a video to show how I cut out my Lotus Blossom using my projector. Check it out to see if this is for you!
Have questions? Feel free to leave them below or ask in the Love Notions Facebook group.
Save this article to your Sewing Pinterest board