


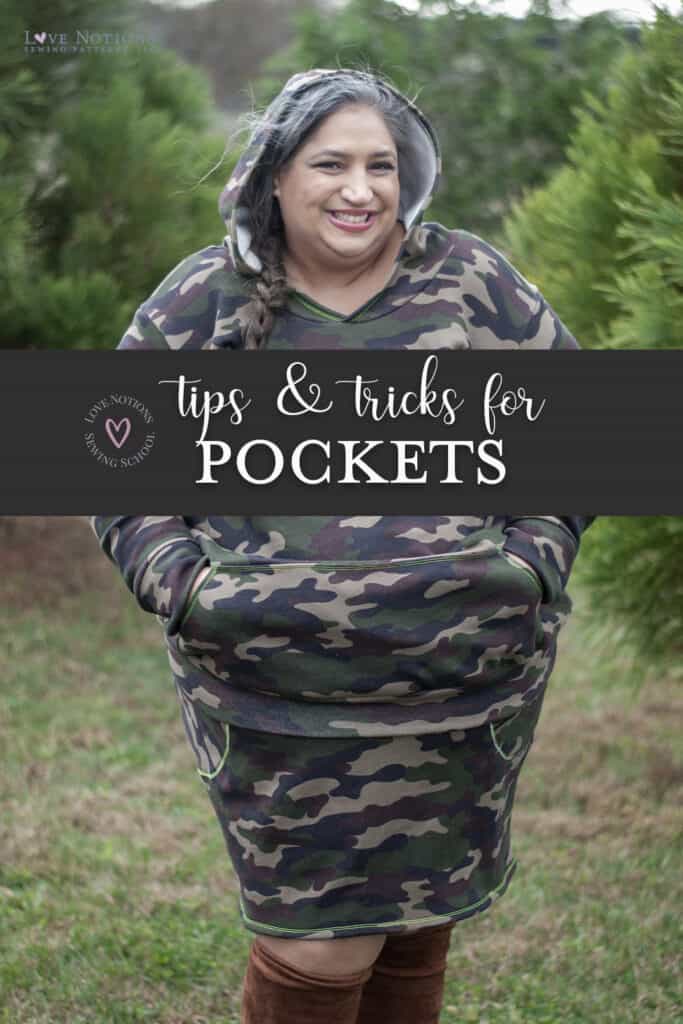
Sloane Feature Friday and Pockets Tips and Tricks!
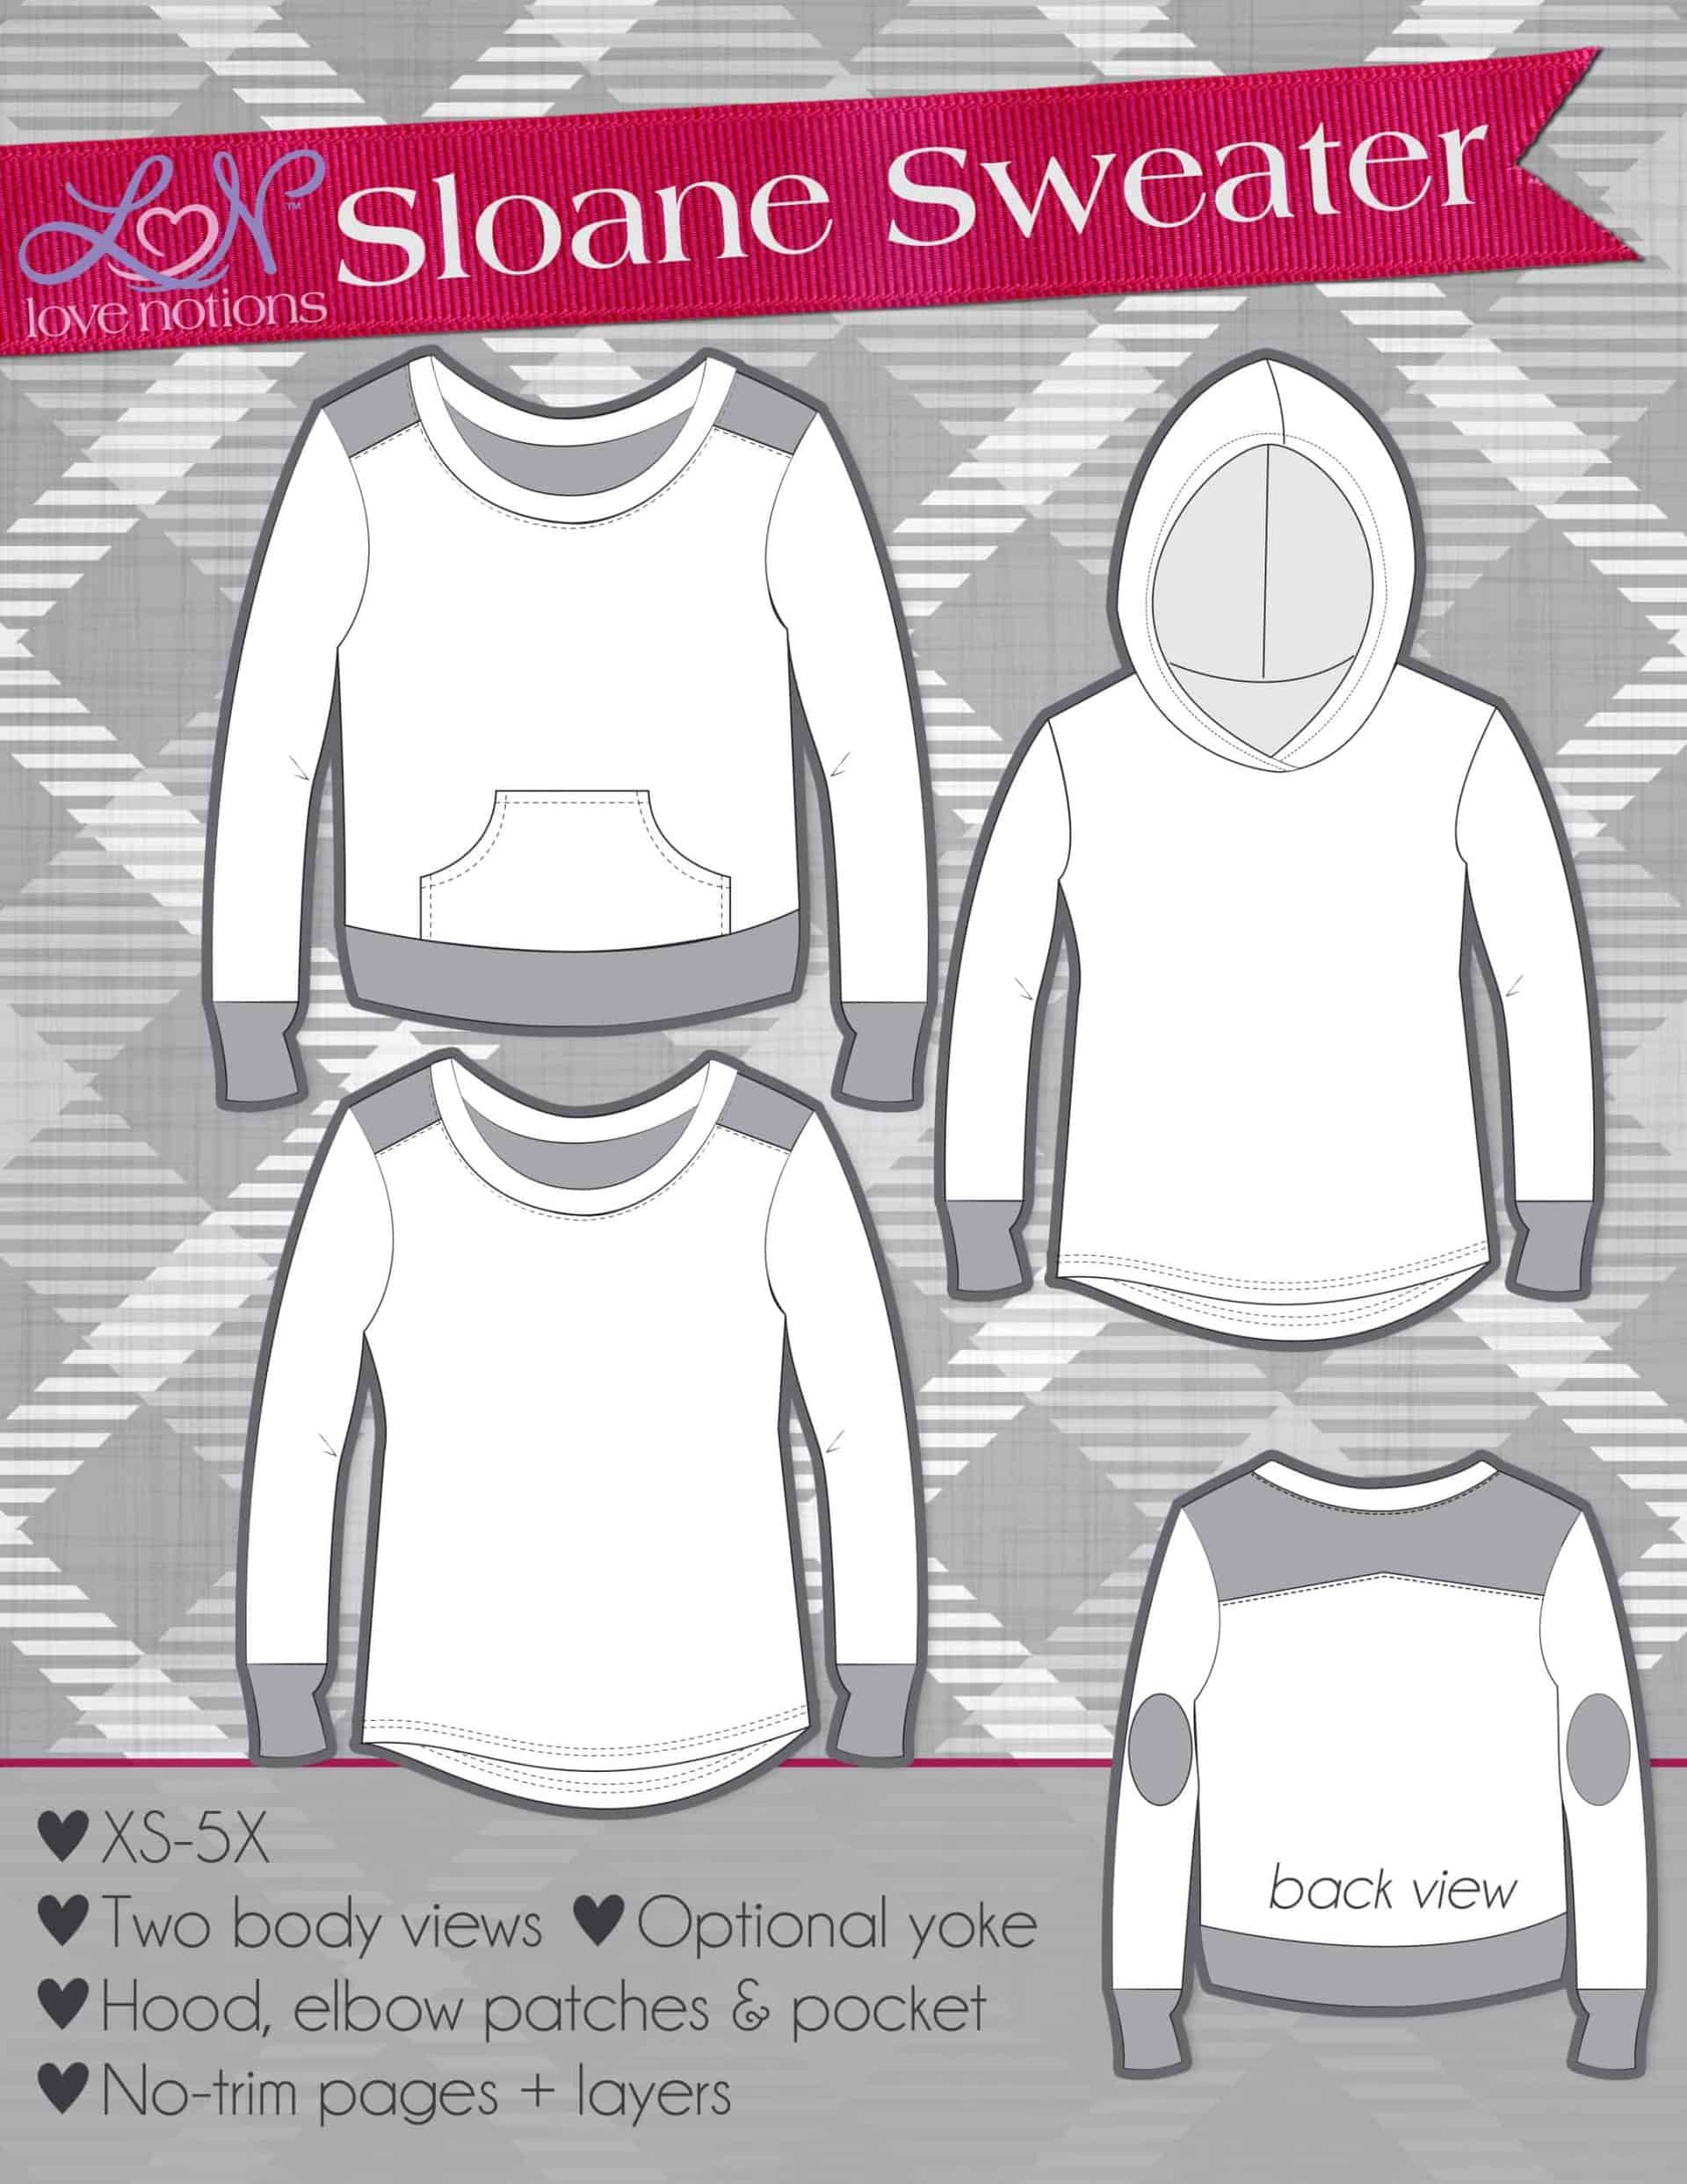
It’s Sloane season here in the states! When the air gets brisk and the leaves fall, there’s nothing like a cozy hoodie to keep the chill away! Sloane has everything you need for a comfy, stylish fall. It has two different views, with curved or banded hem options, back yoke option, hood (of course!), elbow patches and, most importantly, A GIANT KANGAROO POCKET! There’s also a KIDS version! [Links included may be affiliate links—thank you for your support!]
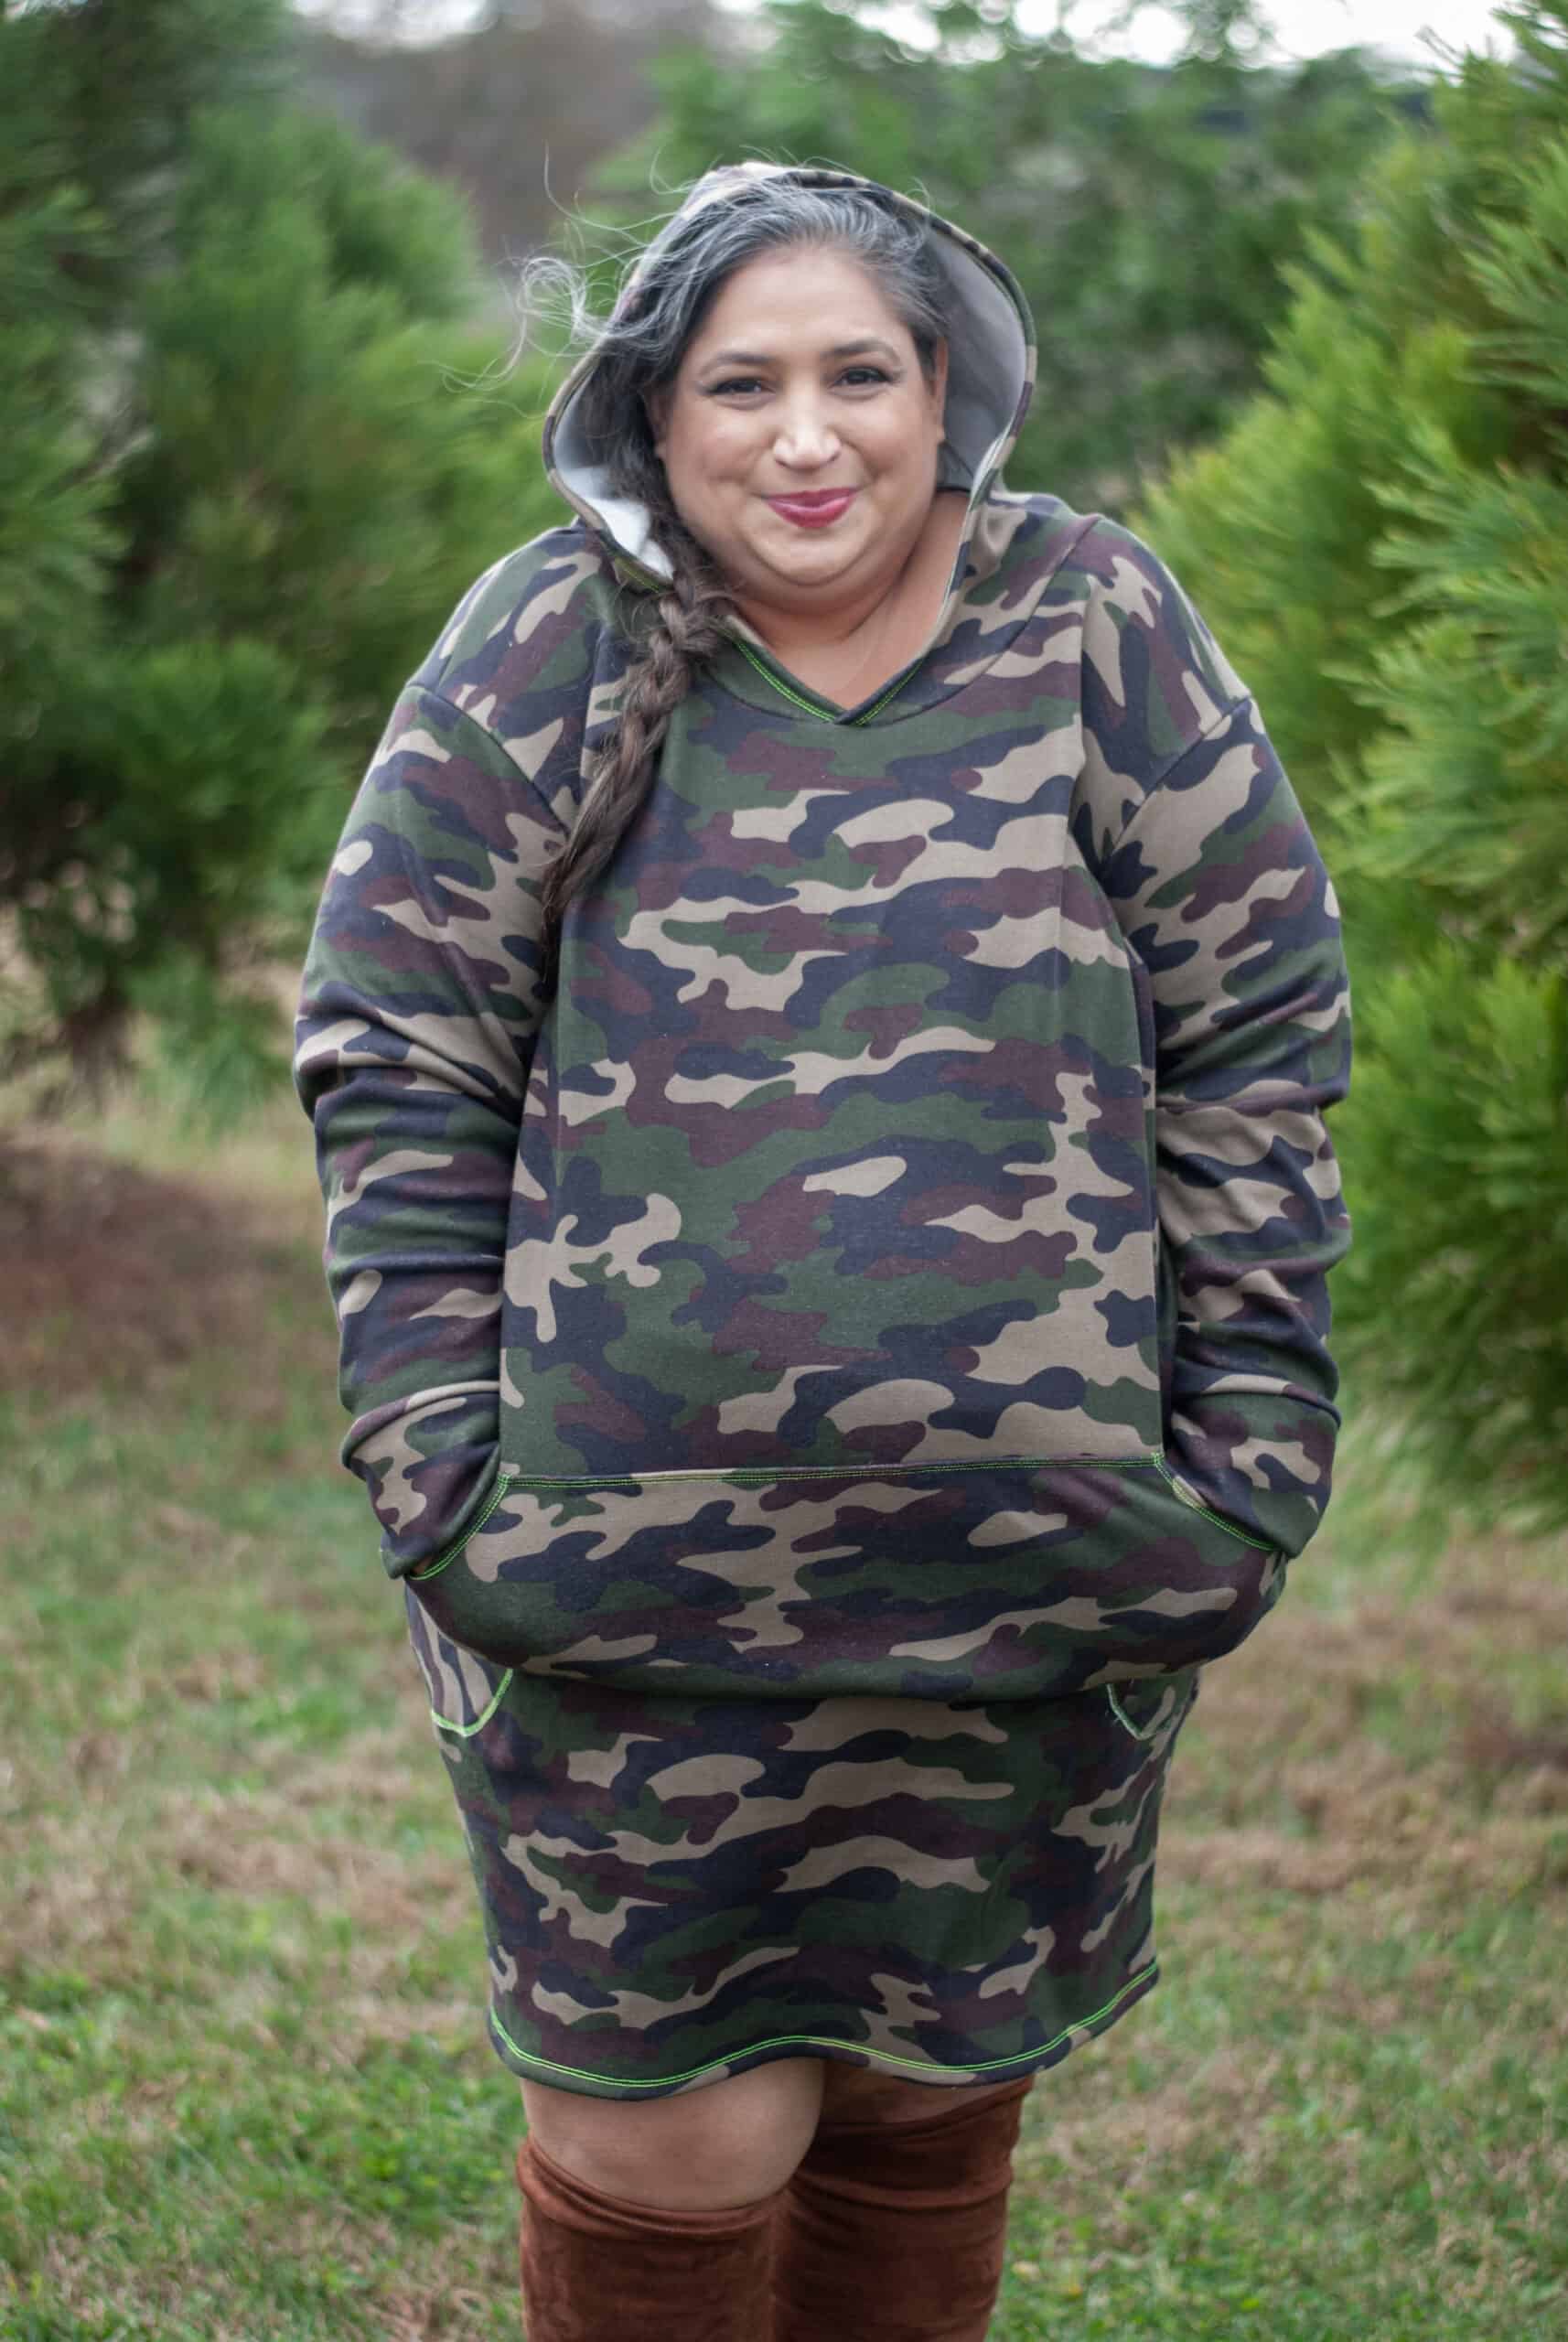
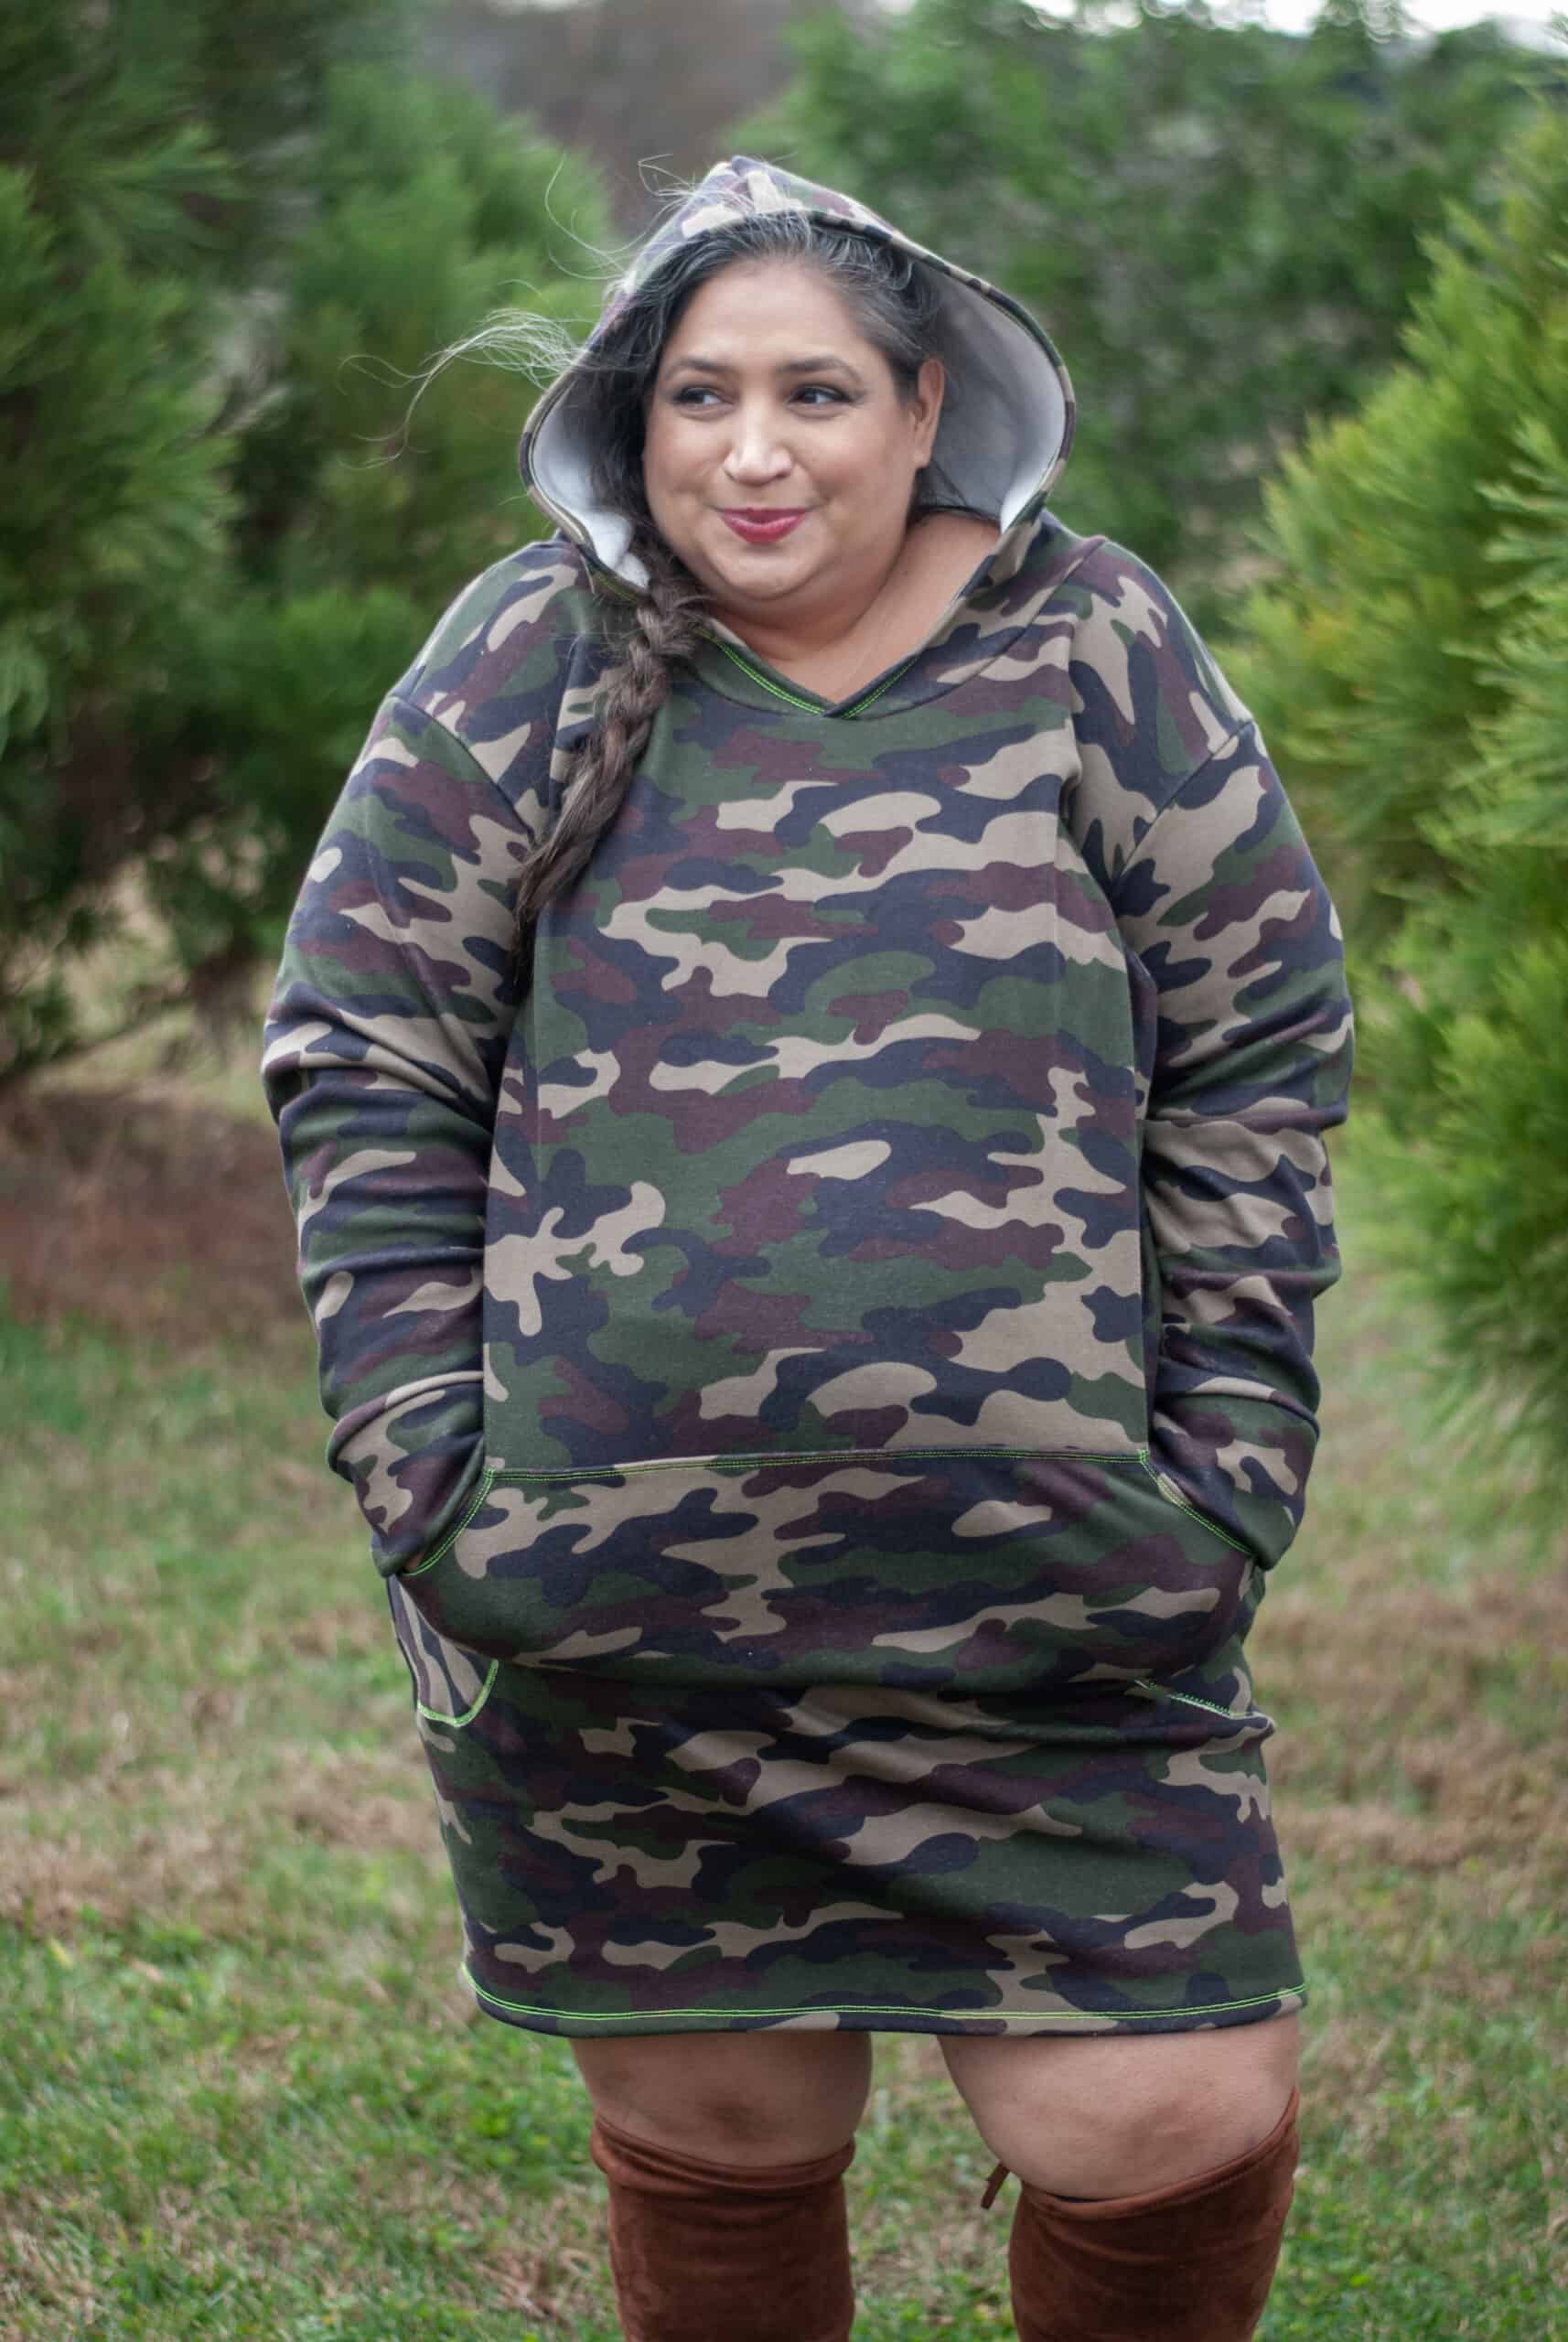
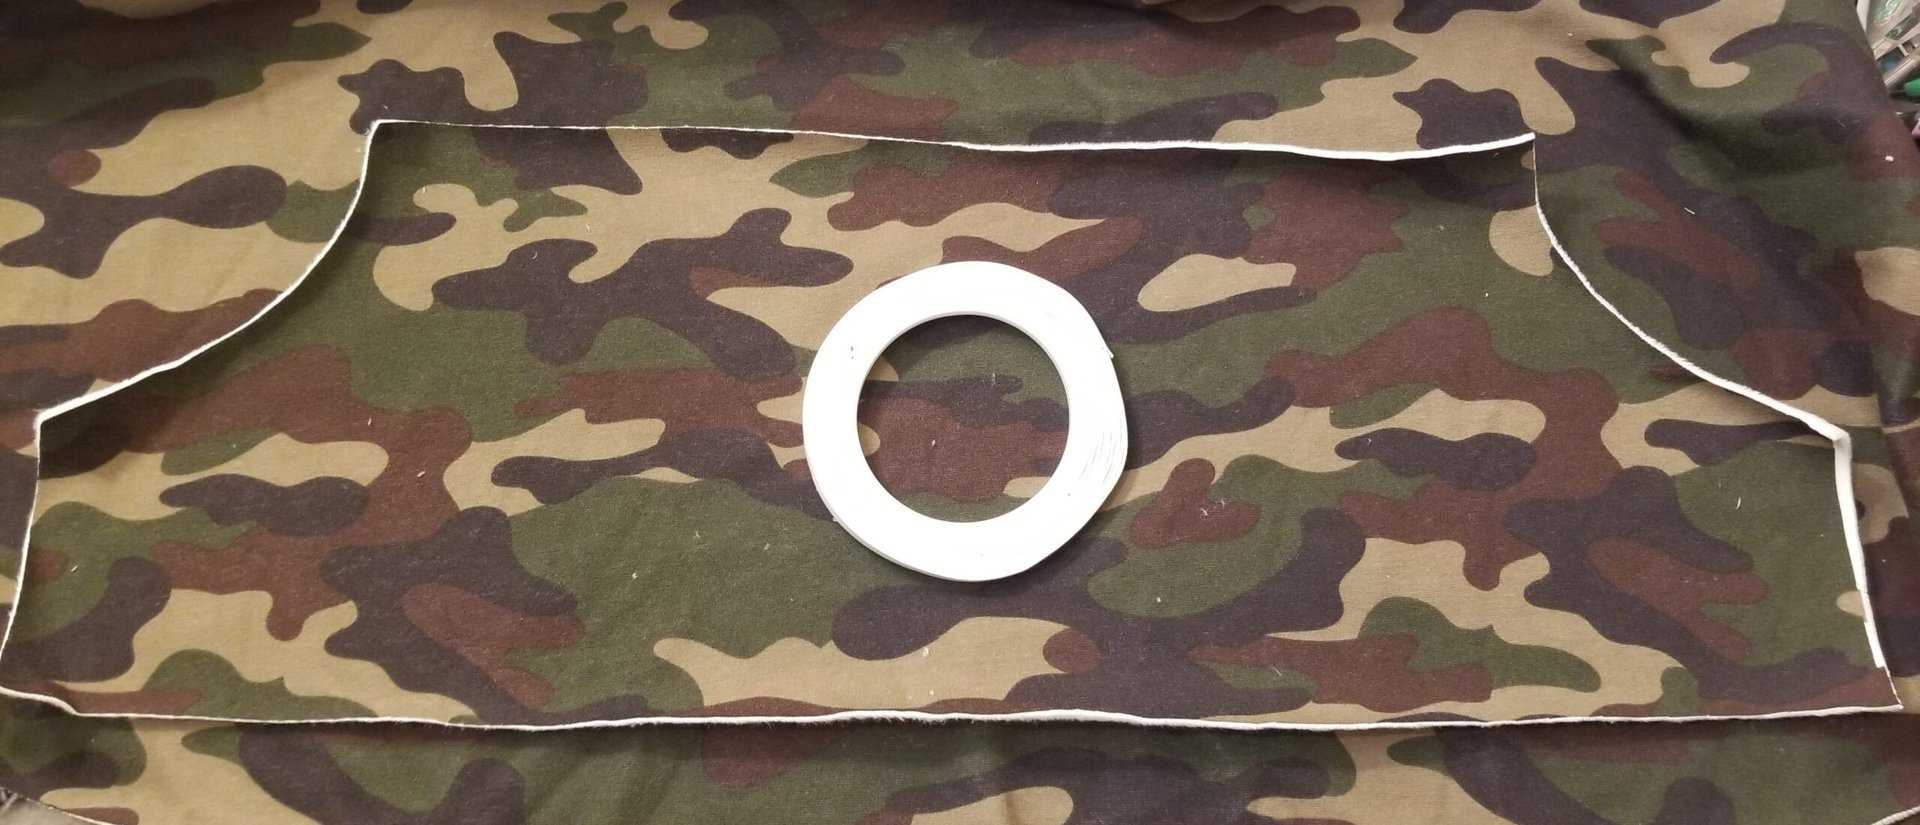
I made this camo plush Sloane and Sybil skirt outfit JUST IN TIME, as the fall weather has swooped back in a fierce way! I upsized the pattern to make it even roomier and paired it with a pencil skirt Sybil, adding pockets to both so I always have somewhere warm to put my hands!
Jess Wilcox
I. Love. Pockets.
There, I’ve said it.
Years ago, when I started sewing, I was dubbed The Pocket Queen because I added pockets to EVERYTHING!
No longer would my pants be pocket-less! Or my dresses without “hand holders” (because we need SOMEWHERE to stash our hands when standing awkwardly… plus, it helps make twirling even better!) And I would never EVER have to STASH MY PHONE IN MY BRA AGAIN! (I’m sure it’s a bad idea but what’s a gal to do?!)
But while I *LOVE* pockets, I’m also a bit of an impatient sewist and want to finish a project as quickly as possible! With 8 kiddos, my sewing time is pockets here and there throughout the week so if I can’t finish it in an evening, it’s likely not going to happen. And, well, pockets can be time consuming to add, but almost always WELL WORTH IT! (I say ALMOST always because one time I thought I’d be cheeky and add an inseam pocket instead of the ‘more time consuming but better’ patch pockets and forever regretted it. But I digress….)
So I’ve come up with a few tips and tricks that I’ve learned to help make pocket construction as painless and quick as possible, and that is what I will share with you here!
For this blog, we will focus on the most common pocket, the patch pocket. This encompasses any pocket that is attached via sewing directly to the garment (as opposed to a hidden pocket, such as a welt or zipper pocket, or inseam pockets, which are sewn in the seam lines.) There are MANY kinds of patch pockets, but the rules for all are very similar and easily adaptable.
Tip #1: Interfacing is USUALLY optional but NEVER a bad idea!
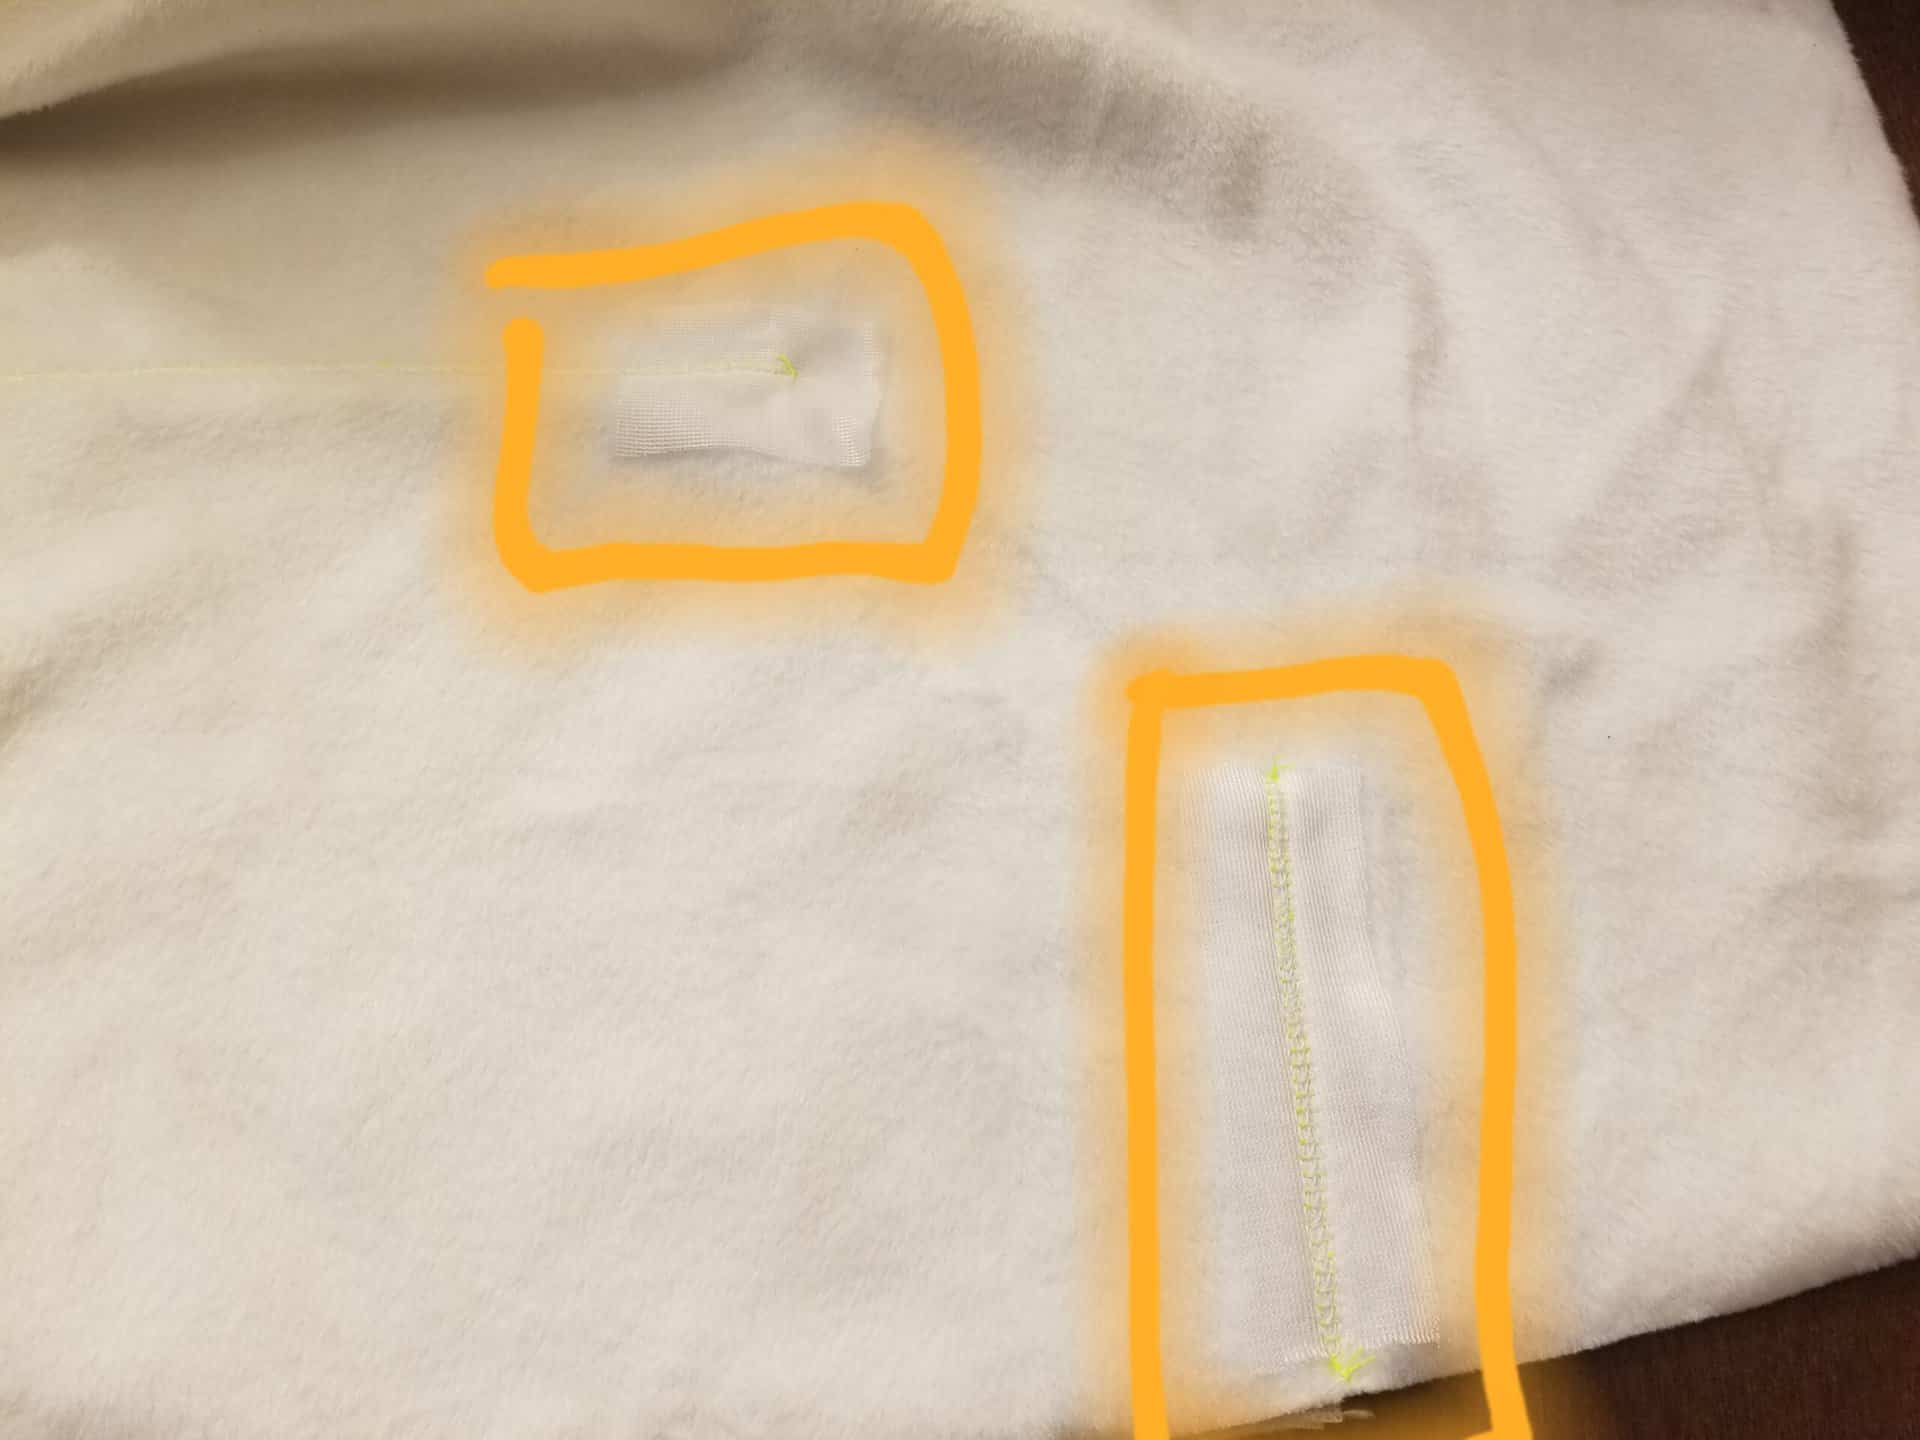
I confess, I usually skip interfacing my pockets. I don’t have a dedicated ironing space where I sew, so it’s a bit of a detour to iron on interfacing. I’m also not super hard on my pockets, as they tend to be just for hands, my phone and maybe a receipt or two if I’m out and about. MY KIDS, however, load ‘em up with ALLLLLLL sorts of fun things. If you’re sewing for kids, consider interfacing to NOT be optional, ha! But really, fusible iron on interfacing makes your pockets so much stronger and it’s easier to use than something NOT ironed on. I will sometimes slide a woven fabric scrap behind my garment and use THAT to reinforce my pocket stitching. (selvage scraps from quilting cotton works great!) If I’m worried about it shifting, I’ll use my Elmer’s glue stick I keep handy to stick it on (just allow it a moment to dry before sewing!) As well as it works, it’s not as thin as a fusible, so for bulkier fabrics (like this plush sweatshirt knit,) the iron on stuff works great.
Where to interface? Anywhere you sew, usually, especially if sewing thinner fabrics. But at the very least, you’ll want to interface those stress points—the corners at the tops of pockets usually. On kangaroo pockets (the giant patch pockets you’ll find on hoodies, such as my Sloane hoodie here!) I would also add it to the top of the lower side of the opening.
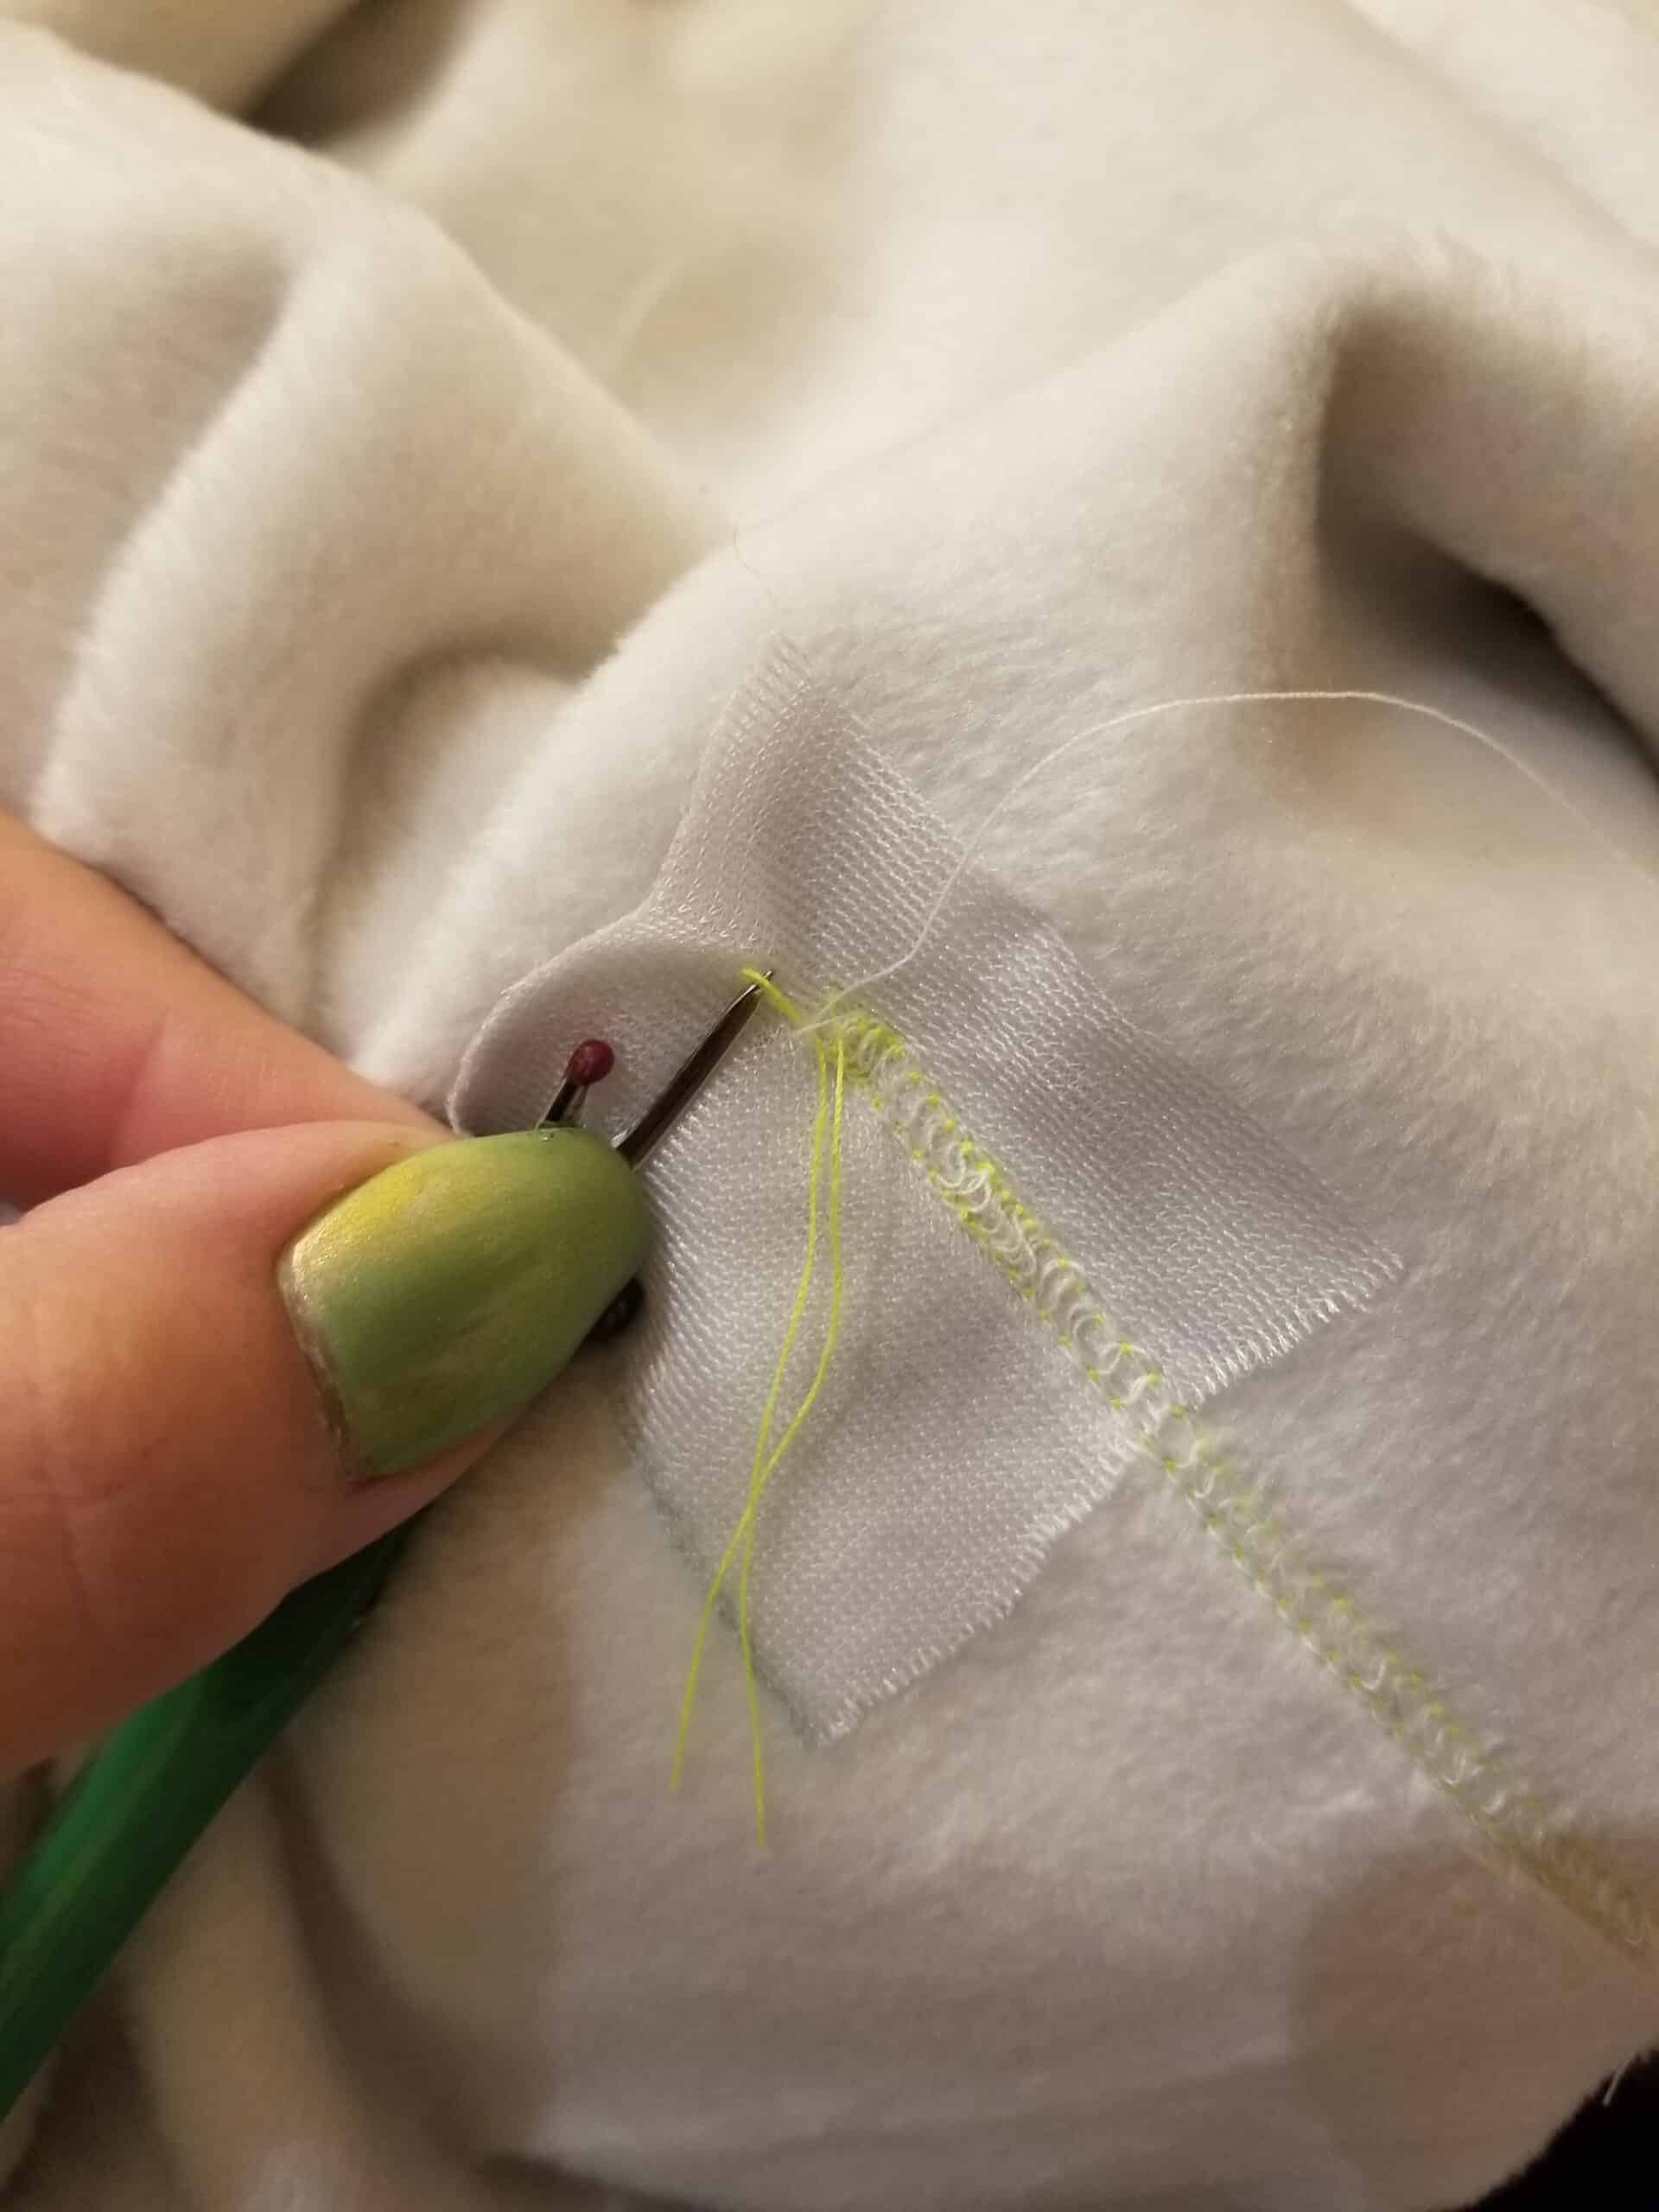
Tip #2: A sewing adhesive of some sort makes life SOOO much easier!
What do I mean by sewing adhesive? In my sewing room, it’s either double sided wash away tape or an Elmer’s glue stick. Both have their purposes and both work pretty well, but if I’m honest, I much prefer the double sided wash away tape. I use it every time I’m doing any kind patch pocket. Since we usually fold the sides of the pocket over before attaching to the garment, it helps hold that in place so it doesn’t pop out before you can topstitch. You can also use it to hold your pocket exactly where you need it while topstitching. It also provides a bit of stability, especially on stretchy knits, and allows your machine to feed the fabric through without it stretching as you sew (something I struggle with, as my sewing machine does not have an adjustable presser foot pressure knob.) It CAN be pricey if you’re buying the Dritz brand. But I usually order a generic brand from Amazon (or Aliexpress, for our international sewist!) and it works fab! Just keep it in a zip top bag to prevent it from drying out and it’ll last ya a good while!
The Elmer’s glue stick works similarly. The downside is that you do need to give it a minute to dry so it doesn’t gum your needle (the tape does not gum anything up!) And it doesn’t stabilize quite the same way (though if applied generously and allowed to dry well, it totally can! I use it on swim knits and it really does make a difference!) It’s super affordable and you can buy it almost anywhere, though, so I highly recommend everyone keep a stick handy!
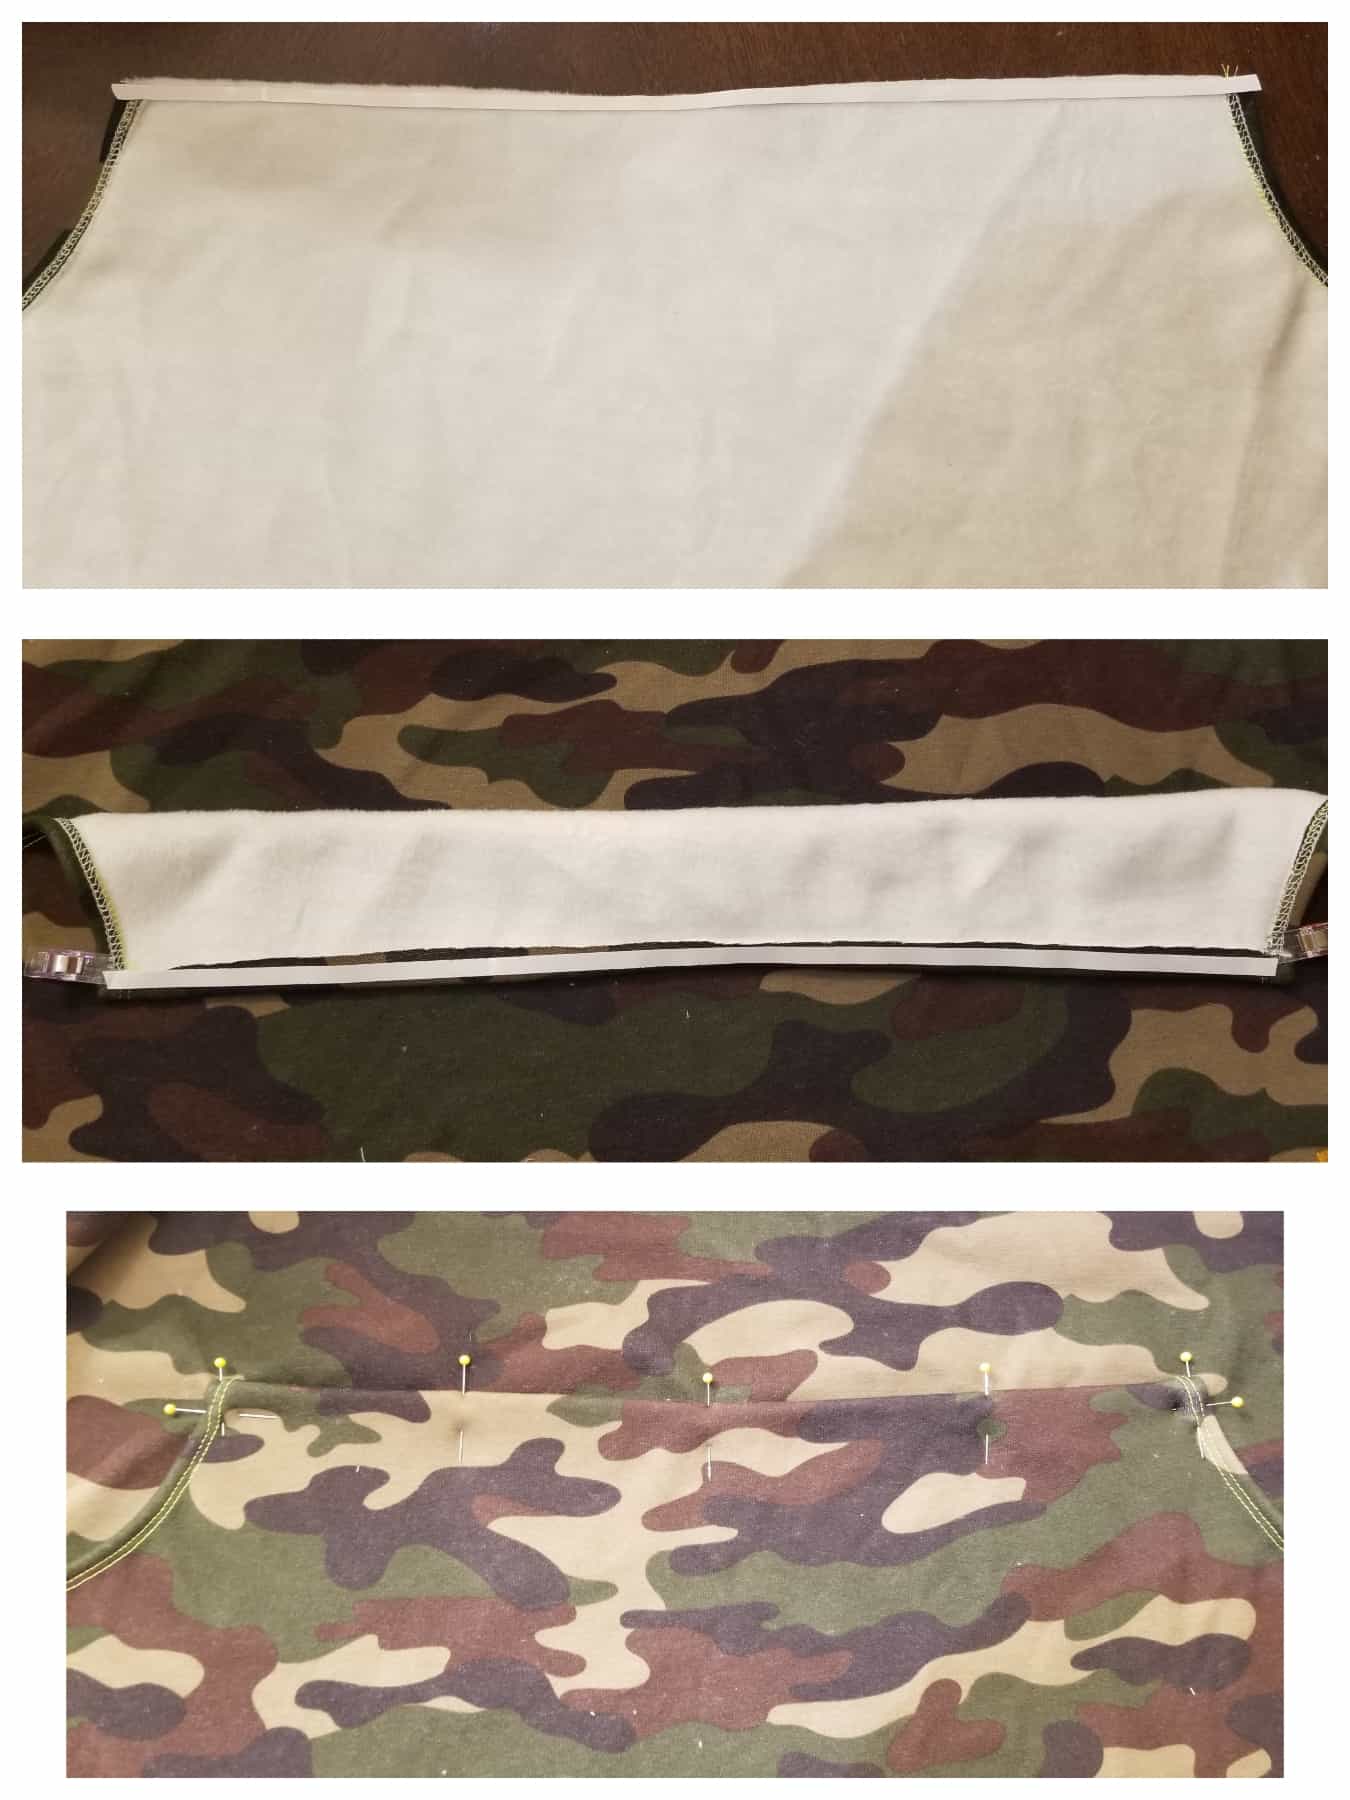
Where to use adhesive? Anywhere you need to hem and anywhere you need it to keep your pocket in place. For example, on my kangaroo pocket here, I used it first to hem the pocket opening. After that was done, I used it on the top and sides of the pocket to hold the fold in place. Then I placed another piece on top of that to hold it to the bodice. I added a few pins and clips for added security (but needed far less with the tape in place!) and sewed!
Sometimes if I’m doing a patch pocket on the back of pants, like the Legato Jeans, I’ll make a big X with the tape across the whole wrong side of the pocket so I can get the positioning right (you could even do this while wearing the pants, if you have a helper! Or by yourself if you’re that flexible, ha!) And THEN tape down the sides where I’m going to sew. I’ve done the same with a quilting basting spray BUT that stuff is 1. Very messy and 2. Goes EVERYWHERE so I tend to only use that for larger projects IF I have no other options.
Tip #3: Stitching matters!
I almost exclusively use my serger and coverstitch. I most often sew knits, so those two work for me. But for pockets, a coverstitch needs a little tweaking. The biggest thing I’ve found with using a coverstitch for pockets is starting and ending several stitches BEFORE your pocket starts/ends.
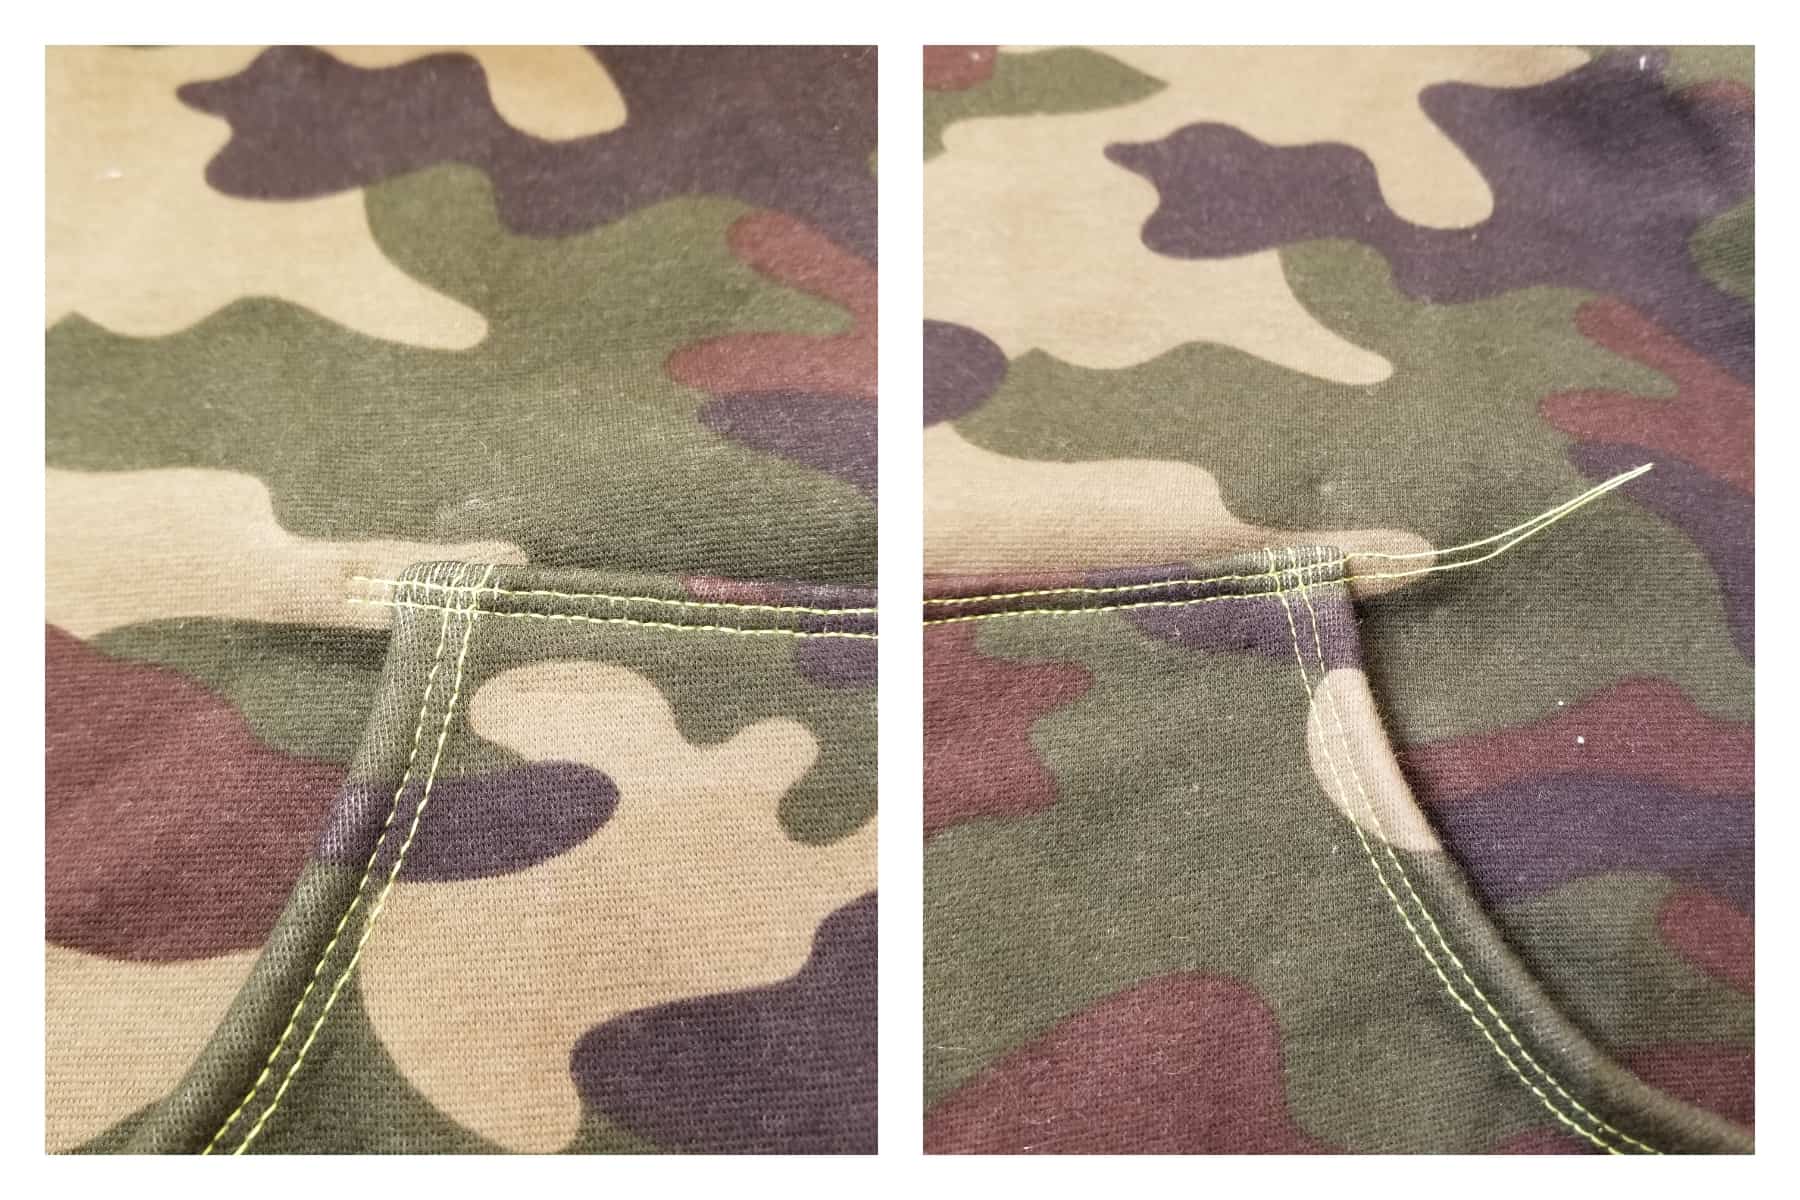
It can be difficult to start cleanly on what is usually the bulkiest seam of a patch pocket. If your stitching doesn’t start before the pocket piece, the top of the pocket is more vulnerable to failing. So what do you do? Start about a half inch before your pocket to get a few stitches in the main fabric. Do the same at the end, finish about a half inch beyond the pocket. THEN, flip it over, pull those extra stitches to the wrong side so 1 or 2 remain off the pocket piece and tie securely. On my kids’ clothes, I will trim those stitches and then add a drop of Fabric Fuse or Fray Check on that knot for extra security. We don’t want any floppy pockets!
SEWING MACHINE USERS! You have a little more flexibility with stitching options for your pockets. Feel free to experiment with fun stitches on your pockets! I do highly recommend that you stick to stretch stitches on knits, though. You CAN use a straight stitch, but I find that over time, they rip out, especially in super stretchy fabrics. But a triple stitch would def get the job done while still providing that straight stitch look! But whatever stitch you use, I HIGHLY recommend a bar-tac at the stress points. I cheat and just use a triple zig zag at the widest width but zero length. Alternatively, if you’ve recently made Legato Jeans have rivets leftover, you could totally add one to those high stress spots!
Make Sure to Save this Article to Your Pinterest Board
A Few More Random Pocket Tips! These are self explanatory. ????
4. Consider your fabric stretch when cutting pocket pieces. I prefer to use the LEAST AMOUNT OF VERTICAL stretch for pockets. For some fabrics, that means cutting cross grain. The more stretchy your fabric, the more saggy your pocket. Proceed with caution.
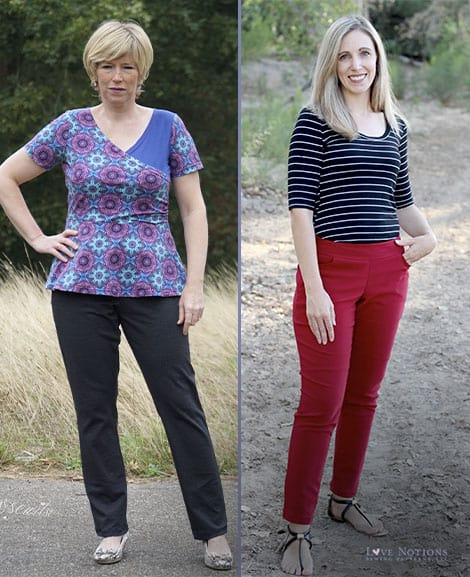
5. Pattern doesn’t include the pocket you want? Grab it from another pattern! I’ve used the patch pocket piece from the Compose Robe or Boyfriend Cardigan several times on my Metra Blazers. Or used the Allegro or Resolution Bottoms pockets on Sybil Skirts or Sabrina Slims. The pieces might require a bit of trimming to fit, but it’s usually pretty close!
*Note, I am a BIG FAN of inset pockets, which is the type of pocket you often see in pants. A portion of the pant leg is cut, pocket bag and lining attached and it kinda floats between your leg and the main pant leg. But when I’m low on fabric or don’t want the extra bulk of 2 more layers of fabric, I often convert that type of pocket into a patch pocket. In fact, that’s what I did with my Sybil skirt here!
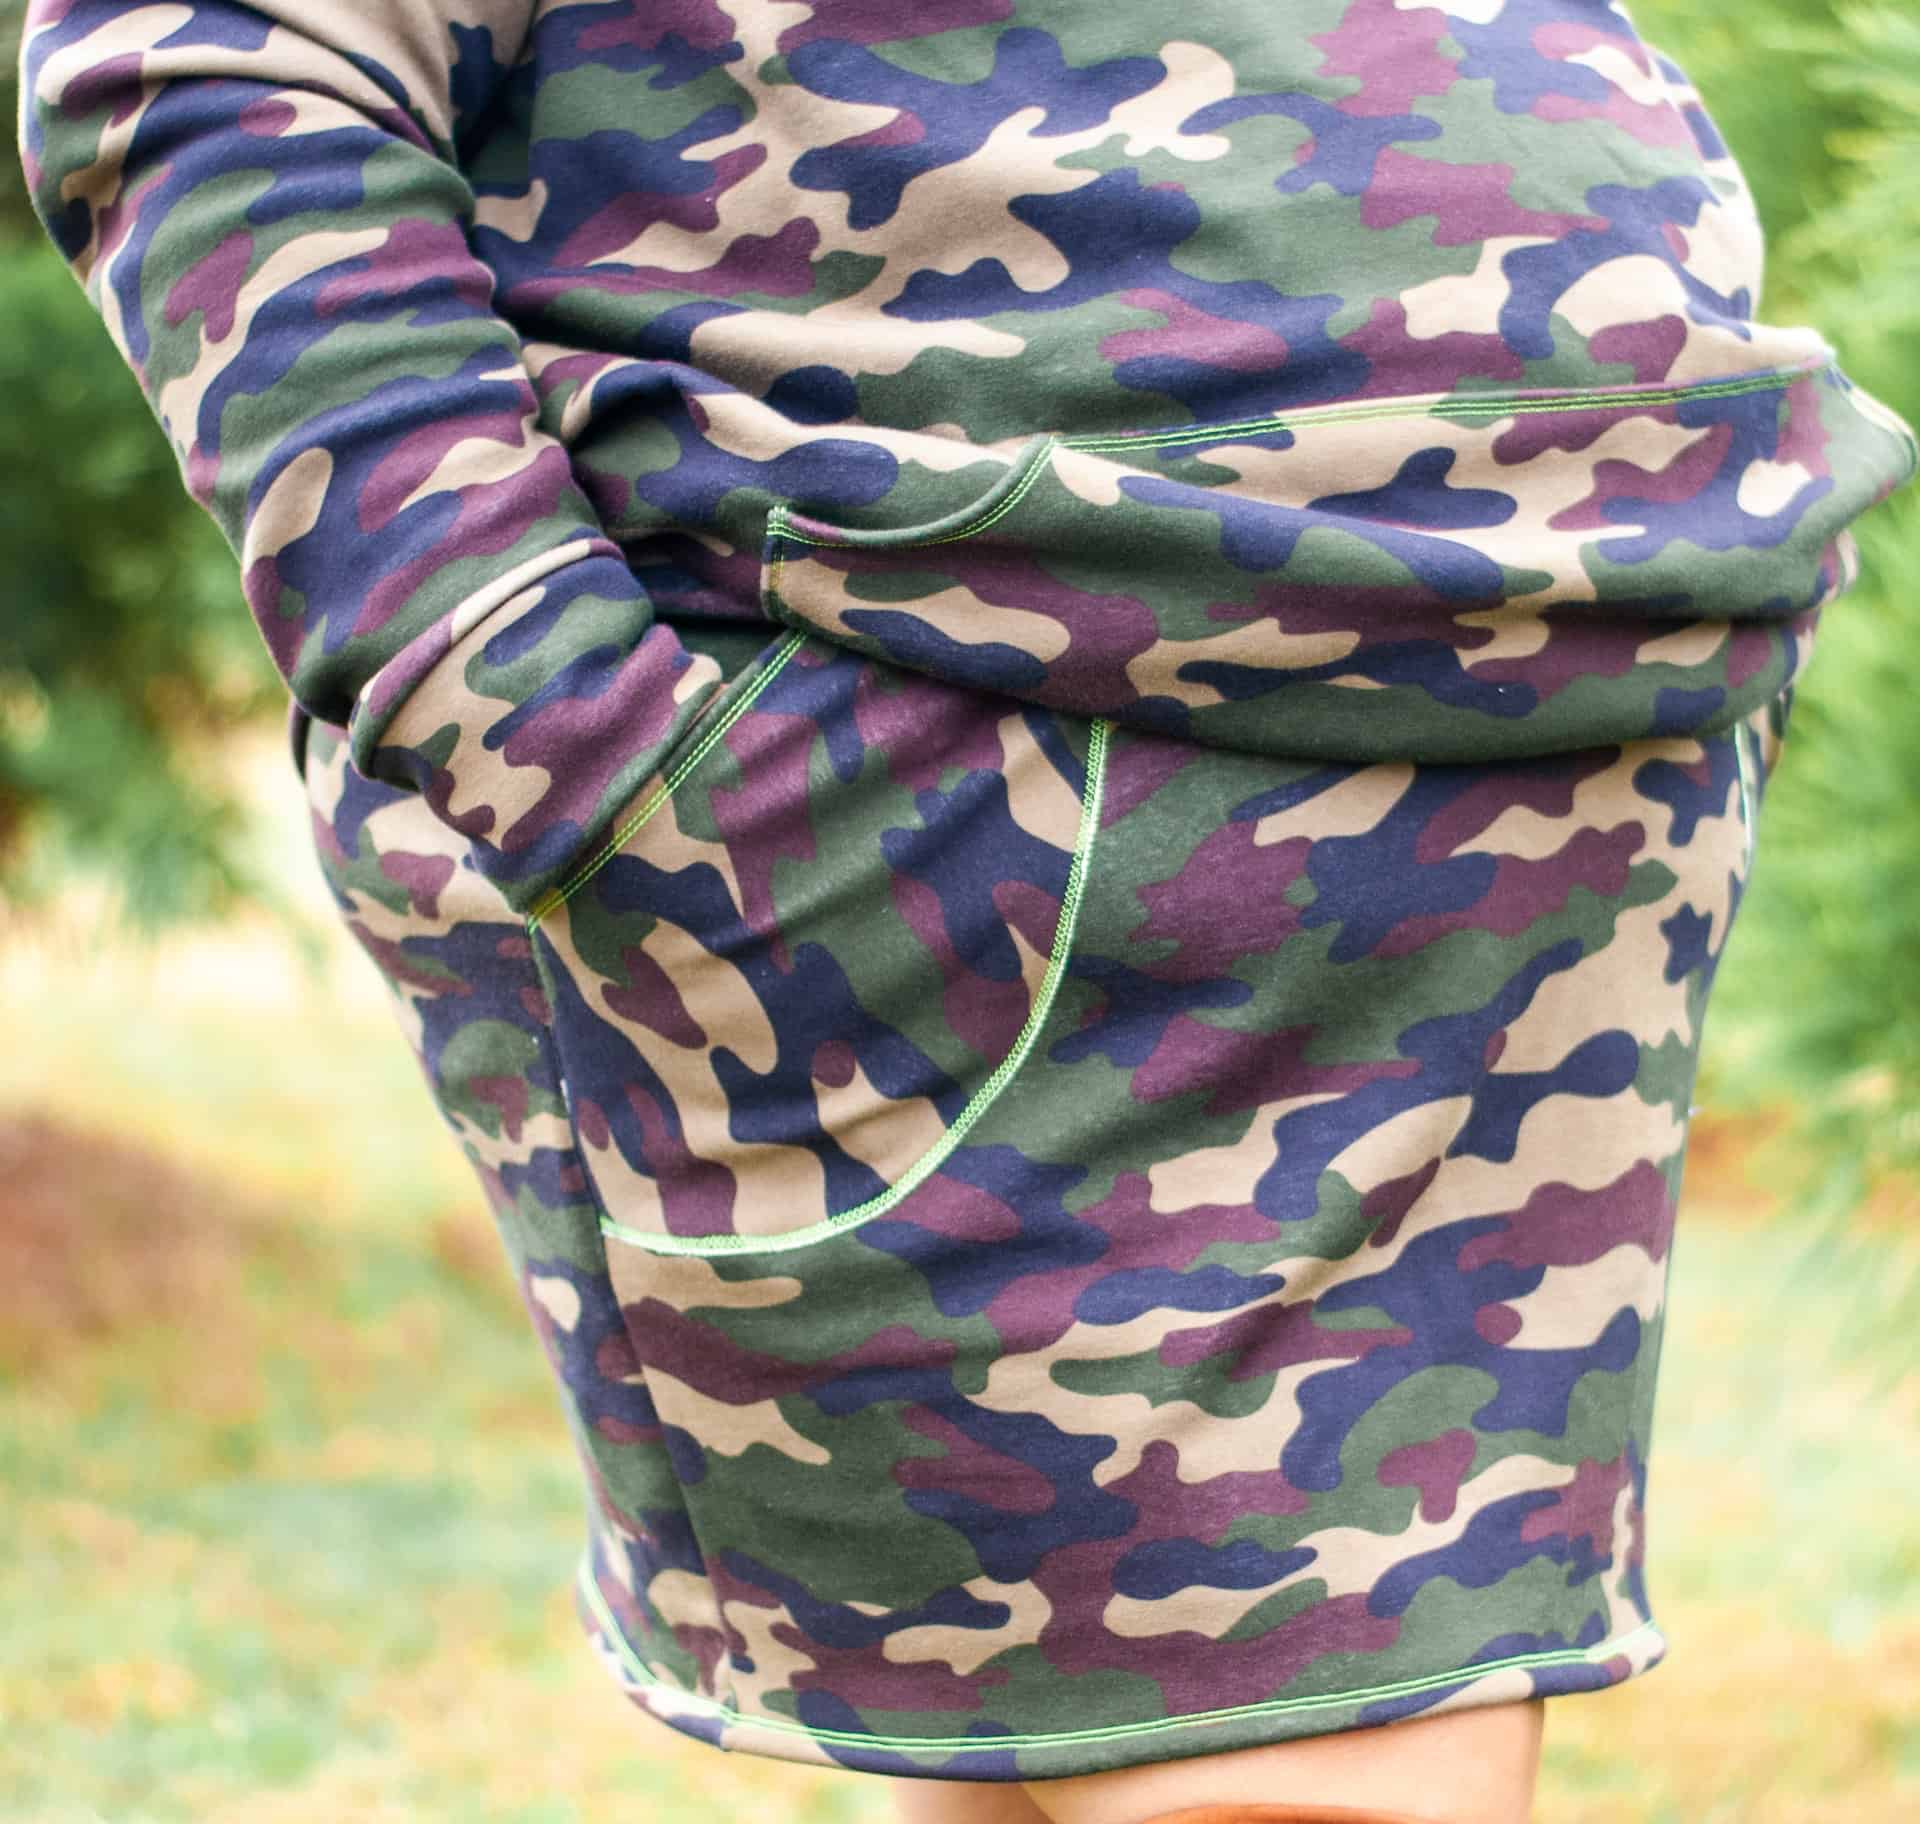
I stole this pocket bag pattern piece from the Allegros pattern. Sometimes I’ll square off the curved part, but I decided to leave this one as is. I simply hemmed the opening on my coverstitch and topstitched it in place using a honeycomb stitch. I wanted it to have a bolder look than just a straight or simple zig zag stitch. It really helps the thread color POP!
6. Want a bigger/smaller pocket? Print/project a few sizes up or down! Already at the top or bottom of the size chart? You can alter the print % to increase or decrease the size. I usually increase my pocket size because POCKETS! But you can adjust as you see fit, especially for patch pockets.
7. Want a fancier patch pocket? Add a flap! I usually use the bottom of the pocket for this and just kinda free hand it. I like the look it gives to patch pockets on more formal garments (by formal, I mean garments I might wear out and about when I’m trying to look a bit more presentable than day to day.) The size to make your flap depends on your pocket, but I aim for something between ¼ and 1/3 of the size of the pocket.

I hope these tips were helpful for your pocket journey! Happy sewing!
~jess
You can follow Jess on her Instagram, @jessawilcox or on her Facebook page, What Jess Does
Top Selling Patterns with Pockets
-
 Duet Trousers$12.50
 -
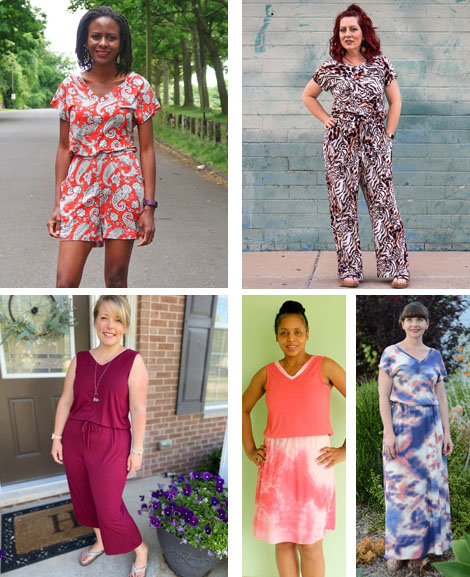 Ladies’ Sunday Romper$12.50
 -
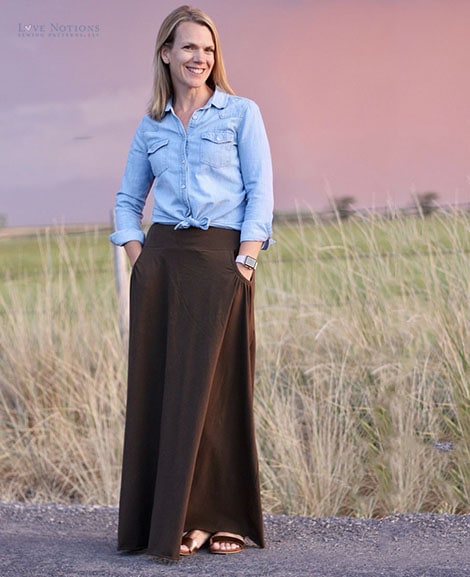 Ravinia Skirt$12.50

