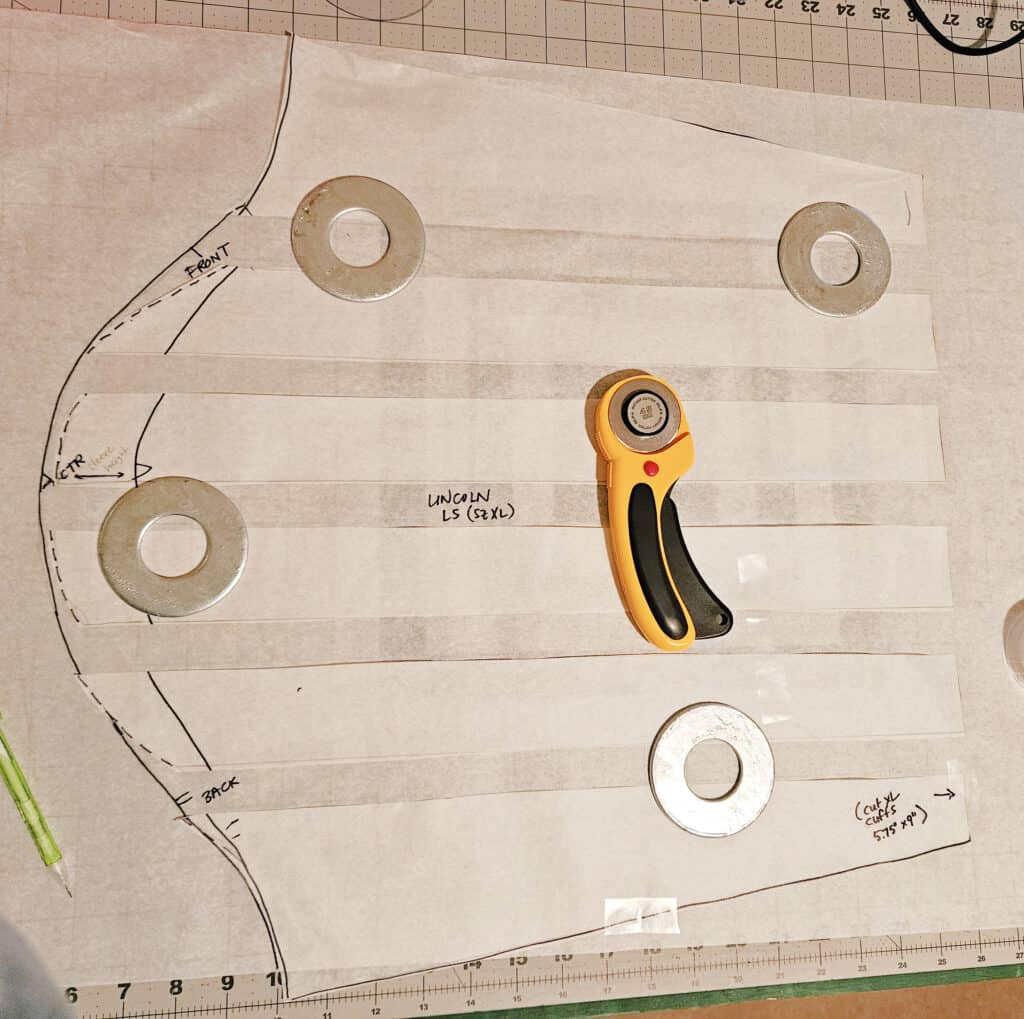
Happy Friday, friends! Rachel here today with another fun hack for this week’s Feature Friday, the Lincoln top pattern. This is a great knit pattern that’s got a straight, slightly boxy fit and super cute details – angled button plackets and two neckline options (I love the boatneck!). You know I love a fun sleeve option, so I’ve got two simple hacks for you today.


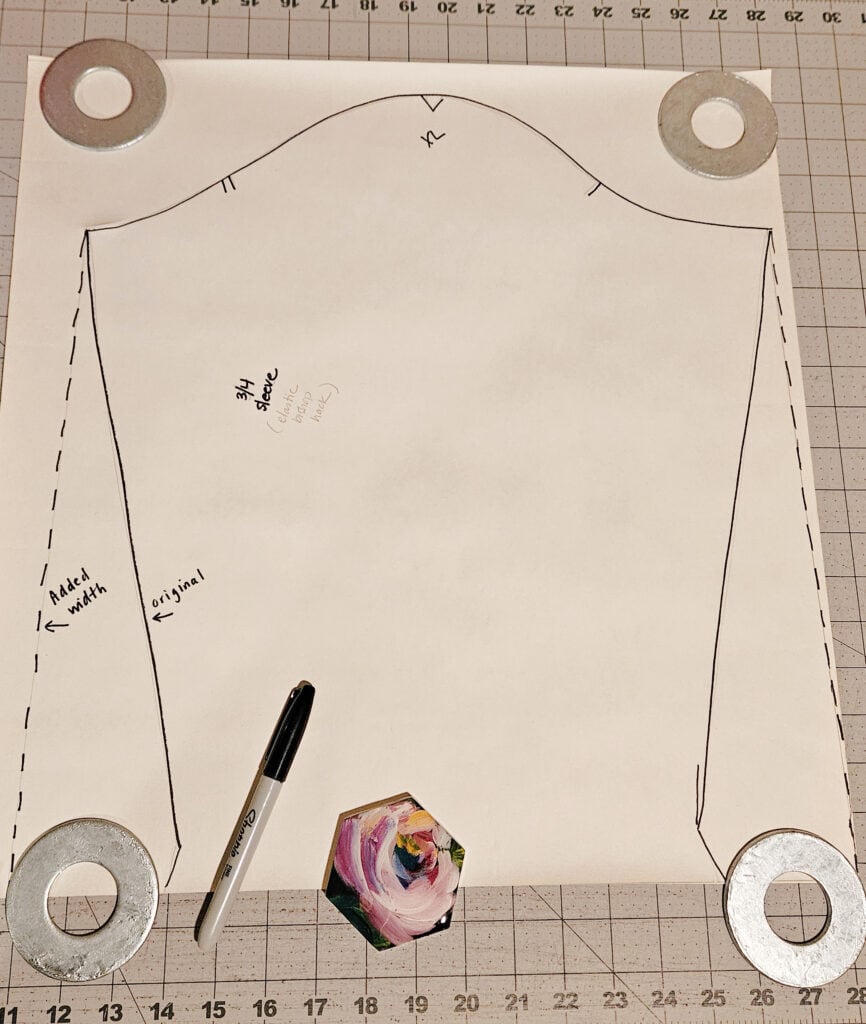
For the first one, I did a bishop-style sleeve adjustment with a widened ¾ sleeve and an elasticated hem. To do this, you’ll want to make sure that all width is added below the sleeve head, and the shape of the sleeve remains the same so it fits into the existing armscye. To do this, I began to widen the sleeve from the underarm points, and simply drew a straight line to the hem on each side. Want the sleeve even wider? Angle those straight lines out and widen the existing hemline of the sleeve as well. If you prefer the slash-and-spread method in order to add a specific amount of width to the sleeve, you can use the tutorial I posted here, for the Classic Tee. You’ll do the same thing for that sleeve adjustment, just use the ¾ length sleeve pattern piece for the Lincoln Top.
To add the elastic you can hem the sleeve, leaving a small opening to insert the elastic. Feed the elastic through the channel made by the hem using a safety pin or bodkin, stitch short ends together to form a loop, and close the small opening in the hem. I used ½” knit elastic for mine, and measured loosely around my forearm where the sleeve hem would be in order to determine the elastic length.
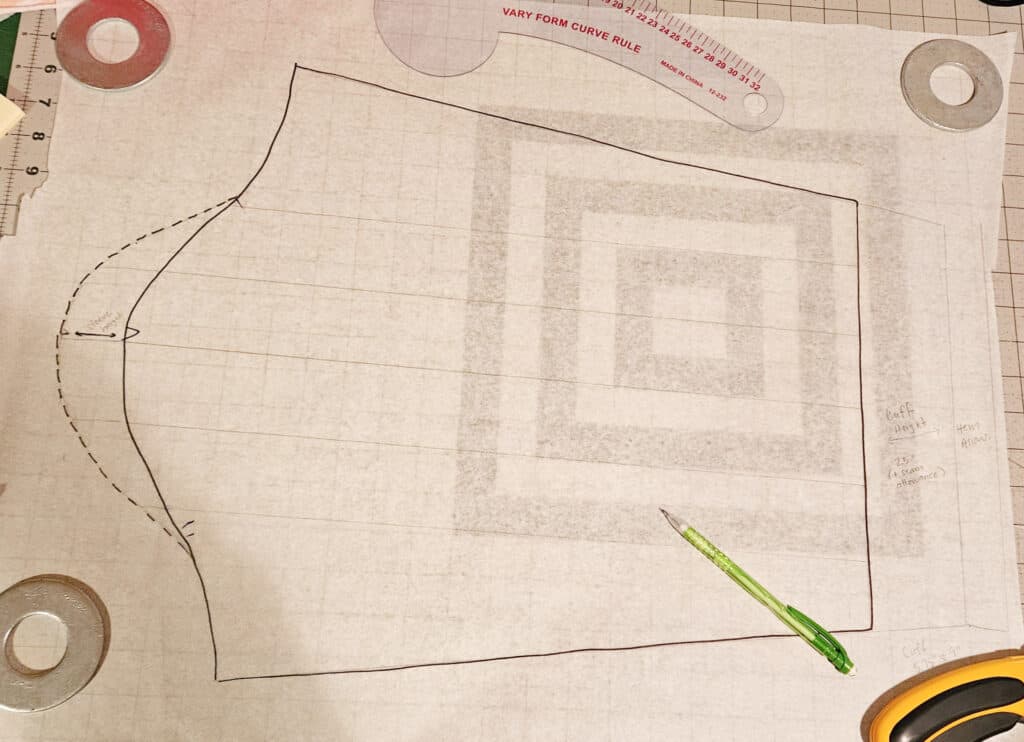
For my green Lincoln with sleeve adjustments, I decided to use the long sleeve and modify it to add volume at both the sleeve cap AND the hem, which I gathered and cuffed. To achieve this, I added width to the entire sleeve – you can see in the pic that I cut parallel lines from the sleeve cap to the hem and spaced them evenly. I also added a slight bit of height to the sleeve cap in order to help emphasize the gathers – the width added by slicing the sleeve and spreading gets gathered into the armscye, so you don’t need to modify the armscye on the bodice at all. To add the cuff, I removed the hem allowance and also subtracted the length/height I wanted the cuff to be. When I calculated the size of my cuff, I doubled that height and added seam allowance, and double checked against a similar style sleeve (you can use the Arlington for this!) to make sure the cuff will be a good fit for my wrist.


As one last mini-hack (I’m not sure if this even counts as a hack, ha!) I pinned the plackets in place and topstitched them together, leaving about 2.5” open at the waist hem. I sewed buttons onto my purple top for decorative purposes, but left them off the green top. There’s plenty of ease in the top for non-functional plackets so it worked just fine.
I used a modal blend sweatshirt fleece from Joann Fabrics for both of these sewing projects with adjusted sleeves, and they’re super soft and comfy while still looking a little bit dressy. I also love using slightly thicker fabrics for Lincoln, since the topstitching of the neckline, plackets, and hem sinks into the fleece and gives a nice finish. Make sure to join us over in the Love Notions Patterns Support Group on Facebook and share your adjusted sleeve Lincolns, too!