


While we face the challenges around us, we hope that you continue to find comfort in sewing! The Willow Wrap Dress is one of those comforting and satisfying sews — the kind of sew that’s just good for the soul! Noreen proves that on the blog today where she adds some extra special details to her Willow Wrap. Check it out and leave a comment about ways that sewing has lifted YOU up when you needed it most. <3

Handkerchief Hem on a Faux Wrap Dress:
Willow To The Rescue!
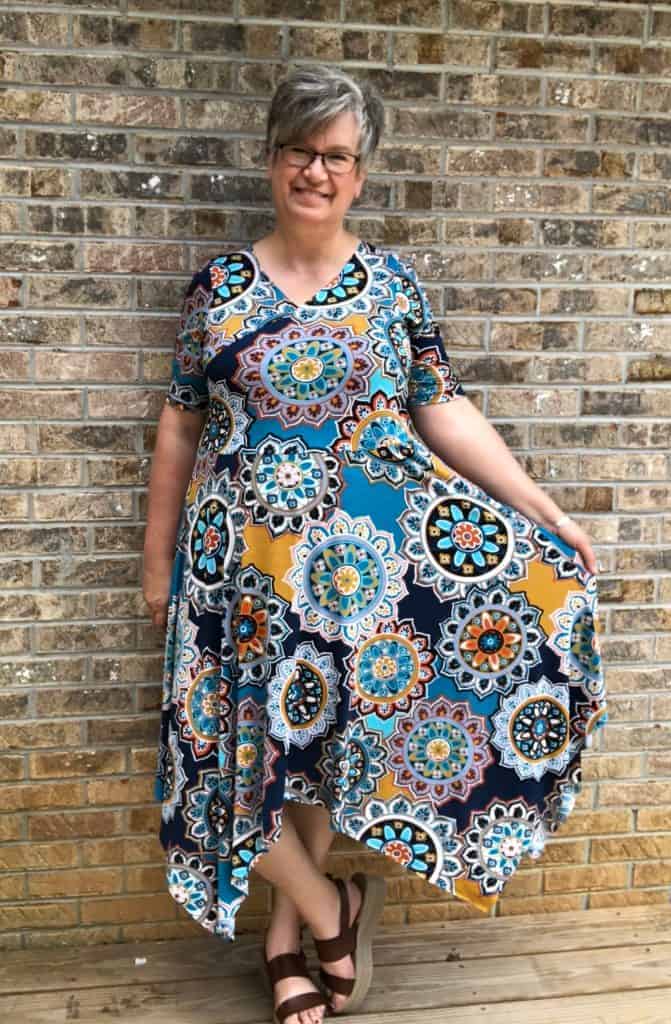
I’ve experienced a lot of change over the last year. My last single child got married, we sold our home and just this past February moved across the ocean to Scotland. Now, like the rest of the world, we are confined to our little flat amidst the pandemic. It seemed so fitting that my very first sew here was The Willow Wrap Dress from Love Notions and it is the $5.00 Feature Friday pattern today! The Willow Wrap Dress is my favorite dress pattern because like every good superhero it is there no matter what the need or occasion. Honestly, Willow’s are the only dresses in my closet!
When I needed a Mother of the Bride dress, Willow to the rescue!

And now, when I’m stuck inside and need some cheering up, Willow to the rescue!

Special Details for the Willow Wrap Dress
The Willow Wrap Dress is such a great pattern to play with too. I have put the flounce from the Forte onto Willow’s elbow sleeves, lined the bodice, banded the neckline and even put a faux piping detail on the neckline. But one of the easiest ways to change it up and my absolute favorite, is by giving it a handkerchief hem.
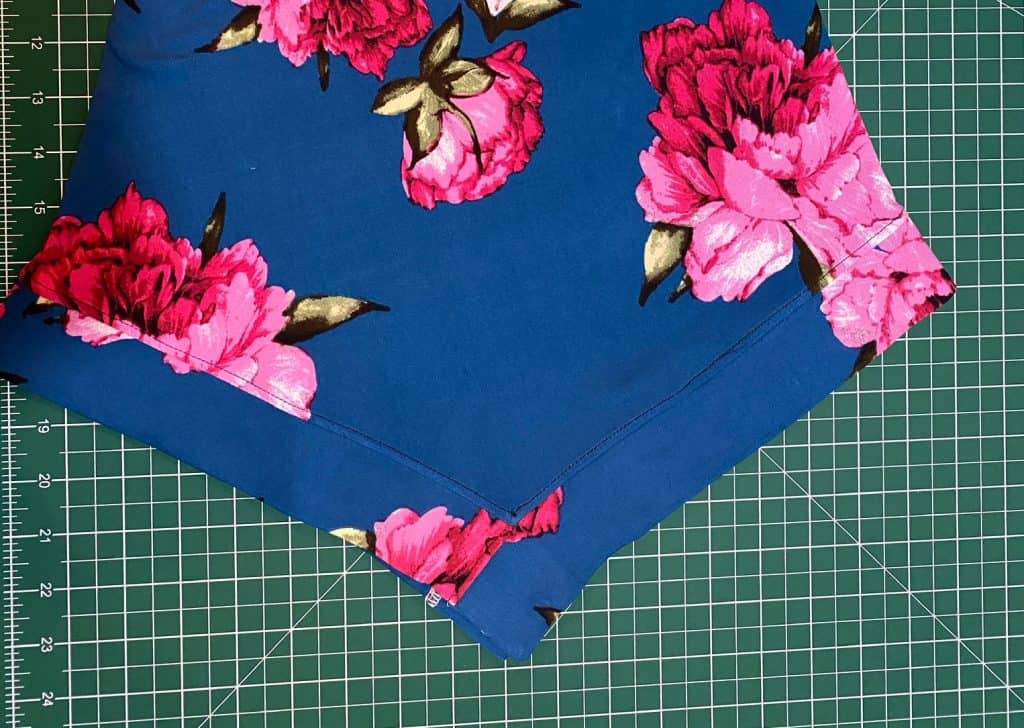
Handkerchief Hem on the Willow Wrap Dress
They are so fun to wear and for me with my apple shape, I think the asymmetry of the hem helps draw attention away from the ole tummy. They are flirty and flowy and a great finishing touch to an already perfect dress. I feel amazing in them.

You can put a Handkerchief Hem on Anything
This technique will work on any A line skirt like Willow’s. The Sybil Swing Skirt is perfect too! I’ve mashed Sybil and Willow several times for a really flowy dress.
This will work on either the peplum top or the dress so let’s get started!
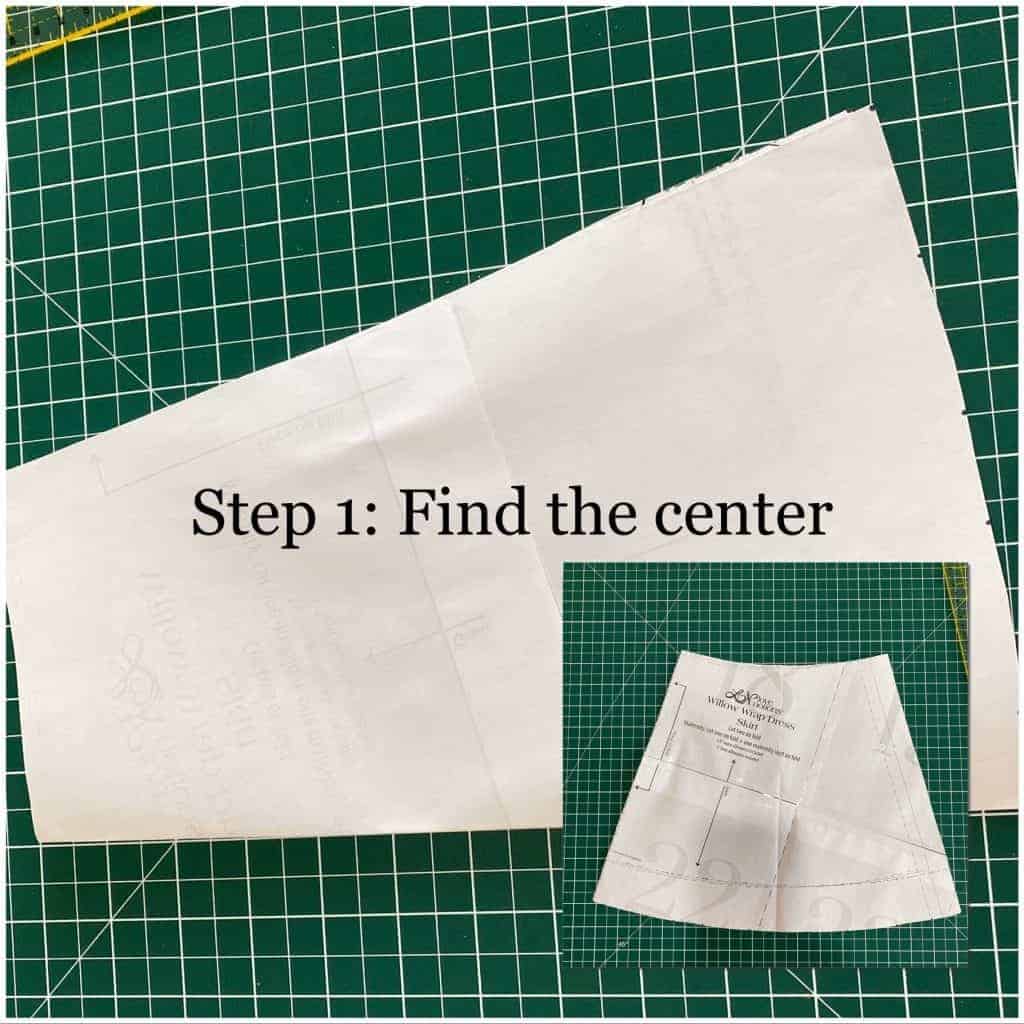
How to Create a Handkerchief Hem
- After you print and cut out the pattern the first thing you need to do is find the center of the skirt. You can measure but I just fold it in half.
- Next, decide how long you want your points to be. They can be short or really long; it’s totally up to you!
- Now, lay your pattern on a piece of paper and measure from the bottom of the skirt where you made the fold, (drawing a line on that fold can be helpful) down to however many inches or cm (look at me using cm trying to fit in here in the UK. LOL) and make a mark.
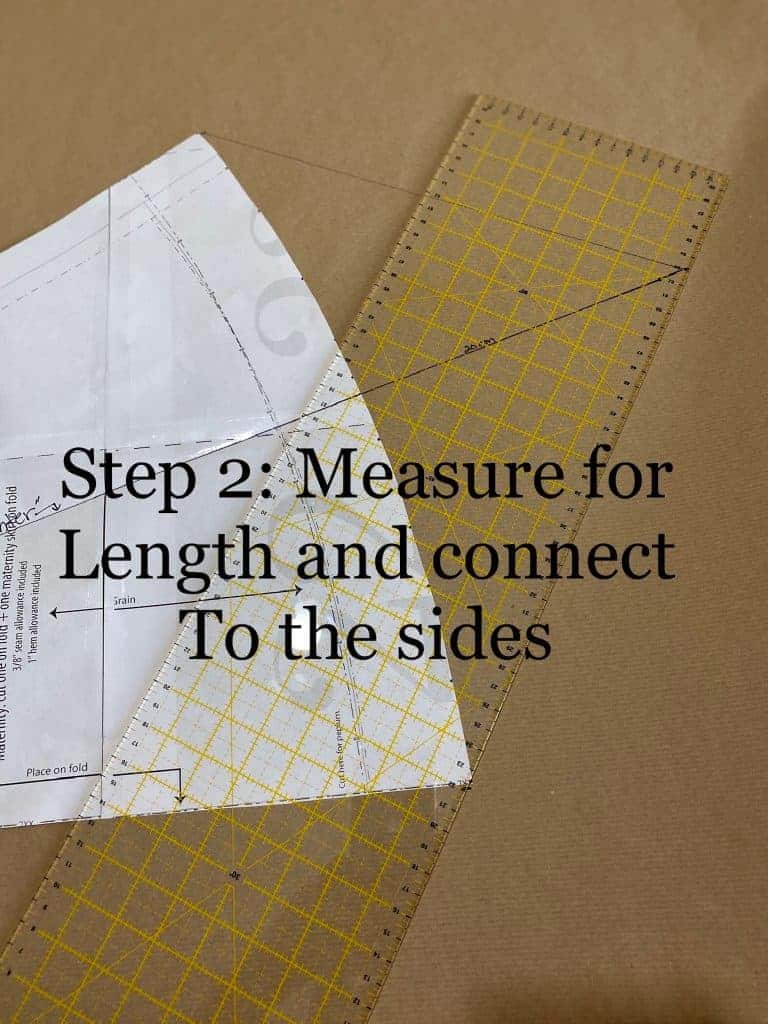
4. Then you just draw a line from the side seam to that mark and repeat from the center front.
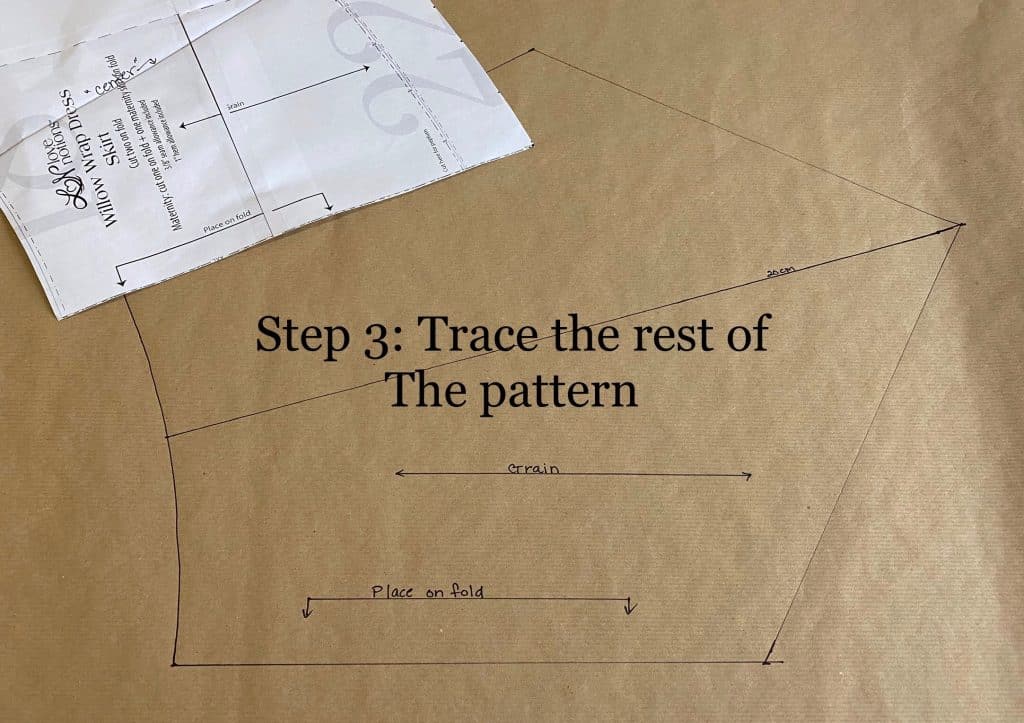
5. That’s totally it!! Trace out the rest of the skirt or just tape the new portion on, either way you are now ready to go!
6. Just sew it up as per the pattern instructions. Oh! I almost forgot the best news ever….you don’t even have to hem it!
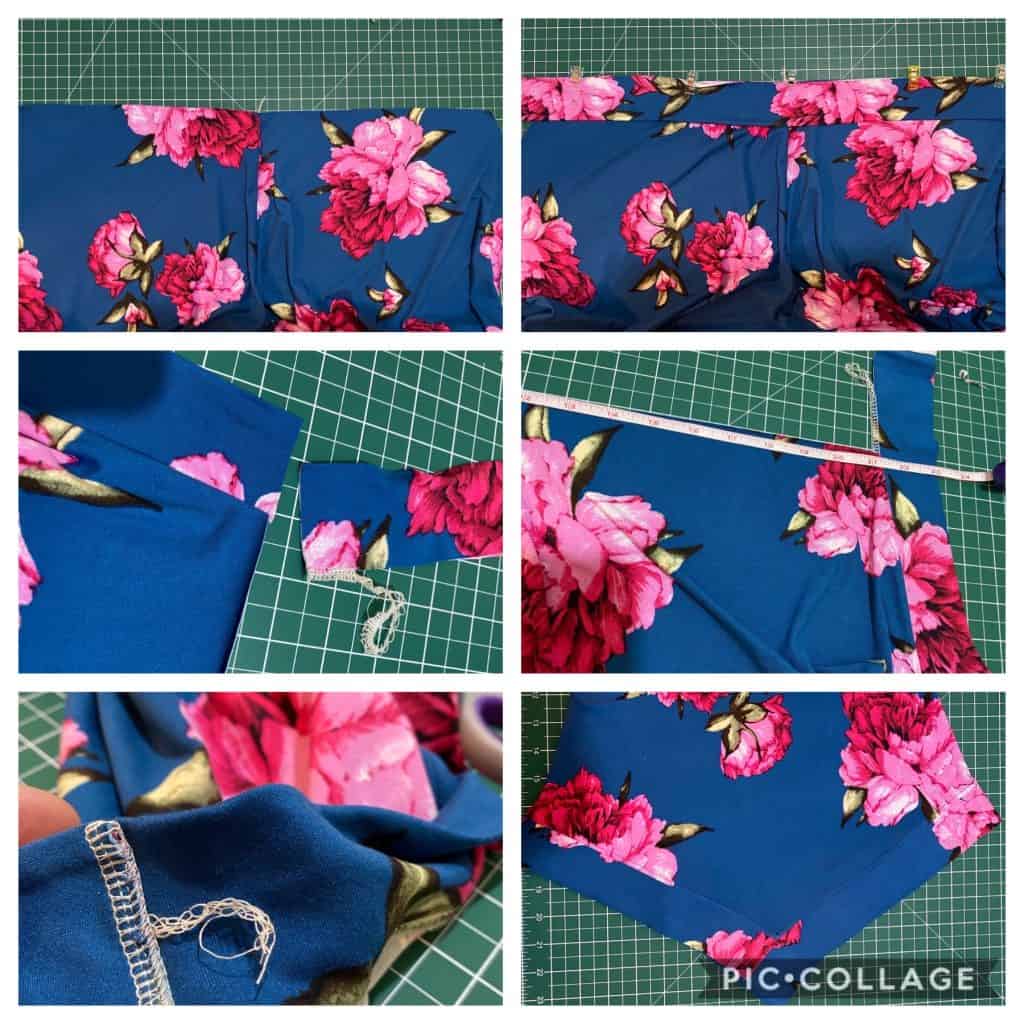
How to Create a Banded Hem
While you don’t have to finish them, I did do a fun banded technique on the hem of this one.
- I cut 2 pieces of fabric about 4” or 10 cm wide and the width of the fabric and pressed them in half. After sewing the side seams of the skirt I laid it out with the seam in the middle, gently straightening the hemline.
- Then I pinned/clipped the band to the edge leaving about 3 inches to overhang the edge. I found that having the skirt side up was easiest when sewing it on.
- Then, I pressed the seam up and trimmed off the overhangs even with the rest of the side of the skirt.
- Do the opposite side then rotate the skirt so the folded center front or back is in the middle. You’ll need to measure this time as you need to finish these edges.
- Just turn your band right sides together and stitch.
- Then lay your finished band edge to edge just as before paying particular attention that the ends match.
- After sewing and pressing I then top stitched around the band tucking in the serger threads to have a clean finished corner!
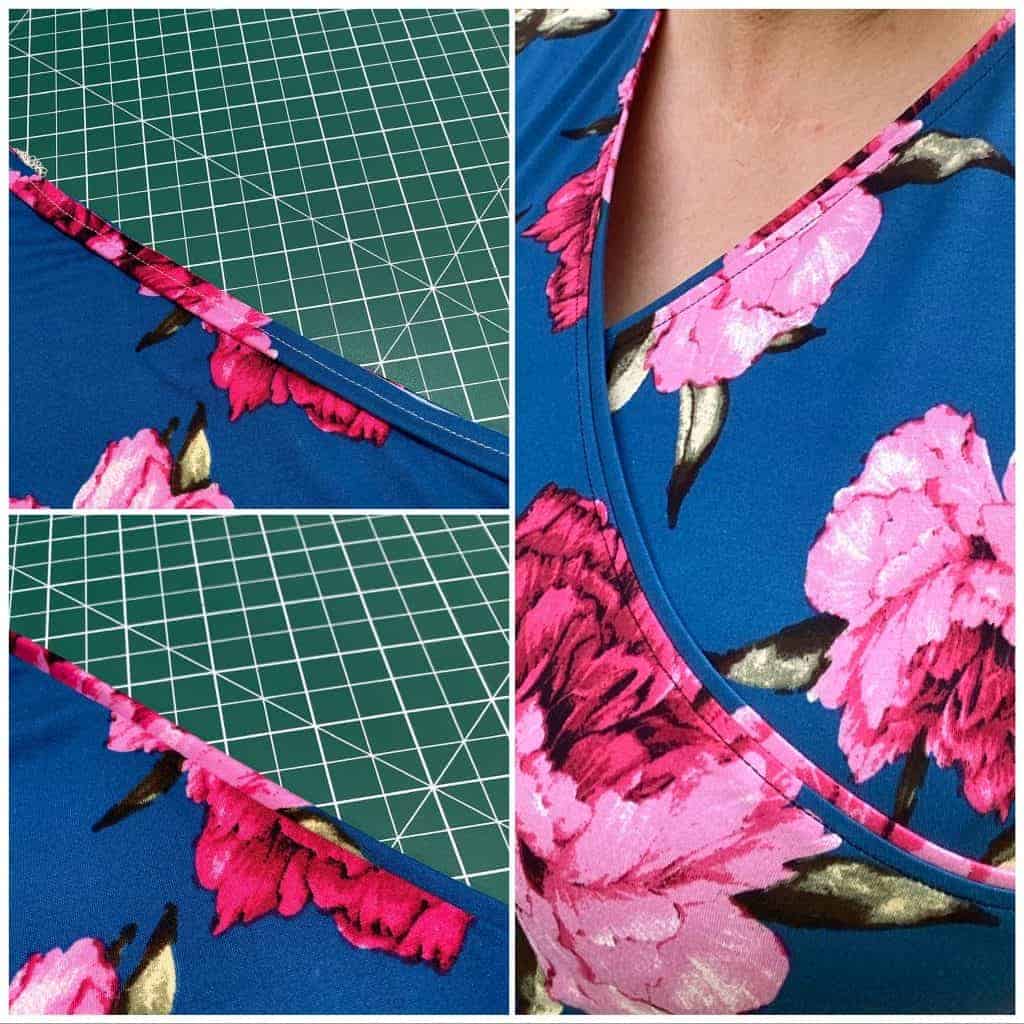
Faux Piping on the Willow Wrap Neckline
Bonus tip: to make a faux piping detail for the neckline, I cut the neck binding that is included in the pattern. I pressed it in half and stitched it to the neckline. Press it up, top stitch and VoiLa!
Willow Wrap Rescued Me!
So grab the Willow Wrap Dress and have some fun playing around with it. Then you will see the fabulous superhero that she is. Whatever the occasion, a walk on the beach, a fabulous wedding or a worldwide pandemic, you can count on Willow to the rescue!

Pin this for later!

More Satisfying Sews
[carousel_slide id=’361728′]

