


Hi there! Anjori here from Bee Threadly.
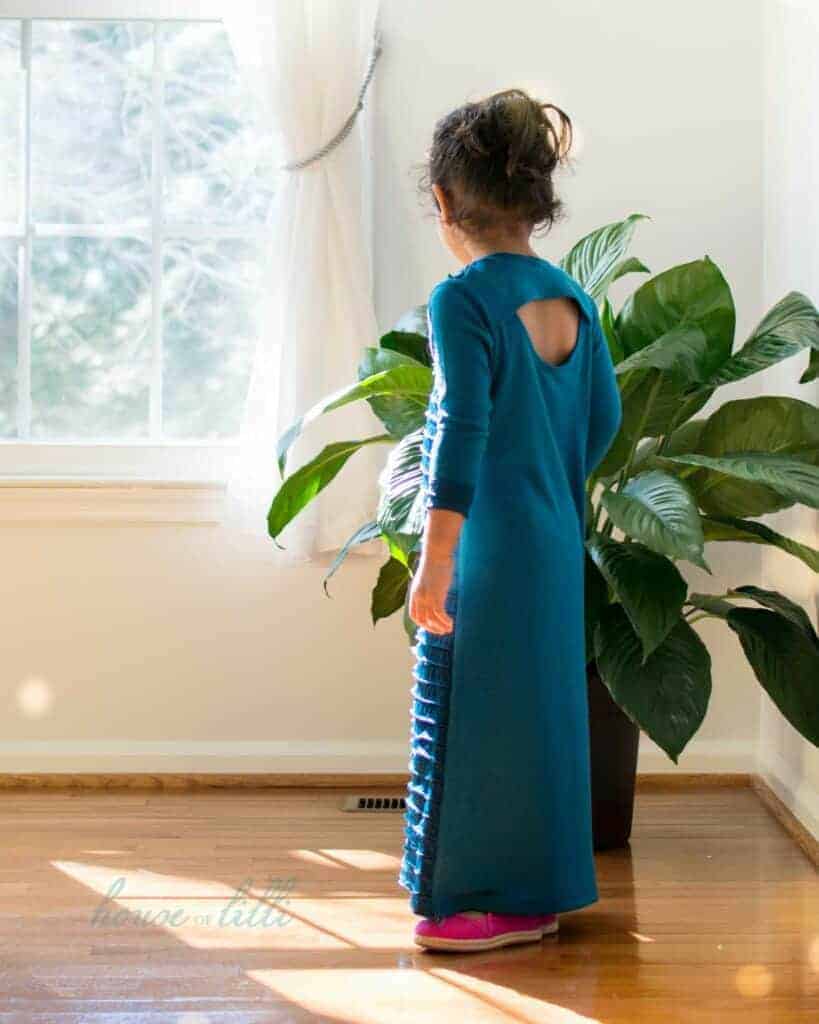
I adore all of the Love Notions patterns but because I’m 5’2″ and the patterns are drafted for 5’5″, I always need to shorten the tops and dresses such as the Rhapsody Blouse. I also have a 3 year old who loves to twirl in long dresses all day, so I find myself lengthening children’s patterns to accommodate; like the Cartwheel Collection dress. Which means I have had some practice! And I want to share with you how I lengthen and shorten patterns to fit my needs along with some tips I use to make it easier.


Below is a step by step of what I do to both add and remove length. I also made a video of all the steps at the end of the post.
Note: I used scaled down miniature version of the patterns to show the steps all in one frame. But I will be talking about the measurements I used in the real garment.
Setup Pattern Pieces
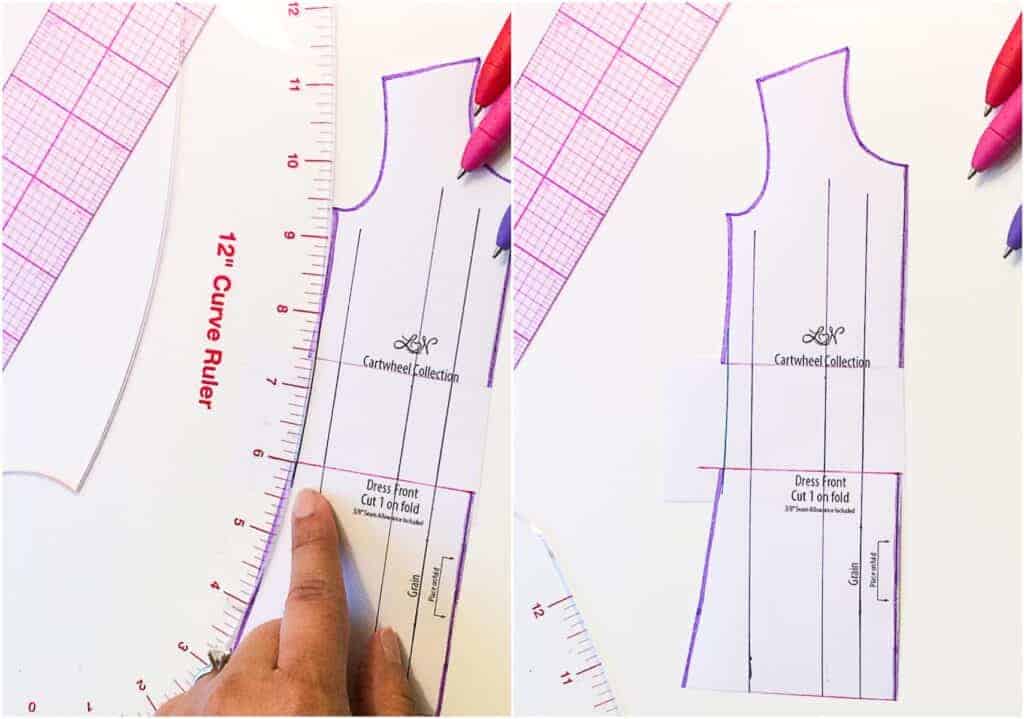
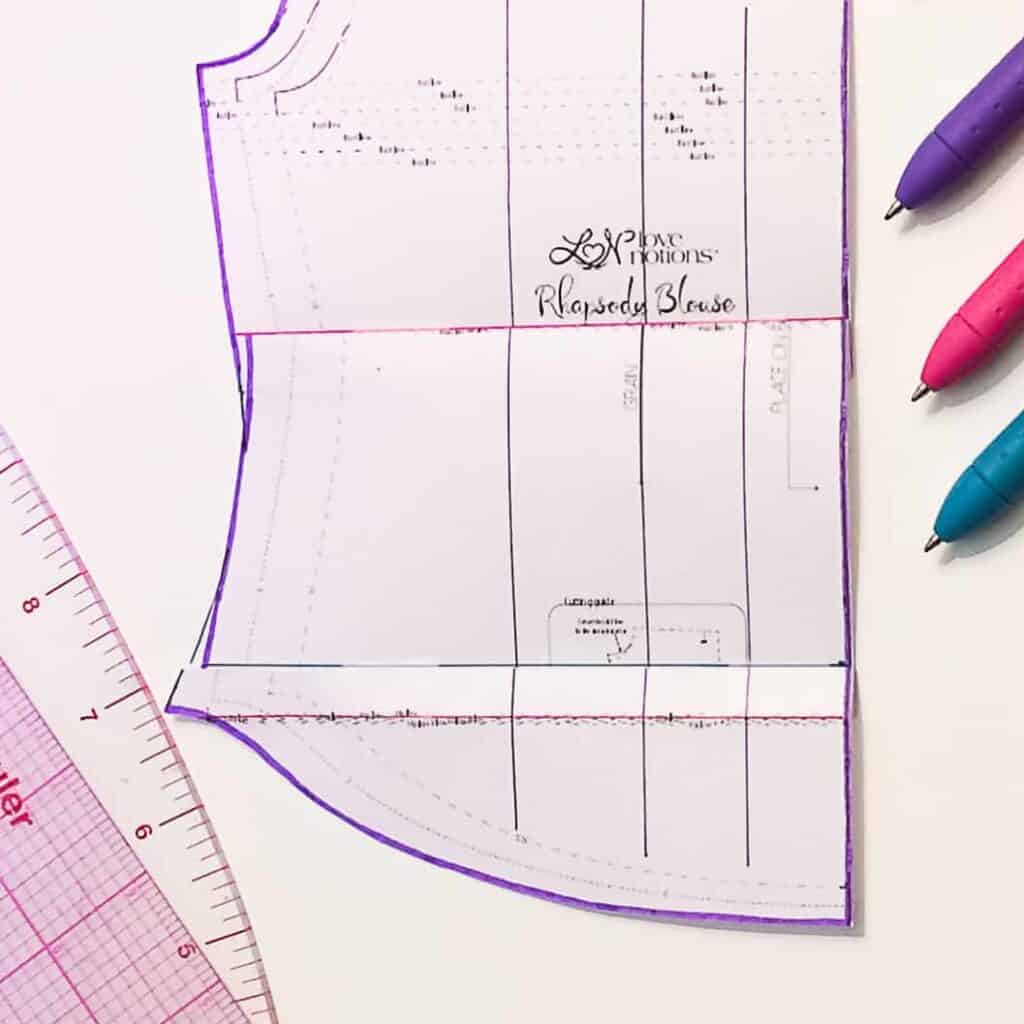
Setup 1: On the pattern piece, draw a line extending, vertically, from the grain line marker. Then draw 2 more parallel lines from the first. There should be 3 vertical lines that are spread across the width of the pattern piece. I have not seen this done anywhere else, but I use this to keep the pieces aligned.
Setup 2: Determine the points where length will be added or removed. If no lengthen/shorten lines are given, use the hem as a reference point to measure how far up from the hem to add the split points.
Tip: When adding or subtracting a large amount (probably any more than 2″), it is best if to split up the amount across the pattern piece. Typically, at the bust, waist, and hem.
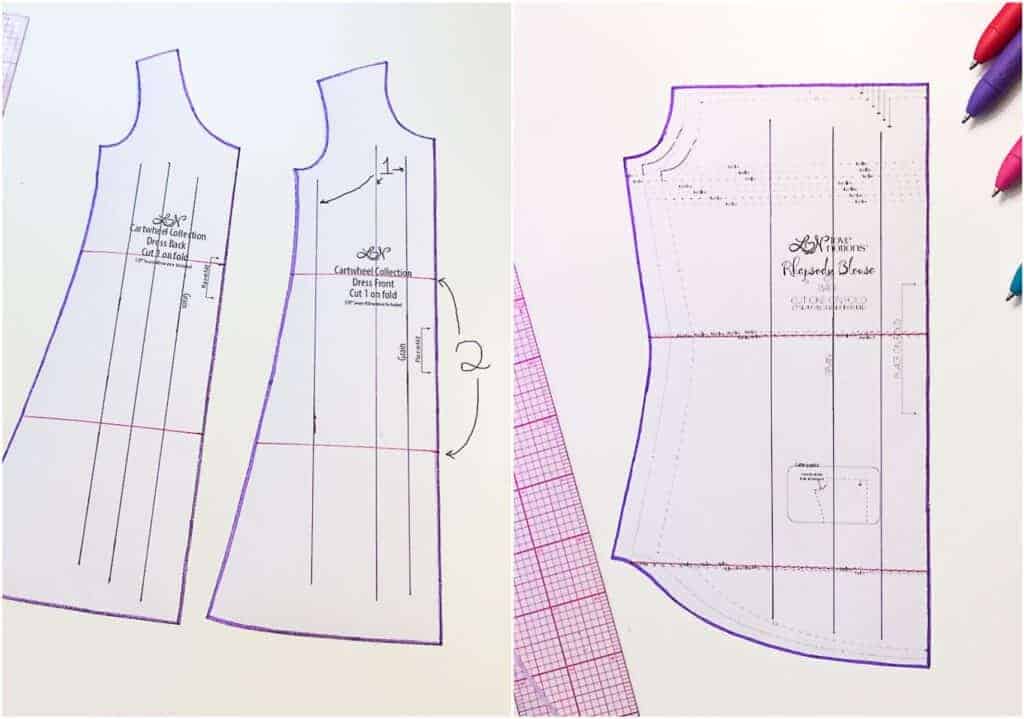
Setting up the pattern pieces with three vertical lines and lengthen/shorten lines
The Cartwheel Collection dress is knee length. To make it a maxi dress, I needed to add a total of 9″. I split this length evenly in three different places – waist, mid thigh, and hem; and measured from the hem how far up each split line will be, drawing lines at 5″ and 9.75″ from the hem.
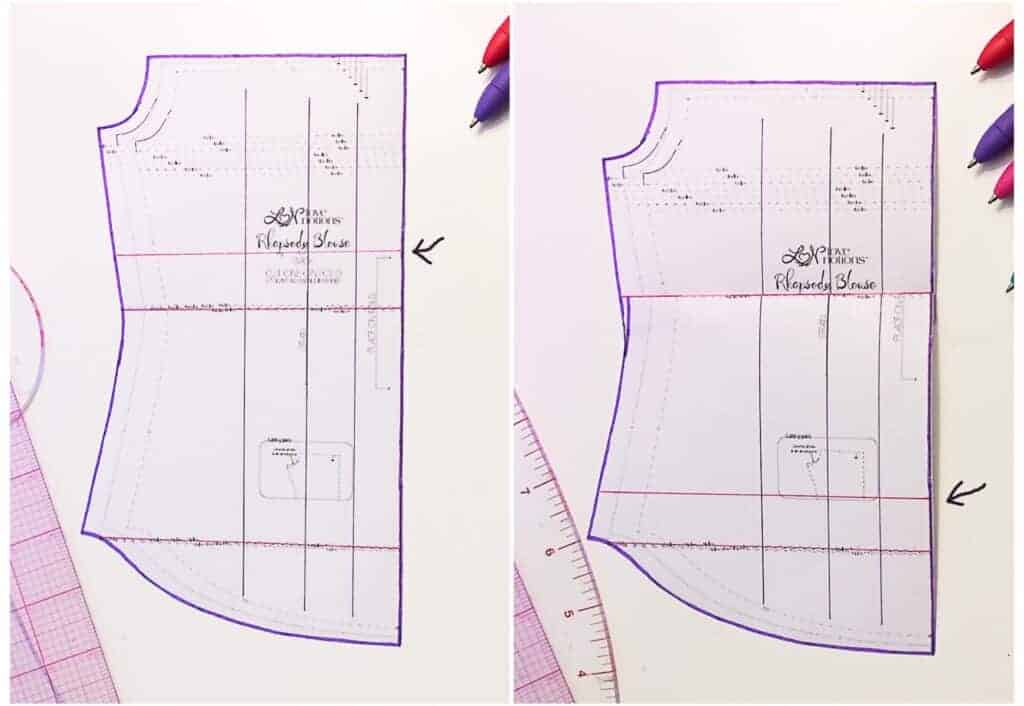
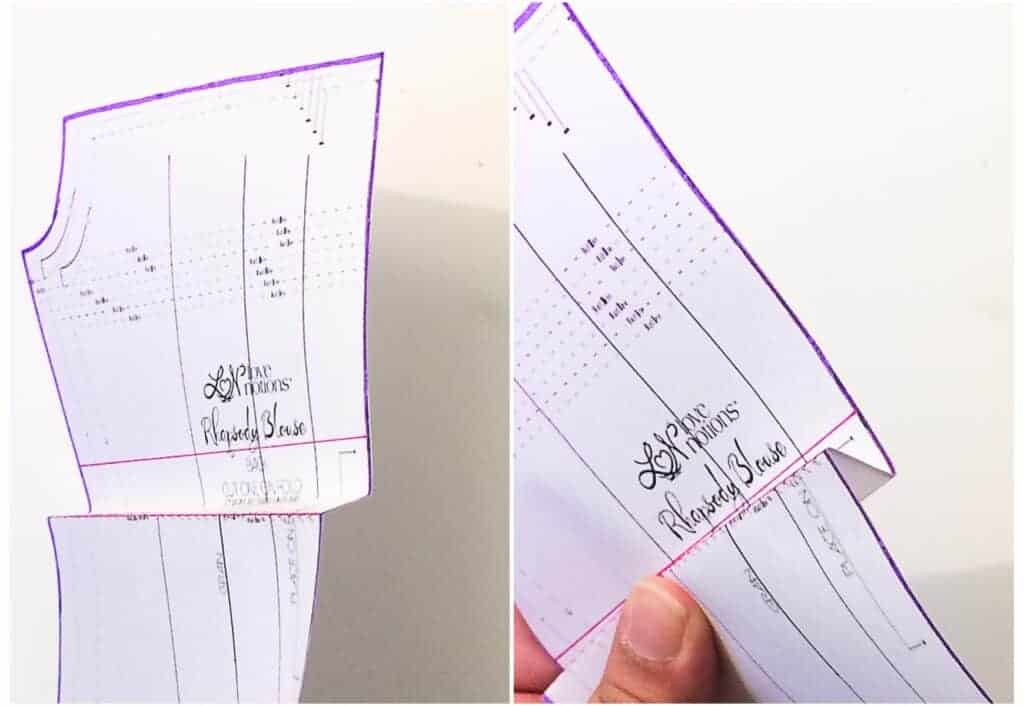
The Rhapsody Blouse needed to be shorten by 1.5″ at the waist line. I determined this by holding up the pattern piece and seeing that my waist line did not aligned with the pattern’s.
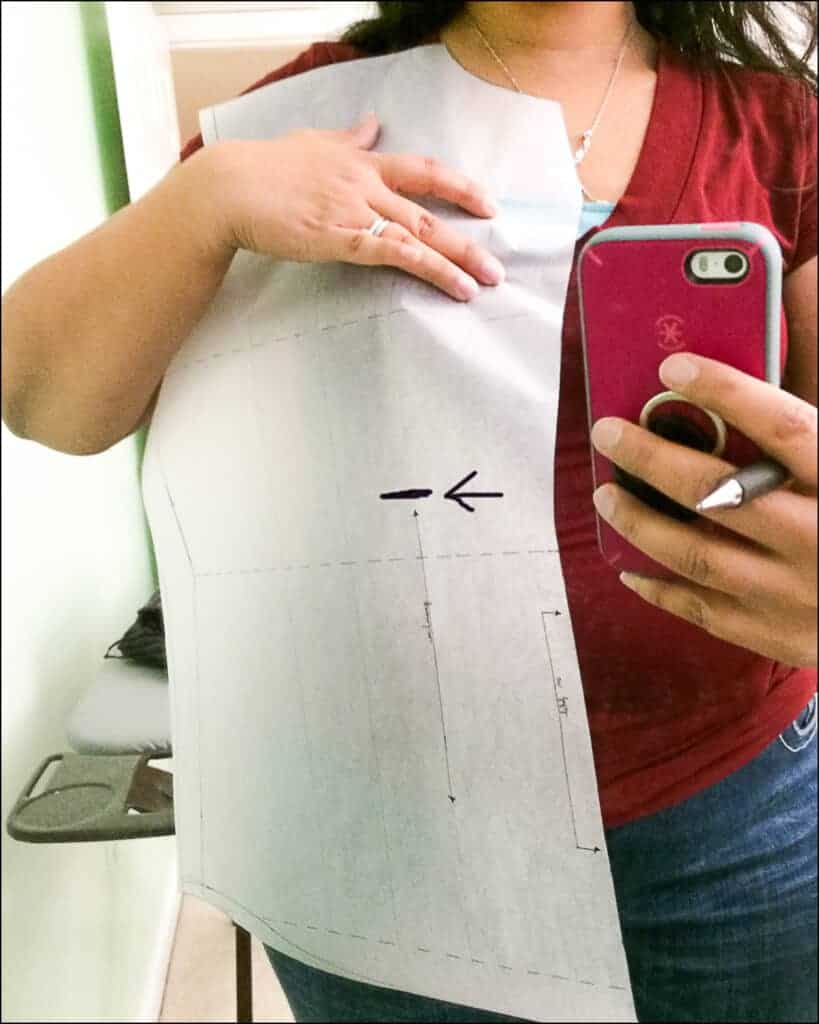
The dashed line is the waistline on the pattern, whereas the arrow is where my waist is.
Part 1: Lengthen a pattern
Step 1: Cut along the split lines, made in Setup 2, and add paper to extend the pattern. I have 3 pieces (top, middle, and bottom).
Step 2: Draw a line to distinguish how much length is being added at this spot. In my case, it was 3″. Also, extend the vertical lines on to the extra paper.
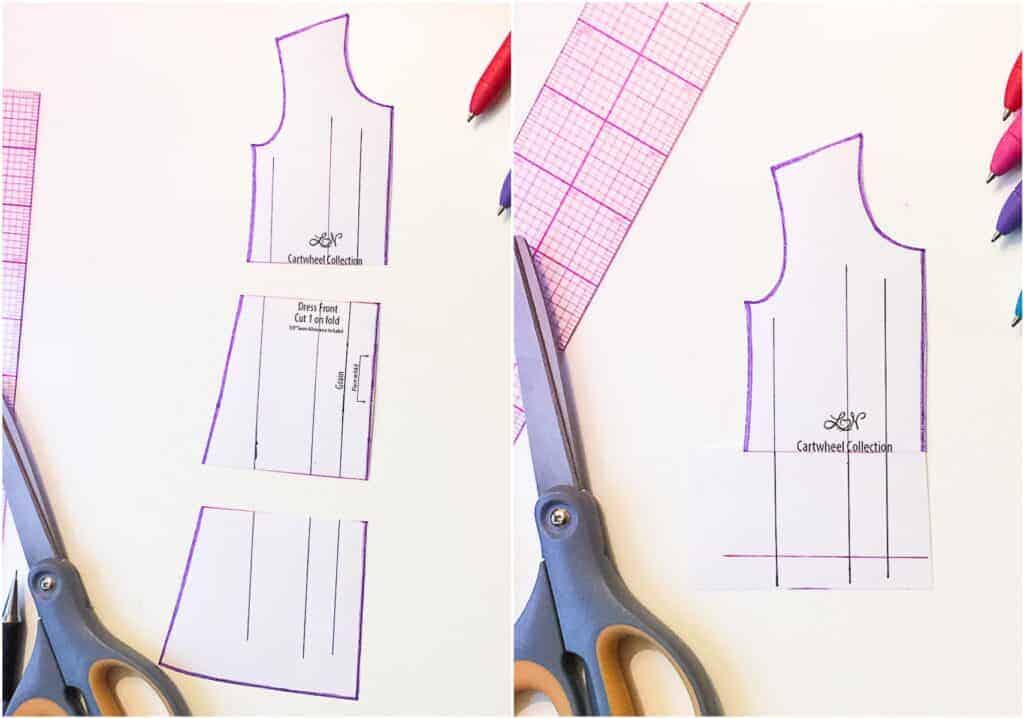
Cutting pattern pieces and adding length
Step 3: Reattach the bottom half of the pattern – lining up with the add line (in pink) and ensuring the vertical lines align. Tape together.
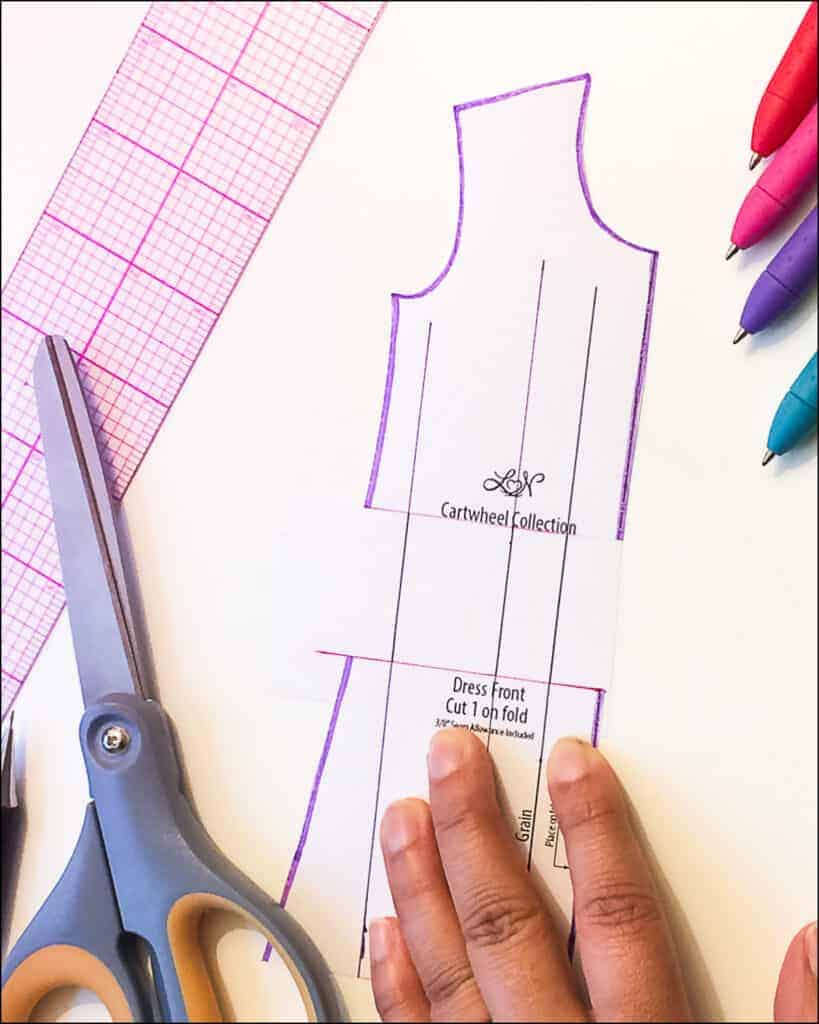
Reattaching the pattern to the added length
Step 4: Use a French curve and/or ruler to true up the sides, so they are smooth.
Curved ruler to true up the sides that don’t match anymore
Step 5: Repeat Steps 2 & 3 for the other split points.
Step 6: Add length to hem, “walk” along the hem using a clear grid ruler and draw a new hem.
Step 7: Repeat these steps for the back piece.
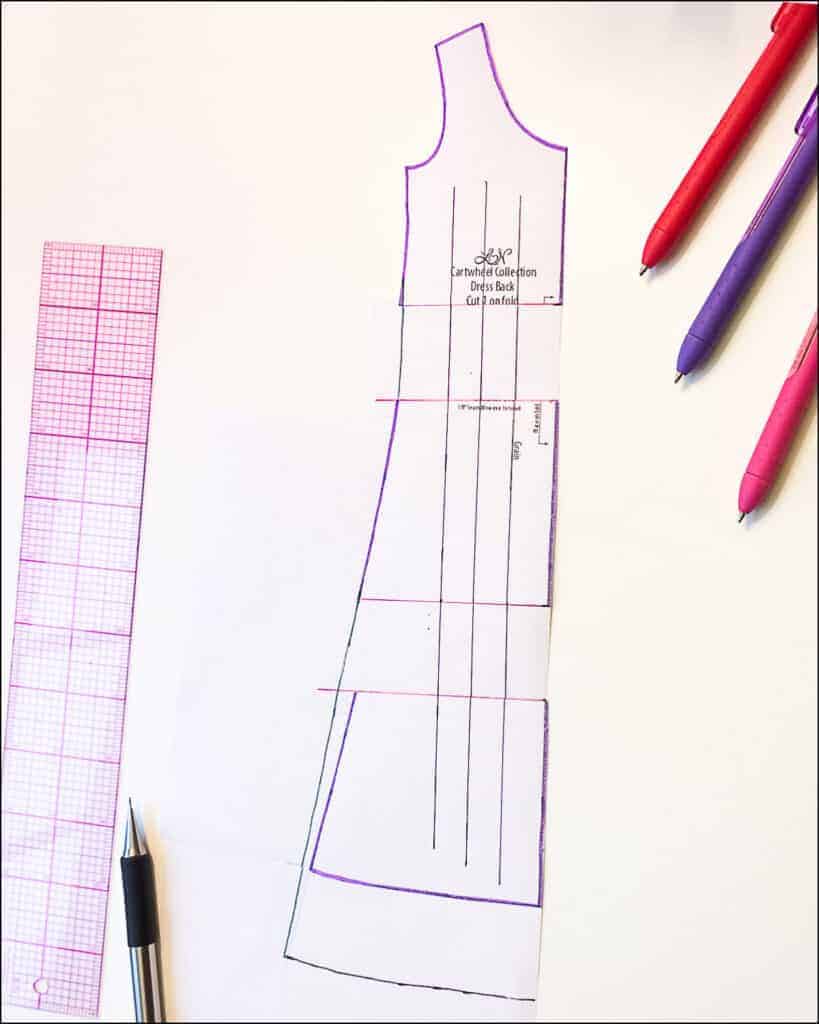
Final lengthened piece

Part 2: Shorten a Pattern
Step 1: From the split line, made in Setup 2, draw a parallel line away from the split line. The distance between the two lines should be the amount being removed. In my Rhapsody, I drew a parallel line 1.5″ up from the waist line.
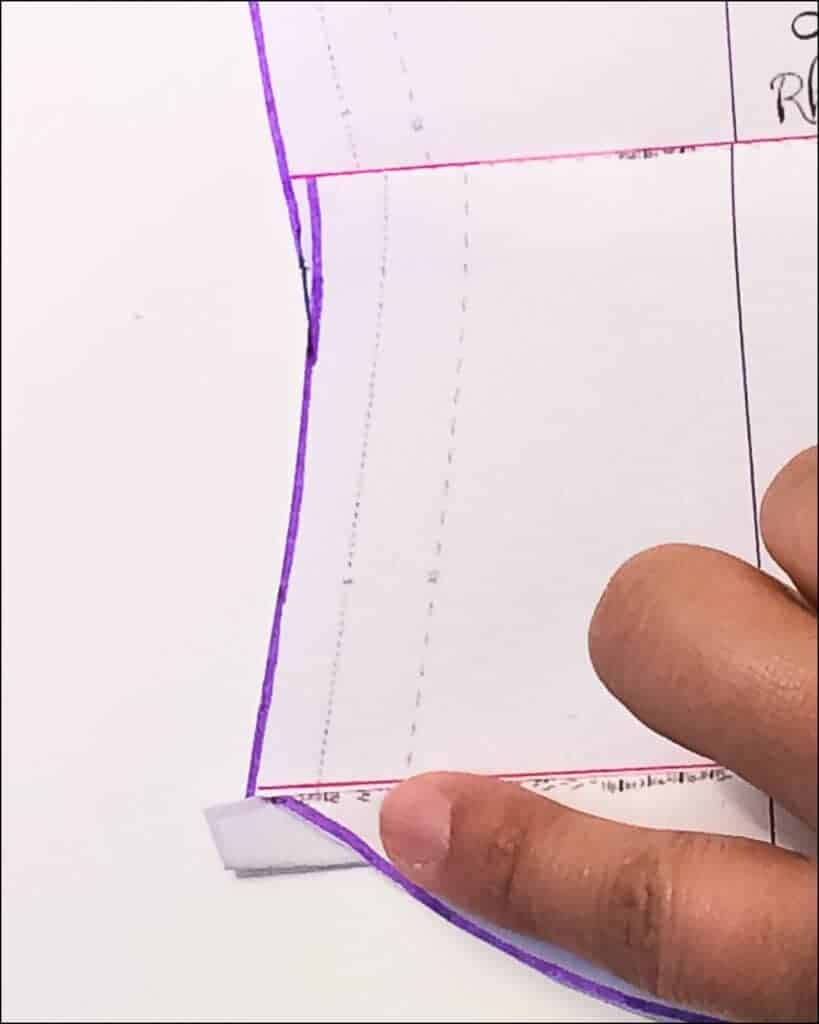
Step 2: Fold along the split line, then fold up so the the two parallel lines meet. Tape.
Folding up the pattern instead of cutting it to shorten
Step 3: Use a French curve and/or ruler to true up the sides, so the sides are smooth.
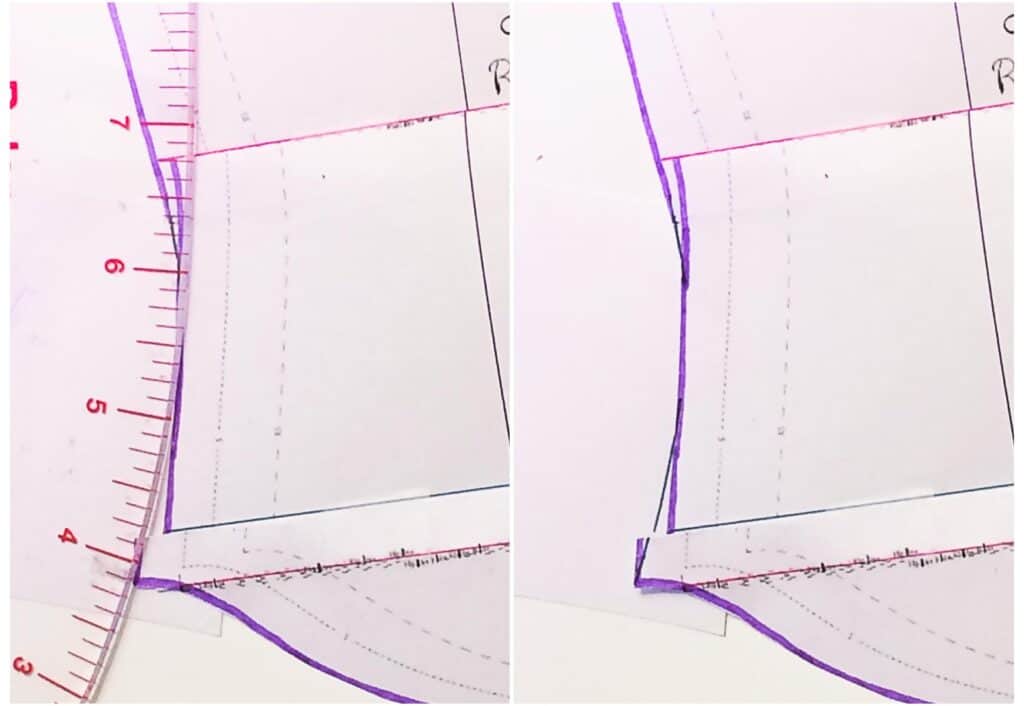
Curved ruler to true up the sides that don’t match anymore
Step 4: Repeat Steps 2 & 3 for the other split points.
Tip: As I was adjusting at the hip line, I noticed that the original hem was being lost in the fold up.
If I used the pattern’s hip line, I would lose some of the hem curve.
To fix this, redraw the split line away from the details that need to remain in tact. I redrew my split point just above the hip line and proceeded to Step 2. See the blue line the pen is pointing to below.
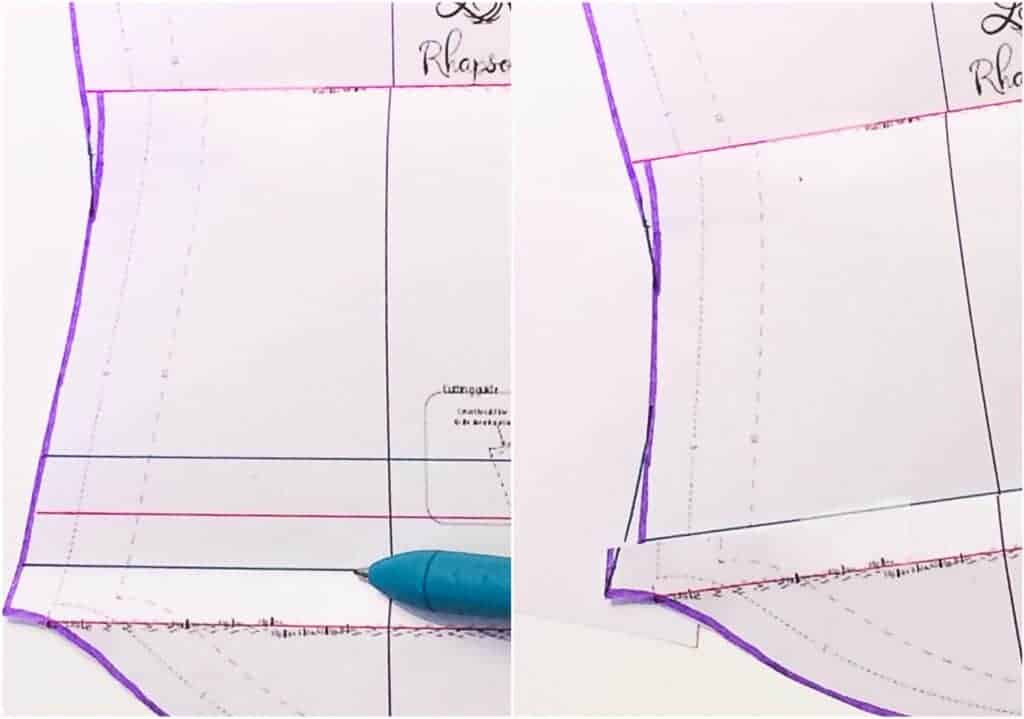
Redrawing split line and folding it up. The hem curve is in tact.
Step 5: Repeat these steps for the back piece.
Final shortened piece


Videos: Part 1
Videos: Part 2
I hope this tutorial helps you in making fit adjustments as well as changing the look of a pattern you already have! Please leave any questions in the comments section, I’d be happy to answer them.


