Today is the day some of you may have been a little nervous about. It’s zipper day. Or as I like to call it, Day Three of our Pullover Sew Along. Now, don’t worry!! You can totally do this! It’s four seams, that is it! You can sew four seam, right? I know you can! If you are just hopping in, you can jump back to Day One or Day Two and catch up. There is no such thing as being behind! Just jump in!
Sewing the zipper
If you are sewing with a fabric with great drape or is super stretchy, some stabilizer along the zipper will help keep your fabric from stretching out and slipping all over the place. I like SF101. I pretty much use this stuff for everything.
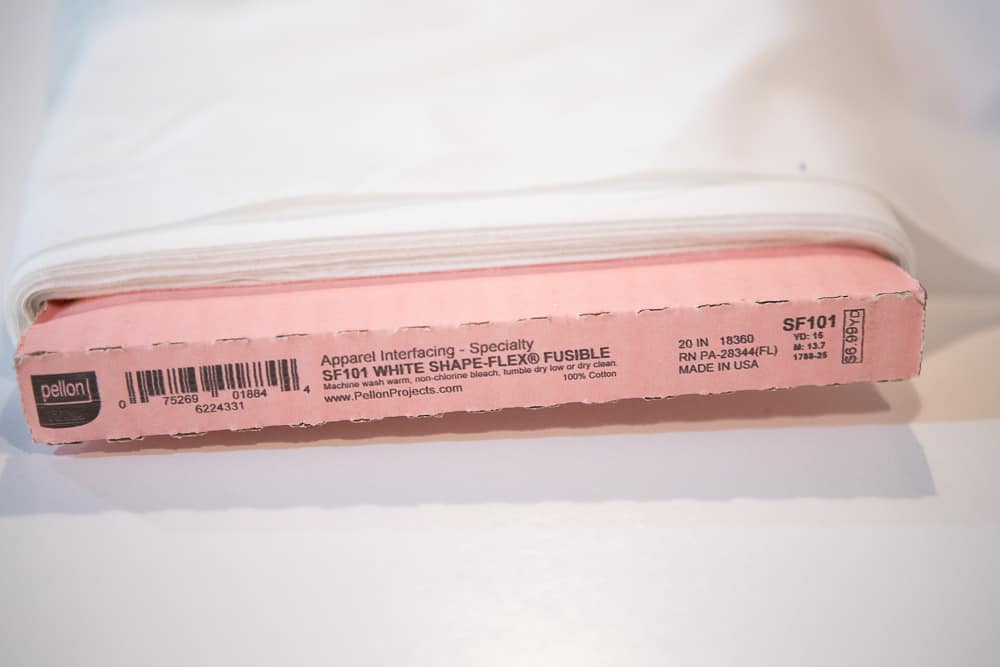
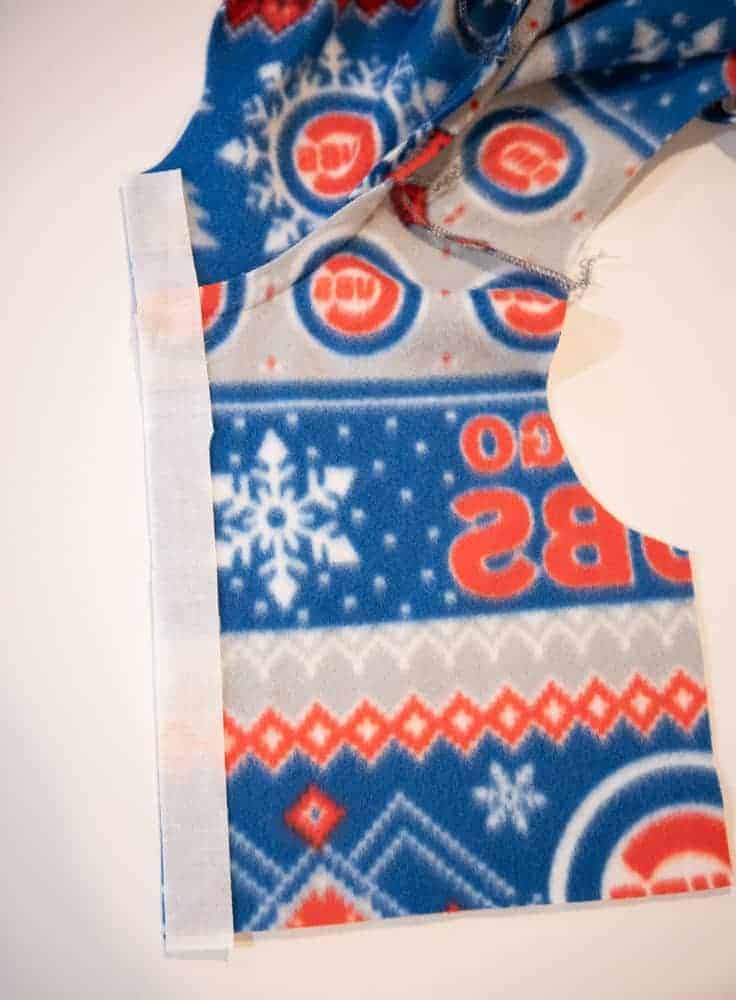
Cut a 1″ wide stripe and iron it to the wrong side of the pullover, right where the zipper attaches. Note, I did not stablize my fleece. This is just the pullover I had available for the example.
The instructions for sewing the zipper are pretty detailed, and there is even a video included in the pattern to help you out. But, I know some people like pictures over line drawings at times, so I snapped a few pictures of the zipper installation to include here.
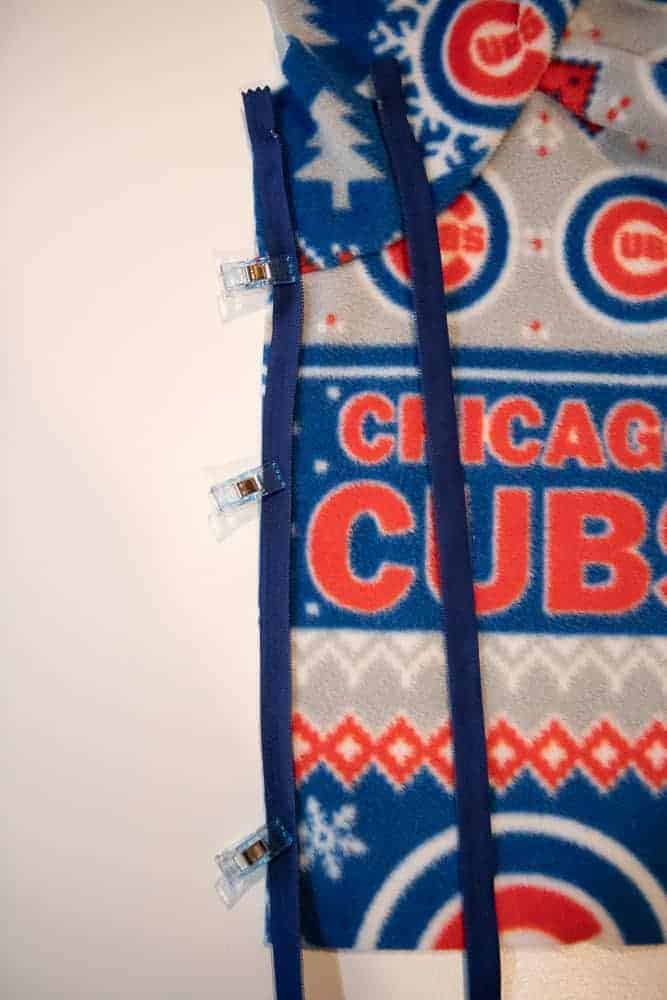
Place the zipper right side down and sew into place with a zipper foot. Some people like to use a glue stick to hold their zipper in place. I usually just use a couple of clips. They are easier to use than pins and keep the fabric from shifting about.
After the first side is sewn, zip up the zipper and turn it so it faces up.

Now, take the other side of the pullover and place it right side down on top of the face up side of the pullover. Match up the neckline seam and any fabric patterns. Pin the zipper in place.
Unzip the zipper. This is where having an extra long zipper helps! It’s easy to keep the zipper pull out of the way while attaching the zipper. No trying to wiggle the zipper pull out of the way of the zipper foot while you are sewing! Now, attach the other side of the zipper.
Rezip your pullover to check that everything lines up.

Follow the pattern for attaching the lining. Remember we have a video included in the pattern if you need it!
One of the most asked questions about the pullover patterns since Navigator first released has been “How can I make this a full length zipper?” Today, we are answering that question! I do not have exact zipper lengths for each and every size. You are best off assembling the front and measuring from top of the collar (this includes the collar portion of the hood) down to the hem or bottom of the band, depending on the version you are sewing. If you want to prepurchase your zipper, Take your pattern pieces, and draw on the seam lines. Match them up, again, don’t forget the collar or band, and measure. Always buy a bit longer because you can shorten the zipper if needed.
Full length zipper hack
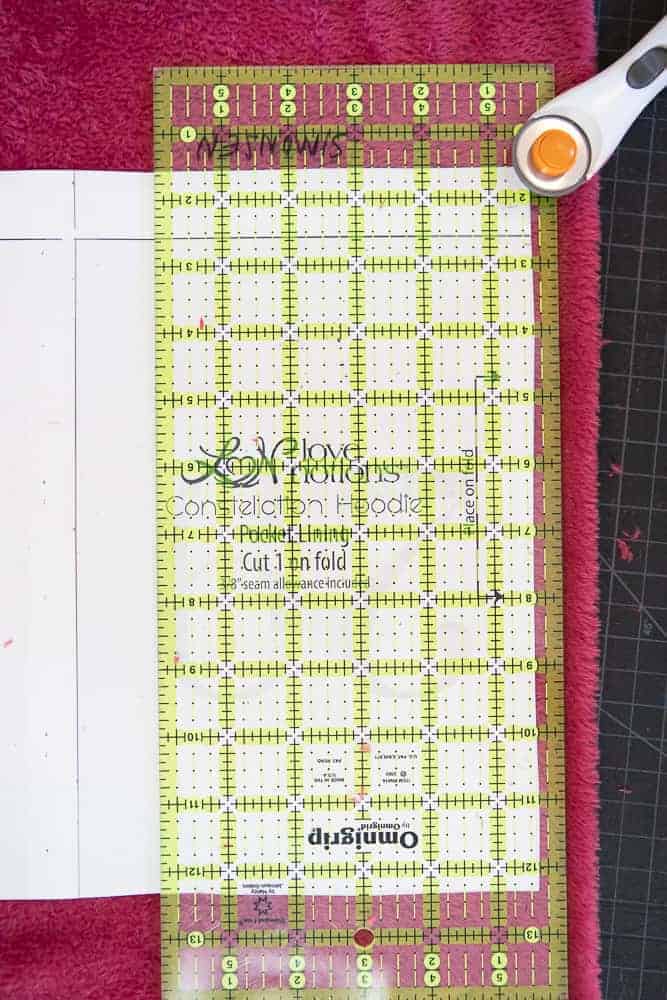
The full length zipper hack requires some changes to the pocket portion of the pattern. Super easy to do! We just need to add a seam allowance for attaching the zipper. You need to do this to both the pocket and the pocket lining pieces. On the side marked “cut on fold”, add a 3/8″ seam allowance. I use a quilting ruler with 1/8″ marks and just position it 3/8″ beyond the pattern piece and cut. This is the only change you need to make in the pattern pieces! Hooray!!!
Before you attach the front and back shoulders, construct the front of your jacket.
Just like the pattern instructions state under the section “Sewing the Pocket”, attach the pocket band to both pockets. Then place each pocket piece on top of the pocket lining and baste in place. Now, attach the pocket to the upper front piece, press the seam allowance up and topstitch in place. Now jump back to the beginning of the pattern instructions and assemble the shoulder seams and attach the hood/collar.
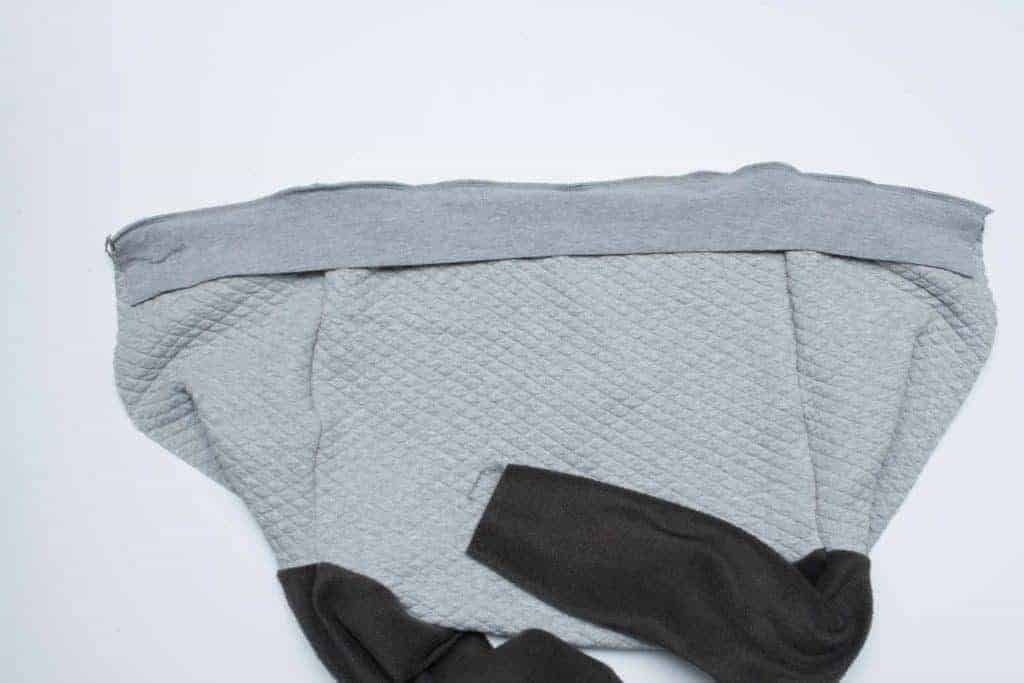
I did a straight hem for my jacket. If you are using a band, you want to cut the band just as the pattern states. Attach the sleeves of your jacket and sew the side seams closed. With the long cut edges of the band aligned, press wrong sides together. Pin band to the bottom of the jacket and sew/serge in place. (picture below from Samson Zipper Hack Tutorial)
You are ready for the zipper
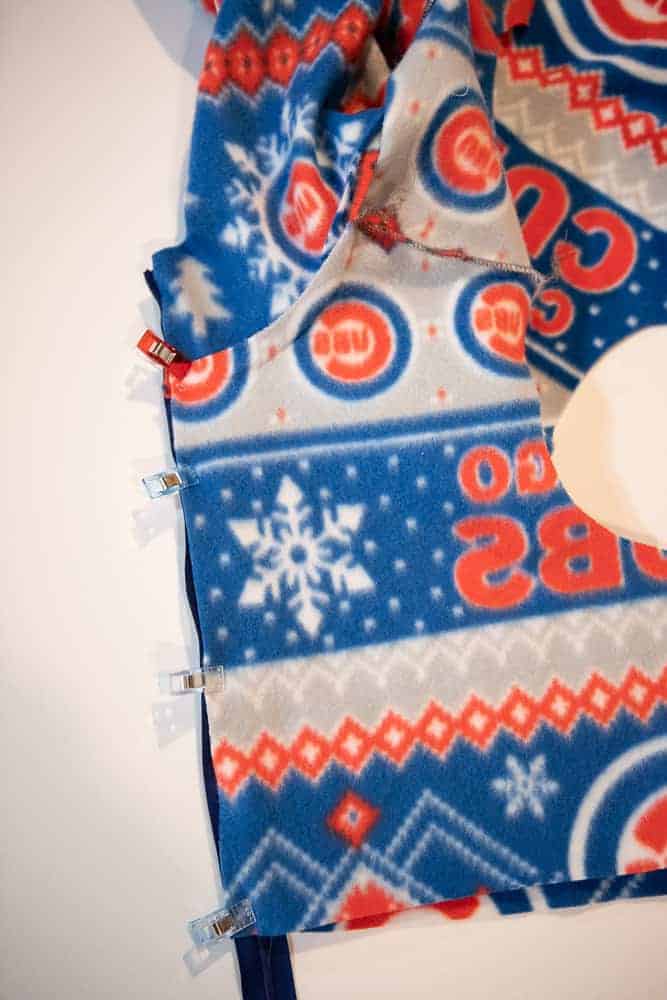
Place the zipper right side down along one side of your jacket. If you are sewing a straight hem, without the band, position the end of the zipper 1″ from the bottom edge. Note, if you want to finish the cut edge of the hem, do so now, before attaching the zipper. Pin or clip into place. Baste zipper into place using a zipper foot on your sewing machine.
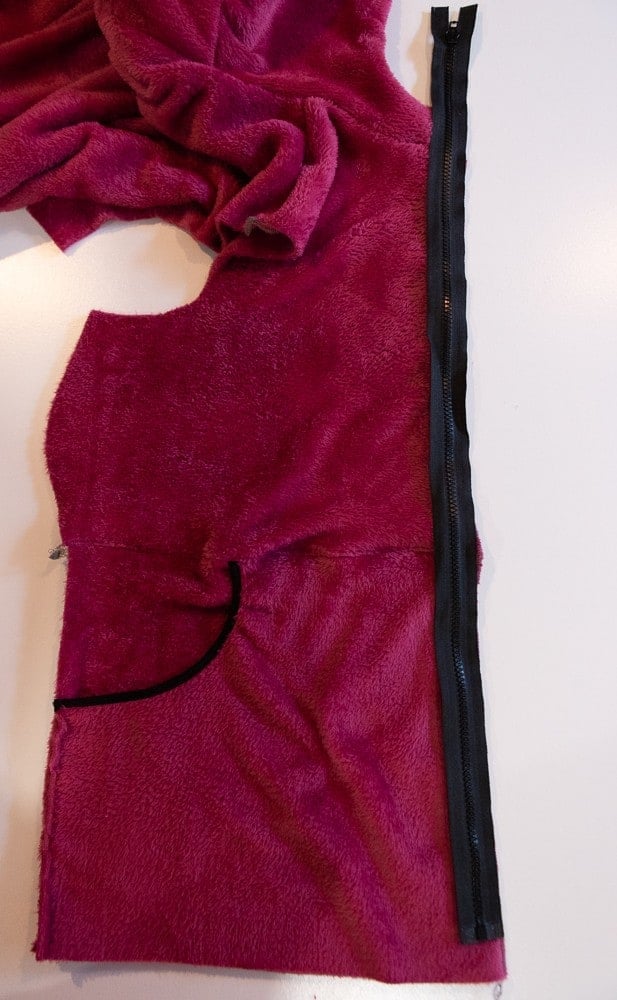
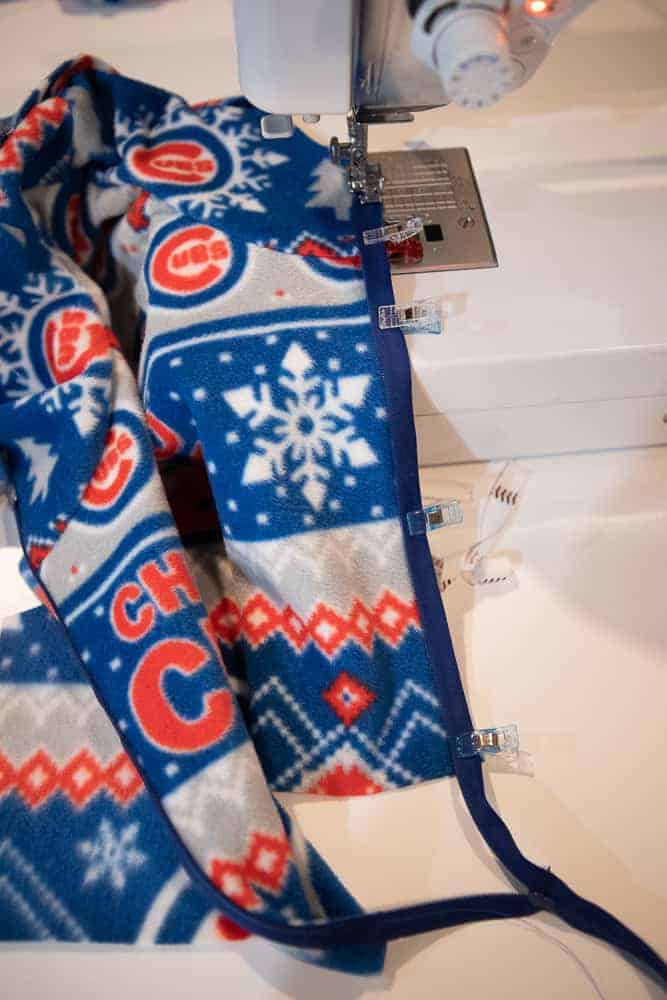
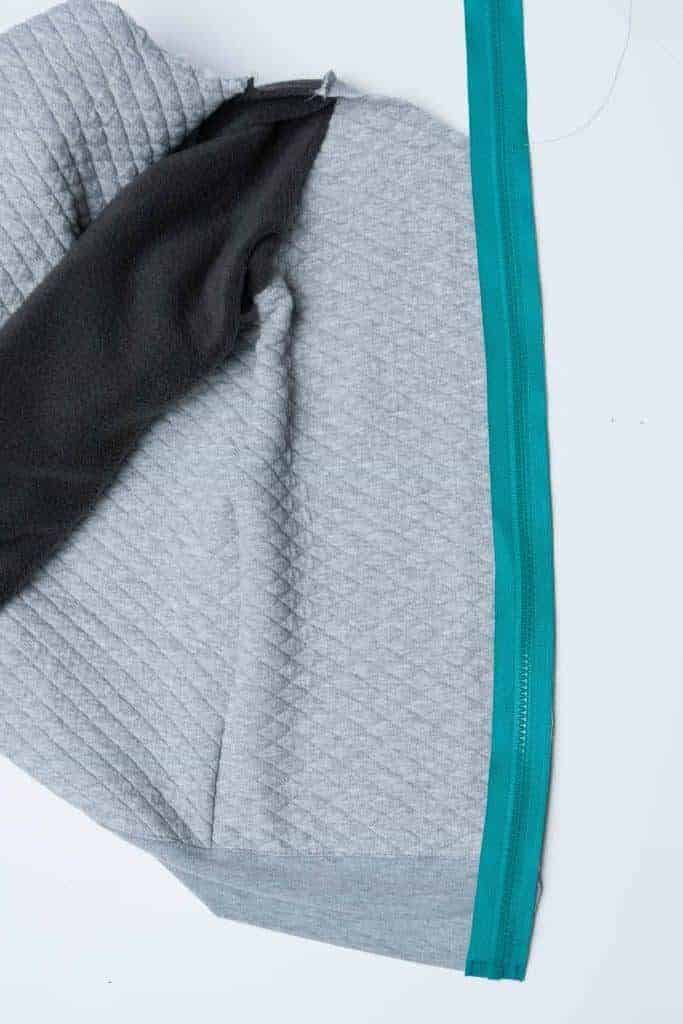
If you are sewing a band at the bottom, position the zipper so it is at the end of the band like below. Baste zipper into place with a zipper foot.
Repeat to baste the other side of the zipper. Double check that everything lines up properly and then sew the zipper in place properly. Don’t topstitch your zipper yet, or hem the bottom. First, finish constructing the hood/collar by attaching the lining, just like the pattern instructs. Topstitching around the zipper and hood/collar when the pattern instructs.
If you did a straight hem like I did, press the hem up 1″ to the wrong side and topstitch into place.

Love sewing with friends?
Grab your pattern of choice, Navigator, Constellation or North Star, or sew all three, and join us while we sew a little each day, and learn some hacks to make your patterns go even farther! If you love sewing along with a group, be sure to join our Facebook Support Group where I will have live videos and you can see what others are sewing up as we go through the week! We will also have some prize give aways! Simply by Ti is our sponsor and the Sew Along winner will win a $20 gift certificate to the Simply by Ti shop and a gift certificate for the Love Notions shop!!