Resolution Sew Along Day 1
It’s time for our March Sew Along! This week we will be sewing all the pants using the Resolution Bottoms Pattern. You can choose which version you want to sew, yoga, joggers, or leggings. I will be walking us through each step, tacking a little bit of the pattern each day. I’ll also have some fun hacks for you throughout the week!! So let’s grab our tape measures and get started!
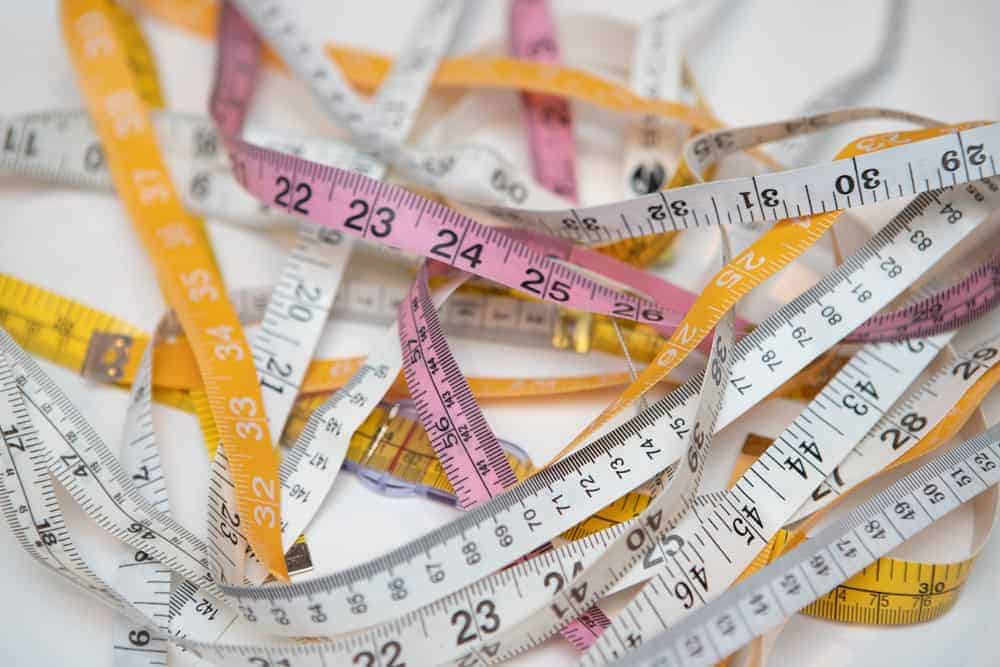
Accurate measurements are the first step in sewing clothes that fit!
Don’t assume that the size you wear from your favorite store is the same size you will wear in a sewing pattern. Actually, more often, they aren’t. Stores love vanity sizing!! So don’t freak out if you measure for a size xl, but you wear a large from store XYZ. It’s fine! Take accurate measurements and pick the size you need based off of those measurements.
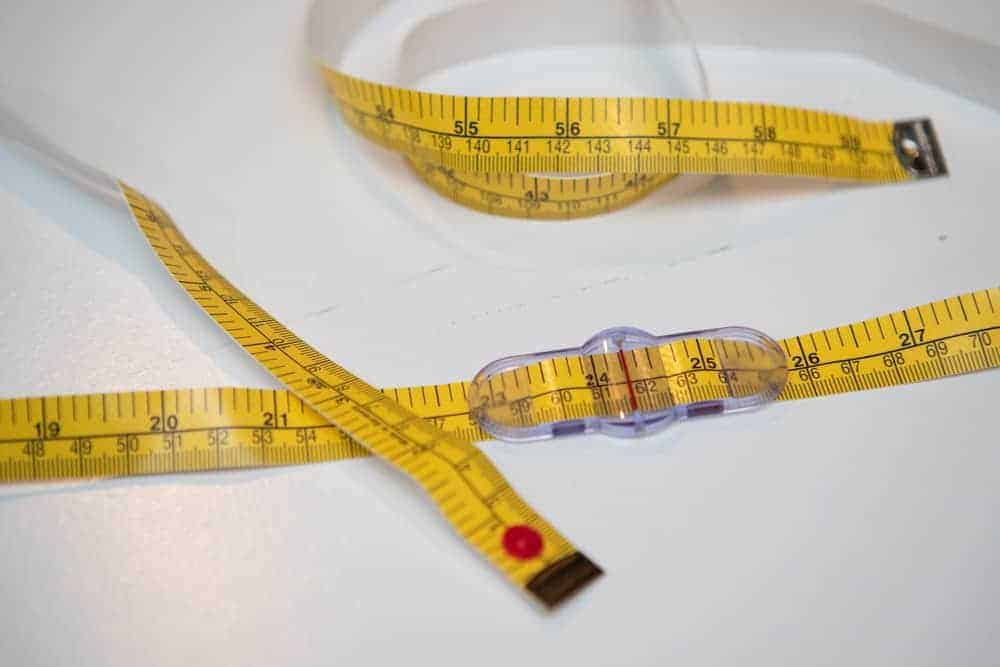
Measuring can be a bit tricky. You can check out this blog post for a detailed explanation on how and where to measure. For example, your waist measurement is NOT where you wear your pants. Nope. Your waist is typically several inches ABOVE your belly button. Your hip measurement will be the FULLEST part of your hips. And be sure to keep the tape measure level and parallel to the ground. Grab a helper to get really accurate measurements. If you don’t have a buddy, this tape measure is amazing! You wrap it around your body and then snap the end to the slide and pull it so the tape measure is slightly snug. Then you can unsnap it and check what the measurement is. It’s so great!
Once you have your measurements, print off the size(s) that you need. I suggest not trying to blend beyond three sizes. Print and assemble your pattern. There are some great tips for customizing your pants to your shape in the Resolution tutorial on page 6. I’m going to walk you through a few common adjustments though.
I do recommend sewing up a muslin version exactly how the pattern is drafted before making adjustments!!
First, make any length adjustments that you may need.
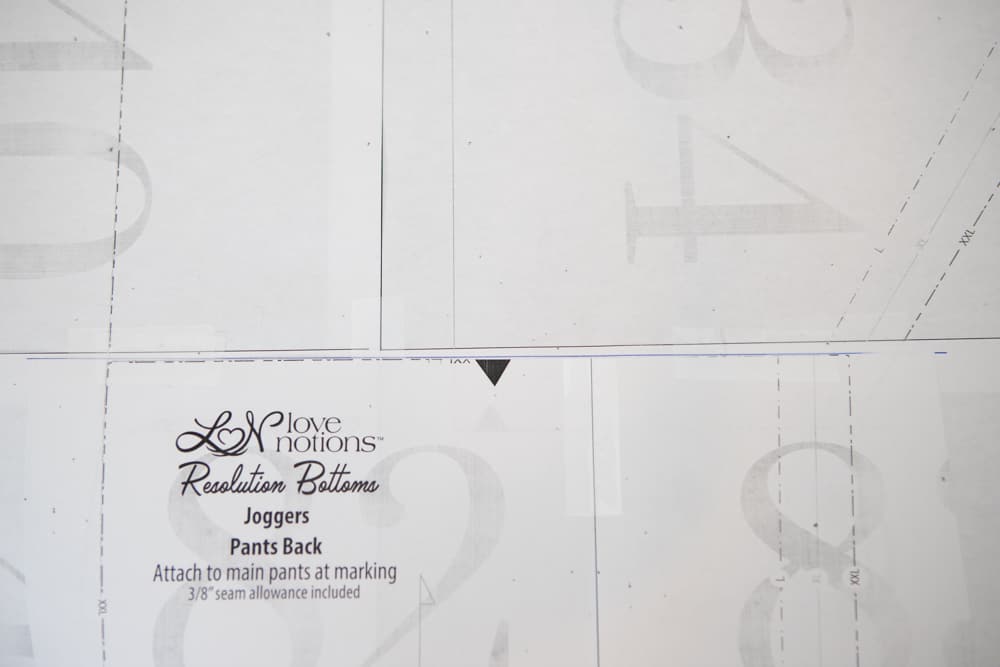
Start at the top of the pattern and work your way down. Adjusting the rise first, then adjust the length of the leg so that the knee matches up to your knee. I need to shorten my pants 1″ at the knee. So I just took my ruler and drew in a line 1″ above the knee. If I was making the straight yoga pants, I would then cut at the knee line and move it up so that it matched with the line I drew. But I’m not. I’m making joggers. So, I draw my line and then attach the jogger piece to the main pants piece at the line I drew instead of at the marked line. I’m not concerned with blending the inseam together at this point. Just tape them in place.

Now, I need to make some adjustments to the front crotch curve. The first thing I need to do is add some length to the end of the front curve. Just extend the bottom line and then blend into the inseam line. Next I need to scoop out the curve a bit because there is a bit to much fabric there for me. This is called a flat pubis adjustment. I basically need more of an L shape and less of a J shape at the bottom of the curve. Remember, small adjustments can go a long way!! The highlighted line shows where I will end up cutting.
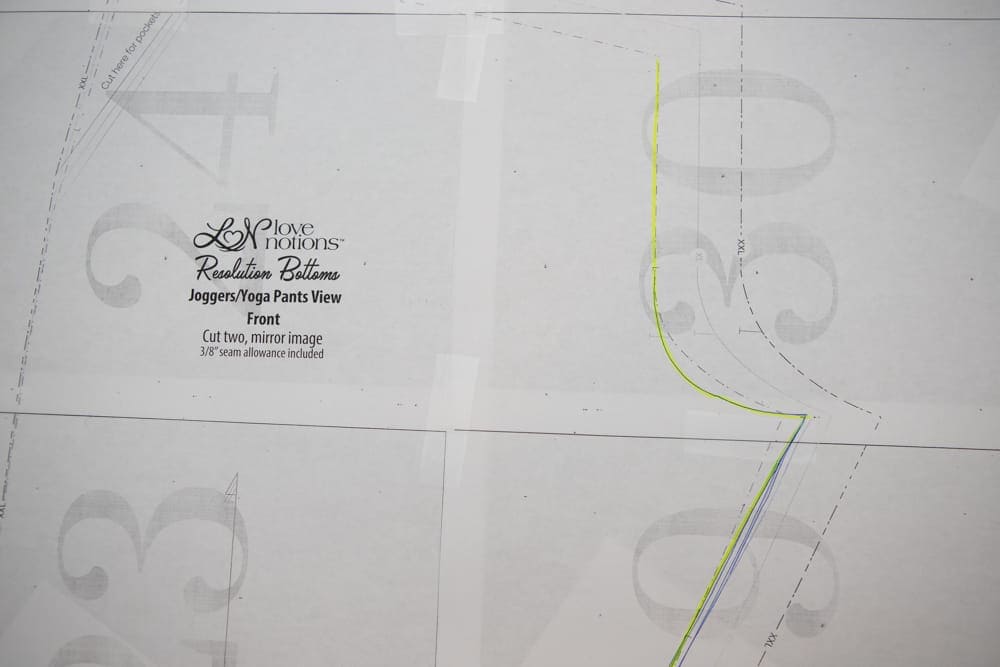
Working our way down the front piece, I need to blend out a size for my thick calves. Because of shortening the pattern, this can be a little tricky. First, draw in the lines to blend from shortening the pattern. I need to blend from a large, to an x-large here, so I redrew in those lines. Now, I blend from the large above the knee, to the x-large below the knee. I have thick knees also, so I need the room there also. If you just need the room in your actual calf, blend below the knee.

Time to adjust the back!
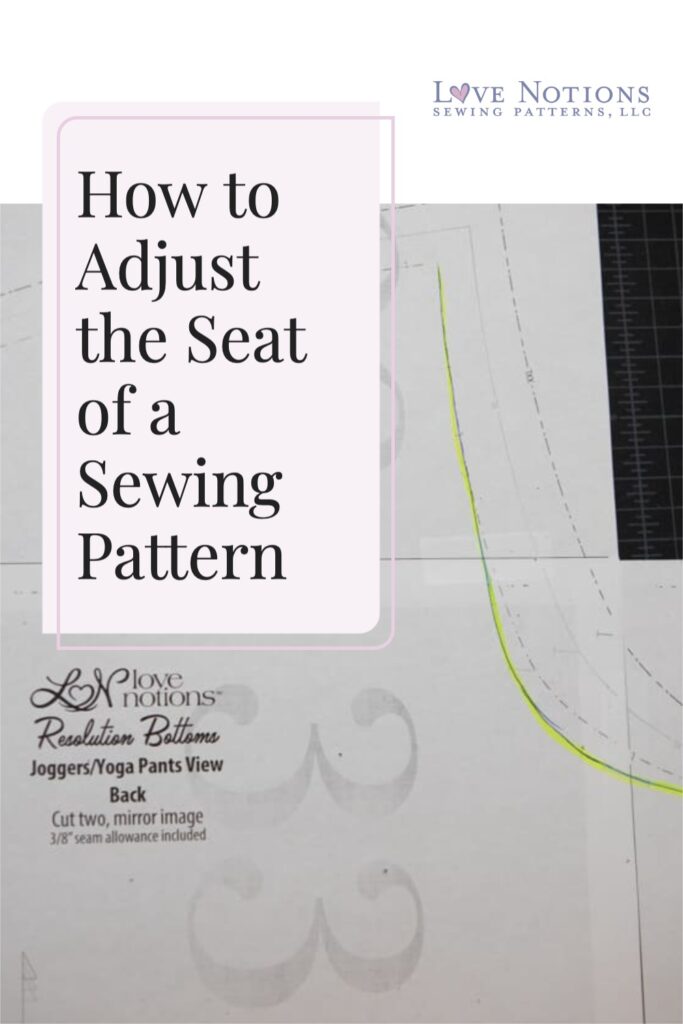
Not only do I have thick calves, but I have a butt as well. Any difference between my waist and hip measurement is in my butt, not my hips. (raise your hand if you are a rectangle!!) That means I need to make some more room for that bottom in the seat of my pants, otherwise, hello wedgie!! I don’t need any extra length, just more room, so I can get away with just scooping out the bottom of the crotch curve. Simple as that line highlighted in the photo below.
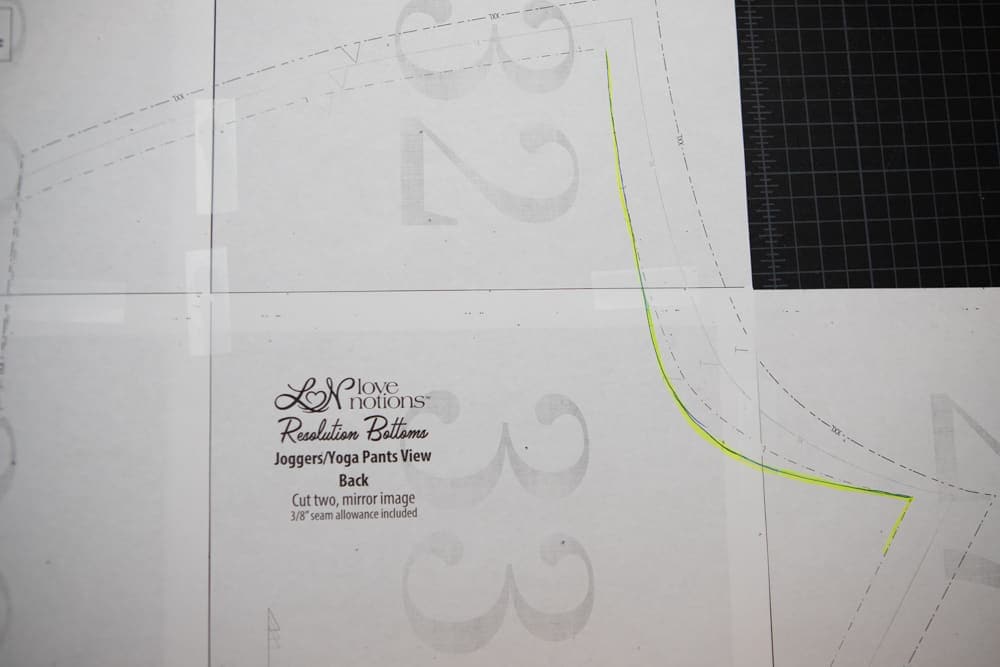
After I adjust the seat, I move down the pattern and make the same calf adjustments as I did on the front. Remember, shorten the pattern first, then blend sizes!
There are so many great fabric options for your Resolution Bottoms.
Joggers and yoga pants: It’s recommended to use light to medium weight fabric with at least 25% stretch. French terry, ponte, cotton lycra and athletic wicking fabrics are great options! Liverpool has been brought up in our Facebook Support Group and it should work just fine as long as it has the required stretch. You will be following along as I make some joggers out of this cozy french terry sweatshirt fabric from Raspberry Creek Fabrics, our fabulous sponsor.
Leggins: You will need more stretch for leggings, at least 50%. A medium weight fabric with great recovery like ponte, spandex and supplex are good choices. And while these leggings are not drafted as athletic wear, (that tends to have more negative ease than the Resolution leggings.) I am going to give some athletic wicking fabric a try this week, so we will see how that turns out later!
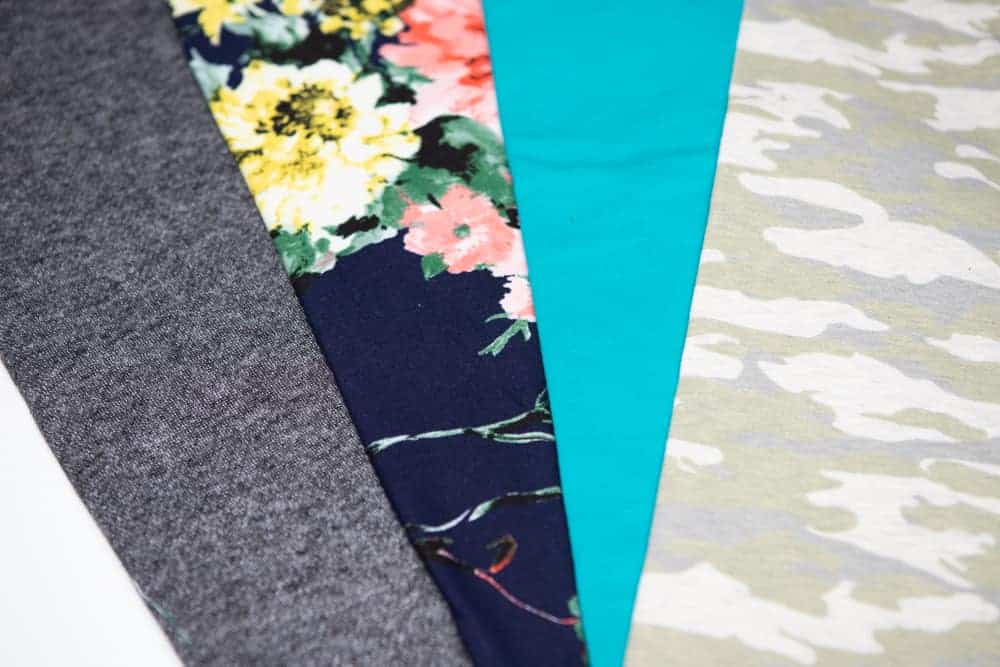
Raspberry Creek Fabrics left to right: sweatshirt french terry, double brushed poly, cotton/spandex french terry, cotton lycra
I have some great double brushed poly from Raspberry Creek Fabrics that I’ll be using for the Live Videos I’ll be doing in our Facebook Support Group each day. I’m not sure which version I’ll be making with it. Cast a vote in the comments below!!!
I think I’m going to go digging through my stash for some cotton lycra for some cozy yoga pants for loungewear.
Well that’s it for today! Join me back here for Day 2 and we will be working on pocket assembly and sewing the yoke.
If you haven’t picked up your copy of the Resolution Bottoms, use the code marchsal for 10% off.