


Sometimes, when we make something. It doesn’t fit us exactly how we anticipated. Usually, it’s pretty simple to just nip in the sides or take a little off the bottom if something is a bit too big. Other times, it can seem a bit more complicated.
For example, the Lotus Blossom Blouse.  This is my Lotus Blossom from testing. (Hi! It’s Kelly, Tami’s assistant.) As you can see from where my hands are on my hips, the shirt is quite long on me. I actually had some extra length tucked up into the bottom even. Yeah, I’m short. I am all of 5’2″ and a half. Yes, it matters. 😉 But, despite being a bit long on me, I still wear my shirt quite a bit. And each and every time I will fiddle with it and think that I need to look at how to shorten it. And then there was a question about how to shorten a finished Lotus Blossom in the Facebook group, and that was all the push I needed to figure it out. And guess what! It’s actually really easy!! Cut up the side seams as much as you want to shorten. Remember to take hem into account. I wanted to shorten my shirt 3″.
 Alright, side seams are cut. That wasn’t so scary, right?
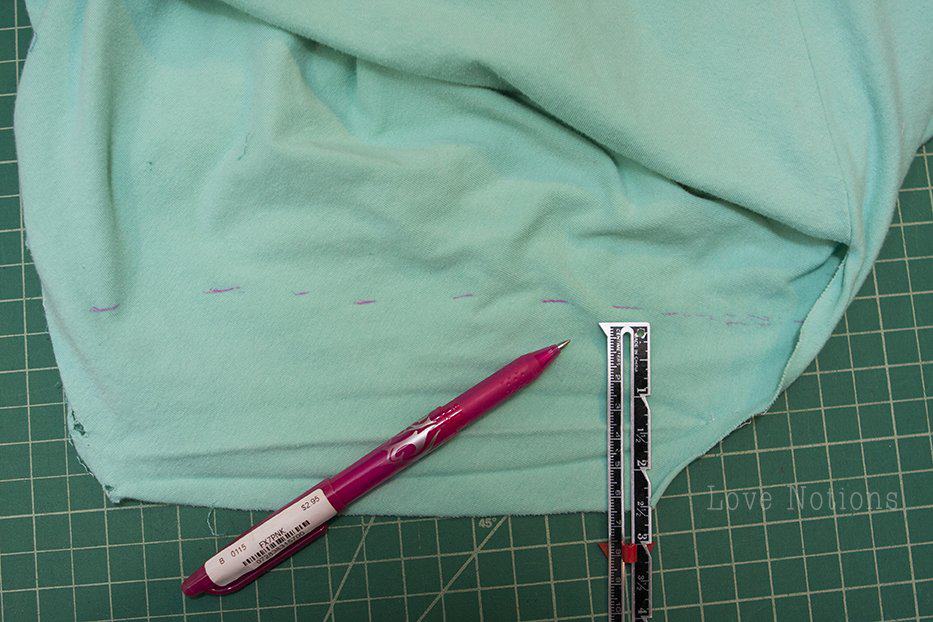
 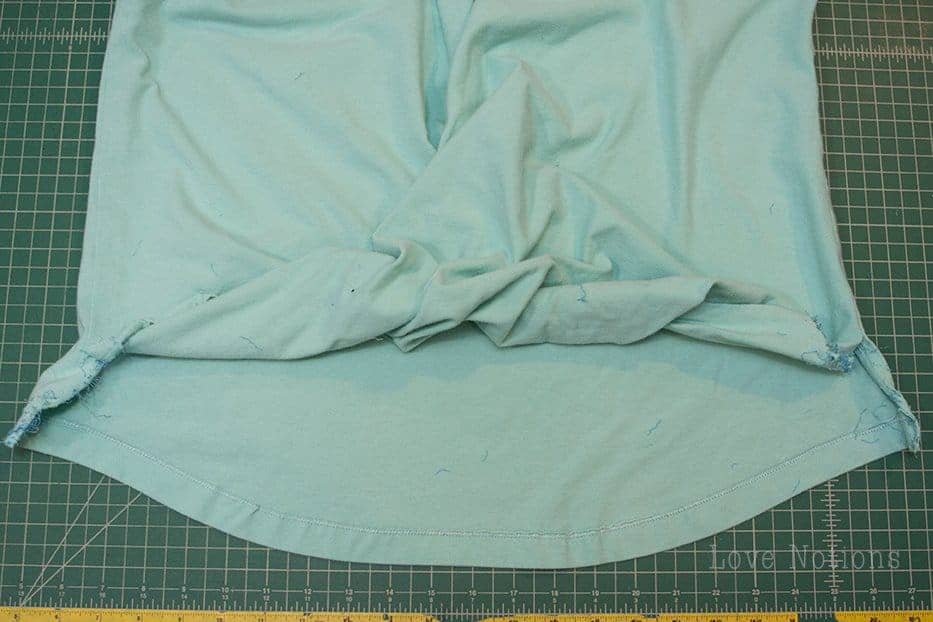 Measure along the bottom hem making a dashed line to cut along on the wrong side of the shirt minus the hem. So, I measured up 2″ to leave enough to hem 1″.
 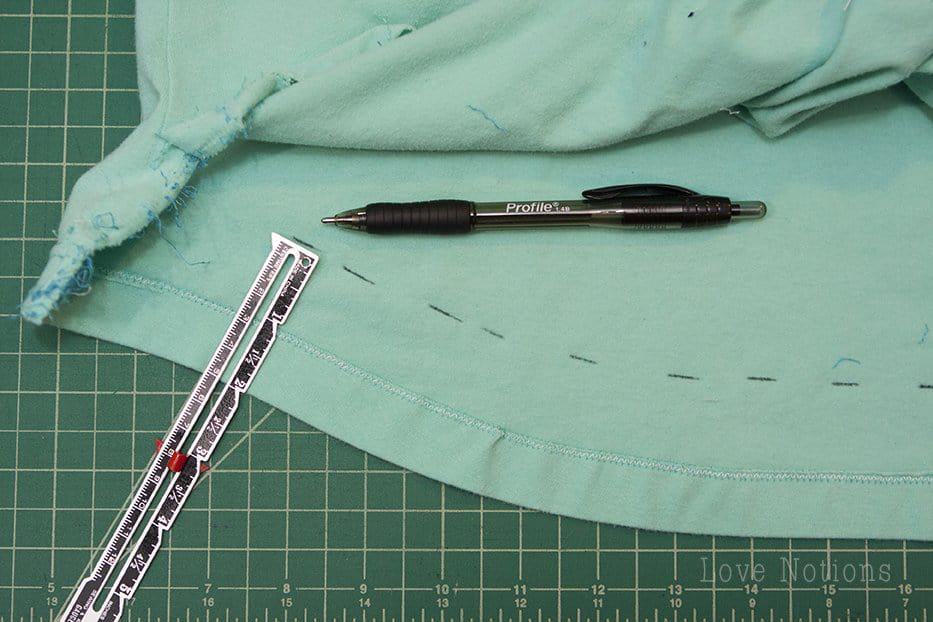 Cut the back along this line.
 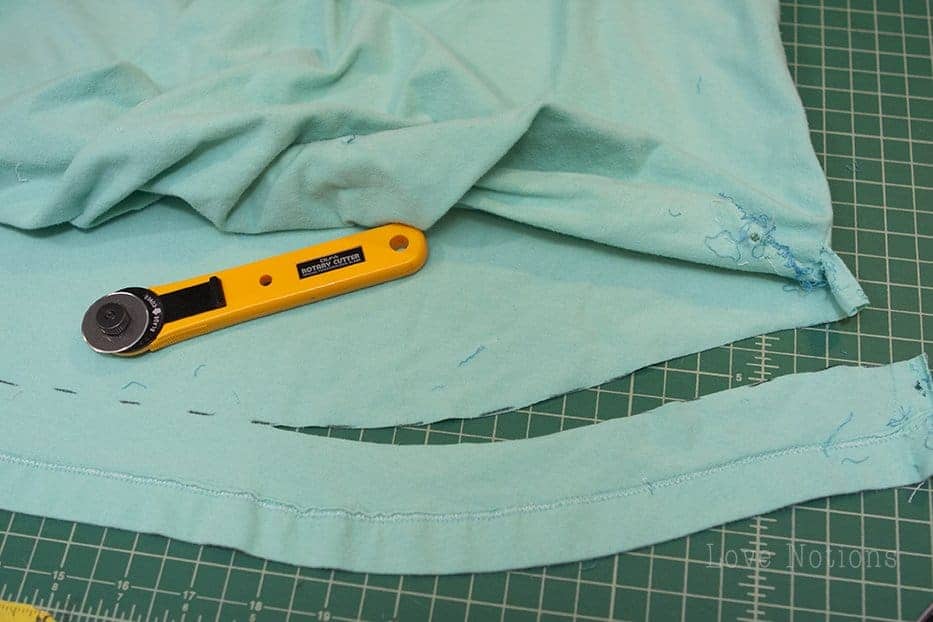 Flip shirt over so it is front side down with the right side against the table. Now working along the inside of the shirt, measure how far you are shortening, plus the 1″ hem from the back since we don’t hem the front. So for me, I am measuring up 3″, the same as what we cut up the side seam.
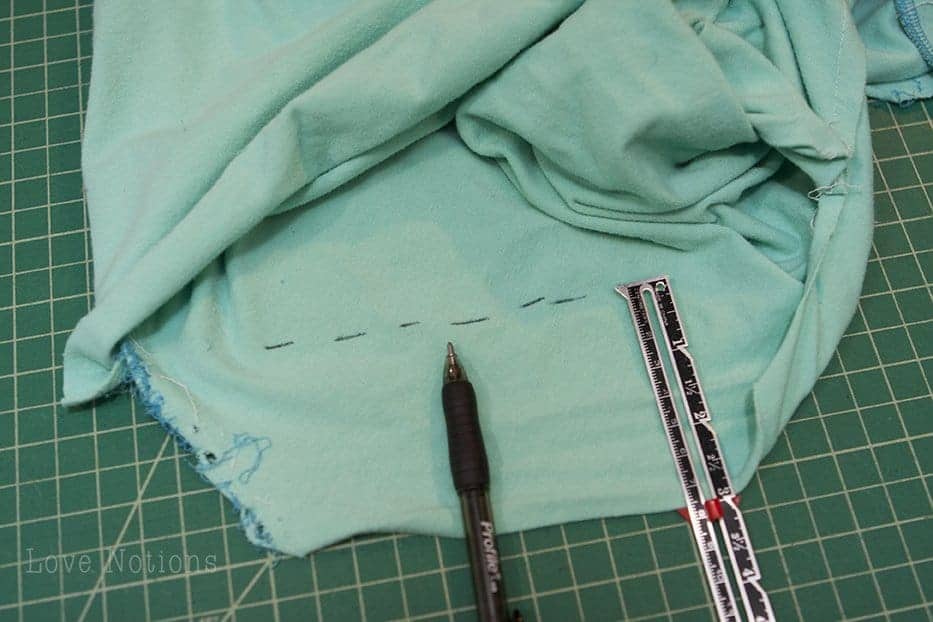
You may have to unpick some of the center seam as well. Just use your best judgment on this.

Flip the shirt back over so it is facing up. You will have to work your way into the twist here. And you will be marking what is technically the right side of the shirt. However, it won’t show because it gets cut off for one. And second, it curls up here and doesn’t show. I did switch to a less permanent pen though just in case I mis-marked my cut line.
Mark your line all the way to the center seam again. 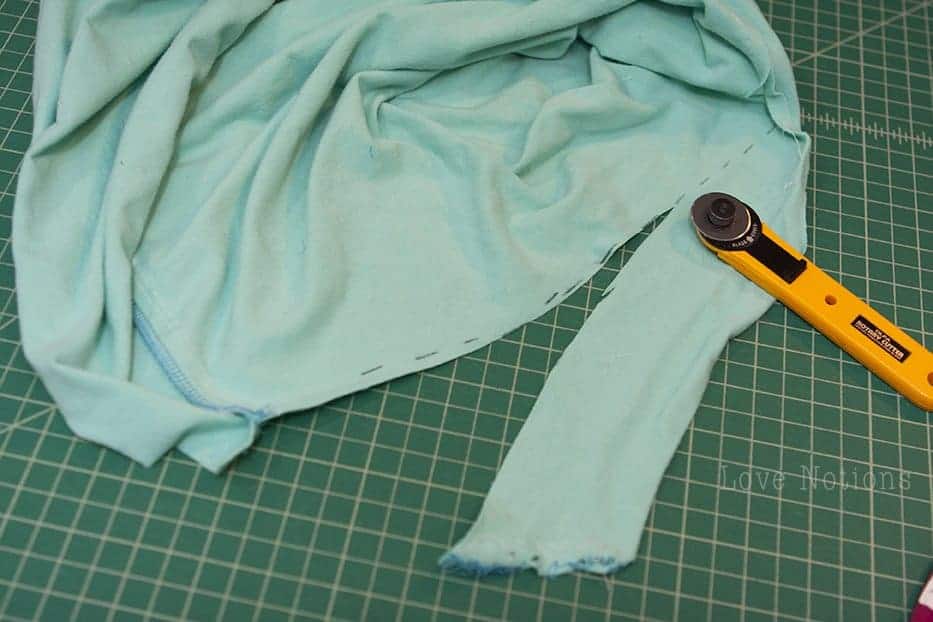
Now cut your front panels one at a time. Be careful to uncurl the fabric where needed and only cut through a single layer at a time. 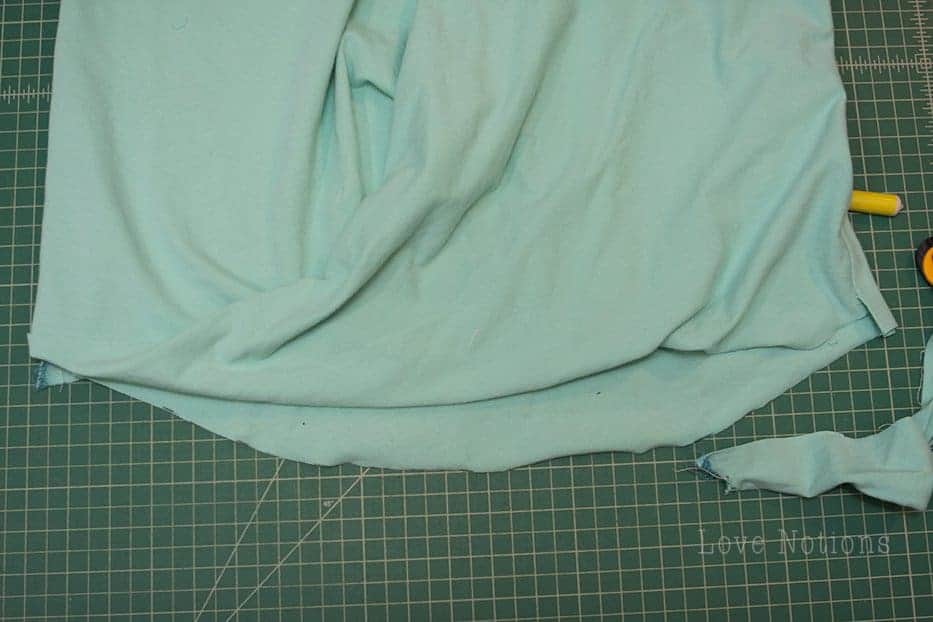
Now just press the back hem back into place and stitch! 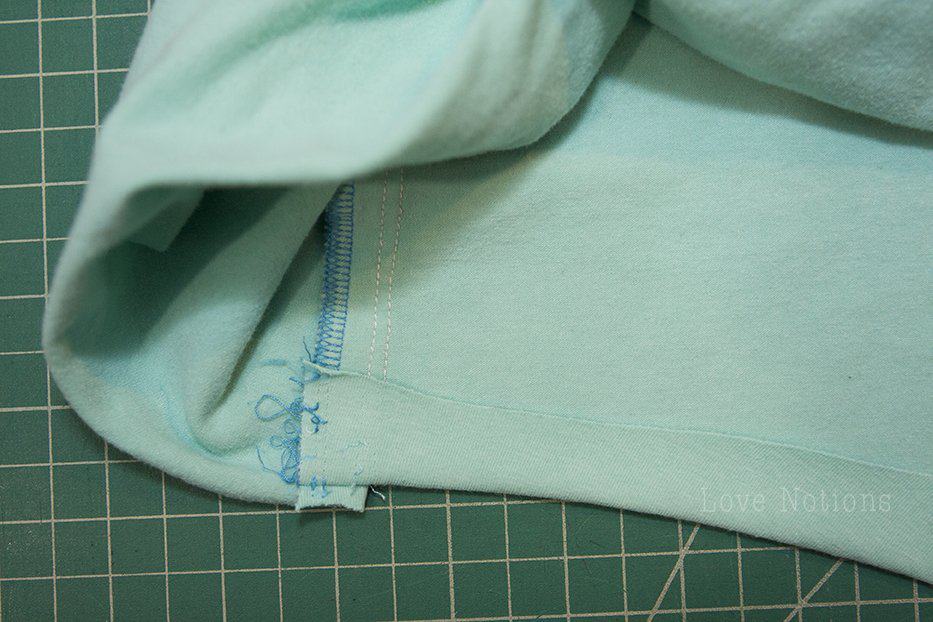
And I’m terribly sorry, but you get a mirror selfie for the final shot since I have nobody here to take a picture of me and I can’t seem to master the timer on my camera. 😉  Doesn’t that look better!! Now, it is best to alter before you finish your project. And, this is why muslins are super important! But, sometimes trial runs don’t happen or we forget to make the alterations that our body shape dictates that we need and we need to be able to adjust after construction. And that’s okay! Now we can shorten the Lotus Blossom after it’s been all sewn up!

