Before we dive into the Colorblocking Tips, you should know…
🎉 Feature Friday Alert! 🎉
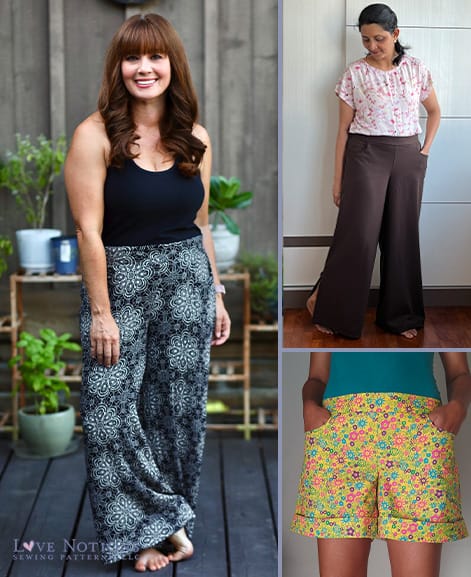
Today, the Canyon Cardigan is the Feature Friday pattern, which means you can grab this versatile pattern for just $6! This is your chance to add a must-have piece to your wardrobe at an unbeatable price.
The Canyon Cardigan is stylish, comfortable, and incredibly versatile – perfect for any season and occasion. With so many options to customize the pattern to your taste, you definitely don’t want to miss out on this deal!
The Canyon Cardigan is the perfect layering piece for any occasion and an absolute must-have for your wardrobe. This versatile pattern is designed for knit fabrics, ensuring a comfortable and flattering fit. With three different body styles – an elegant A-line, a playful gathered look, and a trendy waterfall design – this pattern offers endless possibilities to showcase your unique style.
When it comes to sleeves, there are plenty of options as well: choose the breezy vest style, a practical 3/4 sleeve, or a cozy long sleeve. Want to add even more personality to your cardigan? Opt for the optional inseam pockets for extra functionality or finish your creation with stylish elbow patches. For those seeking additional comfort and a perfect fit, optional fullbust pieces are also included.
The Canyon Cardigan comes in sizes XS to 5X, making it accessible to everyone. Whether you’re looking for a casual layer for a day out or an elegant addition to your work outfit, this cardigan effortlessly suits any style.

A Creative Twist for Canyon Cardigan
Whenever I start working with the Canyon Cardigan I just can’t resist adding a creative twist. This pattern is absolutely perfect for experimenting!
This time, I decided to have some fun with color blocking. The great thing about this pattern is that you can mix and match fabrics, play with contrasting colors, or even split the pattern pieces to create unique accents. The possibilities are truly endless!
PRO TIP: If you decide to divide the pattern pieces yourself, don’t forget to always add seam allowance to the new edges. This way, you’ll avoid ending up with pieces that are just a bit too small.
Two Color Block Versions
For my versions, I went with two completely different styles: a bold, colorful one full of vibrant hues, and a calm, understated version. Both have their own charm, and I can’t wait to show you how they turned out! Curious to see the results?
1. Color-Blocking BOLD
Upper part
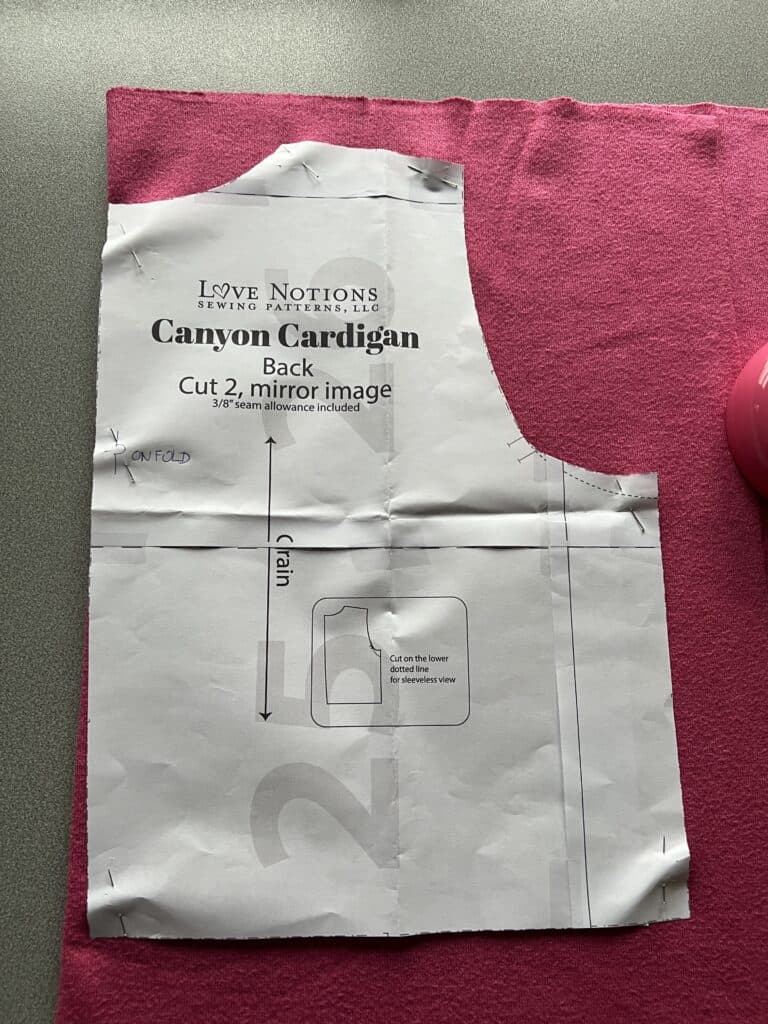
My colorful version in option A, which is the A-line, underwent some changes before I made the cut. First and foremost, I wanted the back panel of my top and skirt piece to become one. I know the top gives more shaping if you cut it mirrored, but I refrained from this. You will understand when you see my second version.
So I laid the back upper part on the fabric fold.
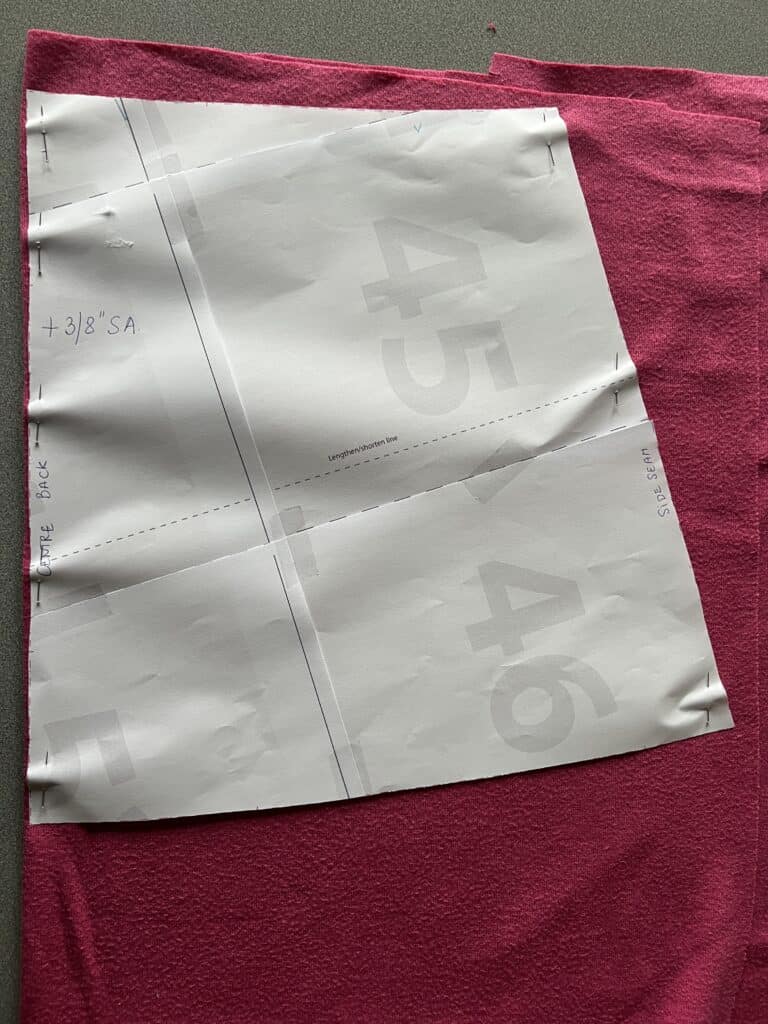
Bottom part
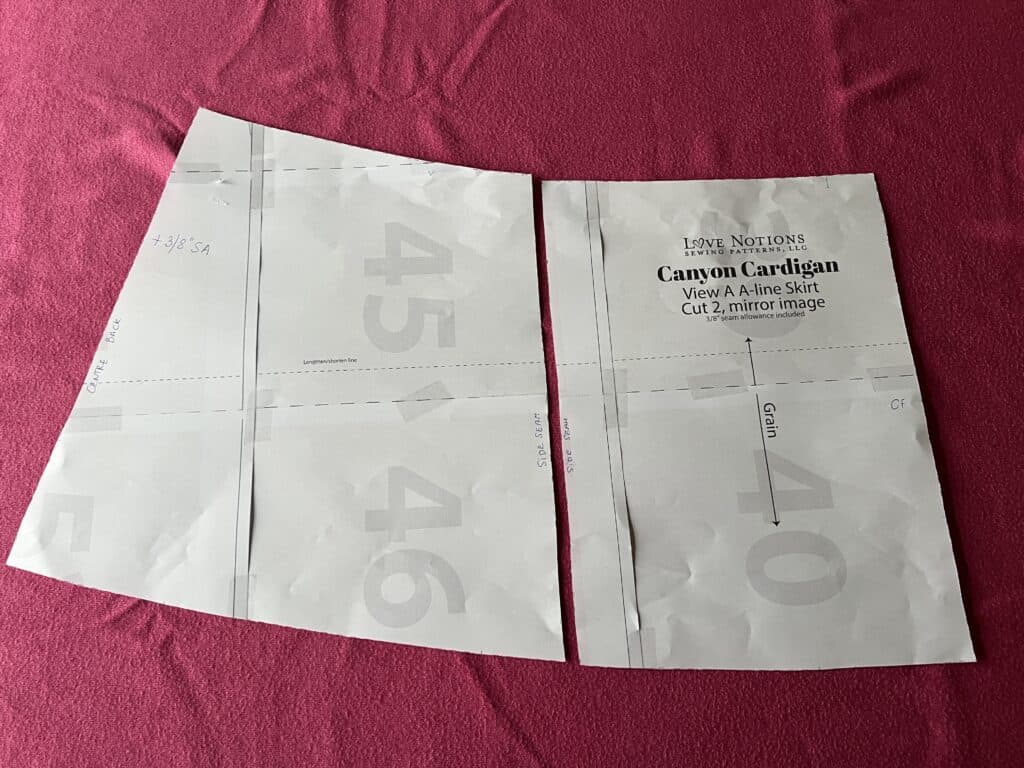
The pattern of the skirt section is designed to run from center front to center back. So at the back you have a seam. I also didn’t want that seam in the back in my skirt piece. How do I solve that?
I measured the length from the bottom of my top piece in the front and did the same on the skirt piece. Here I drew a line parallel to the center front and cut it. This way I got a side seam that wasn’t normally there in the original pattern.
Next, I measured the length of the bottom of the top pattern piece in the back and compared it to the top of the 2nd pattern piece of the skirt left over from my previous step. I wanted these two lengths to be equal and that my pleat in the back fell away. My conclusion was that I needed to add 3/8” to the side seam.
Mix & match
That I am a fan of pink you may already know. The fuchsia knit had to and would look its best and I found a super cute match with a Minerva Exclusive sweater. Before I started cutting, I made some line drawings to see what the result would be like. And two different sleeves would be fun, right? After cutting, my front looked like this.
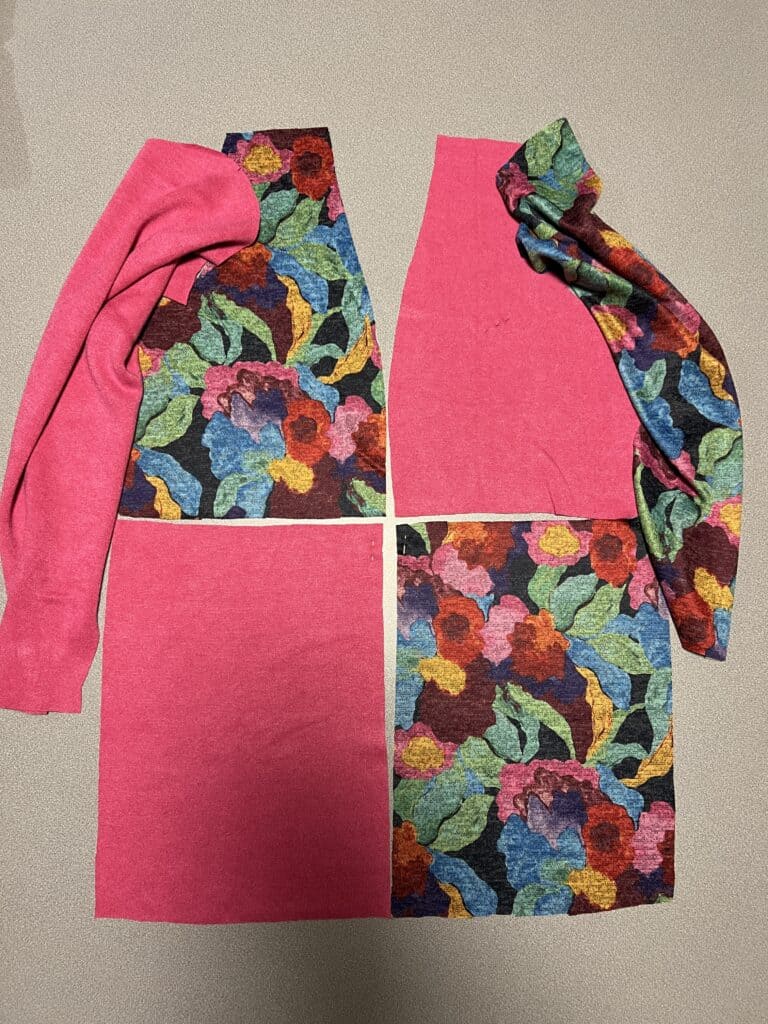
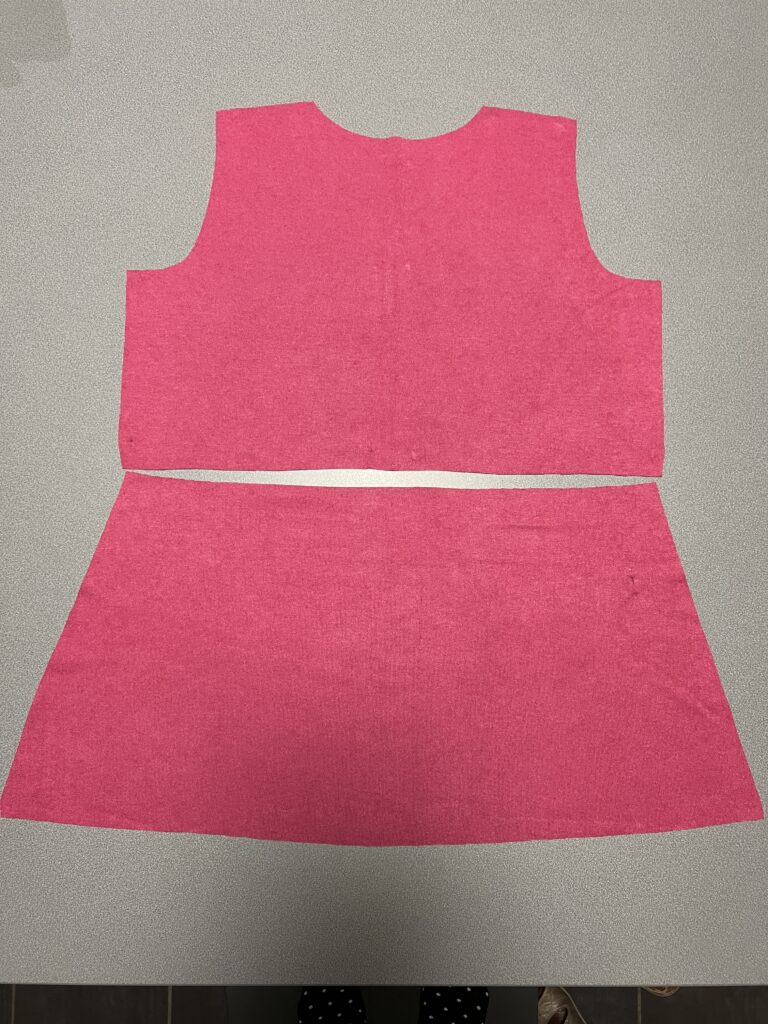
Above I did say that I cut the pattern part of the skirt in two. Well for the back skirt part now comes the second part to fit. The place where I cut the part in two parts now becomes center back. This is the part I am going to put against the fabric fold. And on the side I added 3/8”.
My back side now looks like this.
On the flat lays you may not see that I was going for a pink band, but you can see where I was going.
And here you can see my finished version! What do you think?

2. Color-Blocking CALM
Do you like stripes? Let’s discuss my second version!
For my second version, I wanted to keep the top back panel and the skirt section at the back on the fabric fold. Then, I went one step further….
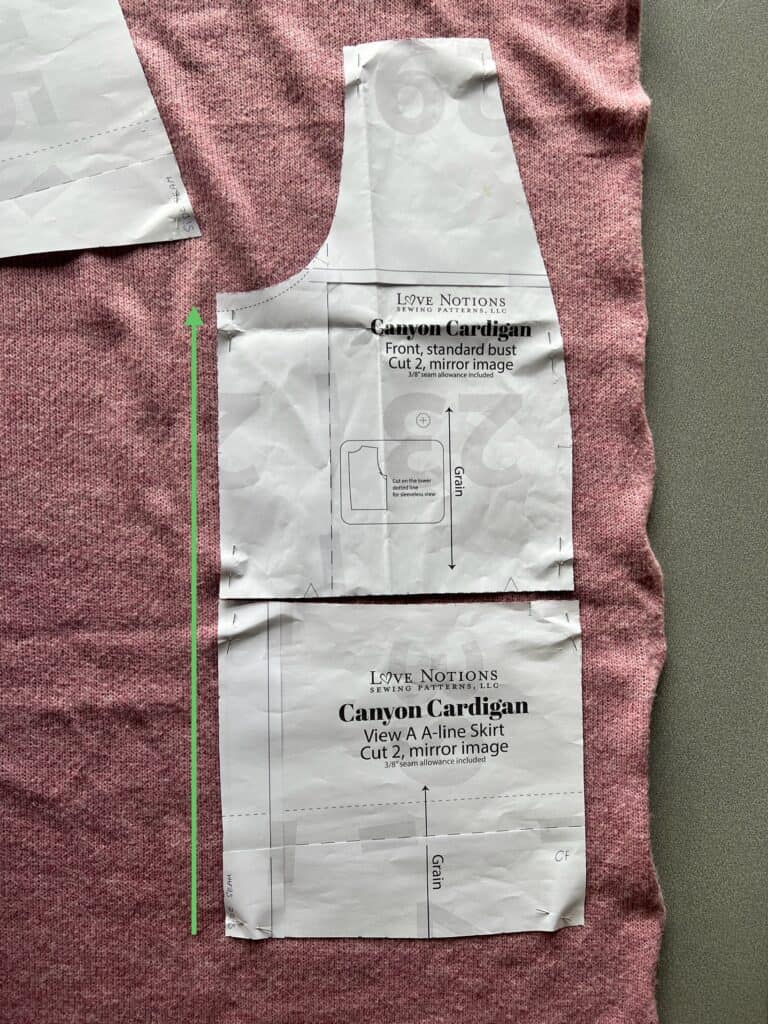
I put the top front piece and the front skirt piece together and cut it out as one!
I did the same with the back piece.
Below you can see what it looks like:

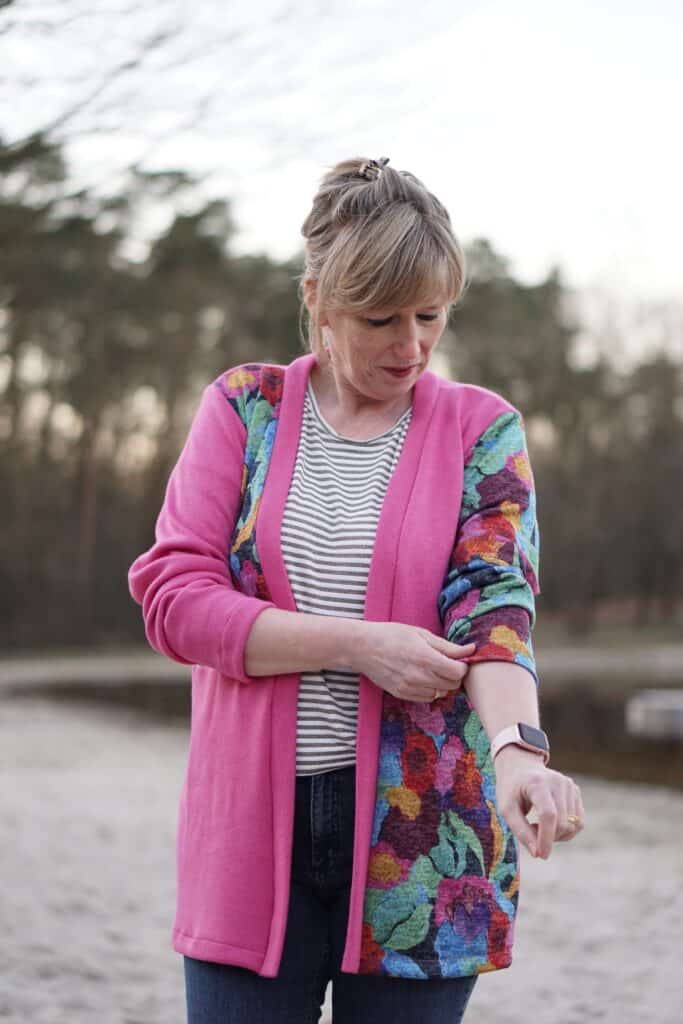
I found this beautiful pink wool knit at The Sewing Loft and Magali also had a matching striped knit with it. I was immediately head over heels in love. With the stripes I wanted to make the sleeves and the band, the rest I wanted in the gorgeous pink
Also this time I chose to omit the pockets and shortened it by 5”. I totally adore this version. Isn’t this one written on my body?

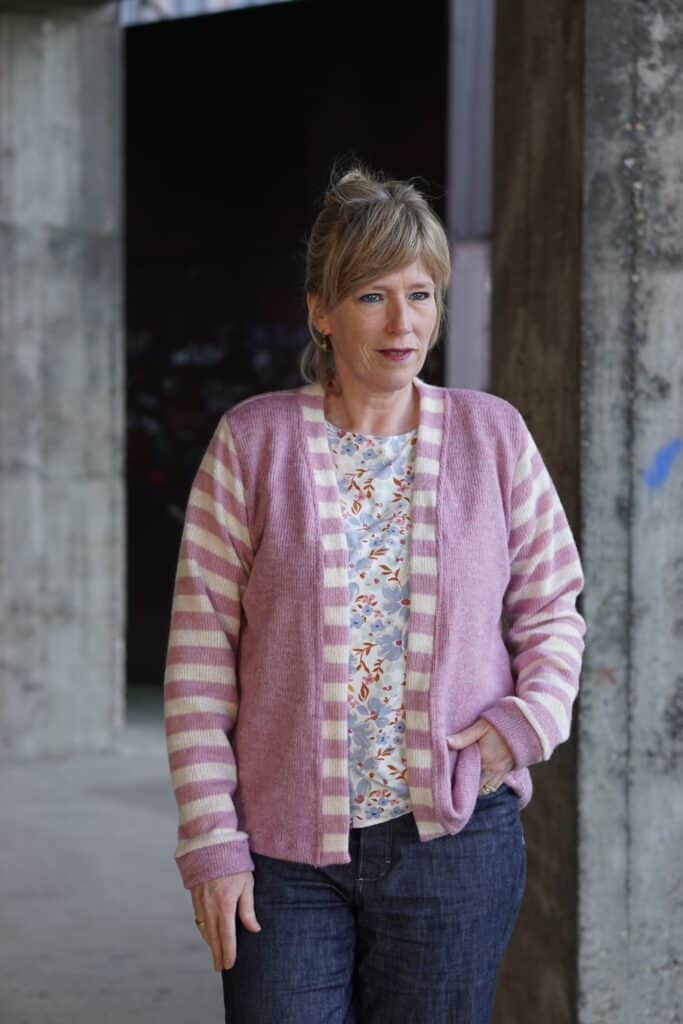
Whether you’re taking a brisk hike through the mountains or snuggling up on the couch at home, the Canyon Cardigan is your perfect partner for warmth and style. Enjoy wearing it and until next time!
Ilse