


Sew Your Waistbands Like a Pro
Hello sewing friends near and far! I’m using the Summer Caye Pants to show you a couple of examples of how to sew a beautiful waistband.
The northern hemisphere is blissfully warming up and what do we need? Flowy pants!
Sometimes I want to sit down for a project and make it as beautiful on the inside as possible; I’m always a fan of pretty garment guts! Comfort has also become paramount to my wardrobe designing, so I’ll also explain how to sew the most comfortable waistband I know how. Then you can choose your own adventure in waistband-making and create what suits your own needs best.
I’m going to give you a few tips as we work our way through Summer Cayes with both:
- the original classic flat-front, elastic back
- and a fully-elasticated woven waistband
These instructions work for both woven and knit fabrics. I’ve visually streamlined these examples by skipping the front pockets (the construction is no different with them included). Getting down to brass tacks here!
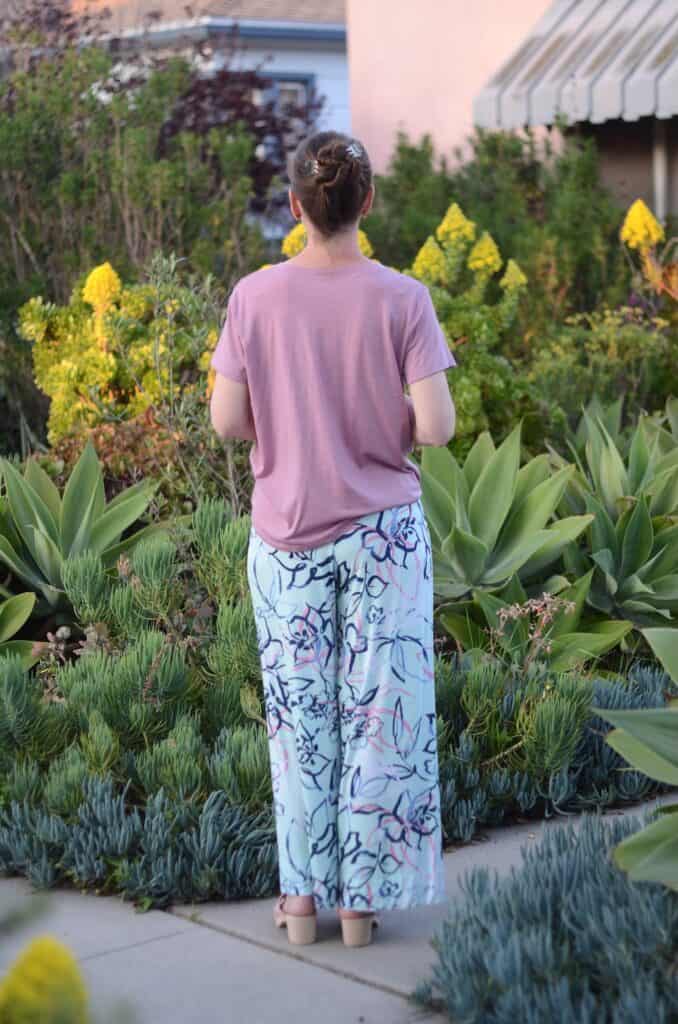
This info equally applies to other waistbands like the Tinley Shorts, Encore Skirt, Caprice Skirt, etc, so please apply wherever this suits you. Also, all my pants are the same: size 4 and wider palazzo leg option in the pattern. The length differs a little based on how much fabric I had on hand.


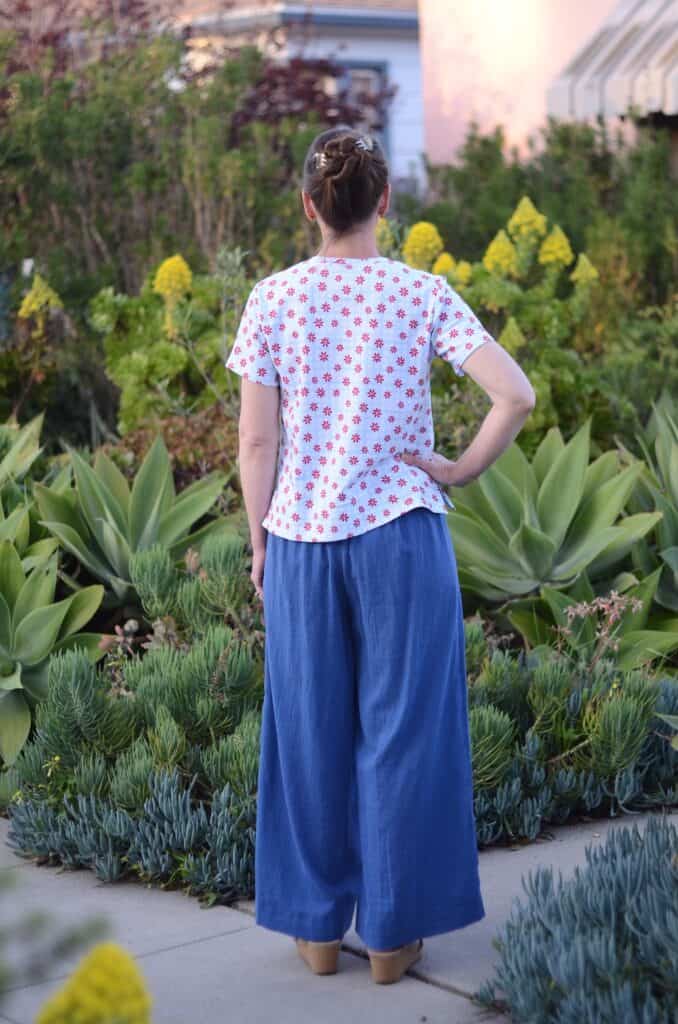
Classic flat-front, elasticated back waistband
Let’s start with the original waistband, shall we? Here is the classic flat-front, elasticated back version with a small change for an extra-classy interior finish. I’m using a single layer cotton gauze from Fabric Mart.
PREP: Go ahead and interface your front waistband piece. If you’re using a thicker fabric, you can trim down your interfacing pieces to remove the seam allowance width and thus slim down those finished seams. On rayon challis and other super lightweight woven fabrics, I just interface the entire waistband (and lining if there is one). My favorite interfacing to use is a very fusible lightweight tricot. It’s meant for knits, but works fantastic with lighter woven. (Listen, I was down to the dregs, so ignore my scrappy interfacing job.)
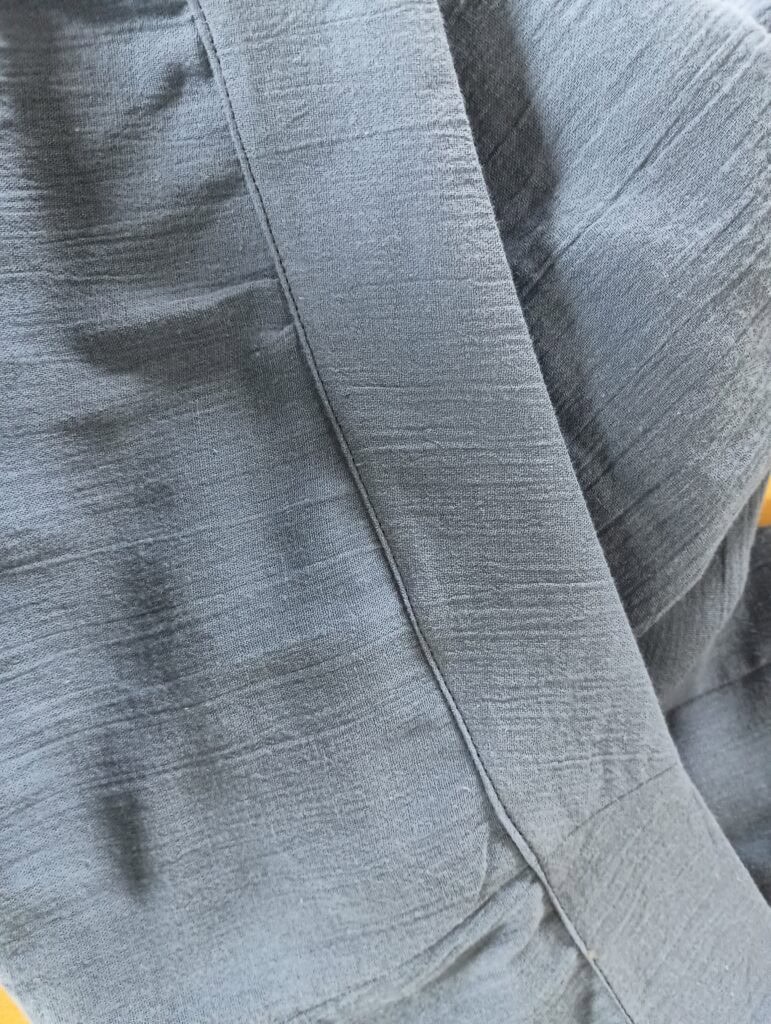
A. Sew your inner and outer pieces together like a smile as in the original tutorial, and then we (B.) understitch! I love to use my N foot, move my needle all the way to the left, and then align the seam right between the metal and clear plastic parts of the foot, and this gives me a gorgeous 1/16” seam line.


A. Next, I like to finish the long raw edge of the FRONT side of the waistband with my serger.
This is not strictly necessary, but this helps me with the neat turning-under of the raw edge and removes any fraying bits while simultaneously acting like a staystitch and support structure to keep the edge from stretching.
B. Carefully press your waistband in half, wrong sides together.
C. Now we sew the short edges of the waistband closed. Use a pin to line up your seam allowances as exactly as possible. Not half bad!


A. Now, with your pants right side out, you are going to open up and flatten out the waistband again to sew the LINING only side of the waistband to the inside of your pants. This will be the RIGHT side of the lining facing the WRONG side of your pants.
B. I like to sew it seemingly backwards this way because it gives me complete control over the topstitching that shows on the right side. Nothing stresses me out like trying to align multitudinous pins and stick to a 1/16” allowance from the wrong side. Hard pass on that kind of pressure.
C. Press the raw edge of the front waistband under about ¼” and press the waistband seam allowance up toward the waistband.
D. Now when you fold the waistband back into place for a preview, you can see everything is concealed and tidy.


A, B, C. Next it’s time to stitch down the back half of the waistband, aim for about an inch forward from each side seam of the pants. We need this in place in order to add the elastic. I use the same set up as I did for understitching previously.
D, E. Thread your elastic through one waistband side. Pin your elastic right in front of the side seam and stitch a straight line through the waistband and the elastic to hold it in place, and then repeat for the second side.
F, G. Once the elastic is secured, pin the front half of your waistband and topstitch that down. Look at those beautiful guts!


Topstitching Tips
You could leave this as is, but I prefer topstitching. In fact, truth be told, I will never turn down an opportunity to topstitch!

- First you need to quarter (or in this instance, just split in half) your elastic within the waistband so it gets gathered evenly across the back. Mark the center back and then stretch out the sides and stick in a pin through all layers. Then while sewing, you will stretch out one section at a time.
- I used 1.5” elastic, so I opted to topstitch at ½” intervals. This technique can be a little tricky. In order to keep the gathers straight and perpendicular to the topstitching, you need to use two hands.
- Lengthen your stitch a bit. I used a 3mm here versus my usual 2.5mm.
- Left hand is holding the waistband and elastic even and taut behind the sewing machine while your right hand stretches the elastic enough so that the waistband is flat and ungathered the entire time it’s being stitched. I usually hold at the pins I used to mark the half or quarter points. At the same time, you cannot pull the fabric through, or you will break a needle.
- Also, if you were sewing with a microtex or sharp needle, it might not be able to tackle the elastic, so consider sizing up or switching to a universal needle for this part.
There you have it! One beautifully finished waistband.


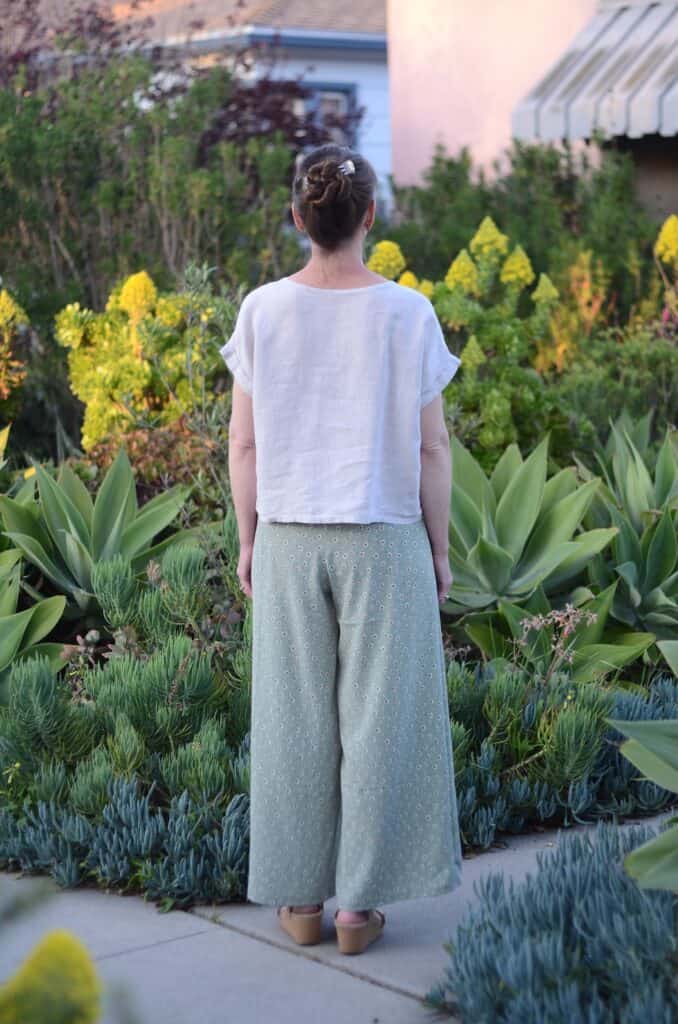
Option 2: All around elasticated, pattern pieces as is.
This is a topstitched waistband that is my favorite style for knits. Well, many woven fabrics, too. I find this really comfortable and secure because that elastic inside is not going aaanywhere, plus it’s evenly squeezy all around my waist and super comfortable.


For this version, rather than sewing most of the long edge of the waistband to the raw top edge of the pants, adding elastic, and then going back to finish that seam, we’re going to leave open a little slot at the inner waistband center back seam to insert the elastic, and actually insert the elastic after the whole waistband is attached. This alleviates extra stopping and starting points and overlapped serger seams.
A, B. Sew your inner and outer waistband pieces together, understitch, and press, exactly like before.
Pics 28 and 29 (sorry, out of order!)
C, D. When sewing the short waistband center back seam, leave a gap wide enough to slip in your chosen elastic size at the seam of the waistband. Be sure to backstitch at both sewn edges of the hole. Press seams open.
This essentially creates a finished-looking hole. Super important! This hole needs to be oriented to be on the INSIDE of your pants, against your body. If you are using directional or napped fabric, please double check to make sure your end product will face the right direction before you stitch anything.


A. Attach the waistband as usual to your pants and then thread through elastic. I mark mine on the ride sides to more easily alert me if things are twisted, and I add a couple of Wonderclips to one end so the elastic won’t pull through all the way as I’m working it around.
B. One more related tip: I’ve noticed that lots of knit elastics shred at the cut edges, so I have taken to always cutting mine with pinking shears, and this is no longer an issue.
If you follow no other advice in this post, heed this plea: give your elastic a really good stretch before anything else!
C. Wrap it around your waist where you want your waistband to sit. Give yourself a little overlap, I usually aim for ½” to an inch, and cut! I have found that all the topstitching does permanently stretch the elastic, so you will likely find that your waistband fits a little larger after rows of topstitching are added. I tend to cut mine a little tight because of this.
D. Don’t align the elastic seam with the waistband seam; it’s too bulky. Instead, scoot it over a couple of inches so the additional thickness doesn’t all end up in one place.
D. Before topstitching from the right side, you will want to close that elastic gap. You can get in there and hand sew with a ladder stitch, or even easier, I add a short strip of Wash Away Wonder Tape to hold it closed.


Ta-da, all finished! Lovely waistband, inside and out.


Enjoy wearing your gorgeous new pants featuring your lovely and comfortable waistband!
Happy sewing!
Katie
www.instagram.com/kak513
Aff link:

