Welcome to sewing day!! It’s day 3 of the Cadence Sew Along and we are ready to sew! If you are just joining us, don’t worry, you can catch up with day one and day two and still sew along with us.
Stay stitching
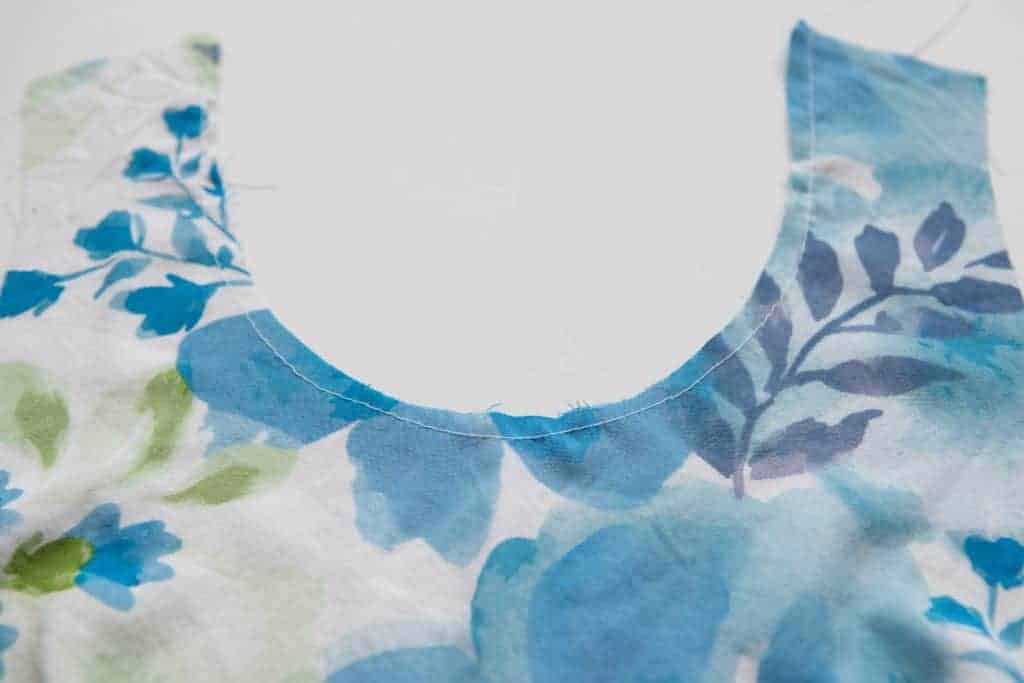
If you are using a particularly loosely woven fabric for your Cadence, you risk the neckline and armscye stretching out, even with careful handling. To help prevent this, stay stitch these areas. To do this, sew a long straight stitch inside the seam allowance. Even with staystitching, you should take careful measures to prevent your fabric from stretching out. Don’t hang your fabric over the back of a chair between sewing periods. Don’t allow it to drape partially off the edge of a table. And don’t hold your front and back pieces by the shoulder seam. Support the entire piece gently to help your piece keep their intended shape.
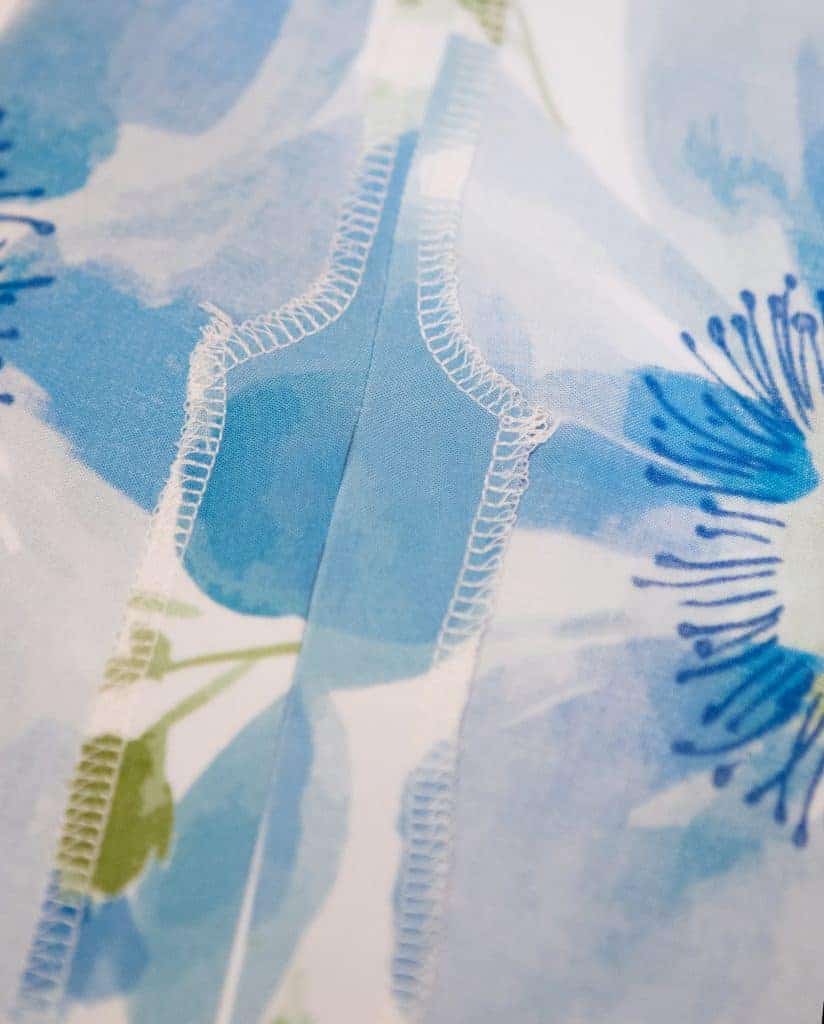
Constructing the back seam
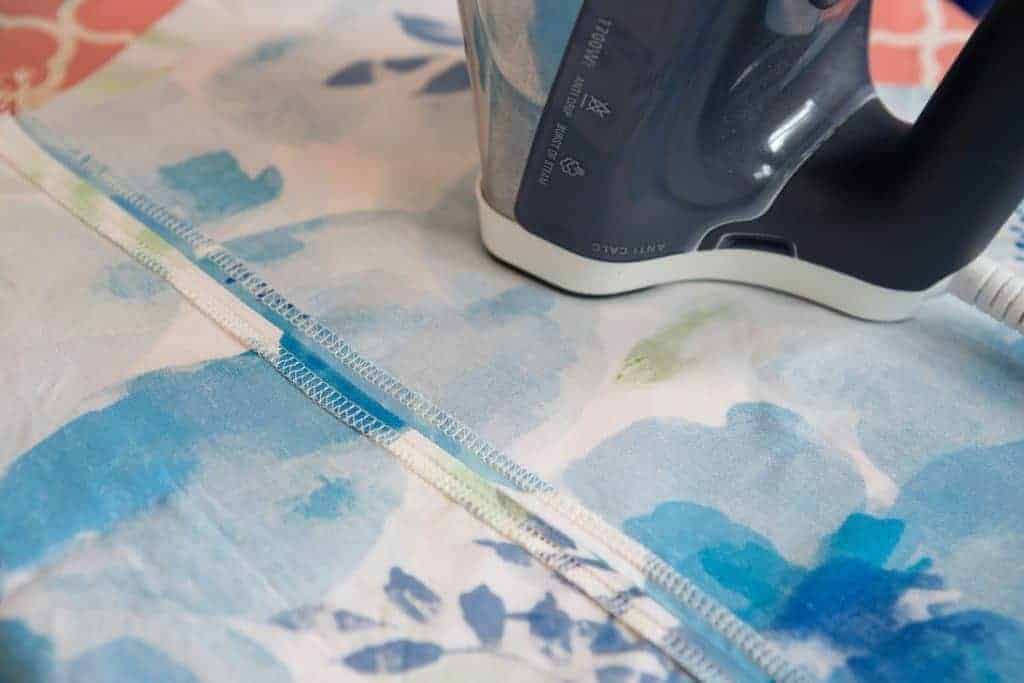
The pattern instructs us to sew the back seam with a straight stitch and to press the the seam either to the side or open. It takes a bit more time to serge the individual raw edges and then construct with a straight stitch, but I do prefer to press my seam open. I find that it gives just a bit better shaping and reduces bulk in the small of the back.
Constructing the front
Darts can be daunting the first time you sew them. But don’t fret! They are pretty simple once you get used to them. Follow the instructions carefully and you can do it!! If you need more assistance, I will be sewing the darts live in our Facebook Support Group at 1pm CST today. Don’t worry if you missed us! You can always watch the video later at your convenience.
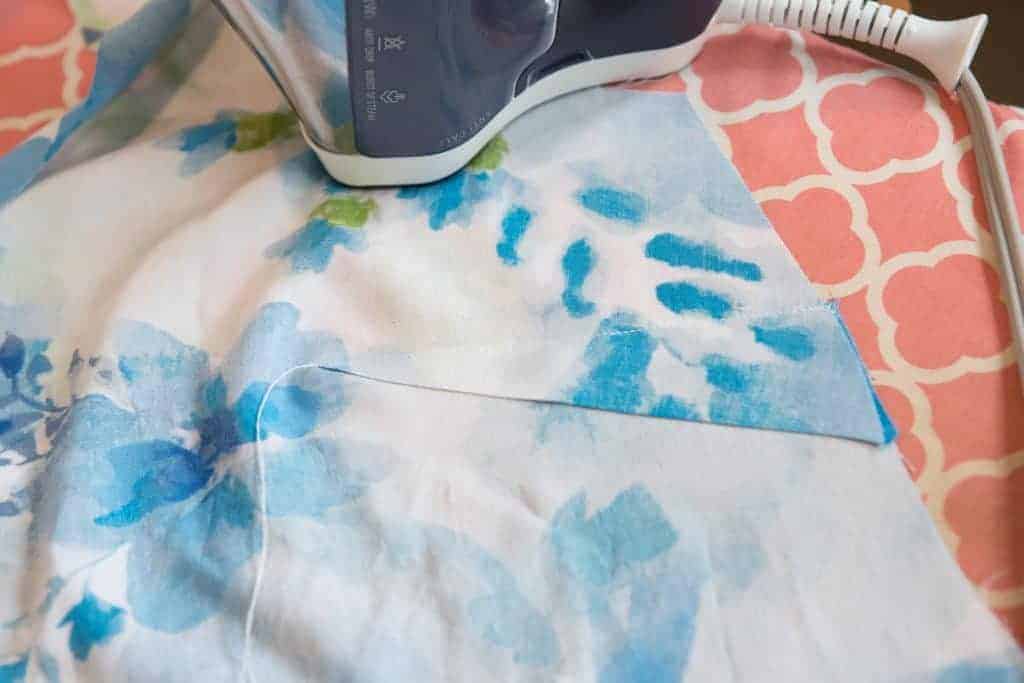
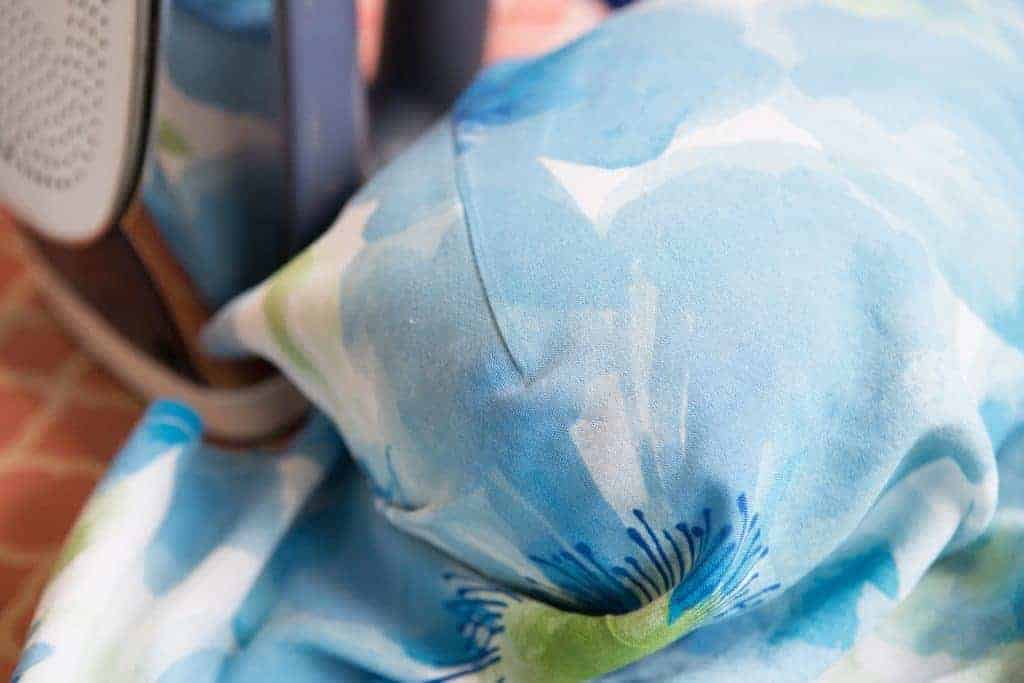
Now press your darts. Press downward making certain to not create any creases. When you get to the end of the dart, pay close attention that it is smooth. A pressing ham makes this step a little easier.
Shoulder seams and facing
After the back is sewn and your darts are constructed, it’s time to sew your shoulder seams. Once you sew your shoulder seams, press them open. This will help reduce the bulk at the shoulder. If you are sewing a Cadence with sleeves, you will need the neckline facing piece. Follow the instructions in the pattern for this step. If you are sewing a tank, you will want the sleeved facing. To have a clean finish with all the raw edges enclosed on the tank version, you will want to use what is known as the burrito method. Here is a link to a video showing how to do this. No matter which version you are doing, be sure to follow the pattern instructions closely to have a great Cadence.
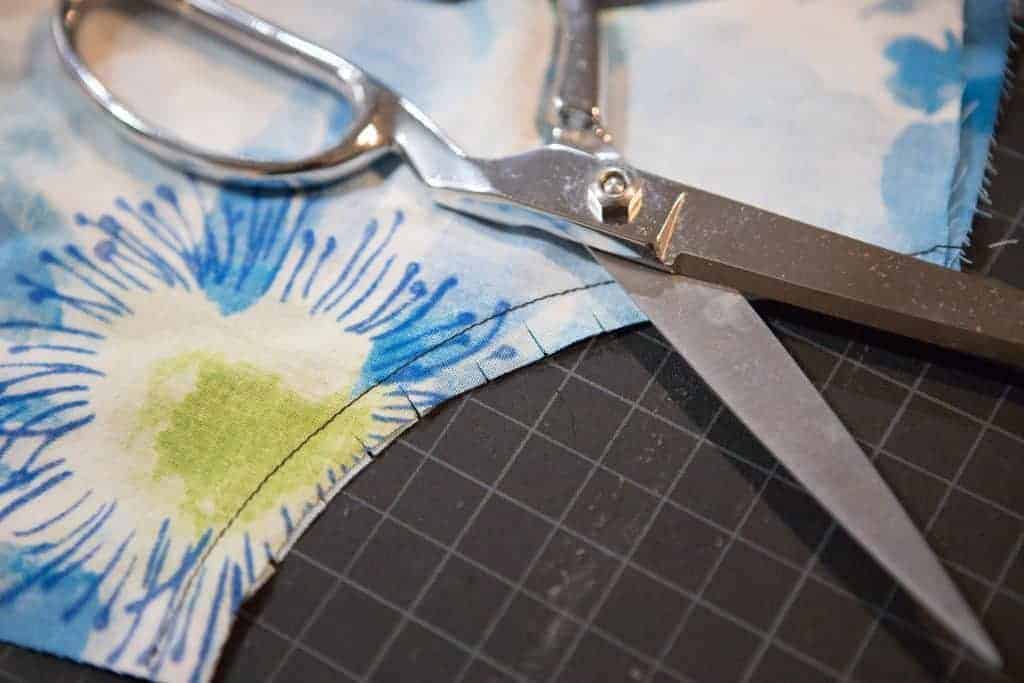
No matter which style you are doing, you want to be sure to clip your curved seams so that they lay flat. To do this, make cuts into the seam allowance, just up to the stitch line. Be certain NOT to clip into the stitching or you will have a hole!
After you have your curved seams clipped, turn your facing right side out and to the inside of your Cadence. Then press very well.
Tomorrow side seams and vents
Come back for day four of the Cadence Sew Along tomorrow so we can sew the side seams and the vents. We will also be hemming the bottom of our Cadence.