Cadence Sew Along: Day 1
Welcome to Day 1 of the Cadence Sew Along! I am so excited to sew up some comfortable dresses and tops for summer and I’m thrilled to have you joining me! Nothing beats the heat and humidity like a flowy cotton dress that is easy to wear and Cadence definitely fits the bill!
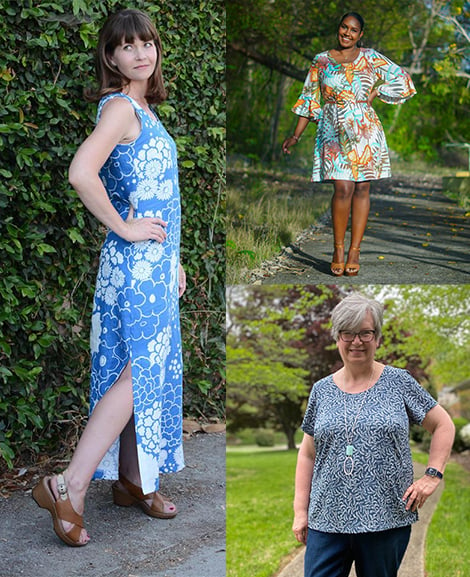
Cadence is the perfect summer dress!
There are two views to choose from, maxi length, with side seam vents that let your legs take in the cool breeze while keeping you covered from the harsh sun, or the knee length dress that is fun and flirty to wear. Prefer shorts or pants? No problem, Cadence also has a top version that makes looking great and staying cool easy to do!
Today, we will be focusing on assembling our pattern, picking our size and making pattern adjustments.
Before we print, we have to figure out what size we need to make. That requires some measurements, specifically, your high bust and full bust measurements to start. To measure your high bust, wrap the tape measure around your chest above your breast and pull it snug, not tight, like the top tape measure in the image below. To measure your full bust, wrap the tape measure around your bust at the fullest part and pull it snug, not tight, like the bottom tape measure in the image below.
. 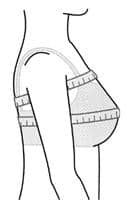
You will be using your HIGH BUST measurement to determine what size Cadence you will want to make.
Cadence has the option of two different fronts, a standard bust or a full bust. If your full bust subtracted from your high bust measurement is between 1″-3″, you will want to print the standard front. If you get between a 4″-6″ difference, you will want to use the full bust front.
Also compare how your waist and hip measurements compare. If your waist and hips fall into a different size than your high bust, you will want to blend sizes for the best fit for your body.
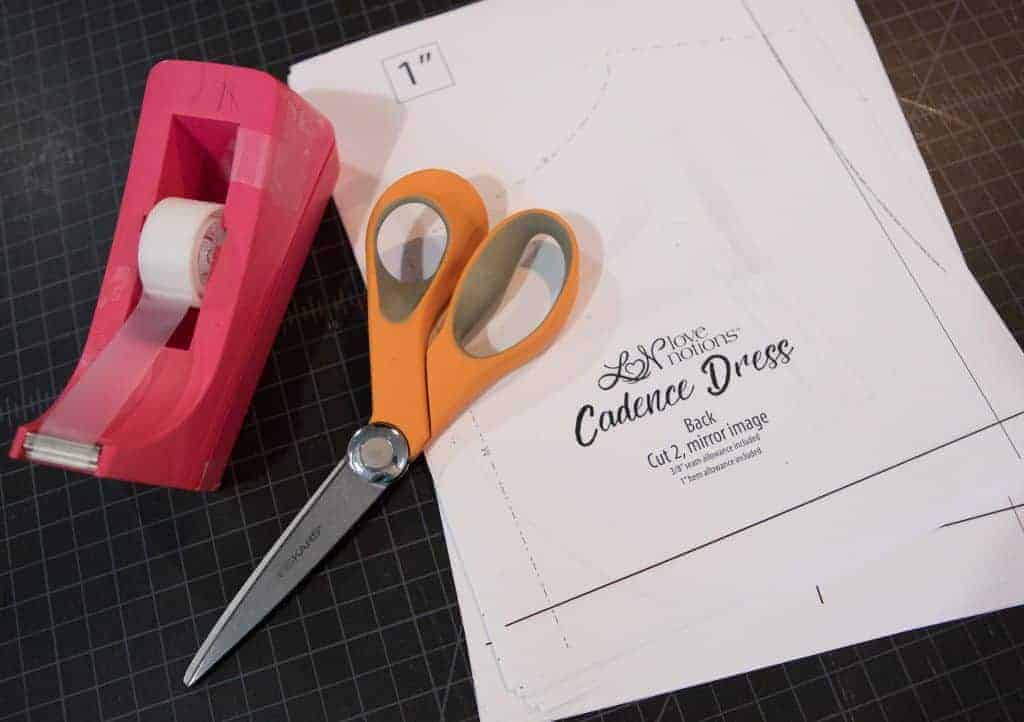
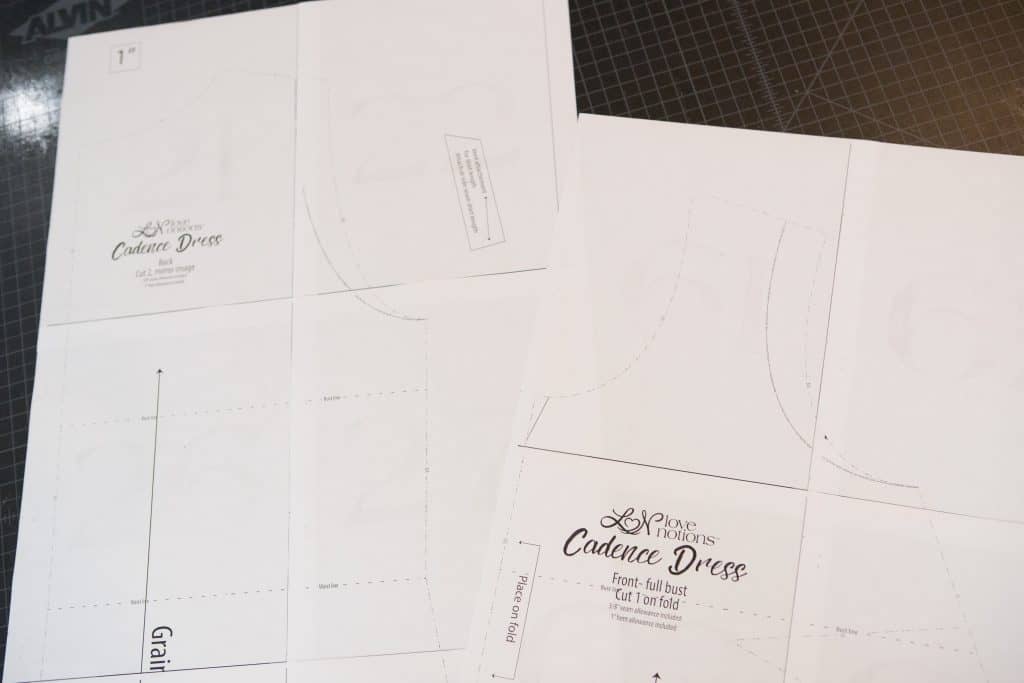
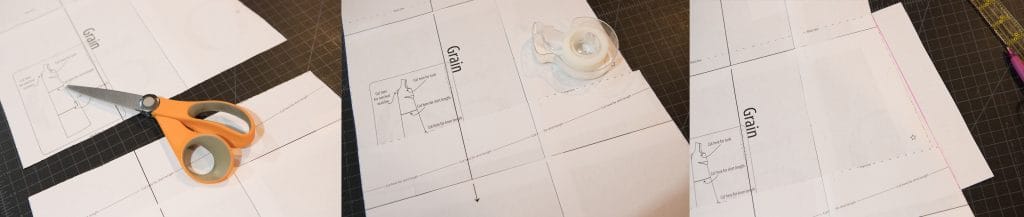
Once you have your size determined, print your pattern off. Be sure to take advantage of the layers feature! This makes blending sizes especially easy, since you are only working with the sizes you need. Another great thing about our patterns is that the pattern pieces are broken down for easy assembly. For example, you can see here that the back and front are two separate pieces when it comes to assembling the pattern. No fighting a HUGE 12′ x 12′ pattern. If you don’t like assembling your patterns yourself, there is always the large format print available as well!
Making Alterations
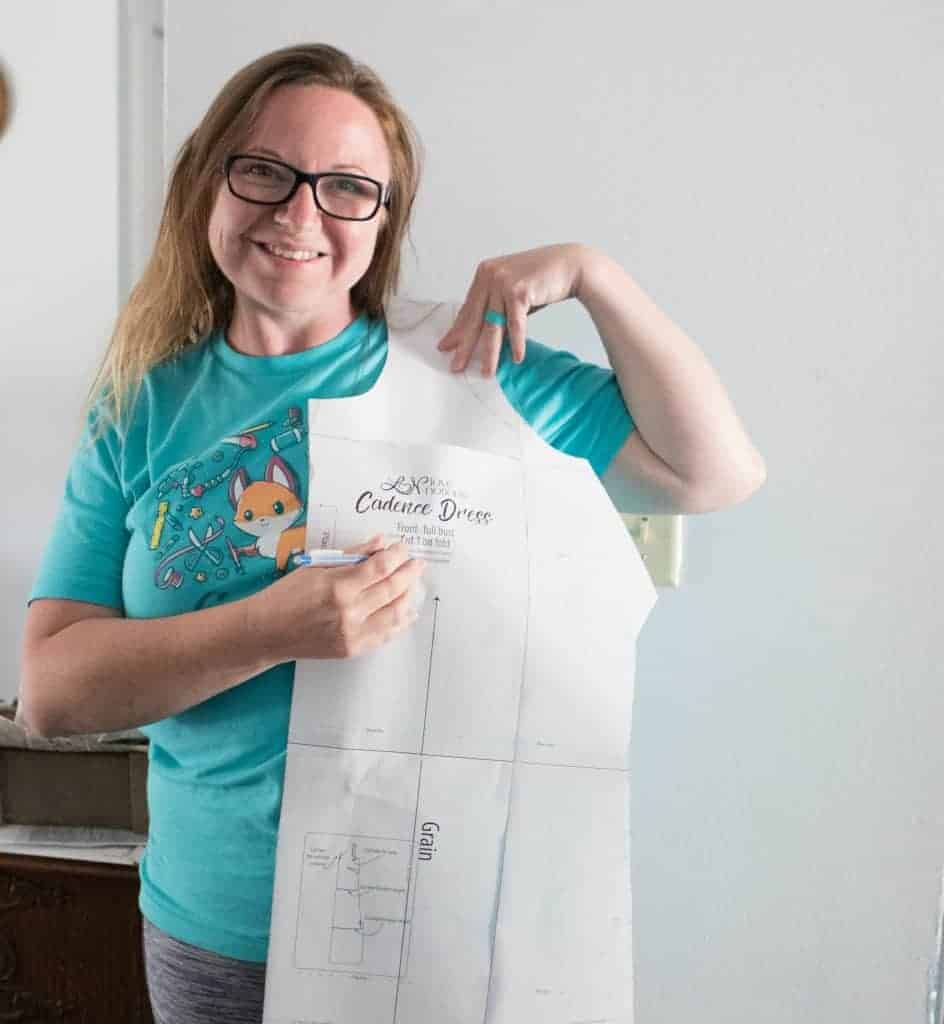
Now that our pattern is assembled, we need to figure out what alterations we may need. Begin with making certain your horizontal lines match the patterns. What do I mean by that? Simply put, make sure your bust line is in the same place as the pattern’s bust line, and repeat with waist and hips. The easiest way to do this is to hold the pattern up to yourself. Make sure that you keep it straight and that you hold the shoulder seam in the correct spot. (fold back the seam allowance if needed.) If you are blending sizes, you can cut out just the upper bodice portion of the pattern to do this step. While checking that the pattern lines line up with your body, also mark your bust apex on the pattern piece. This will be the center of the fullest part of your bust, usually where your nipple is.
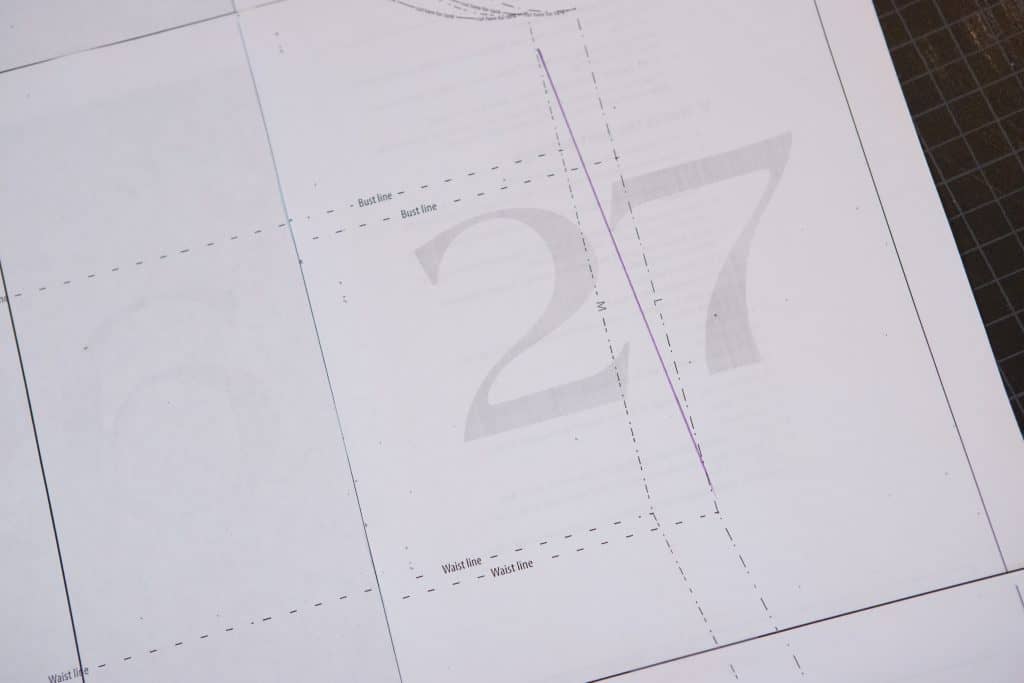
If you need to adjust where the lines hit, cut your pattern on the line and shift in where you need it to go. Start at the top and work your way down. I have to move the bust dart up on my pattern. See the purple marking on the pattern piece that I made when I marked my apex, the end of the dart needs to line up with that.
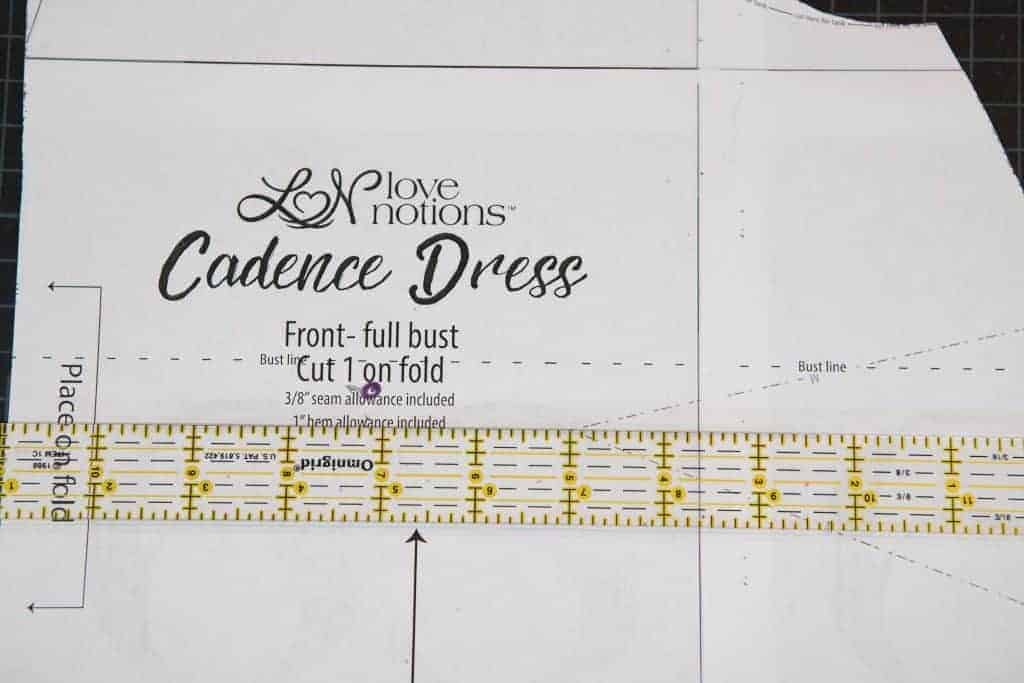
There are instructions on page 6 that explain how to do this. Draw a box around the dart, cut it out and shift it to where you need it. Then slide a piece of paper behind your pattern and redraw the side seams.
Below you can see how I adjusted the hip placement. I needed to move the hip line up 2″. I cut the pattern directly on the hip line, overlapped the top piece with the bottom piece by 2″ and taped them together. Then, I blended the side seam. I wanted just a touch more room in the hip area, so I blended a little generously to add to the hip just a little. (I was right on the edge on if I wanted to blend the size medium and size large at the hip, this took care of that for me.)
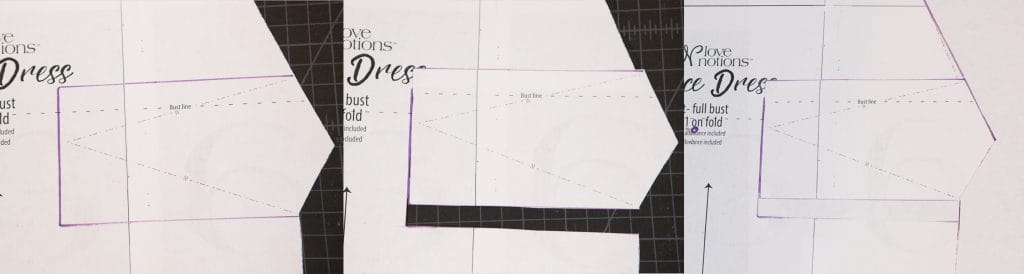
After we have the lines lining up, we blend the sizes we need. In the example below, I show you how to blend from a size medium shoulder/neckline to a size large waist and hip. Simply print the sizes you need and draw a line connecting the sizes blending in the area you need. If you have a size large waist and need to blend out to a size XL hip, you follow the same concept, expect blending from just above the waist line to where the hip line is.
Making the most from your pattern piece.
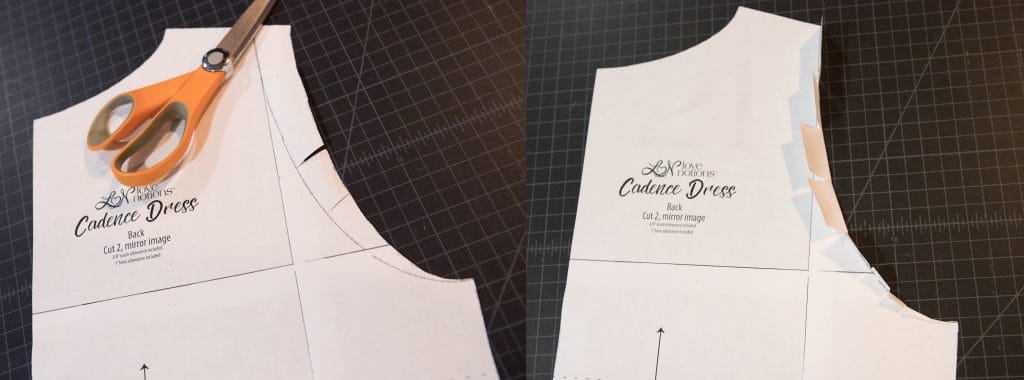
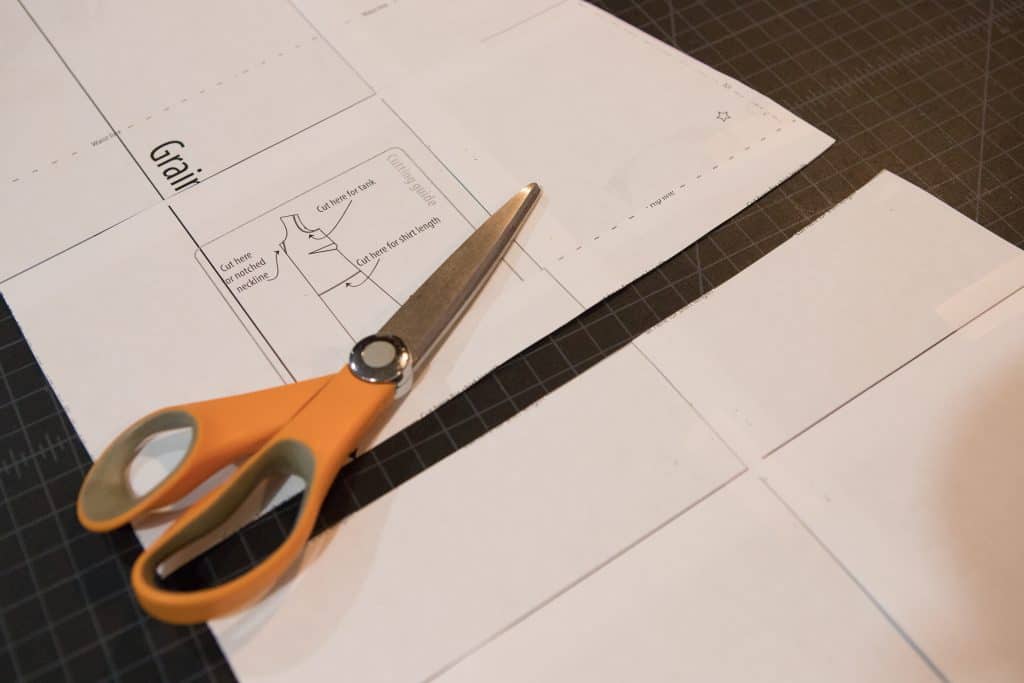
You will notice there are different cut lines on the Cadence pattern pieces for the different options you may want to sew. I’m all about saving a tree. So, to minimize the amount of printing I do, I make the least amount of cuts needed. I will be sewing both the maxi length and the shirt. I may sew a knee length dress as well! I want a sleeveless maxi dress and a short sleeve top. So that I don’t have to print my pattern multiple times, I printed the entire maxi length dress once. I cut out the maxi length dress with the armscye for the sleeve, the outer marking. To be able to cut the tank version, I cut into the armcye to the tank line in several places. Next, I fold back the pattern to the tank armscye. That’s it! Now I can cut my tank. Next time when I want to cut a sleeved version, I just fold these pieces back down.
For the different hem lengths, I cut the pattern directly on the hem line I want. Here I show you the shirt. I save the bottom piece and tape it back into place when I’m done. Then, I can cut another maxi down there road, or just fold it back up out of the way using the tape as a hinge, and cut another blouse!
Now you have your personally perfect pattern!
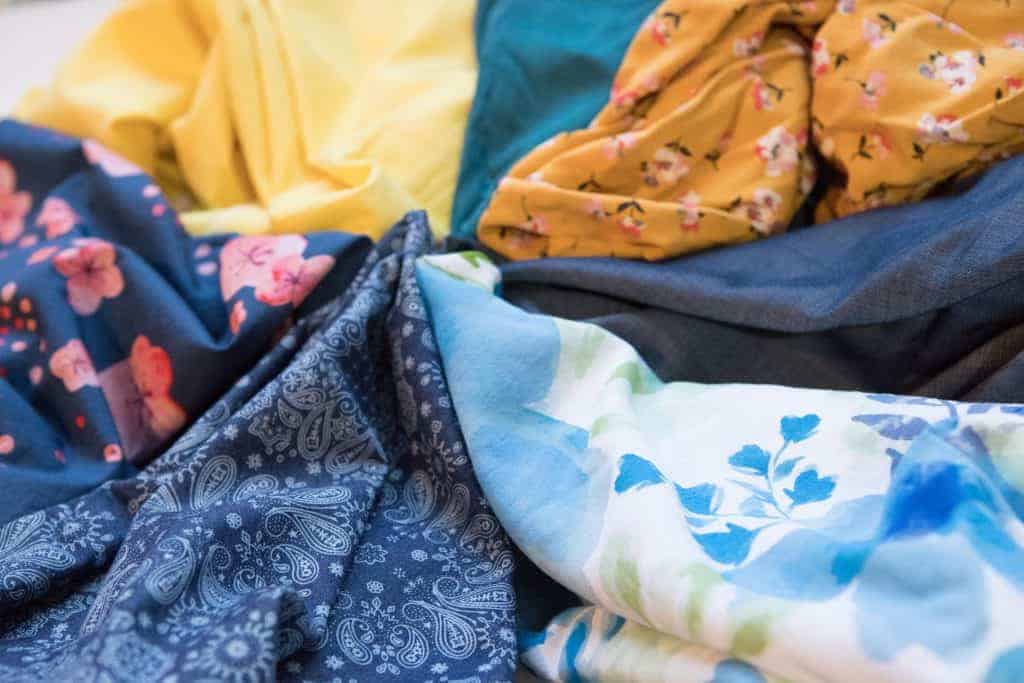
Tomorrow we will talk fabric, picking the best one for the job and cutting it out. We will also mark out pattern markings.