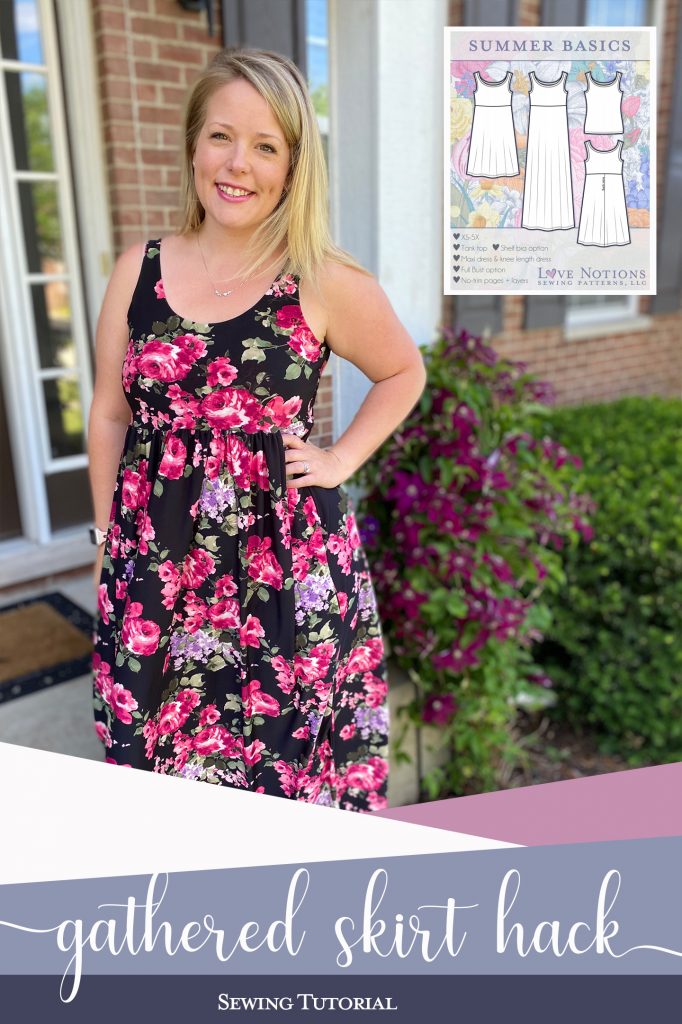
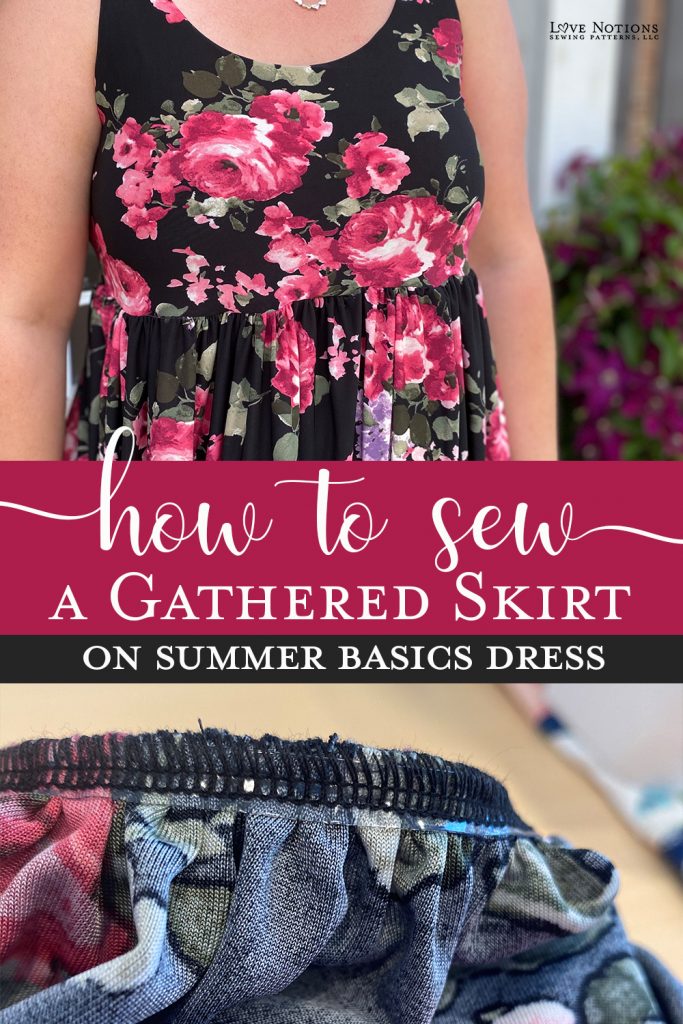
Today on the blog, I’m showing how to add a gathered skirt to the Summer Basics Dress. The Summer Basics is already a quick and easy sew, but you can add even more options to it with this simple adjustment. Grab your pattern here and let’s make a gathered skirt!
How to add a gathered skirt to the Summer Basics Dress
When I first saw the Summer Basics dress pattern, I was so excited. First of all, I am a huge fan of dresses in the summer. I want something quick and that requires as little thought as possible as I’m getting ready. Dresses in summer don’t need coordinates or accessories and they can be used for anything from a walk to the park, a family cookout, or a swim session at the neighbor’s. The Summer Basics Dress pattern is ideal for this type of dress — it’s simple, classic, and easy to wear.
![]()
So if this pattern is so great all on its lonesome, why would I want to change it to have gathers? Because of the fabric, of course.
Fabric is Everything
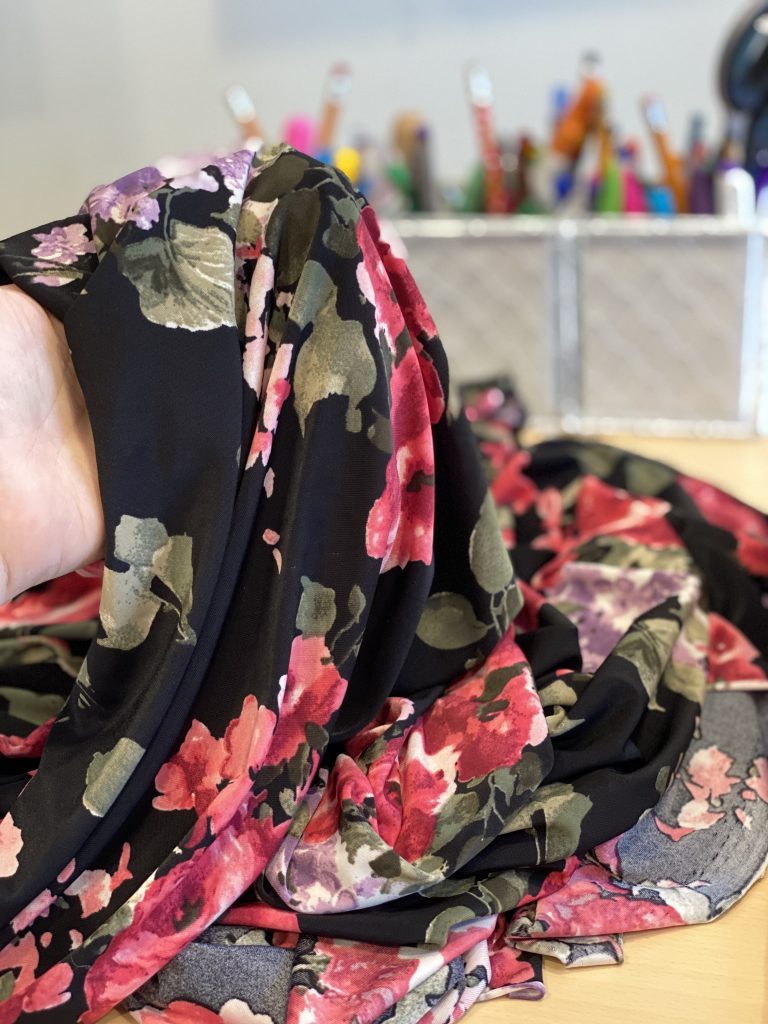
As I was collecting fabric to make up my new Summer Basics pattern, I happened to order this really pretty ITY fabric. ITY is a type of silky knit fabric that is fairly thin. The initials stand for “Interlock Twist Yarn” and beyond that, all I currently know about this fabric is that I LOVE to wear it — especially in summer. It keeps me cool, it doesn’t show sweat, and it is swishly and drapey.
When the fabric showed up at my house, I thought it was beautiful but I was a little worried about it working for the regular Summer Basics. This one was a little bit more thin than I was expecting, and as a relative newbie to sewing I knew that it was going to be difficult to do the Summer Basics binding treatment. So I got to thinking…. what if I took advantage of the drape and thinness to make a gathered skirt… and then I could fully line the bodice so I didn’t have to worry about dealing with applying binding to such a slippery fabric? (P.S. If you need some tips on working with silky fabric this is perfect.)
And this is what I ended up with:
Summer Basics with Gathered Skirt #1

And this felt so good and was such an easy hack that I added another to my collection:
Summer Basics with Gathered Skirt #2

My Summer Basics Makes
When Summer Basics re-released this past week with updated sizing and a shelf bra (yes!), made a post showing off my Summer Basics makes. You can click through these to see how much I’ve used this pattern.
-

- Tank in cupro
-

- Knee length skirt in athletic knit with shelf bra
-

- Maxi in double brushed poly
-

- Knee length dress in cotton spandex
-

- Maxi in double brushed poly
-

- Gathered Skirt Maxi, lined bodice
-

- Gathered Skirt Maxi, lined bodice
After I posted these makes I got a TON of comments asking for a tutorial on how to do the gathered skirt hack. Because it’s such an easy hack, and because I happened to have another cut of ITY, and because I can always use another pretty summer dress, I used my toddler’s nap-time to whip up another Summer Basics and filmed a quick and dirty tutorial about how I did it. You can find that here in my IG profile when you click on the highlight bubble that says “SkirtHack”- this will be good if you like to see it “in person.” And because not everyone uses Instagram and because those pesky slides move so darn fast, we decided to put one on the blog as well. So here goes!
Here’s what you need
- 3 yards of thinner, silky fabric like ITY (here’s a link to a ton of ITY options from one of my favorite fabric shops) This would also work with a poly rayon spandex or a modal.
- 3 pattern pieces from Summer Basics Dress: bodice front, bodice back, and skirt (now is the time to make any adjustments you know you will need).
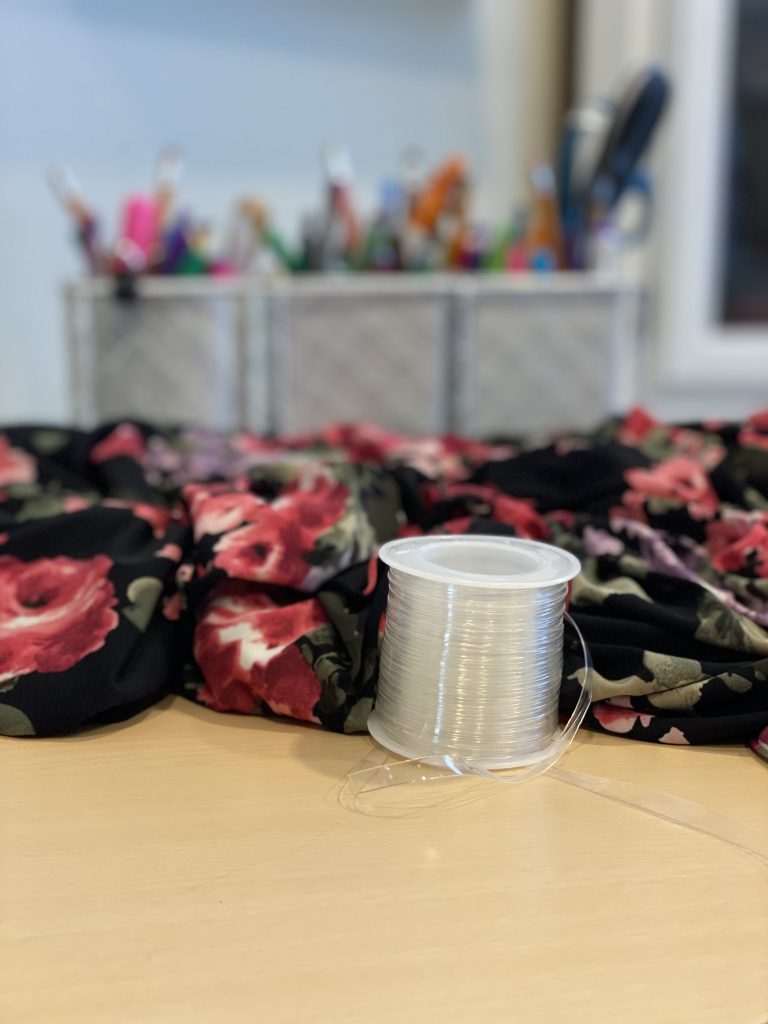
- Clear elastic like this
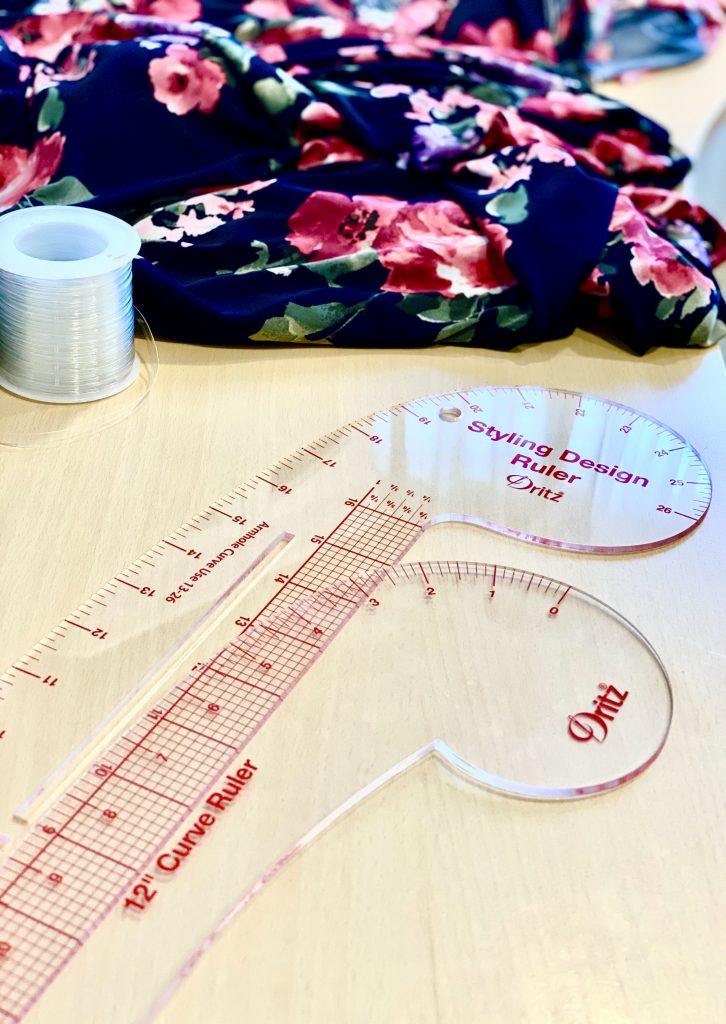
- (Optional) french curve ruler
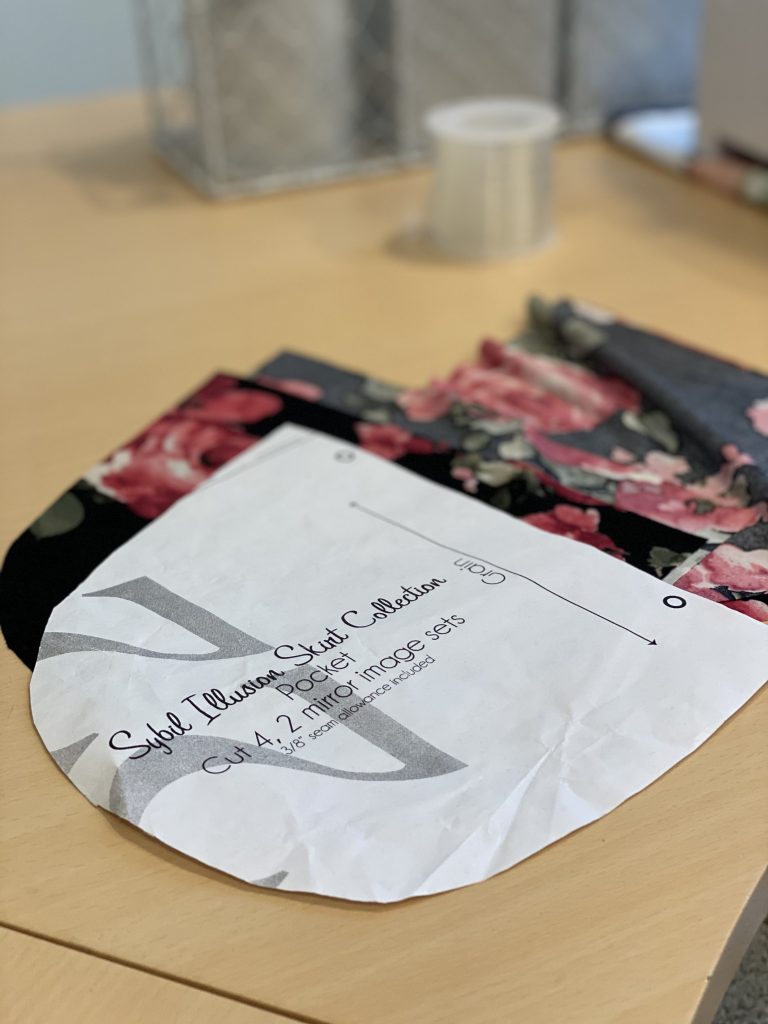
- (Optional) pocket pattern piece. I used one from Sybil Skirt.
Step one:
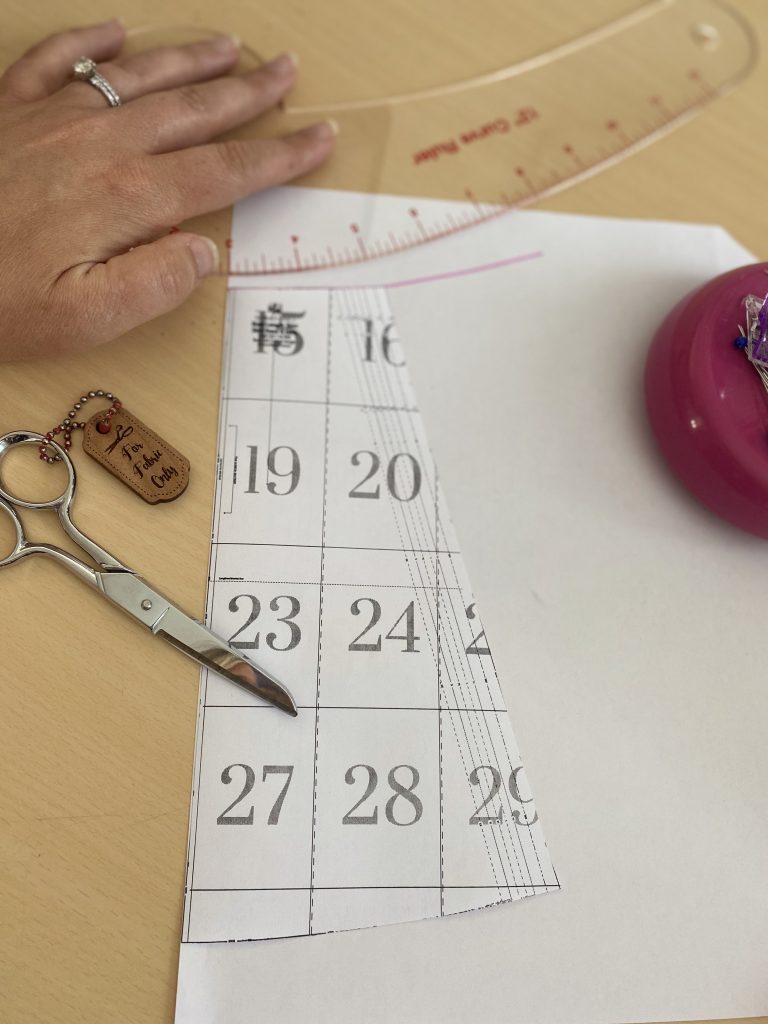
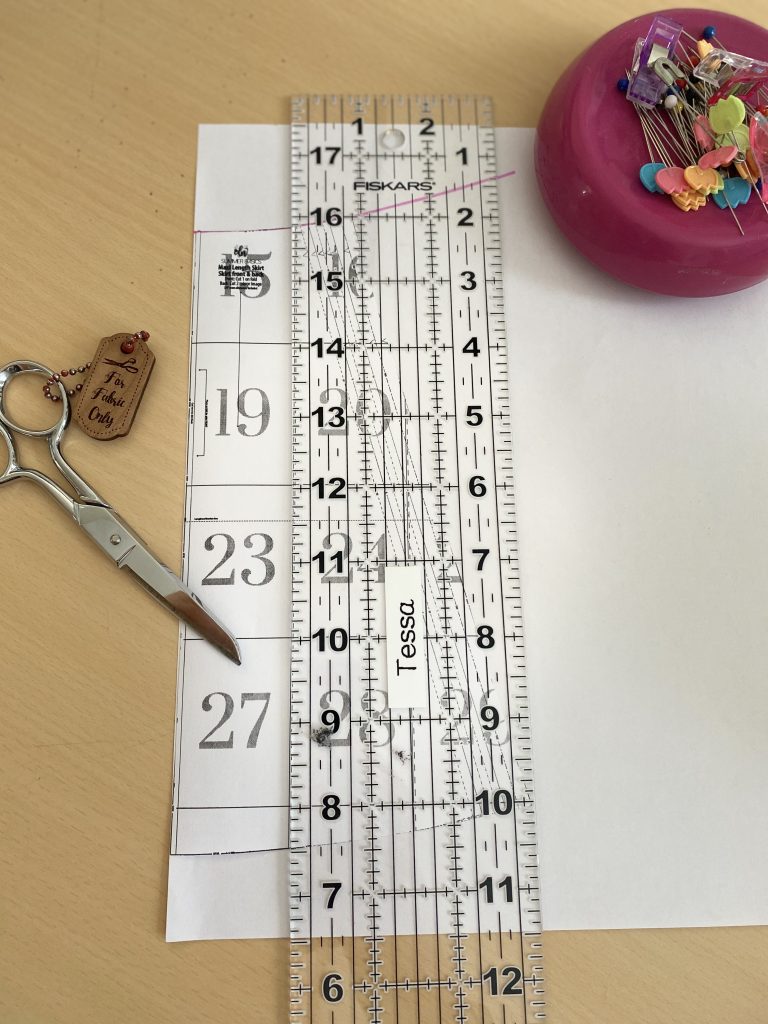
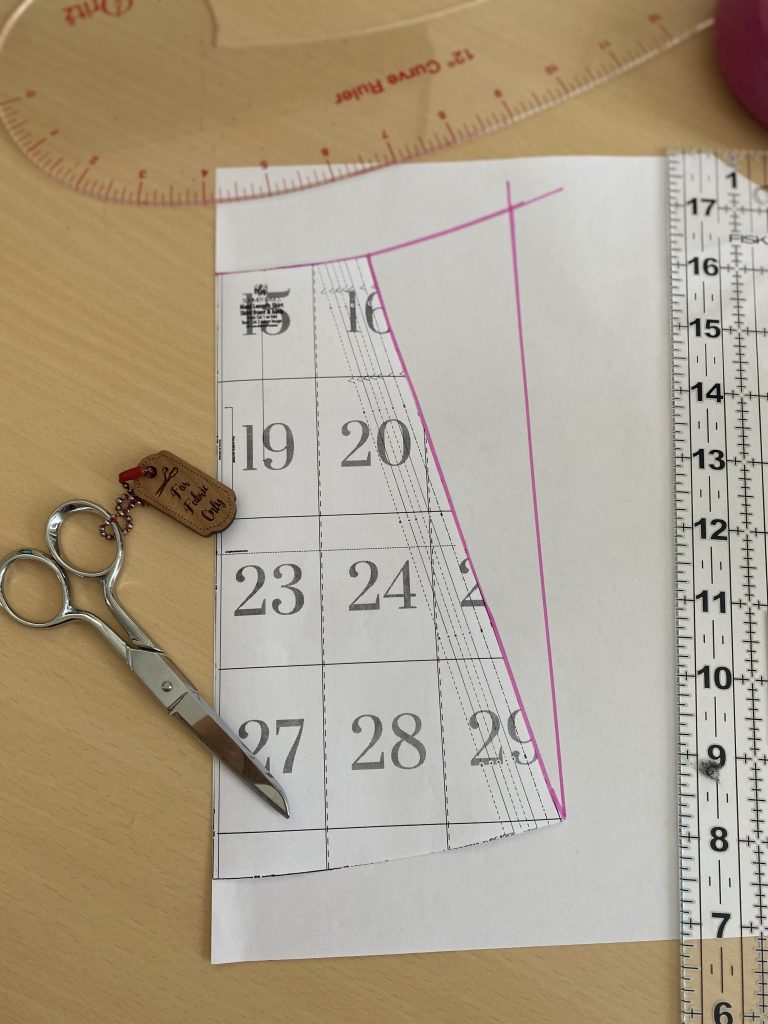
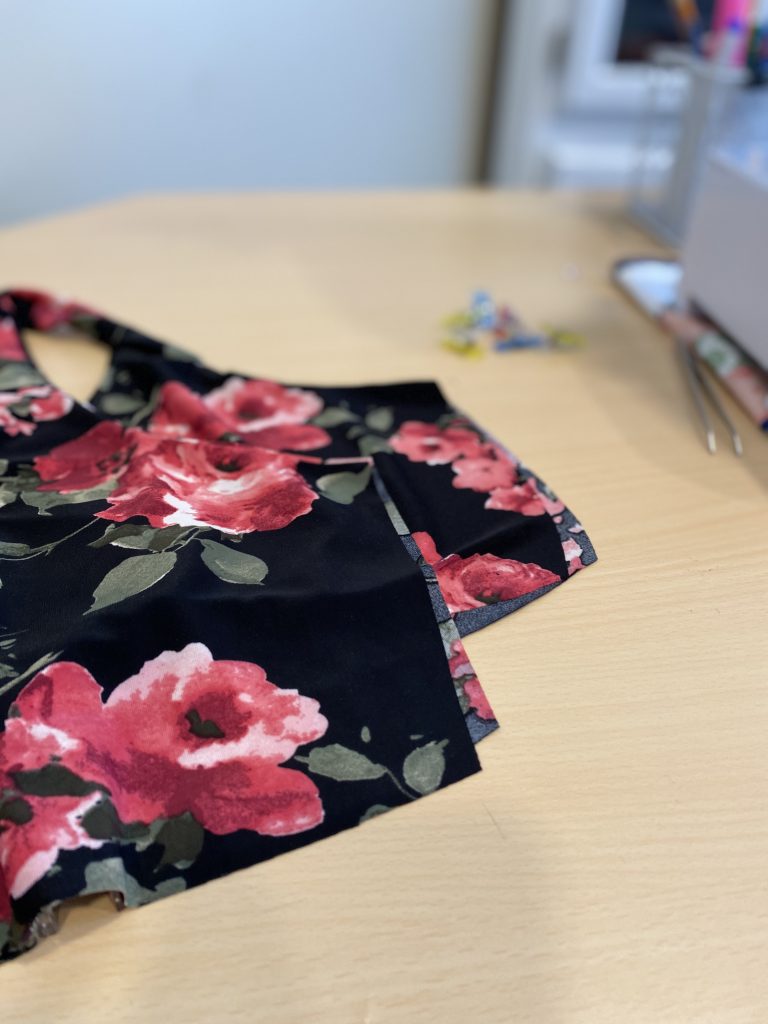
Alter the skirt pattern piece by continuing the curve of the waistline using the french curve ruler. From the corner of the hemline, draw a line parallel with the fold line up until it intersects with the curved waistline. Cut out your new skirt pattern piece and cut two skirts on the fold. Alternatively, you could probably just make two big rectangles approximately double the width of the bodice, but I think this method might be a little more precise when matched up with the curved portions of the bodice. (I did this example in small scale using an enlarged version of the print layout on page three of the tutorial– I wonder if it will fit my girls’ American girl dolls….)
Step Two:
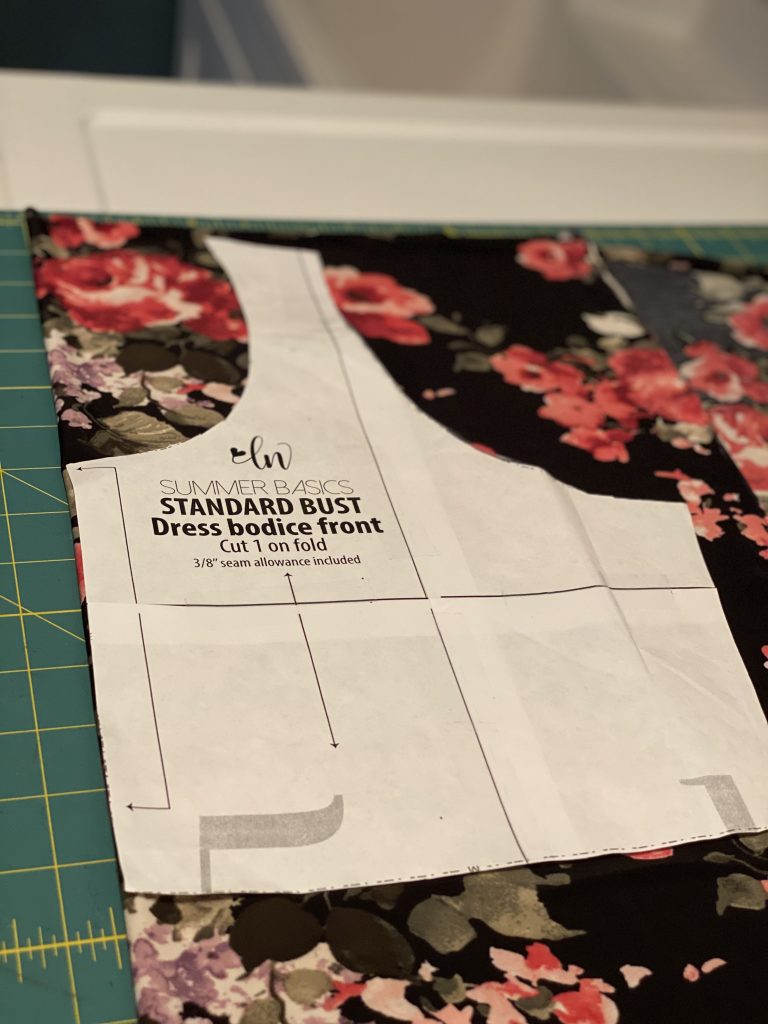
Cut two bodice fronts and two bodice backs. You won’t need any of the binding pattern pieces because these bodices will be sewn together to form the lined bodice using the burrito method. Now, on the original Summer Basics the strap will be a thicker strap becuase of the binding application and seam allowance. If you want to retain that slightly thicker strap you can add in a seam allowance before cutting the armscye. I chose to keep it thinner.
Step Three:
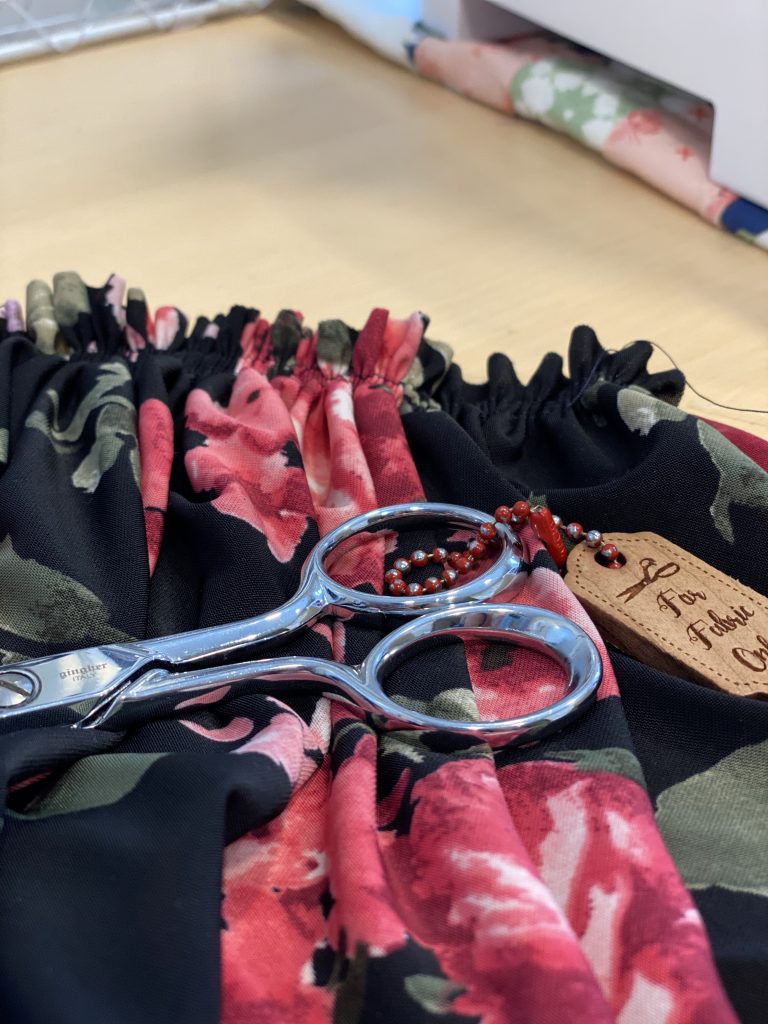
Sew up the side seams of the skirt pieces and then use a basting stitch to sew two rows of stitches along the top of the skirt. Be sure to leave extra thread tails and don’t backstitch. After you’ve sewn these rows, pull the gathering stitches to approximately the same width as the bodice pieces and set aside. (If you are using pockets, you’ll need to install them before you sew up the side seams.)
Step Four:
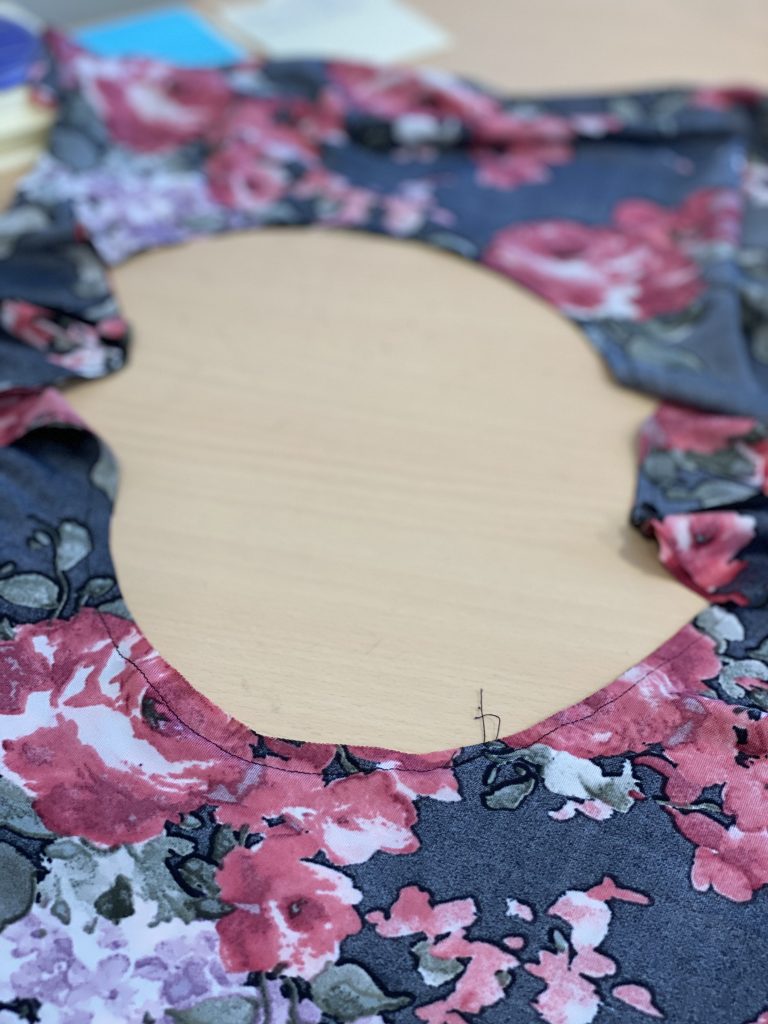
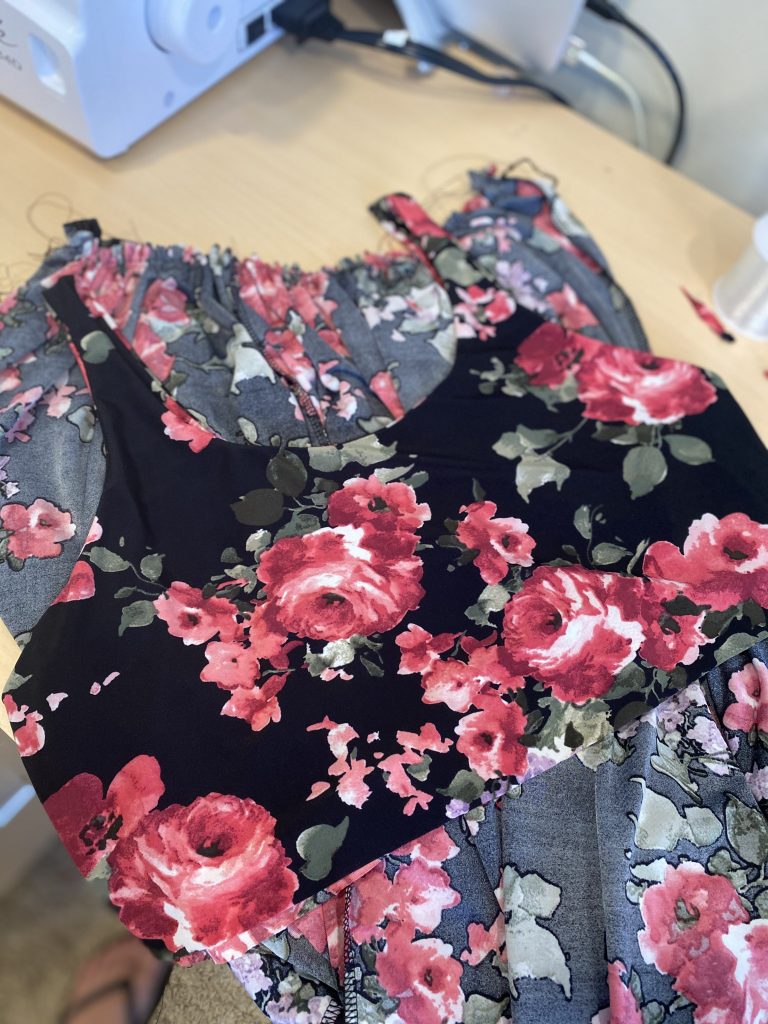
Now let’s finish the lined bodice. First you need to sew the shoulder seams of each of the two sets of bodices. Then lay them on top of each other, right sides together. Sew around the neckline.
Burrito method time! This style of finishing a lined bodice looks harder and more complicated than it is. You can do a quick google search or youtube search to find lots of tutorials, and Tami did this burrito method video tutorial for the Cadence — so if you can do the Cadence, you can do this and vice versa!
Roll up everything between the armscyes of one side. Sew.
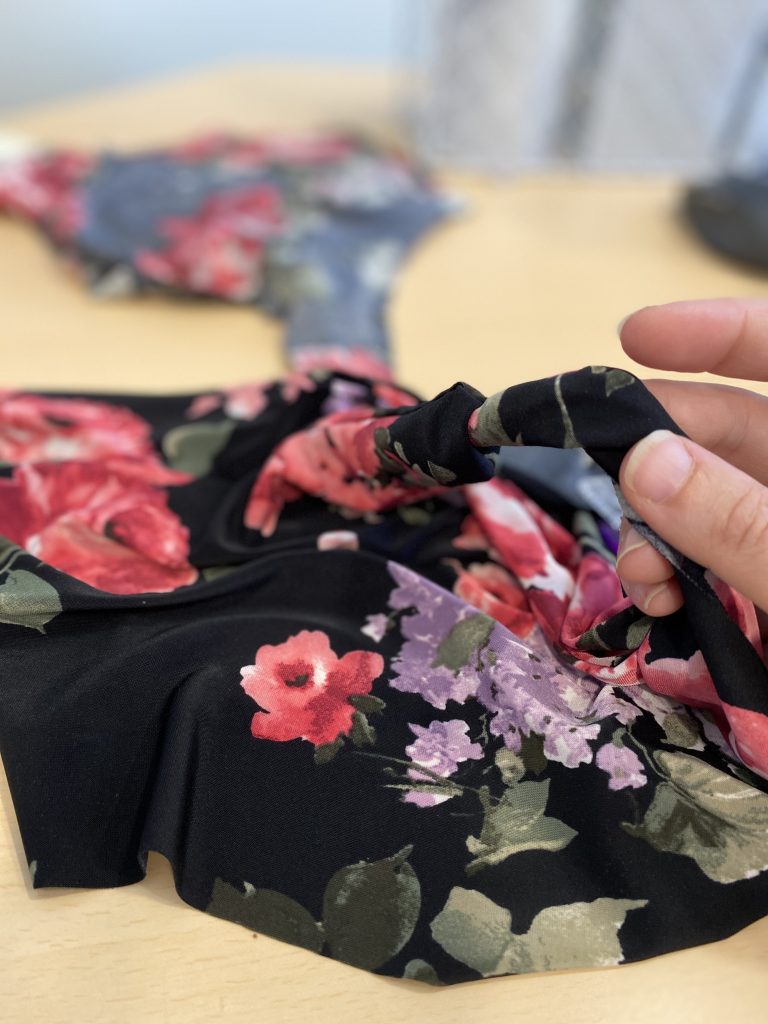
Turn right side out by pulling everything through the sewn armscye. This part feels scary. Just be sure that you have only sewn the arm scye and no other bits of fabric got sewn in with it.
And this is what you get! It feels like magic!
Then place side seams right sides together and sew.

Step Five:
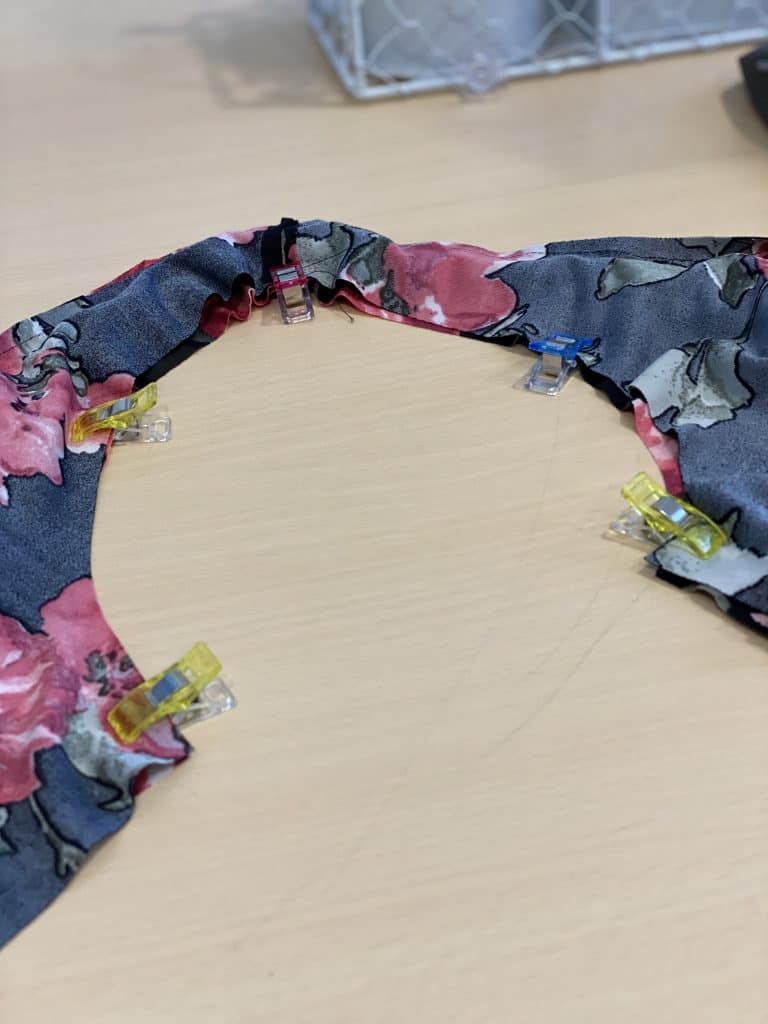
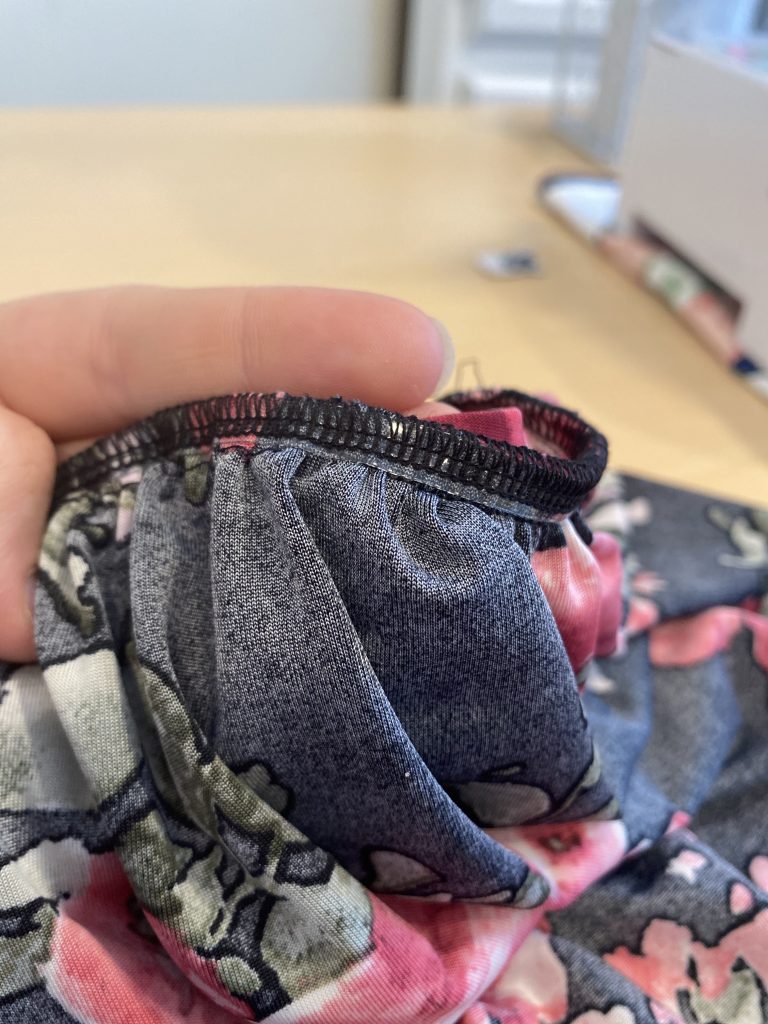
Now place the assembled bodice inside the skirt, right sides together and sew with a basting stitch to make sure it’s all even.
Then I serge the seam using some clear elastic just *slightly* stretched. It’s being used to stabilize and doesn’t need the full extent of its elasticity necessarily. If you don’t have a serger, you can attach the clear elastic with a 3 step zig-zag stitch.
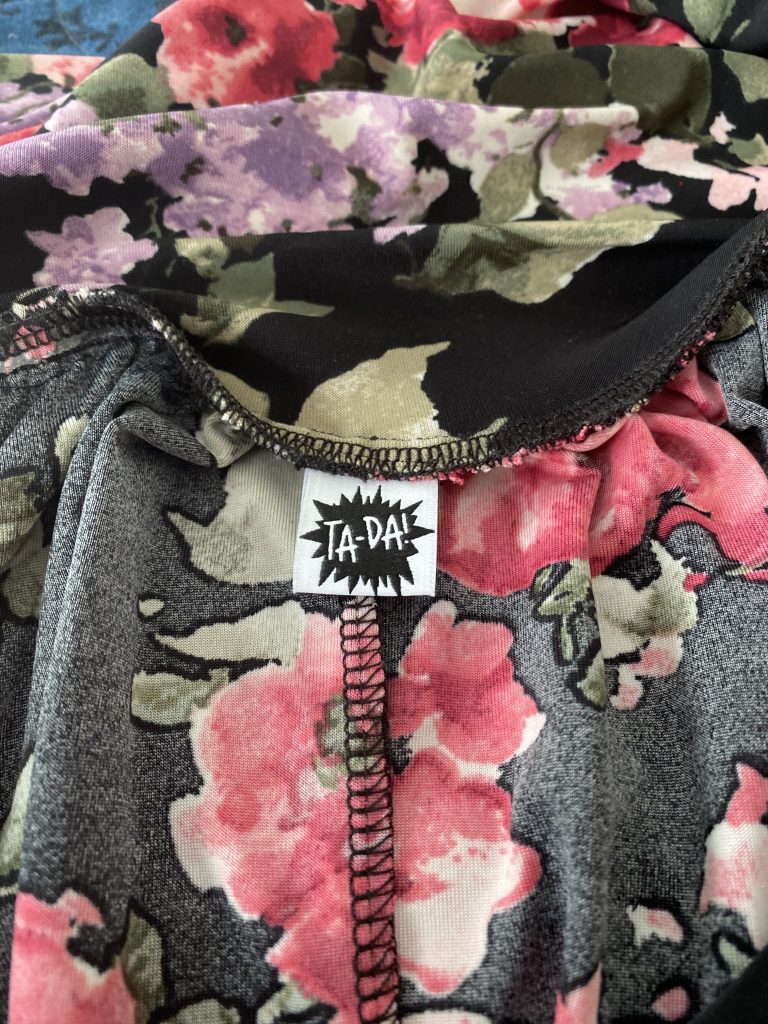
Be sure to add in a clothing tag to the back so you can identify the front and the back easily — this pattern can be tricky that way!
Step Six:
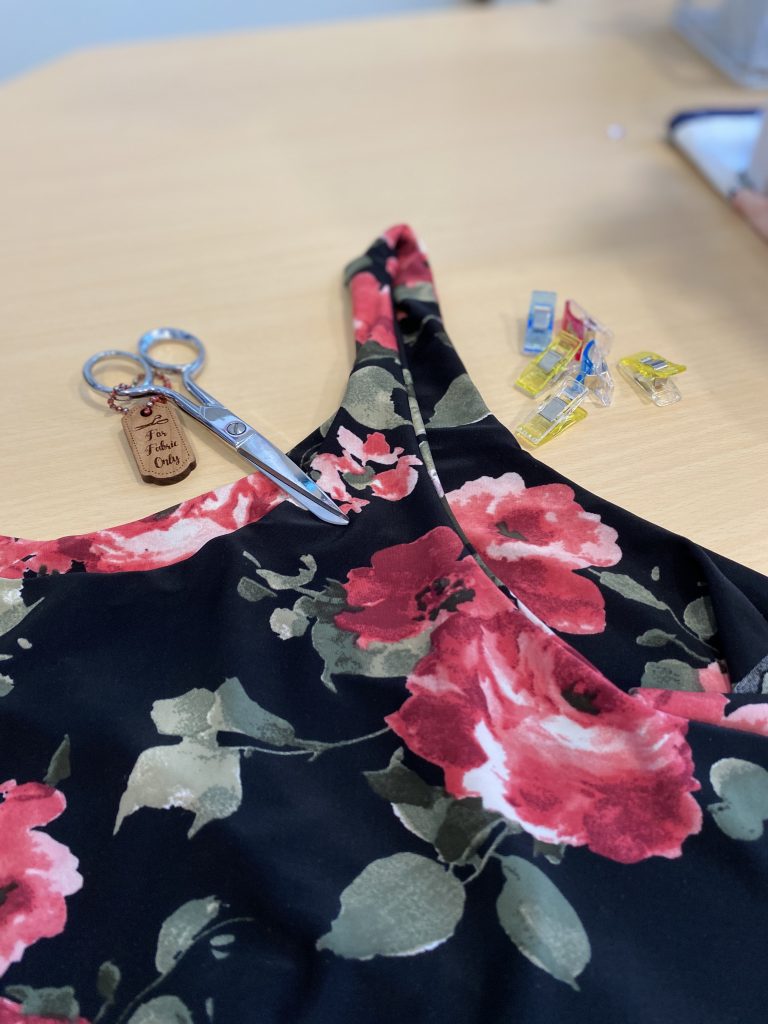
Hem, or you can be a hemming rebel like me and just keep wearing it the rest of the day after you try it on for a fit check. ITY won’t fray!

Here’s the final product. My fully lined, nap-time approved, gathered skirt Summer Basics dress!

![]()

–
I just love this dress and the Summer Basics pattern in general — this is my eighth version after all. Get your copy and start collecting your fabric today! If you have any questions or comments feel free to connect with me on Instagram or you can email me at [email protected]. Happy sewing <3
Pin these for later!