Hip Hop Tank Sew Along: Day Two
Day two of the Hip Hop Tank Sew Along is here! Today, we get to start sewing up our tanks! Because of the many views of the pattern, I’m going to sew the highlight of one view each day. If bands and bindings intimidate you, don’t worry, we will spend some time of those this week as well! And like always, I’ll have some hacks to give your pattern some new, fun looks!
Hip Hop Tank: View A, basic tank
We are going to kick things off with the basics. Sewing a basic knit tank. This is a wonderful project for those new to sewing knits! Those with more experience can take the time during this project to focus on finishing skills, such as perfecting hemming, or attaching binding. I am going to take the opportunity today to show you how to create a cute hooded tank. That means, we are doing our first Hip Hop Tank hack!!
We reviewed the best fabric options for this version yesterday. Once you have your fabric picked out, referred to the cutting guide on page 6 of the pattern to ensure you cut out all the pieces. Remember, there isn’t a pattern piece for the bindings, you will need to refer to the chart on page 6. The cutting guide for the pattern pieces and the cutting chart are also located on page 31 of the pattern pieces. For view A, we will need one front (cut on fold), one back (cut on fold), two arm bindings and a neckline binding.
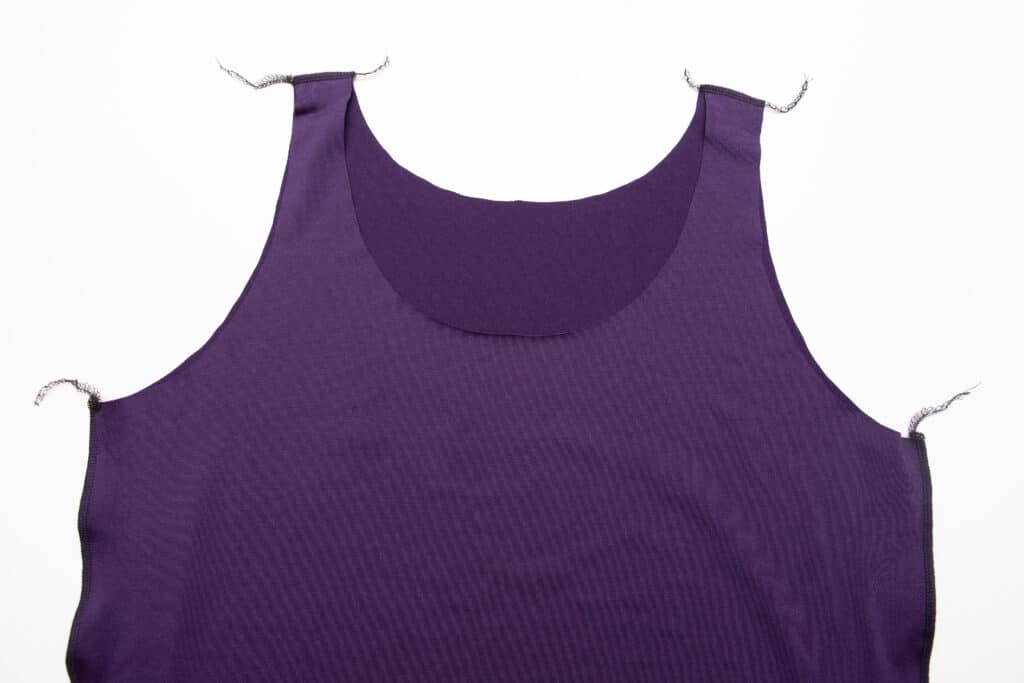
Sew the body of the tank
Follow the directions for sewing the shoulders and side seam of the Hip Hop Tank together. Because of the direction of these seams, you do not need to use a stretch stitch if you are using a sewing machine. A straight stitch is fine. You can use a serger for construction, if you have one available.
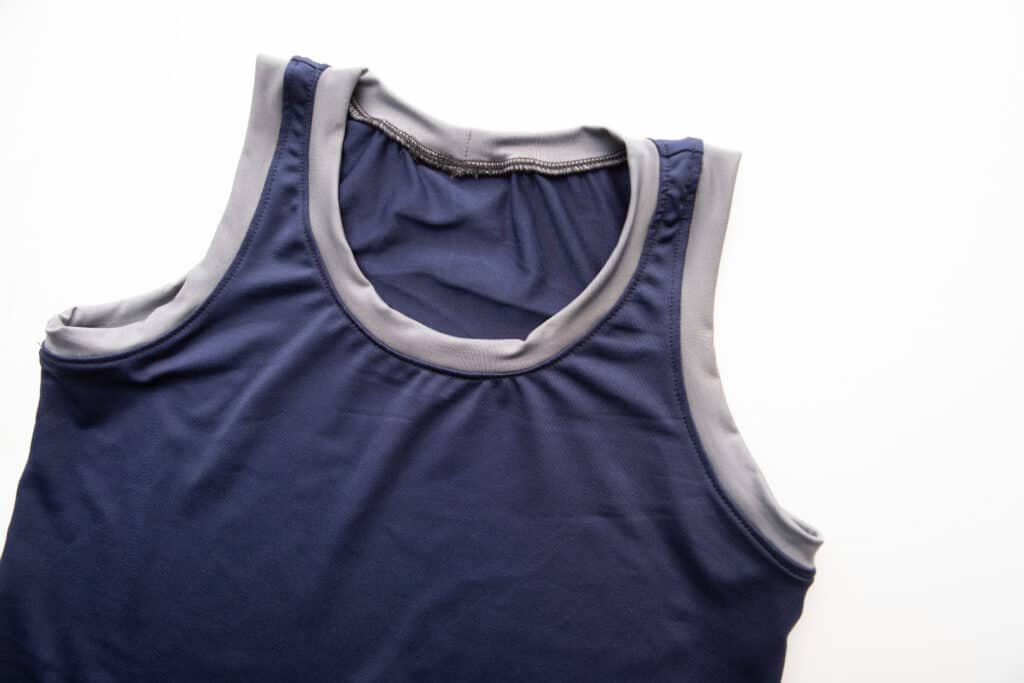
Attaching the bands
I am going to show you how to sew bands on your tank today. This is the method shown on page 10 of the pattern under “Alternative binding method: Using ribbing”. Now, you don’t have to use actual ribbing for this. However, you do need to make sure you use a fabric with good stretch (40%) and great recovery like I talked about yesterday.
Before sewing the short ends together, I like to press my band lengthwise, wrong sides together. If find that this makes it easier to fold the band before attaching to the shirt.
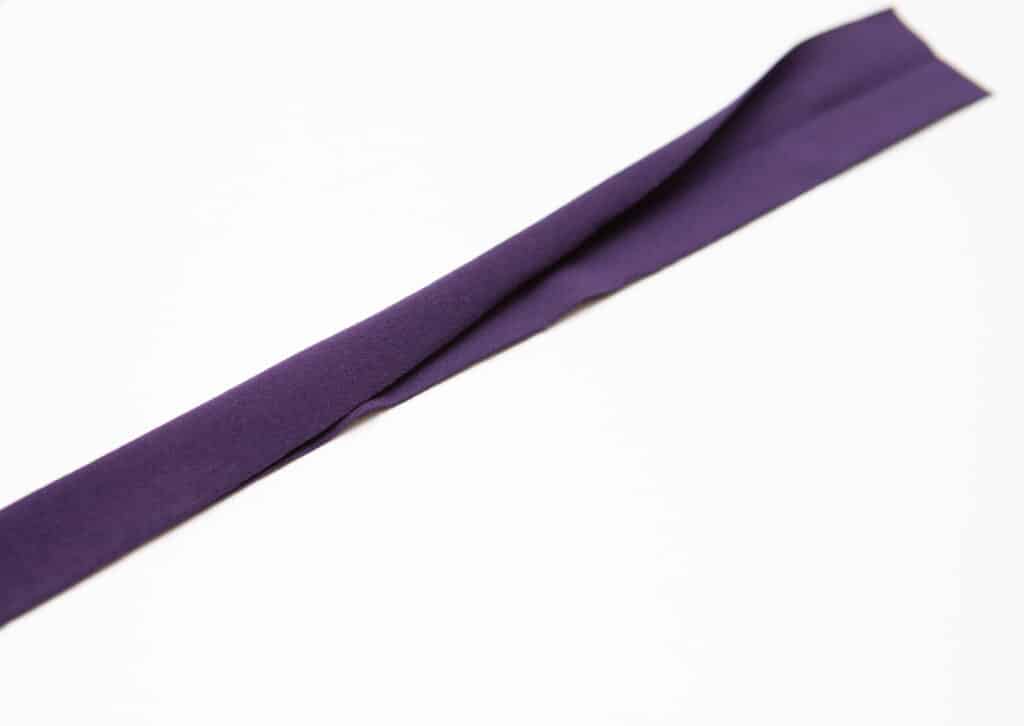
When I sew the ends of my bands together, I like to use my sewing machine. This allows me to press the seam allowance open before folding the band wrong sides together. This reduces the bulk at the seam. Serging can produce a bulky seam that isn’t as comfortable for some people to wear.
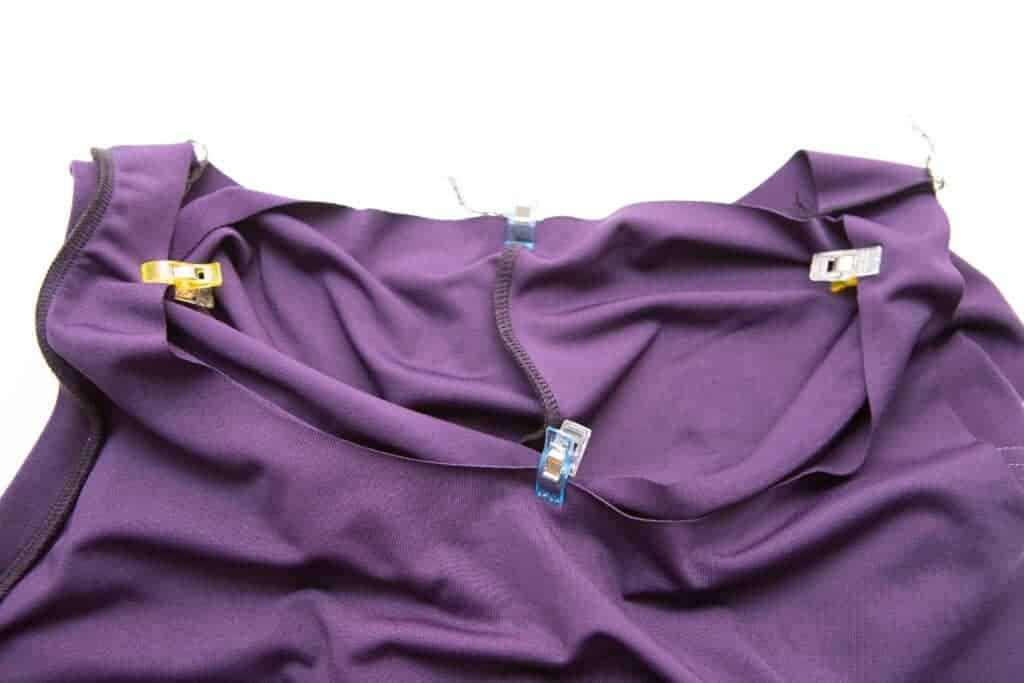
After you have the short ends sewn together, find the quarter points of the band and the arm hole. Now, match the quarter points up. Make sure the seam of the band is lined up with the side seam of the Hip Hop Tank.
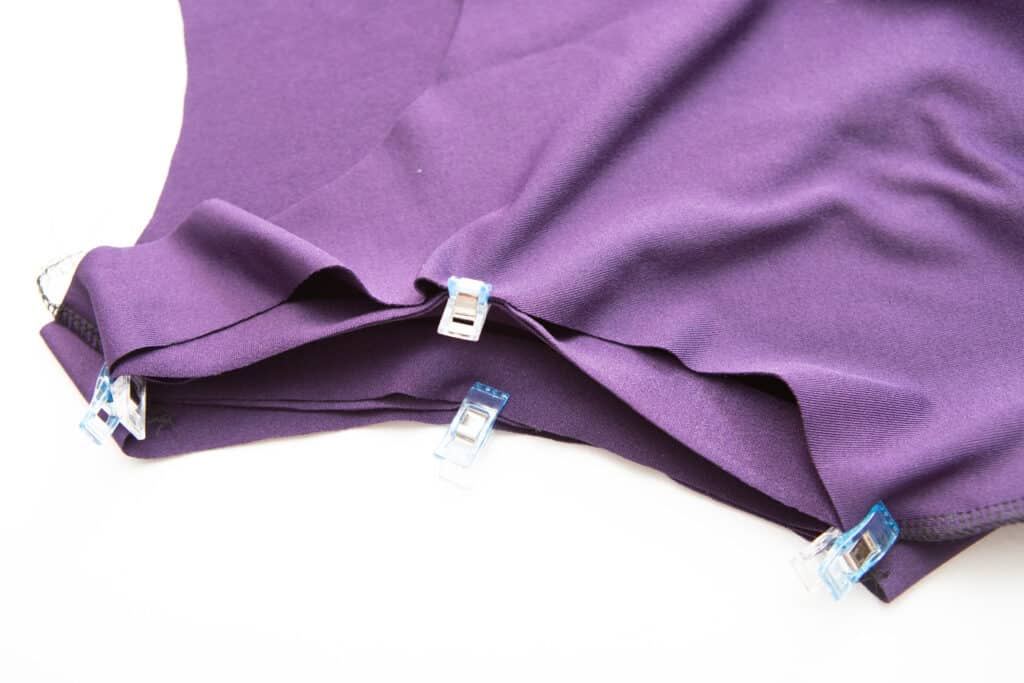
Stretch the band gently to match the length of the arm hole. If you don’t have to stretch your band, you will need to shorten the band up a bit. That’s ok! Some fabrics require a shorten band than the pattern piece is designed for. Super stretch fabrics like double brushed poly often need a shorter band than a cotton Lycra, for example.
As you stretch the band, be careful to not stretch the arm hole of the tank. Sew the band into place with either a stretch stitch or serger.
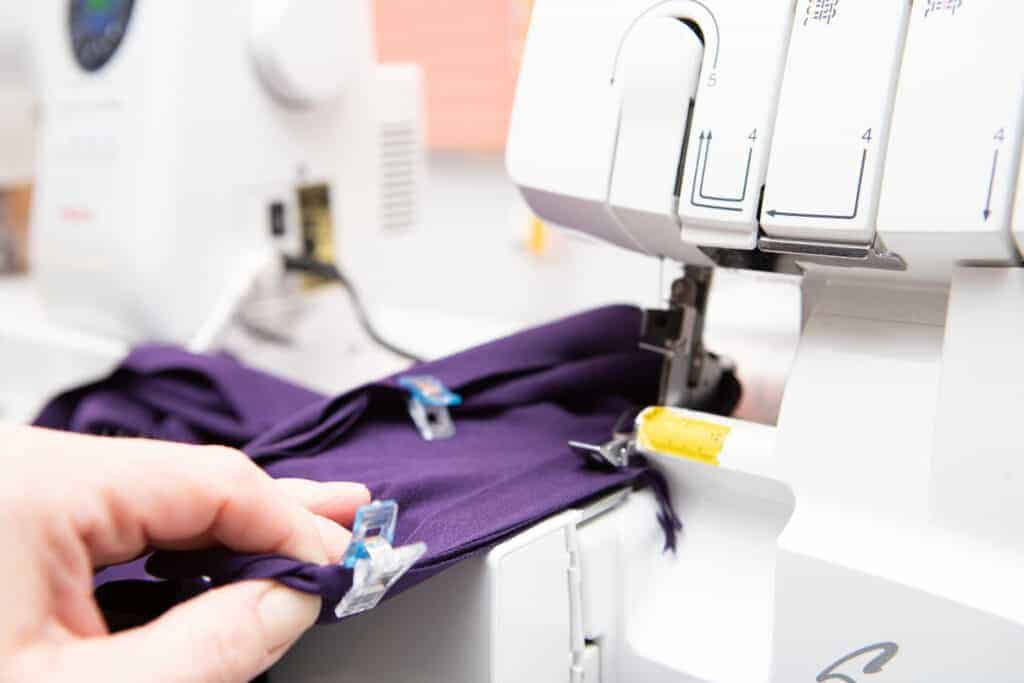
Repeat with the second band and the neckband.
Prefer videos? The video below will walk you through the process of attaching a band.
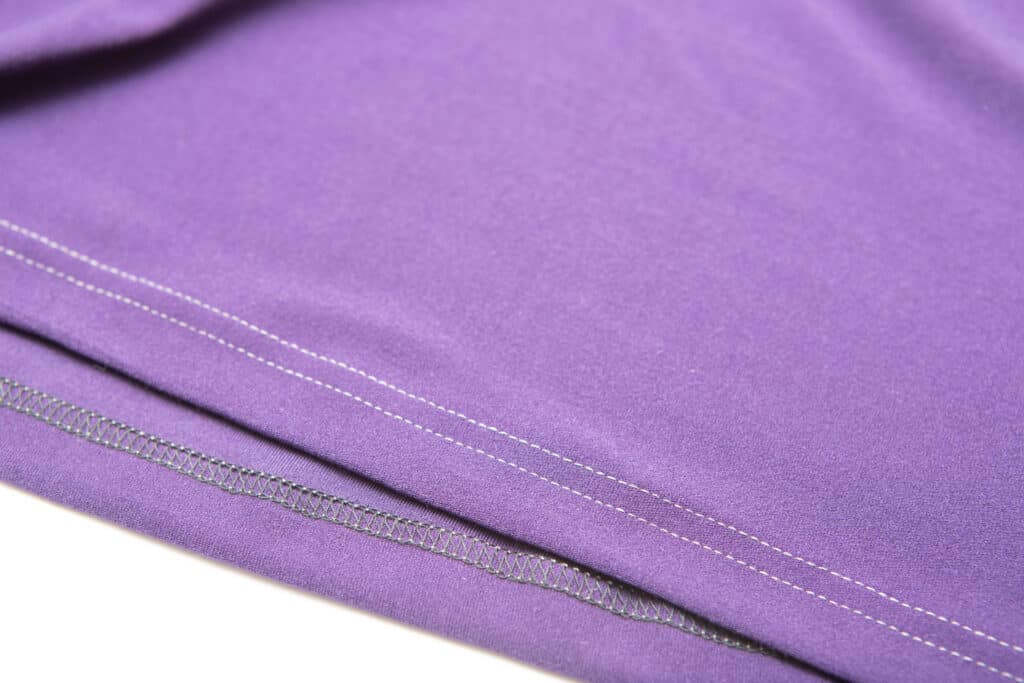
Hemming
Press the bottom hem of the Hip Hop Tank upwards to the wrong side. Then sew in place with a stretch stitch or a coverstitch machine.
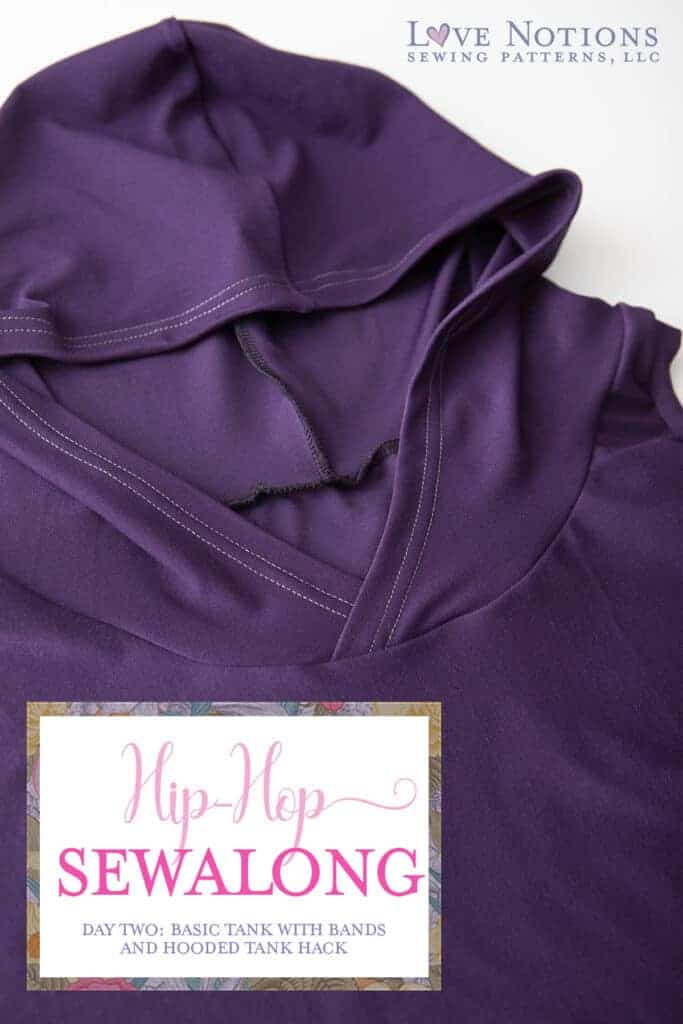
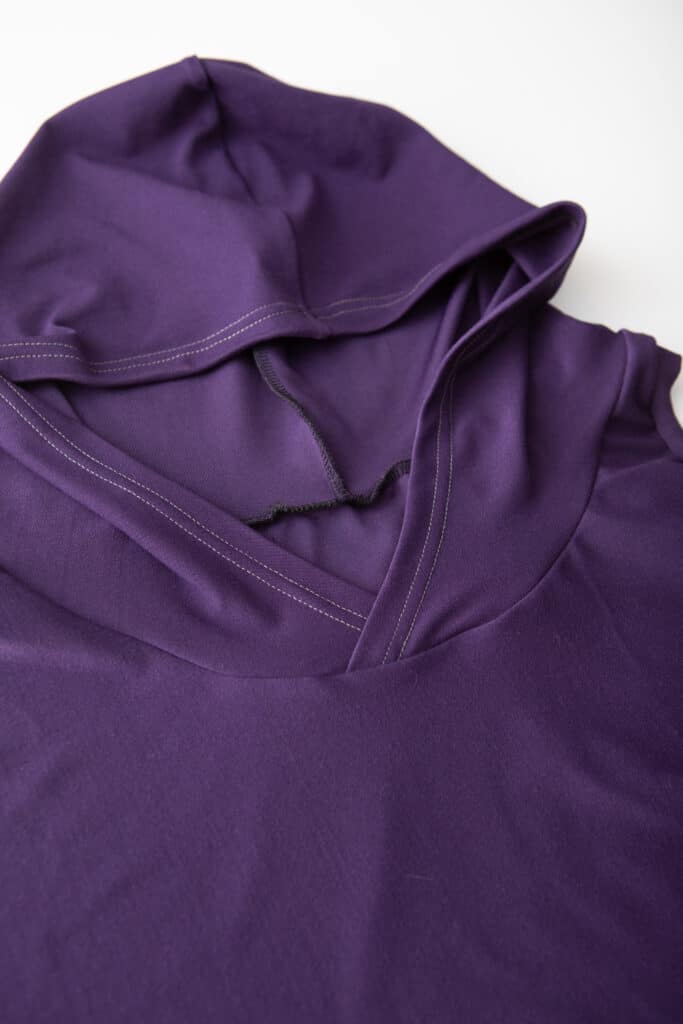
A hooded tank
Let’s pattern hack!! This is such a great introduction to pattern hacking. To add a hood to my Hip Hop Tank, I used the hood from the Sloane pattern. You can use any hood, just make sure to measure the neckline of the hood to make sure it will fit your Hip Hop Tank. Using a hood pattern with an overlap in the front, like Sloane, gives you more flexibility to adjust the hood to fit the neckline.
Assemble and hem the hood per the pattern’s instructions. With right sides together, match the center back seam of the hood with the center back of the neckline of the Hip Hop Tank. Match the front of the hood and the front of the neckline and the quarter points. Adjust the overlap of the hood front, if needed to fit the neckline of the Hip Hop Tank. Remember, you do want to stretch the hood a bit to fit the neckline, just like a neckband. This pulls the neckline up and into place.
That’s all we have for today!
If you love to sew along with friends, join us in the Facebook Support Group. There you will find live videos each day of the Sew Along and how you can enter our Sew Along give away! One winner will receive a $50 gift certificate to Love Notions and a $50 gift certificate to Surge Fabrics!
Day One: Pattern Assembly, picking fabric