Hip Hop Tank Sew Along: Day One
Welcome to our May Sew Along, the Hip Hop Tank! With so many options in one pattern, we have a lot to cover this week! I am going to walk you through the entire process of sewing a Hip Hop Tank, from assembling the pattern, picking the perfect fabric and sewing it up, I’ll share tips to save time and some hacks to take your patterns even farther!
Day One: Pattern Assembly and Selecting Fabric
Today is an easy day on the Hip Hop Tank Sew Along! Or a hard day, depending on how you look at things. Today we will be assembling our Hip Hop Tank pattern (easy!), deciding what view we will be sewing, and picking out our fabric (hard!). I have the toughest time deciding on what fabrics I want to use! Even for this project, I ended up changing my mind after I got my fabrics in hand. It’s so HARD to choose when there are so many amazing fabrics out there! Our sew along this month is sponsored by Surge Fabrics. Holy smokes do they have some amazing choices! It took me a week to finally settle on what I wanted to sew. If I could have done a month long sew along and make 30 versions, I totally could have! So many great fabrics to choose from!
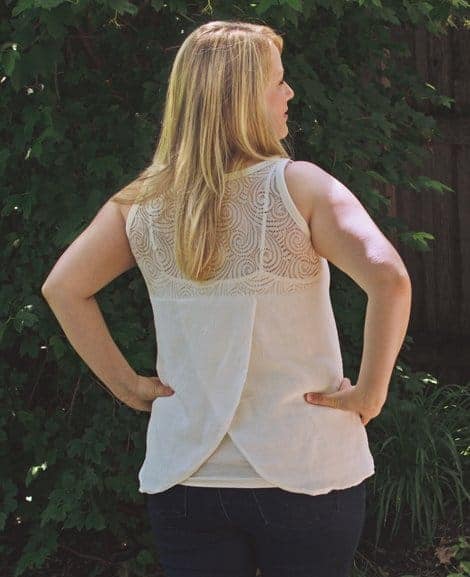
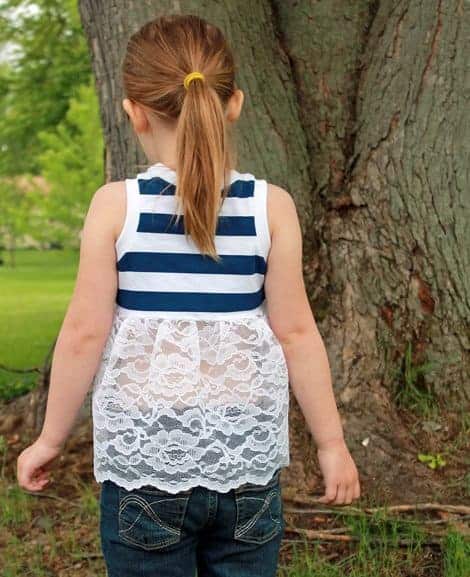
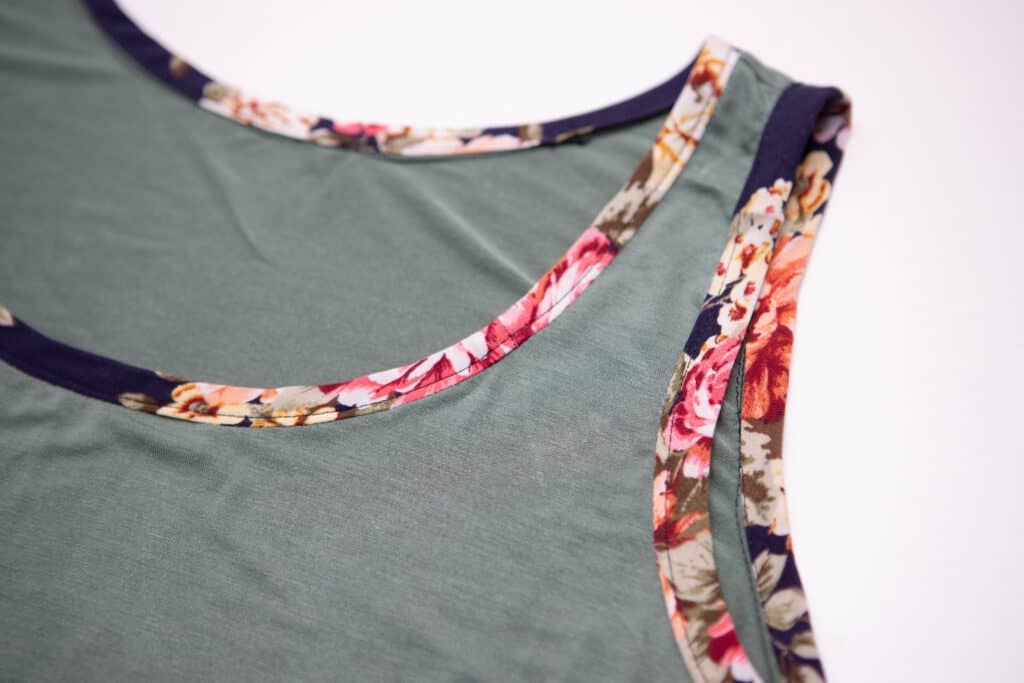
Here is my game plan the Hip Hop Tank Sew Along. Tomorrow, I will be sewing up a basic tank with brushed athletic poly/lycra. (Sorry, no links. Surge is moving house and I’ll update this post with links when they are available.) Wednesday, I will be sewing a tulip backed tank from athletic brushed poly jersey. Thursday is button day! I am making a shirt back tank with bamboo spandex with the floral bouquet on navy rayon challis (above) It is going to be a gorgeous combination. Friday is t shirt day! I’m sewing a t shirt from some heavy weight athletic brushed poly. Shew! So much planned!!! And of course, you know I’ll sneak a few hacks in there as well.
More on fabric
The Hip Hop Tank has four views and each one has specific fabric suggestions. Let’s review each one.
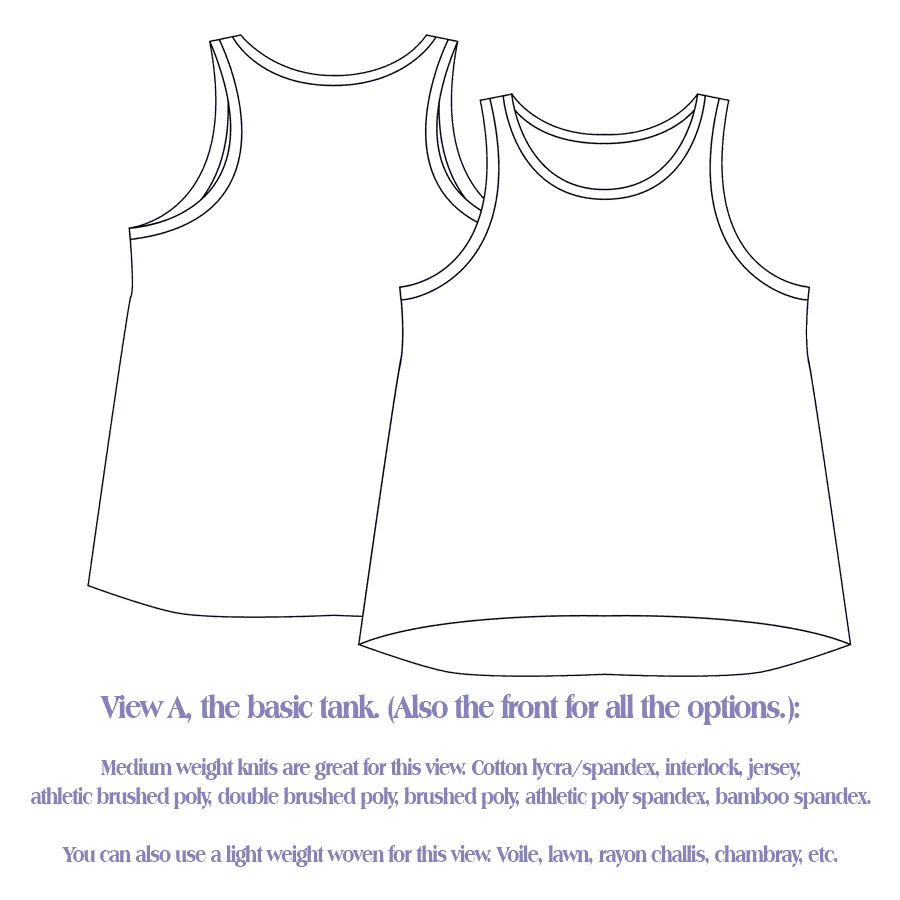
View A, the basic tank. (Also the front for all the options.): Medium weight knits are great for this view. Cotton lycra/spandex, interlock, jersey, athletic brushed poly, double brushed poly, brushed poly, athletic poly spandex, bamboo spandex. You can also use a light weight woven for this view. Voile, lawn, rayon challis, chambray, etc.
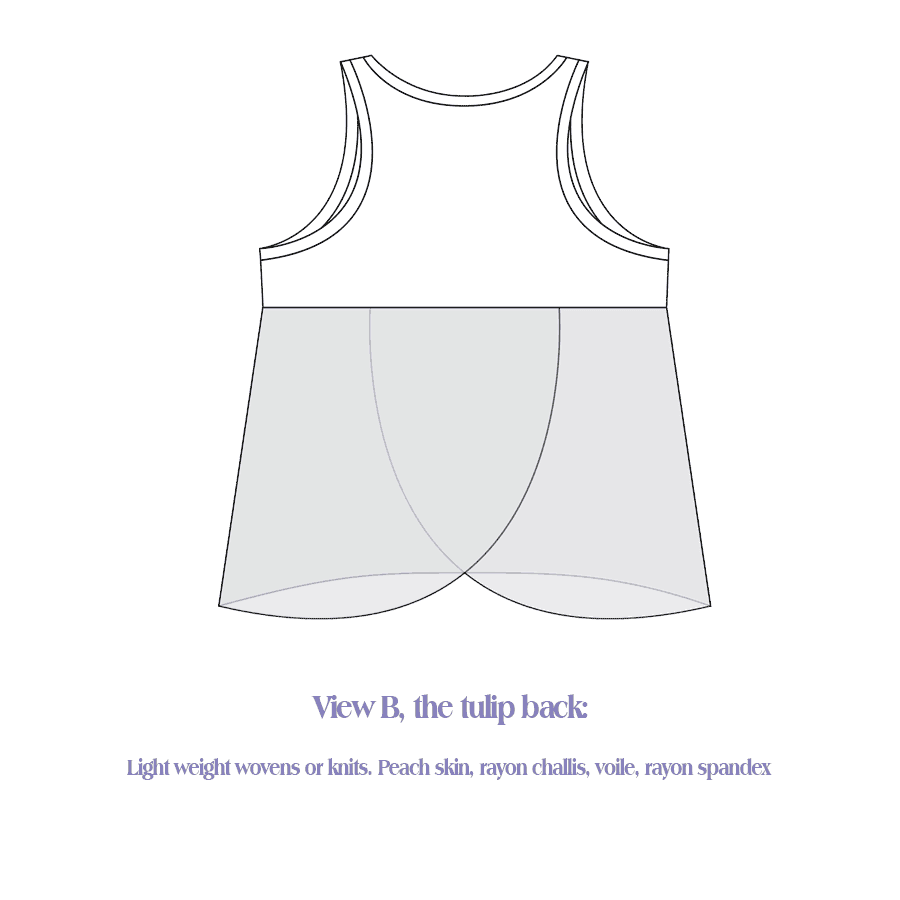
View B, the tulip back: You want a nice drapey fabric for this back. You can use knit or woven. Some great wovens would be peach skin, rayon challis, poly rayon.
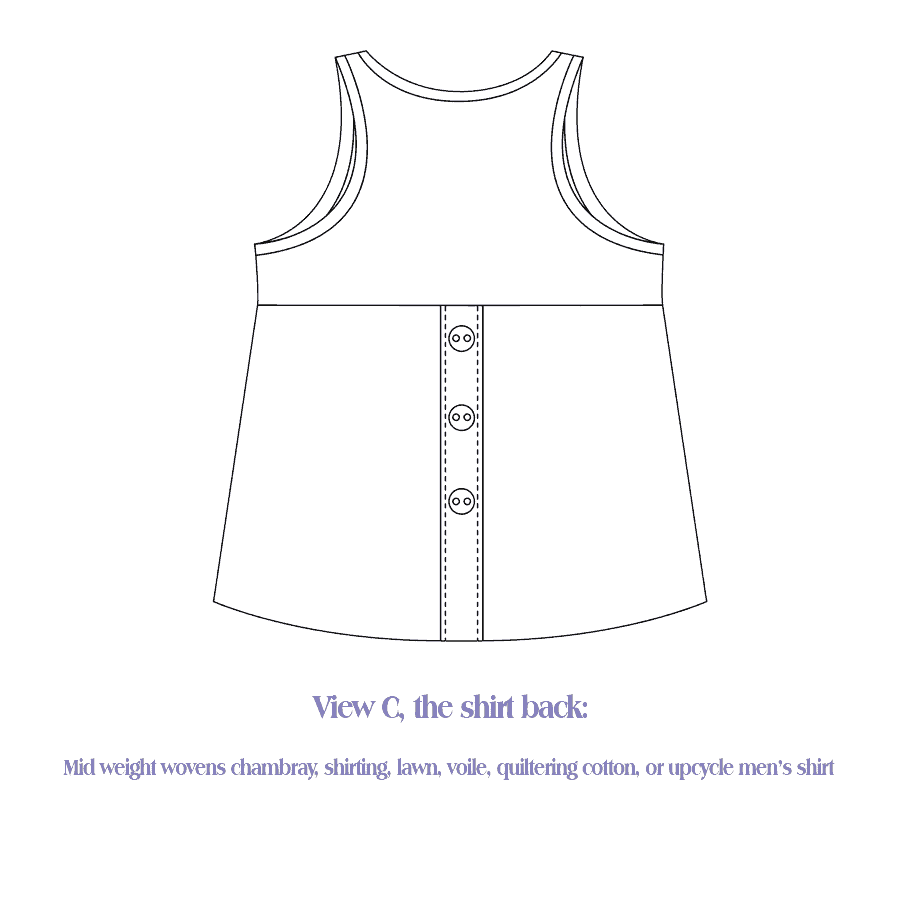
View C, the shirt back: Wovens with a bit more body to this are ideal. voile, lawn, shirting, chambray, quilting cotton, or even upcycle a men’s button down shirt.
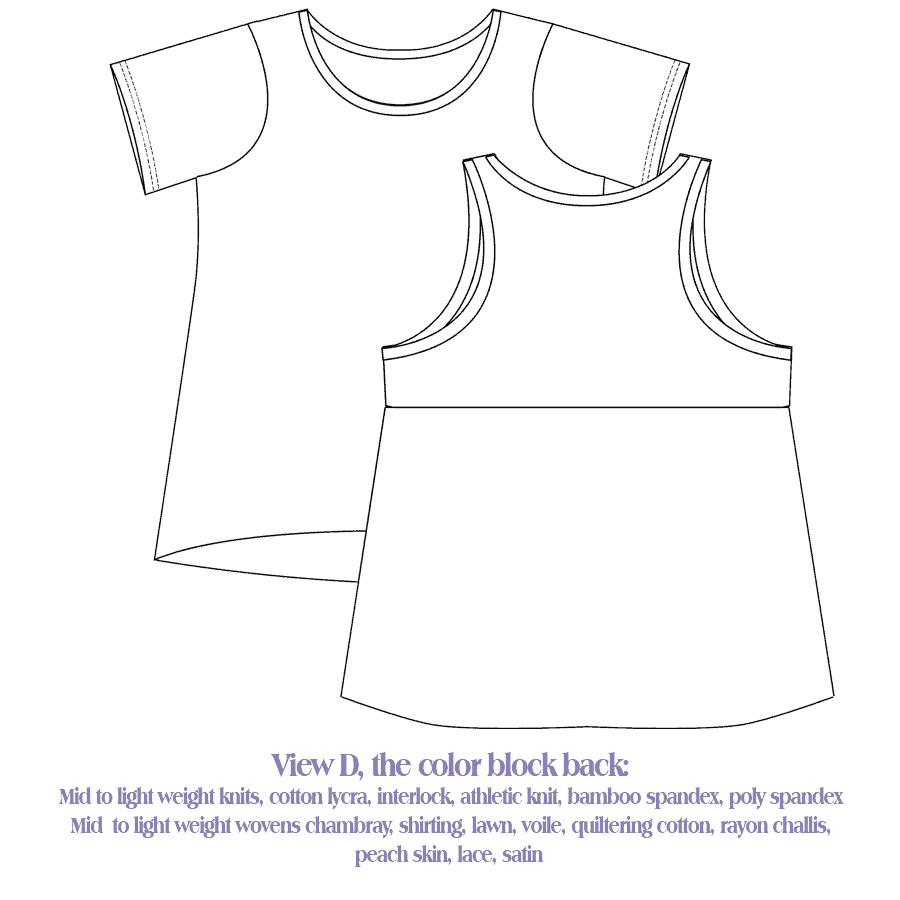
View D, the color block back: any of the suggestions for view A, B, C would work great. You want to be sure that the weights of the fabrics are similar if you color block different fabrics. So if you have a quilter’s cotton for the bottom of the back, go with an interlock or cotton lycra weight for the rest of the shirt over a double brushed poly.
Sleeves: If you opt to have sleeves on your Hip Hop Tank, you must make the sleeves, front and upper back from a knit fabric. There is not enough ease to have these pieces sewing in a woven fabrics. Using a woven will result in a shirt that is rather snug feeling.
Binding: Knit or woven is perfect for the binding! If you use a knit, go with one that is medium weight and doesn’t curl a lot. If you use a woven, it must be cut on the bias. (Knit binding is cut across grain.)
Band: If you want to sew bands for the arm and neck line finished, choose a knit that has good stretch and recovery, ideally 40% stretch and 100% recovery. Recovery is the fabrics ability to return to the original length after being stretched out.
Pattern Assembly
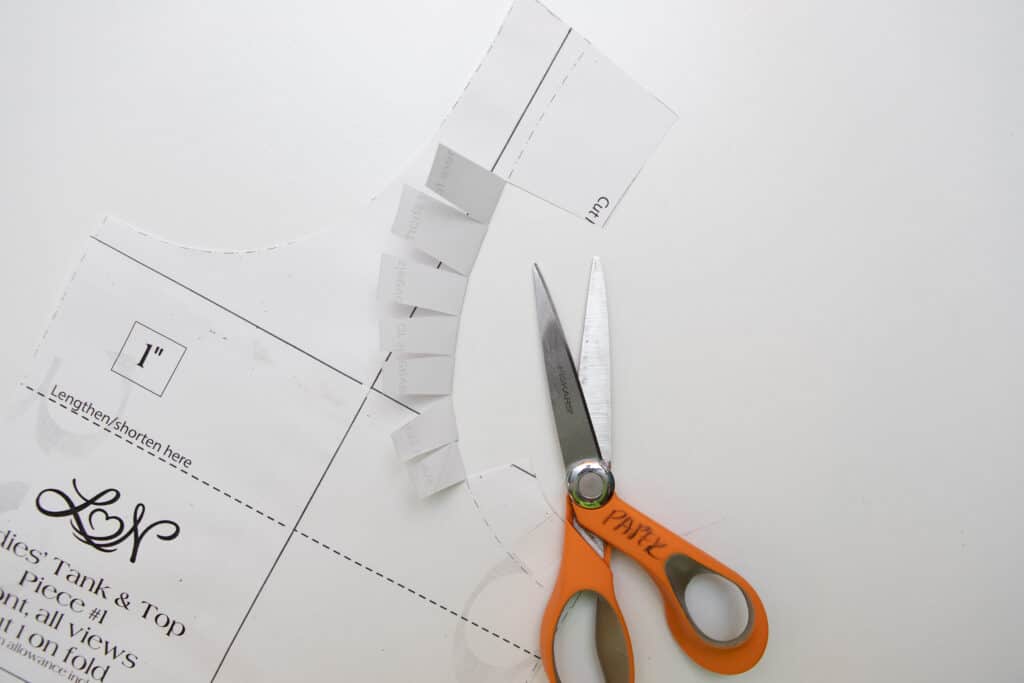
After you decide one what view you want to sew, print out your pattern using the chart on page 3. No need to print the entire pattern! Just print the pages you need. You also have the option to print just the size(s) you need as well. For more on how to print layers (individual sizes) go to this blog post.
You may notice that there are two options for cutting out the arm hole for the pattern, the tank view and the sleeve view. I’m all for printing once and being done. I’m also all for having to keep track of as few pattern pieces as possible! To make things easy on myself, I cut out the sleeve view and then cut into the pattern piece to create a foldable area to cut the tank line. Now, I don’t have to keep track of that little armscye area when I want to sew a Hip Hop with sleeves, and I don’t have to reprint!
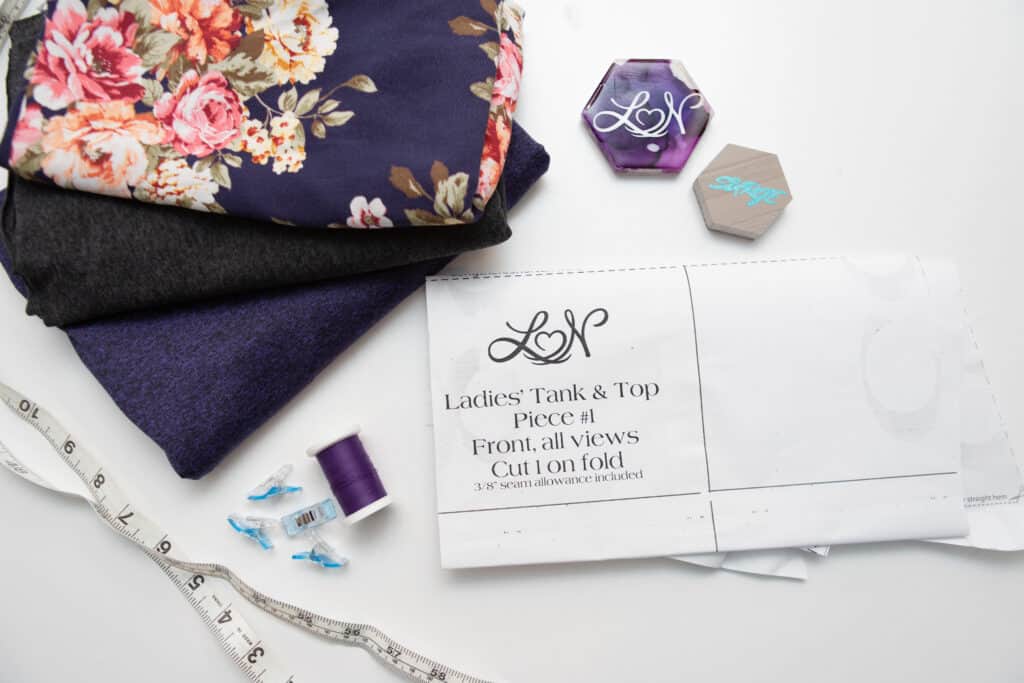
Cut your fabric
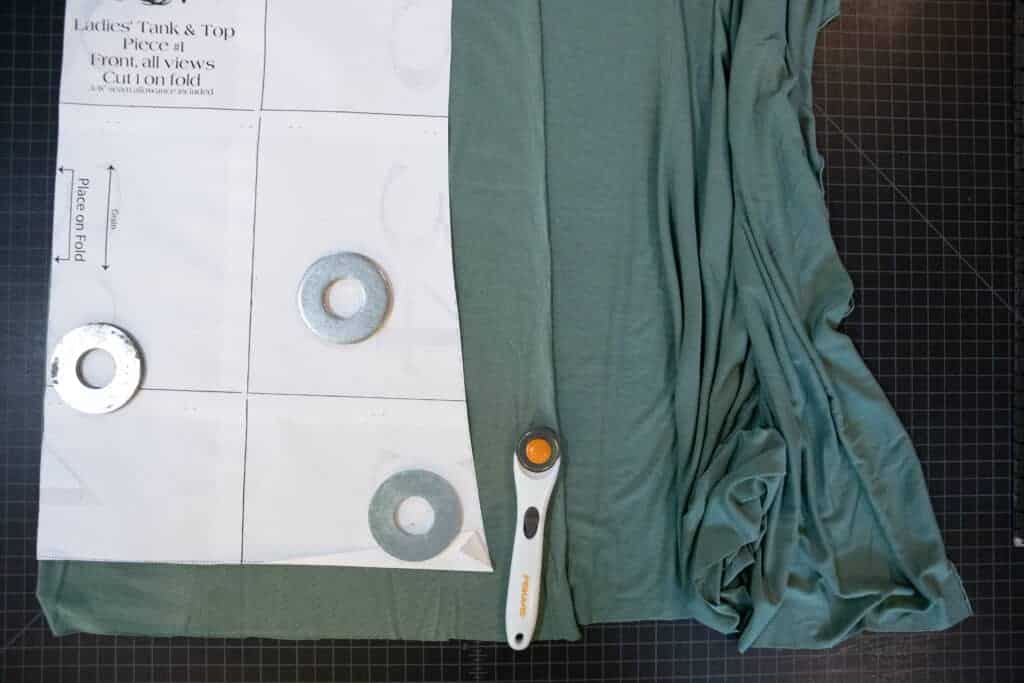
After you have picked out your fabric and assembled your pattern, it’s time to cut that fabric out! I am a big fan of the rotary cutter and cutting mat. They make cutting patterns out a breeze! I use these big 2″ washers from the hardware store as my pattern weights. Even the shiftiest fabric stays put!
You also want to be mindful of the extra fabric. Don’t let it hang off the side of your cutting table. Pool it up off to the side. If it hangs off the table, it will stretch and distort your cut.
That’s all we have for today!
If you love to sew along with friends, join us in the Facebook Support Group. There you will find live videos each day of the Hip Hop Tank Sew Along and how you can enter our Sew Along give away! One winner will receive a $50 gift certificate to Love Notions and a $50 gift certificate to Surge Fabrics!