Hello, everybody! It’s Kelly, Tami’s assistant here and I’m going to teach you how to color block. I will be using the Laundry Day Tee. You can find the pattern in the shop here. This shirt doesn’t look exactly like the LDT though, does it? That’s because I slimmed it up a bit. I’ll go over doing that also. 🙂
 Start by deciding where you want to divide your shirt. For the best look, try to avoid having the seam run right across your bust. I drew my line 1.5″ below the neckline of the Laundry Day Tee. (shown in red) Use a ruler to get a nice straight line.
 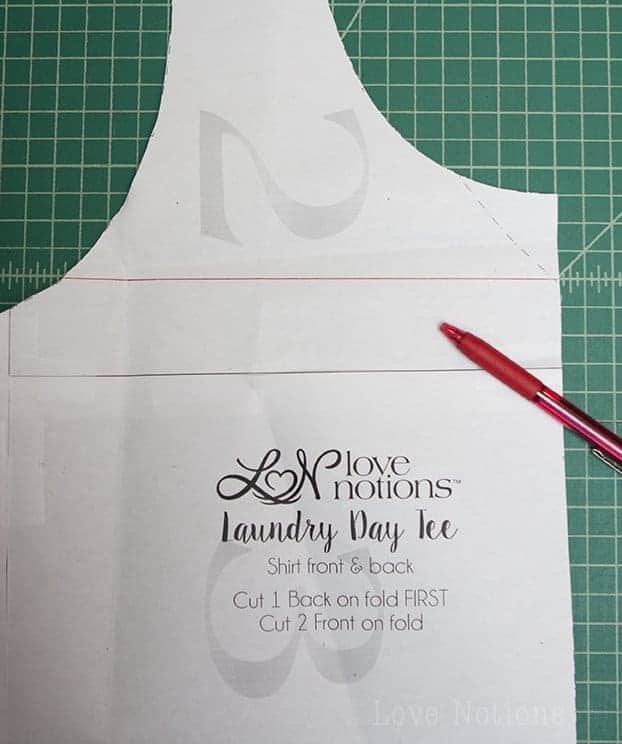 Cut the pattern along the line you just drew. (or you can fold your pattern along this line.)
 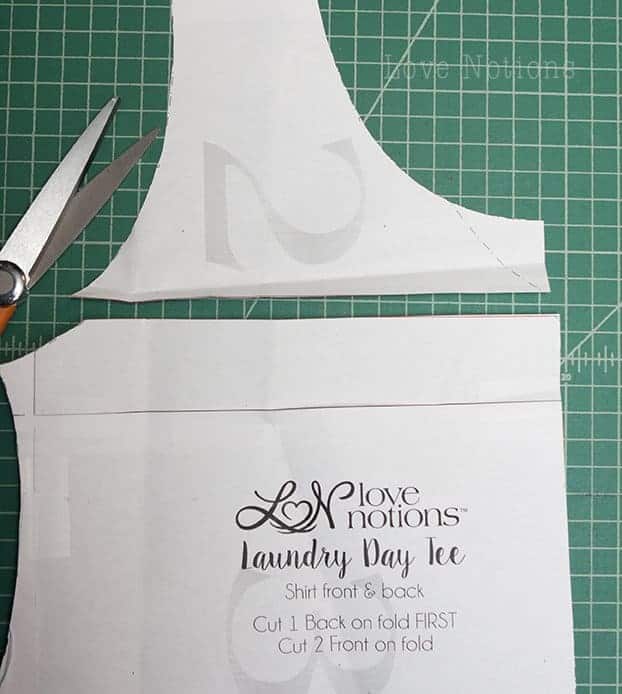 Using a straight edge, add on your seam allowance when you cut your fabric. I am using 1/4″ since I like to construct with my serger.
 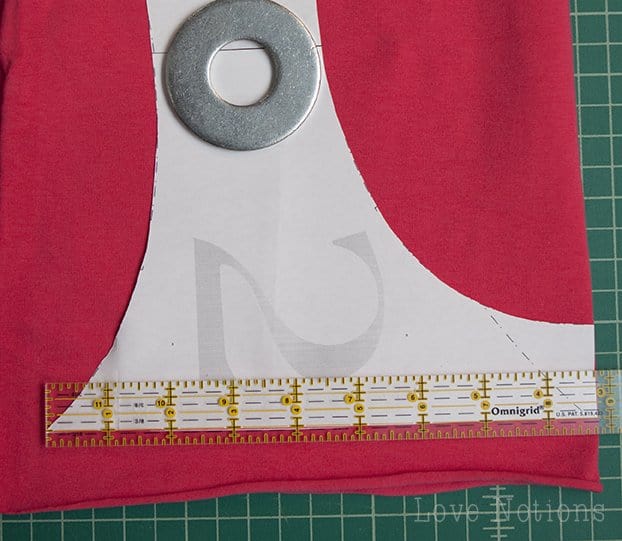 Here is what your piece will look like after you cut. Notice the over hang at the bottom, that is the added seam allowance.
 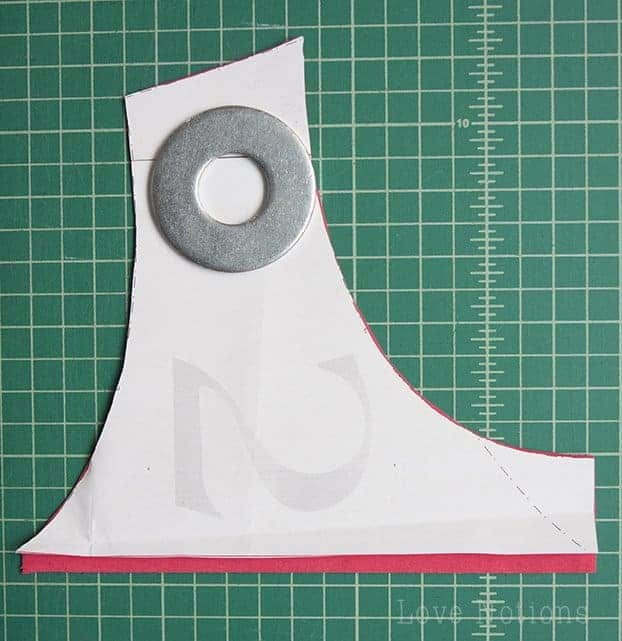 Repeat with the back. (I tape my back curve on after I cut the front so the piece doesn’t get lost.)
 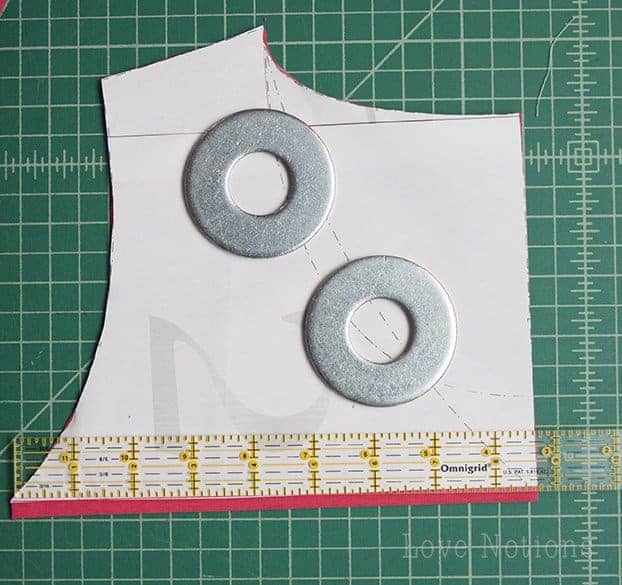 Cut the lower bodice piece. Be sure to add your seam allowance to the top. It’s a good idea to mark “add seam allowance” on each piece by your cut line as a reminder. 🙂
 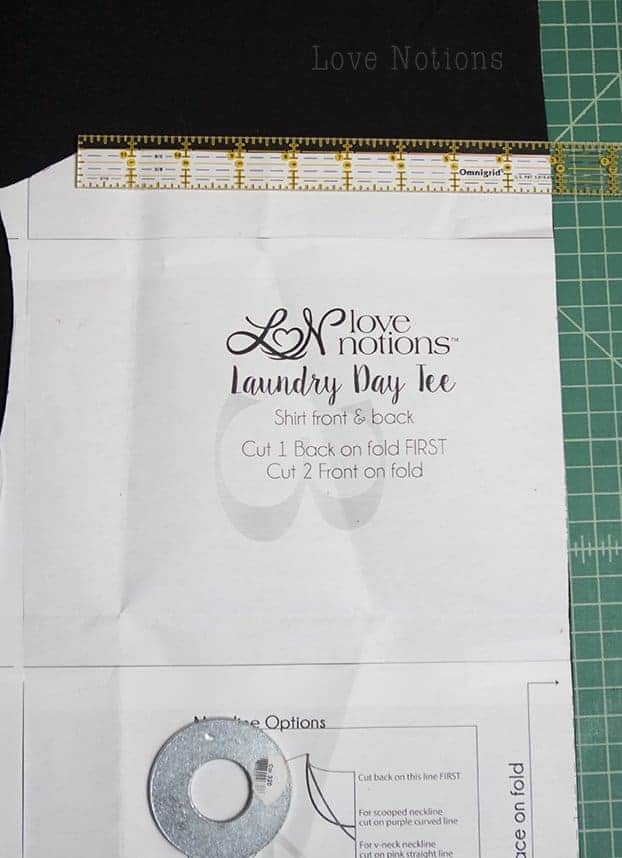 Remember, how I said I slimmed up the LDT, this is how I did it. It’s so simple! I just folded in the side seam where it flares out. Easy as that! I folded in the bottom about 3″ (circled in purple below) and blended it up where the curve starts to go out several inches under the bottom of the armscye. I left a bit of curve to the side seam to give it a bit of shape instead of a box.
 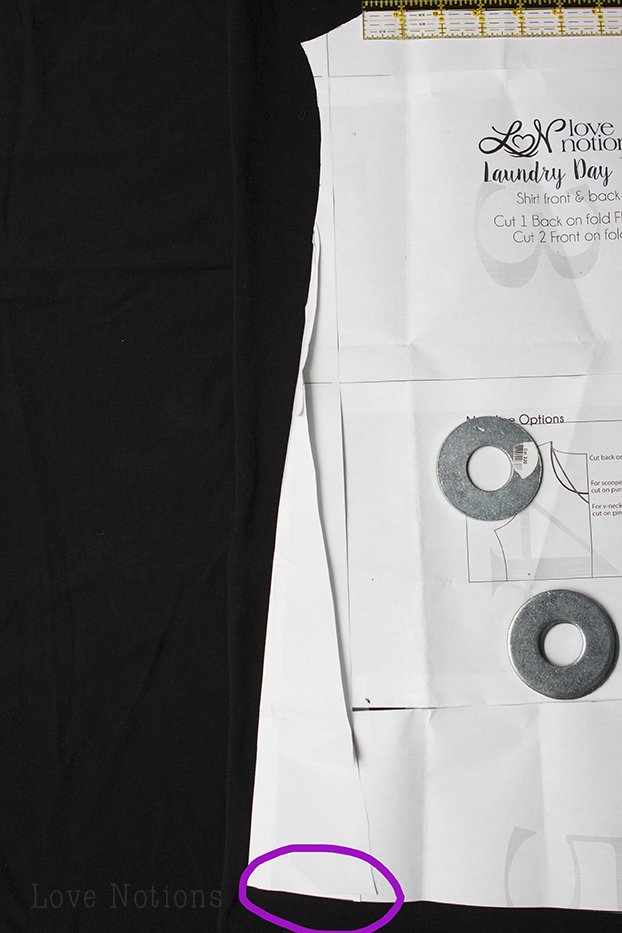 Place new upper bodice piece onto lower bodice piece, right sides together. Sew into place and press seam upward. Now, you can continue on with the shirt as directed in the pattern instructions.
 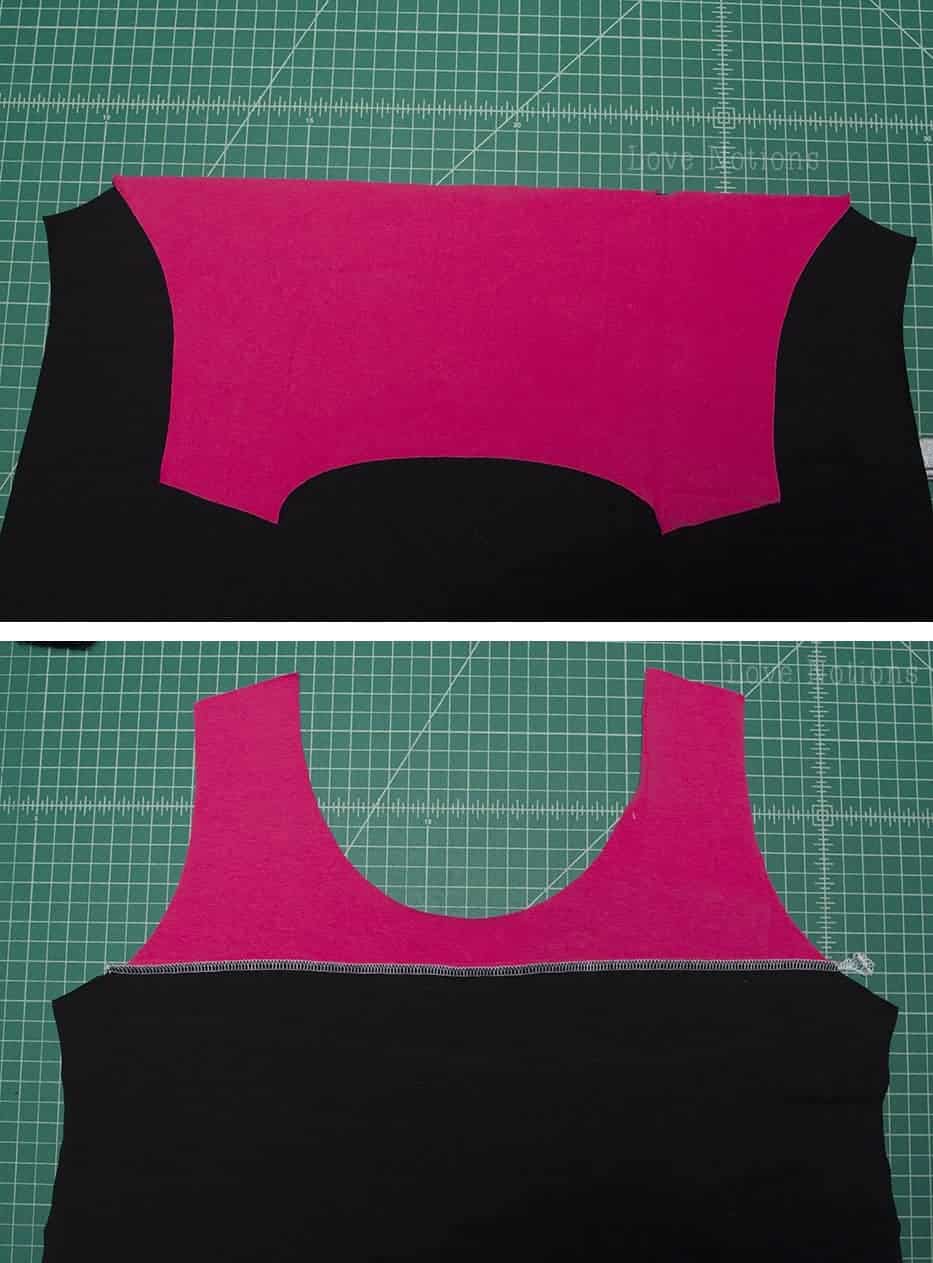 Color blocking the sleeve uses the same technique. Choose where you want your seam to be, draw the line in, cut, adding seam allowance, sew sleeve pieces together and then continue on the pattern as written. I ended up cutting my sleeve 4.5″ down from the top of the shoulder hill.
 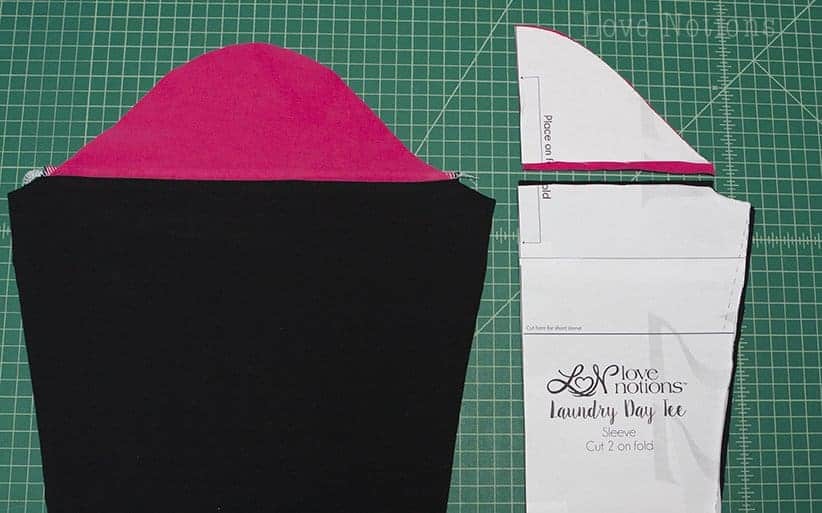 And that’s all there is to it!
  You can now color block ANY thing! Do you have any of those fun custom panels, but they are too small for your child’s size? The Moto Maxx is PERFECT for color blocking! This is a size 6 with length added. I simply measured how tall the panel was and folded my pattern piece to match the length.
 ![IMG_8772[1]](https://www.lovenotions.com/wp-content/uploads/2016/01/IMG_87721.jpg) You can color block the back as well. 🙂
You can color block the back as well. 🙂 ![IMG_8770[1]](https://www.lovenotions.com/wp-content/uploads/2016/01/IMG_877011.jpg) Now what patterns will you be color blocking? Please be sure to share them in the Facebook group! We love to see them! And for today (1/11/16) only get the Moto Maxx Set on sale for $6! No coupon needed.
Now what patterns will you be color blocking? Please be sure to share them in the Facebook group! We love to see them! And for today (1/11/16) only get the Moto Maxx Set on sale for $6! No coupon needed.