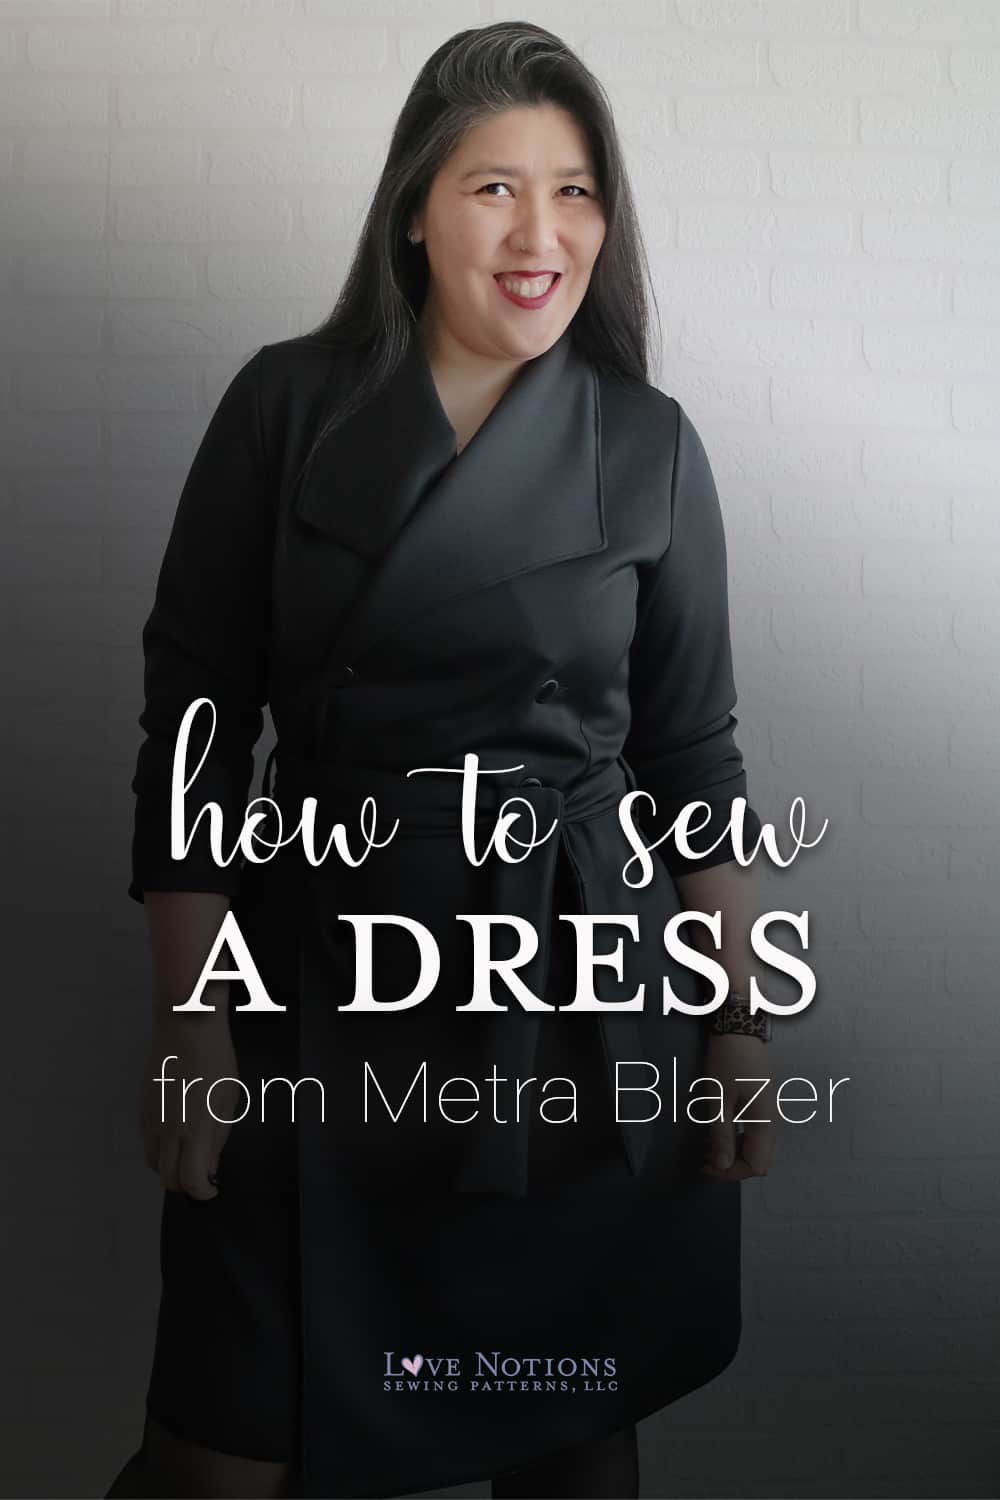
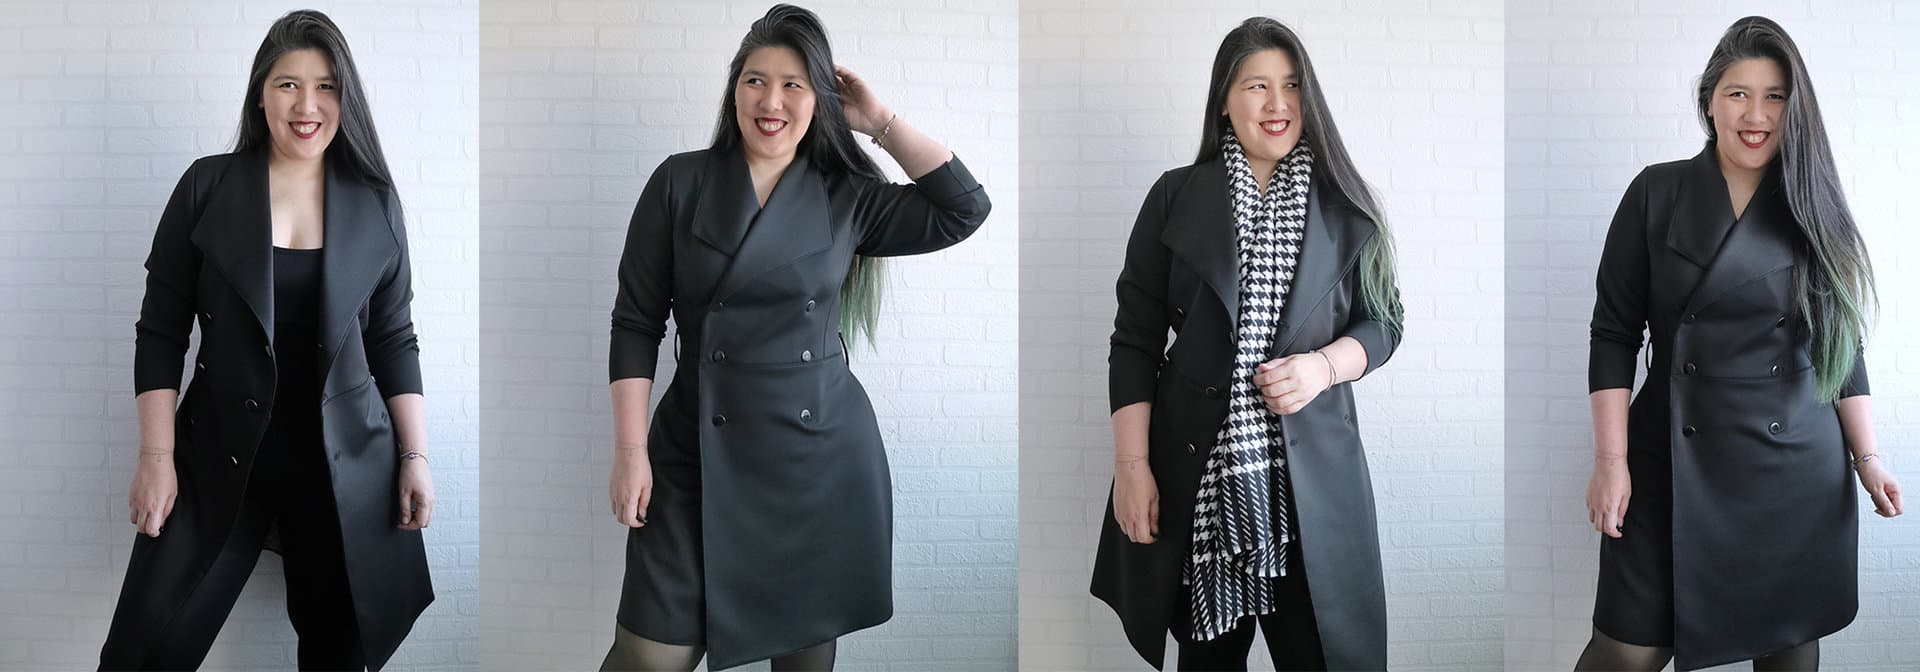
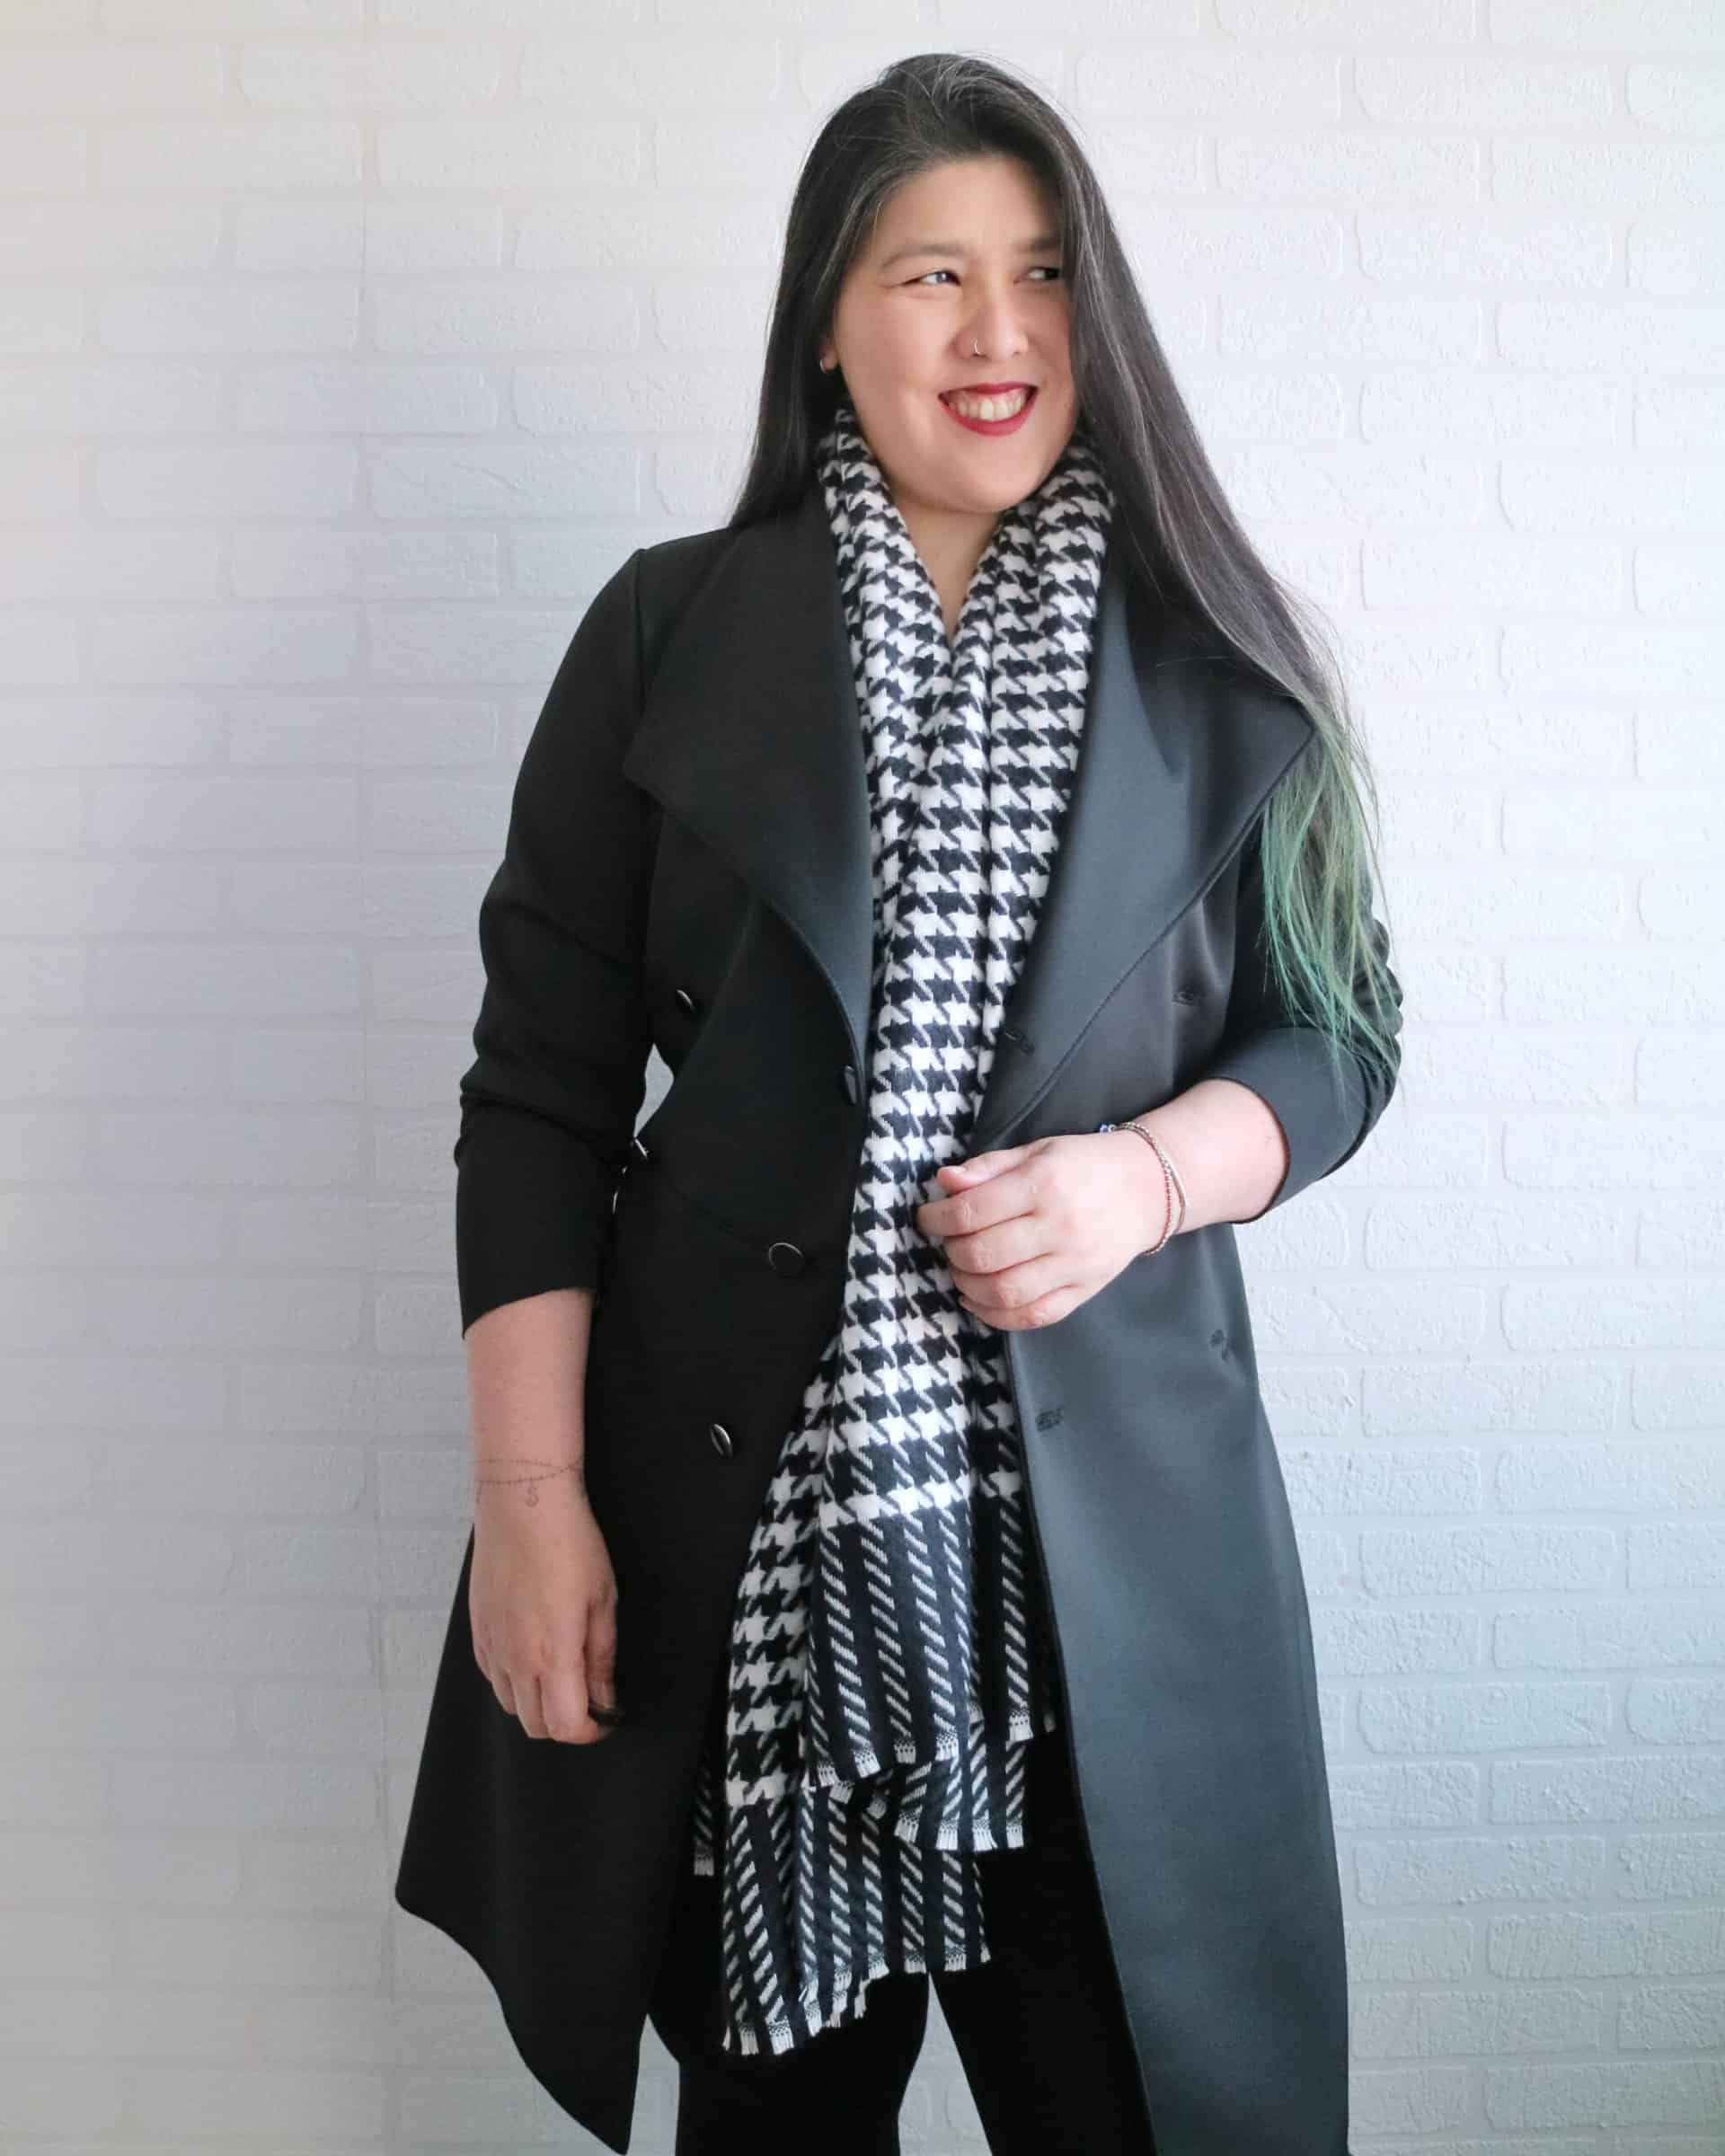
How to sew a Blazer Coat / Dress
Hi everyone,
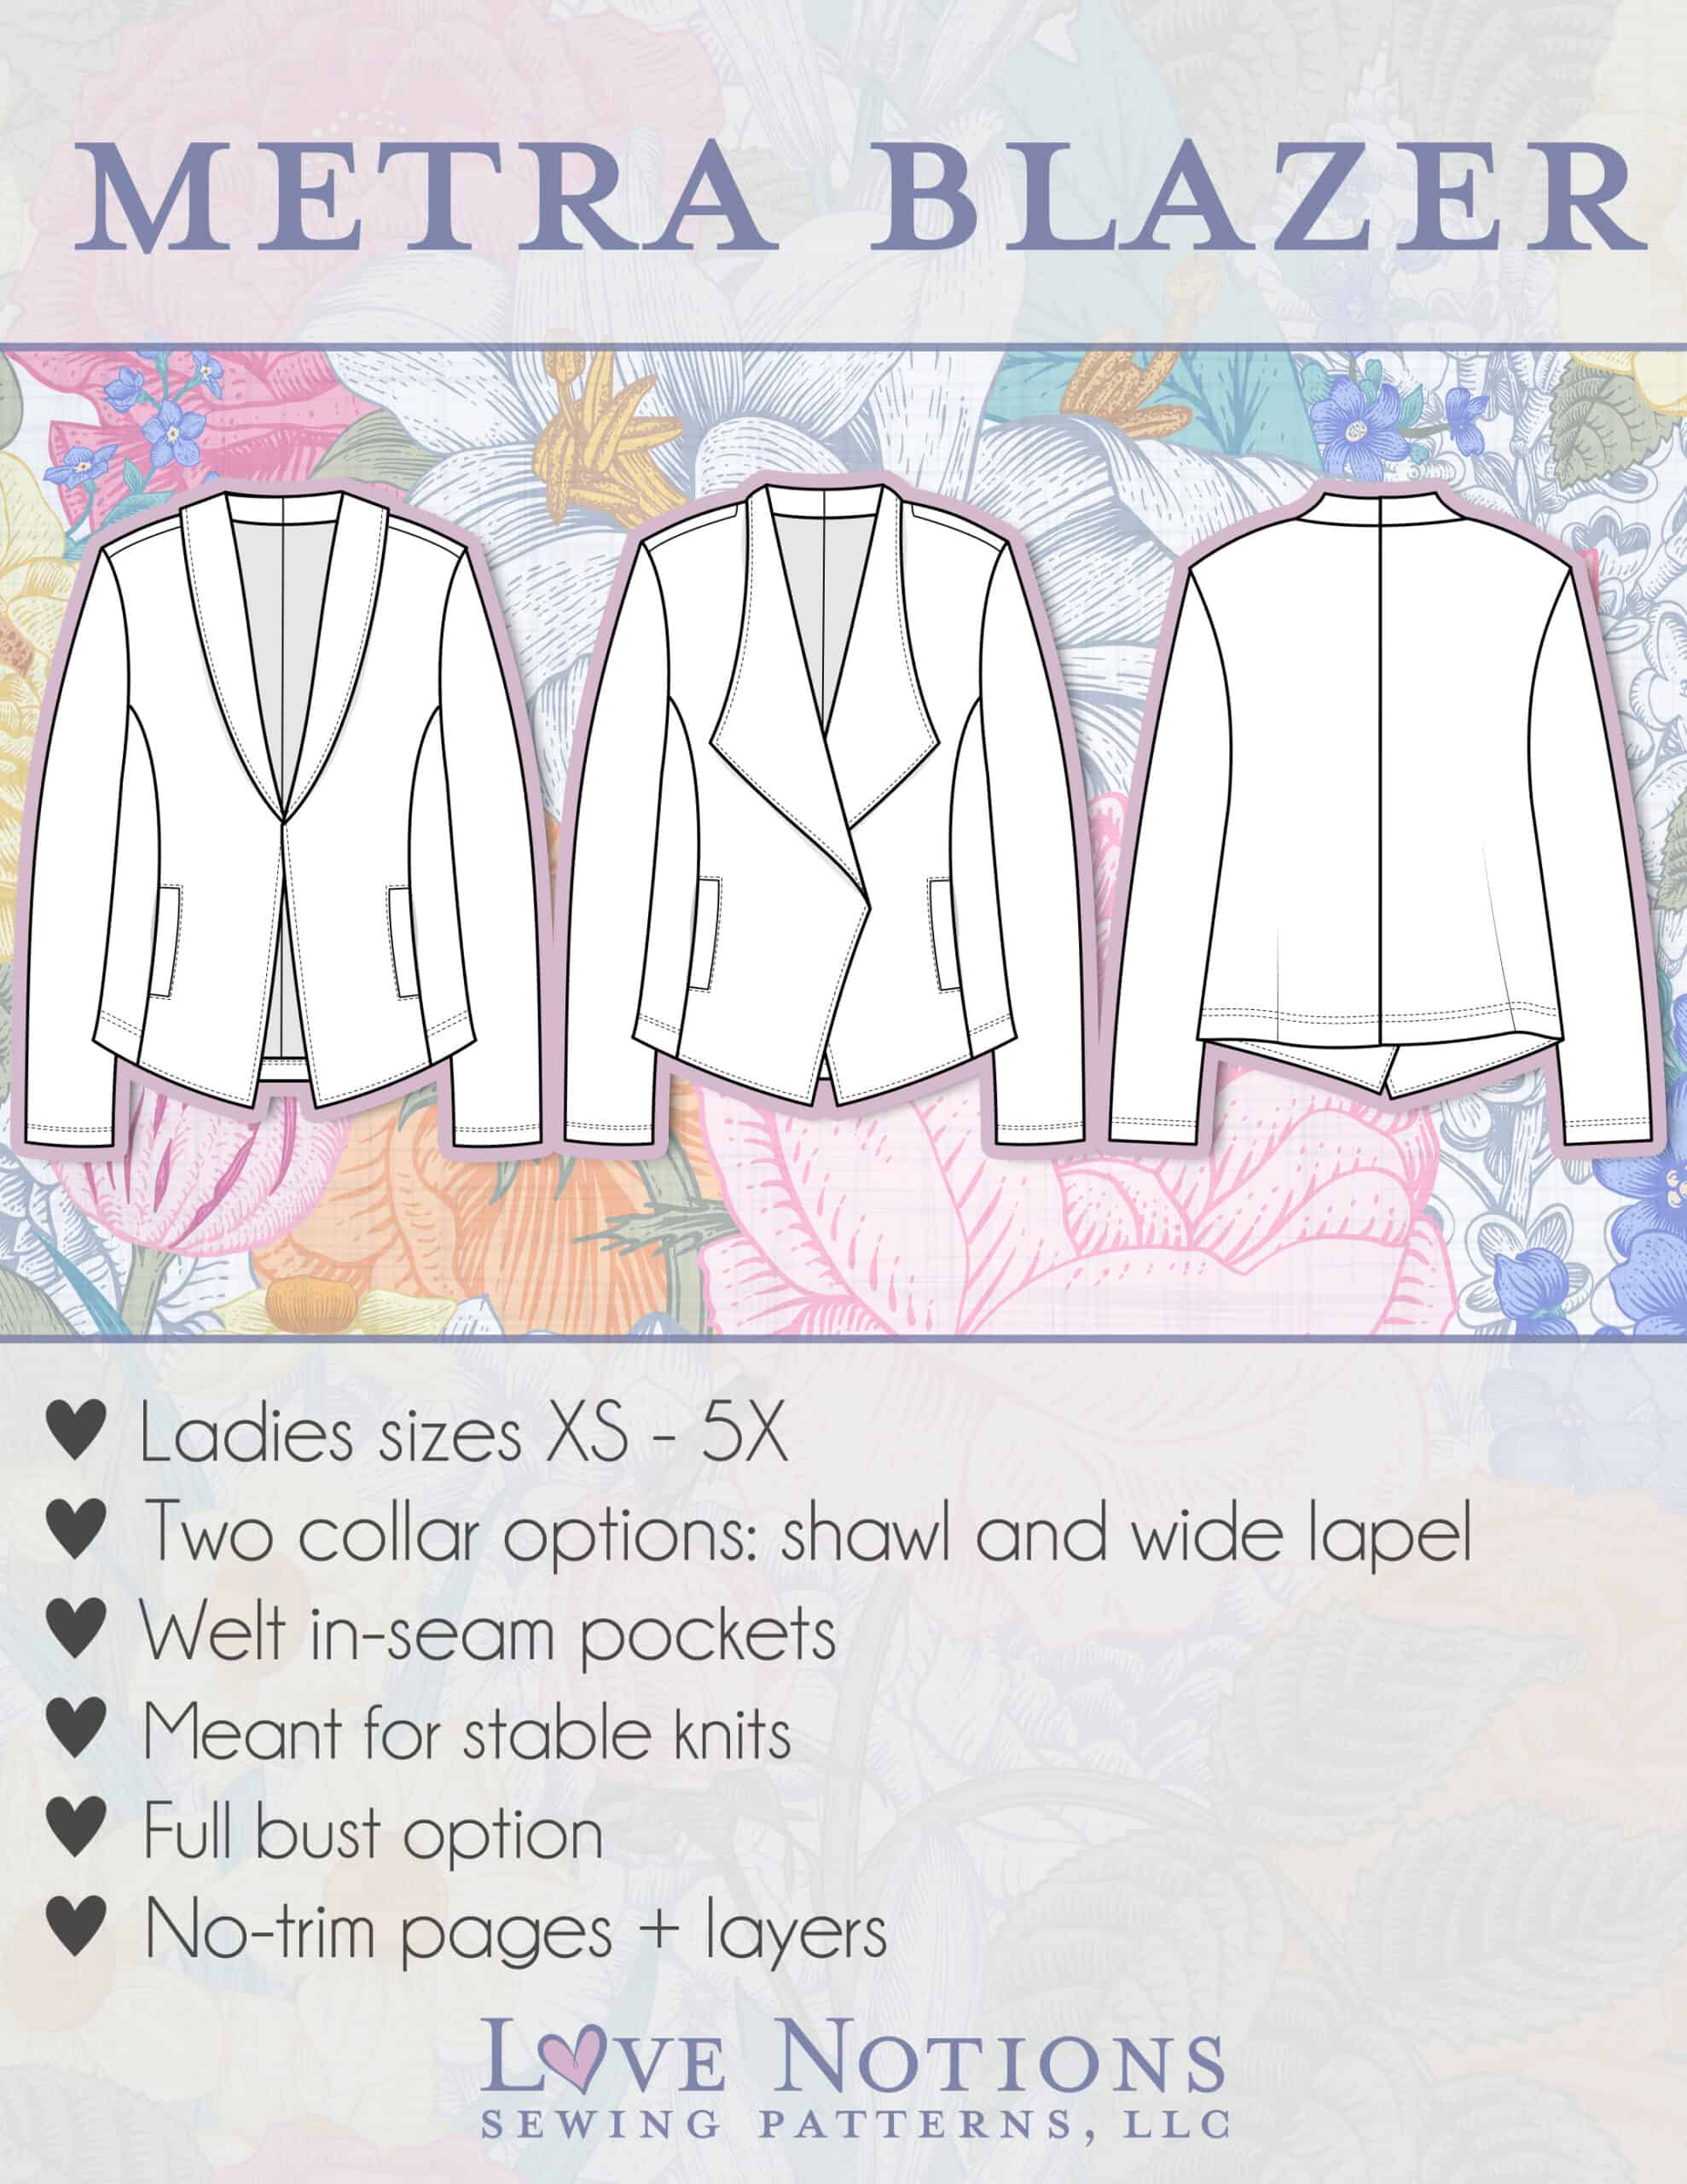
Livia here and today I’m back with another hack featuring one of my all-time favorite patterns, the Metra Blazer.
I’ve just started to reach a point where I’ve lost count of how many Metra and its variations are in my closet.
Make it oversized, with puff sleeves, crop it, add a zipper… there’s so much fun to be had with this amazing pattern!
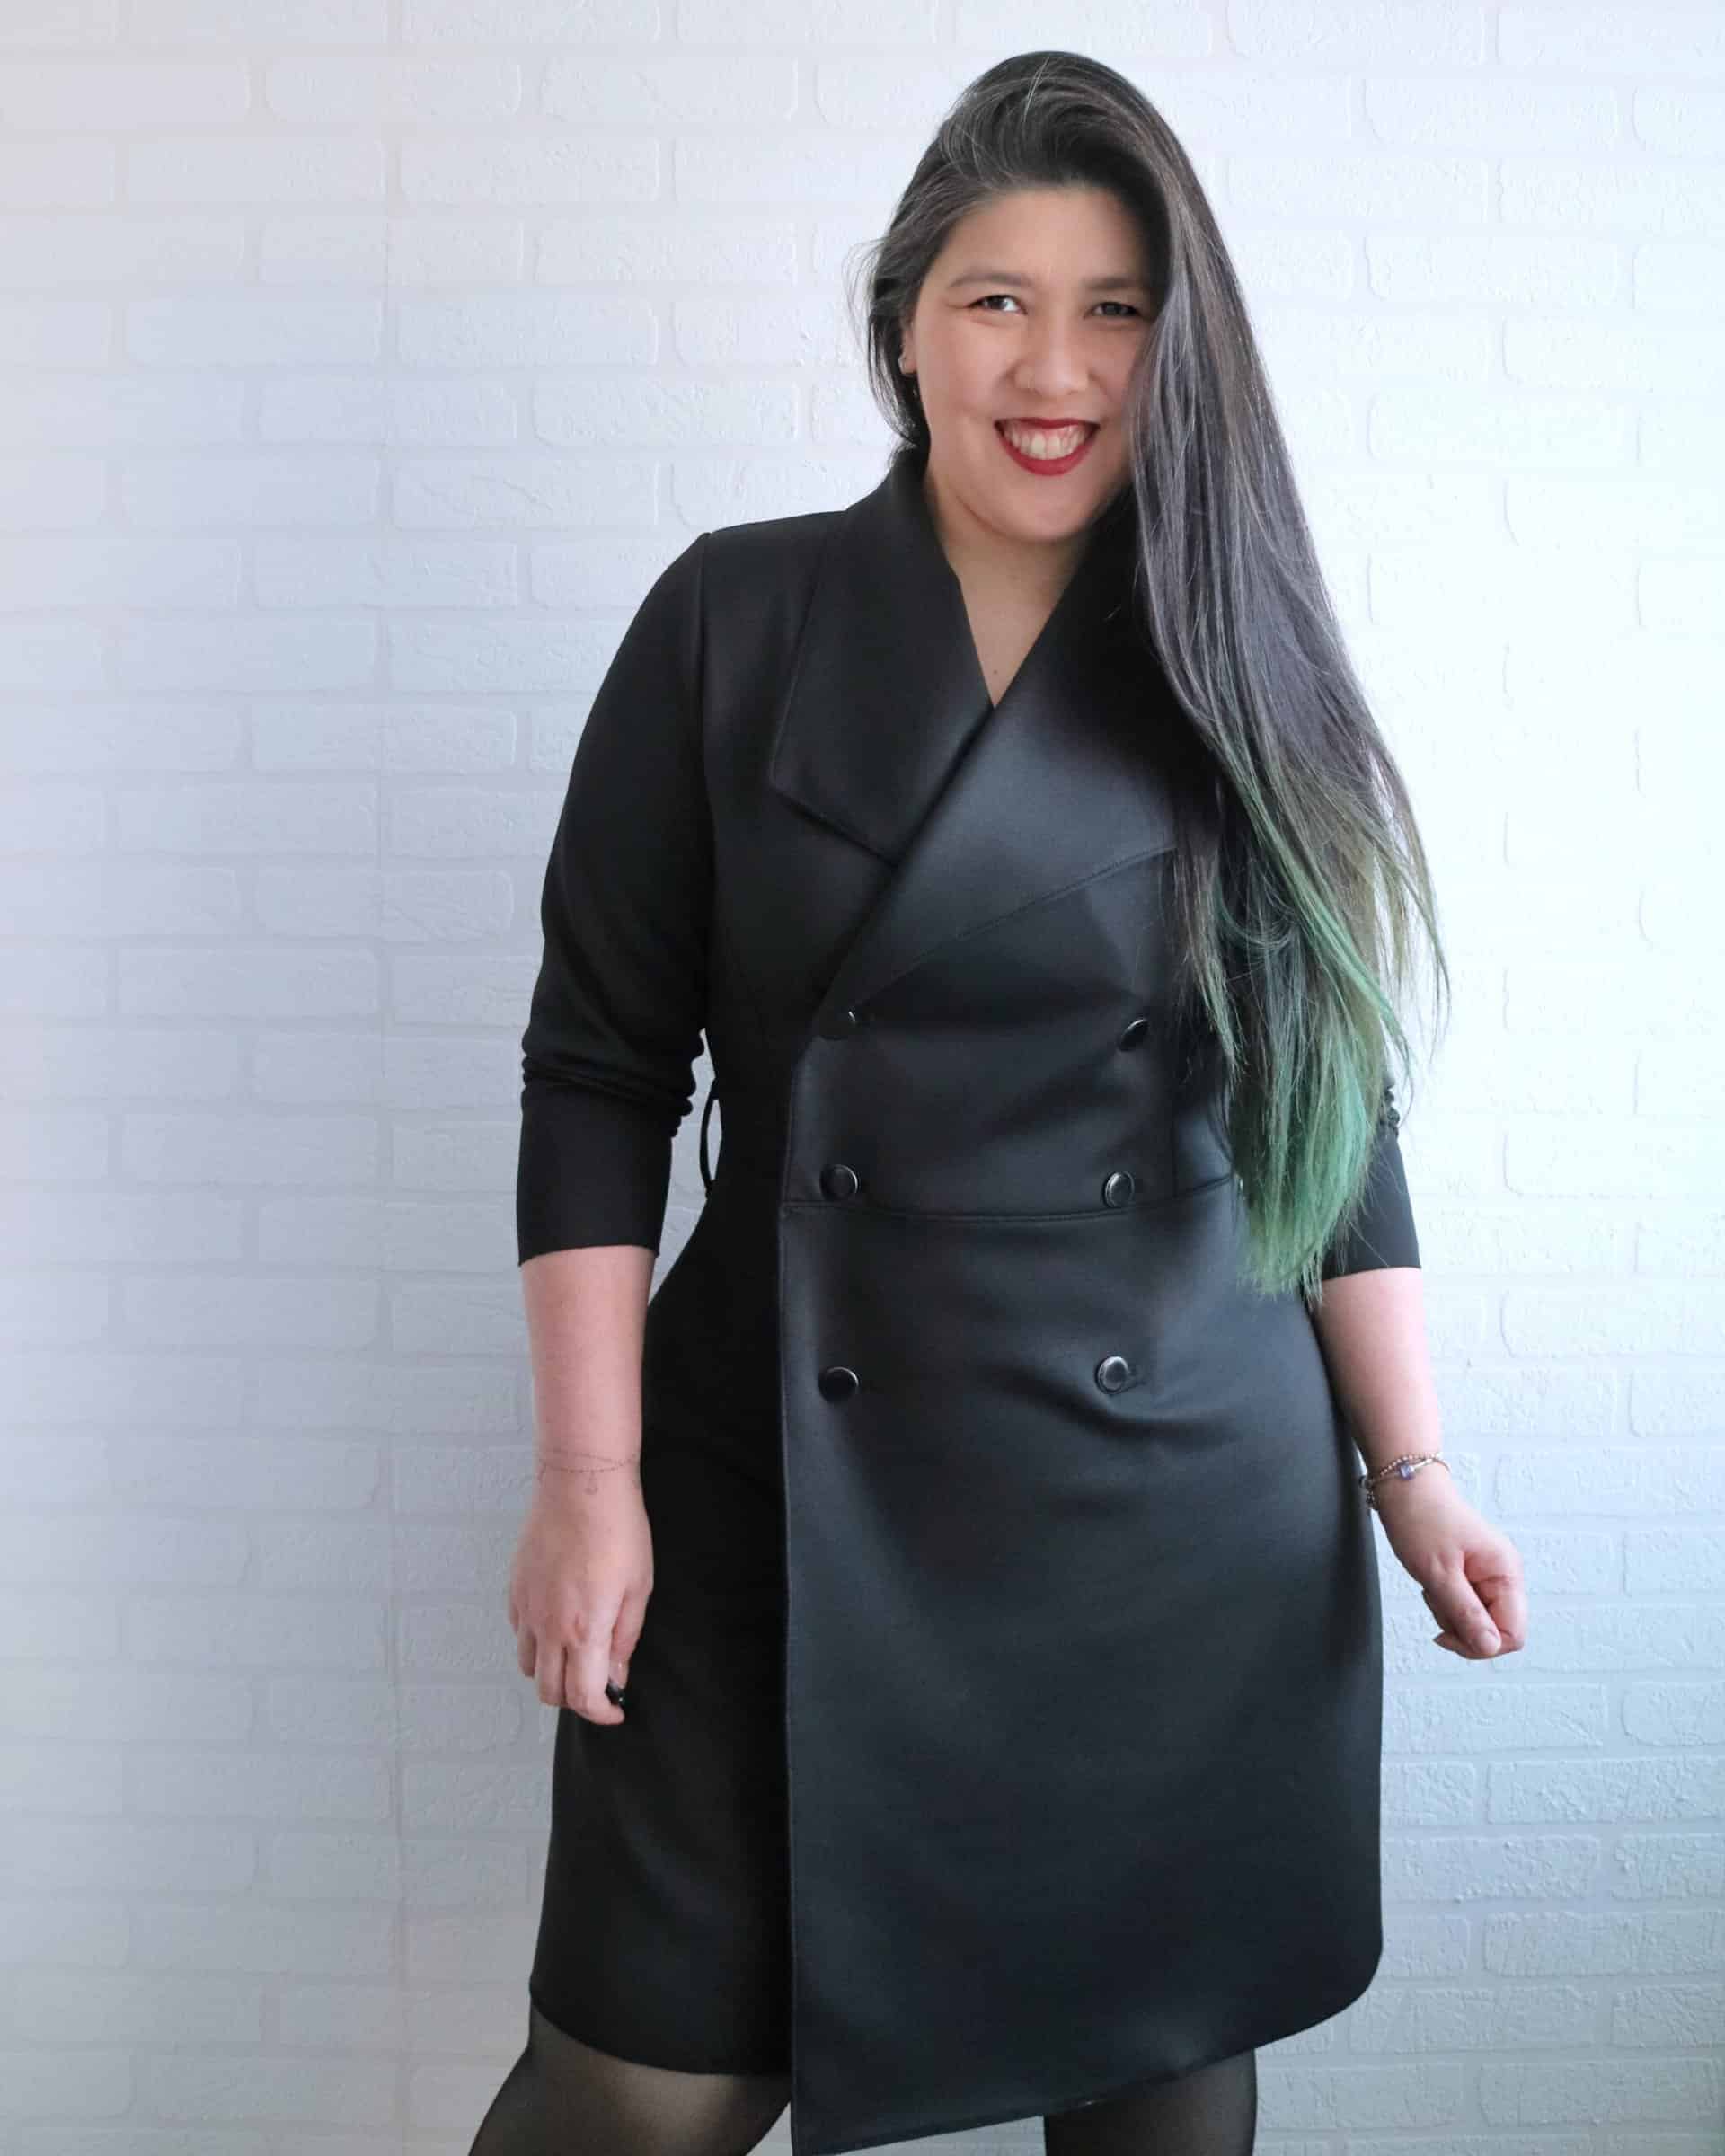
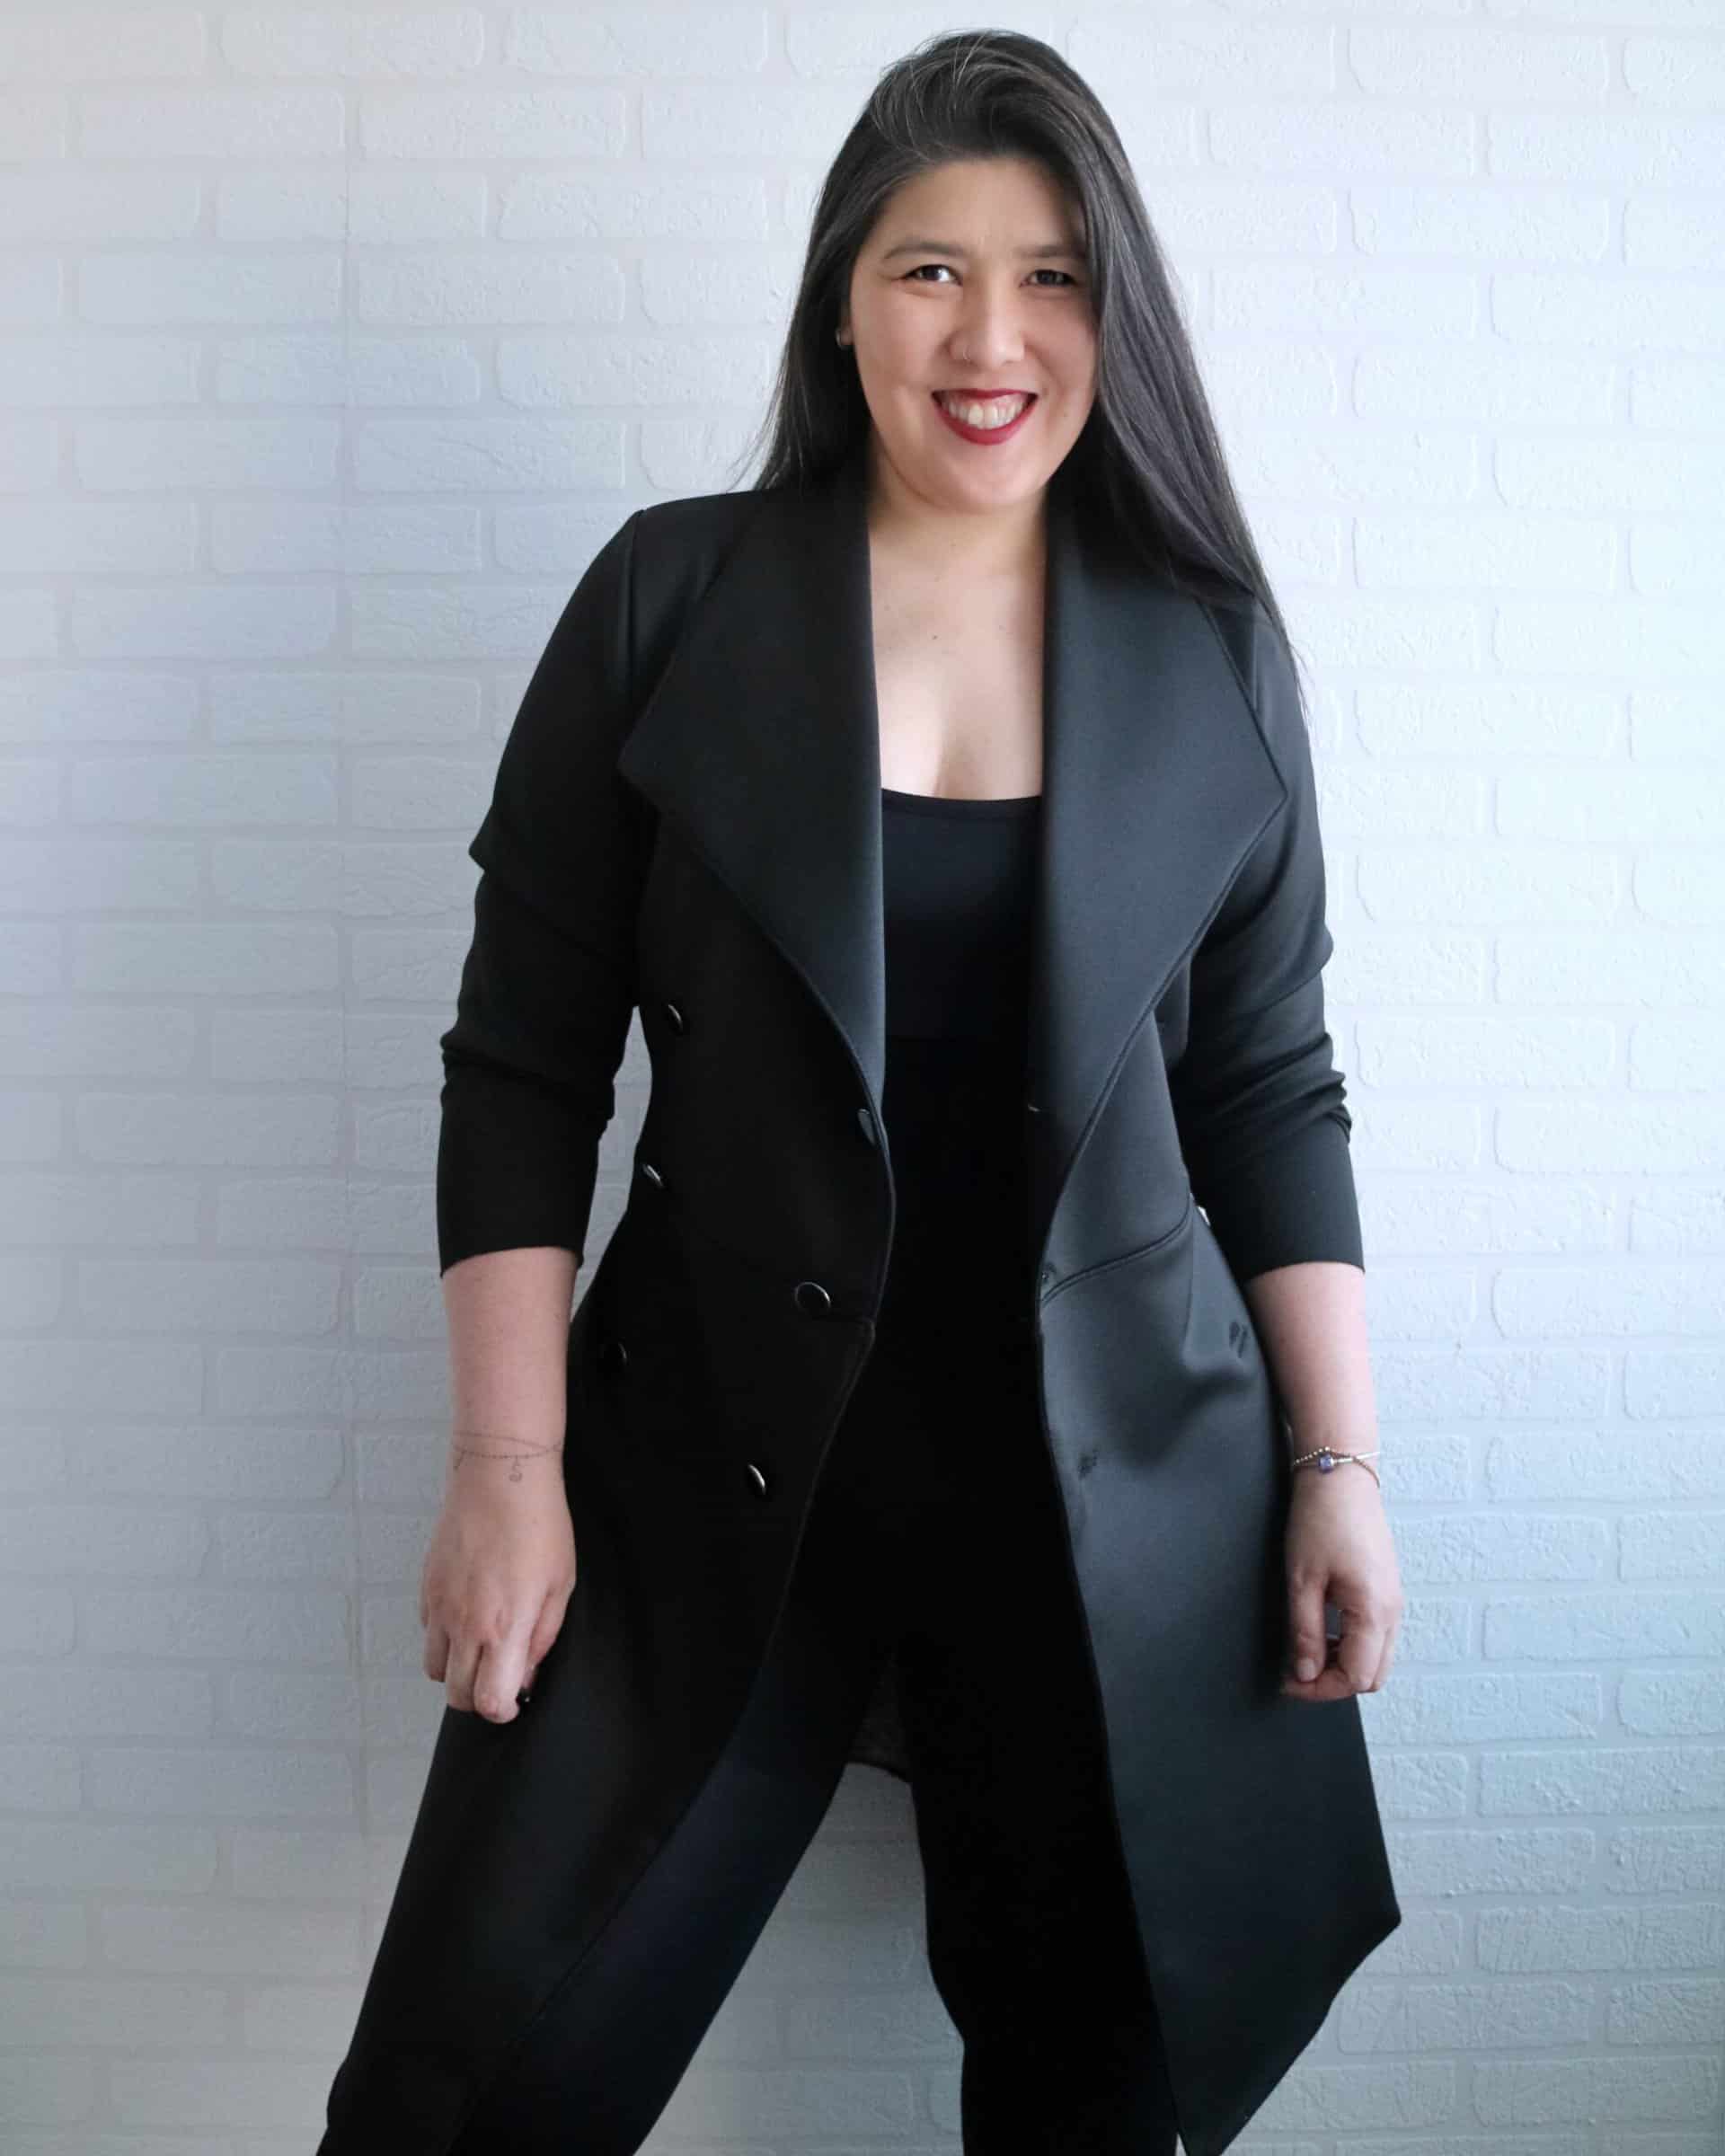
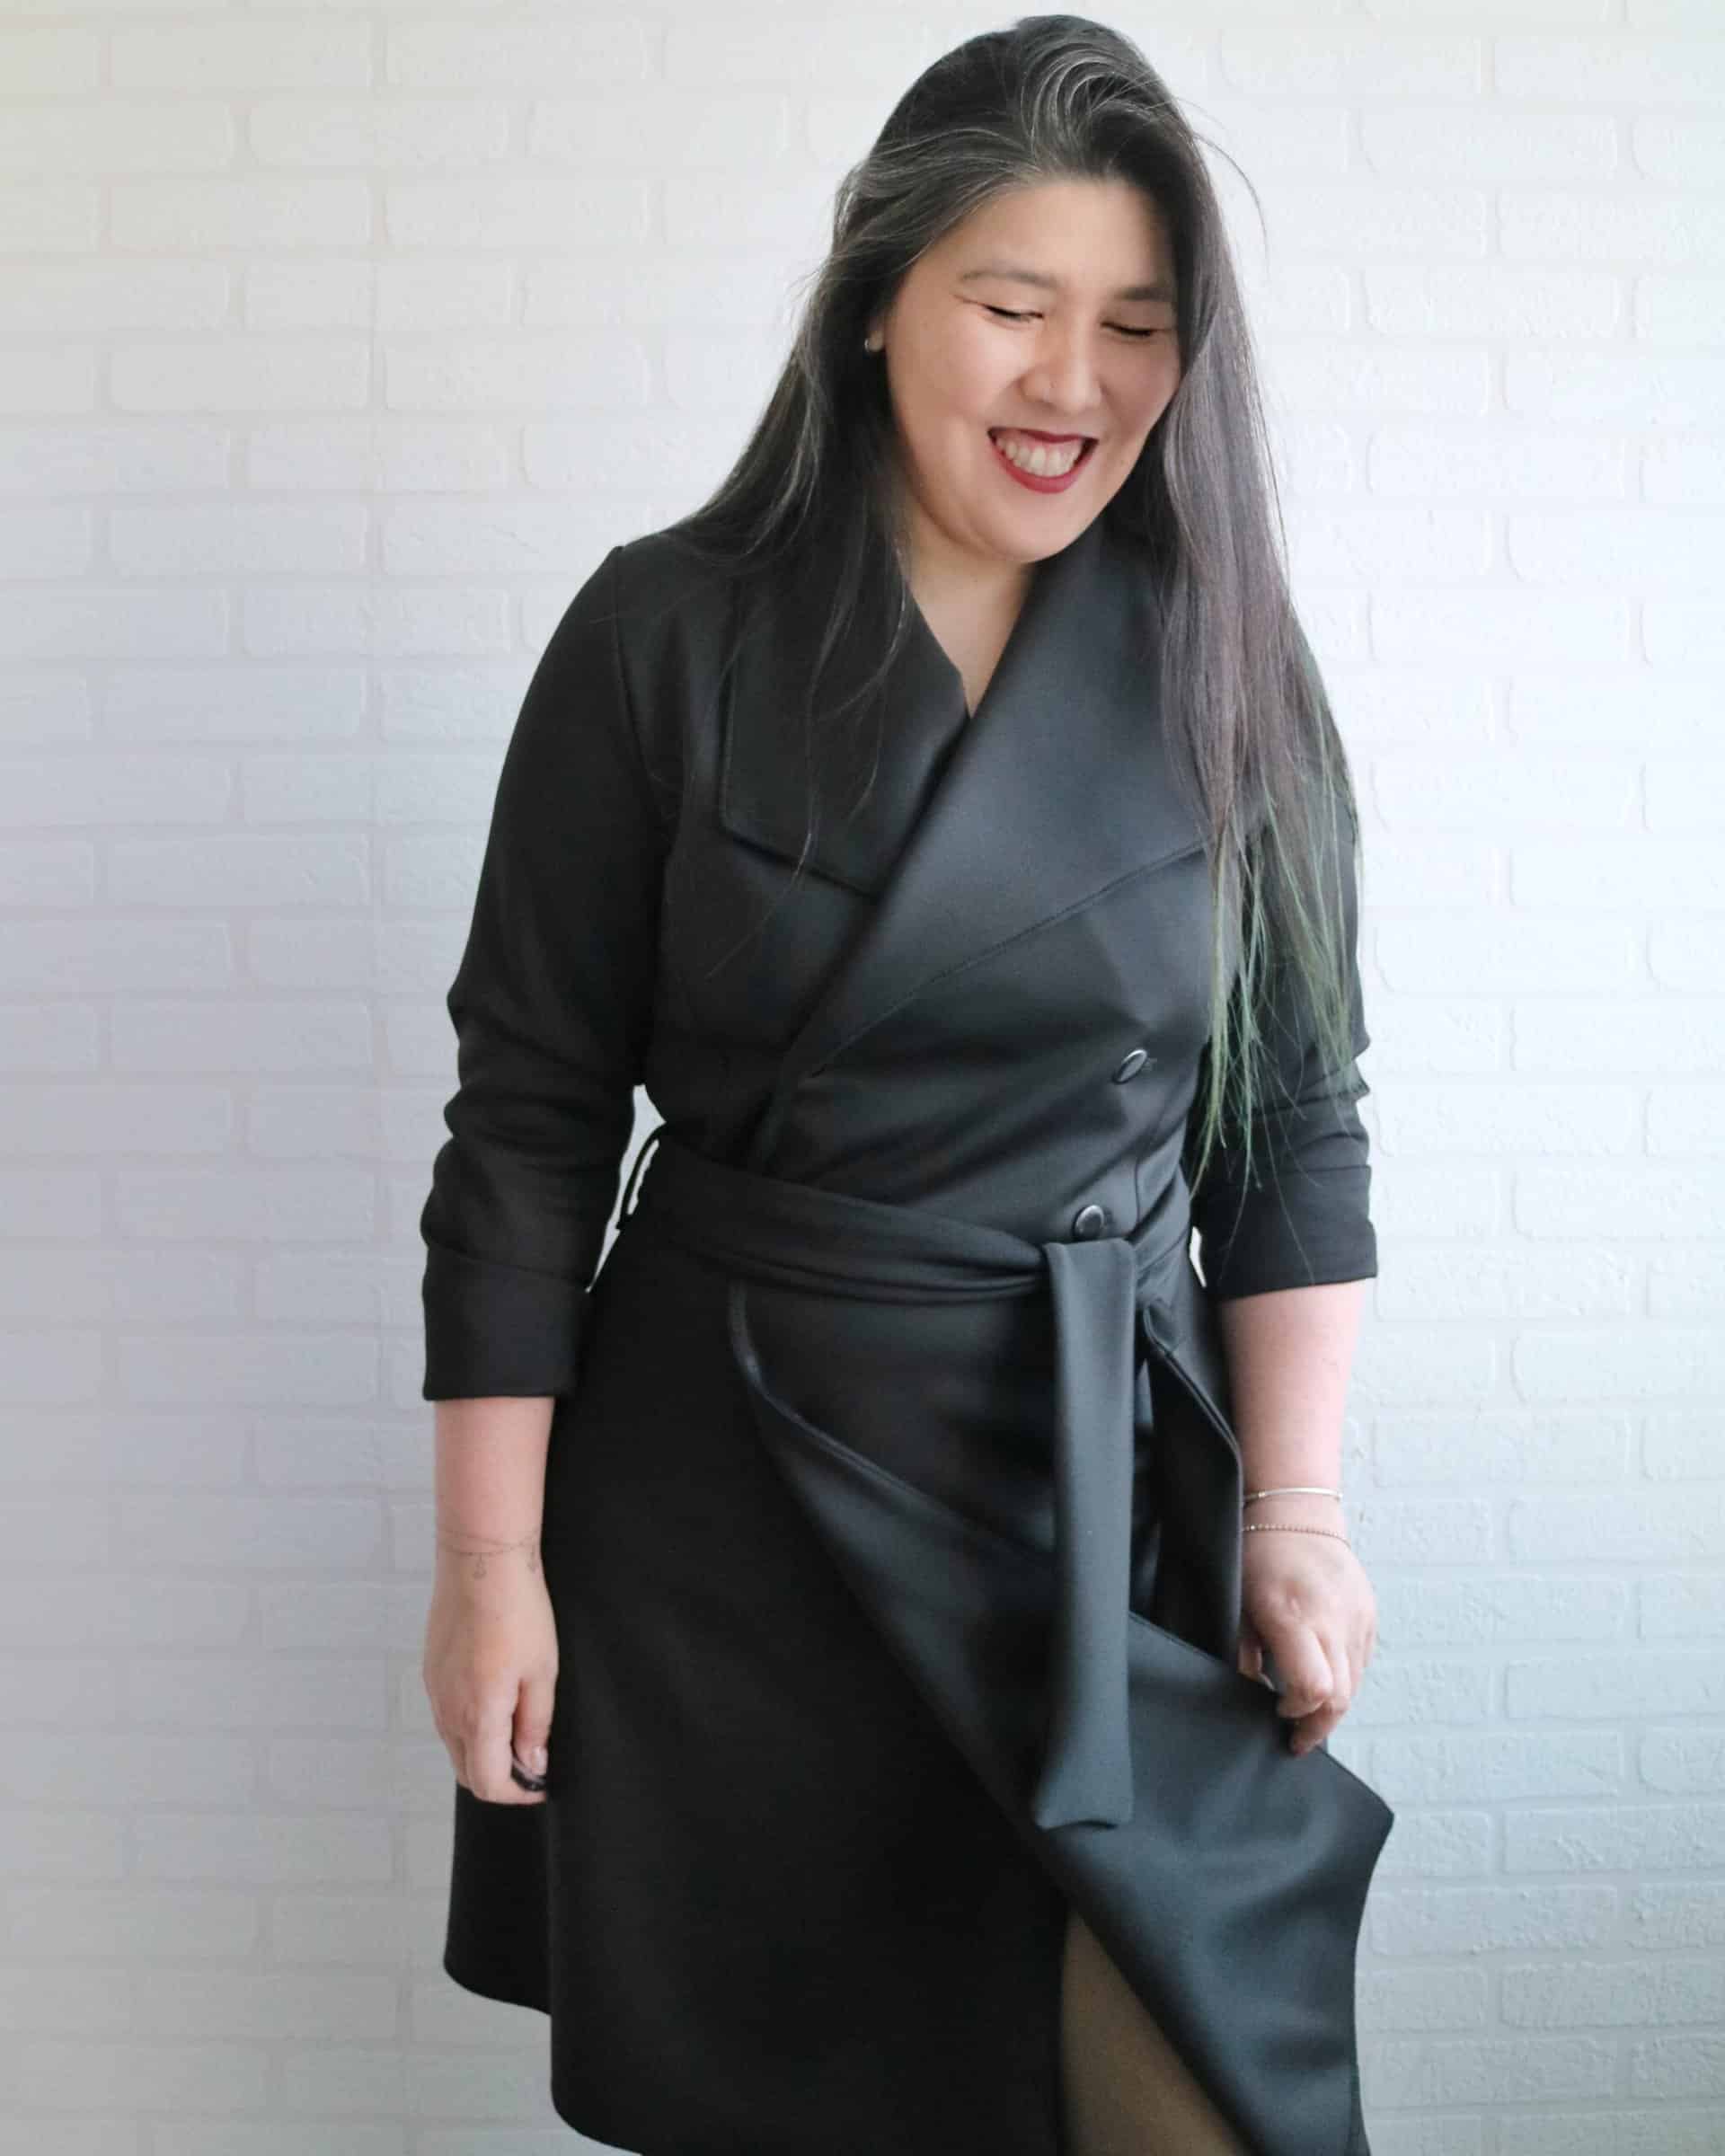
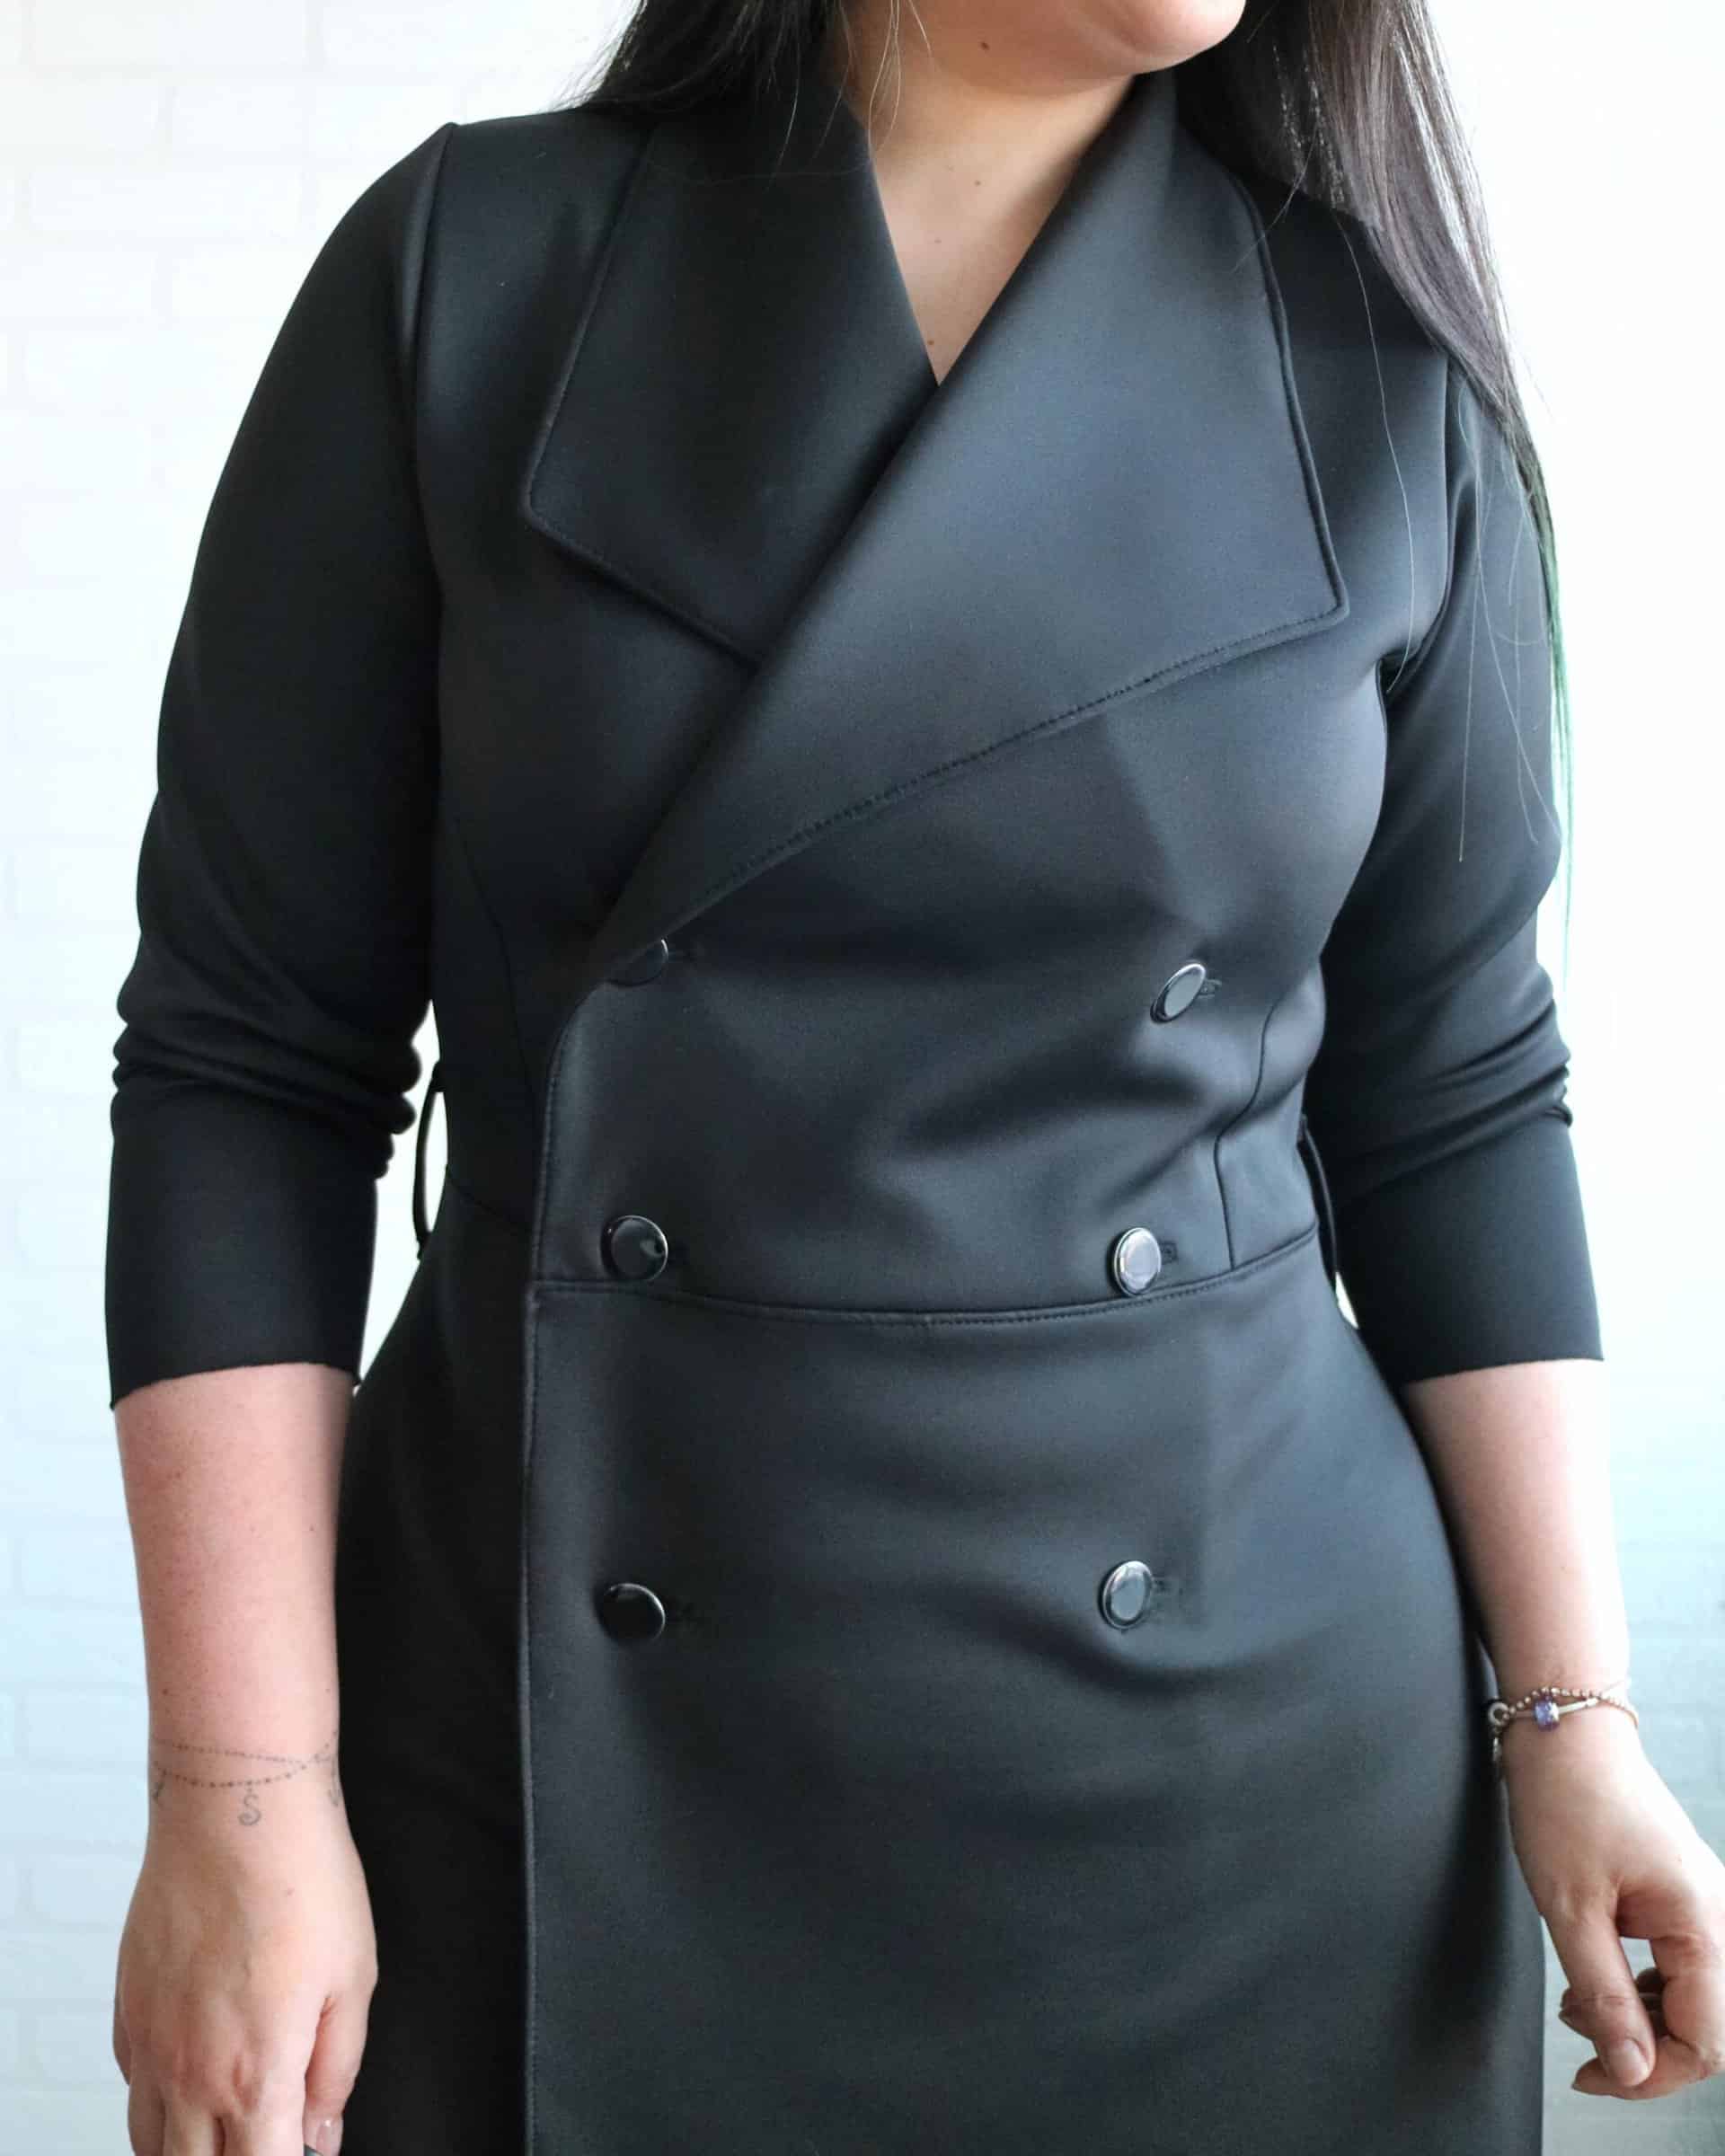
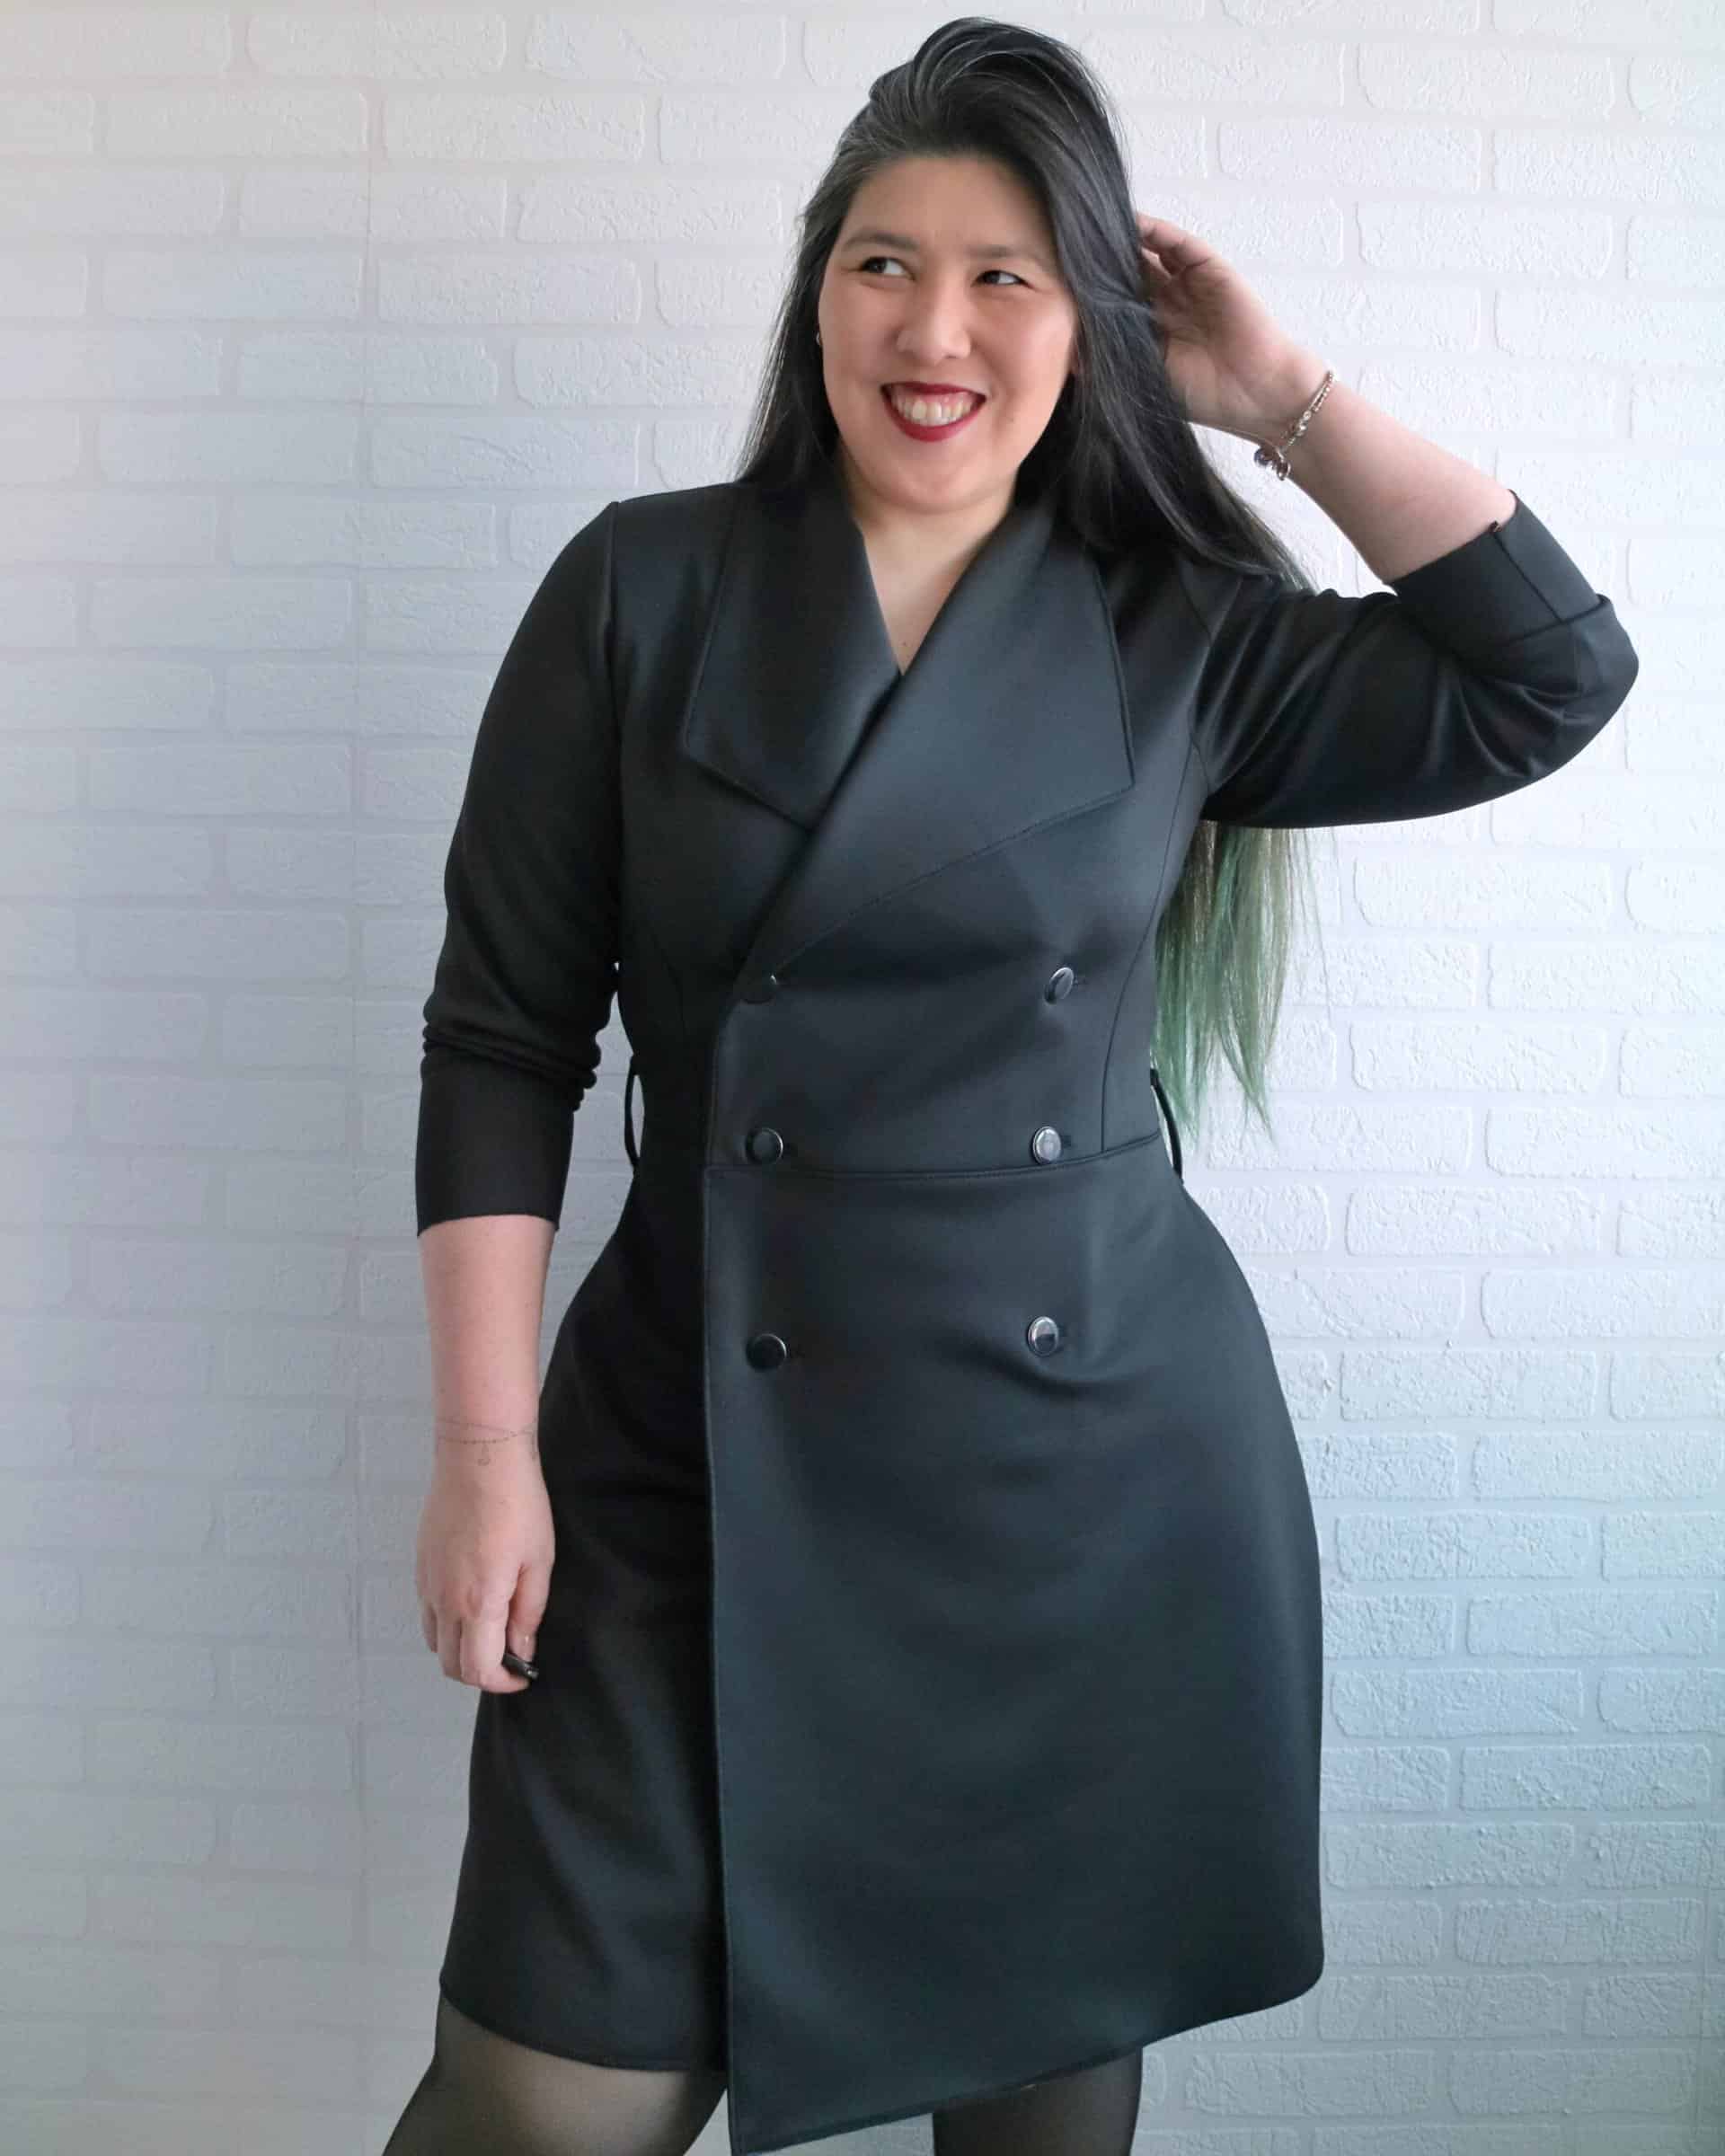
Today I’m sharing with you how I made a Double Breasted Metra Dress/Coat by mashing it with the Sybil Skirt.
It’s a fairly straightforward hack and an easy sew, it will just require a bit of prepping when it comes to the pattern pieces.
What you’ll need:
- Metra pattern (wide lapel collar)
- Sybill pattern (A-line option)
- Buttons
- Tools to adjust pattern pieces (pen, paper, ruler, etc…)
A few notes before we start:
- Fabric I used is scuba;
- Size sewed: L bust graded to M waist and 2X for hips.
- I highly recommend making a muslin before cutting into your good fabric.
- My printer died so I made my adjustments digitally. But it will work exactly the same with the printed pattern.
Now let’s dive into it!
Blazer Dress Hack Sewing Steps
1. ADJUST THE BODICE PIECES
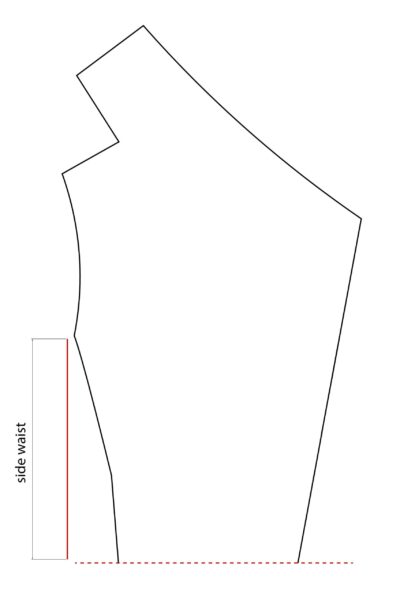
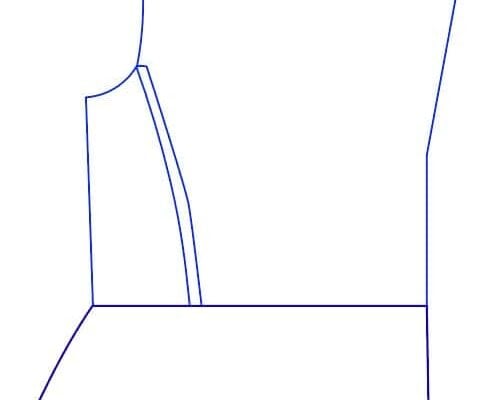
A. First thing we’ll do is cut the Front, Back and Side Panel pieces to the length of your side waist, or to where you want your bodice to hit. I went with my natural waist.
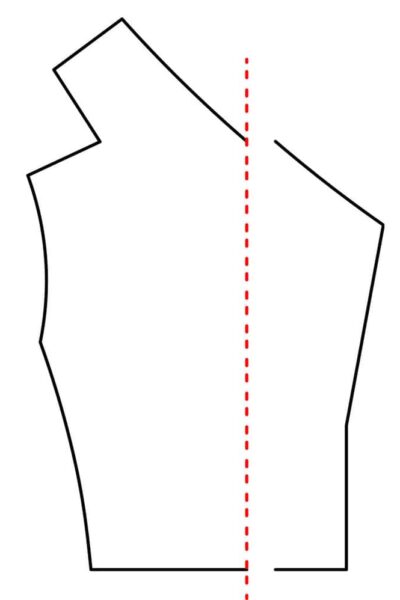
B. To make Metra double-breasted we’ll need to add a bit of width to the front pieces. I did that by simply squaring the front edge of the Wide Lapel Collar. Depending on how much overlap you want/need you may need to add a little extra width to the pattern piece
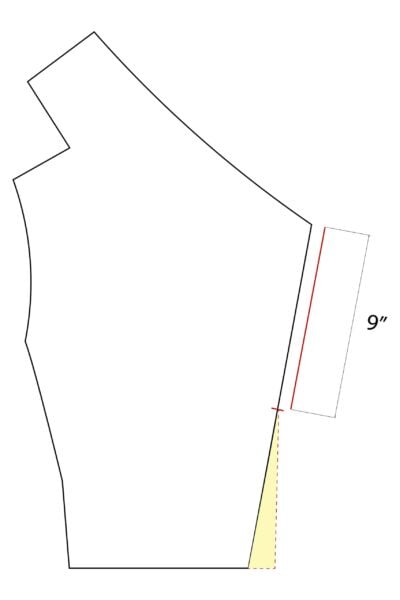
C. Decide where you want the straight edge of your coat will start, aka where your first button will go, and mark the pattern piece. I used a previously made Metra to help me and decided on 9 inches down from the peak of the wide lapel. Now we’ll draw a straight line down from the mark we made to the bottom of the piece.
2. ADJUST SKIRT PIECES
A little side note here: my skirt piece is graded across 4 sizes, so if the shape looks a bit funny, that’s why.
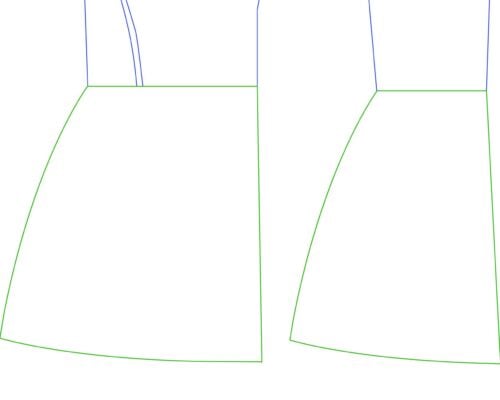
A. Here, what we’ll do is basically take the A-line Sybil Skrit piece and match it to the Metra bodice pieces we just adjusted. In order to do that, overlap the side panel to the front piece by the seam allowance.
B. The back skirt and back bodice should be an easy match. For the front pieces, align the skirt and bodice by the side seam and extend the skirt until it aligns with the outer edge of the bodice. They’ll look like this:
OPTIONAL: Add a facing to the skirt front pieces
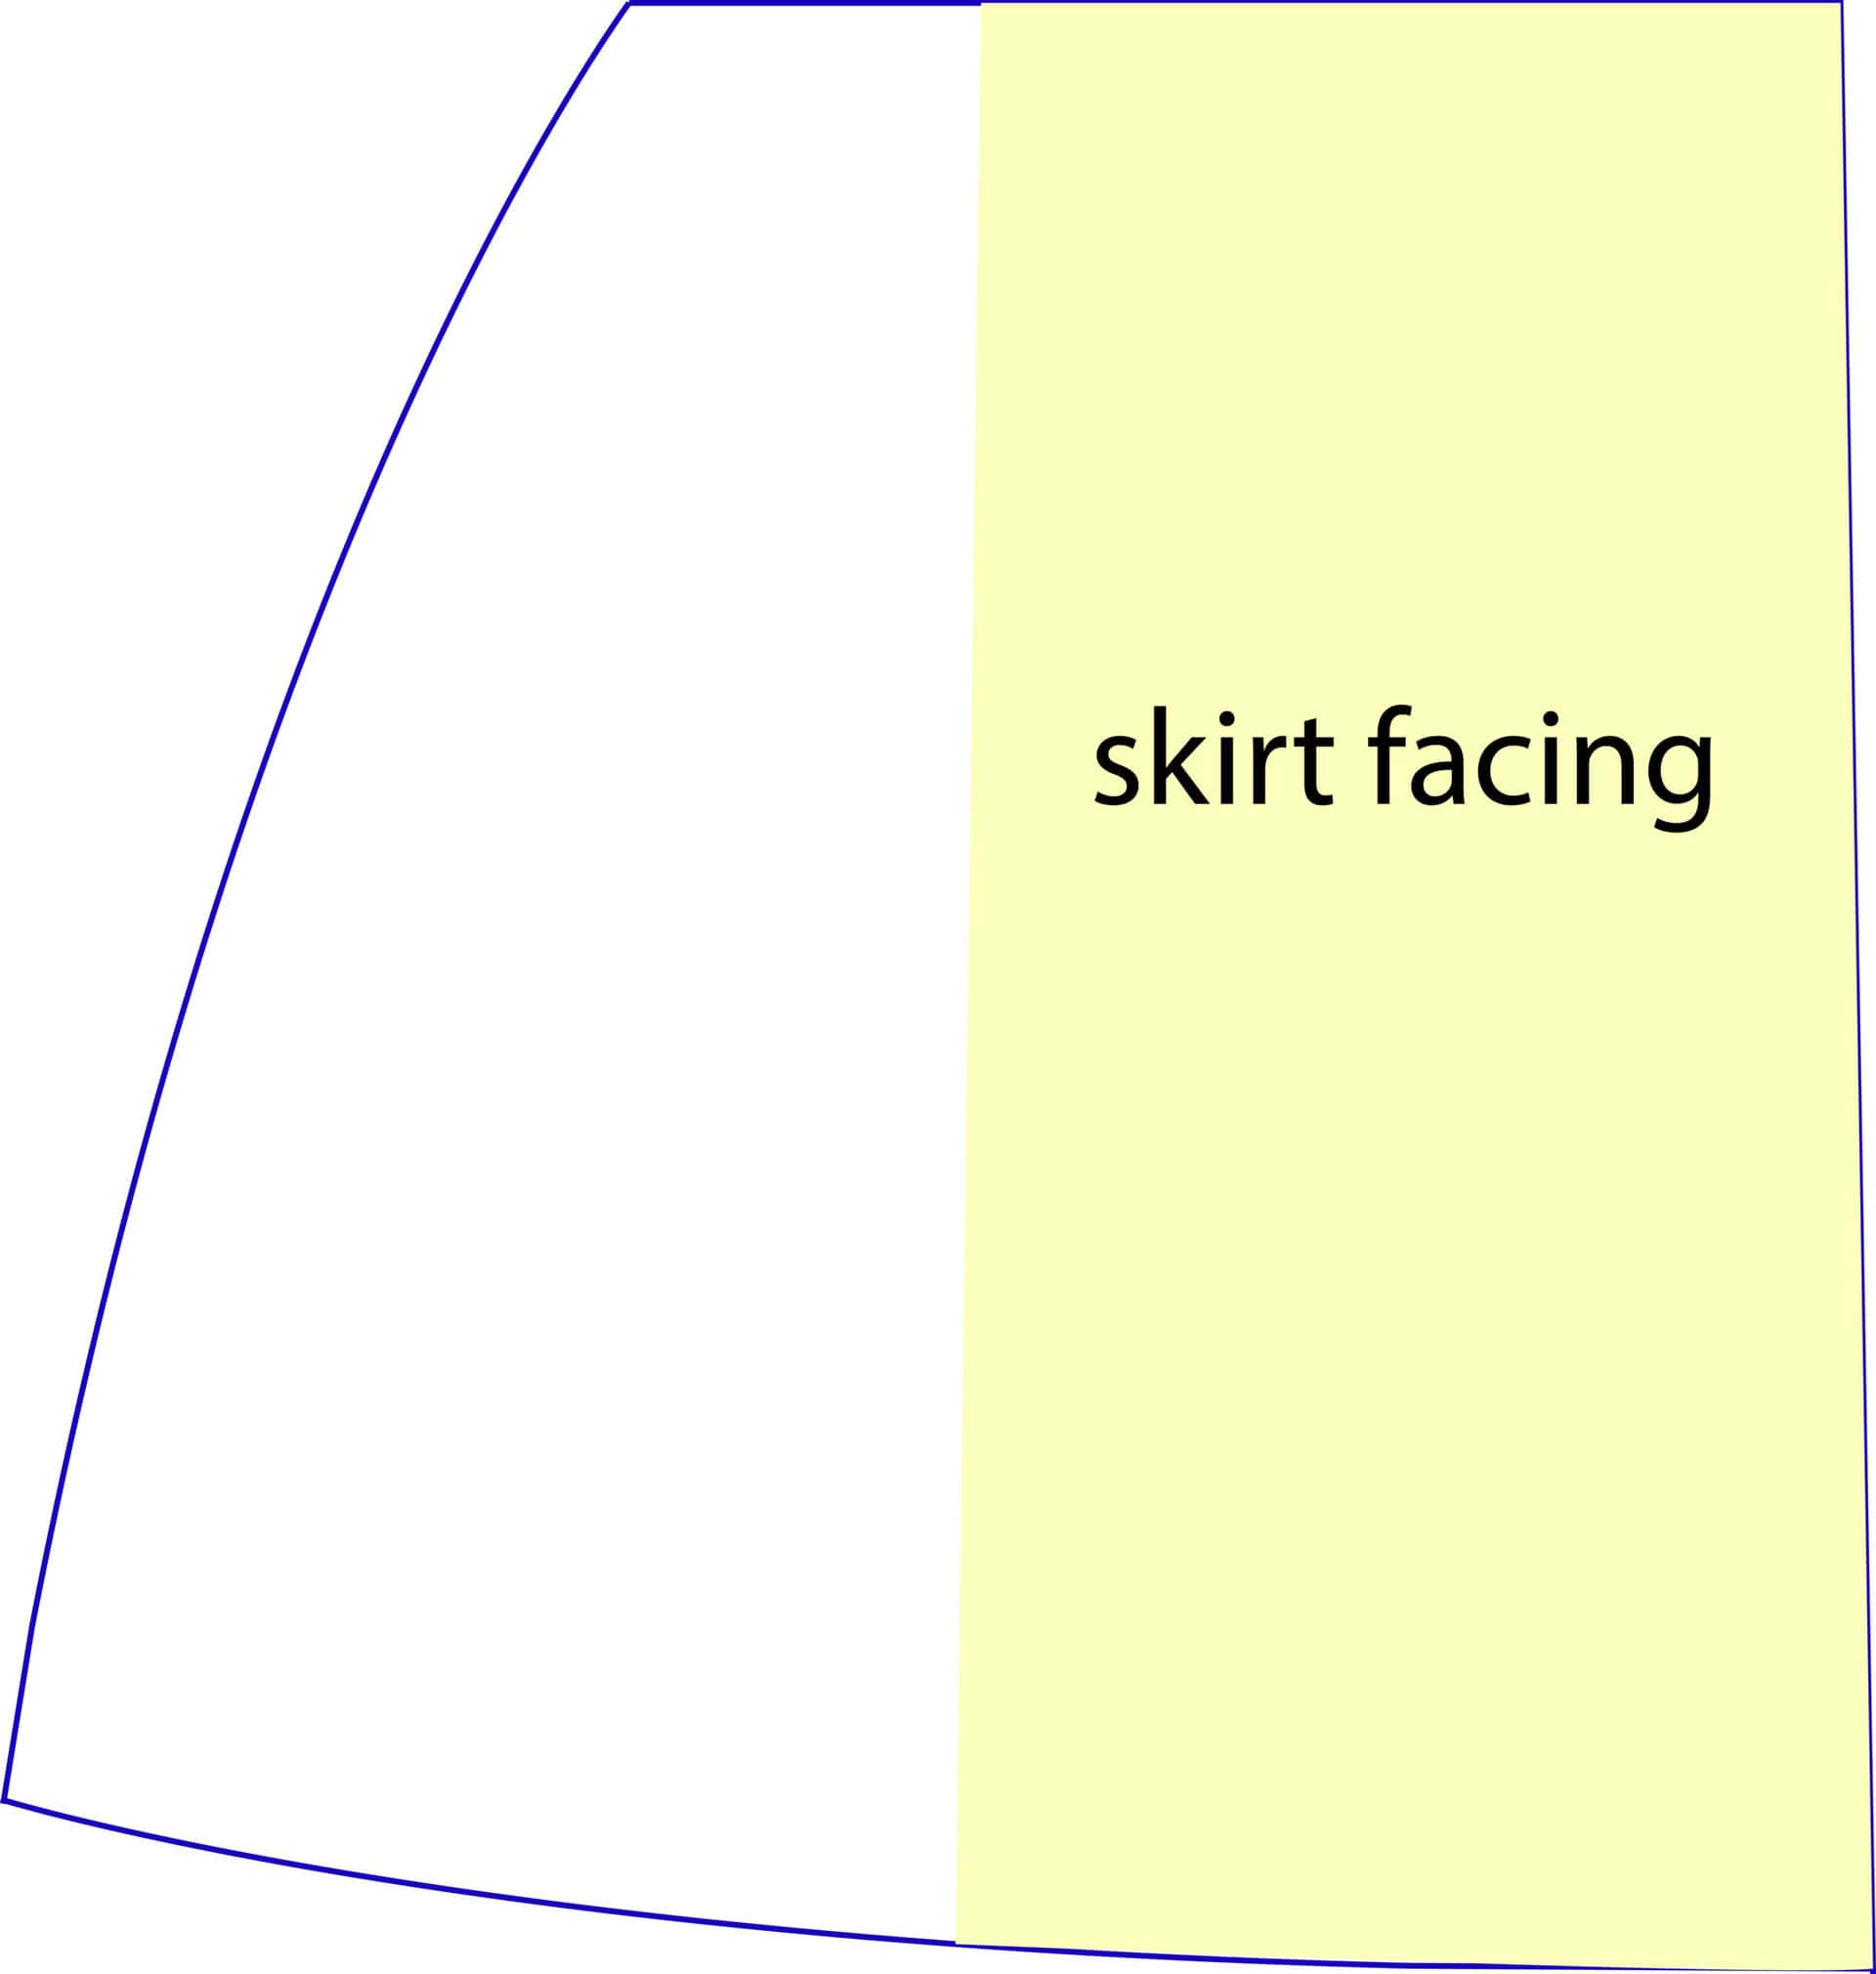
C. If you only plan to wear this hack as a dress, this step is optional, but if you love the coat idea, I suggest you add a facing for a cleaner finish.
D. To make the facing all you have to do is cut a piece of fabric as wide as the bottom edge of the Wide Lapel Front piece and as long as the skirt.
Yay, we are done prepping! Now to the fun stuff:
3. CUTTING FABRIC AND SEWING
Cut the pieces according to the pattern instructions, the only piece that will differ is the front skirt pieces that will need to be cut 2 mirrored instead of on the fold.
Putting this hack together is the easiest part of the whole process:
- Sew the bodice as per Metra instructions (sans pocket) but leave the bottom edge raw.
- Sew the skirt pieces.If you added the facing you’ll have: facing – front skirt – back skirt – front skirt – facing
- Pin the bodice to the skirt matching the side seams. Leaving the skirt facing open, match the edge of the bodice to the seam between the facing and front panel of the skirt. Then you’ll flip the skirt facing so the right side of it will be touching the front panel facing. Repeat for the other side and sew the waist seam.
- Hem and topstitch if desired.
- Try it on and decide on button placement. Here it’s all about personal taste and how you want to wear it. I opted for 6 buttons and buttonholes.
That’s it, you’re all done!
Now go strut your stuff and show the world your new creation! 😉
But if you’d like to zhuzh it up a bit further, here are some extra ideas/options:
- POCKETS!
You can add inseam pockets or go a step further and add a pocket like Canyon’s to the waist seam.
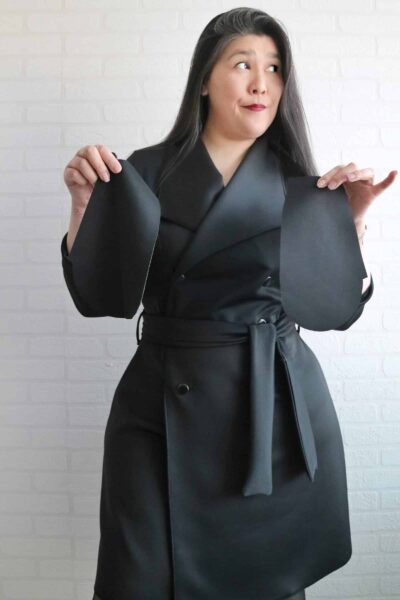
- BELT and BELT LOOPS.
I added 3 belt loops to mine (on the back and side seams)
- EPAULETS
I’m definitely adding those to my next one!
- CIRCLE SKIRT instead of A-line.
Great way to amp up the drama.
These are just some ideas… the sky is the limit! <3
Oh, and just one last little tip before I go:
Don’t cut your pockets and totally forget they exist when sewing. And most importantly, don’t keep doing that multiple times. It’s irritating and inconvenient!
How do I know?? Oh… just a feeling… LOL
(green dress is a Lenox Hack you can find on my blog)
Pin this article to your sewing board
