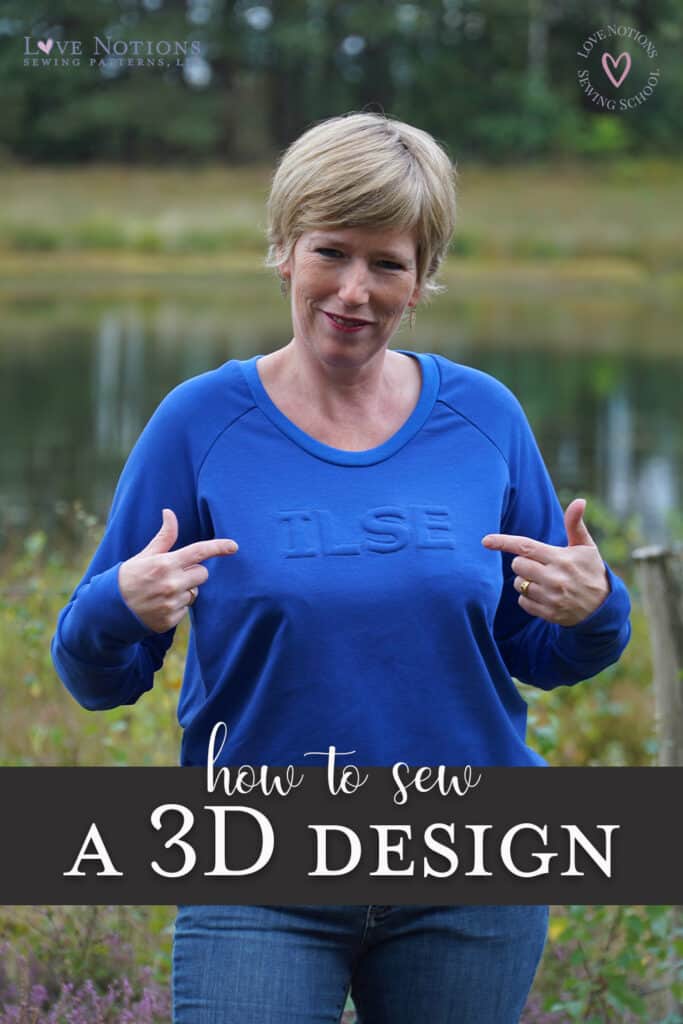
Have you seen these cool 3D designs sewn on tshirts, sweatshirts, and other garments? Today’s post is going to show you exactly how to create one on your own sewn items!
Hello all, Ilse here and I am going to show you something hip and trendy that you can easily apply to a lot of different garments. It can even be done to the outer surface of bags.


I’ll take you with me on my 3D design sewing adventure!
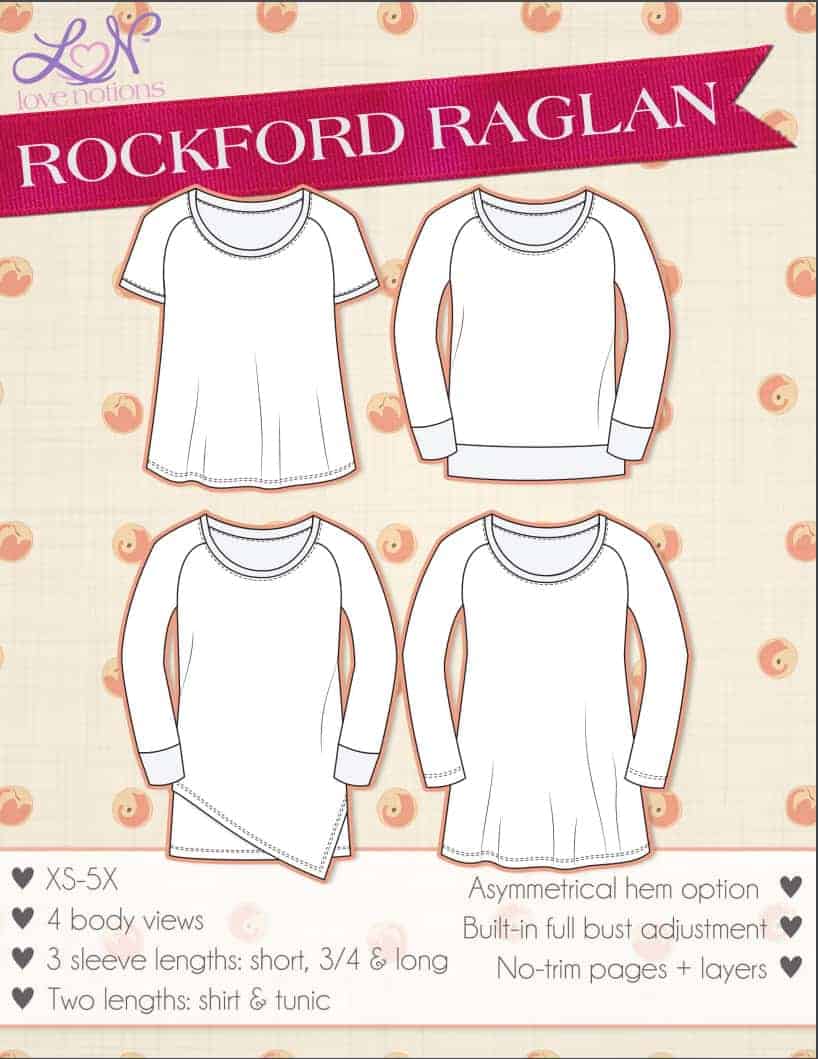
The sewing pattern
For this post, I made my a 3D inscriptions and designs on the Rockford Raglan sewing pattern.. This is a pattern that you can purchase for today’s Feature Friday special for only $5! And with this technique, you can get right down to it.

3D Design Supplies
Excited to start? Let’s do it!
Let’s start with the supplies you will need to apply the 3D technique.

Supplies List
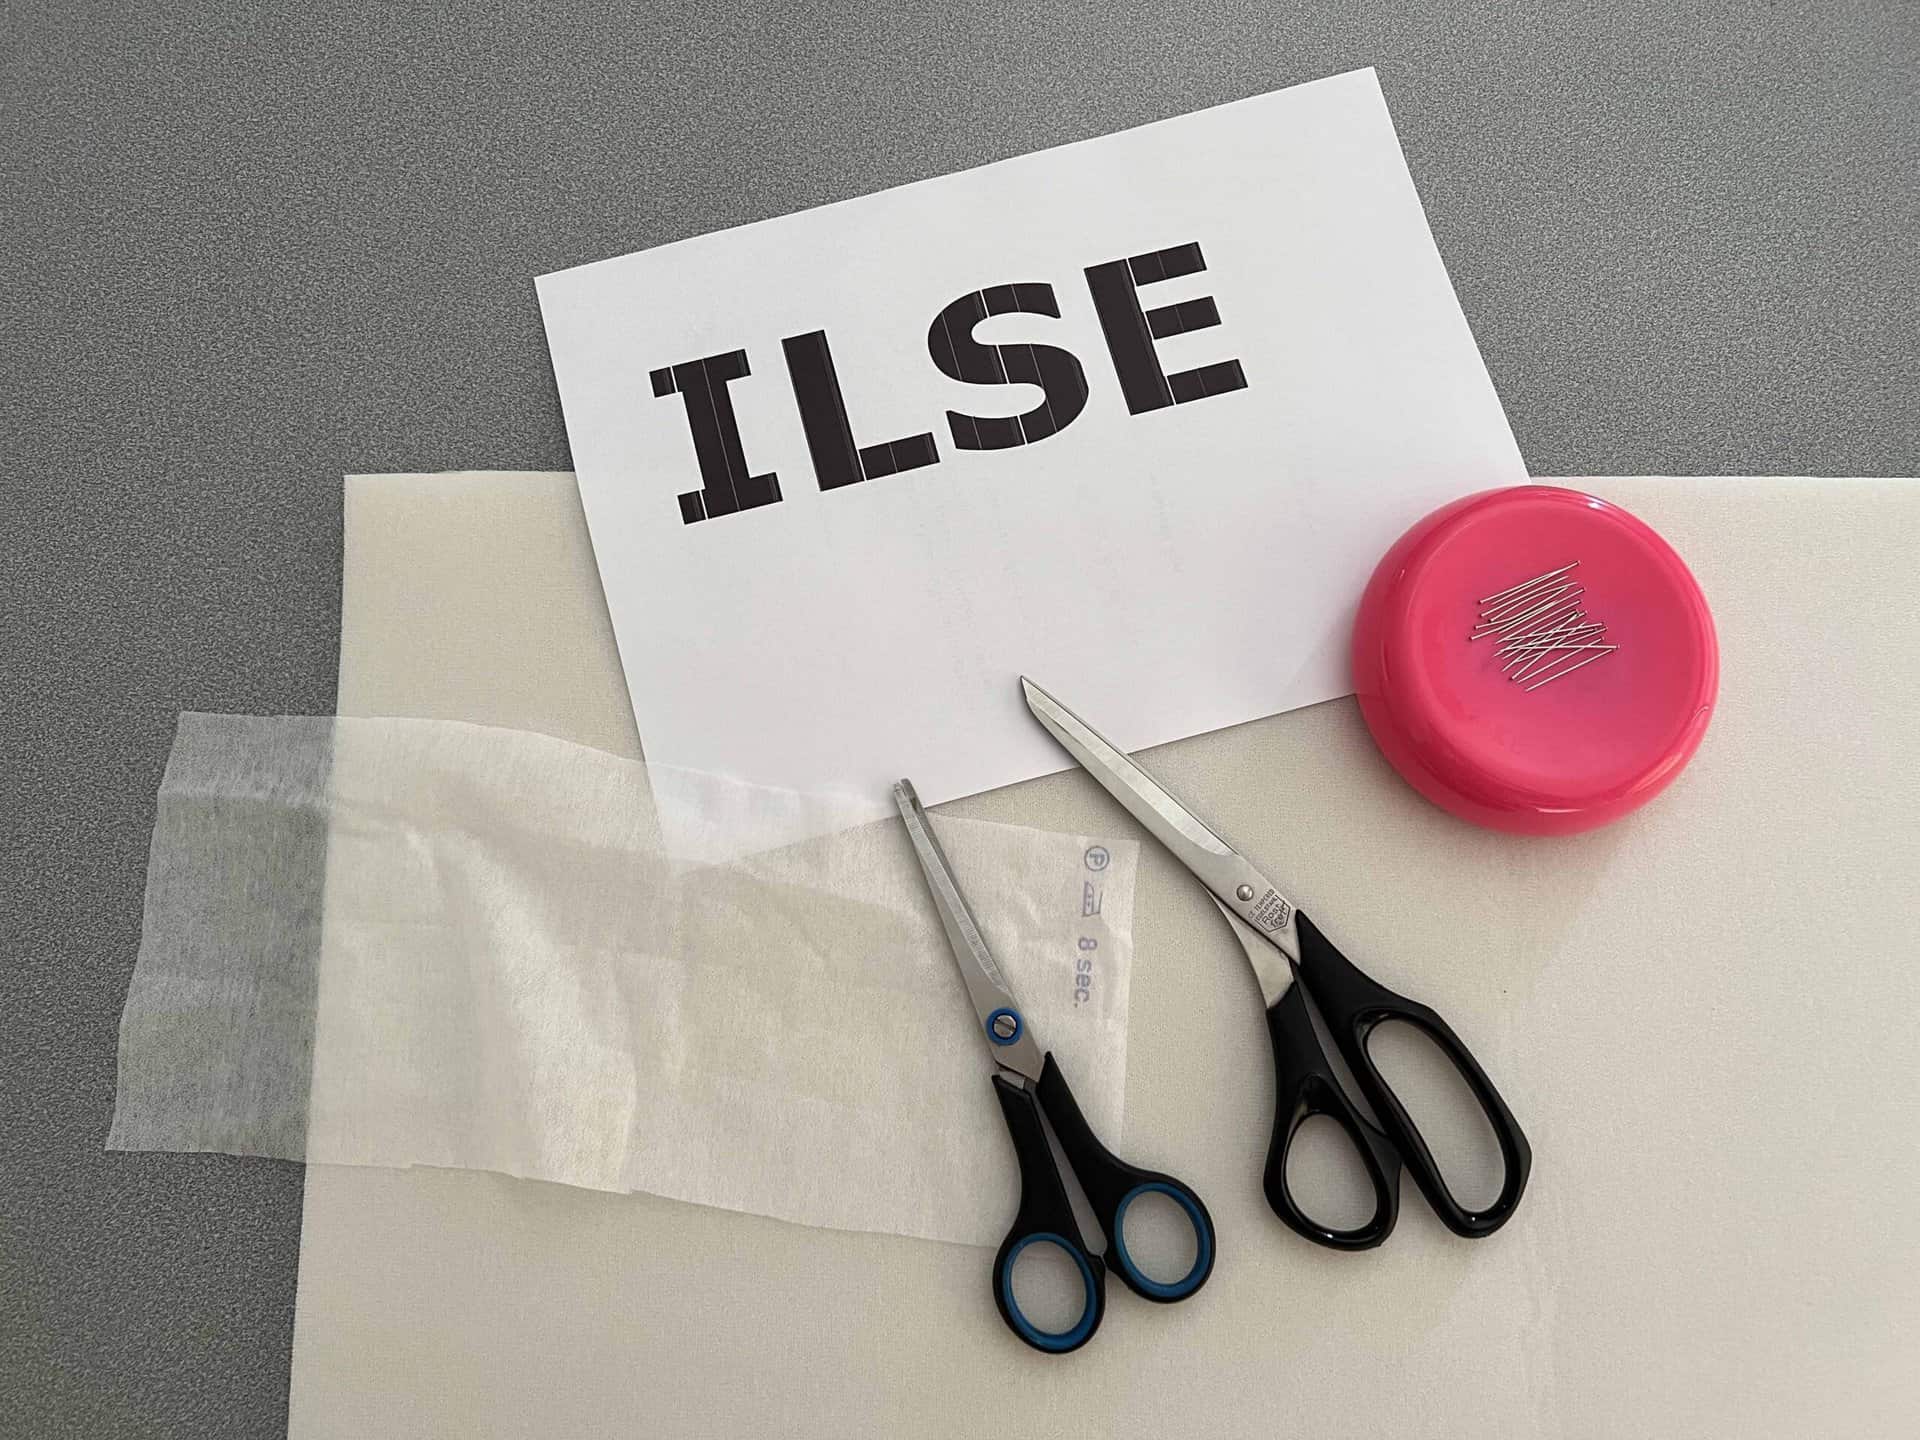
- a fabric base, in this case your front panel from your Rockford Raglan
- the text you wish to use, printed on paper
- interfacing with a thickness of 0.2” to 0.3”
- interfacing H180
- scissors
- your sewing machine and iron
The 0.2″ interfacing reinforcement is actually the most important thing. With this you will eventually get the 3D effect and you have a few options in this. The best option to use is Style-vil. (Click here to shop etsy for this interfacing.) Style-vil is a foam-like volume liner that you have in a regular version. I used that one. And you also have these with an adhesive layer on one side which makes this stiffener ironable. This is the Style-vil fix. There are other options as well, but I didn’t try these myself. For example, you can also use a thicker soft shell or foam rubber.
What are recommended fabrics for your Rockford Raglan with 3D technique?
Recommended fabrics for this garment with the 3D design are light to medium weight knits with at least 40% stretch such as jerseys, (ITY) knits, modal, french terry and sweater knits. I know knits with some drape will give you a more flowy outlook but to apply the 3D technique I prefer to work with french terry or sweater knits to have the best result. TIP: With plain fabrics, the print will show up best!
Step-by-step instructions to make a 3D design


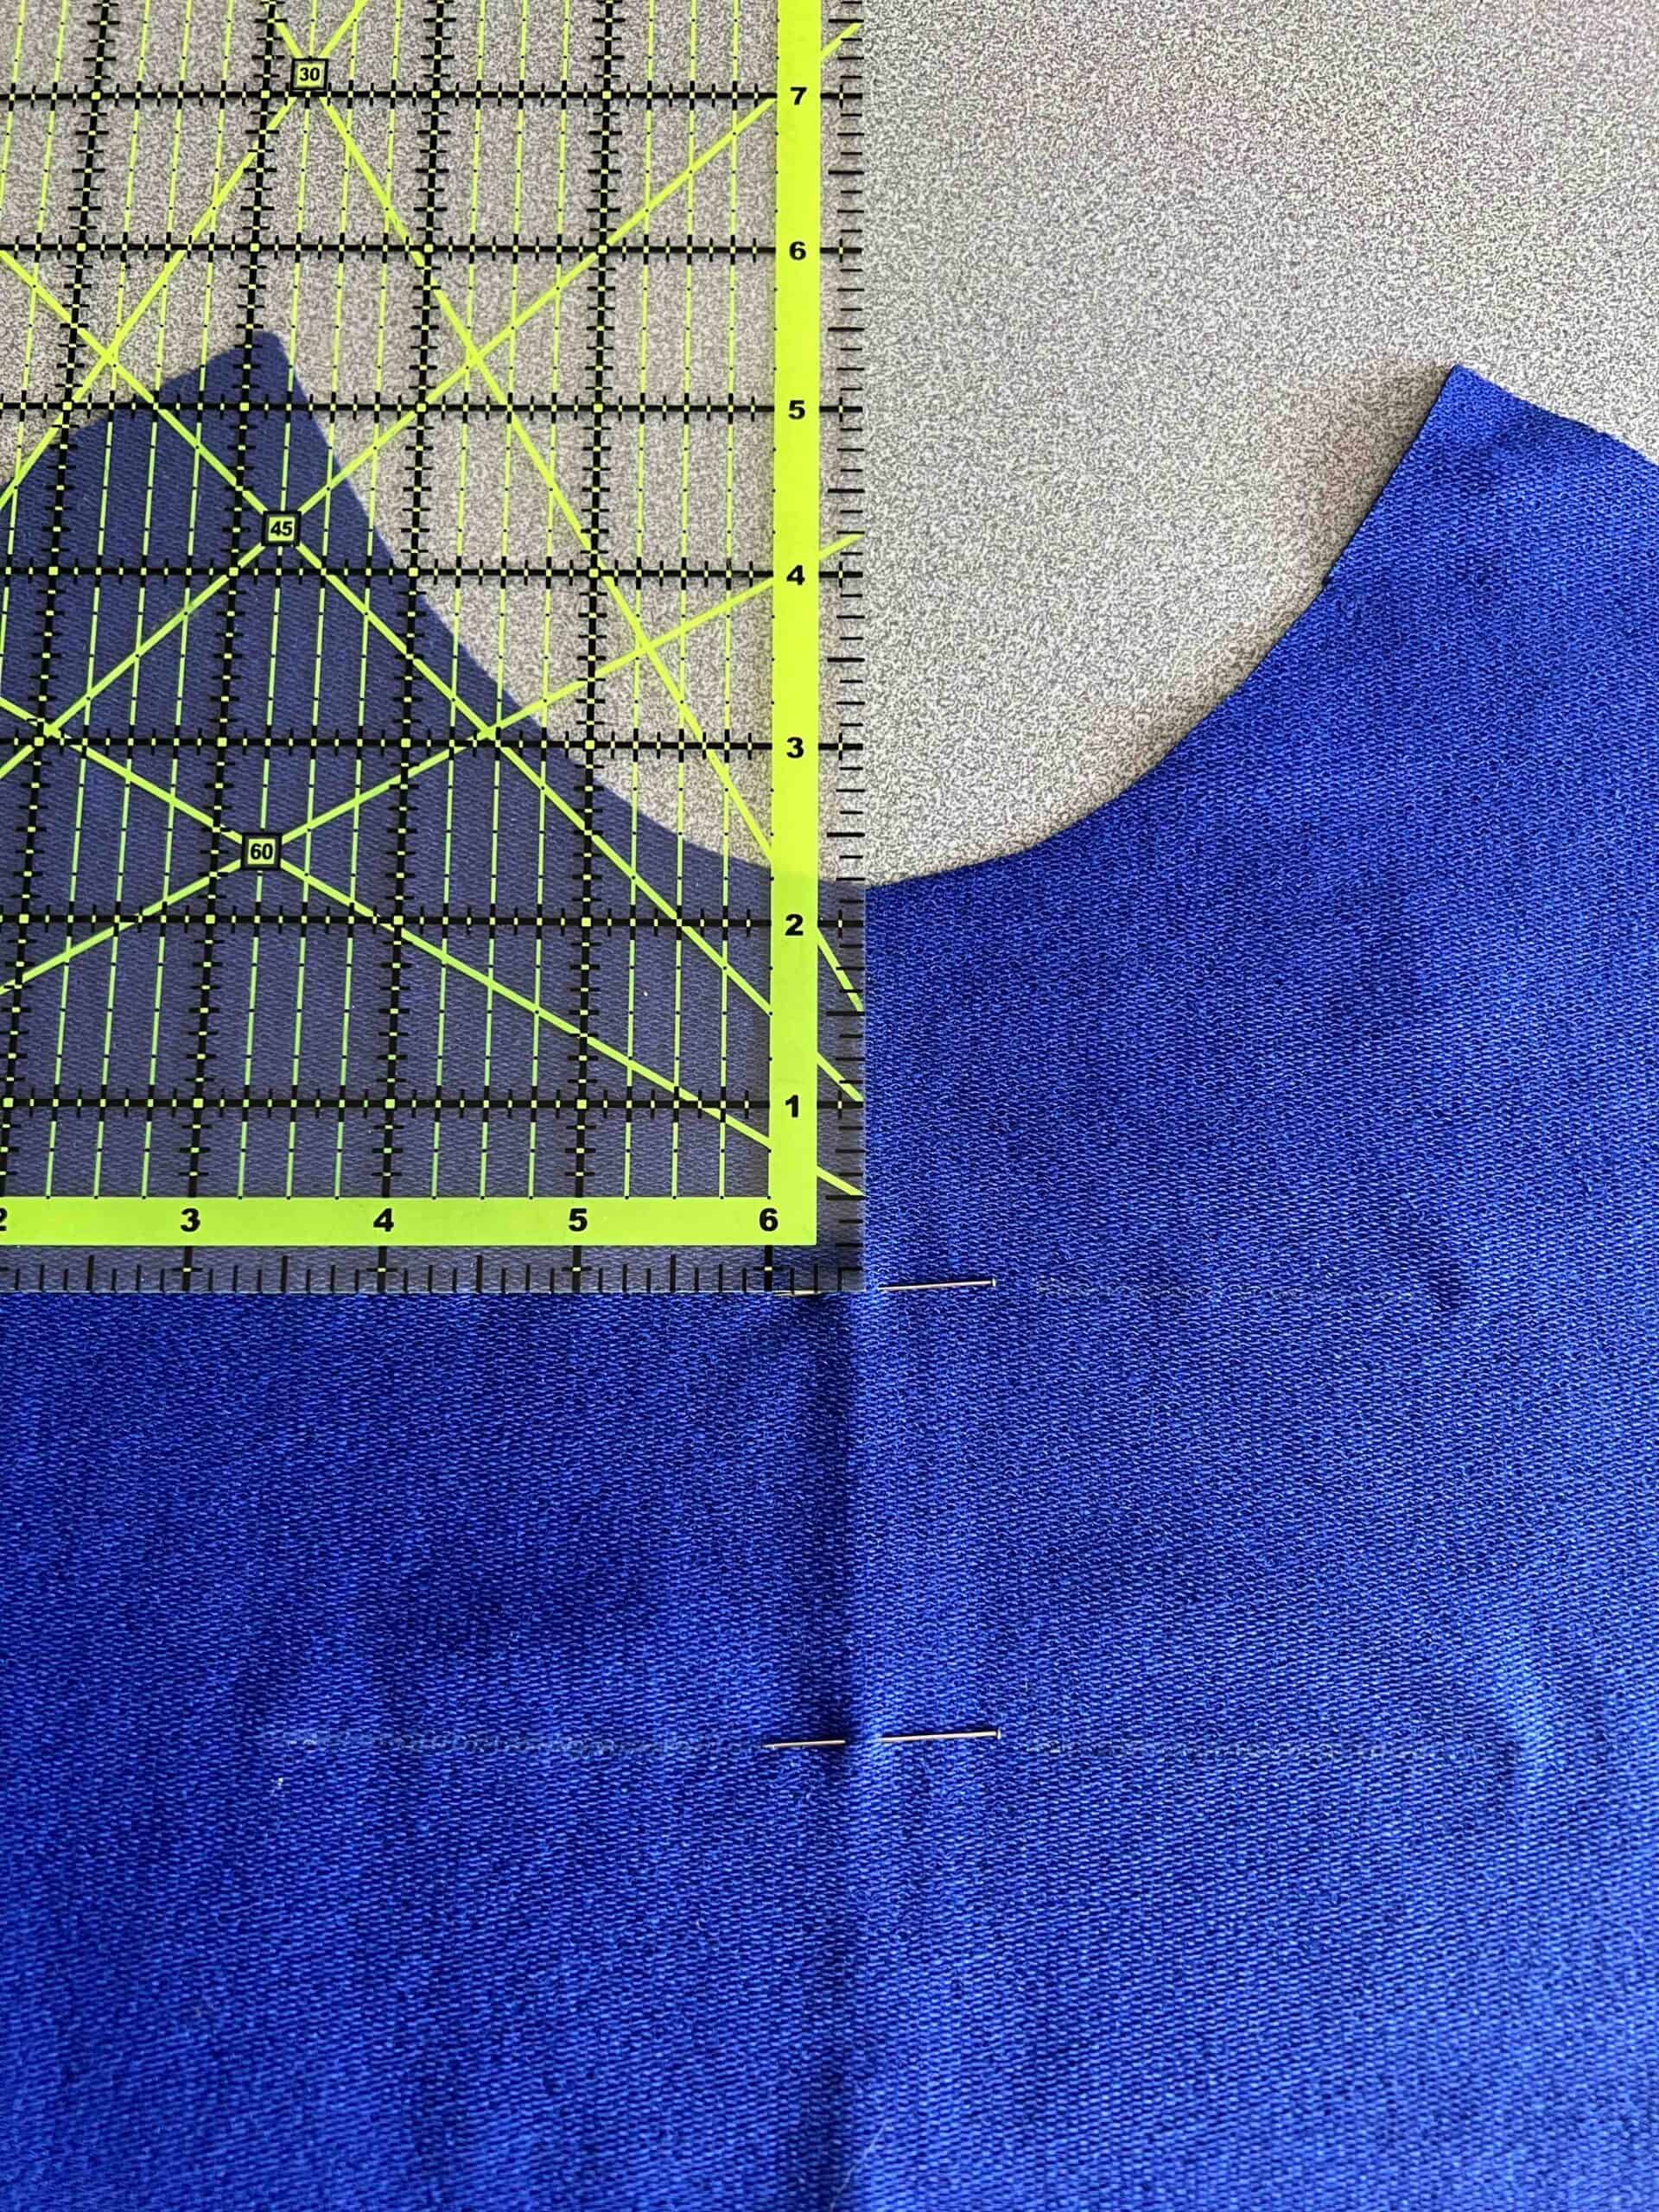
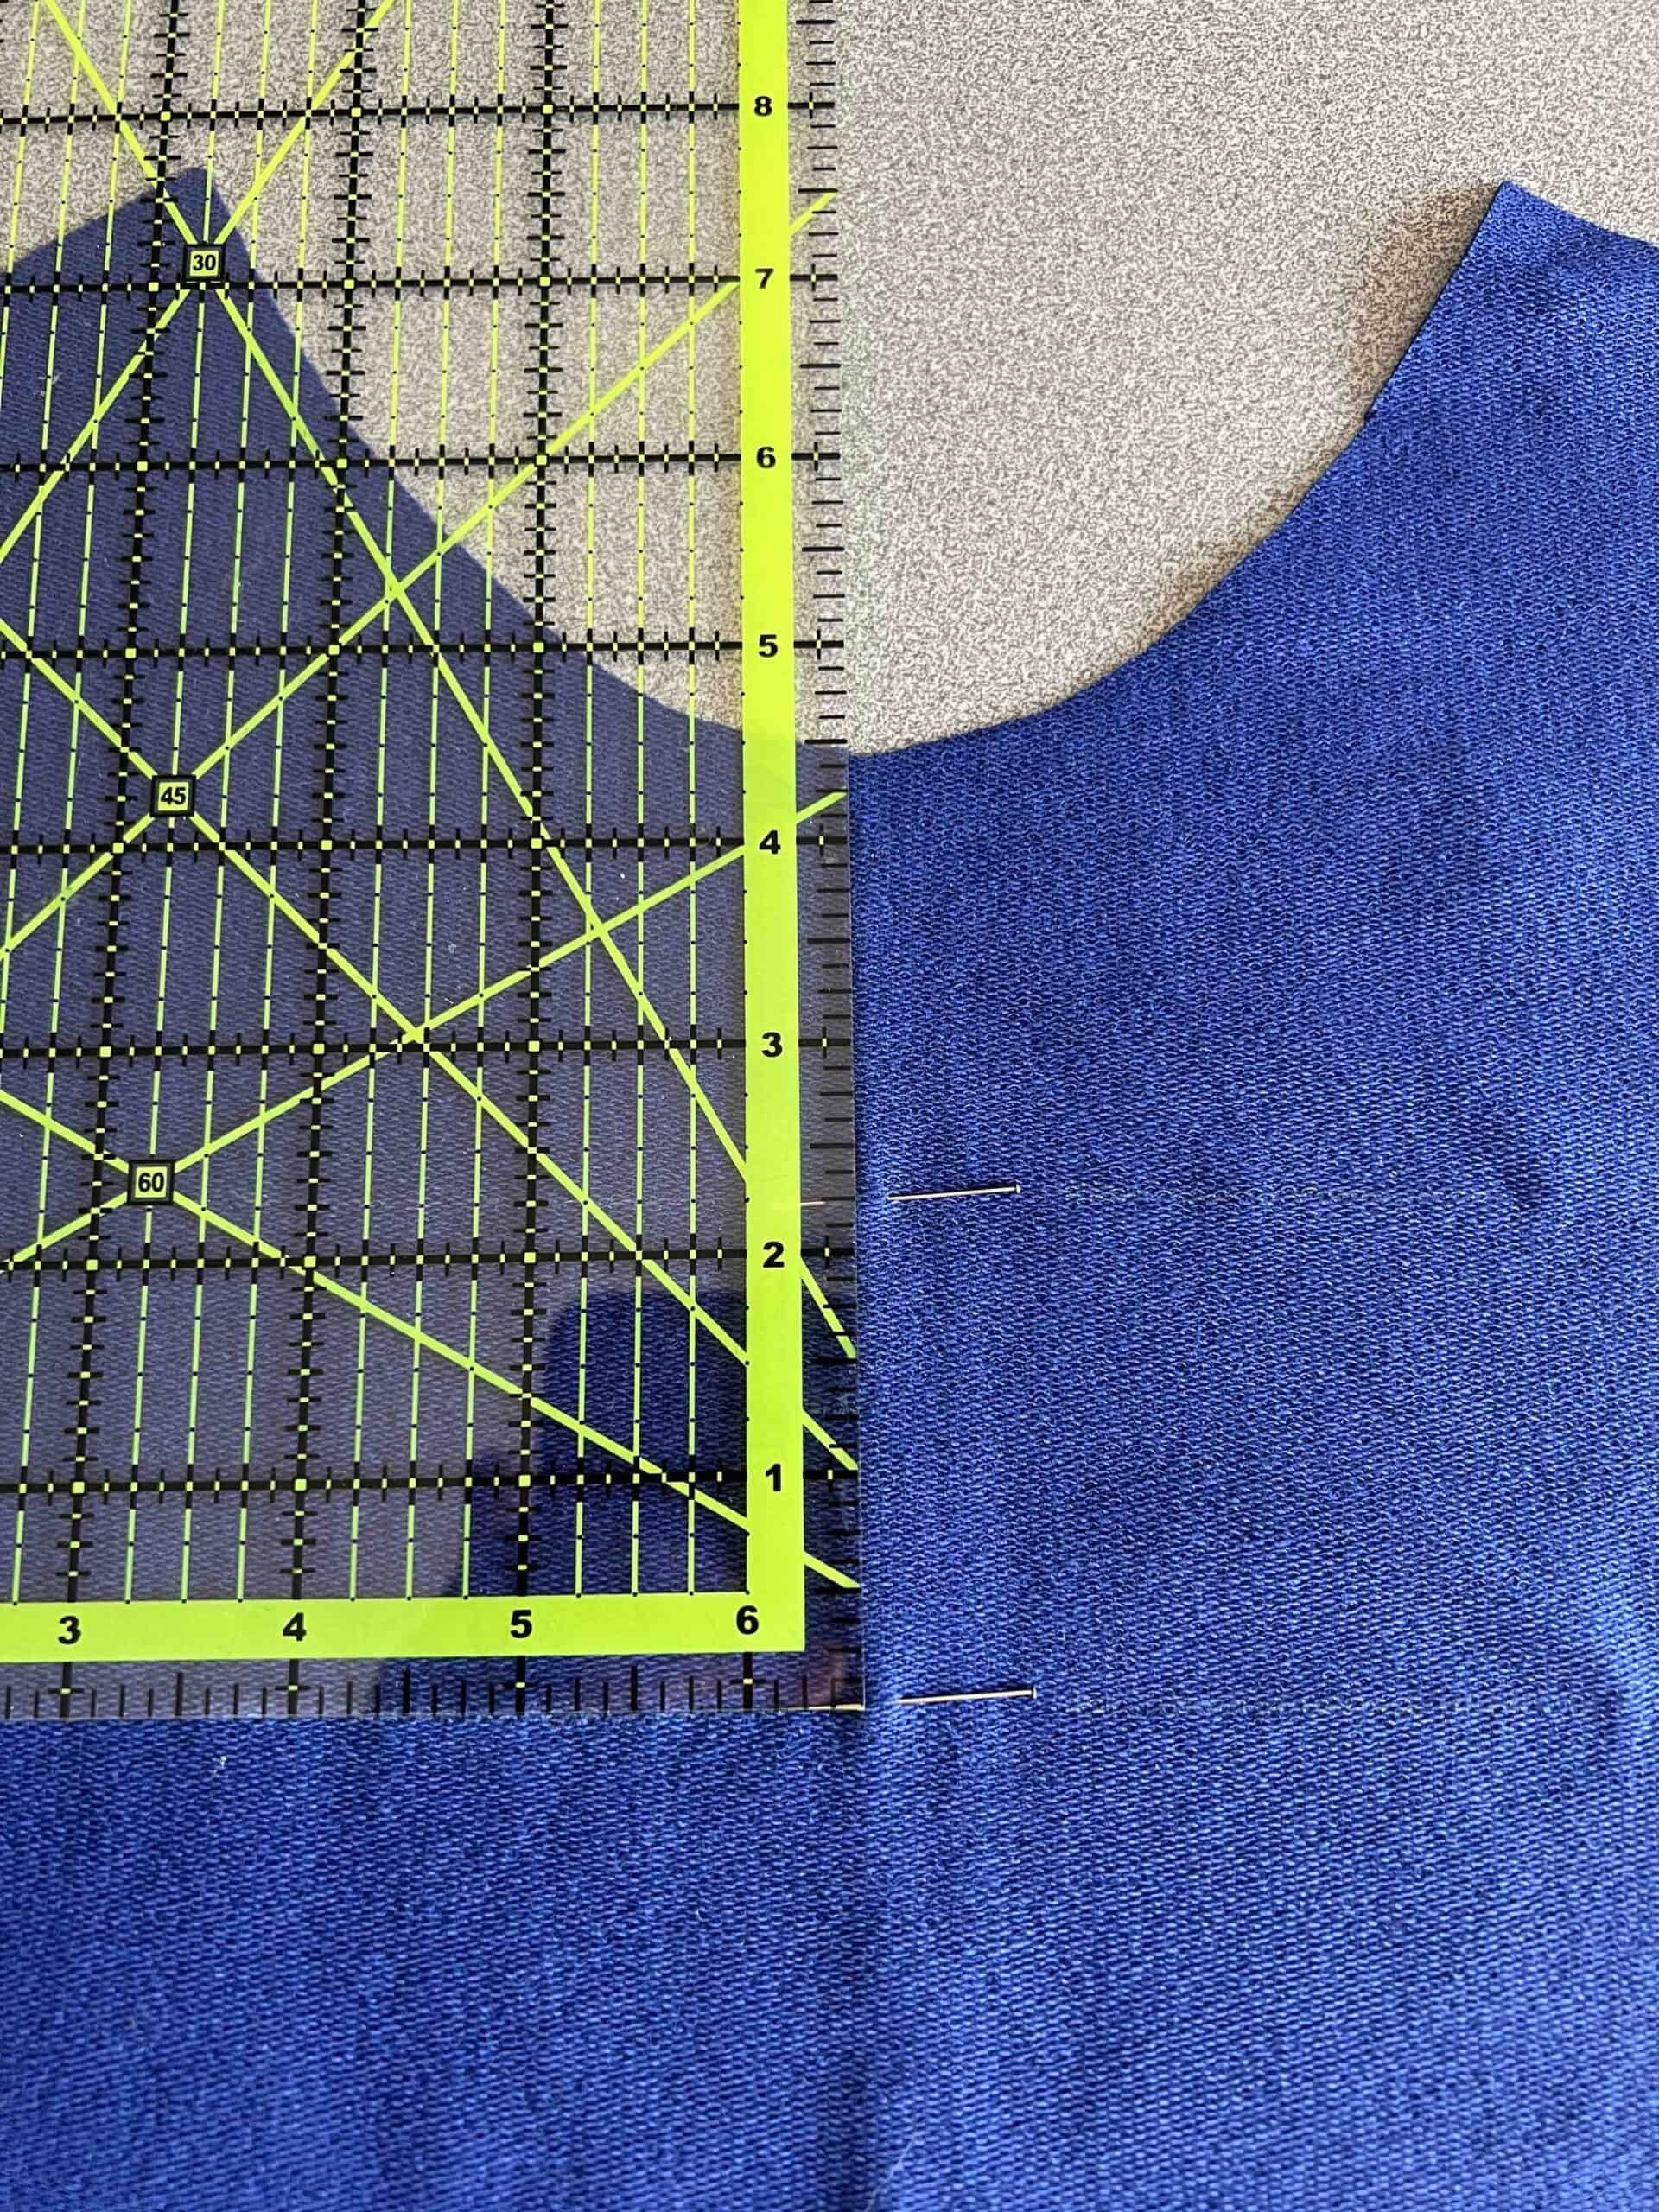
- Cut out the Rockford Raglan pieces in your favorite fabric and option.
I choose option D, the banded option.
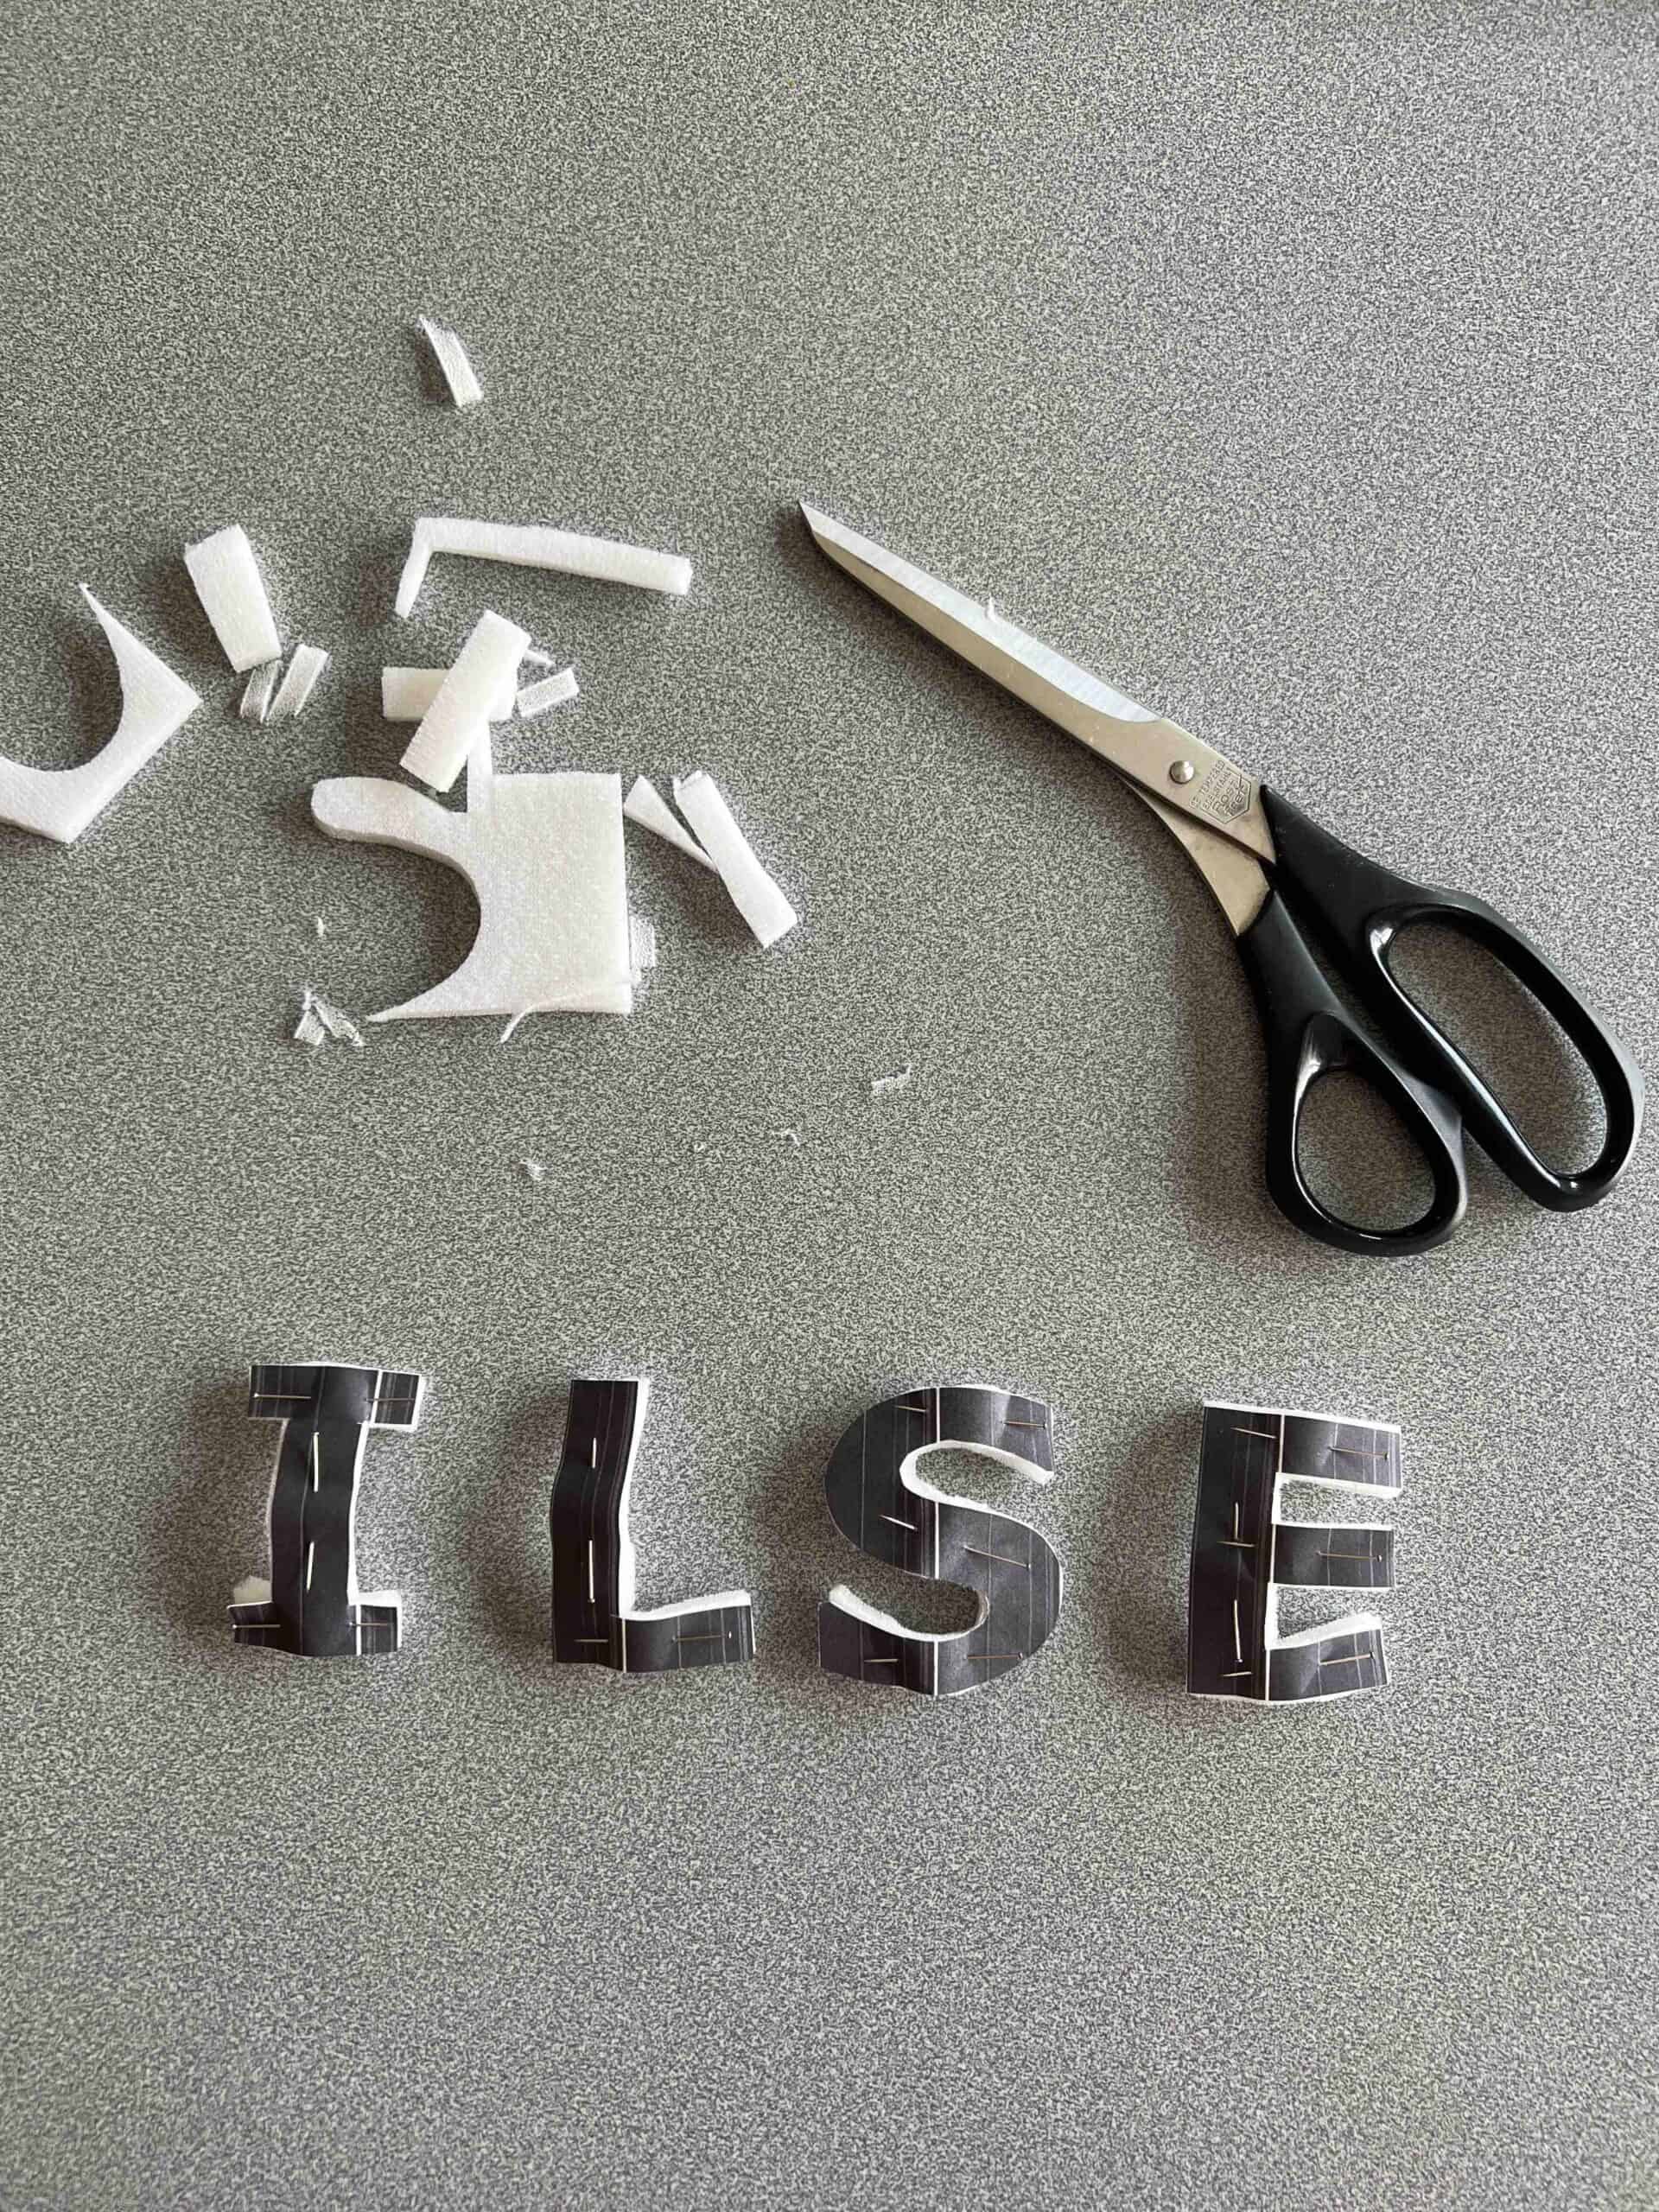
- Print your text or quote and cut out the letters. I used font Verdana in font size 220. Of course, you can also choose a drawing.
- Pin the letters to your foam or Style-vil and cut them out.
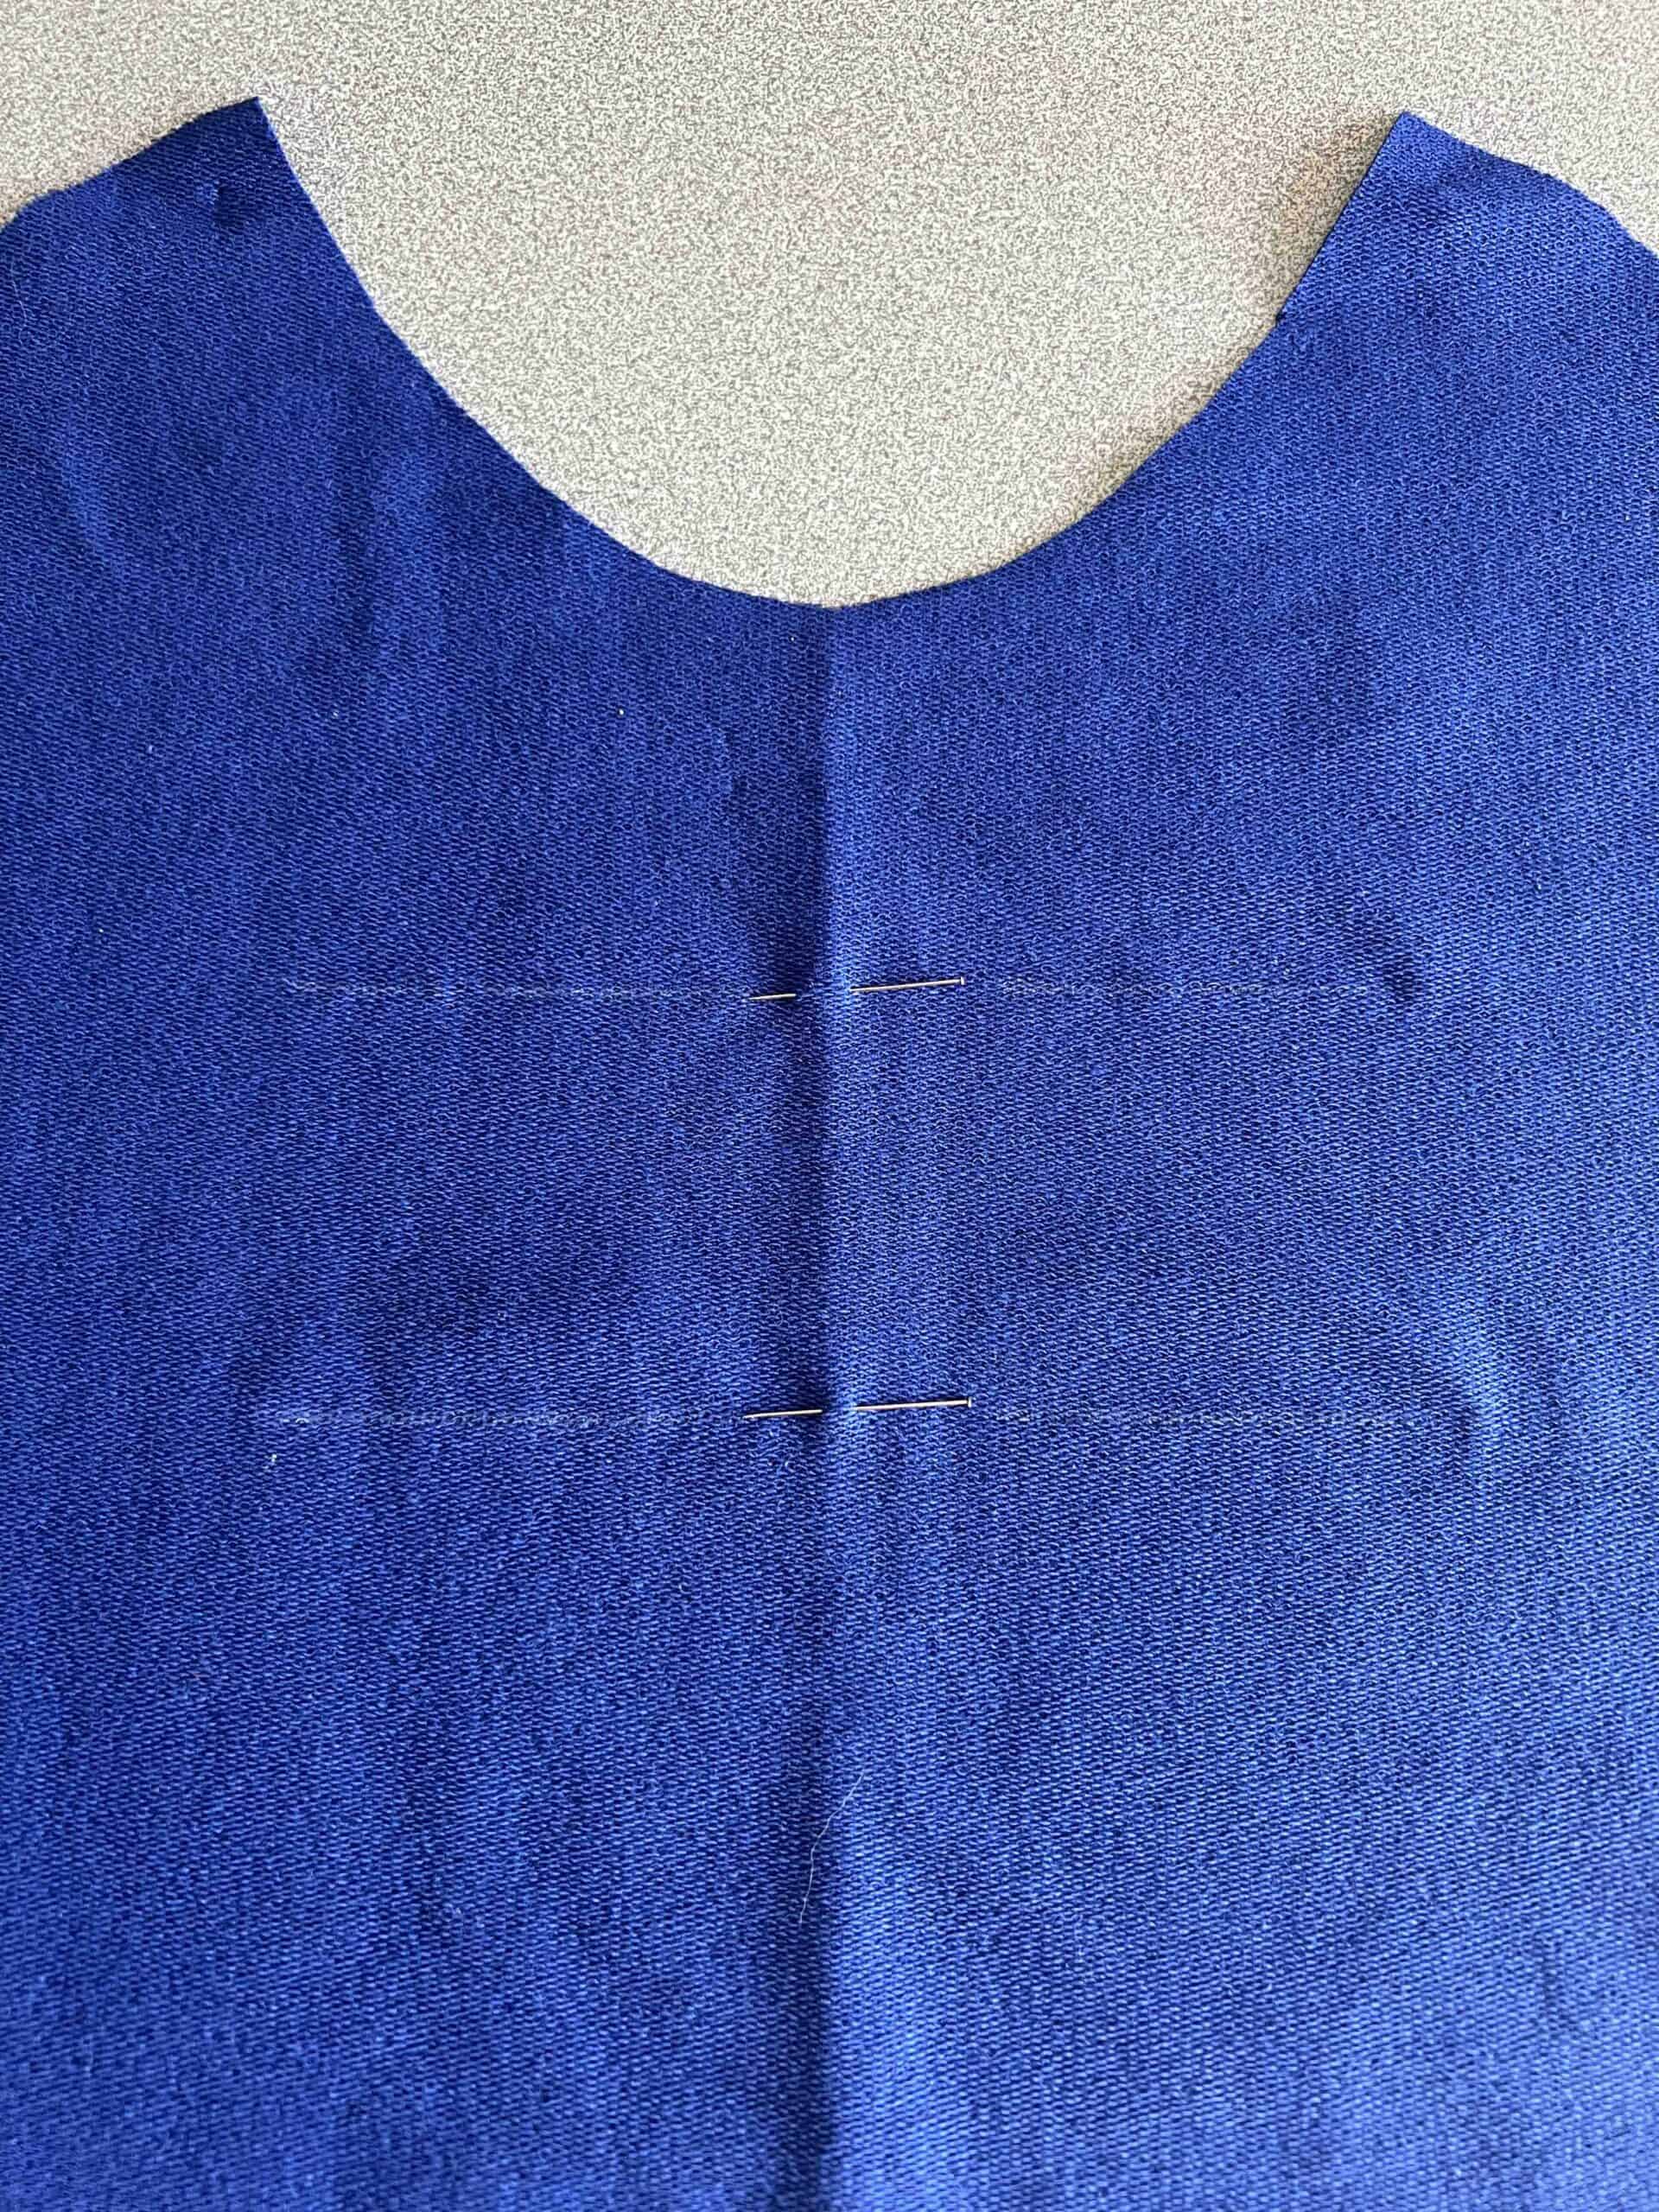
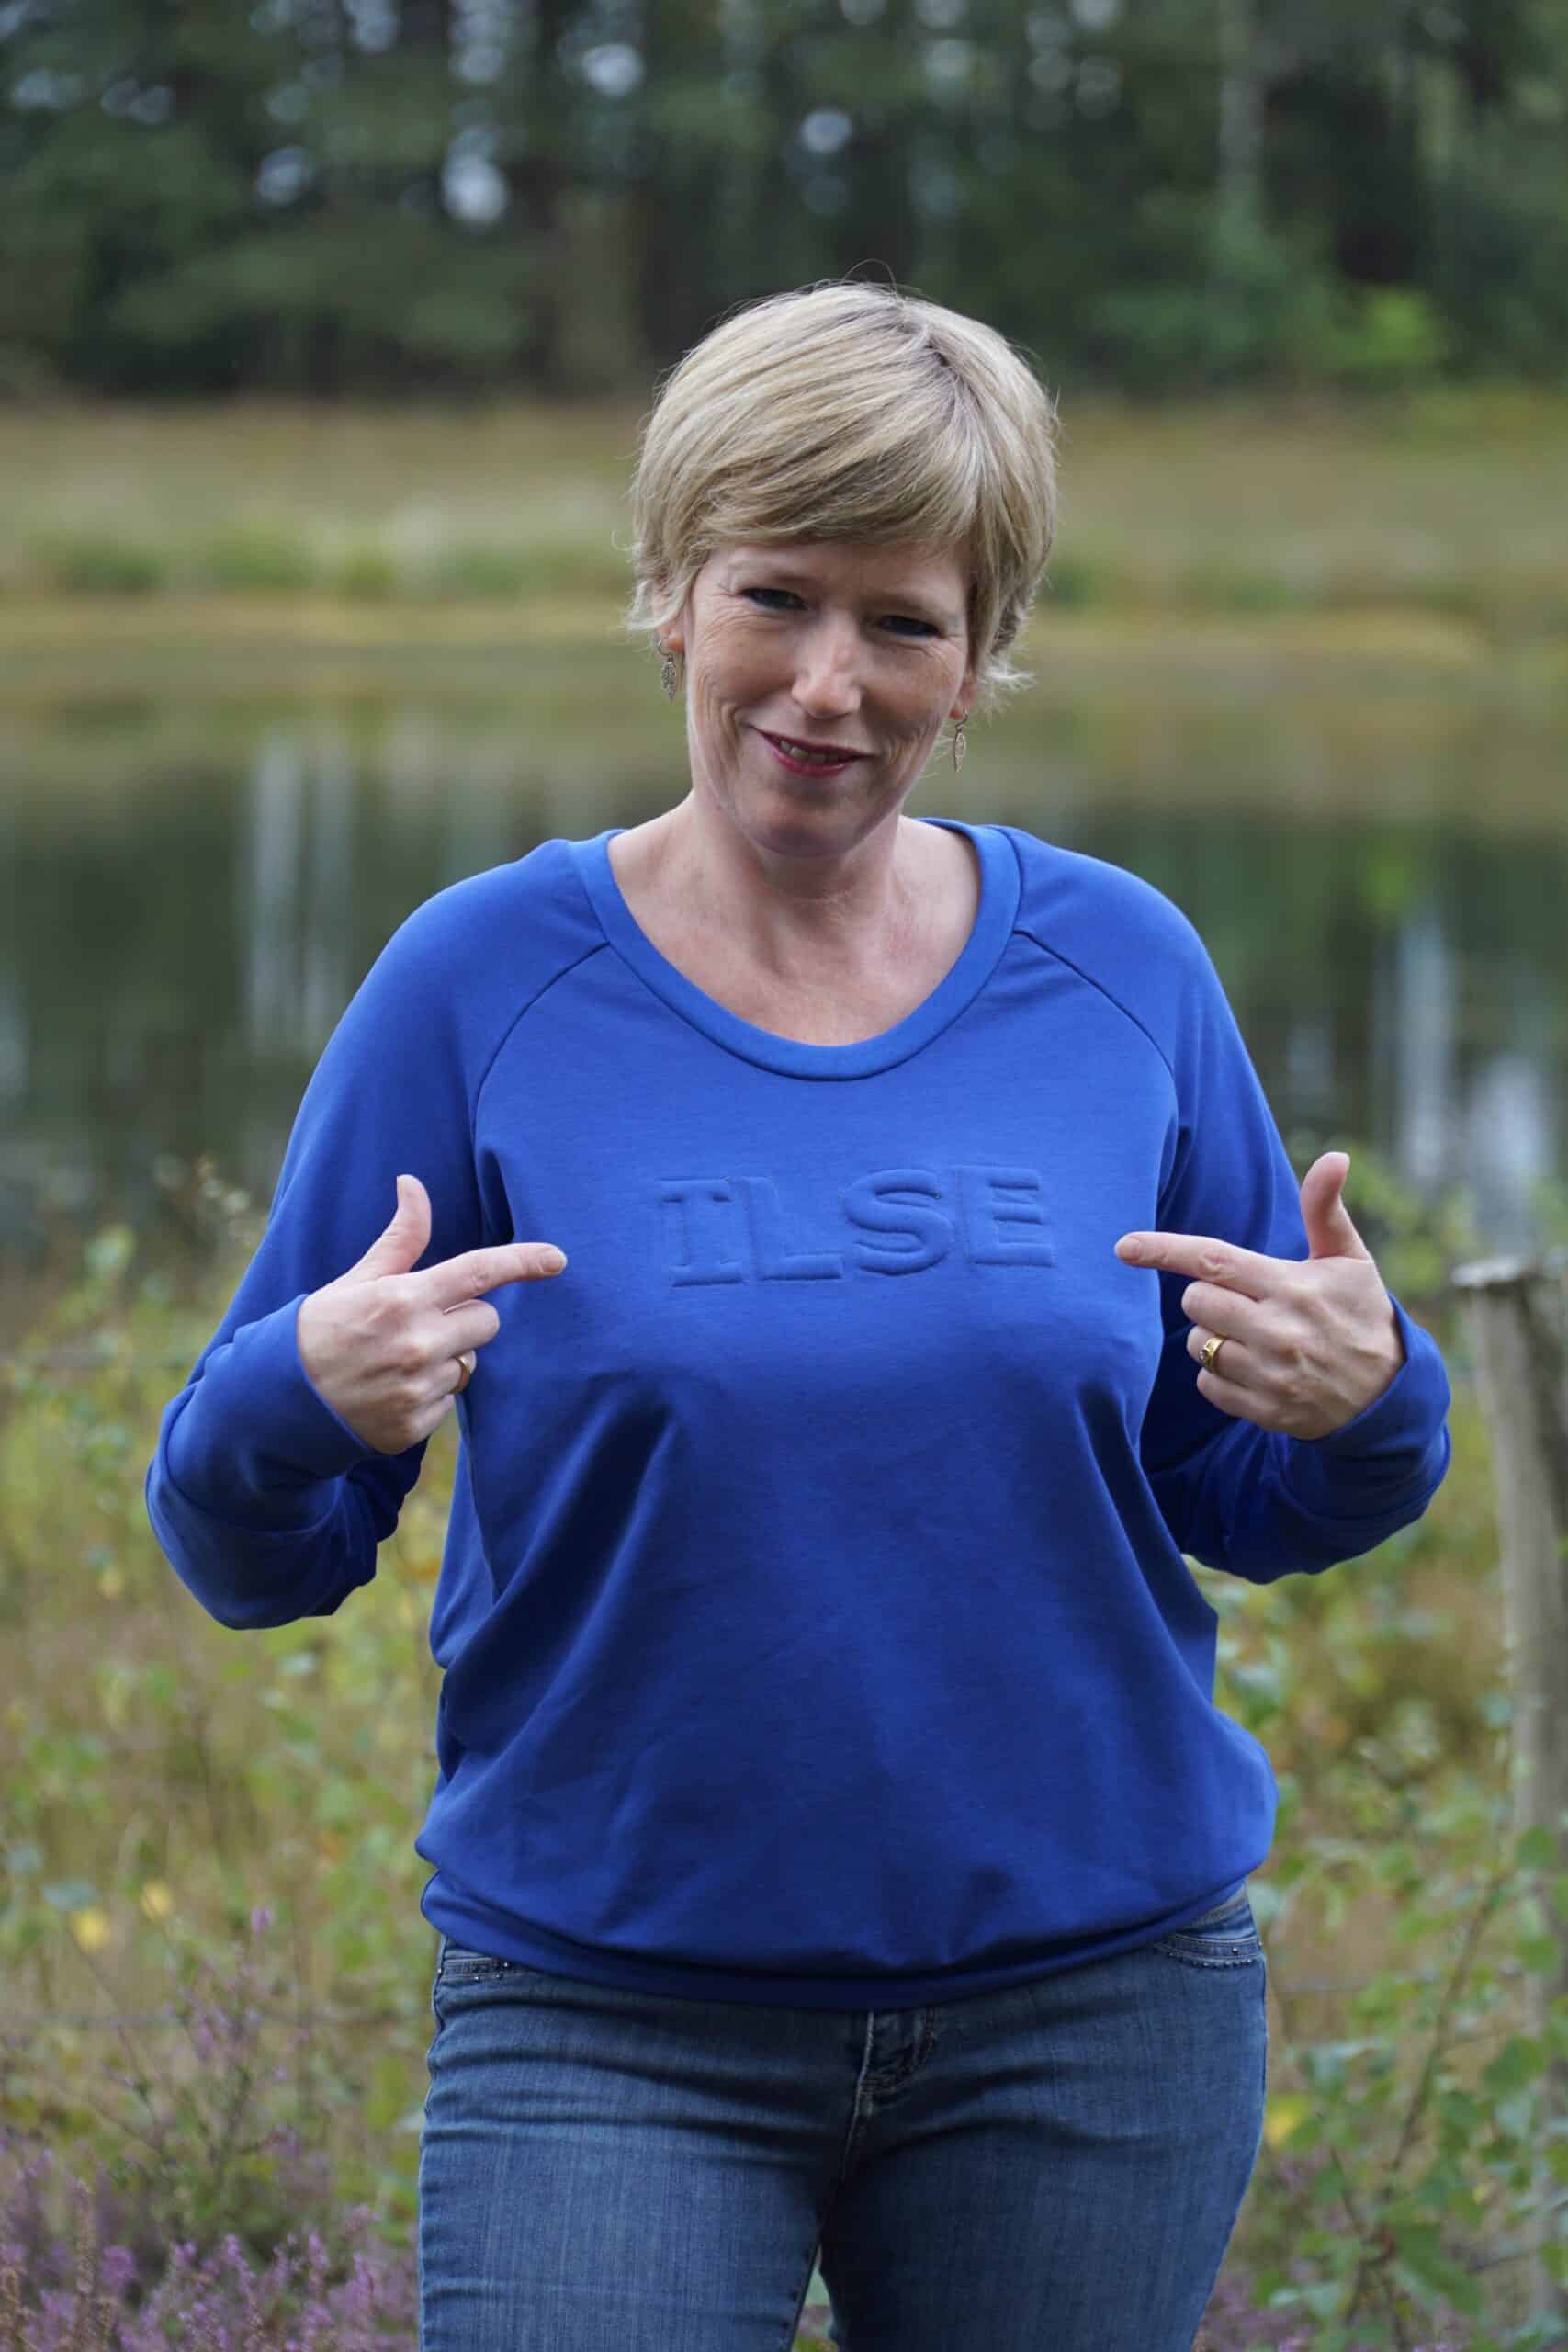
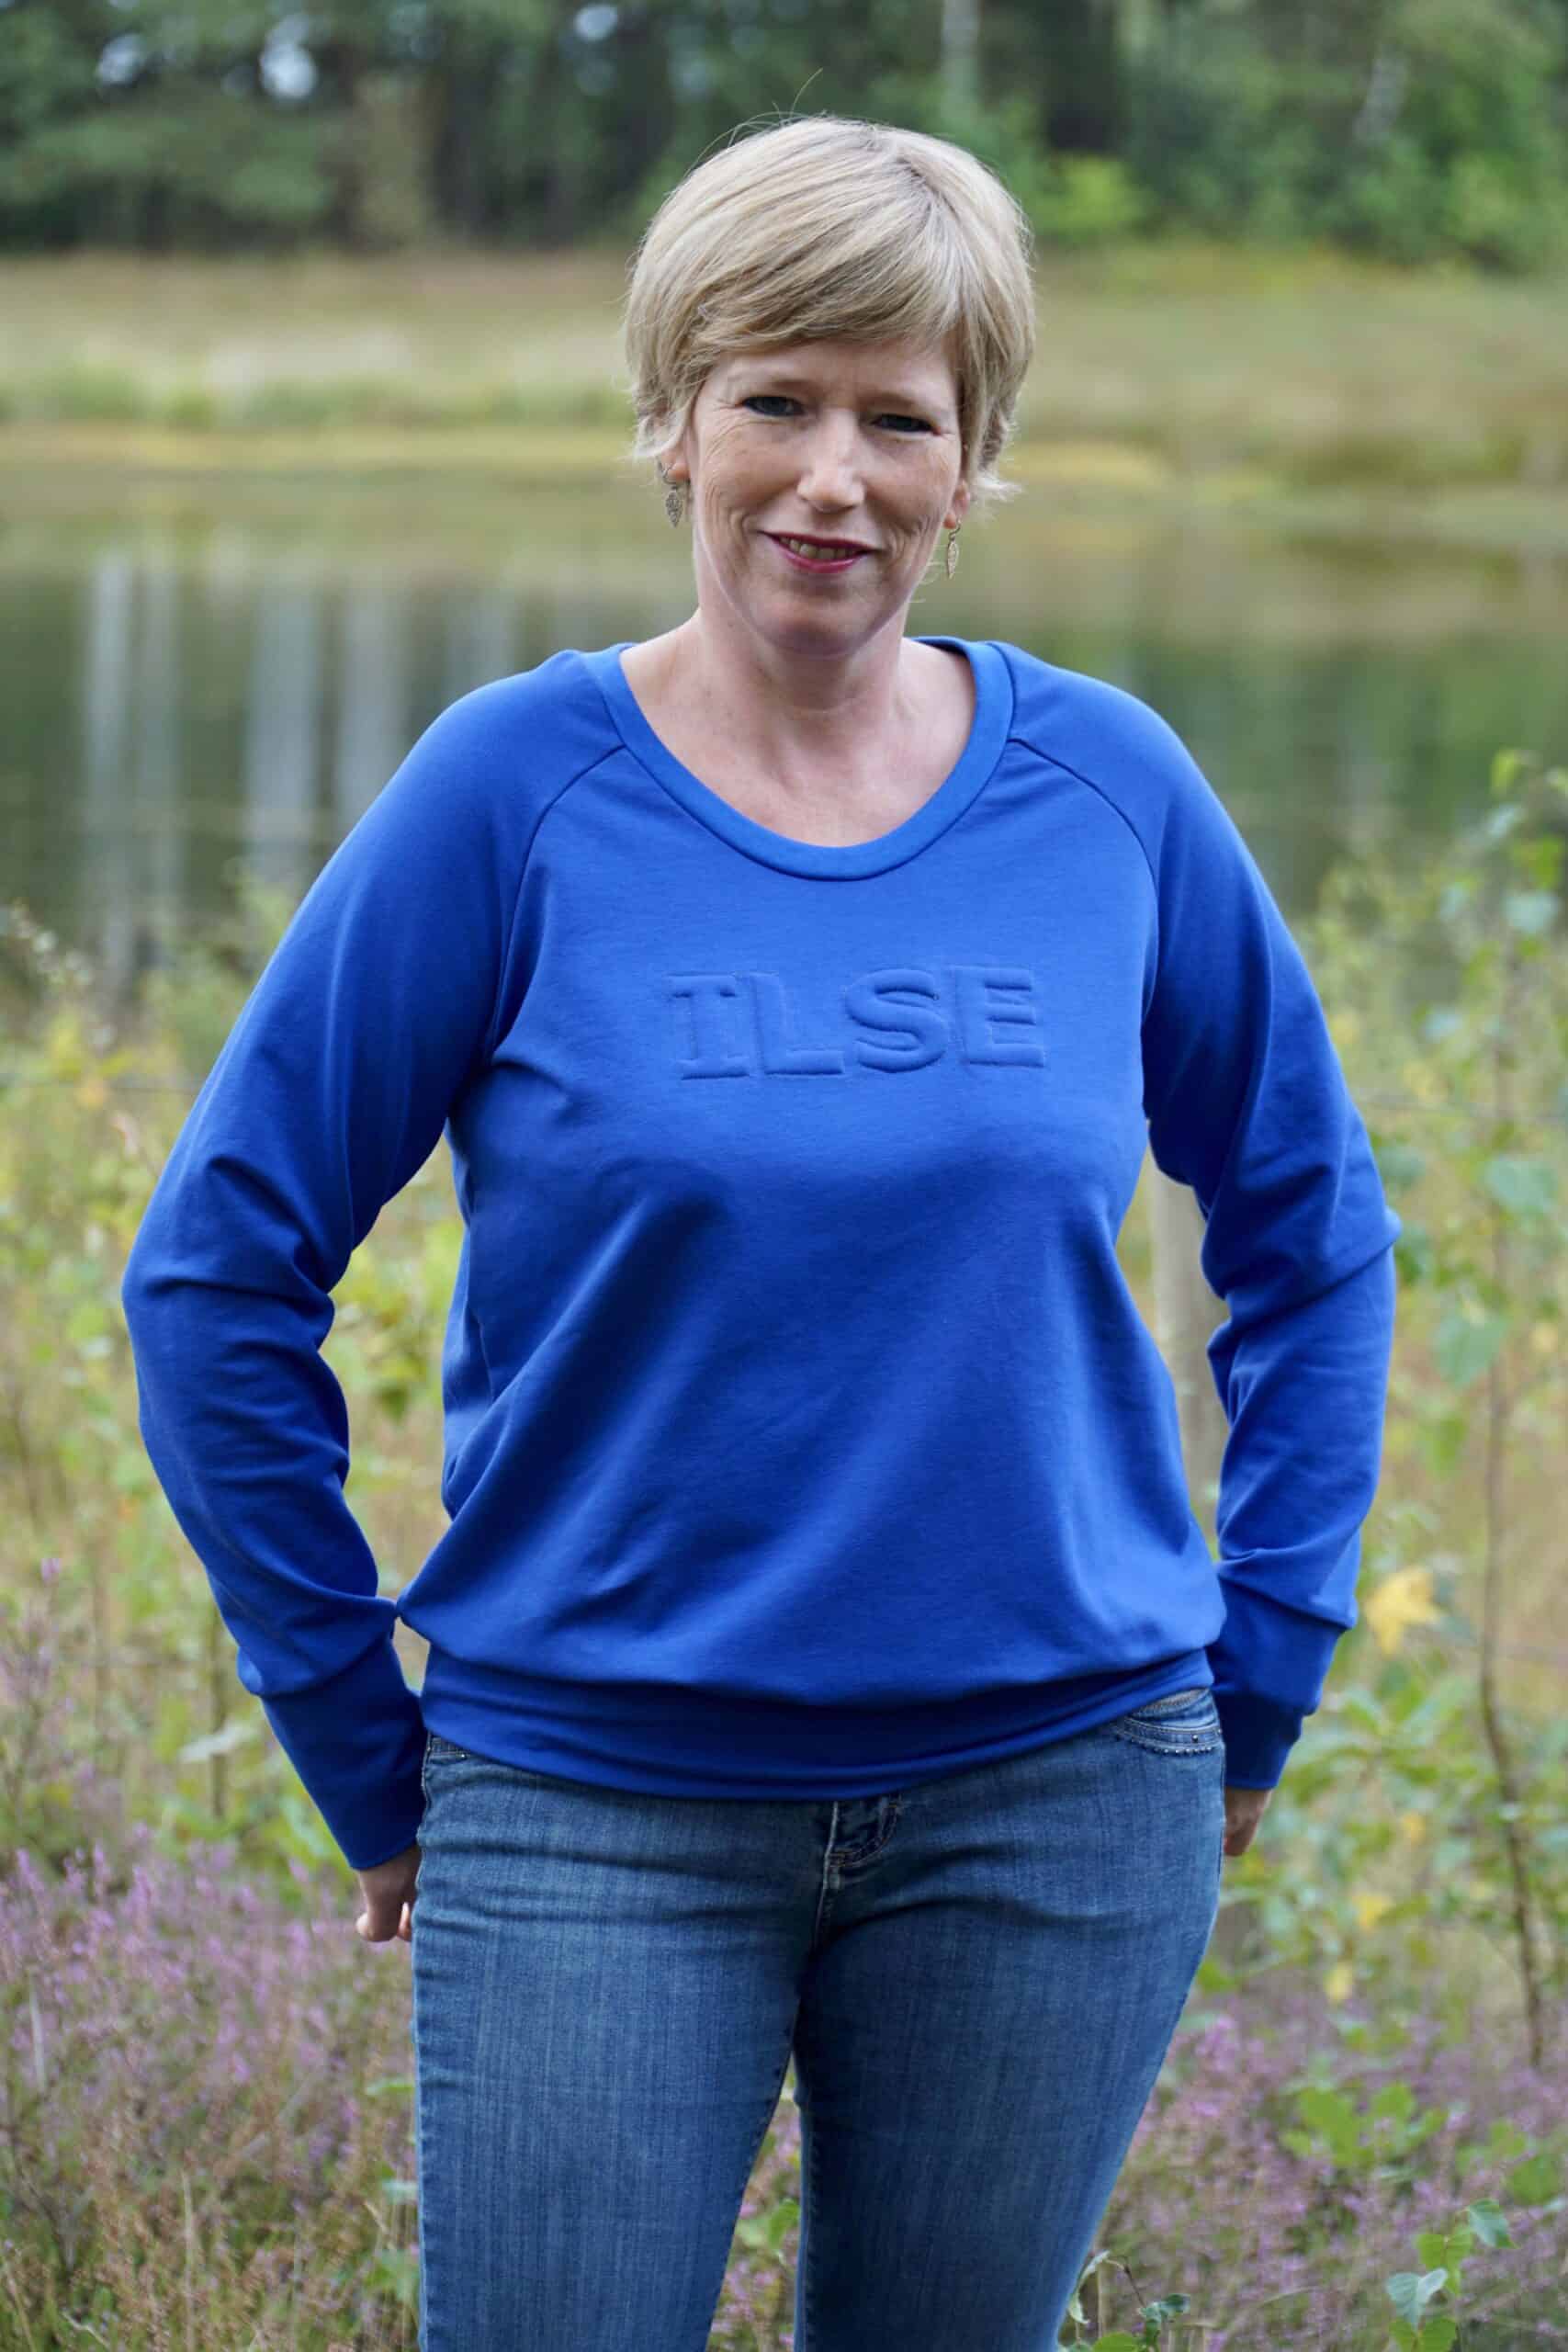
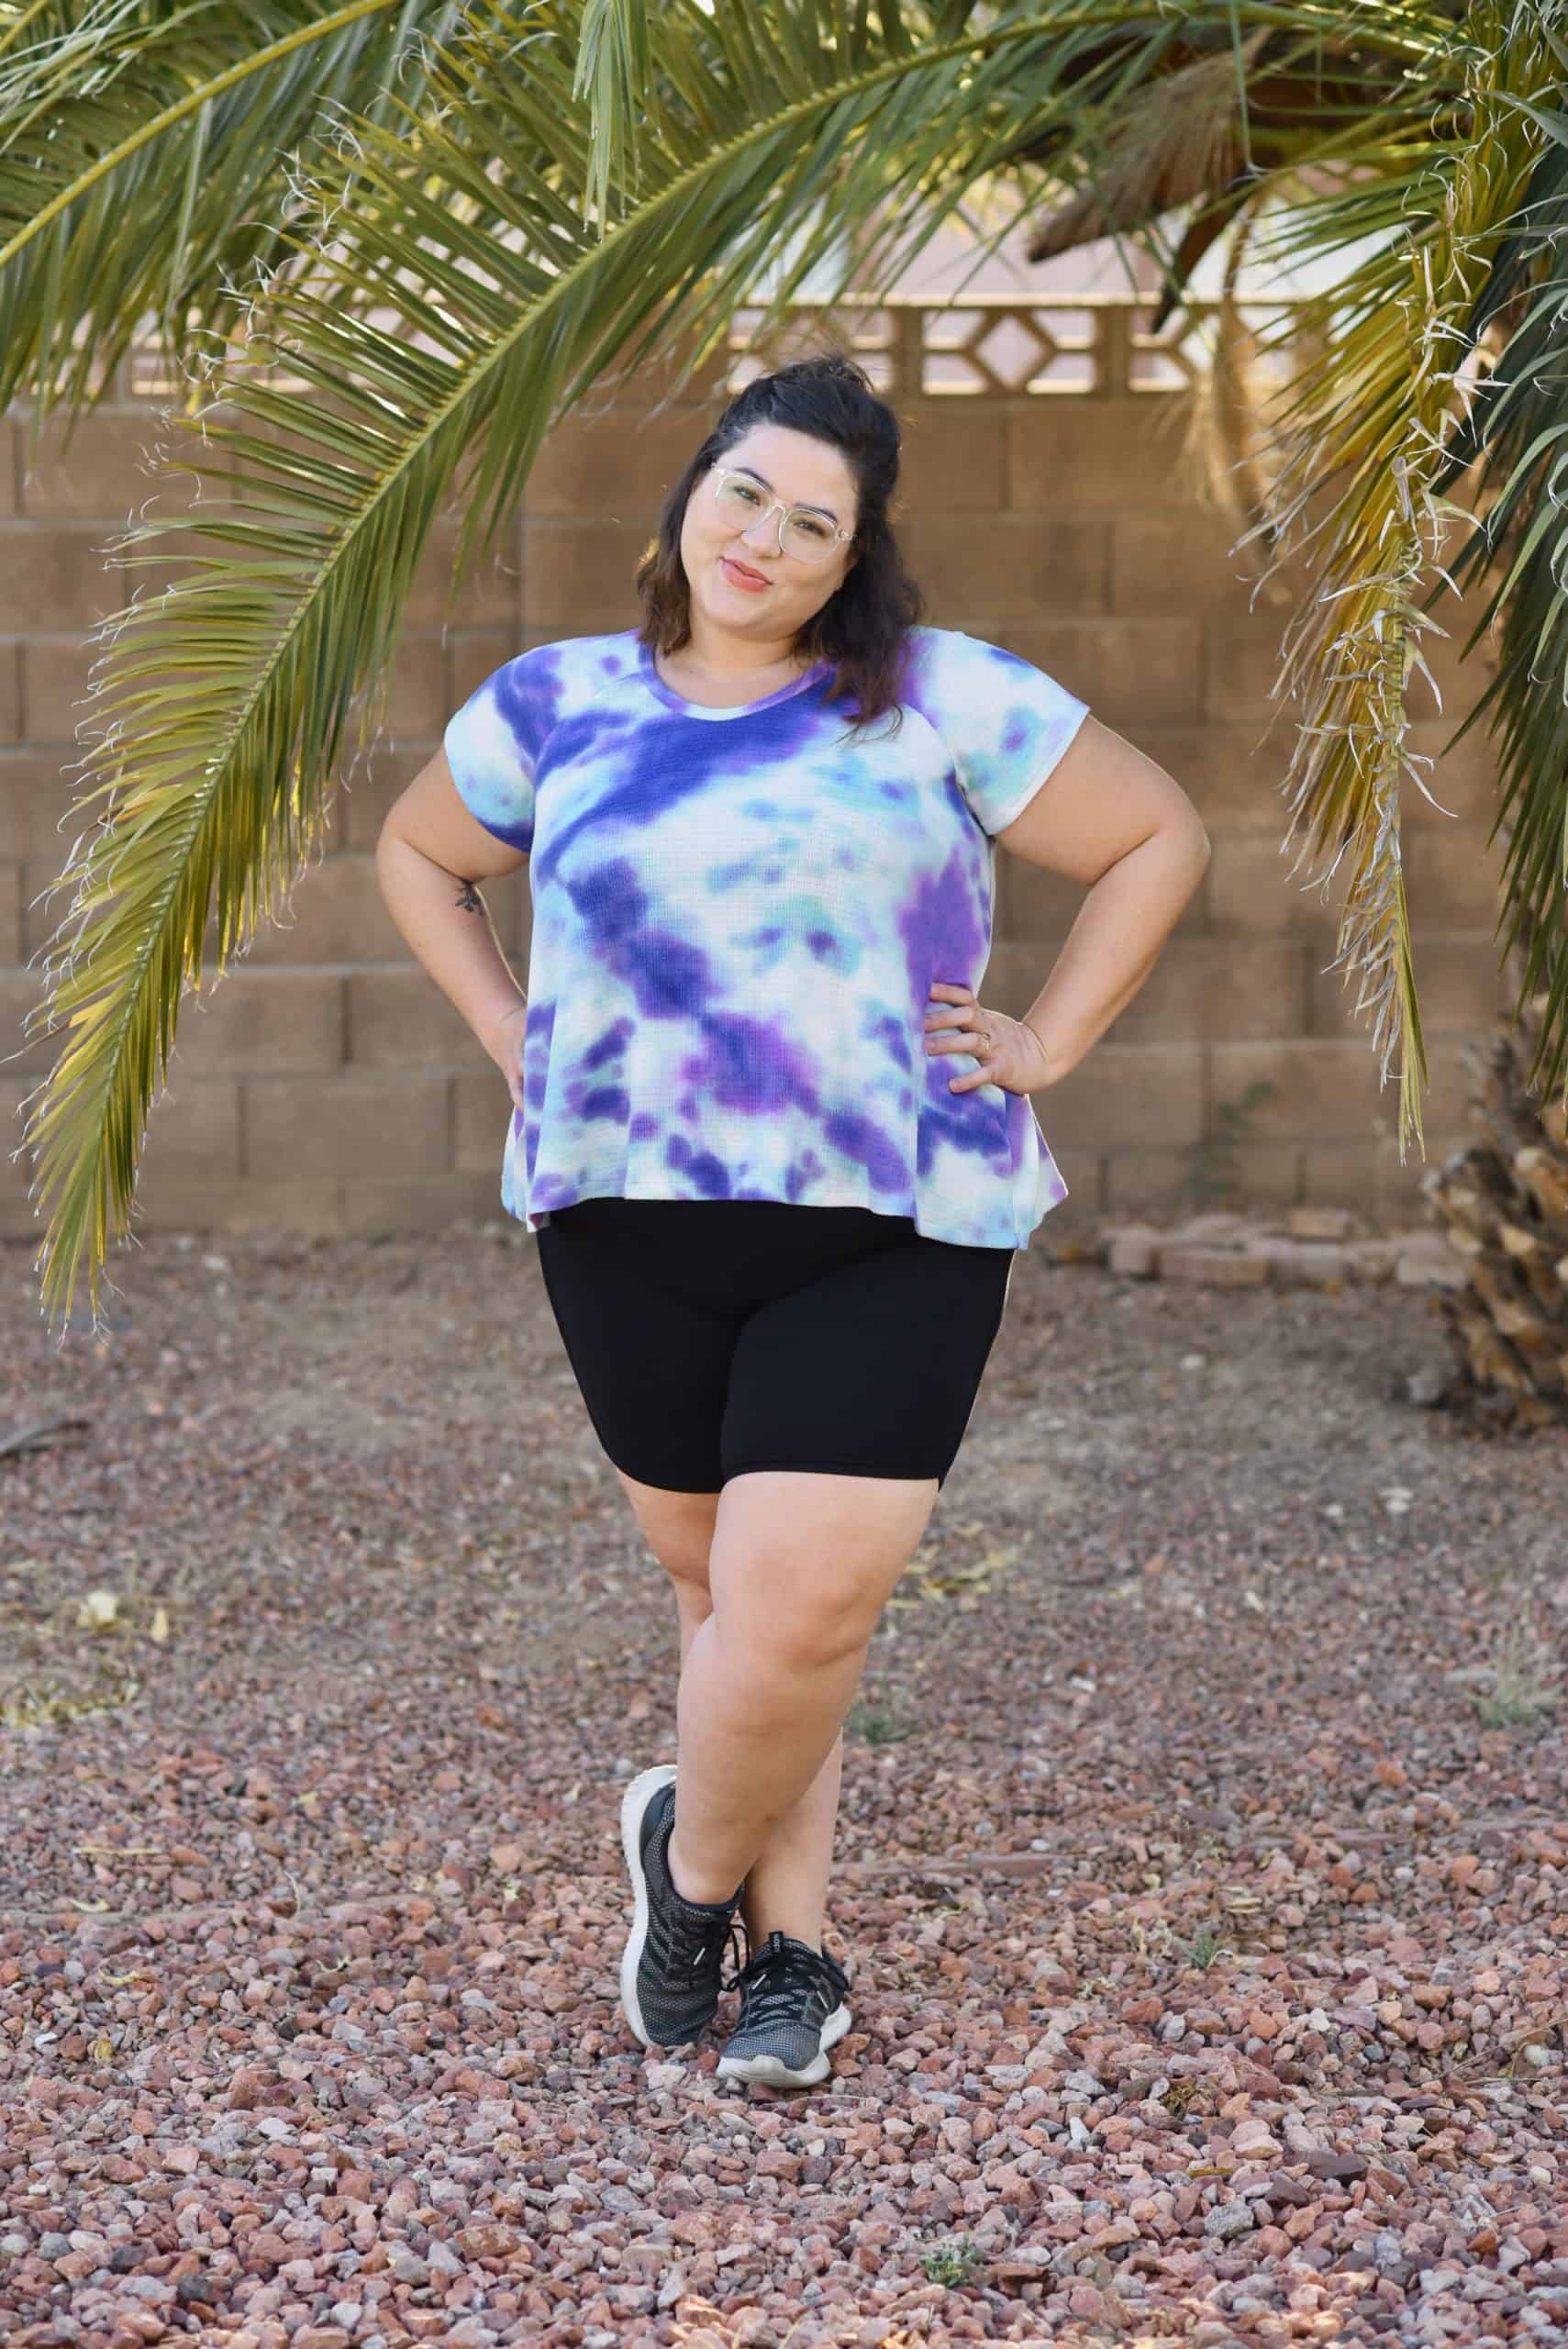
- Decide where you want the text or quote. I placed my name 2.2″ from the top of the neck. Here I drew a line with chalk. I determined the location by standing in front of the mirror and pinning the letters to the sweater. The height of my letters is also 2.2″. Again, I drew a line. Make sure the whole thing is in the exact center of your sweater. The chalk lines are on the opposite side of your fabric.
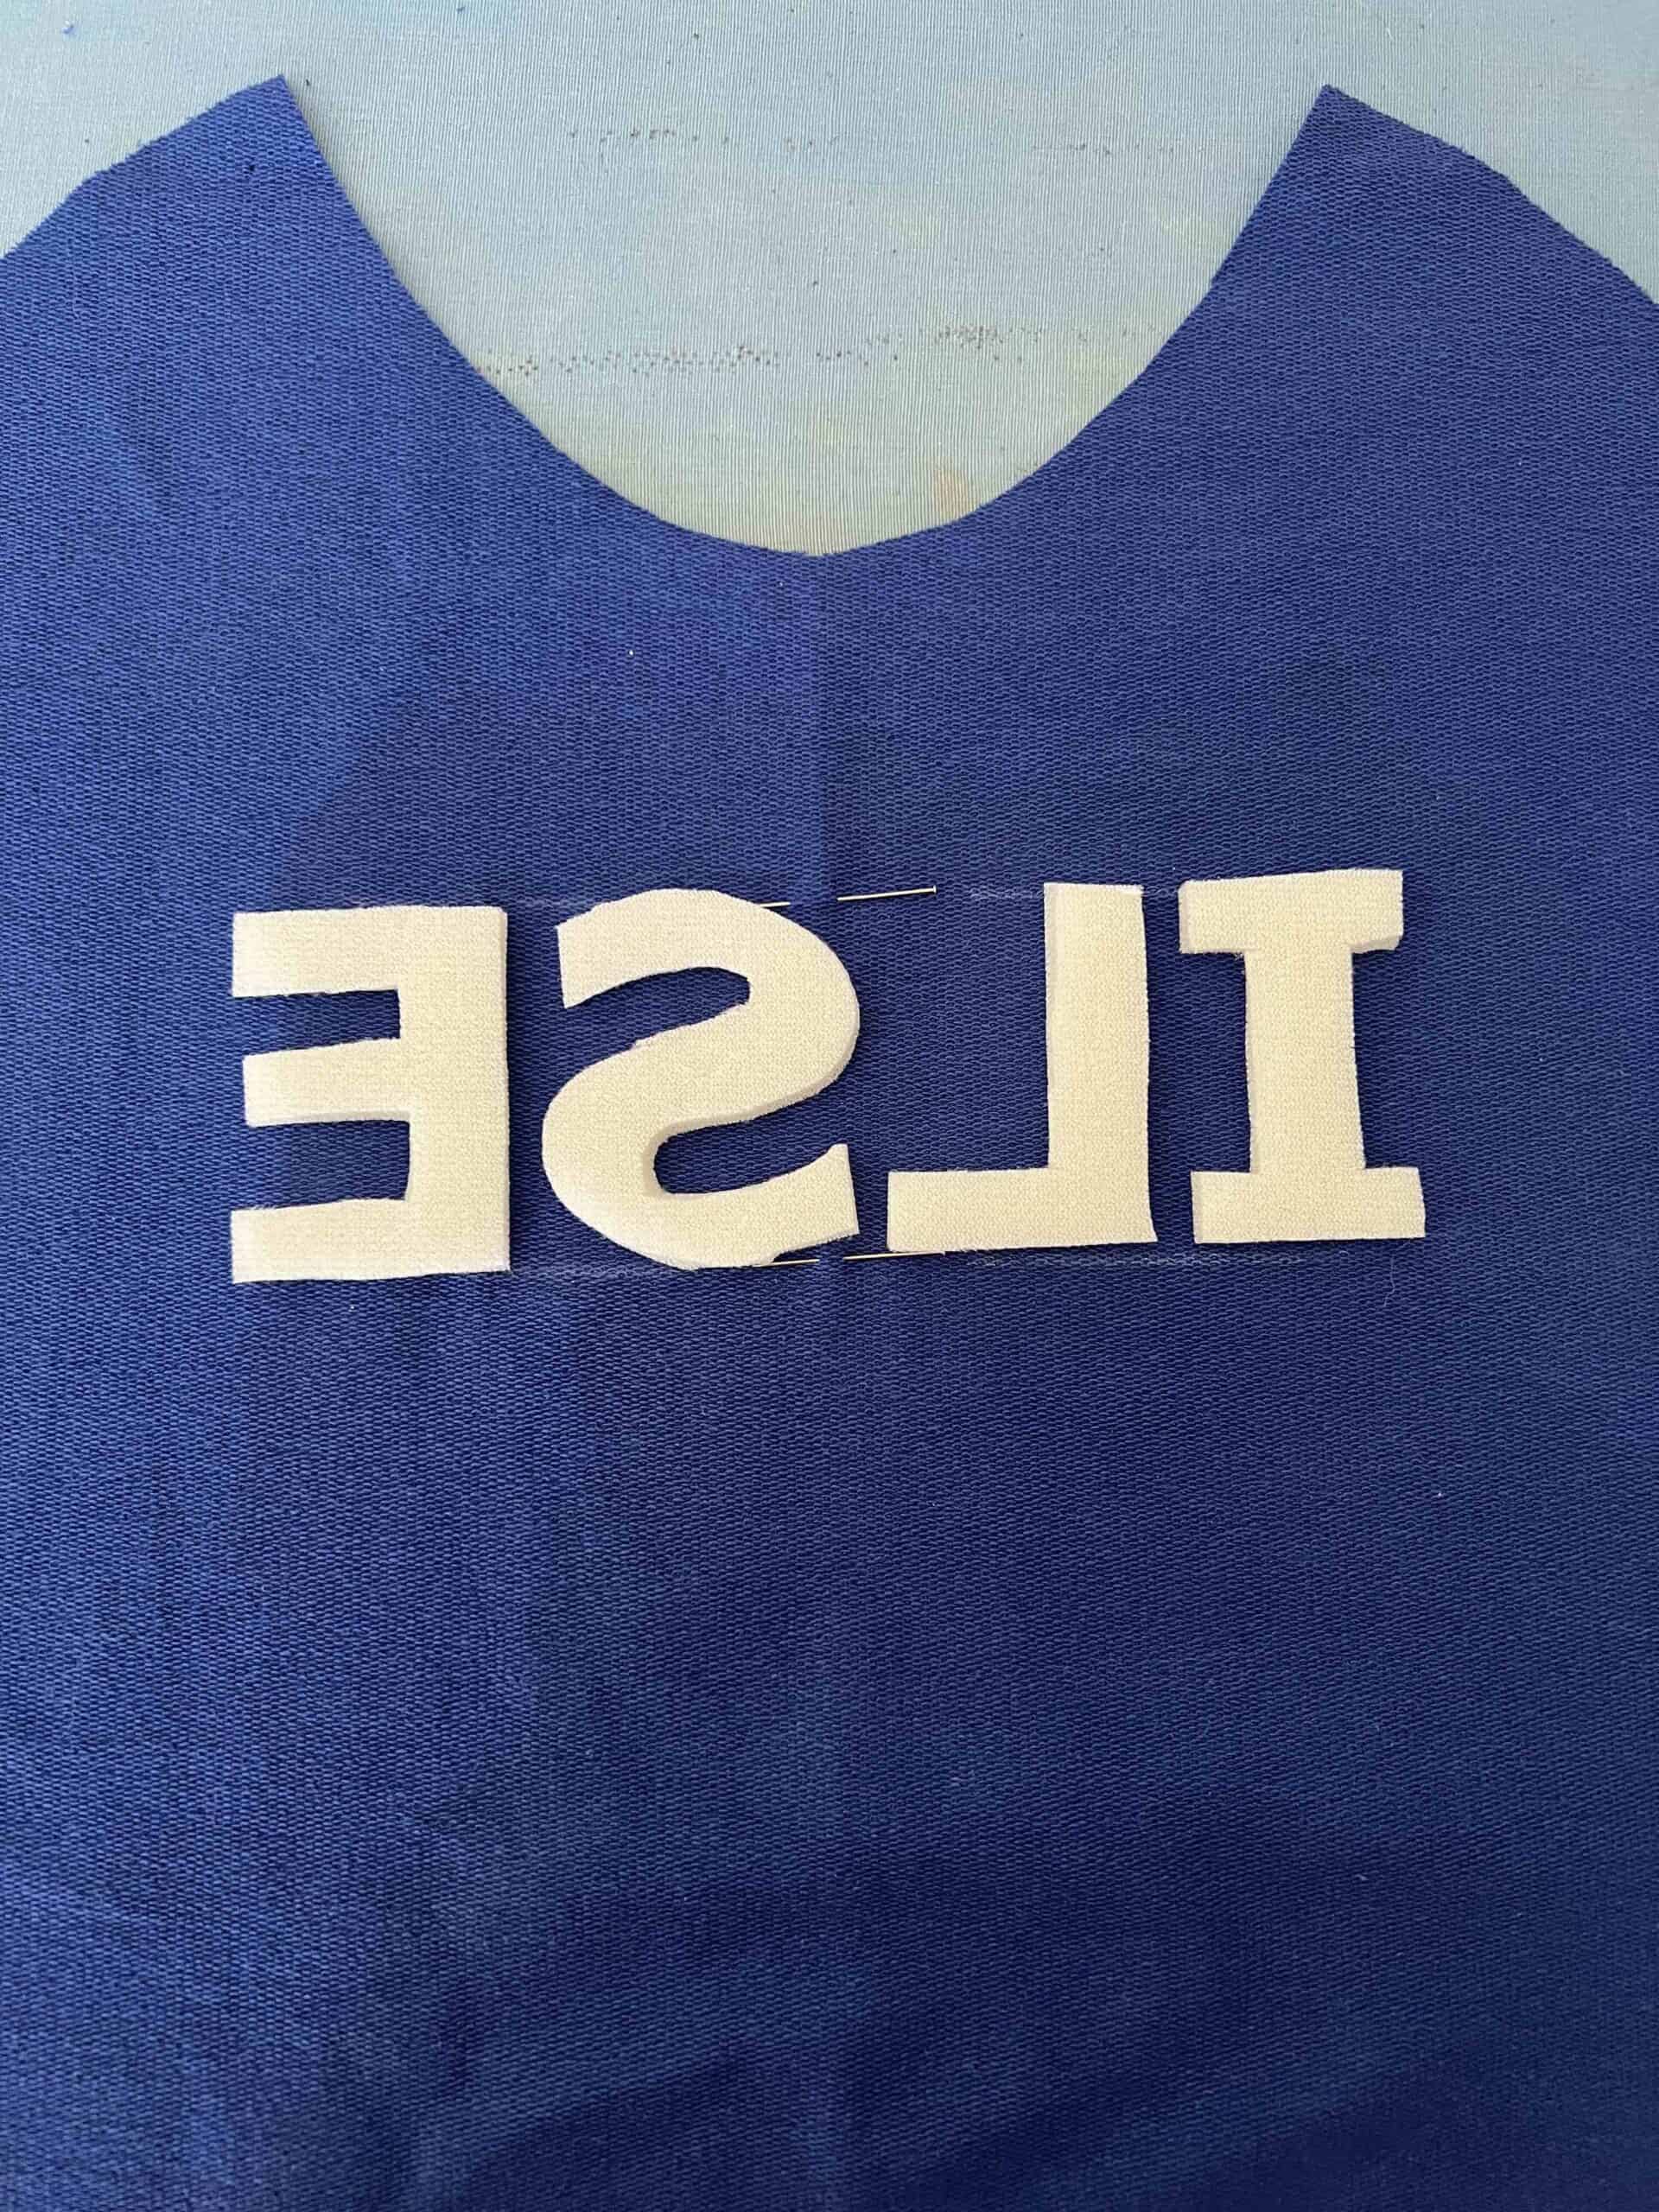
- Place the letters in a mirror image on the wrong side of your fabric.
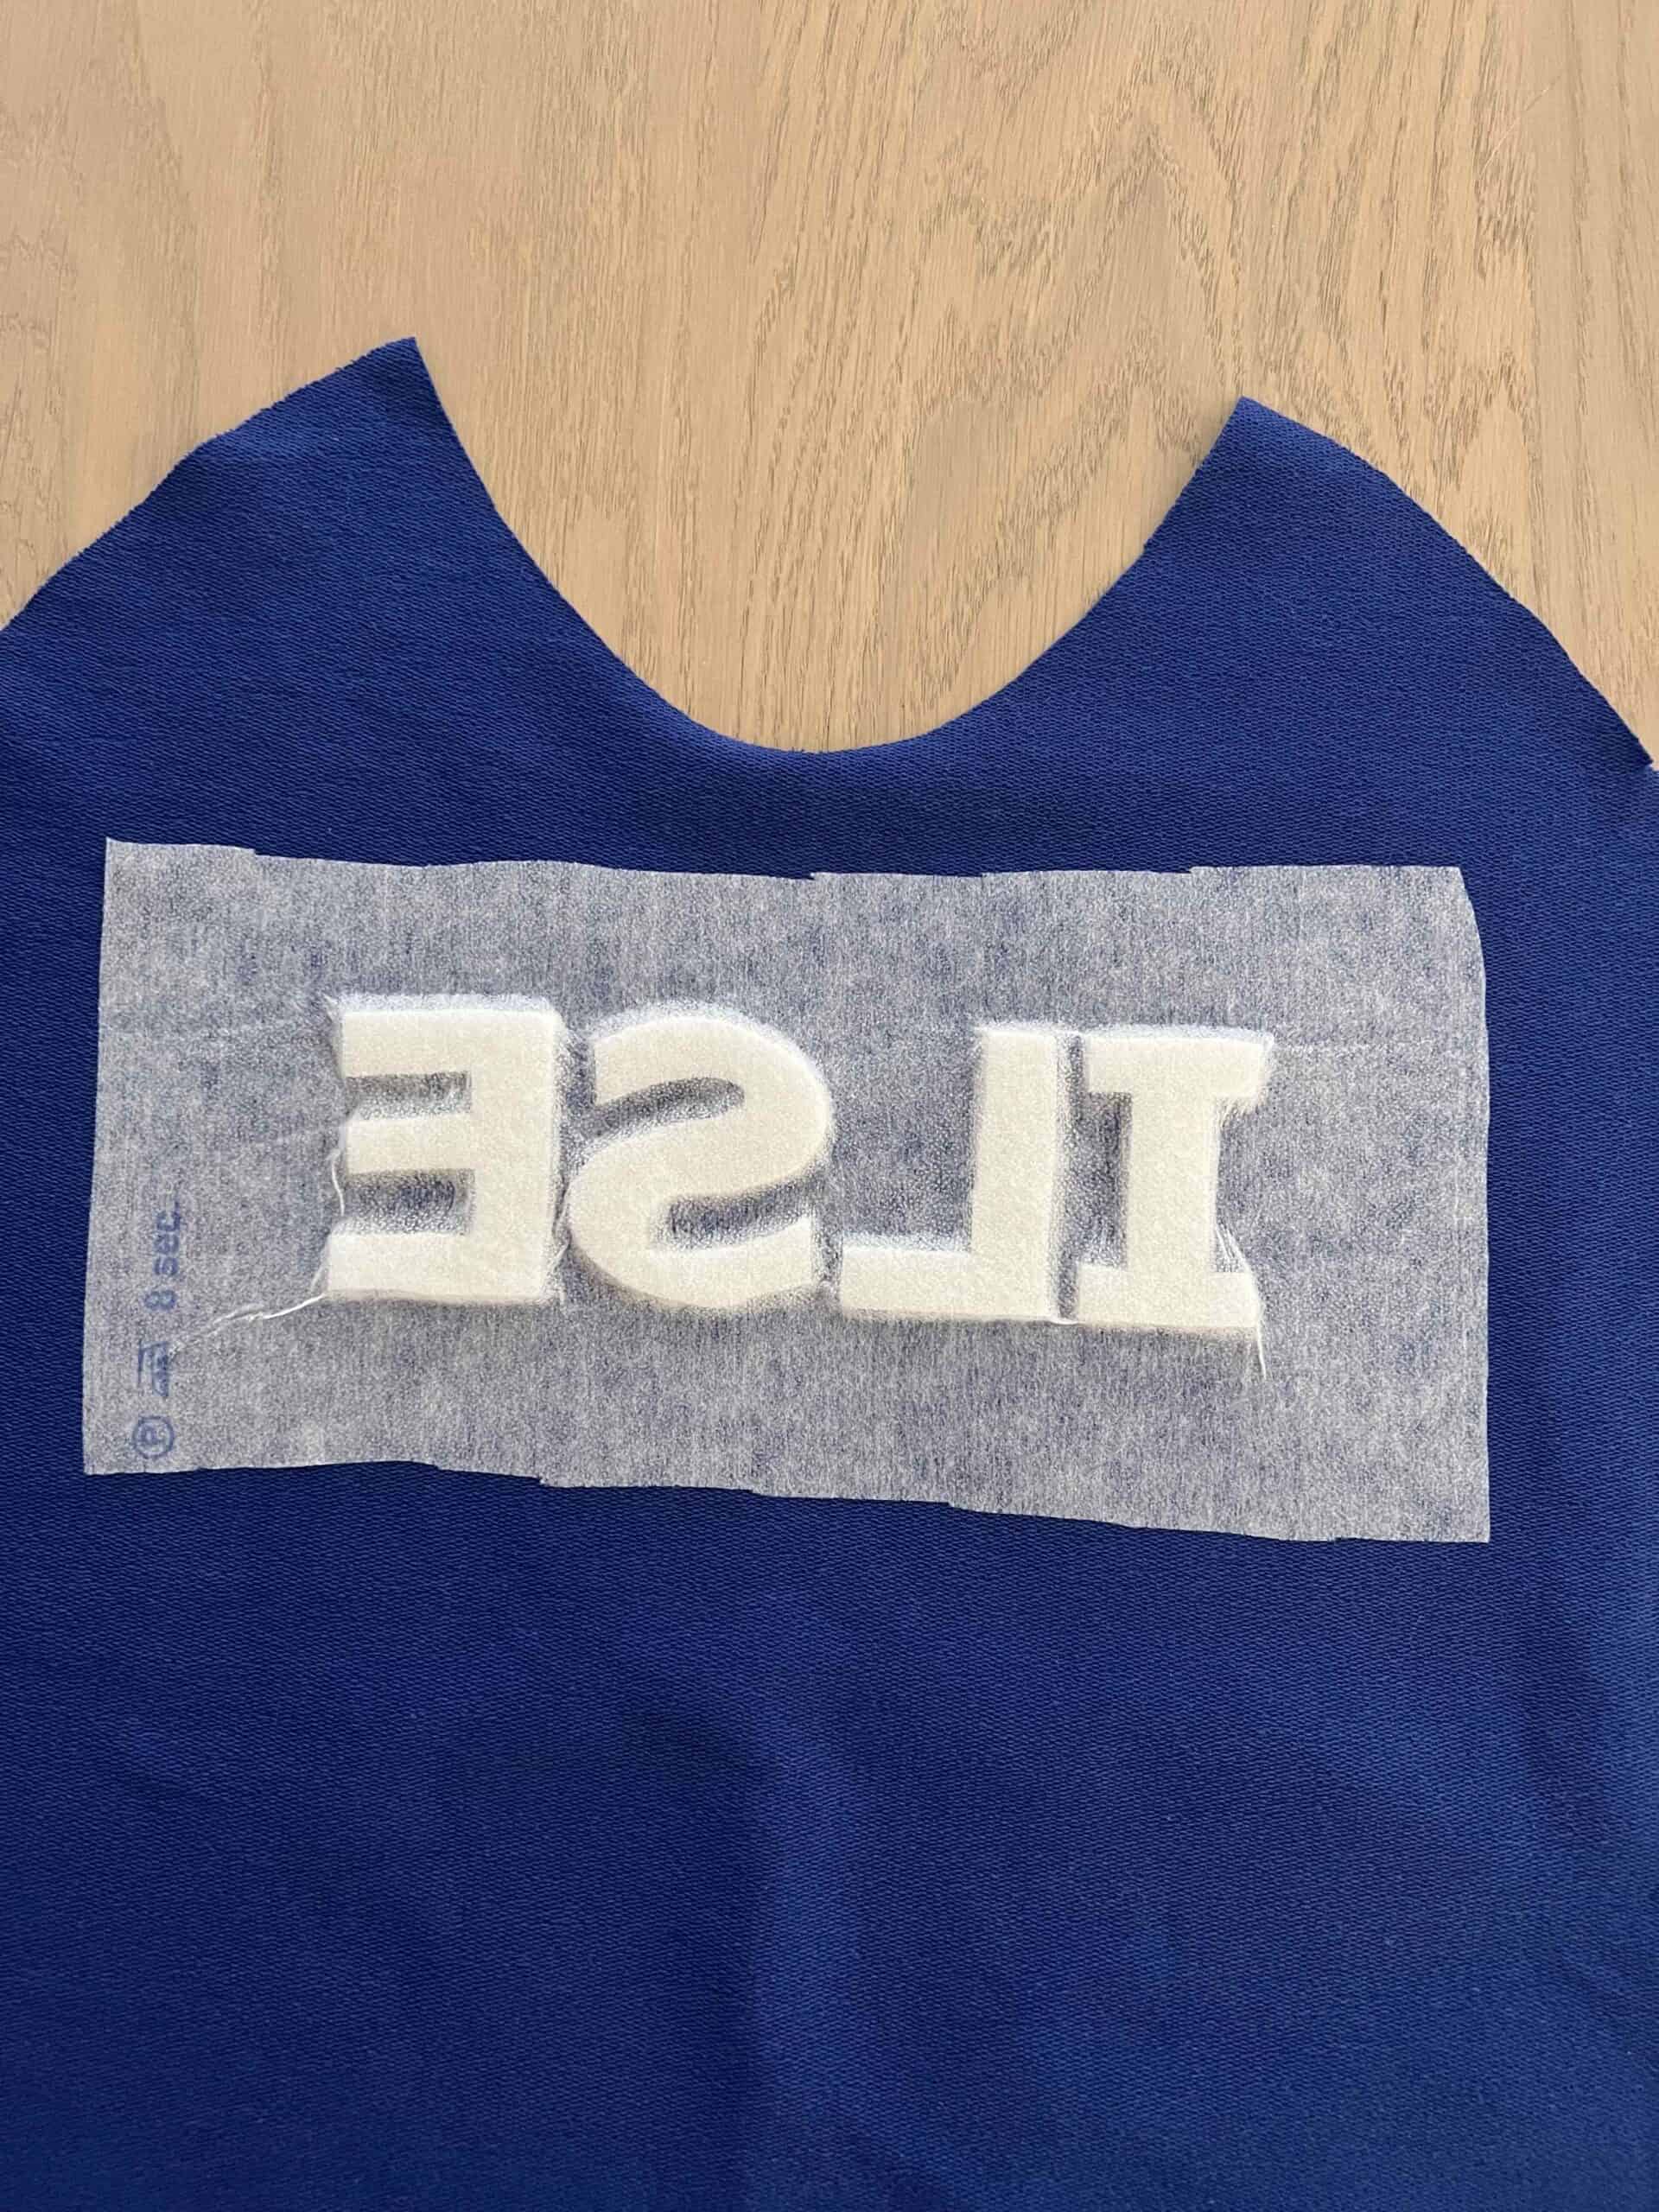
- Iron fusible interfacing over your text. Try to iron as close to the edges as possible.
- Stitch as close as possible along the letters. To do this, use your zipper foot and set your stitch length slightly smaller. Remember you are sewing on the back of your garment and your top thread will be on the back and the thread in your bobbin will be on the outside. Keep this in mind when you choose your colors.
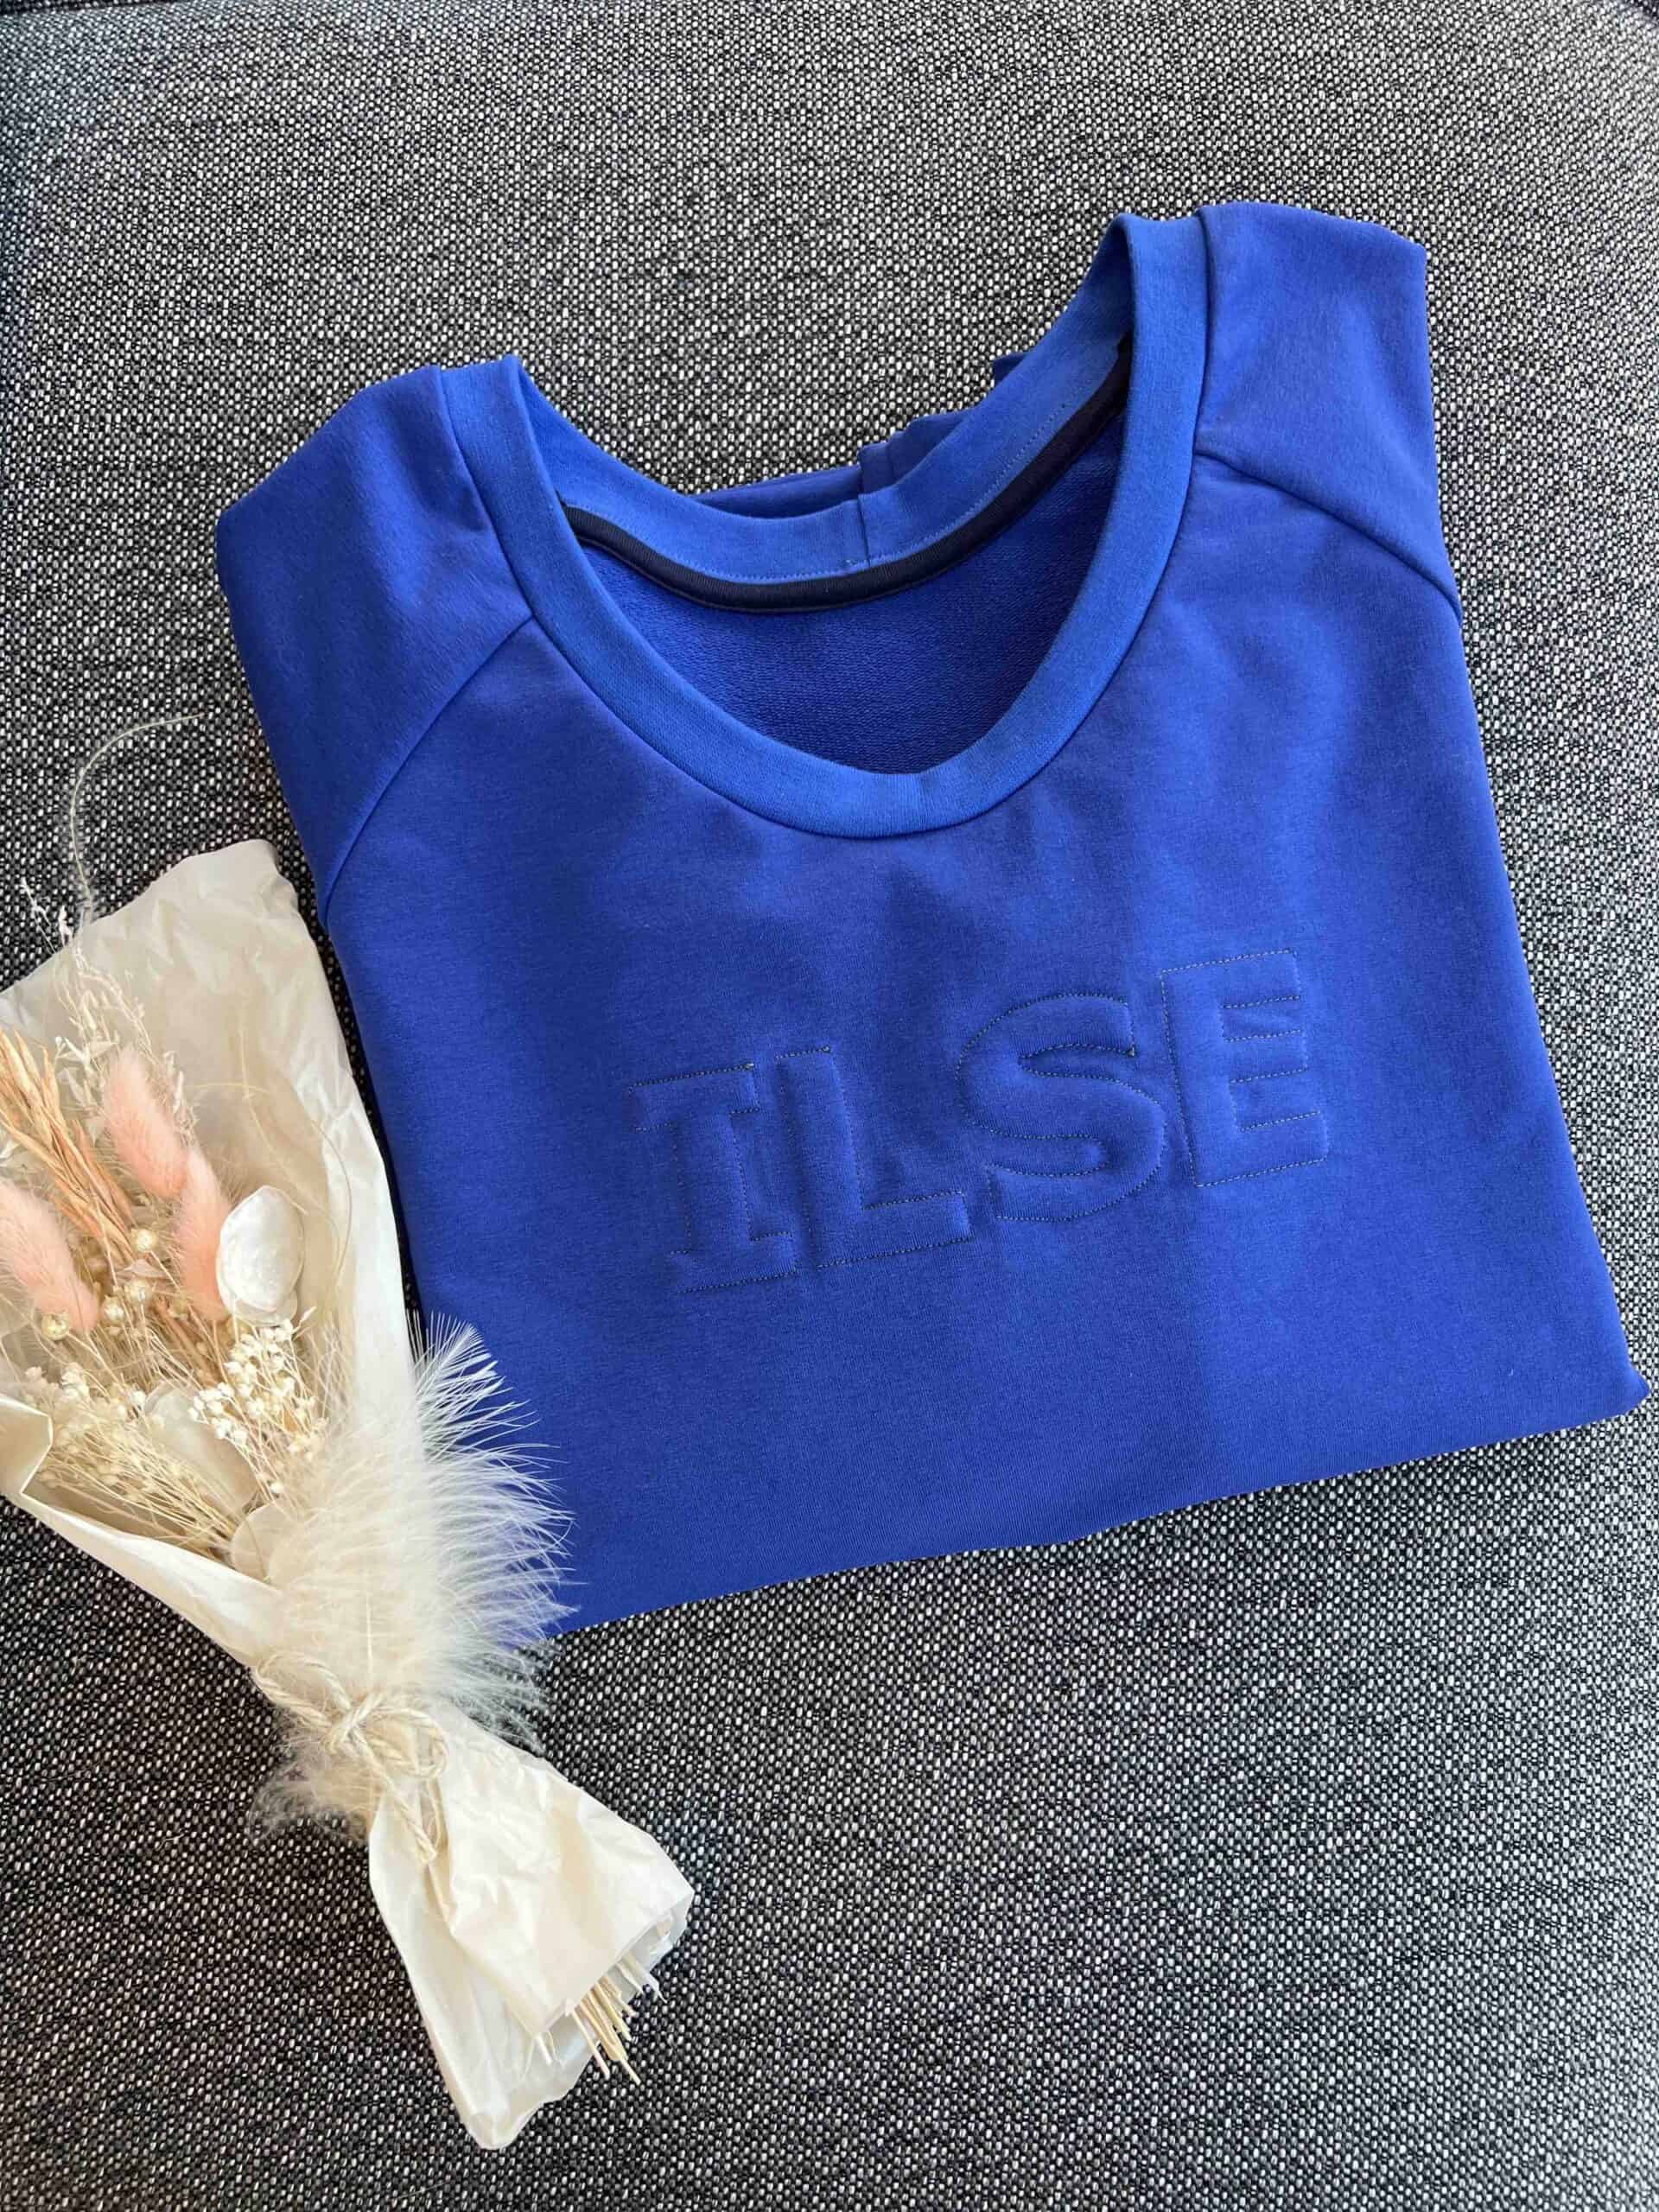
I purposely chose a different color than my sweater so the text would stand out a little more.
Turn your sweater now! Wow!

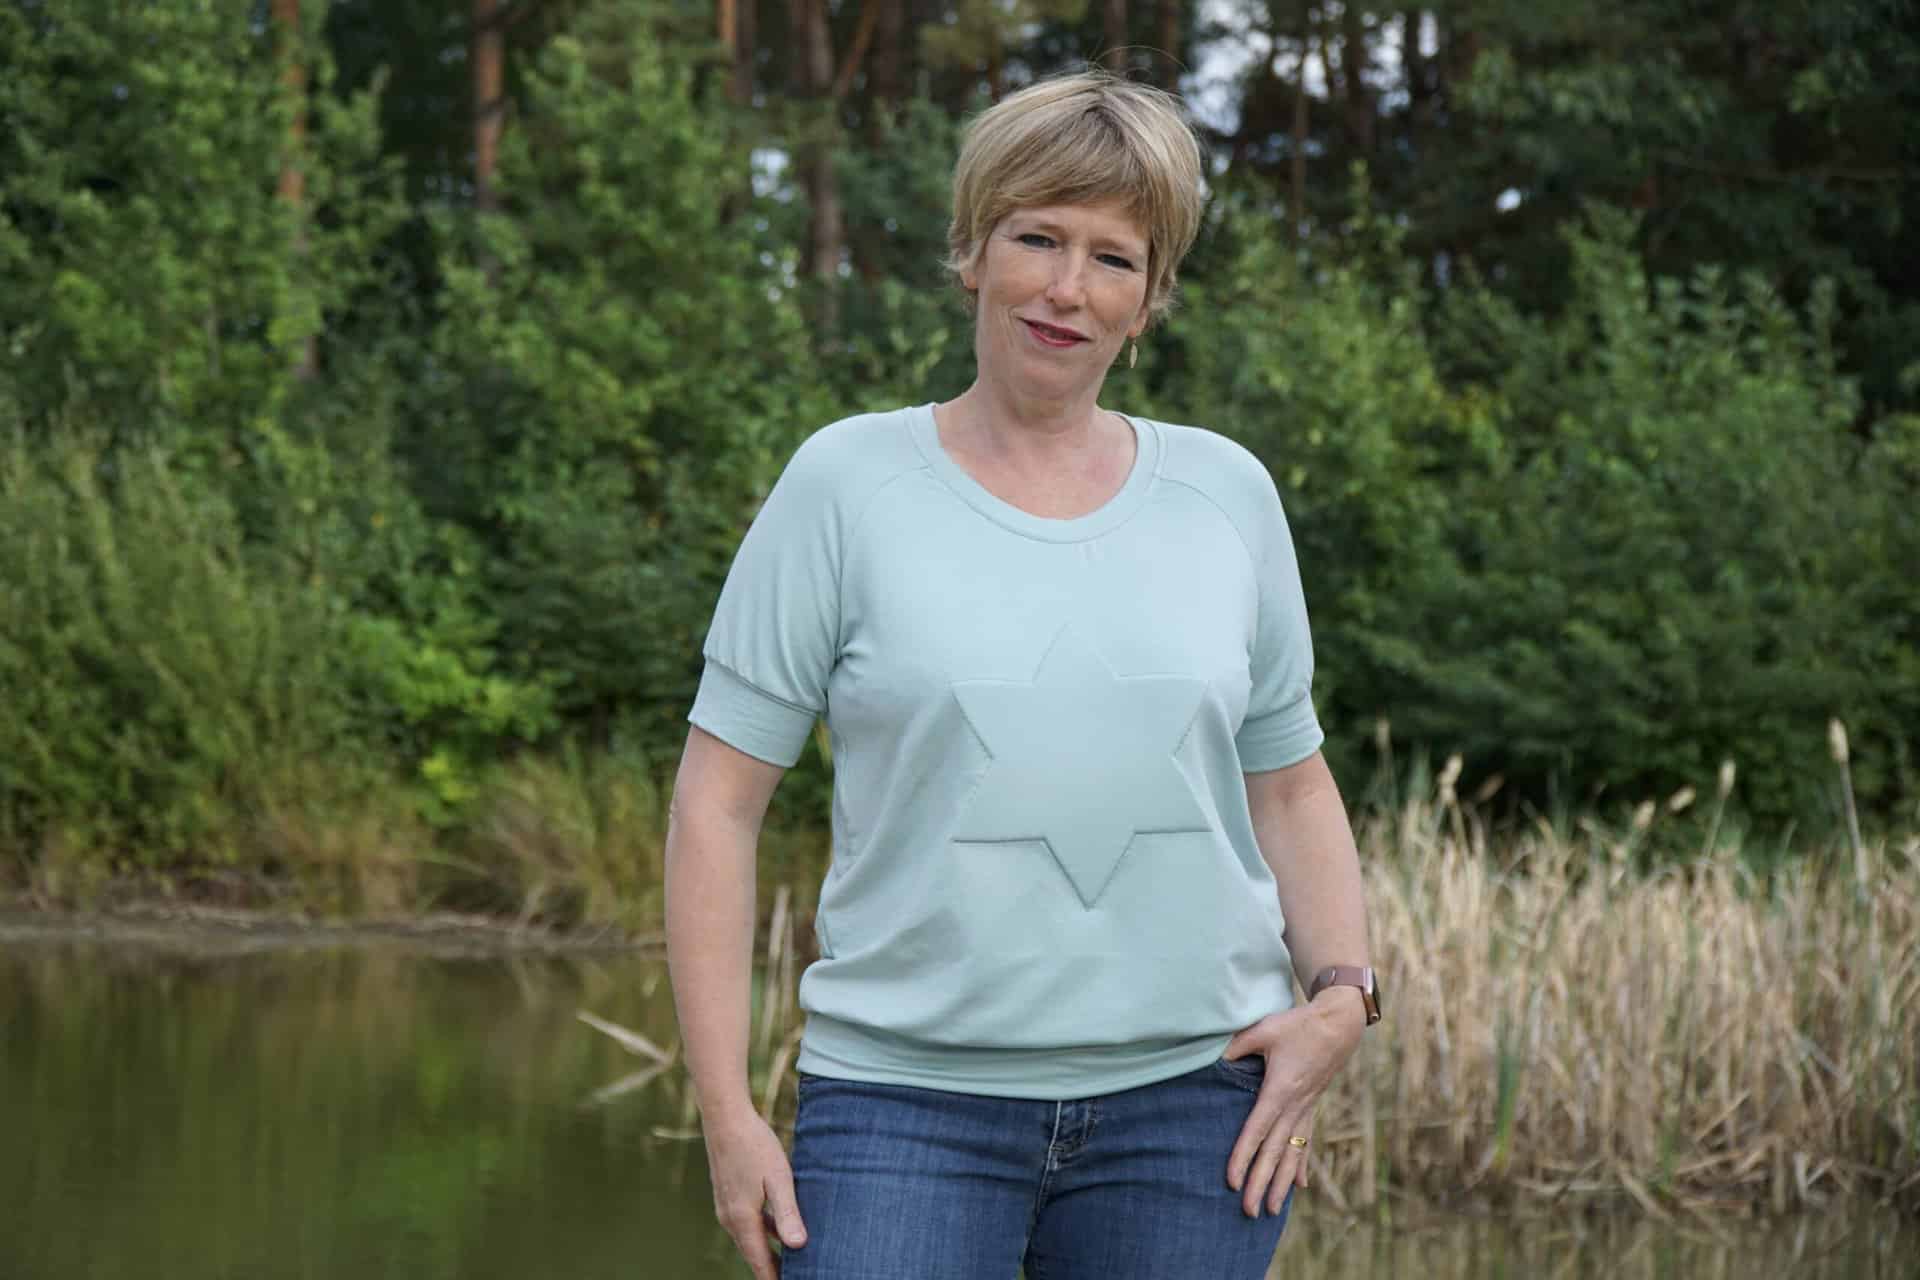
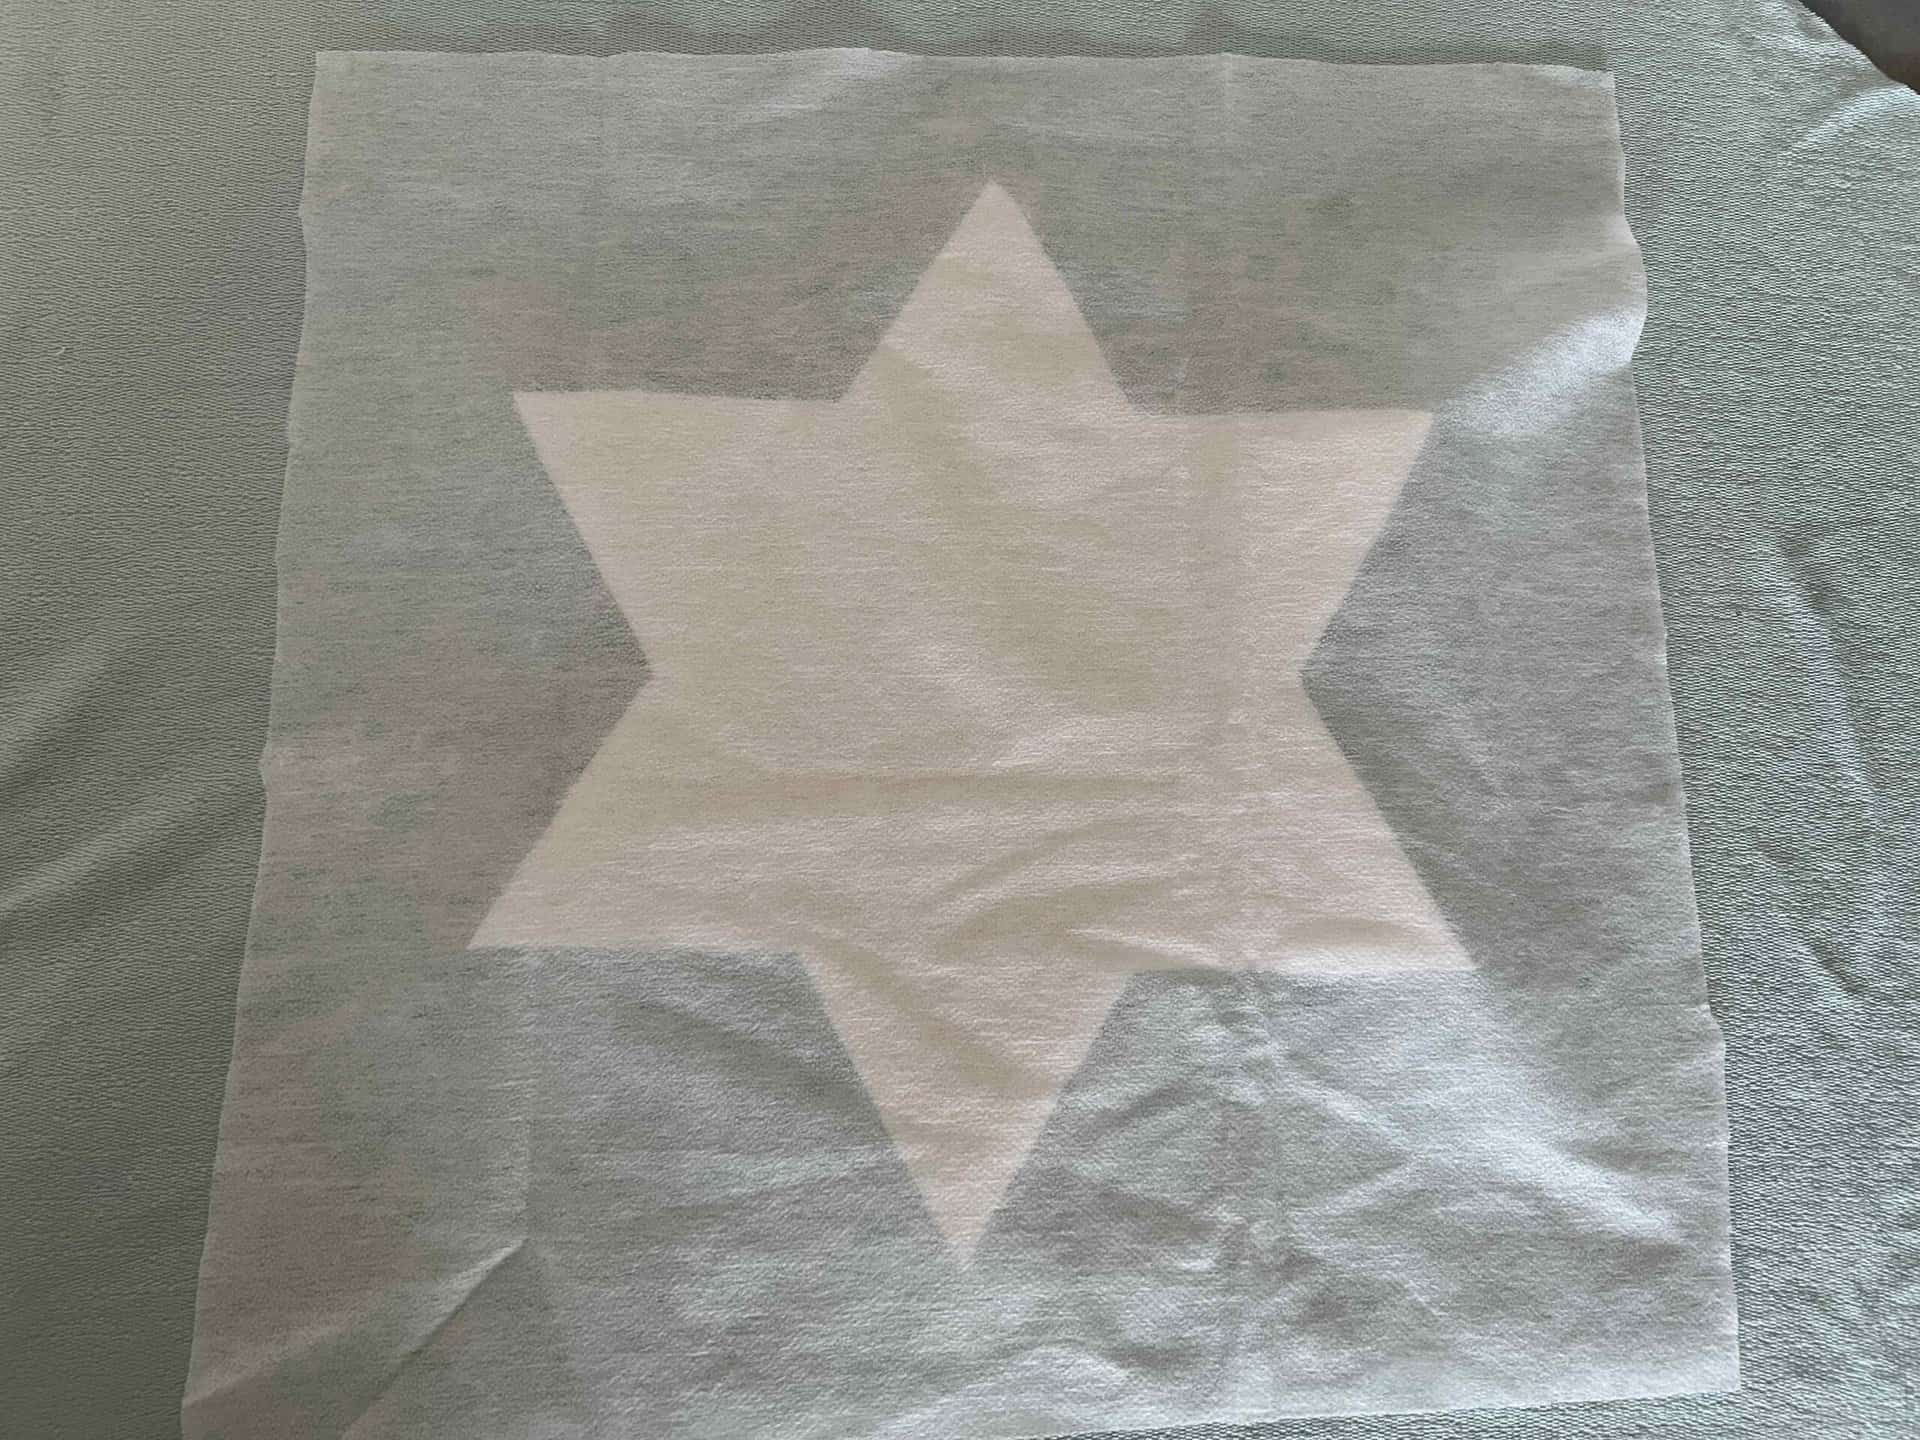
Now, let’s try making a 3D design with a shape!
I also tried it out with a star on a modal french terry from Minerva. I repeated the same exact process with excellent results.

Need some design inspiration?
Before I started, I searched for a suitable text or quote. Choosing was so hard so I decided to take my own name. However, I wrote down some nice ones for you to get you thinking of your own design:
- relax
- joy
- glow
- faith
- shine
- dream
- smile
- hope
- no regrets
- oh well
- ok cutie
- me again
- yolo
- believe
Keep in mind that you could also base your design off a logo, a team name, or any important to you phrase or word. You could also make your 3D designed tops into personalized presents for your friends or family!
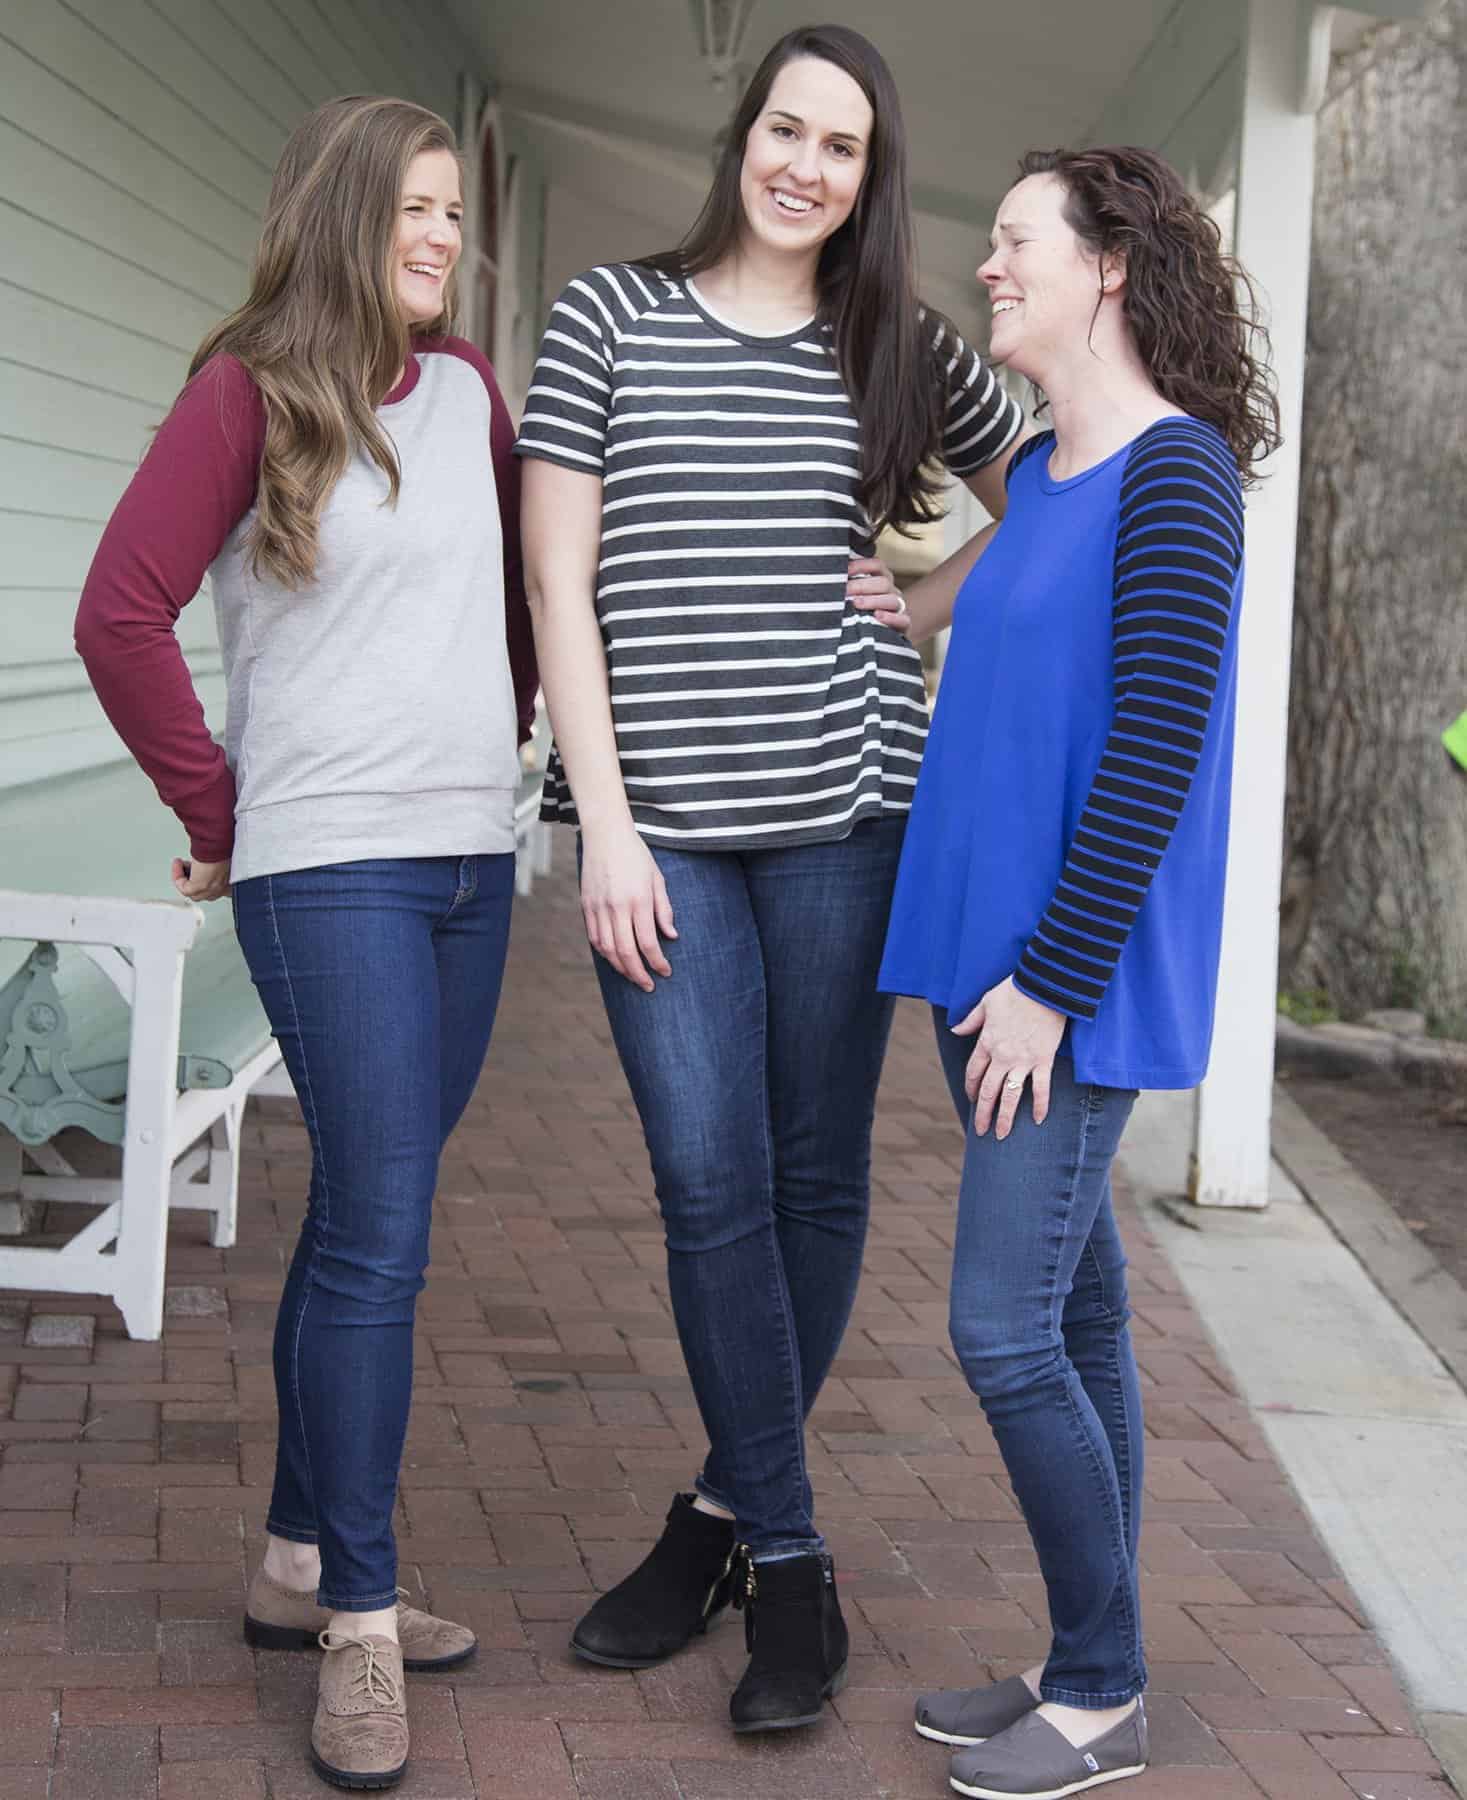
Other Love Notions patterns to apply the 3D technique
Of course you can try this out on many more Love Notions’ patterns. I think it would be awesome on:
- Sloane Sweater (anywhere!)
- Game Day Jersey (center front below the yoke)
- Constellation, Northstar or Navigator Hoodies (on the upper front of one side)
- Arlington Sweater (center front)
- Compose Robe (curved across the back)
- Whistler Hoodie (center front, center back)
- La Bella Donna Dolman (anywhere)
Click here to shop these Love Notions patterns (aff link).
Tips & Tricks
- Use a smaller stitch on your sewing machine to sew around the letters.
- Use a zipper foot to work very precisely.
- Pay attention to what color you use on your spool, as it will be visible on the outside of your garment.
- Be sure to try it out first on a scrap of fabric.
- Get creative and enjoy!
In Belgium, this technique is quickly becoming a trend. I first saw this technique at ‘vanmiek.miekdhaene‘ and this triggered me so much that I wanted to share this with you.
Share your thoughts and visit my Instagram @sewsewilse.