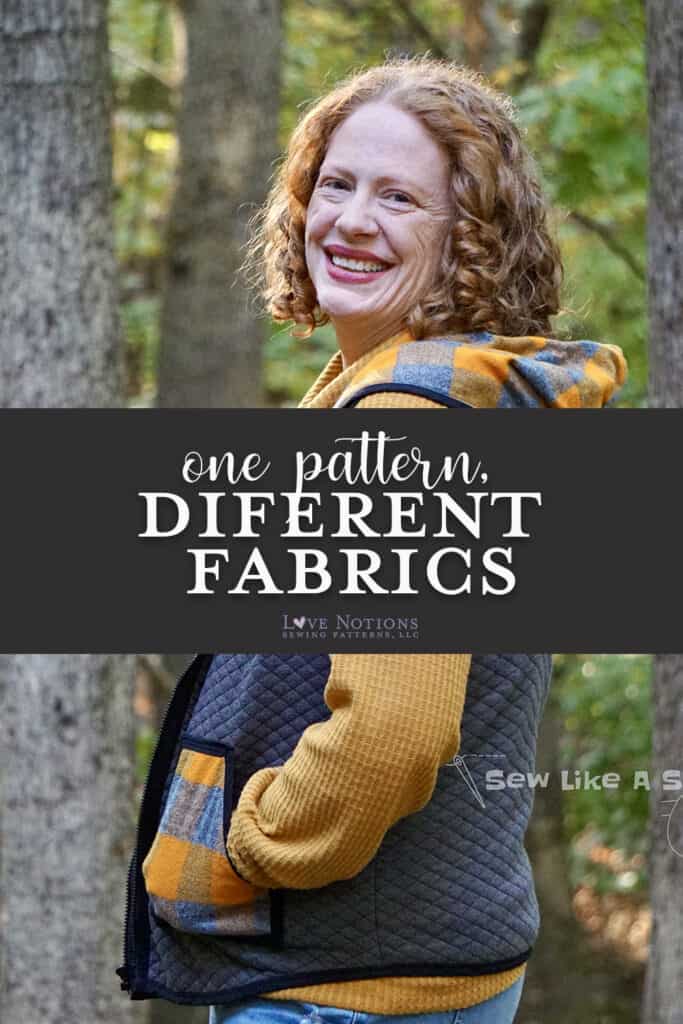
A Pattern with Options: Create a Variety of Looks Quickly with Love Notions Arlington
Are you ready to add a sewing pattern to your collection that will give you a wardrobe full of options? Want to save some time while you sew? You’re in the right place!
Hello friends! It has been a long time! I’m so happy to be back with you to talk about the Feature Friday pattern, Arlington. This is a pattern I have adored since I first saw the testing call – I love a pattern with options (see also my abiding love for Sybil). But life kept getting in the way and I wasn’t able to sew it until now. I am DELIGHTED with this fabulous, versatile pattern! Today I’m sharing how you can create distinctive looks in a short amount of time by batch sewing with different fabrics.
The Power of Batch Sewing with Different Fabrics
This is surely old news to many of you, but for me, batch sewing was a revelation. I tend to work on one project all the way through. It’s just how my brain works. But I needed a different method to complete these garments while employed full-time, doing advocacy work, raising children, homeschooling, and just generally being exhausted. Now there are probably some “rules” around how to do this, but I march to the beat of my own drum, so I batch sewed the same way! 😉
Why Batch Sewing was Right for Me
We moved semi-recently and had to renovate, so we’re still living amidst a lot of unfinished projects. As a result, my fabric is currently being stored in the basement, my sewing area is upstairs in our bedroom, and my cutting table is yet to be unpacked. Also, my ironing board broke in the move, so I’ve been using an ironing pad on my kitchen counter. Batch sewing allowed me to work around the chaos and complete 2 (almost 3) fantastic wardrobe pieces for Fall.
My Process for Batch Sewing
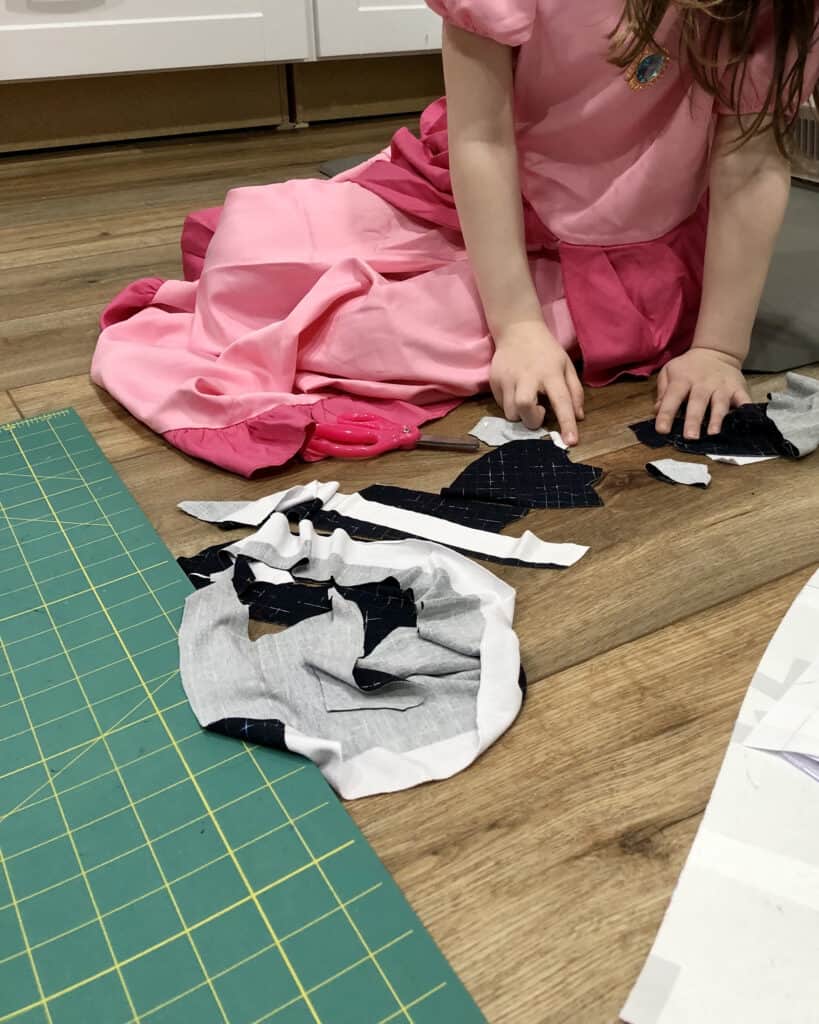
I sewed these garments following this process:
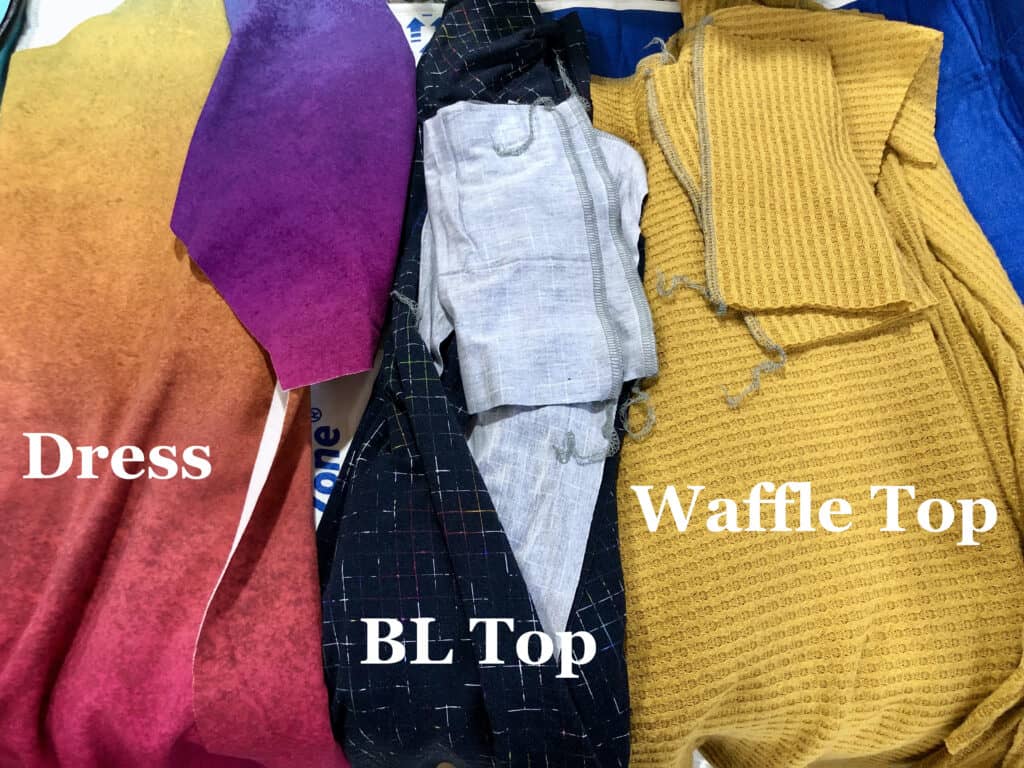
- Cut fabric for each garment (if I had the space to have multiple pieces of fabric out, I would have cut by pattern piece, ex. Cut the front bodice from fabric A and then from fabric B.)
- Serged shoulder seams and sleeves onto each bodice (and serged together the back piece for the dress)
- Serged together all cuffs and bands
- Put all pieces for each garment together in separate piles
- Took all pieces downstairs to the kitchen to press the seams, crease hem lines, and press bands/cuffs
- Finished serging the dress, and set aside for hemming on the sewing machine (and decision about finishing)
- Finished each top per the directions
- Took all projects back downstairs for a final press
Sewing this way allowed me to work with the constraints of my current set up and get a lot accomplished in a short window of time. I am a SLOW sewist, but I completed these steps in windows of time across several days, totalling about 3-4 hours (including pattern assembly). Often with “help.”
My Arlington Pattern Options: Same Pattern, Fabric Makes a Huge Difference!
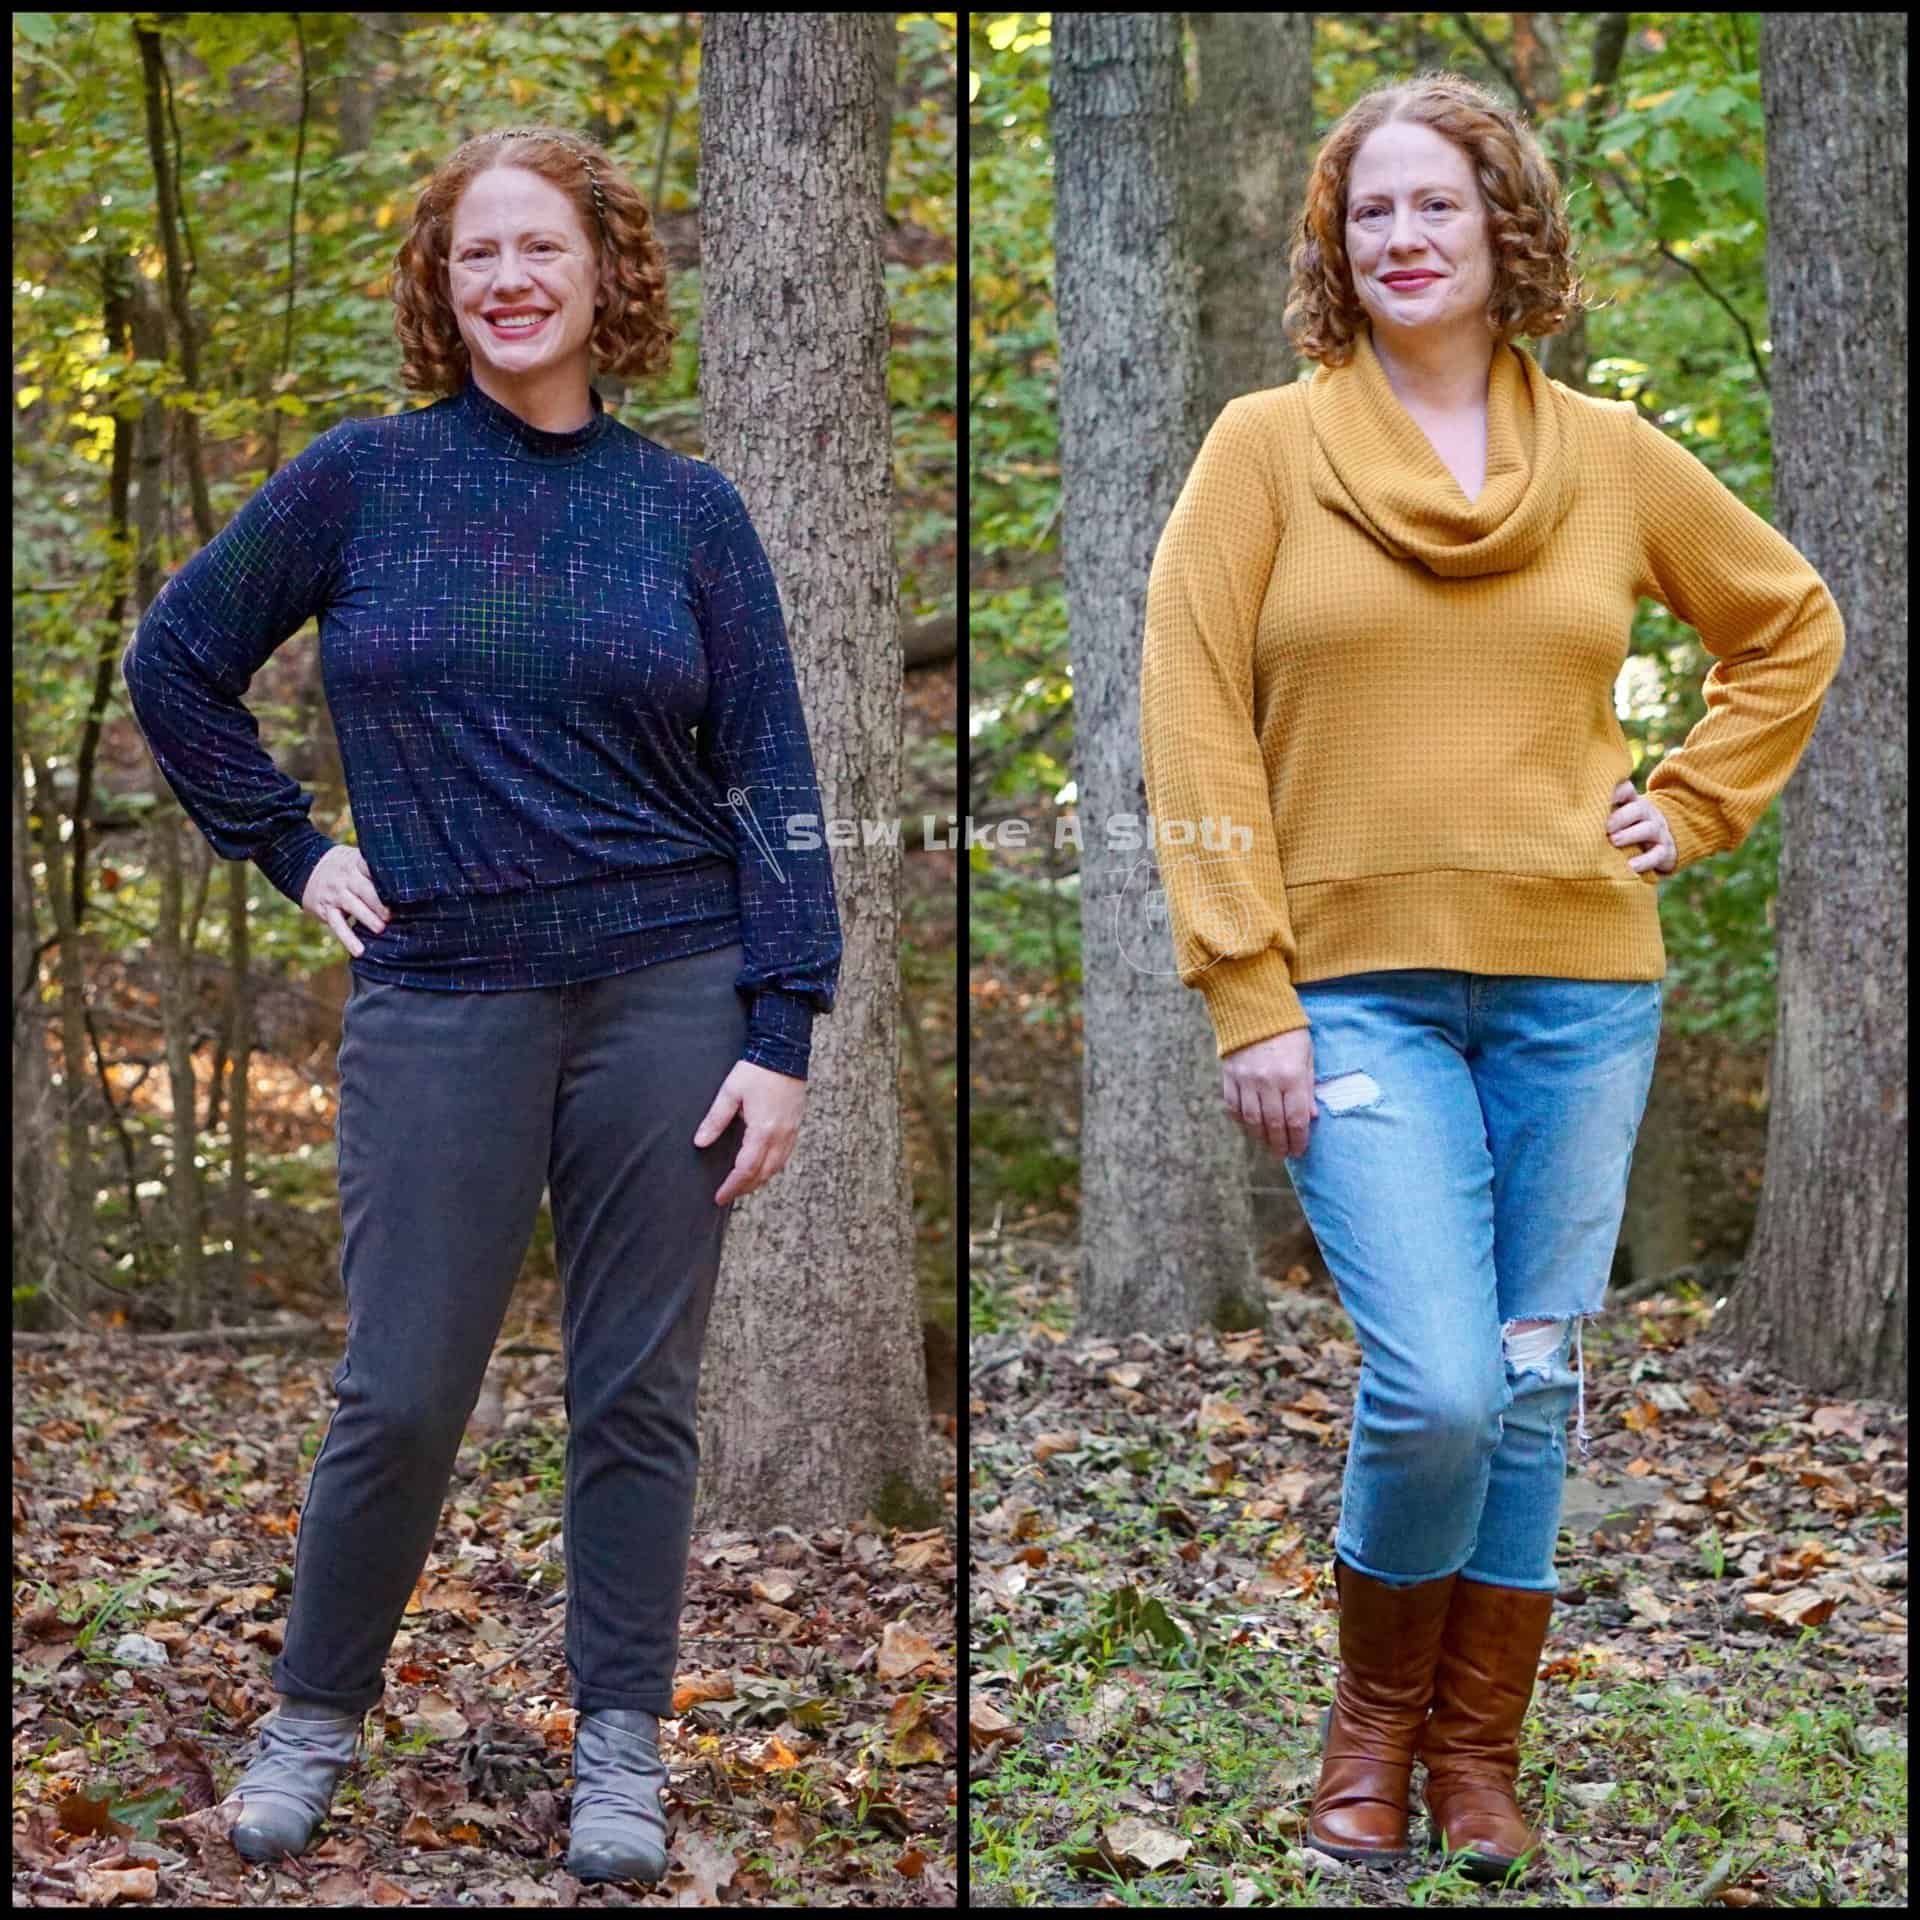
Both tops use the banded bodice and bishop sleeves. I kept the body the same to emphasize the different looks you can create with this pattern simply by changing fabric.
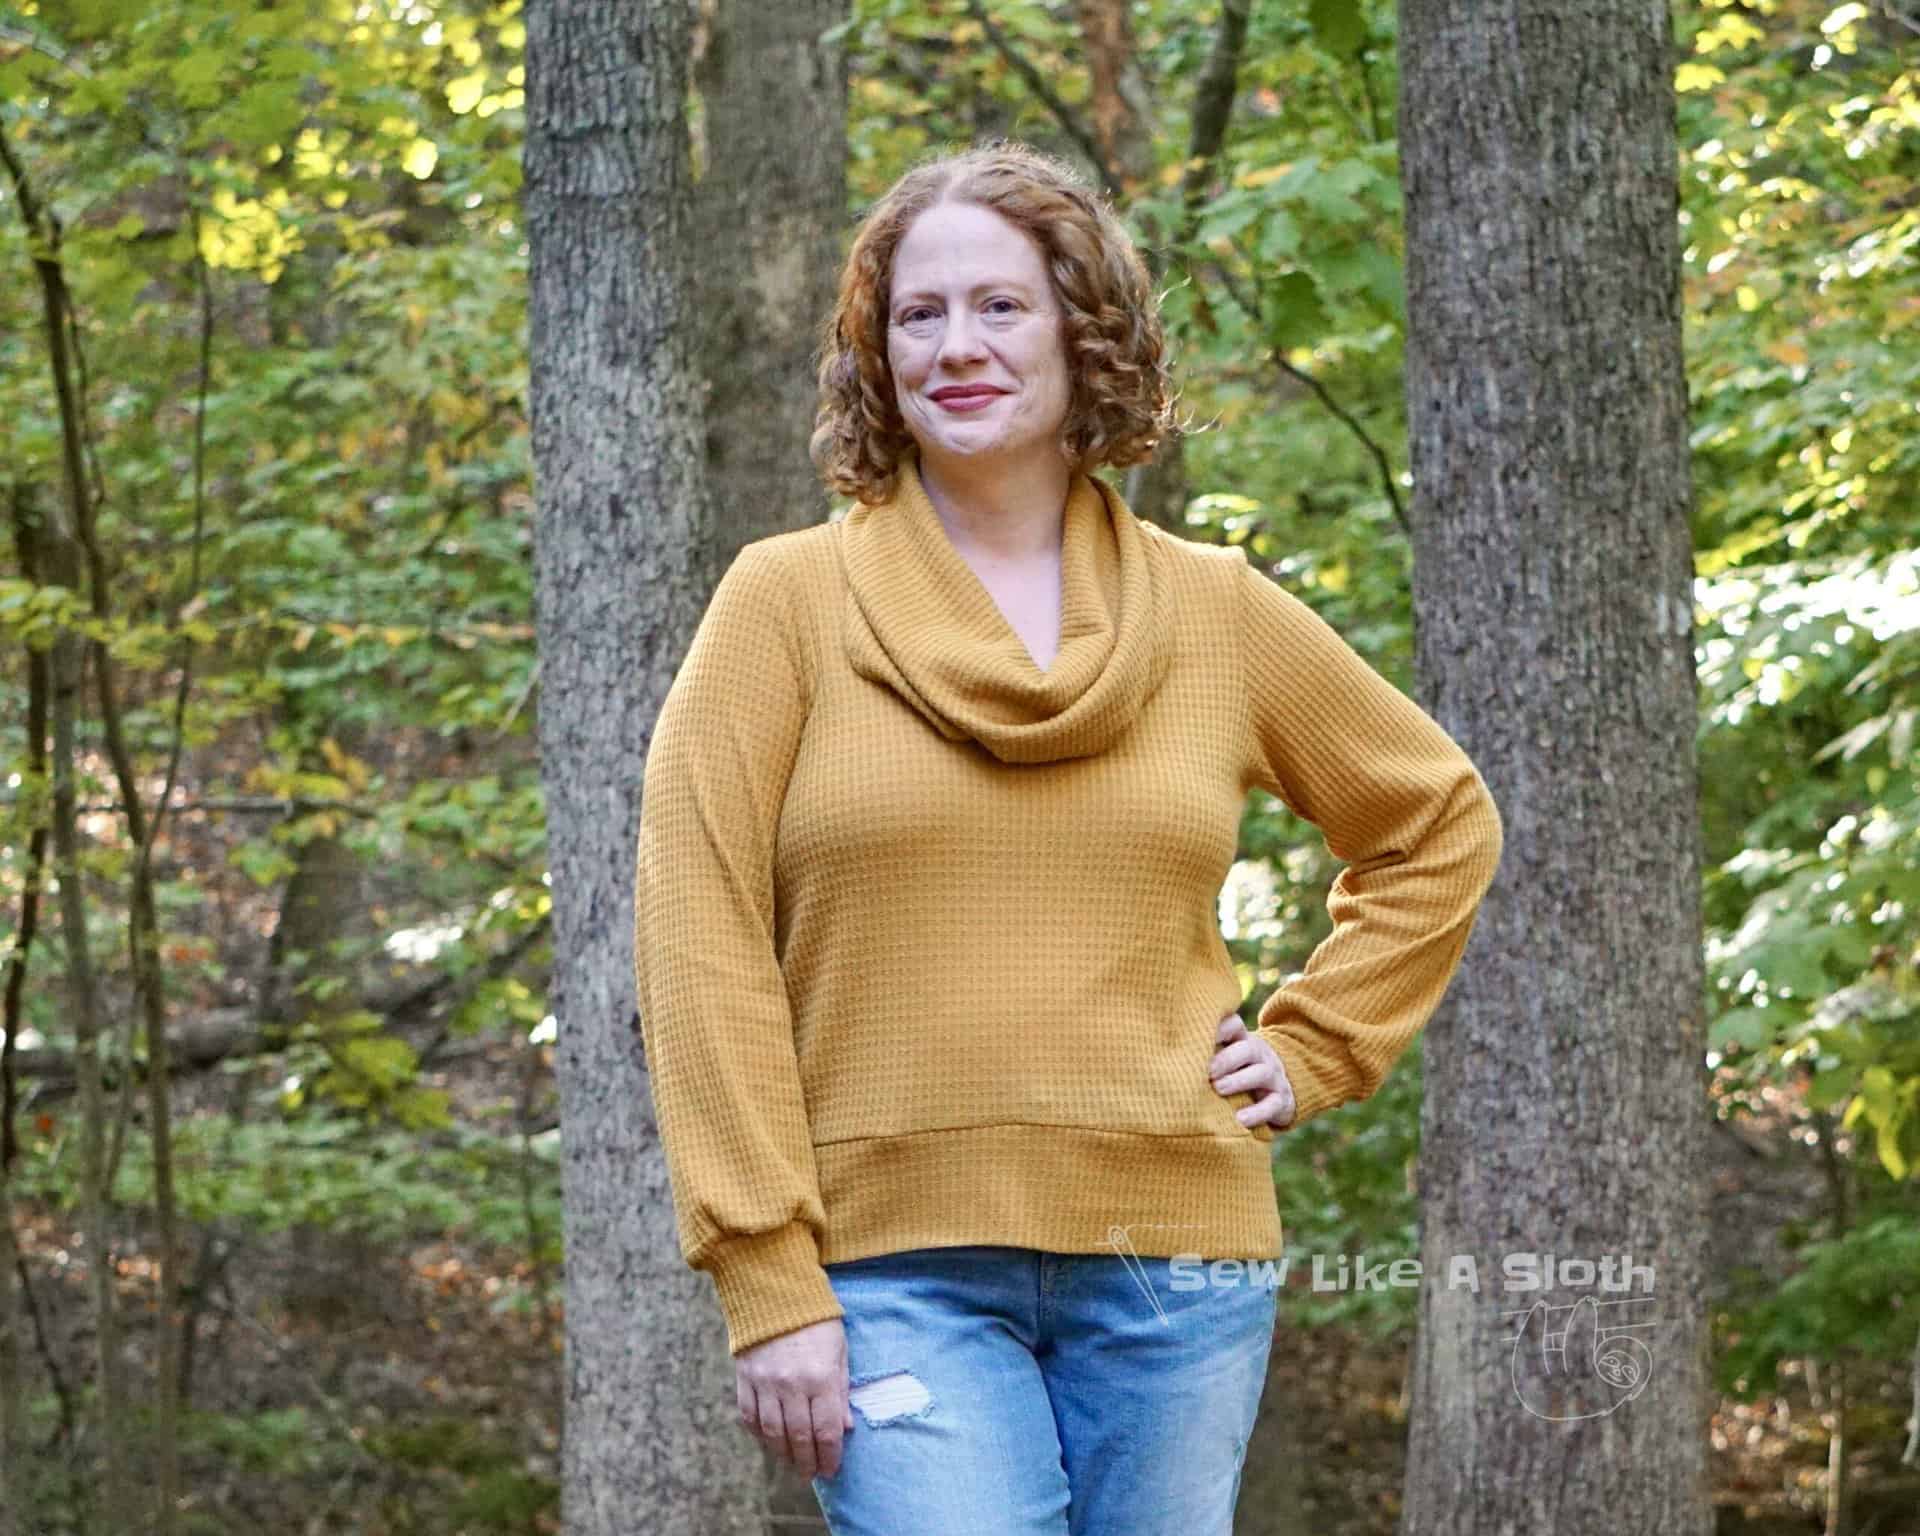
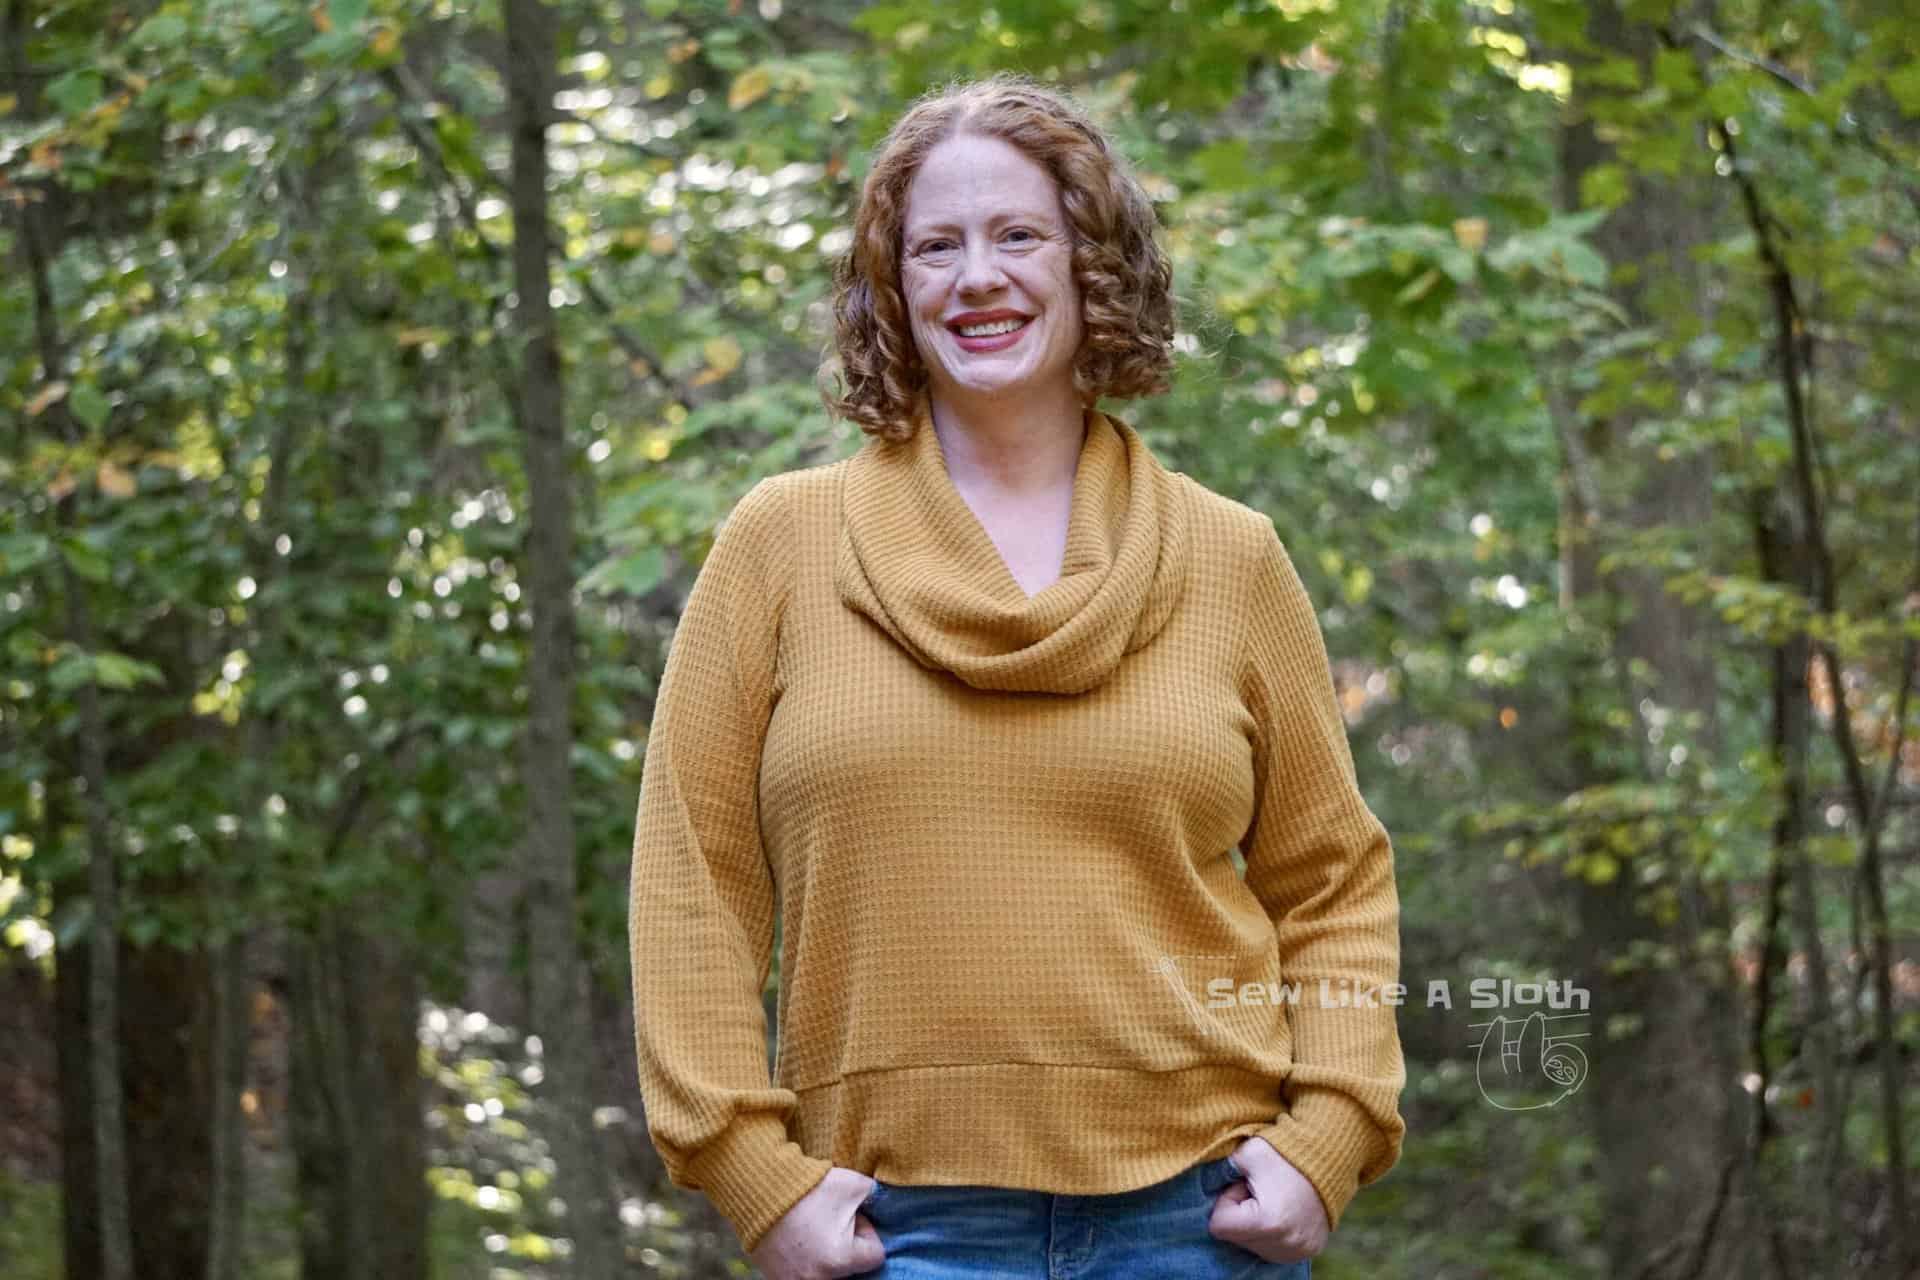
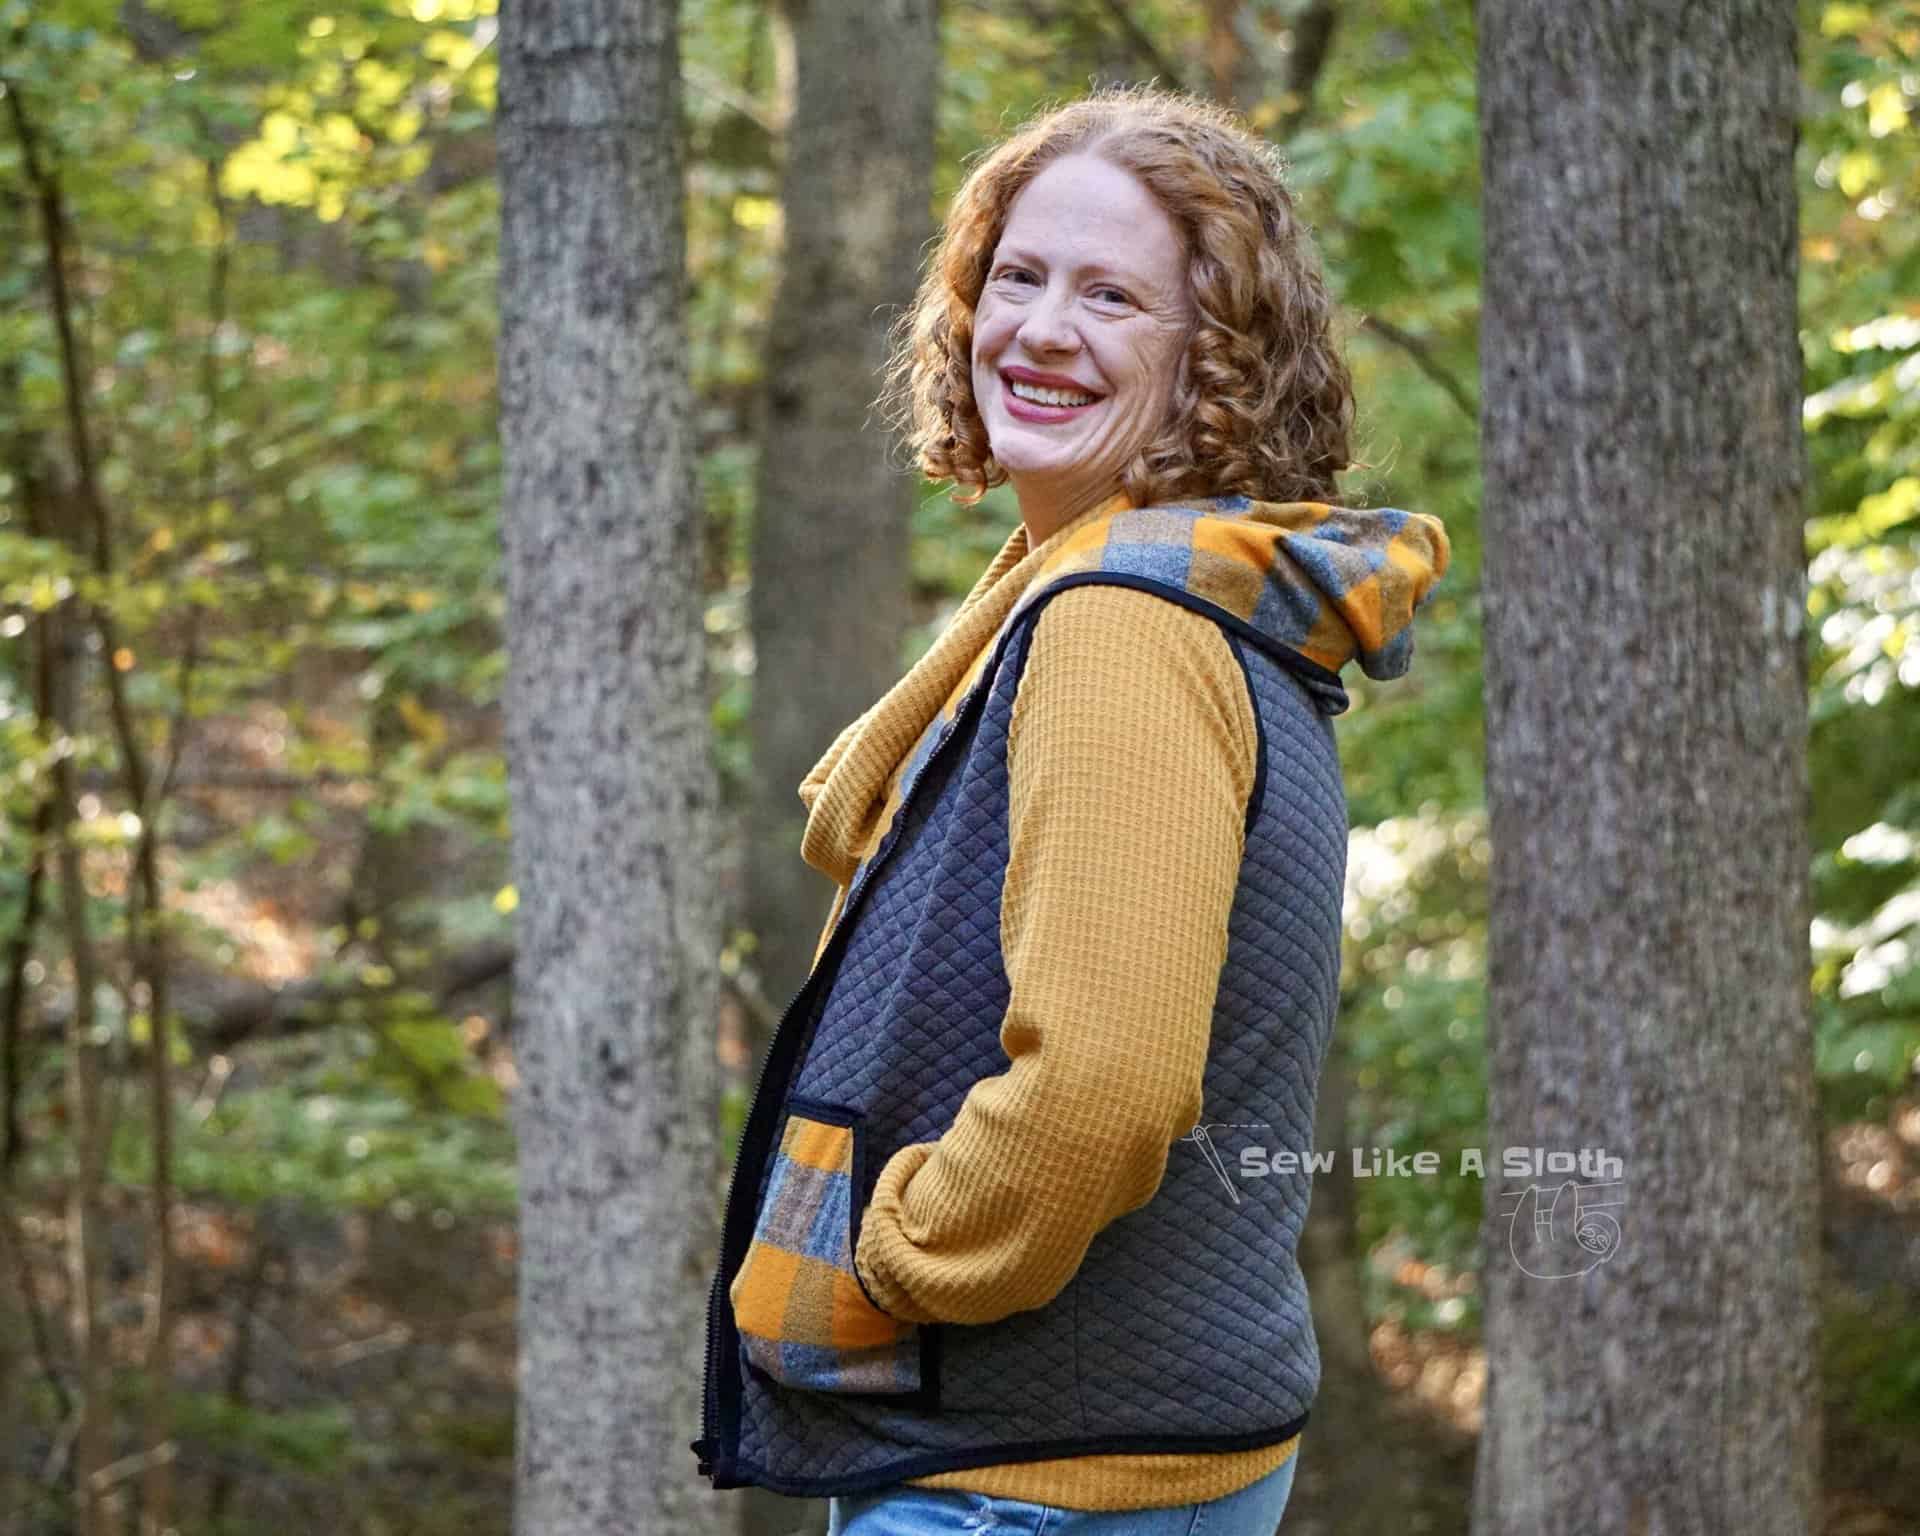
To create my first Arlington top, I used waffle knit (from Amelia Lane Designs) and opted for the cowl neckline. I wanted a cozy fall top that wasn’t a hoodie. And of course, if you know me at all, you know it had to be mustard! I cut the bottom band a little longer than the pattern called for to accommodate for the lack of recovery in waffle knit. I probably didn’t have to, but I’m happy with the outcome.
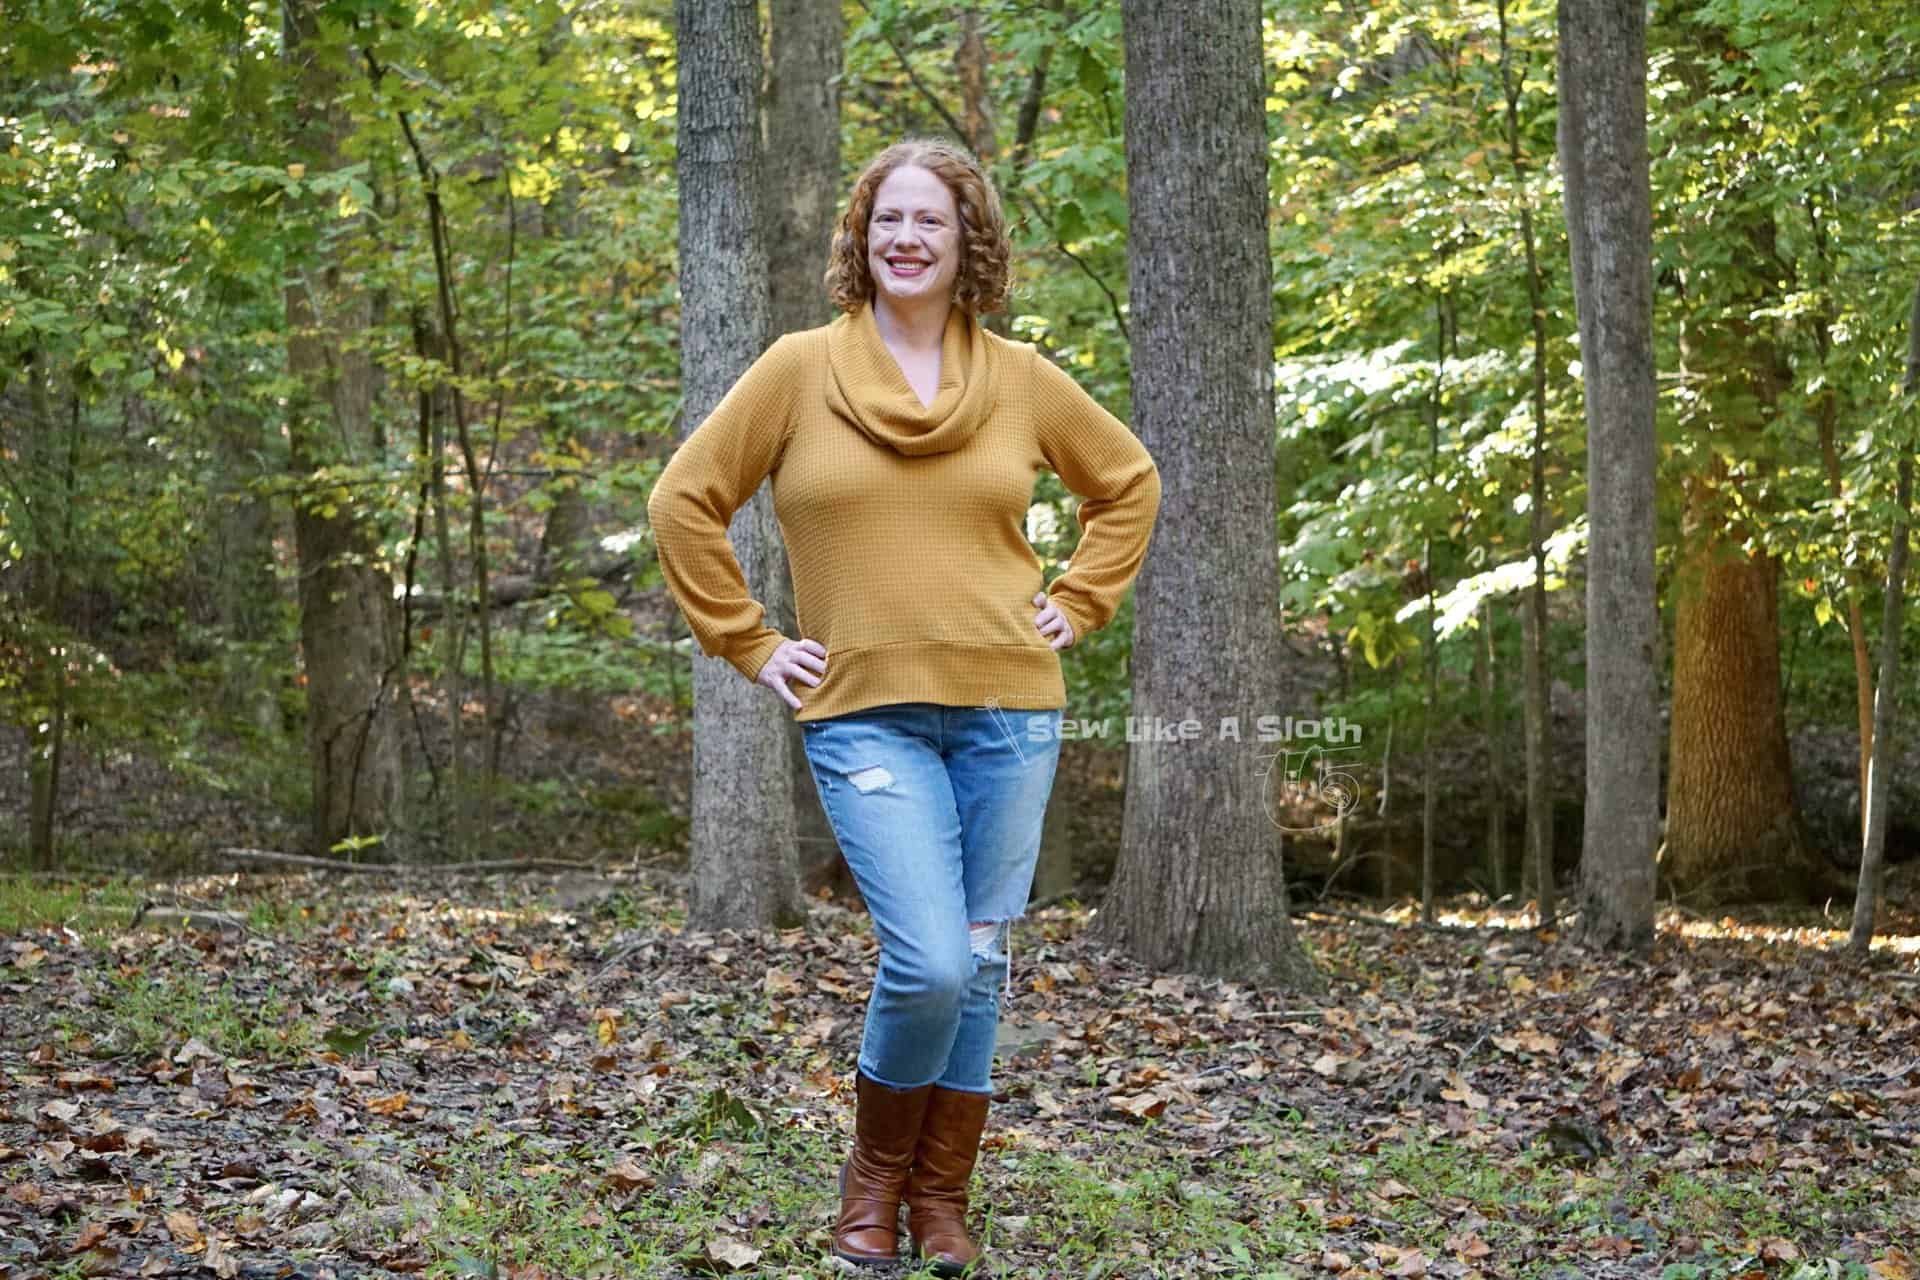
And look how perfect it is with my Oakley! Heart eyes.

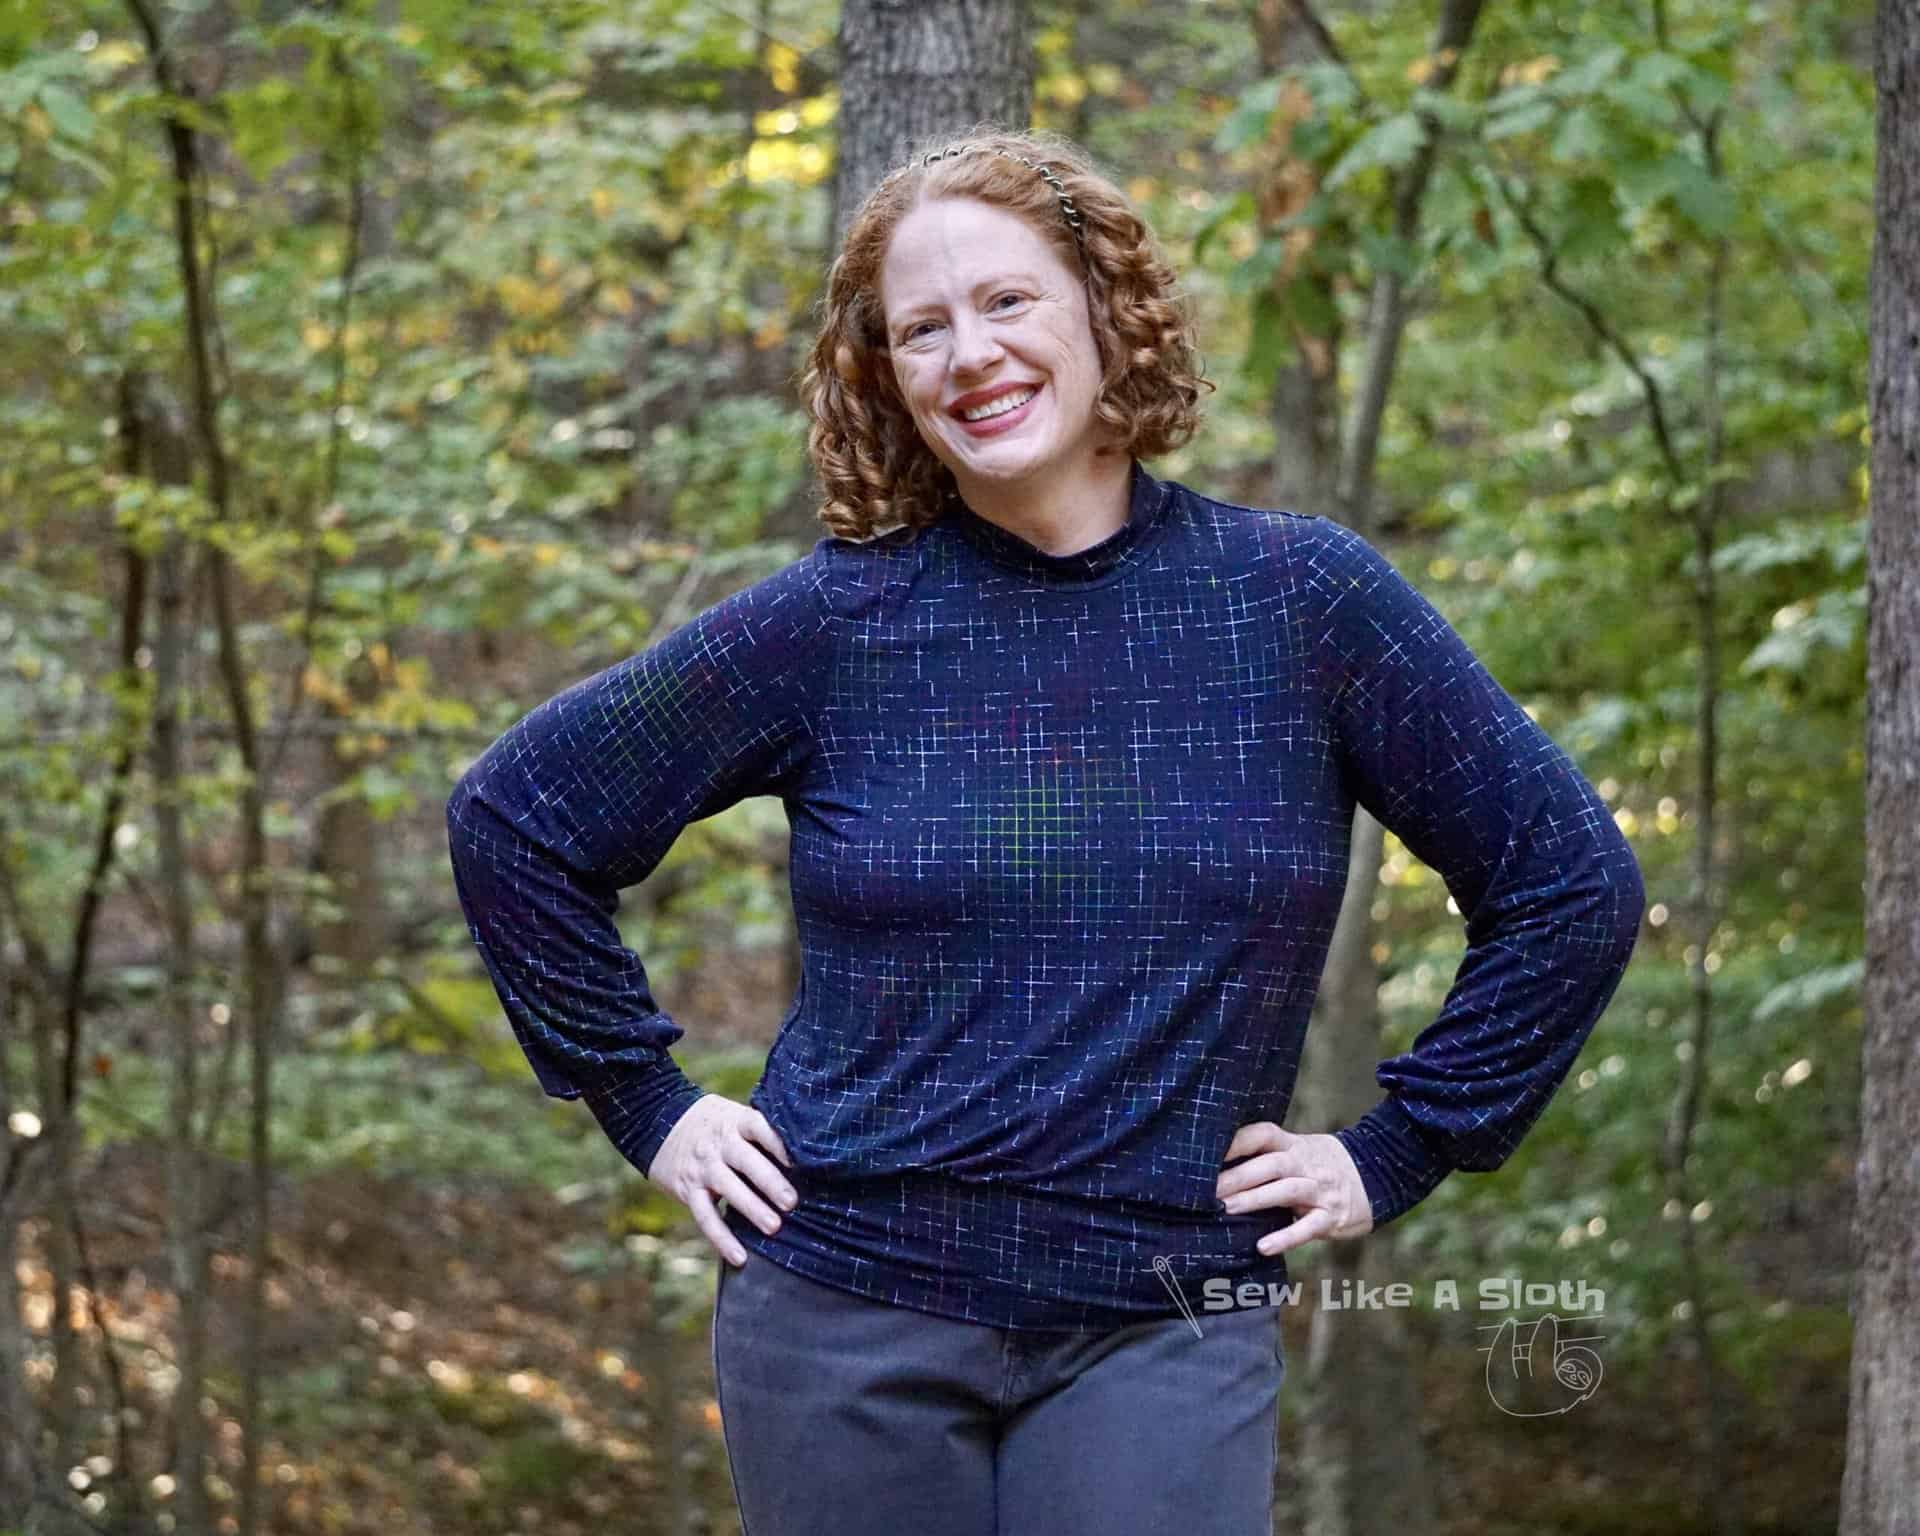
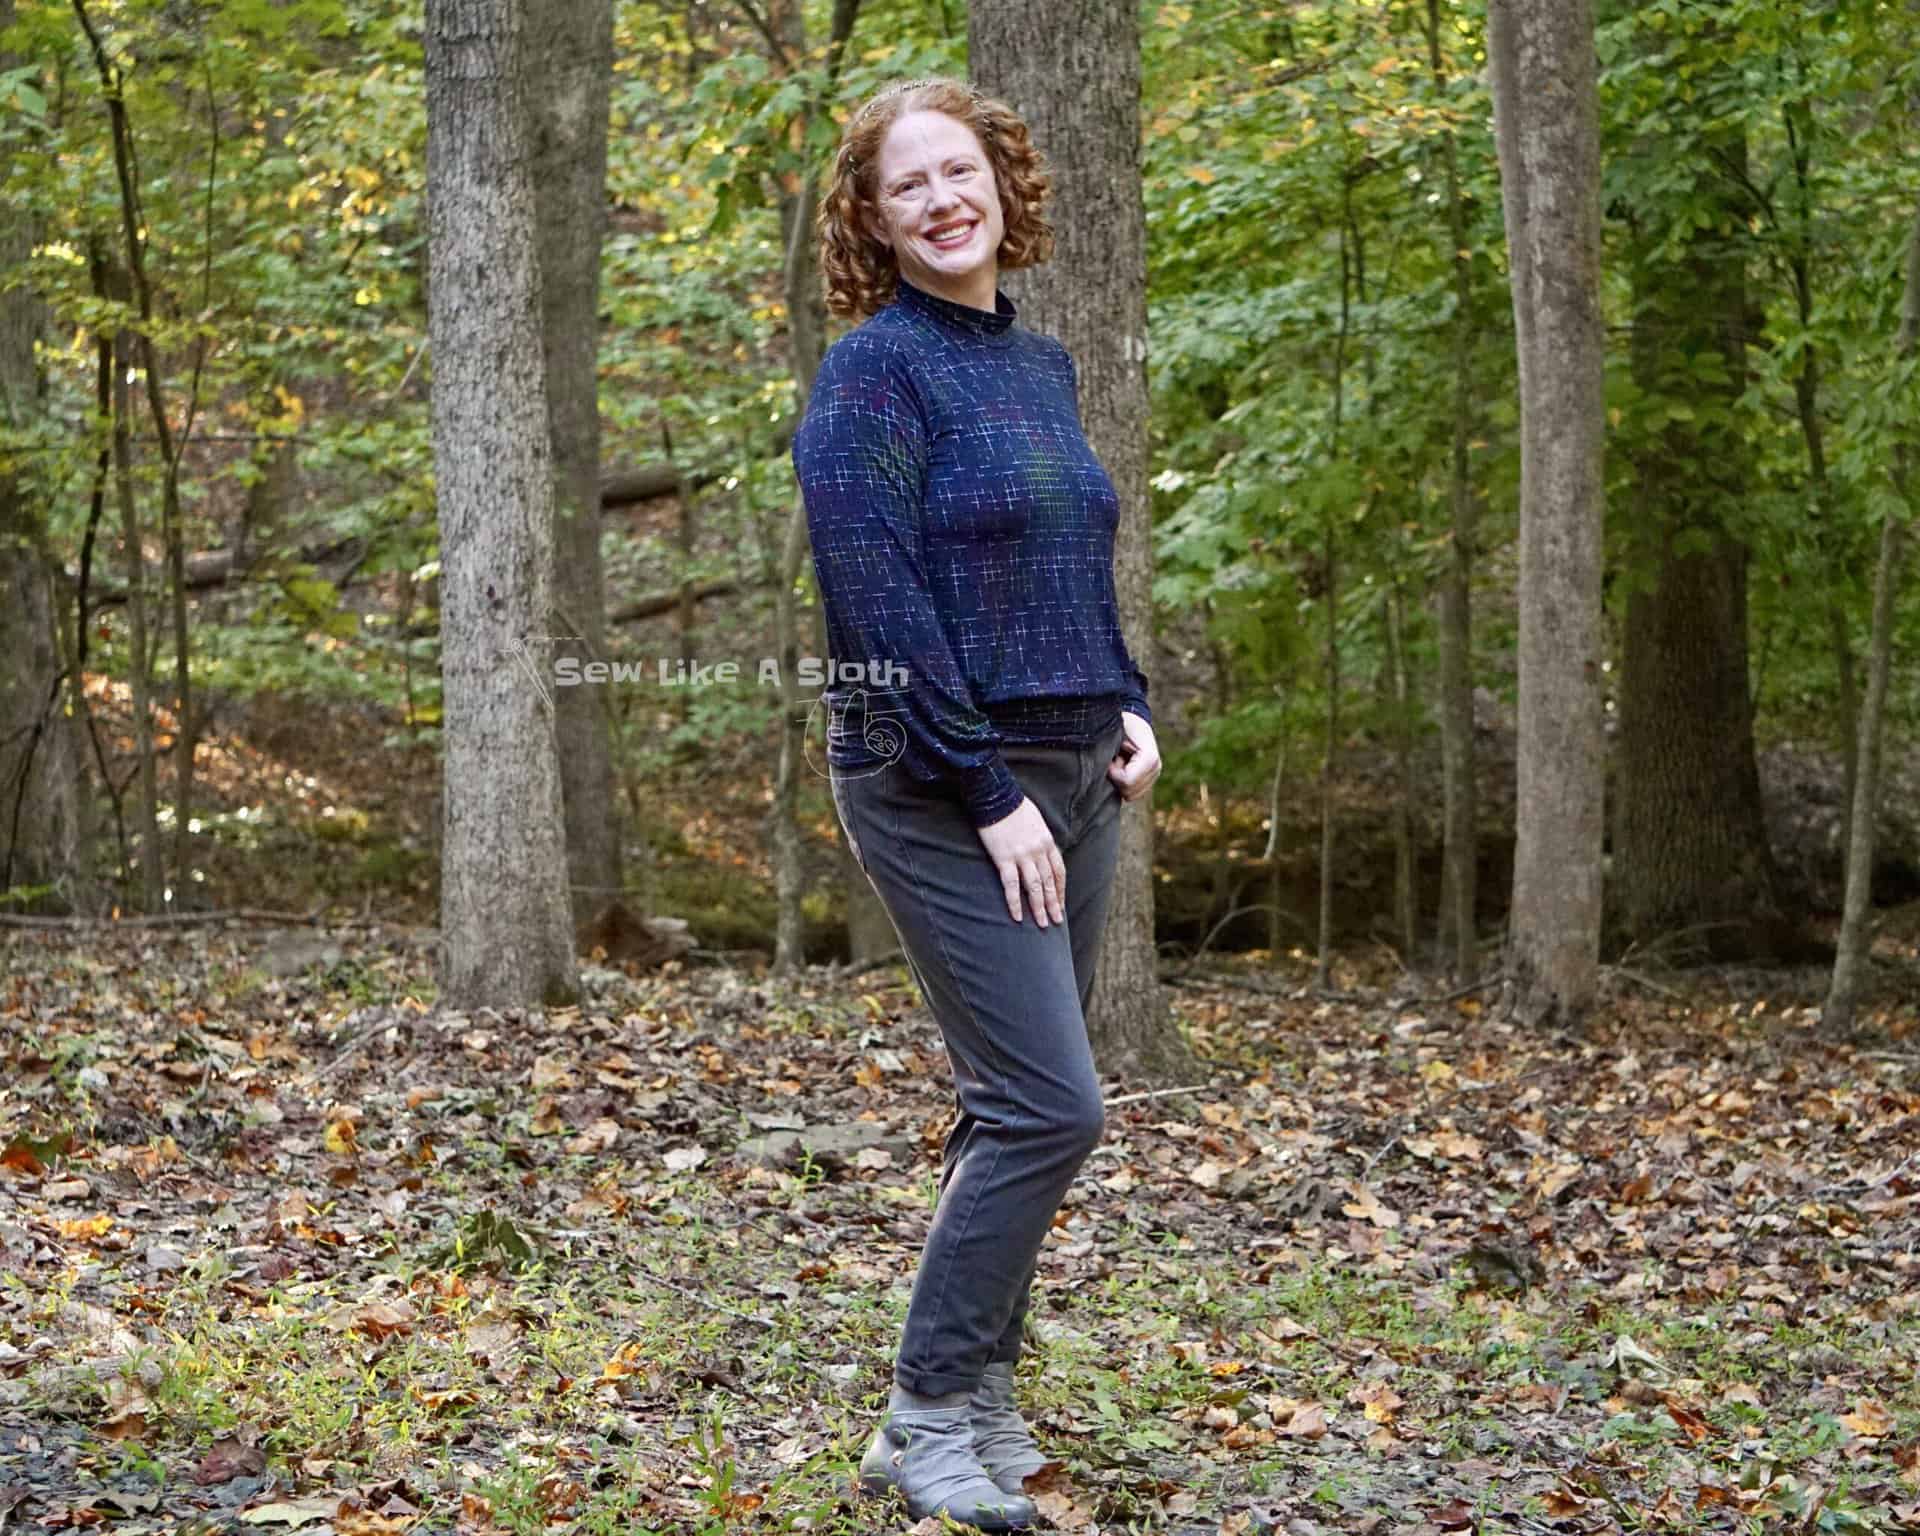
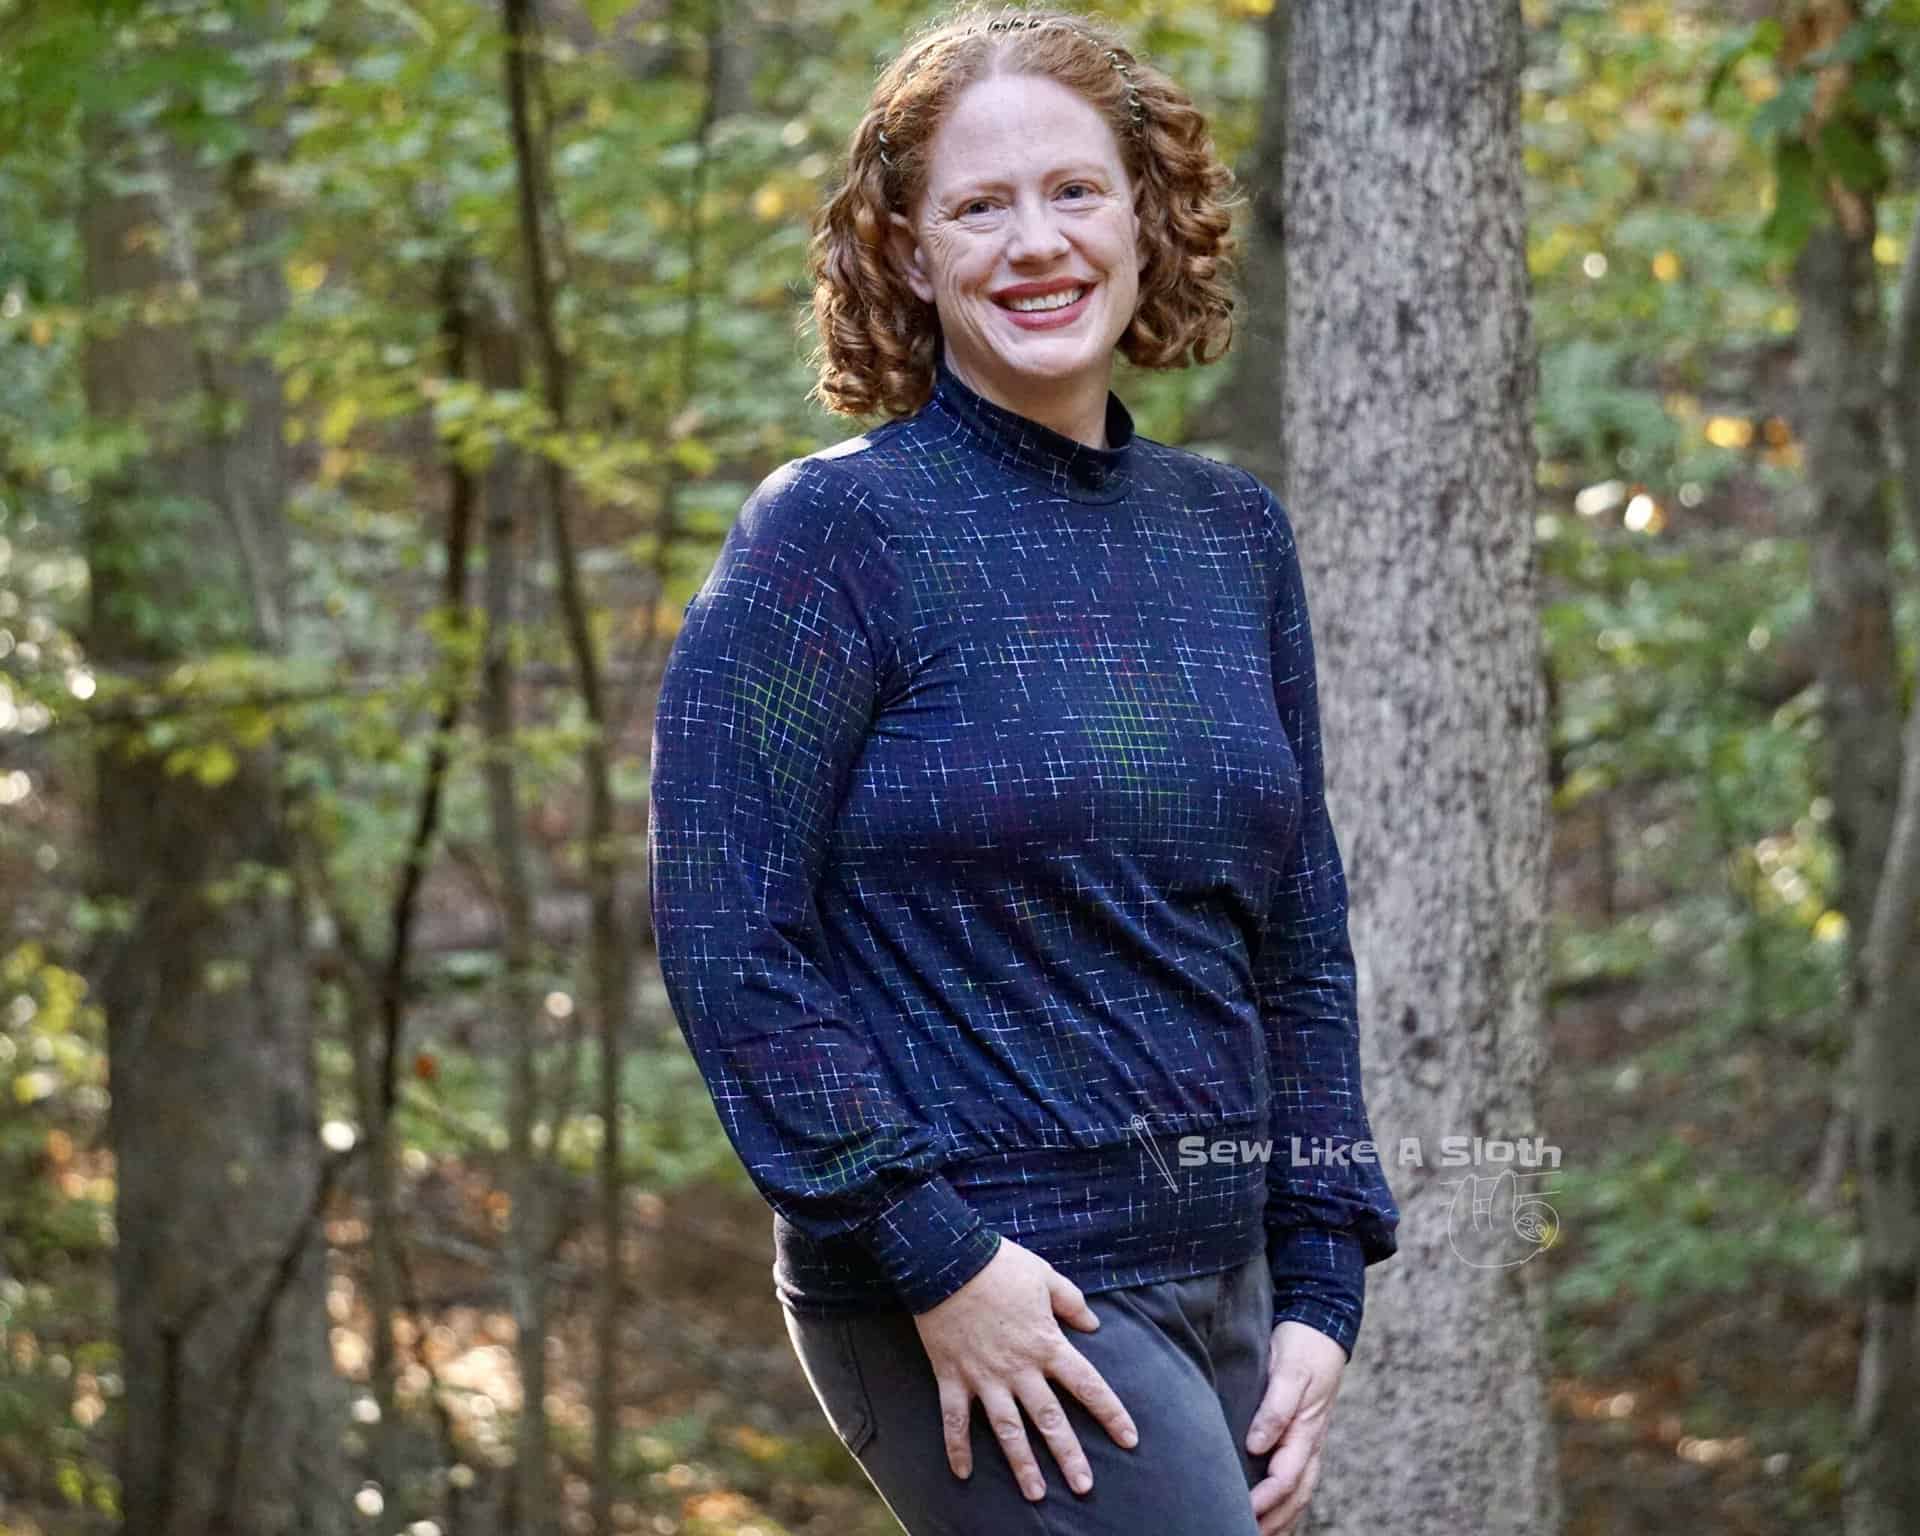
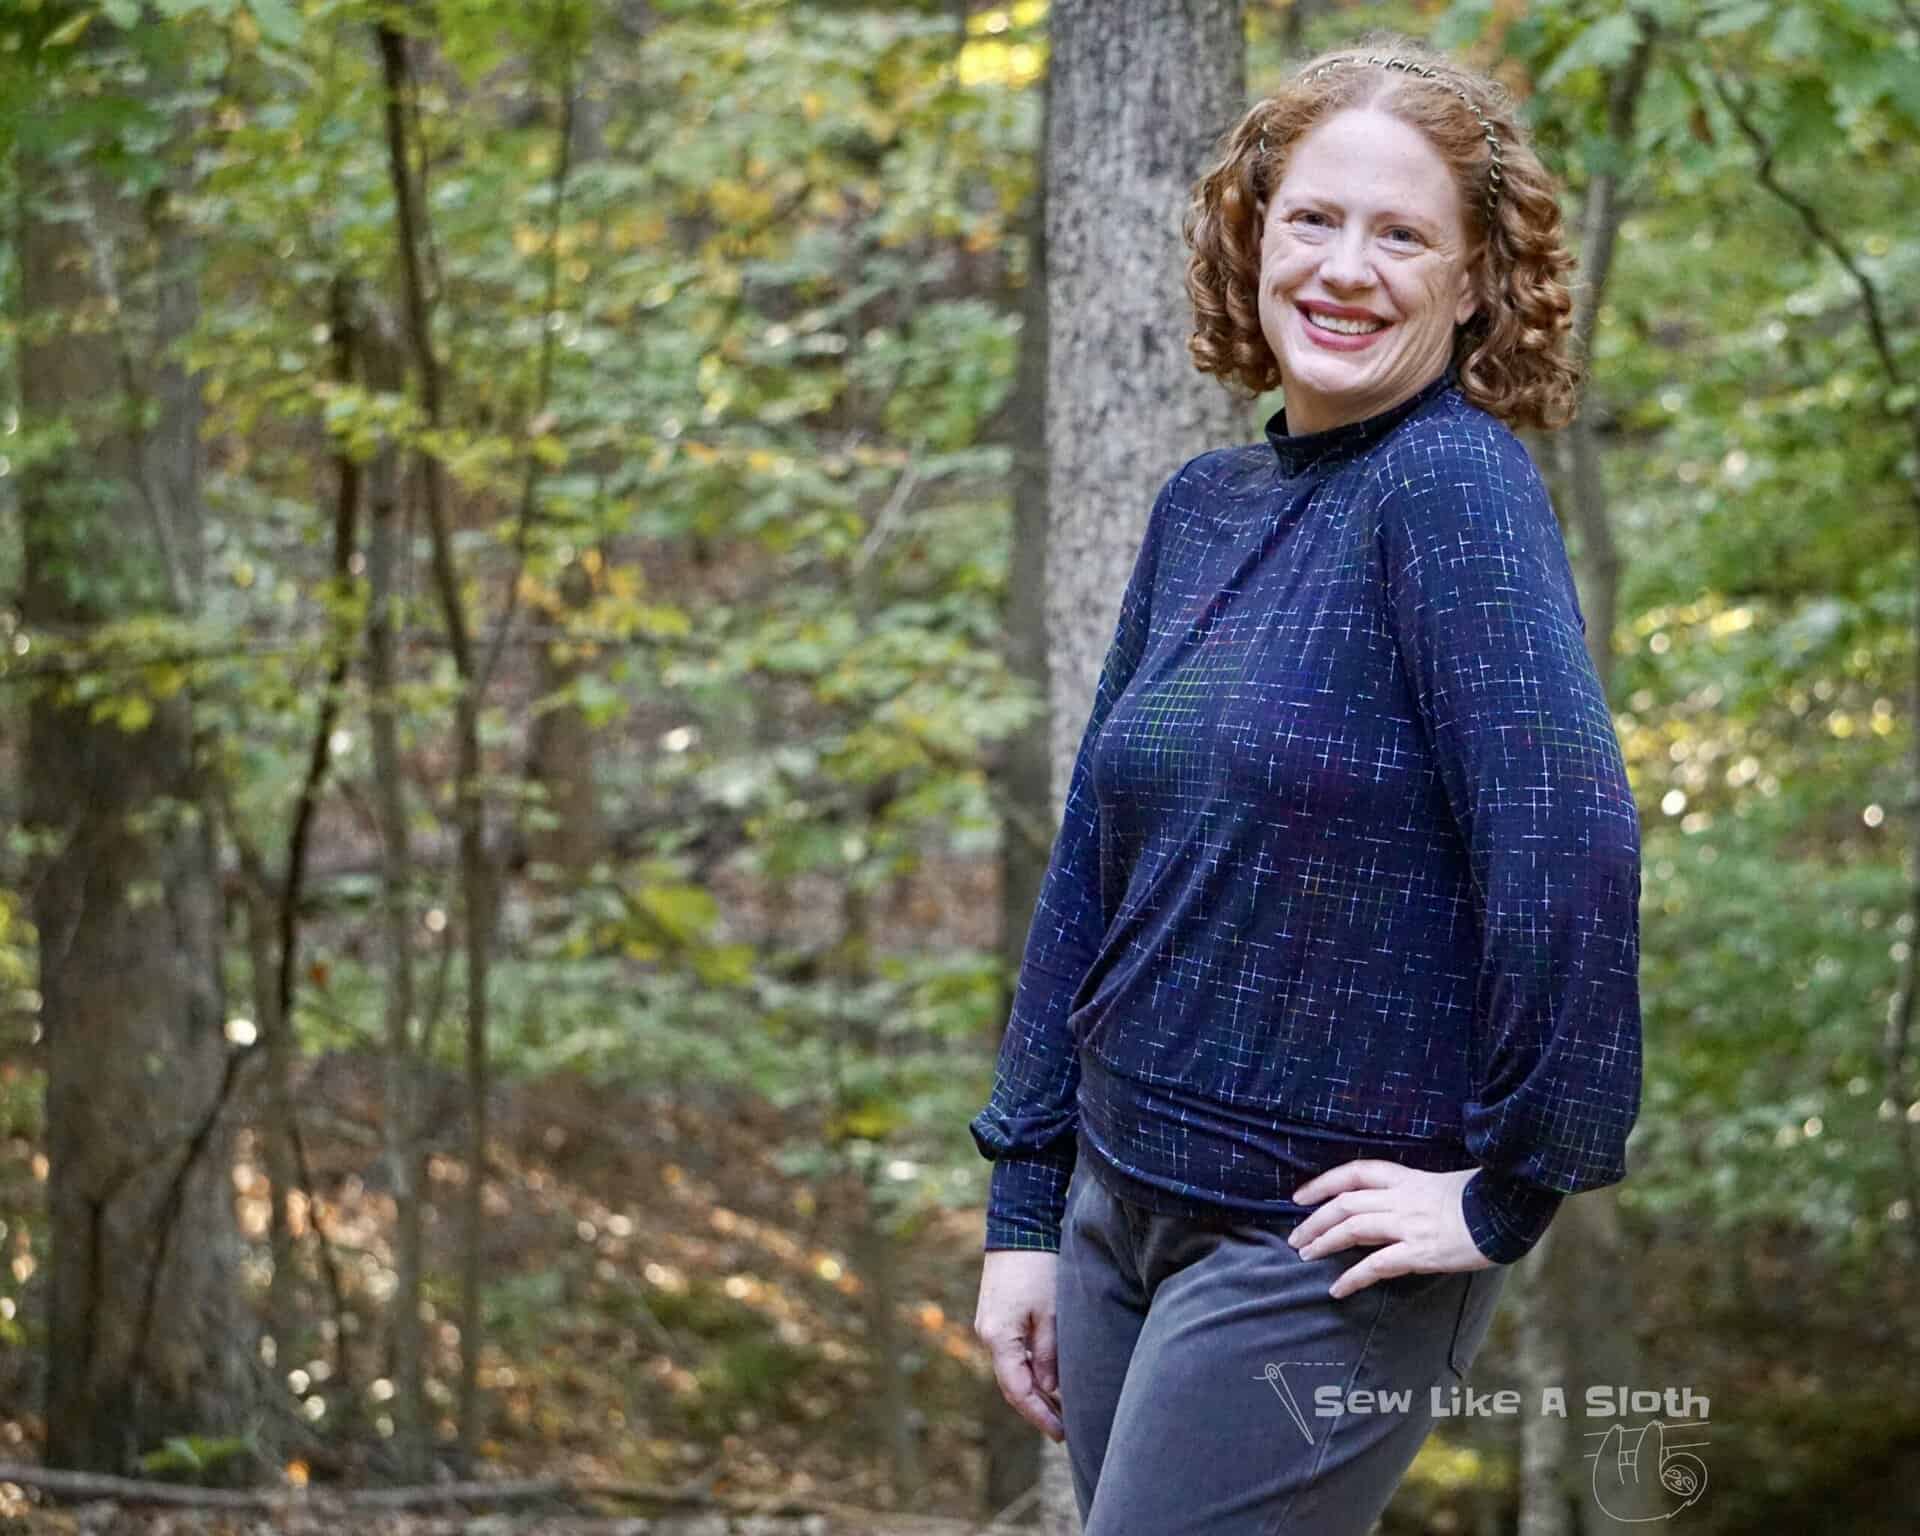
I used bamboo lycra (from Rockerbye Destash) and selected the mock neck option for the second top. This Arlington was a vision that I couldn’t get out of my head, and it came together exactly as I hoped. I think it’s sassy with a touch of elegance. My husband says it’s “sporty.” Because it is bamboo lycra, it is SO comfortable. Just call me Sporty Spice in secret pajamas! 😉
The dress (not yet pictured – stay tuned!) is made of a lightweight french terry and uses the elbow length sleeves. I didn’t finish this piece because I need your help! I cut the neckline with the intent of doing a cowl. But as I was looking at the fabulous flow of this rainbow gradient fabric I changed my mind. So, I have set it aside to ask your ideas.
Help me decide!
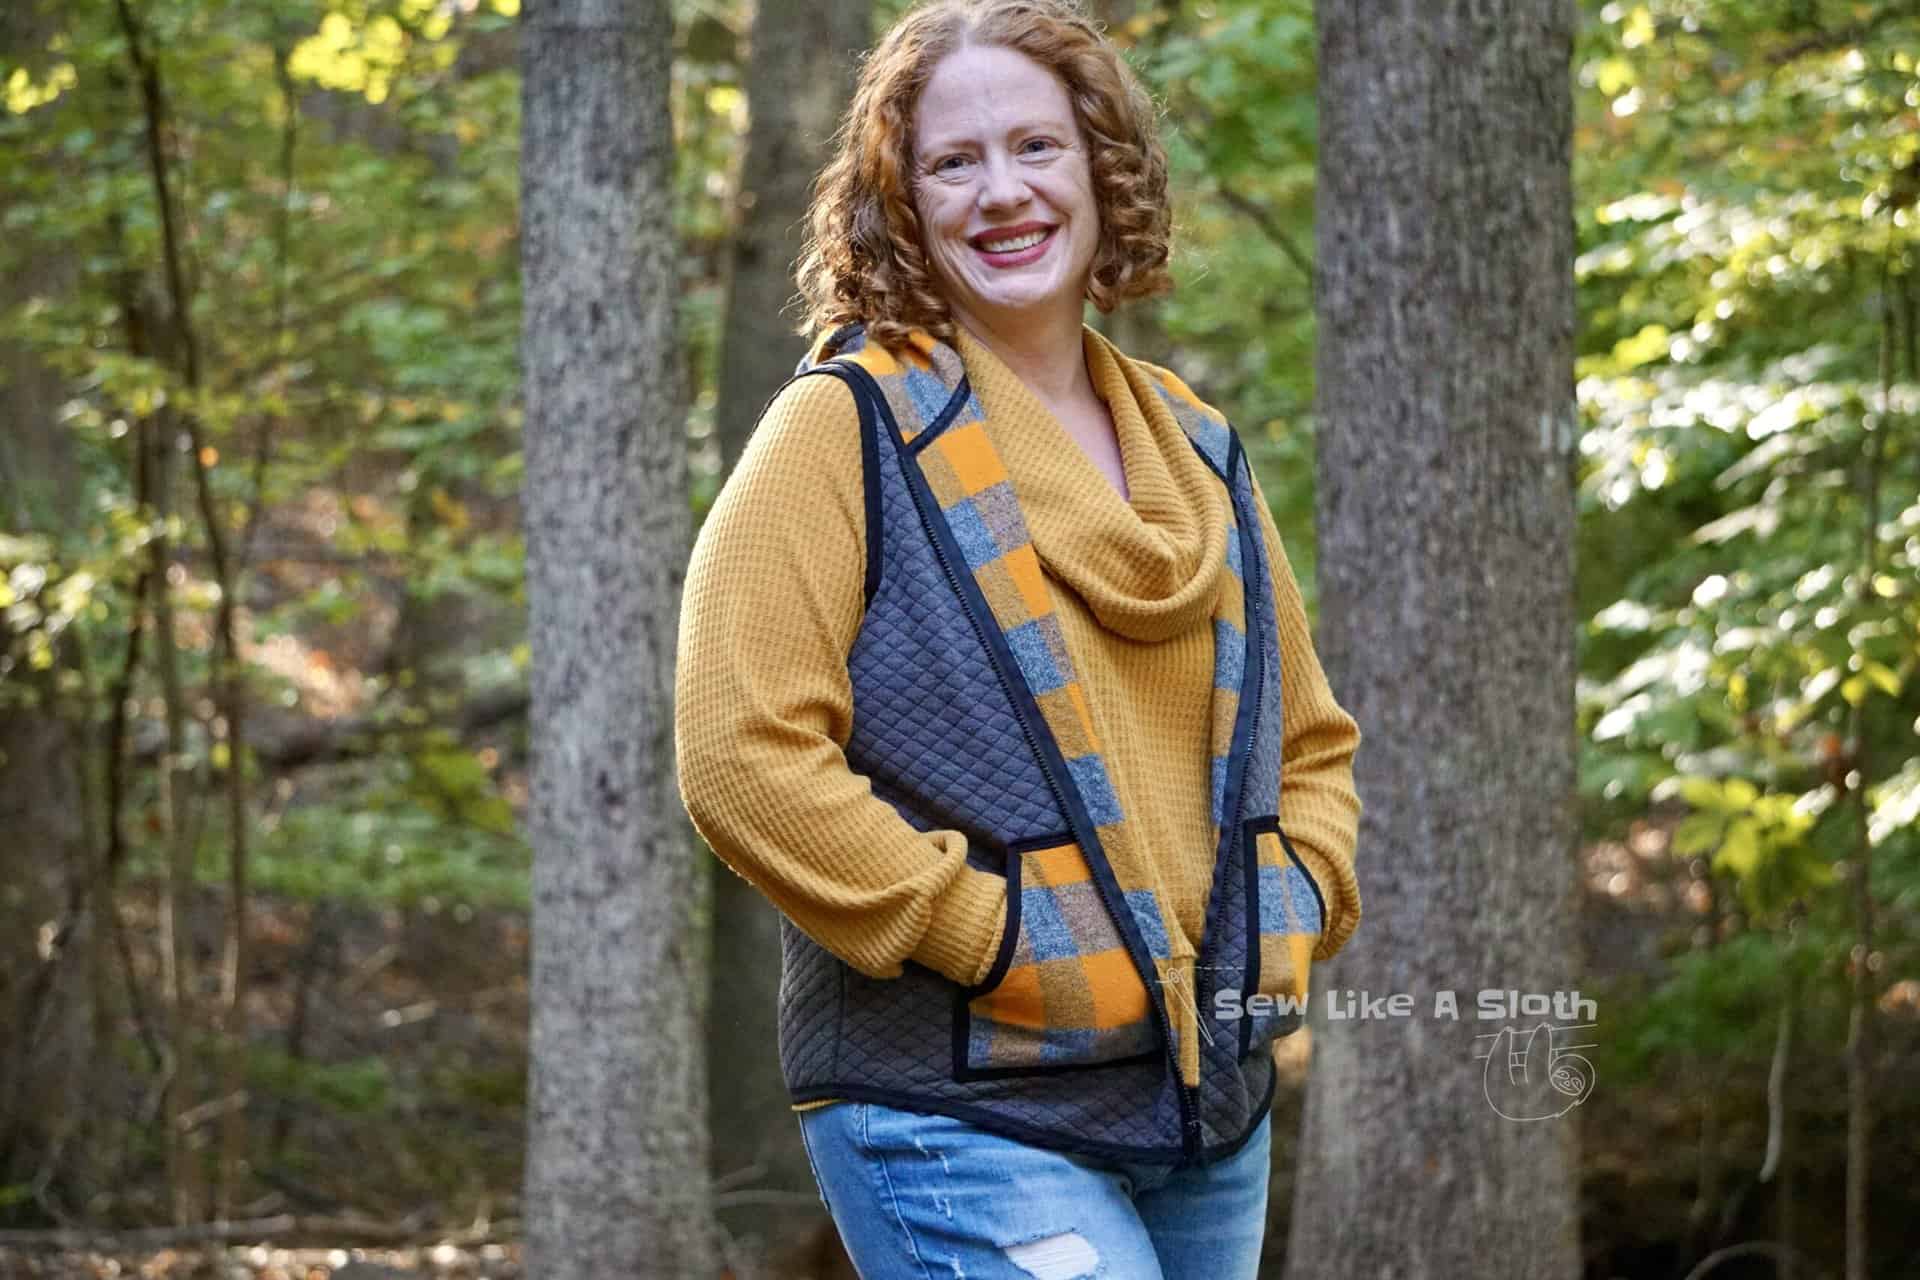
How do you think I should finish it? I am debating between a simple neckband or a hood hack. Let me know in the comments and I will be sure to share pictures in the Facebook group and/or on Instagram! (I have also begun a cardigan hack that I can’t wait to share with you!)
Three adult garments, each with a unique look, created with one pattern in a few hours by one overtired mom. All of which feel fashionably elevated – perhaps because I almost exclusively wear sweat pants and graphic tees. 😉 How many looks will you create with Arlington? I can’t wait to see yours!
Save this article to your sewing Pinterest board