


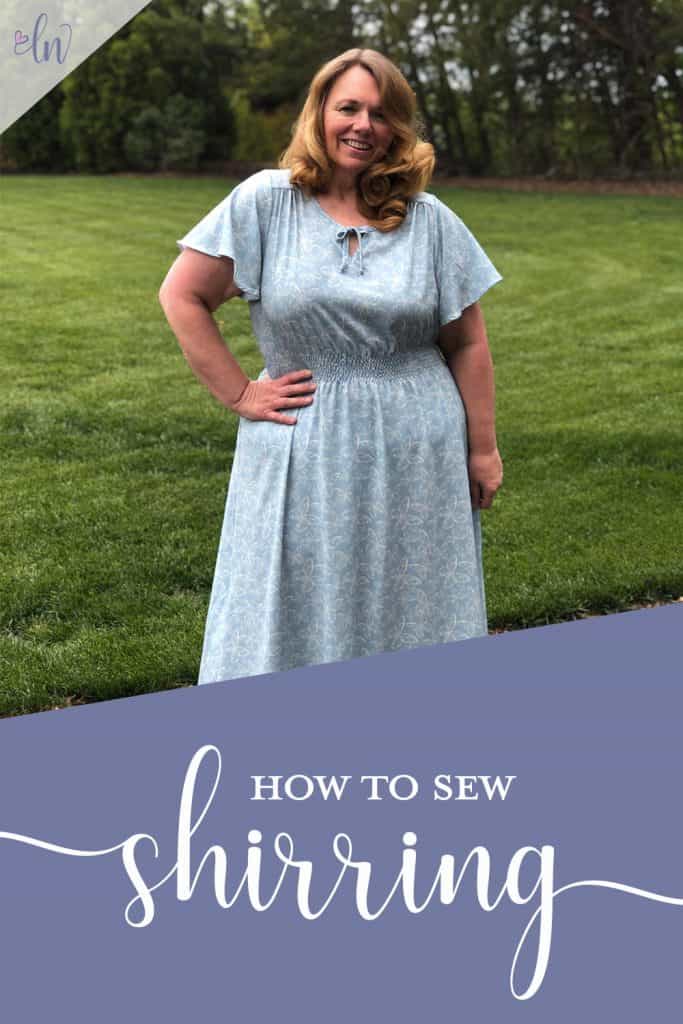
Shirring: A Tutorial Featuring the Rhapsody Top and Dress
Ever want to learn how to sew shirring? Today Chris from www.sewjourns.com is showing us a beautiful detail we can add to the Rhapsody Top and Dress. You can put shirring just about anywhere and it is much easier than you might think — especially with Chris’s help. Be sure to watch the video!
Rhapsody Update
Hi sewing friends! Today on the blog I am showing off how to use shirring on one of Love Notions most beloved patterns: The Rhapsody Blouse. The Rhapsody Pattern has gotten an update which now includes a dress version, nine sleeve options, and sizes XS – 5X! It is designed for drapey woven fabrics such as rayon challis, voile, chiffon, gauze, and bubble crepe. With summer approaching, now is the time I reach for those fabrics as they are cool and comfortable in the hot and humid weather of North Carolina.
I love this pattern and have already sewn up three of the sleeve options: ¾ sleeve with cuff, flutter sleeve and the trumpet sleeve.
You can purchase the Rhapsody top and Dress Pattern HERE. (this is my affiliate link, thank you for supporting me)
Today I’m going to show you how to add a little extra detail to your Rhapsody with shirring! Shirring is a fun technique using elastic thread in your bobbin to create a ruched effect.
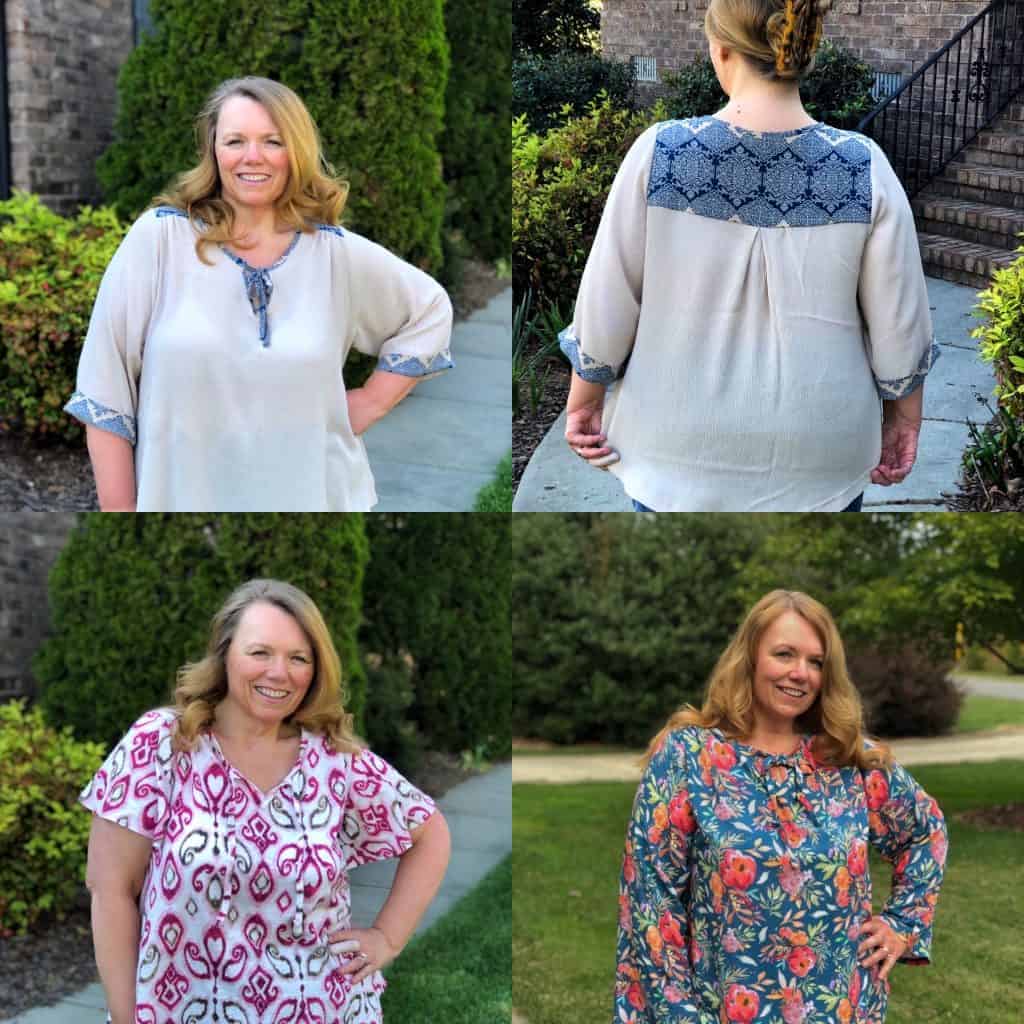
Here are the looks we are going for.


My Shirring Placements
For the blouse, I used shirring to create a cute detail at the high hip. I also created a ruffle detail with shirring at the wrist using the Bishop Sleeve option. My fabric is rayon challis by Sly Fox Fabric.
For the dress version I used shirring instead of encased elastic at the waist. The dress fabric is stretch crepe from Raspberry Creek Fabrics.
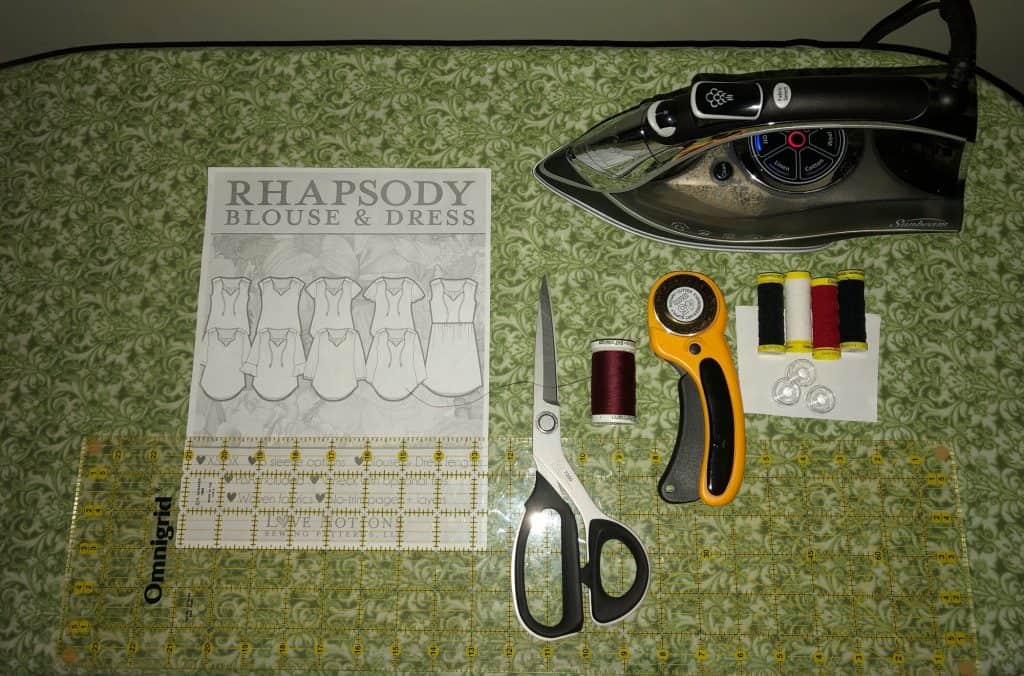
Here’s what you need:
Let’s gather all the tools you’ll need to get started:
- Rhapsody pattern
- Quilting ruler
- Rotary cutter and mat or fabric shears
- Elastic thread*
- 2-3 Empty bobbins
- Matching thread for your fashion fabric
- Steam iron
A note about elastic thread: *There are a few brands of elastic thread and after a lot of testing I achieved the best shirring results using Gutterman brand. Wawak online has the best deal on this thread and it comes in several colors: white, black, navy, and red. The elastic thread will be on the underside of the fabric so it does not need to match. However, if your fabric is lighter, then use the white thread, and if your fabric is very dark like black or navy, then choose the darker elastic thread. I used the white so you can easily see it in the photos.
How to add shirring at the hem
Let’s begin with the blouse and add shirring at the hem.
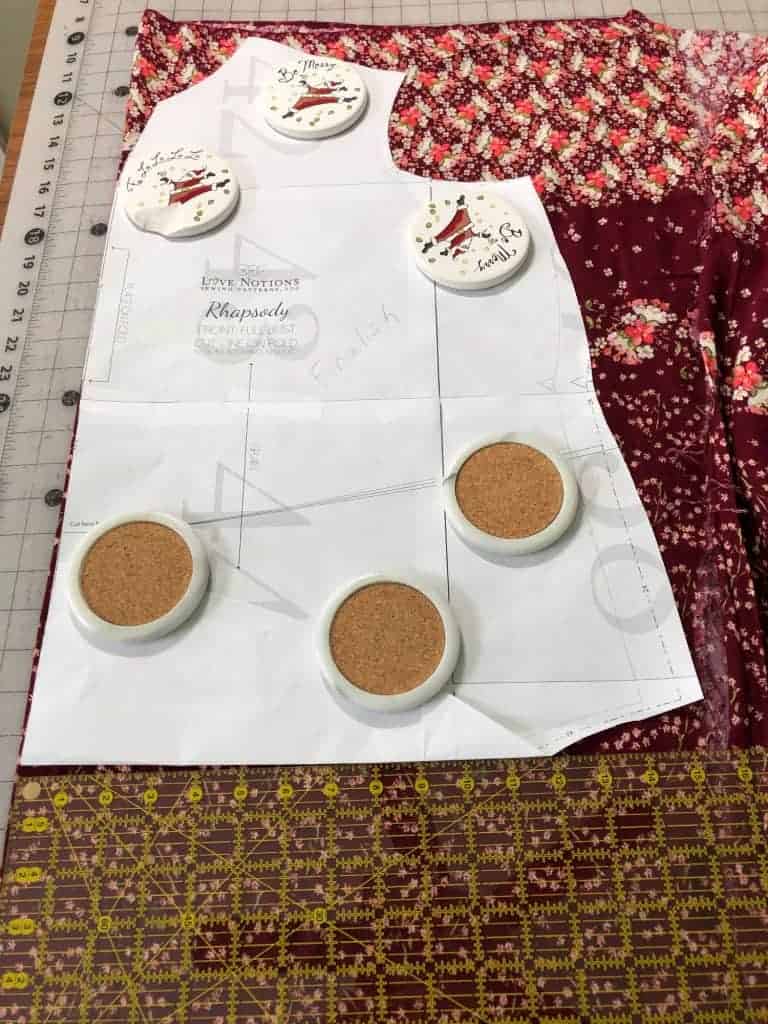
- The first thing I did was to remove 1.5 inches of ease from the waist and hip because I used the included full bust piece for my size. The full bust piece includes additional ease at the waist and hips, and since the shirring at the hem will naturally give a blouson effect, I wanted to remove some of that extra ease. If you are using the standard bust piece, then you may not want to remove any depending on the look you want. It’s your choice!
- Next I created a straight hem. To do this, I folded up the curved portion of the pattern, aligning it at the side seam, and using my quilting ruler, drew a line straight across. This is the new cutting line. Do this for both front and back pattern pieces.
3. Construct the Rhapsody according to the tutorial all the way up to and including sewing the side seams. Do not attach the sleeves yet. I found it easier to shirr the bottom hem before attaching the sleeves!
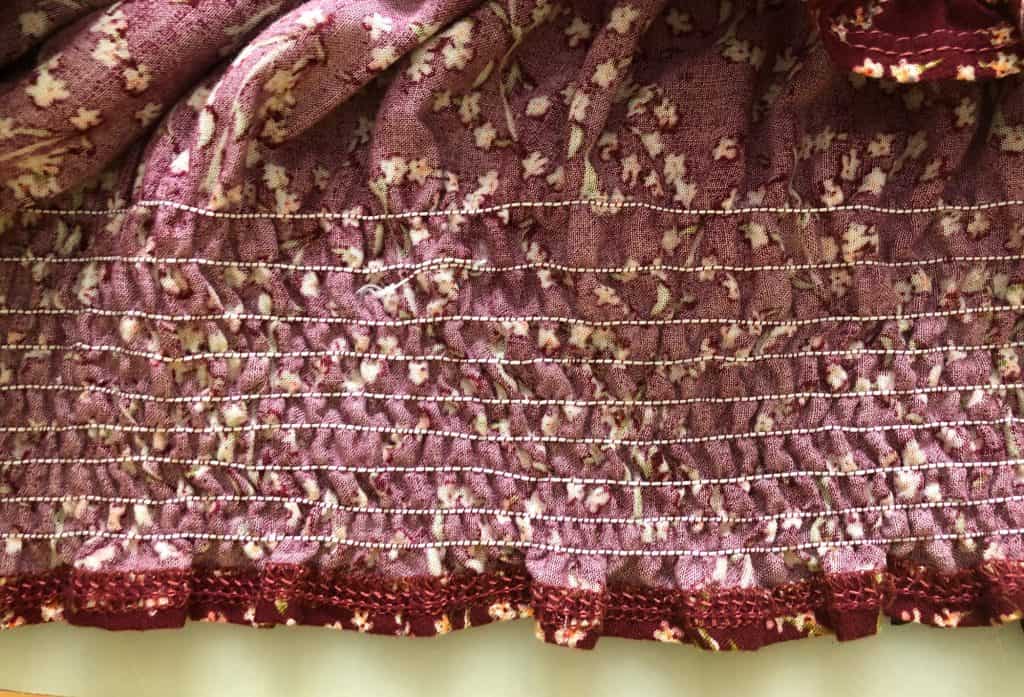
4. Next I did a narrow hem. I serged around the entire hem then turned up 3/8 of an inch and pressed. I then finished with a narrow coverstitch.
Time to shirr!
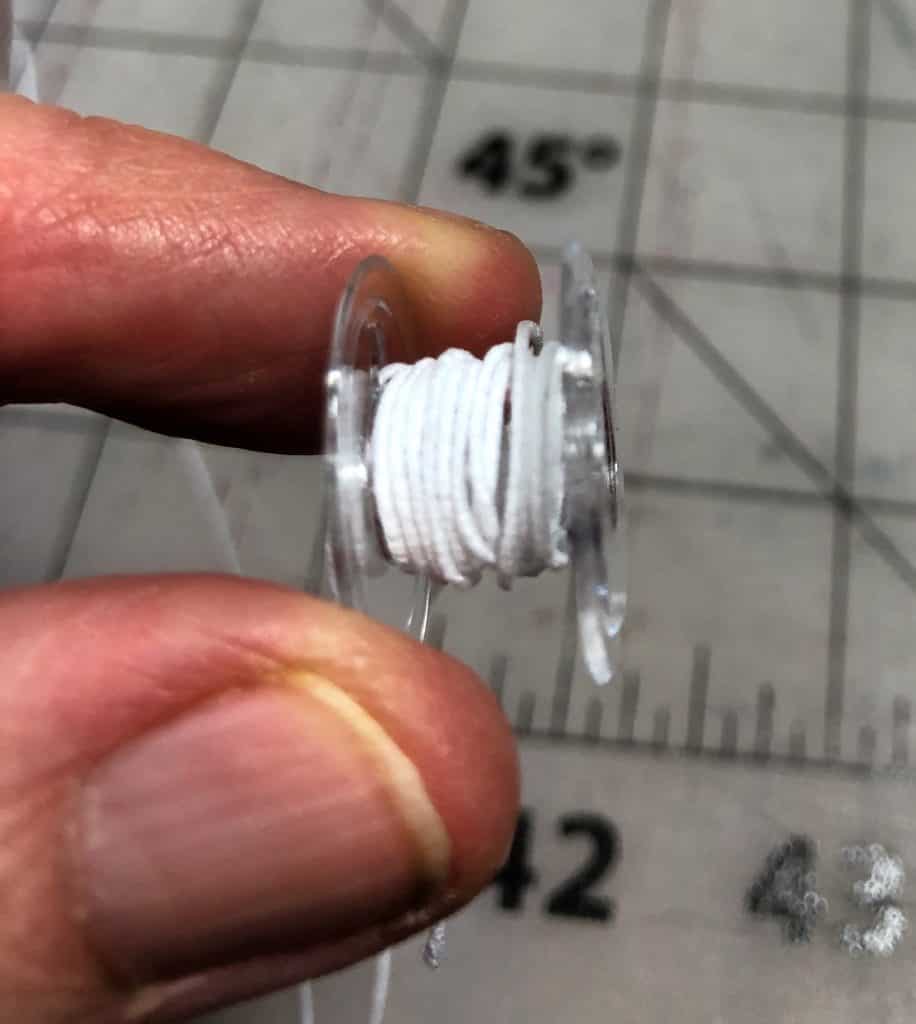
- Thread your sewing machine with regular thread to match your fabric. Hand wind your bobbins with the elastic thread. Do not use the bobbin winder on your machine – it will stretch the elastic thread and you will not get the shirring effect you are looking for.
- To hand wind your bobbin, begin to wrap the elastic thread around the bobbin without pulling or stretching the thread. You do not want any tension on the thread! You will want to fill 2 or 3 bobbins before you begin your project as there is far less thread in the bobbin than when you wind regular thread using your sewing machine’s bobbin winder feature.
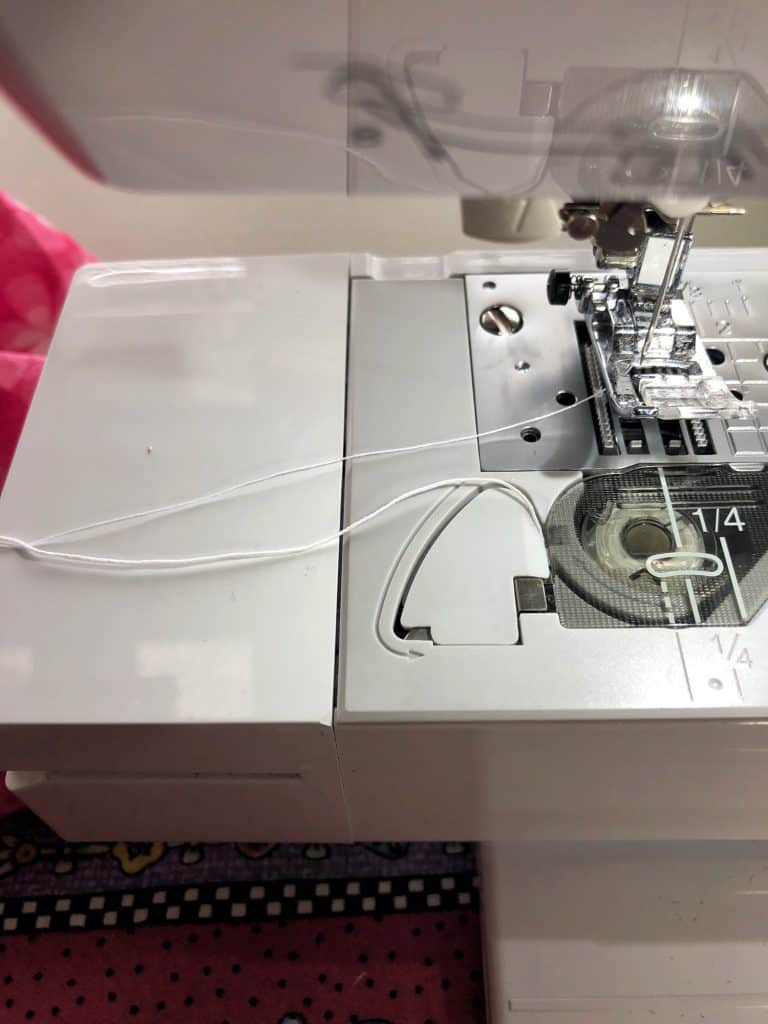
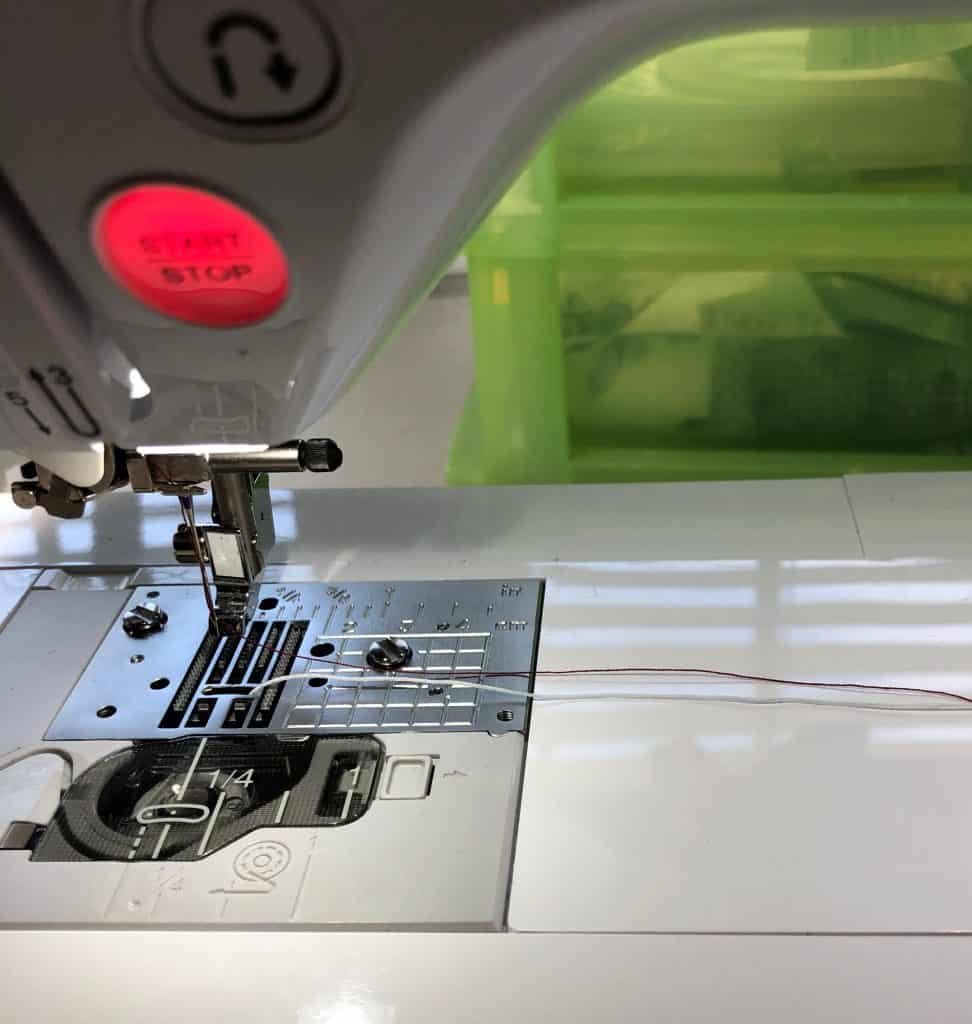
3. Insert your bobbin into your machine and hold your finger onto the top of the bobbin. Pull the elastic thread with some tension through the guide but do NOT cut off the tail, leaving about 4-5 inches.
4. Using the handwheel, pull the elastic bobbin thread up through the needle hole in the stitch plate. This may take a couple of tries and I have found that holding onto your top thread helps to pull up the elastic thread. Use your tweezers to pull it through. Pull both threads to the right of your presser foot. HINT: I remove my presser foot to give me more clearance to pull the elastic thread through the plate.
Shirring Video
Here is a quick video showing exactly how to thread the elastic and sew the shirring onto your project!
Some Shirring Tips
Before you begin to shirr on your final garment, test your stitches on a scrap of your fashion fabric. Every sewing machine and fabric is different, and you’ll need to test some different stitch lengths to see which one gives you the best shirring stitch. For my machine, the Babylock Brilliant, the ideal stitch length for shirring was 3.0.
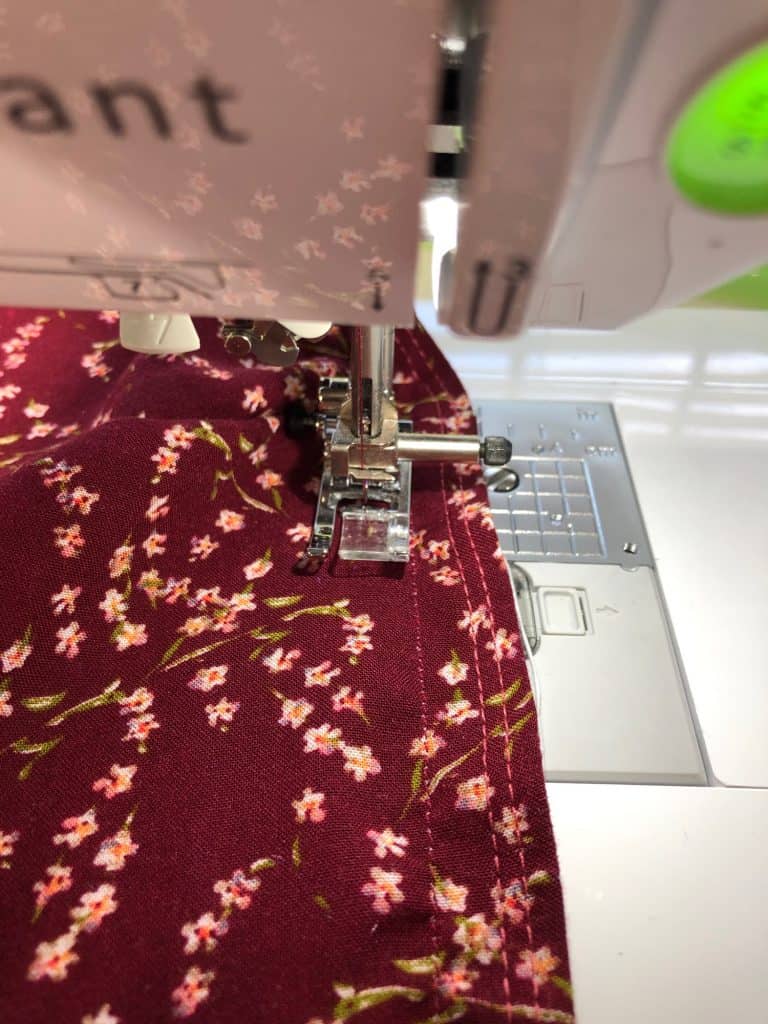
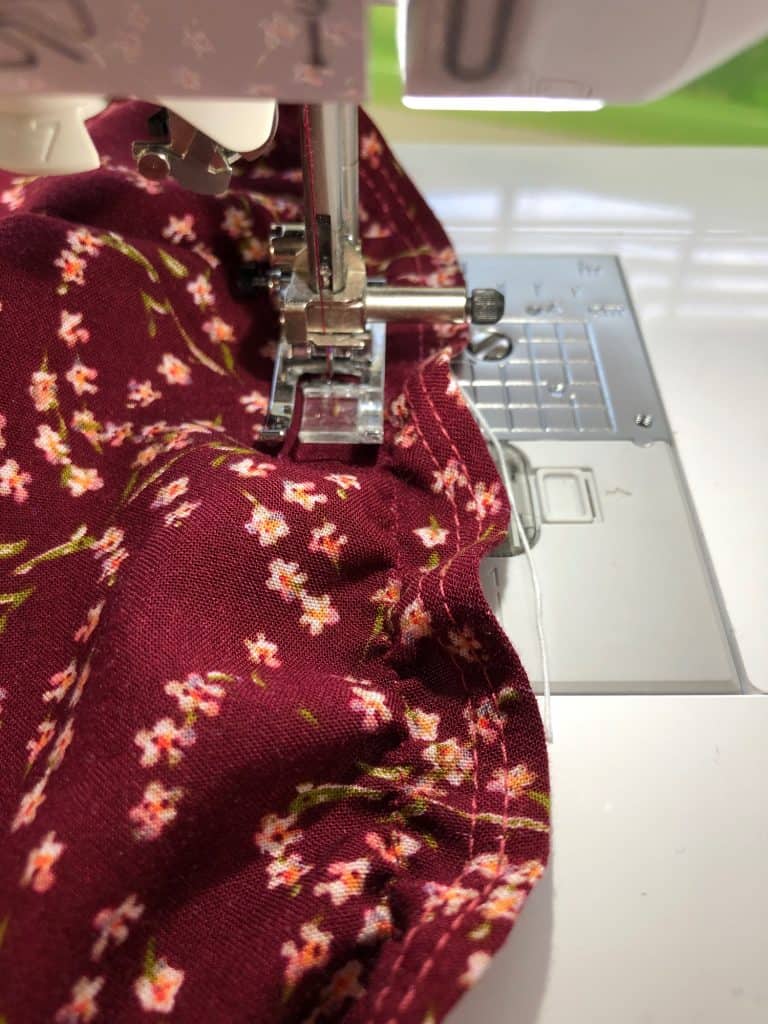
Let’s Sew on the Shirring
Using the 3.0 stitch length, begin on the back bodice about one inch from the seam and align the side of the presser foot along the top thread of the narrow hem, using this a guide. Take your time and go slowly as the elastic thread will tangle or snap if you go too fast. As you begin to stitch, you will notice the fabric will begin to shirr. It is important to gently straighten the fabric in front of the presser foot so it feeds flat and smoothly. As you continue around your fabric and get around to the beginning, slide your fabric over so the edge of the presser foot is now guiding along the first row of stitching you just created.
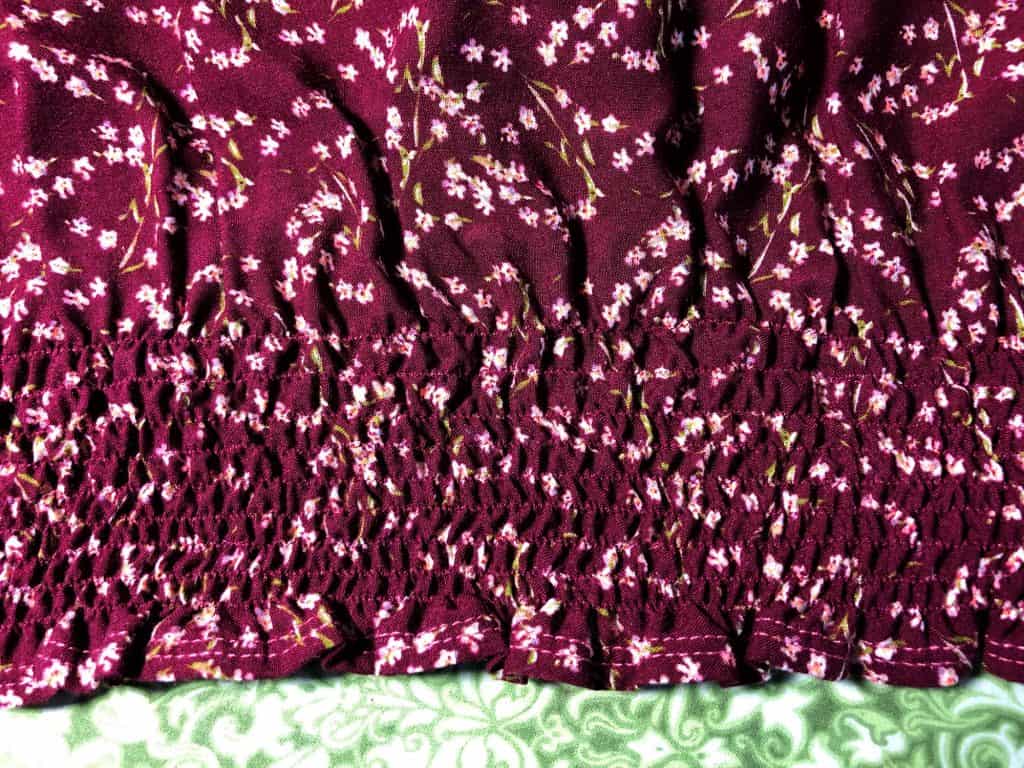
Keep your eye on your bobbin thread and when it gets low, stop and back stitch but do not use your machine’s auto cutter feature. Pull out both threads a few inches before cutting them. Reload a new bobbin the same way you originally did, remembering to keep that long tail and to pull up your thread through the stitch plate. Now continue your shirring, locking in your stitches at the beginning and overlapping your stitches about a half-inch over where you ended your previous row and continue around doing as many rows as you’d like to achieve the effect you are looking for. The more rows you do, the more shirring you’ll get. You will want a minimum of 3 rows for the best look. I did 8 rows at the hem. When you are done, back stich and pull out both threads a few inches before you cut them.
To finish your shirring, tie off any thread on the underside especially where you began and where you started a new bobbin. Tease any matching threads that are on the right side to the back and tie off with the elastic thread then trim.
Now you are ready for the finishing touch!
Set your steam iron to the highest setting and, hovering your iron just above the fabric, give a few blasts of steam to the shirring. You will see the fabric shrinking up even more. You will still be able to fully extend the fabric to put it on easily.
Look at this cute effect!

Another fun look is to shirr the wrist of a sleeve. I used the Bishop Sleeve option on the Rhapsody but shirred the wrist instead of using elastic.
One change I made to the sleeve pattern was to taper the wrist a bit. The elastic thread will not get quite as tight as encased elastic and I wanted the wrist to fit the same way, so I tapered the sleeve just a couple of inches above the wrist and down to the sleeve hem. I still get the full Bishop Sleeve style!
Next I did a narrow hem at the sleeve the same way as I did on the blouse hem. I wanted a small ruffle at the sleeve hem, so I began my shirring one inch from the narrow hem. I did 4 rows of shirring at the wrist before I attached the sleeve to the blouse. If you have a free arm on your machine, that will make it a bit easier to do the shirring on the sleeve.
Here is the finished look!

For this blouse I chose to use the alternate method included in the pattern tutorial of turning under and coverstitching to finish the neckline. There is so much going on with the busy print and the details of the shirring that I opted for a simpler neckline finish. It’s great to have choices!
I’ve styled my shirred Rhapsody blouse with the Ravinia Skirt! I love how the shirred hem shows off the cute pocket detail!

Waist Shirring on Rhapsody
Now let’s do some shirring at the waist of the Rhapsody Dress!
The updated Rhapsody pattern includes a dress version with an encased elastic waist. Instead of the waist elastic I used the shirring technique to create the waist detail.
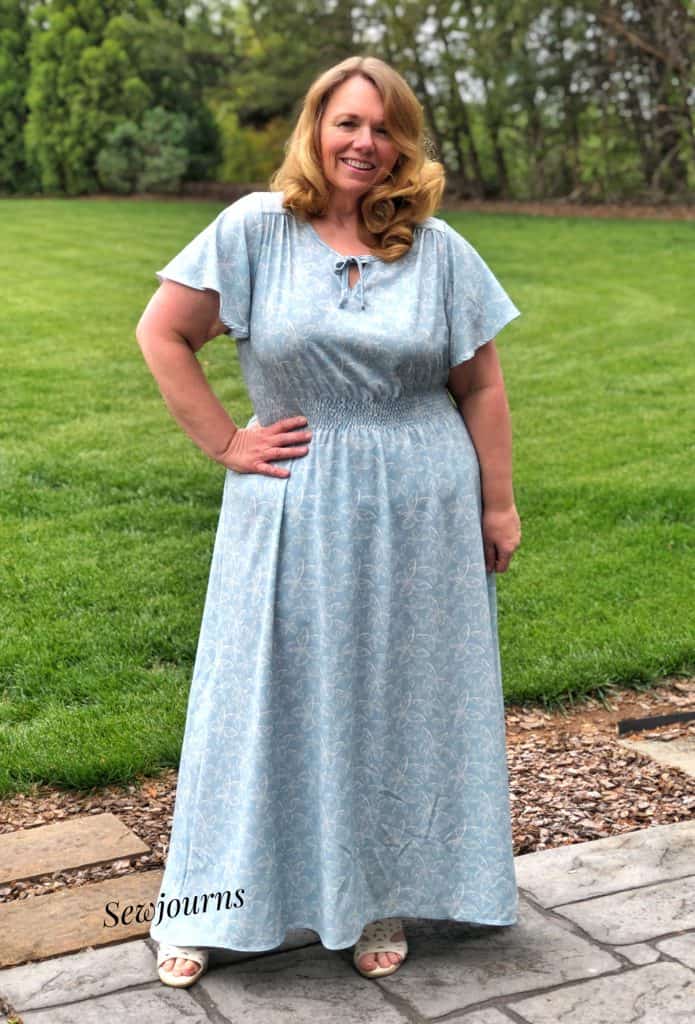
First I needed to create one pattern piece from the separate bodice and skirt. The style of the Rhapsody dress includes a little bit of a blousy effect. For the dress I had in mind, I wanted a closer fit at the natural waist, so removed ½ inch of length from the bodice. Then I overlapped the skirt and bodice piece eliminating the ½-inch seam allowance. I also decided to lengthen the pattern by 10 inches to create a maxi dress.
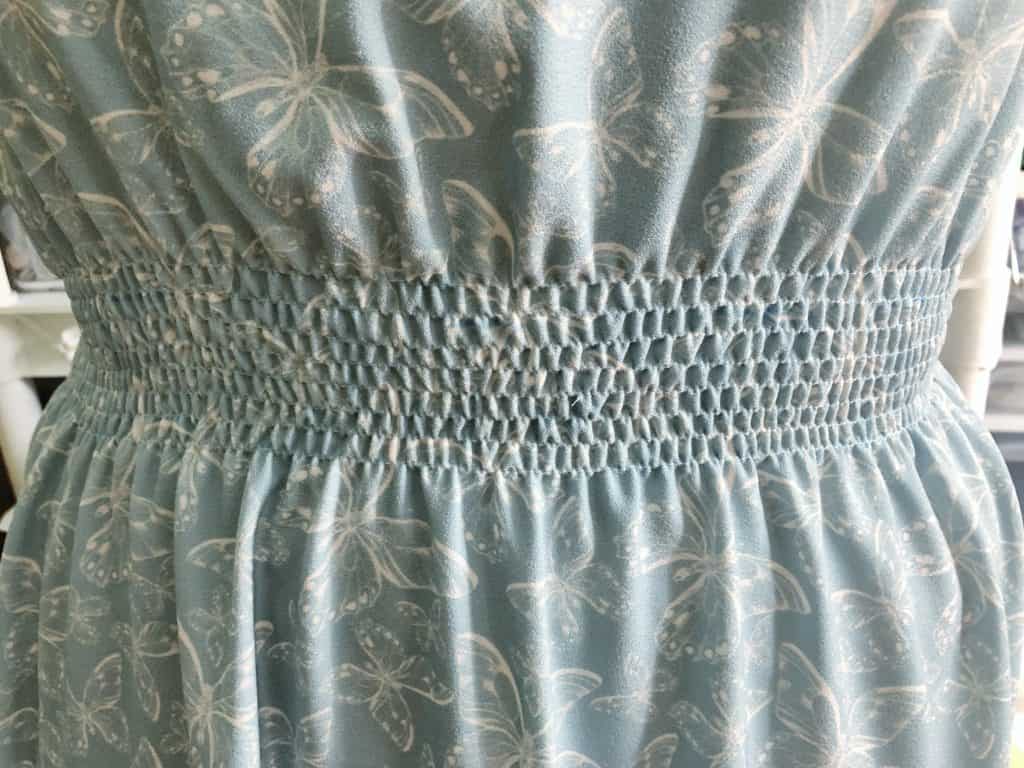
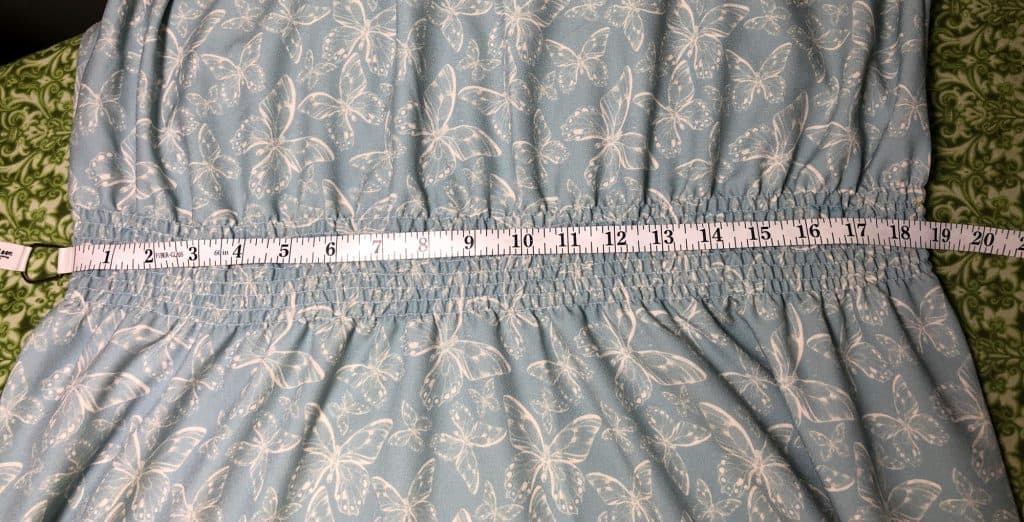
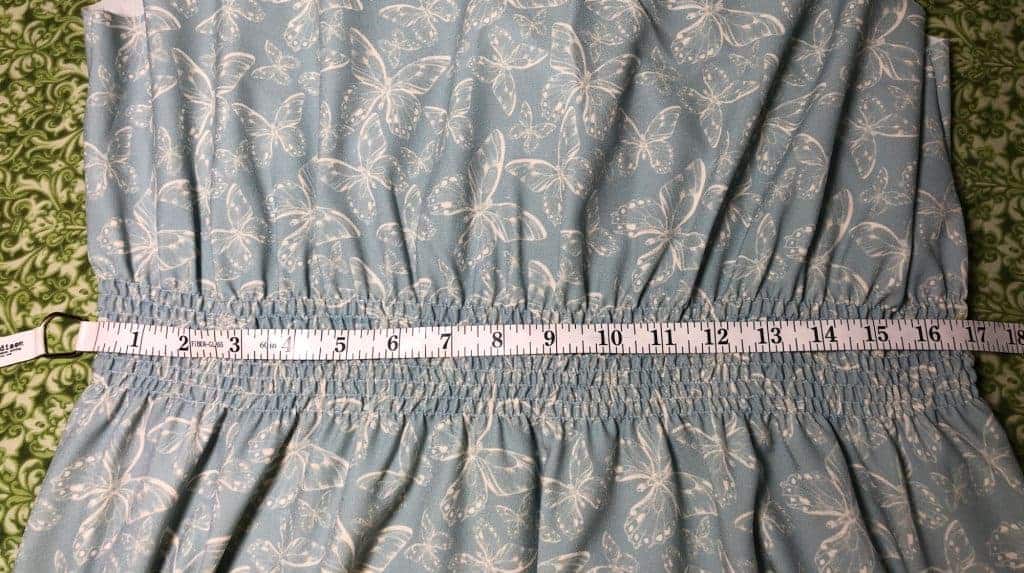
After sewing the pattern up to and including the side seams, it was time to shirr the waist! I marked the dress with a washable marker, starting 6 inches down from the armscye seam across to the other side and around the back. This marked my first line of shirring. I then continued shirring in the round just as we did for the top and wrist above until I got as many rows as I wanted. Finally, I hit the shirring with a few blasts of powerful steam on the front and back to get the shirring as tight as it would go! See below:
I started with a measurement of 18.5 inches across and after steaming it shrunk to 17!
I finished the neckline with matching bias tape and added flutter sleeves!
Now that you have learned how to shirr you are ready to use your creativity on so many Love Notions patterns, including the Rhapsody!
Save this on your pinterest board! Plus be sure to follow the Love Notions Rhapsody Inspo board for even more ideas for your Rhapsody Dress or Blouse.
Start Shopping
[carousel_slide id=’394323′]

