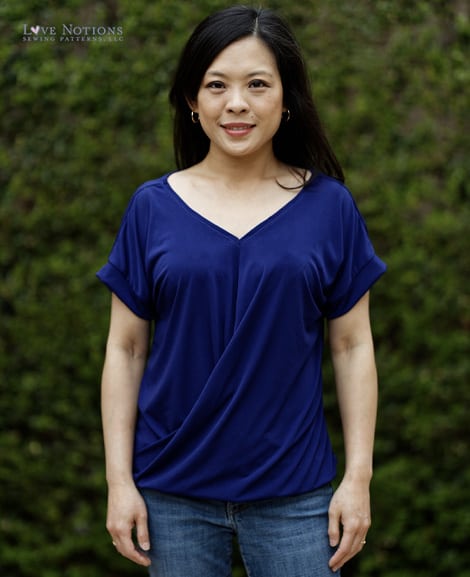
Lotus Blossom Sew Along: Day One
Our April Sew Along is the Lotus Blossom! Such a fun pattern that is perfect for spring, the Lotus Blossom features a fun twist in the front that can be a bit of a puzzle. But don’t worry, we will be tacking that twist in the Lotus Blossom Sew Along, also with talking about fabric selections, tips for each step of assembly and even a couple of hacks that will take your pattern farther than you though!
Today we will focus on assembly our pattern, making personal fit adjustments, selecting our fabric and cutting out the fabric.
Always start by taking your measurements before every sew. Even as adults, we can fluctuate in our measurements and if you boarder between sizes on patterns like I do, taking your measurements before each sews helps ensure a well fitting garment. Determine what size you need by using your upper bust measurement.
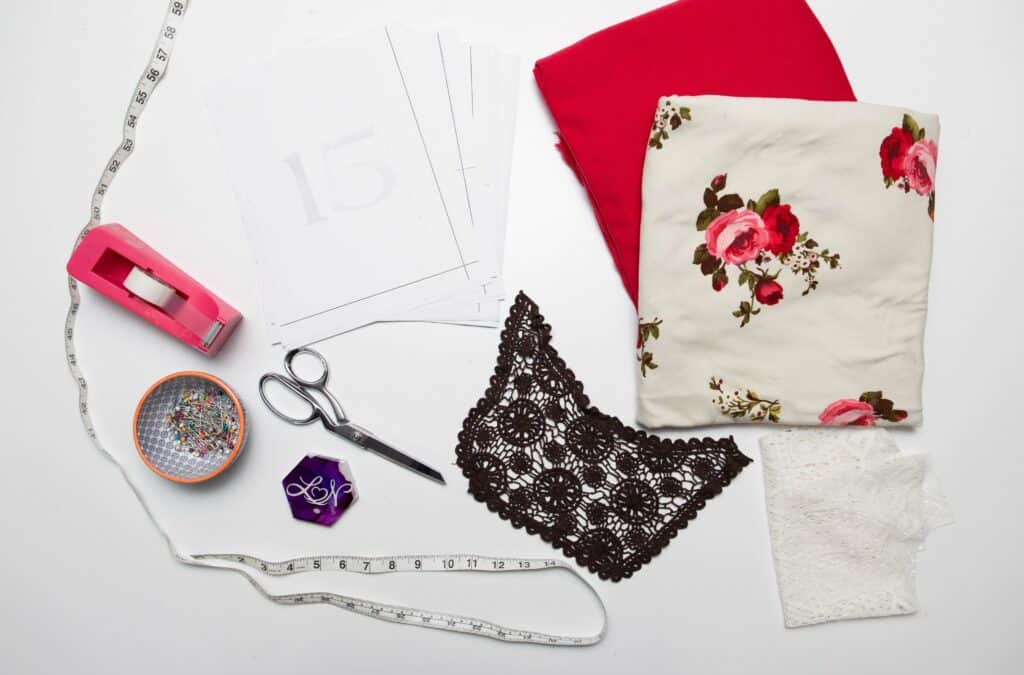
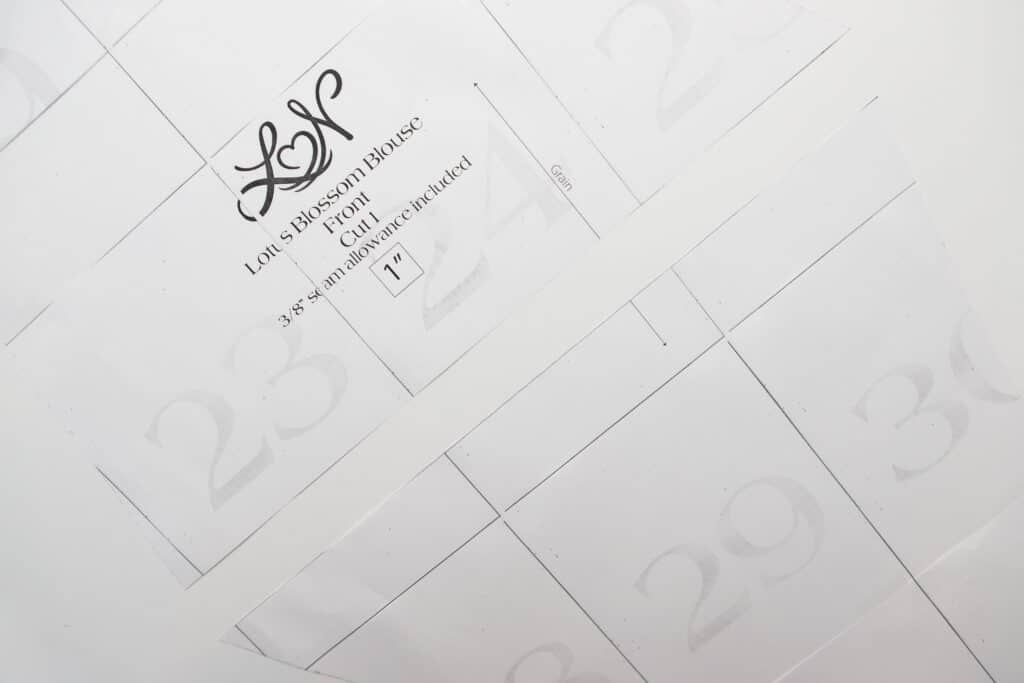
Print your pattern in the needed size(s) and assemble. If you need help assembling your pattern, this blog post is very helpful.
For your fabric, you will want a light to mid weight knit fabric with good drape. I am using double brushed poly from our sponsor Boho Fabrics in this tutorial. The pattern is called Raining Roses and can be found here. Other great options are sweater knits, modal, rayon spandex, and as you will see later this week, even athletic brushed poly. You can use cotton lycra, but opt for lighter weight like a 9oz or 10oz. A heavier cotton lycra, like a 12oz, is usable, but it doesn’t offer great drape and you may find that your twist billows out a bit and the bottom hem is a little bulky.
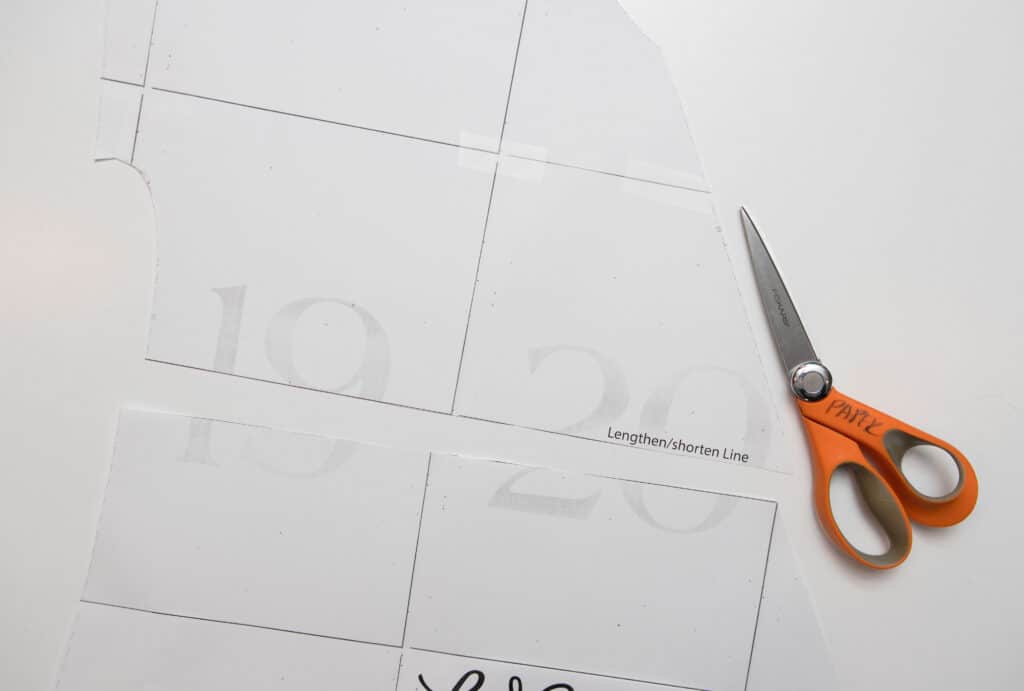
When making personal fit adjustments, you always adjust your length before making any other changes. The Lotus Blossom has a shorten/lengthen line that you can use to do that. Just cut on that line (make sure you cut BOTH ends of the front piece and the back piece as well!) and either pull the pieces apart to lengthen, or overlap them to shorten. If lengthening, slide a piece of paper behind the pattern and tape it in place. I have to shorten the pattern 1″. I’m 5’2″ and carry what height I do have in my legs, making my torso shorter than the pattern. Where you carry your height is very personal, so don’t assume that just because you are also 5’2″ that you need to shorten as well. You may very well carry your height in your torso and in fact, you could even have to add length and have a very short inseam in return. It’s important to measure!
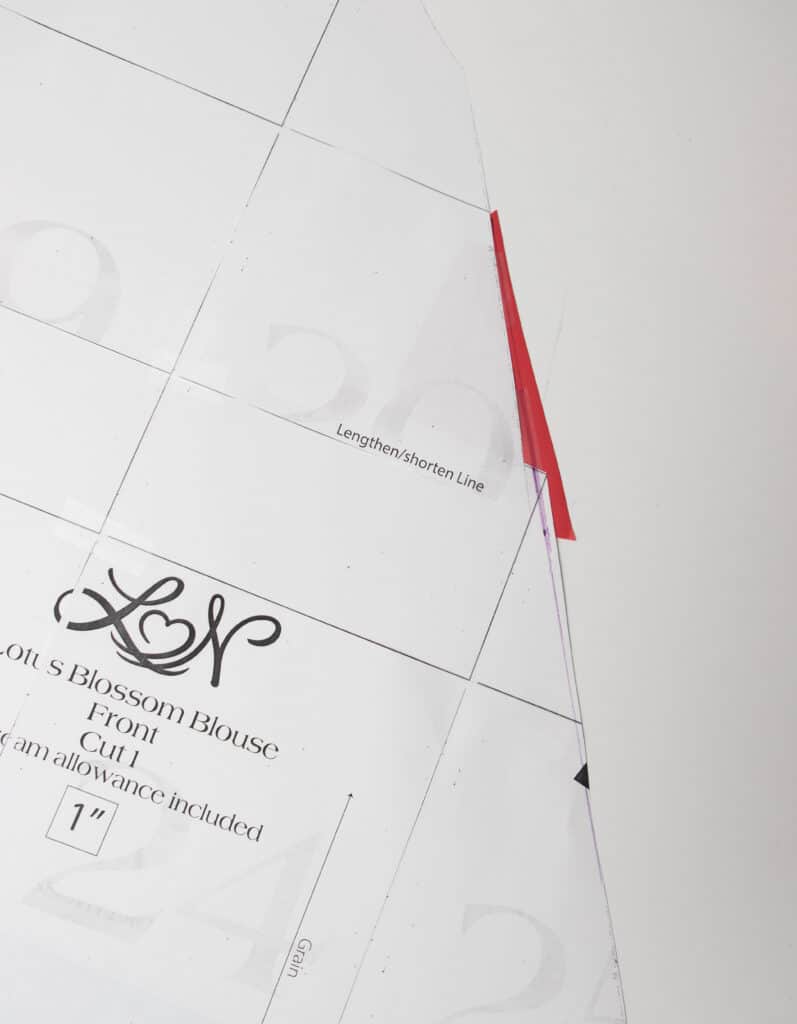
Next you have to blend the front edge. To do this, use a ruler and line up the ruler with the ends of the seam. Then draw a new line blending the jagged overlap. You can see below that I had to add a bit of paper (in red) to blend the edge. The purple line is my new cut line.
To blend sizes, you will use the same technique of taking a ruler and drawing a long smooth line to connect the sizes. There is a fair amount of ease in the waist of the Lotus Blossom though. If you are only one size difference between upper bust and waist/hips like I am (medium upper bust, large waist and hips), I don’t feel blending sizes is needed. That same thought holds true for a full bust adjustment. It’s really not needed for this pattern because of the ease and room created by the twist. If you have a large difference between upper bust and full bust (6″ or more), I recommend that you blend sizes along the center seam to added the ease you will need.
Cutting your fabric
Cutting your fabric out is pretty straight forward if you have a fabric that is the same on the right and wrong side. There are some adjustments needed if you are using a fabric that is printed on one side, or is a sweater knit that has a different texture (knit/purl) on each side. In that case, you will need to cut the front piece in half right in the middle like below.
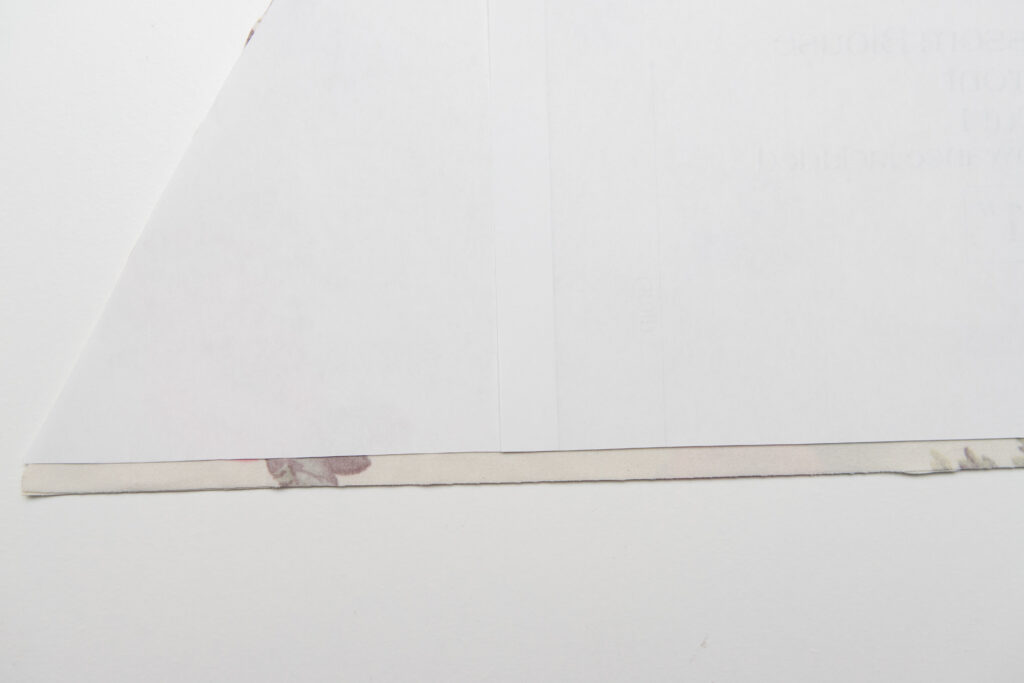
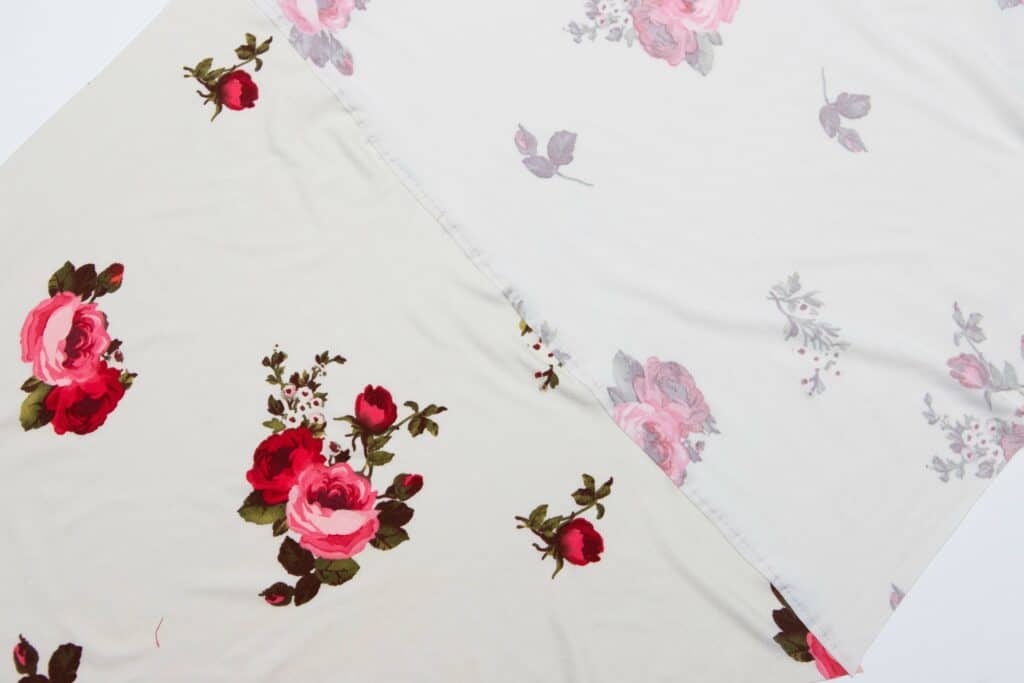
Fold your fabric in half and place the pattern piece on top cutting both front pieces at the same time. Be sure to add your seam allowance at the bottom! (You can see it below.) We will be sewing these two pieces together to create the front piece.
When sewing the two front pieces together, make sure you have the pieces facing the right directions. Follow the directions on page 5 closely! Overlap the bottoms 3/8″ and sew them together. I did use a longer straight stitch for this. You can use a zig zag stitch if you are more comfortable with some sort of stretch stitch for this step.
Cutting the back
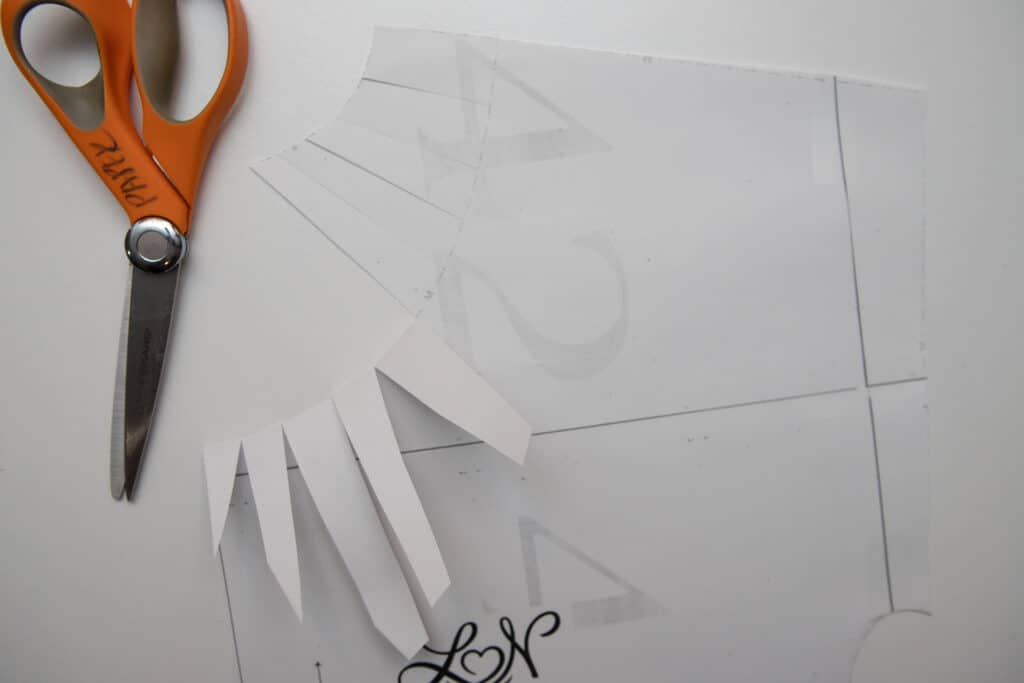
If you are not including the lace insert, you don’t have to do anything fancy here. Just cut out your back along the upper neckline option with the pattern piece on the fold. If you are including a lace insert, but you want to preserve the full back option, you can cut perpendicular into the pattern to the lace insert line in multiple places. Then fold the pieces back to the line. That way, when you want to cut a full back next time, you can just unfold those pieces and the pattern is good to go! This also saves the step of saving, and keeping track, of that extra piece if you would have cut it out.
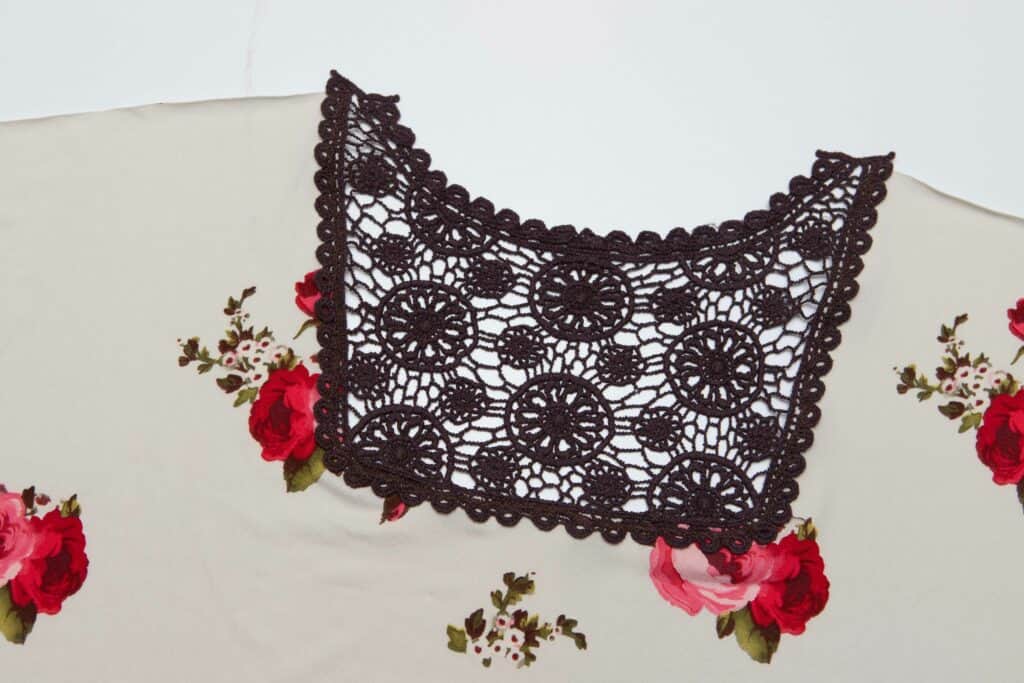
If you are using a fancy applique piece like those Boho Fabric carries, cut your back on the full back neckline. Tomorrow, I am going to show you how to use an applique insert instead of cutting a lace from the pattern piece.
That’s all we have for today! Come back tomorrow for assembling the lace insert.
It’s more fun to sew with friends! Join us in our Facebook Support Group and share pictures of your progress, ask questions, and cheer on others as we all sew the Lotus Blossom together!
If you are just joining us, you can still catch up!
Day One: Printing, fabric, cutting
Day Two: Lace inset or applique
Day Three: Hemming and preparing the neckline