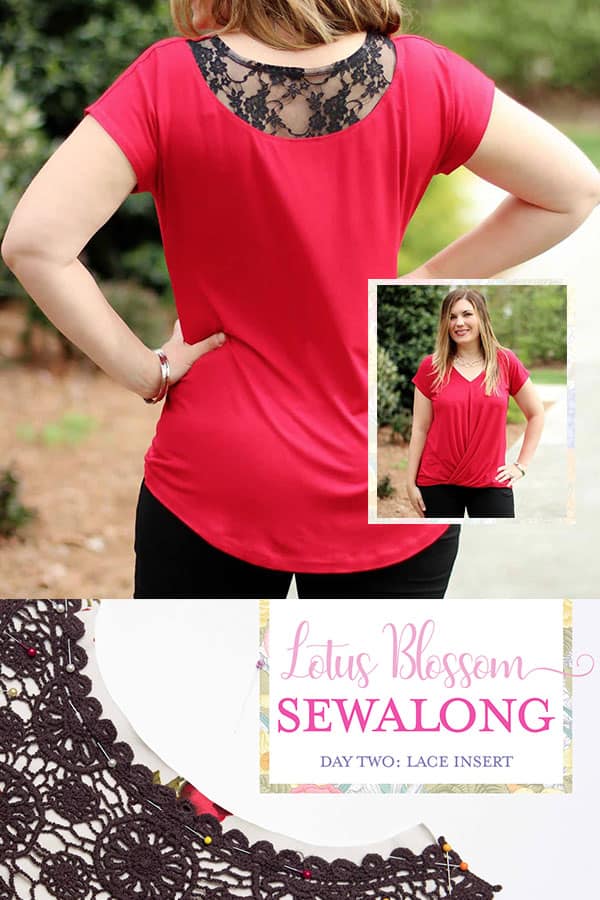
Lotus Blossom Sew Along: Day Two
Today is day two of the Lotus Blossom Sew Along. This is the day we focus on the lace insert. If you are omitting the lace, you get a free day! The lace accent in the back is a pretty detail that is simple to do. The hardest part is deciding on the lace! But what if you have a cute applique piece that you would like to use instead? And it doesn’t fit the shape of the pattern piece? No problem!
If you have a lace scrap, or an accent piece of fabric to use for the inset, the directions in the pattern are great! Just follow along. Make sure you clip the center of the inset to the shirt with the right sides together, then match the ends and work your way towards the center pinning as you go.
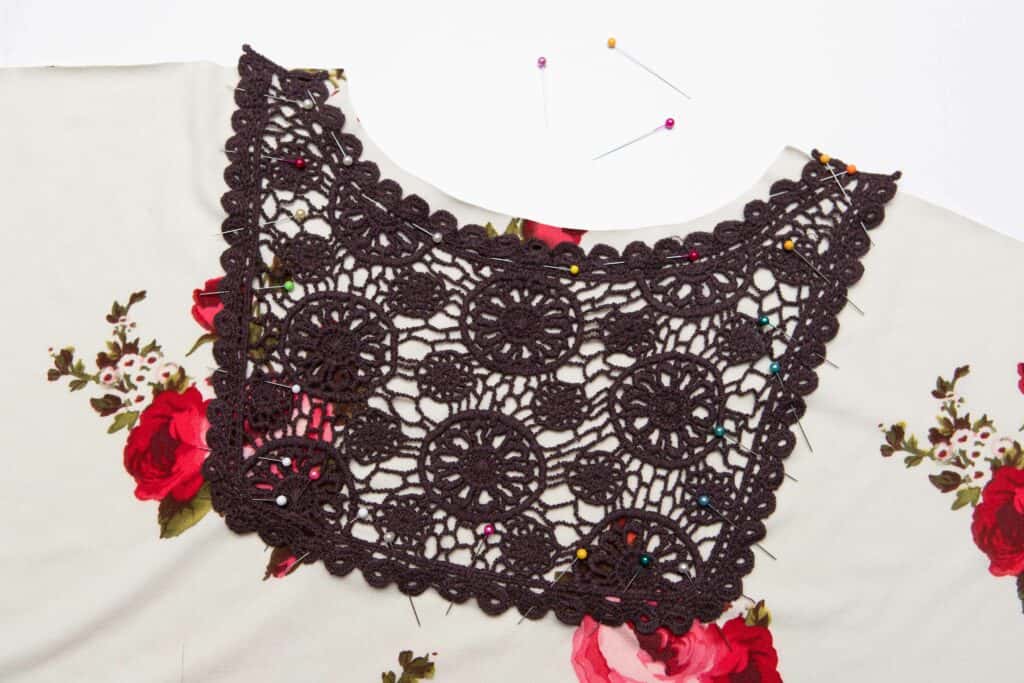
What if you have a lace applique piece like the ones offered at Boho Fabrics? It’s still super easy to sew! Yesterday I had you cut the full back piece for using a lace applique. Iron your applique (use appropriate heat and a pressing cloth!) and then place on the back of your shirt matching the centers and the wrong side of the applique on the right side of the shirt back. Pin in place. Don’t be afraid to use too many pins. You don’t want this shifting around on you! Line up the shoulder seams. Don’t worry that the necklines don’t match.
Use a zig zag stitch with thread that matches your applique and sew in place. The thread will blend in and hardly be noticeable. Stitch along a wide part of the design. I stitched on the inside of the scallops.

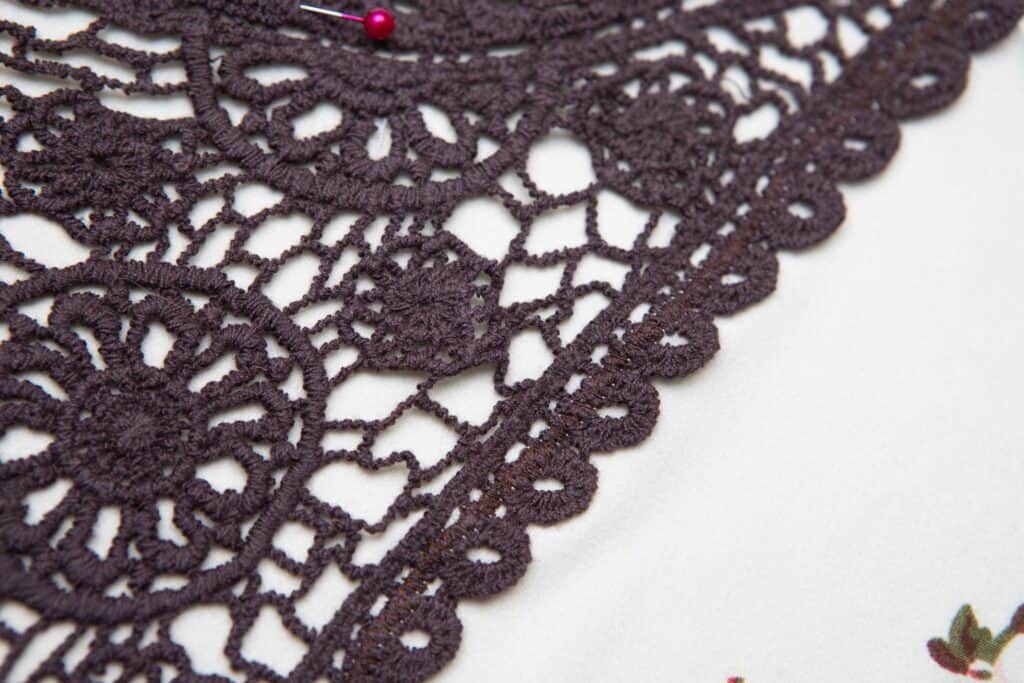
You have to look REALLY closely to see the threads. They are on the left side of the circles that form the scallop edge.
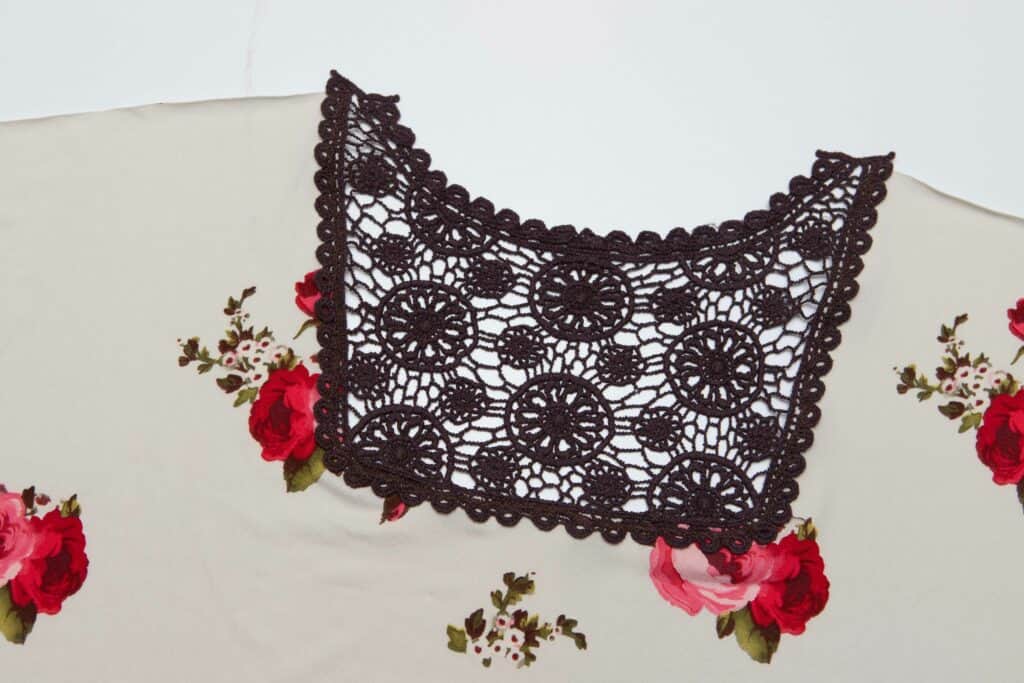
Now it’s time to remove the fabric from behind the applique. Turn the shirt back over and insert your scissors carefully and trim along the inside edge of the stitching.

Take your time!! You don’t want to cut your lace!! After you remove all the fabric, you will have just the lace applique remaining. Isn’t it cute!! After a quick press (again, use a pressing cloth!) your back inset is done!
Tomorrow we will be hemming the back and pressing the neckline. I have tips for getting a gorgeous hem for you also!
It’s more fun to sew with friends! Join us in our Facebook Support Group and share pictures of your progress, ask questions, and cheer on others as we all sew the Lotus Blossom together!
If you are just joining us, you can still catch up!
Day One: Printing, fabric, cutting
Day Two: Lace inset or applique
Day Three: Hemming and preparing the neckline