Happy Friday Love Notions Sewing Friends, Mary Anne here from the SewMaryMac sewing blog! I’m always happy to be on the Love Notions Blog, and today it’s all about the Oakley and Acorn Vests~ which are today’s $5 Feature Friday patterns!
I know traditionally a lot of us think of vests as part of our Fall and Winter wardrobes. I know that I wore my fleece and sweater knit Oakley vests constantly. But when I began to plan my Spring wardrobe, I realized that I really wanted a new Oakley vest to be part of it.

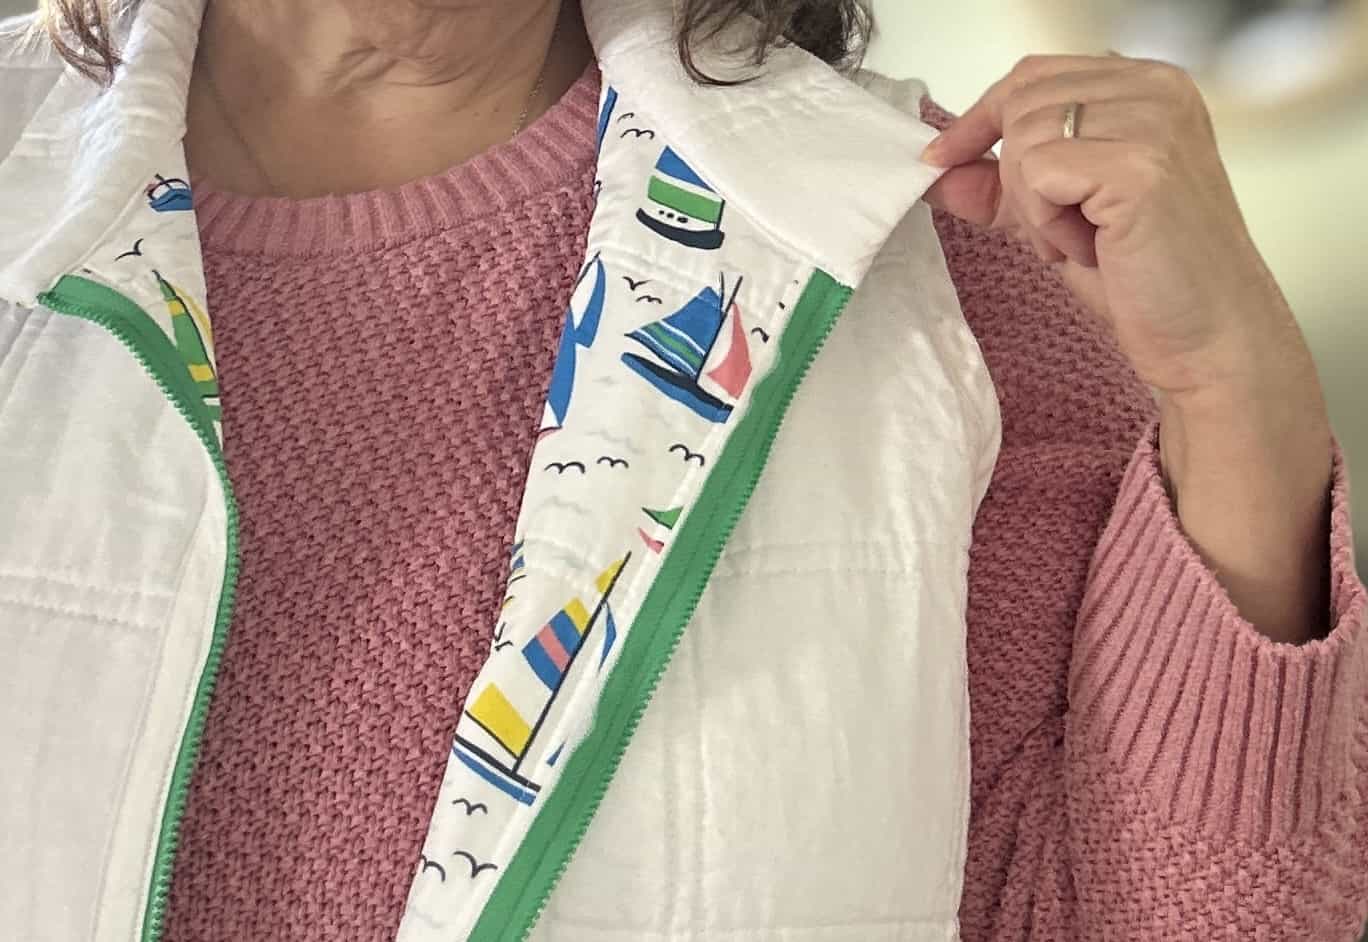
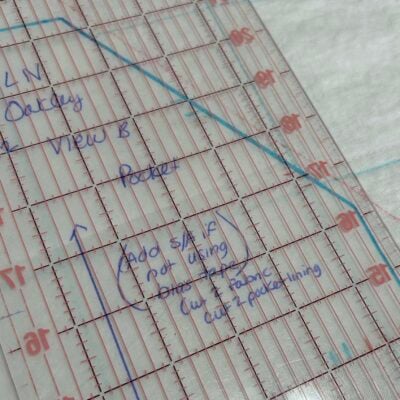
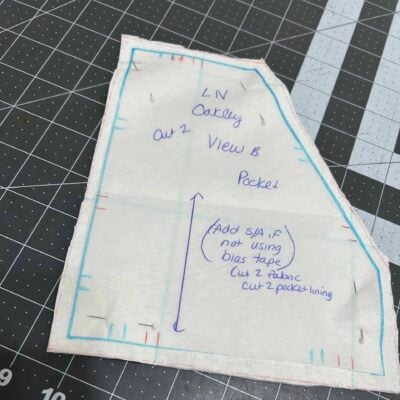
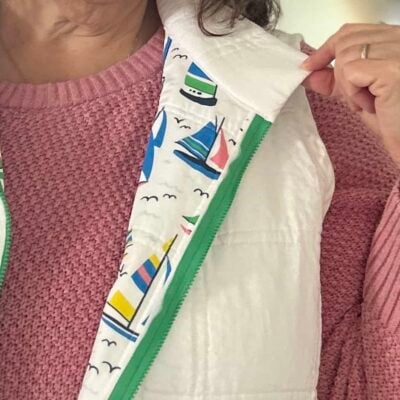
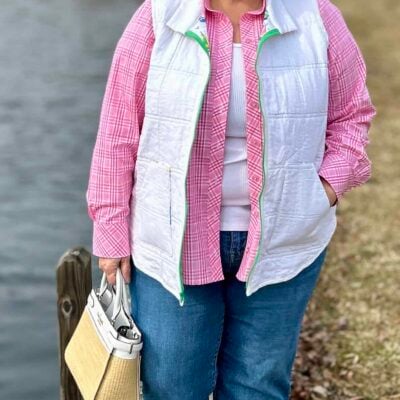
Today, I’m sharing with you a few very simple mods that you can make to your Oakley vest to make it a bit more classic and not quite as “sporty”. Shall we say, perfect for a “Coastal and Classic” wardrobe. First, we will omit the bias tape finishing around the pockets and create a fully lined pocket. Then, we will create a simple classic collar that encloses the end of the zipper. These changes are pretty easy to do, it just takes a few modifications to your pattern pieces BEFORE you cut out your fabric.
WHAT YOU NEED:
- Oakley(or Acorn) vest pattern~ I used view B with the patch pockets
- Zipper~ since the zipper is enclosed in the collar you can use a shorter zipper than indicated in the tutorial. I was able to use a 22” zipper for an XL.
- Fabric~ for the main body of your vest
- Bias tape~ prepackaged or handmade
- Fabric~ for your pocket lining (and undercollar if you wish)
If you follow my sewing makes, either on the Love Notions Facebook page (Mary Anne MacLean) or my Instagram account (@sewmarymac), you may already know that I love creating a “Coastal Preppy” wardrobe inspired by the clothes I see in the cute boutiques throughout the New England Coast. Extra layers are always a welcome addition in the evenings, whether dining outdoors or spending time out on the water.
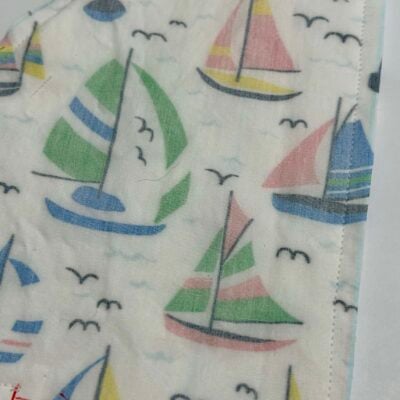
For my newest version of the Oakley Vest, I decided I wanted a white quilted linen fabric. What says Spring or Summer more than linen? However, was I able to find any white linen quilted fabric? Nope! So, I did what I had to do, and made my own. I used Robert Kaufman’s Brussels Washer Linen which is a blend of linen and rayon. I used a custom printed cotton poplin for the lining. This was an entirely new experience for me~ I am NOT a quilter! If you want to learn more about this new adventure I embarked on, be sure to visit my Sew Mary Mac blog to read all about it! You can find the link at the end of this post.
STEP ONE: Adjust pattern pieces
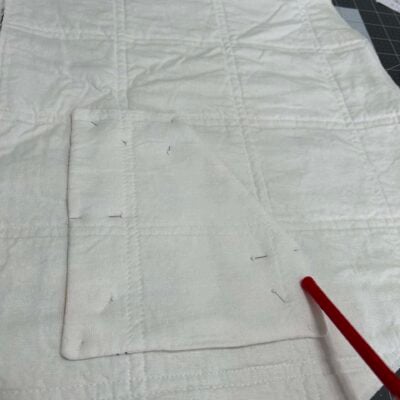
STEP TWO: Make the pockets
- Cut 2 mirror image pockets in your main fabric
- Cut 2 mirror image pockets in your pocket lining fabric. (I always like to choose something fun!)
- Pin one main pocket and one pocket lining right sides together.
- Sew with a ¼” seam on all sides, leaving a small opening along the bottom (so you can turn the pockets right side out)
- Trim corners and turn right side out.
- Topstitch along the slanted opening edge if desired.
- Press the opening edges to the inside.
- Pin and sew to vest front as directed on the pattern tutorial. (Be sure to double check that they are even.)
STEP THREE: Continue the tutorial
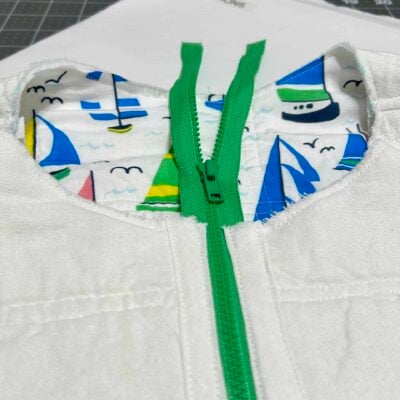
STEP FOUR: Attaching the collar
- Pin just the undercollar to the neckline edge, matching notches.
- The collar front edges should extend ⅜” past the zipper.
- Press the undercollar away from the vest.
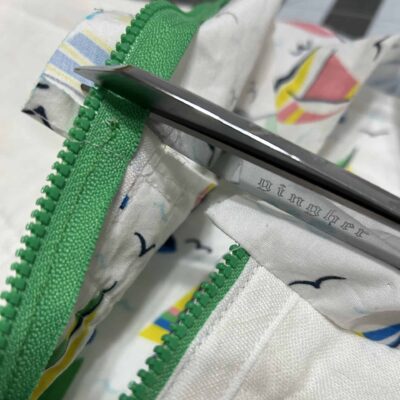
- Trim away excess zipper.
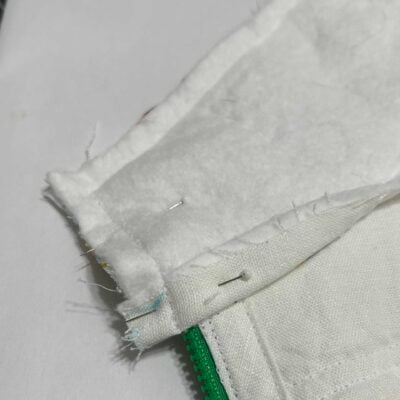
- Press ⅜” under the lower edge of the upper collar(this is the notched side)
- Pin upper collar to the undercollar, right sides together. (Zipper will be encased)
- Stitch ⅜’ seam across the top and down the front edges. You will be sewing across the edge of the zipper and encasing it in between the 2 collar pieces.
- Trim corners and turn right side out.
- Press well
- Topstitch or handstitch lower edge of collar covering the seam.
- Topstitch around the collar if desired. (I did not do this on my new quilted version)
To read more details on how I created my own quilted linen fabric for this Oakley, visit my “Spring Ahead with the Oakley Vest” blog post over at my Sew Mary Mac Blog. You can find that blog post HERE. You will also find all the fabric resource information on this blog post in case you are interested.
For more details on my sizing and additional sewing tips for the Oakley vest, visit my original Oakley Vest blog post at Sew Mary Mac. You can find that post HERE.
If you use Instagram, consider following me @sewmarymac to see all my latest makes. You can also follow/like my Facebook page, Sew Mary Mac.
Happy Spring Sewing!
Mary Anne 🙂

