Resolution Sew Along Day 2
Day 2 of the Resolution Sew Along is here. Today we will be working on our pockets and yokes. The side seam pockets will be the focus today. Later in the week, when we tackle the waistband, we will go into the waistband pocket option of the leggings. If you are just joining us, you can find day one here and read about how to measure to select the correct size and how to do adjustments for the perfect fitting pants. You can also explore some fabric options for the Resolution Bottoms.
If you are new to sewing pockets, this is the post for you!
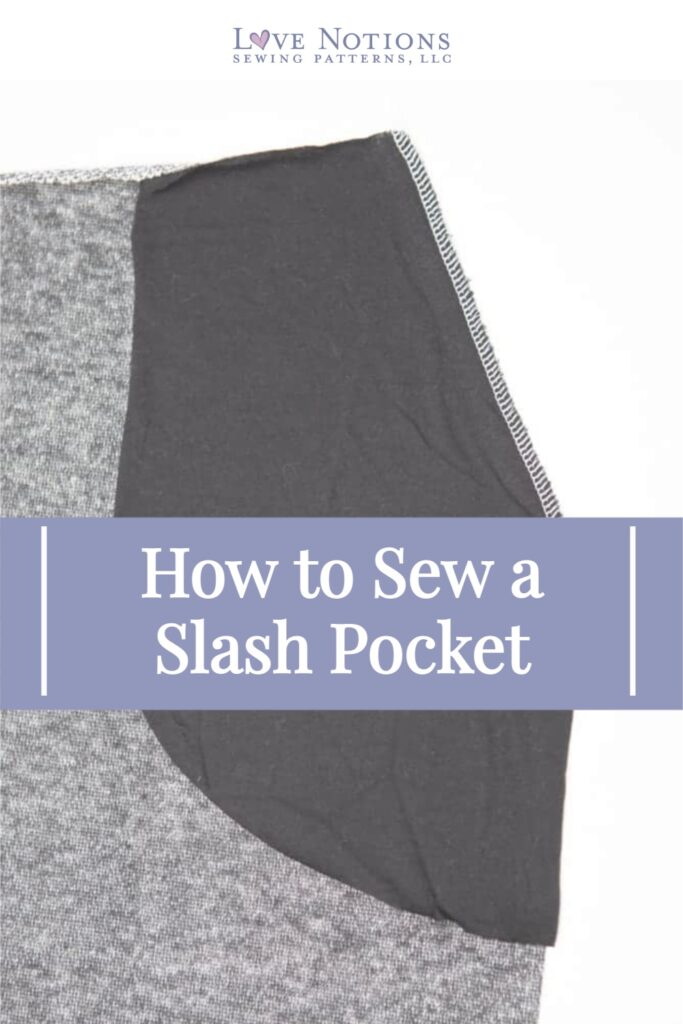
Slash pockets can sound a bit tricky to sew. Fabrics get faced this way and that, and you are flipping pieces around. It’s kinda wild. But, if you take it step by step, you can add slash pockets to all your Resolution yoga pants and joggers!
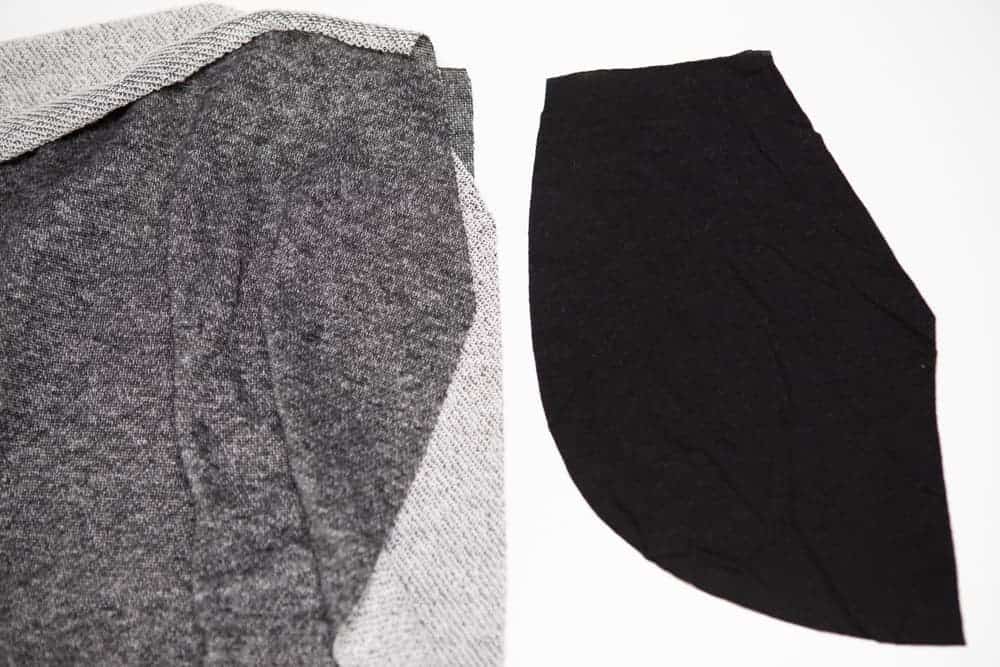
The first step in a great pocket is choosing the right fabric. If you are using a medium or light weight fabric, you can usually use the same fabric for the pocket as you do the main portion of the pants. But, if you are using a bulky fabric, you may consider using a lighter weight fabric for at least the pocket bag. This portion of the pocket isn’t visible unless you look inside the pocket. I am using a thicker french terry for my pants, so I went with a lighter weight cotton jersey for my pocket bag. I used the same french terry for the pocket lining because I wanted a uniform fabric for the pants.
Sewing the pocket.
Place the pocket bag, right sides together with the pants front. Match up the top, slash, and side seams. Sew the pocket bag to the front by sewing the angled portion only.
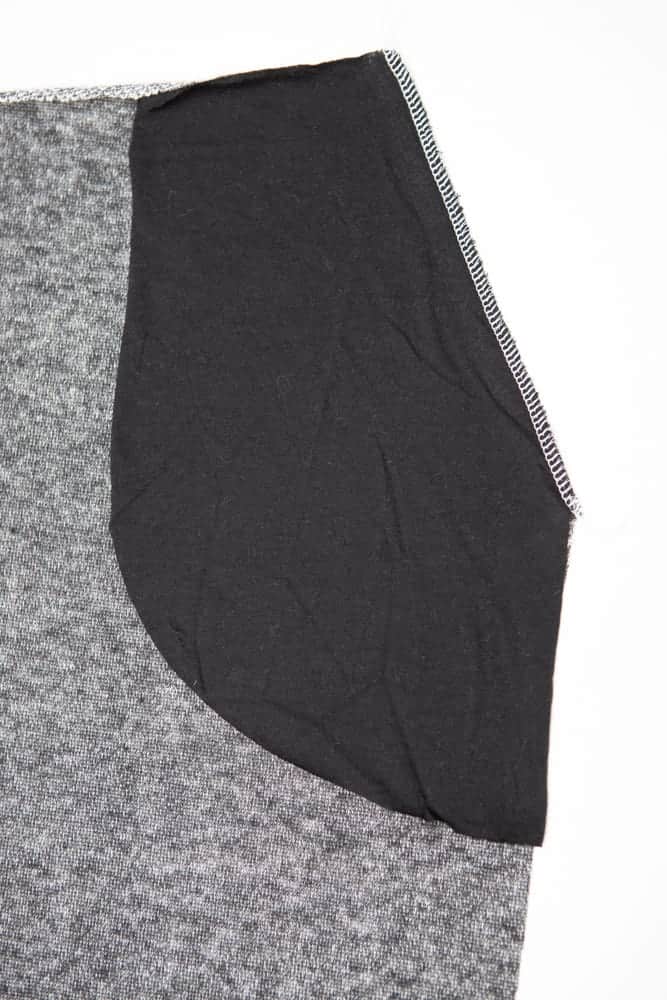
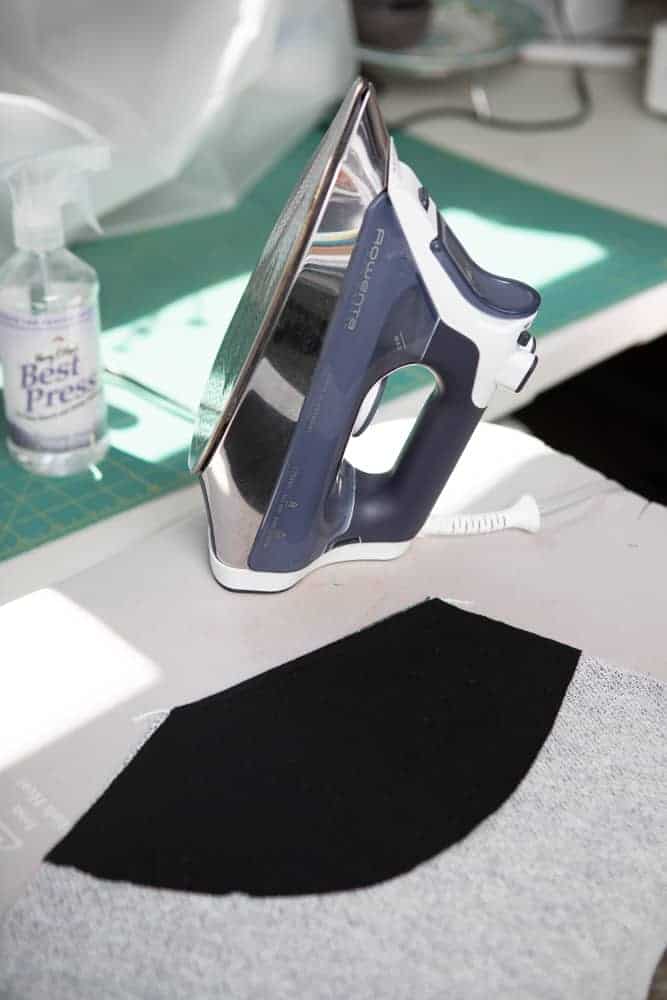
Pressing the pocket well is very important in creating a professional looking garment. I like to press my pocket in two steps. First, I flip the pocket up and away from the pants front. The seam will point towards the pocket bag. Press.
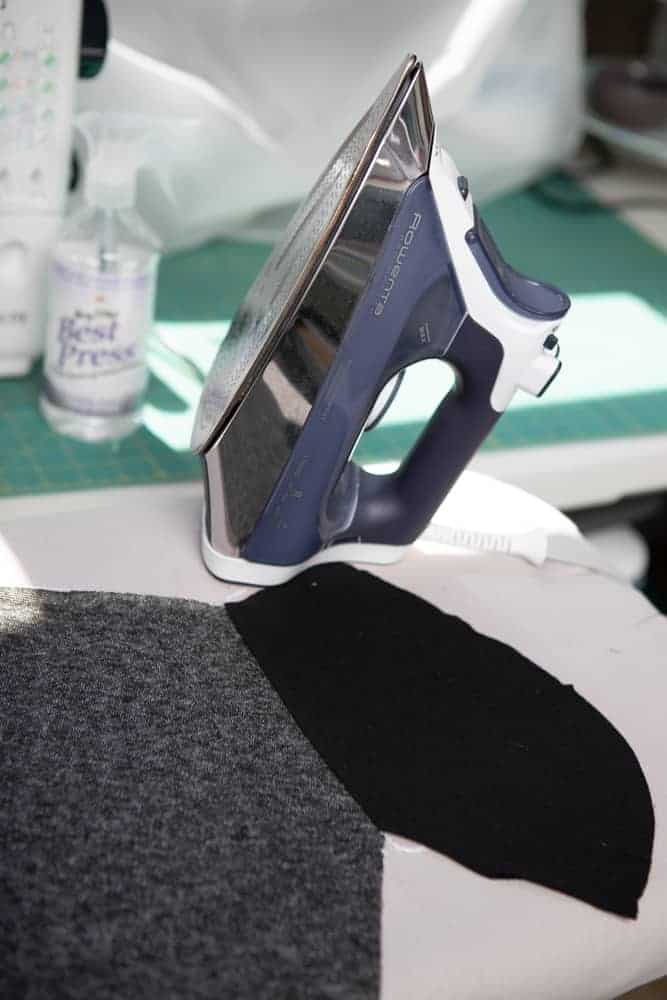
Now, wrap the pocket back to the wrong side of the pants so that the wrong side of the pocket bag is against the wrong side of the pants front. Press well.
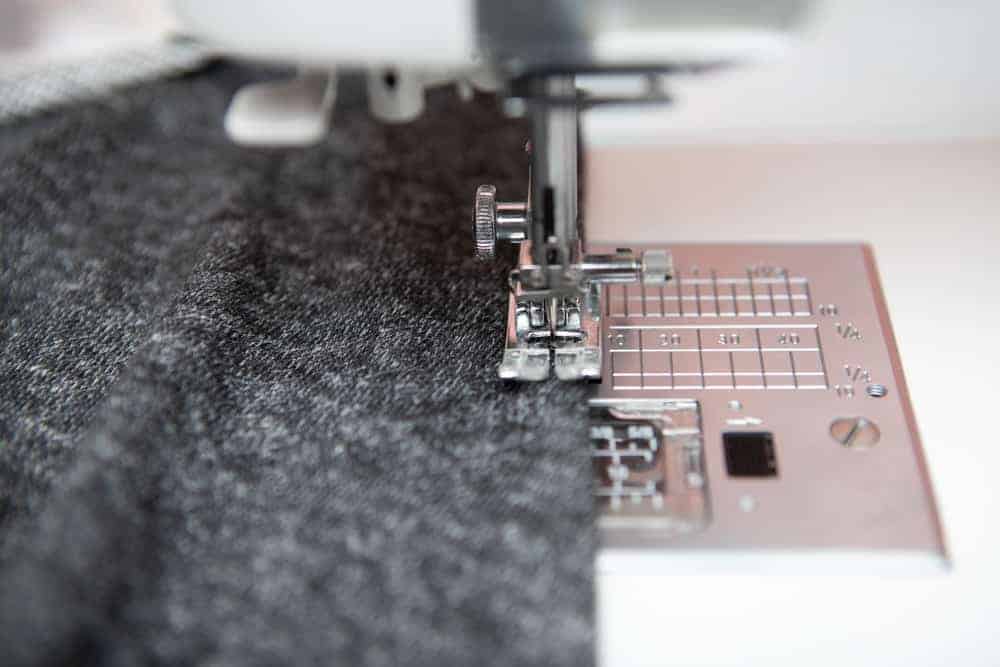
I like topstitching. So, I topstitch the seam we just constructed. This is optional, but I do feel that it helps keep the pocket bag from peeking out of the pocket. I prefer to topstitch about 1/8″ from the edge of the pocket.
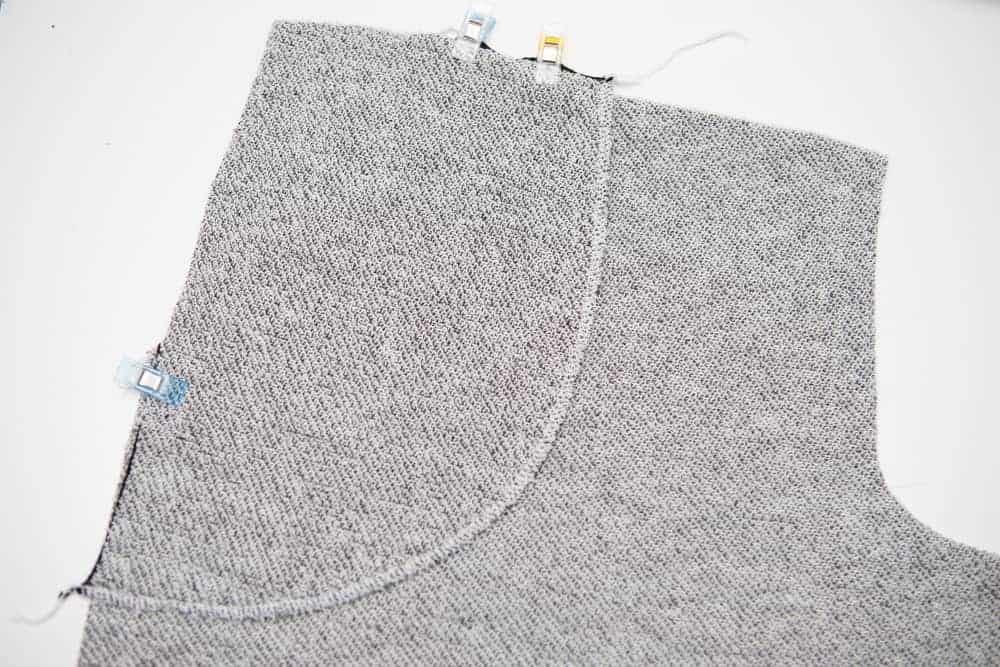
Now it’s time to attach the pocket lining. This is the portion of the pocket that completes the side seam and top of the pants. With your pants front wrong side up, place the pocket lining RIGHT side down. Match up the pocket curves, side seam and top edge. Sew along the curved portion of the pocket only. Then, baste the top and side seam portion of the pocket in place. This keeps the pocket lined up properly when you sew the side seam and attach the waistband.
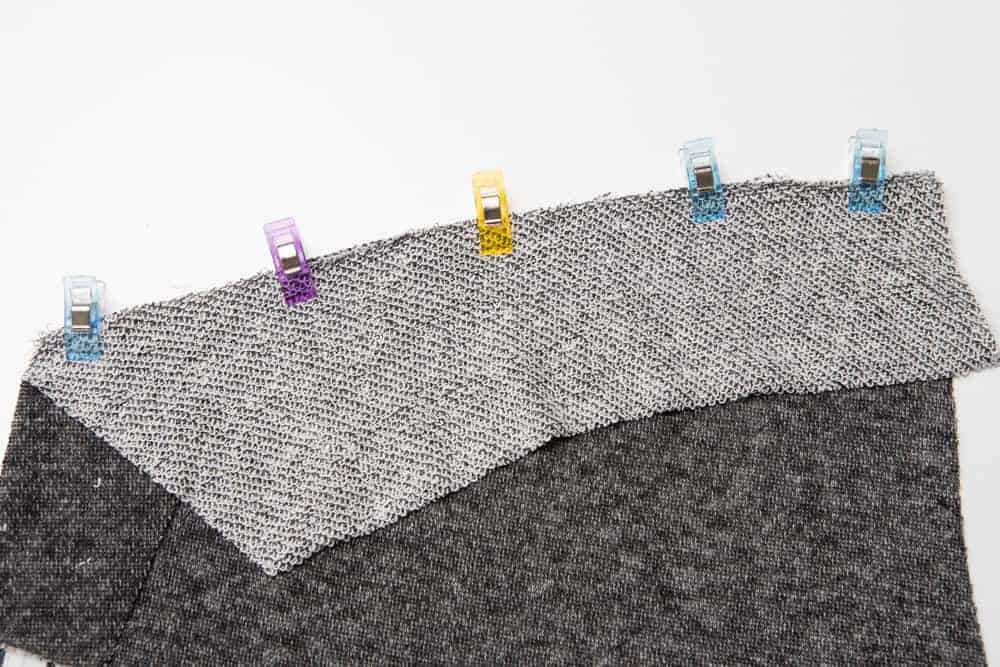
Sewing the Yoke
Make sure you line up the yoke correctly! The side seam of the yoke is noted on the pattern piece. Take care to match up the triangle markings as well. There is a slight curve to the yoke/back seam. Pin the ends together, then pin the center and ease the curve together as you pin the rest of the seam. After you sew this seam, be sure to press it well. Even though we are sewing a knit pattern, pressing is still important!
And that is as far as we are going today!
Pockets and yoke. We can handle that! Tomorrow we will be assembling the body of the pants and going into detail with the moto panel option. I am super excited for that!
Just now joining us? You can find day 1 here.
If you haven’t picked up your copy of the Resolution Bottoms, use the code marchsal for 10% off.