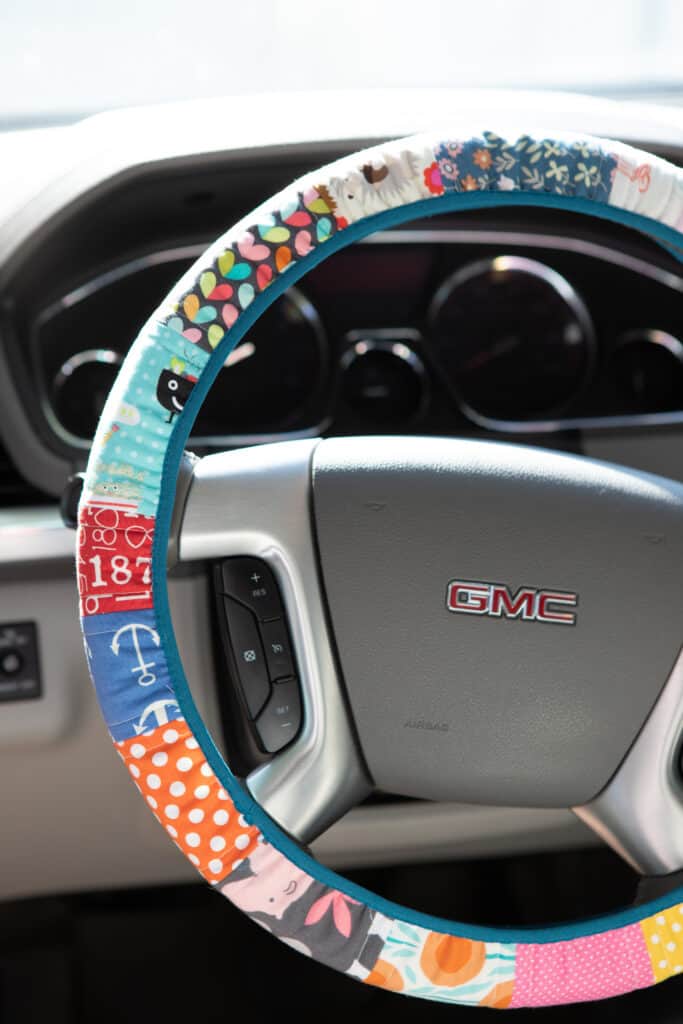
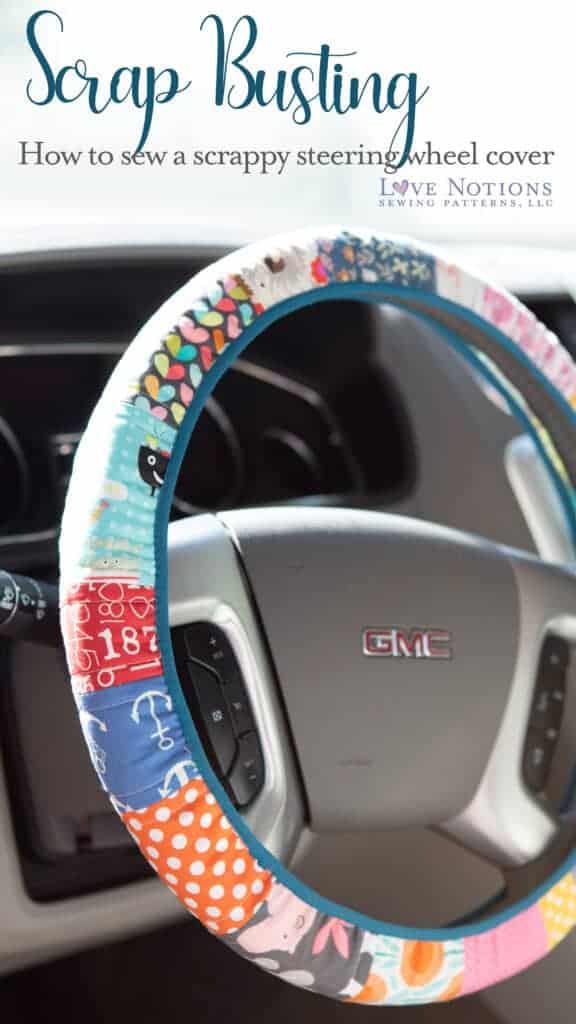
Scrap busting: Sew a quilted steering wheel cover
It’s another scrap busting post!! If you are anything like me, tossing scraps of the fabrics we love is so HARD! I have bins of them in my studio. Well today, we are pulling those scraps out and putting them to some use to make a steering wheel cover! I like to pretend to quilt now and then, so I am using some quilting cotton scraps. This project is perfect for scraps of mid weight wovens from Sonata, Cadence or Melody. But, you can also use your favorite knit scraps. I recommend that you interface your knits with some SF101 to keep them from stretching out.
Supplies Needed:
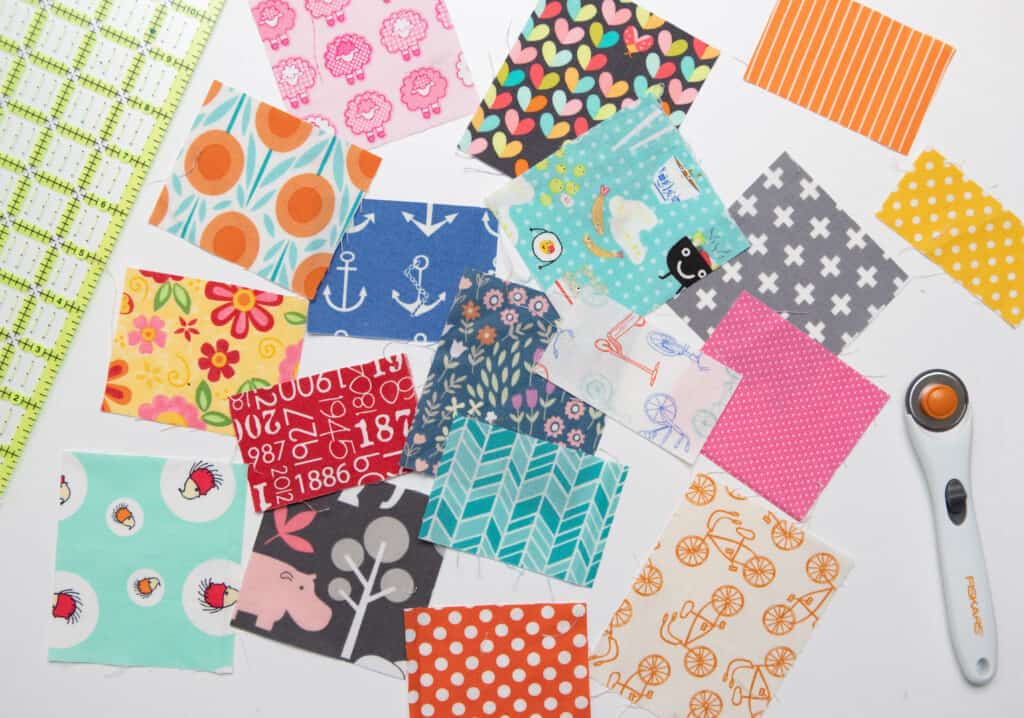
- Scraps of fabric that measure at least 3 1/2″ wide
- Backing fabric that measures 3 1/2″ wide by the circumference of your steering wheel plus 1/2″ (mine is 3 1/2″ x 47 1/2″) This can be pieced, if needed.
- Batting scraps that measure 3 1/2″ wide by the diameter of your steering wheel (If you don’t have batting, you can use a scrap of light weight fleece.)
- Fold Over Elastic (FOE)
The first step is to measure your steering wheel’s diameter. My GMC Acadia has a steering wheel of 47″ around. So, I want my steering wheel cover to finish at 47″. We want it snug. A loose fitting cover can be dangerous!
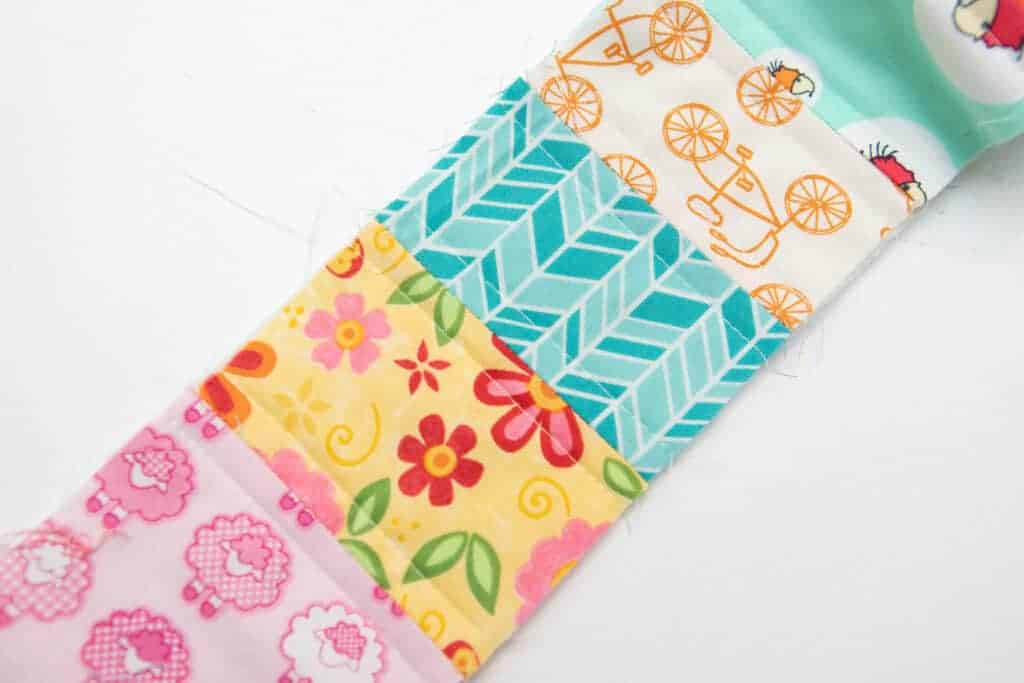
Next, cut up your scraps so that they are 3 1/2″ wide, by various lengths. (You could use one continuous piece of fabric also. If you are going that route, you want your fabric to measure 3 1/2″ by the diameter of your steering wheel, plus 1/2″.)
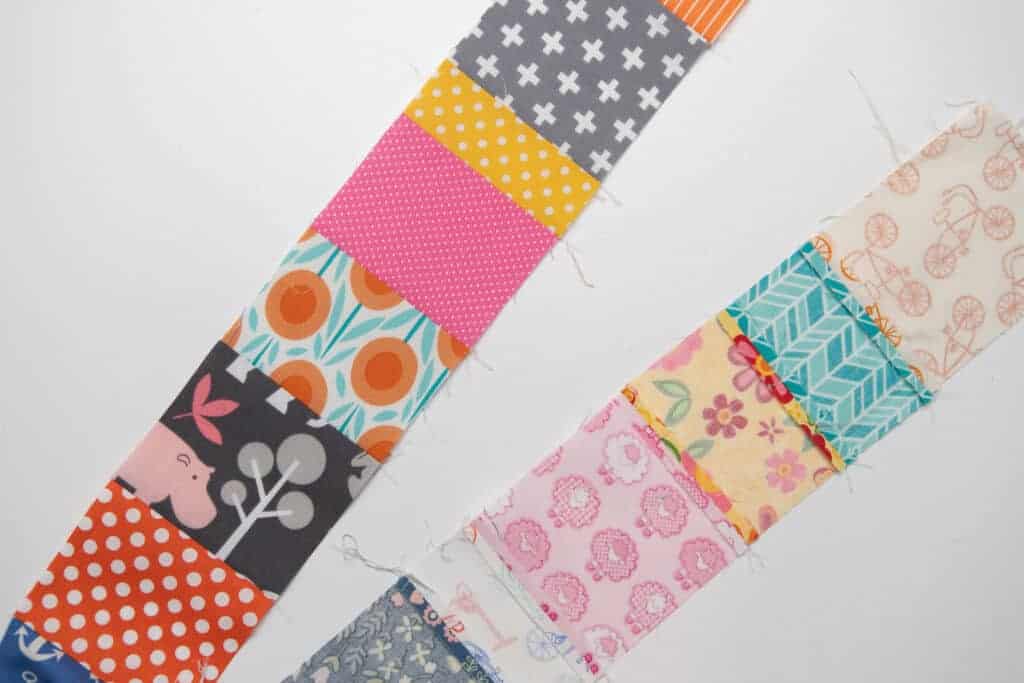
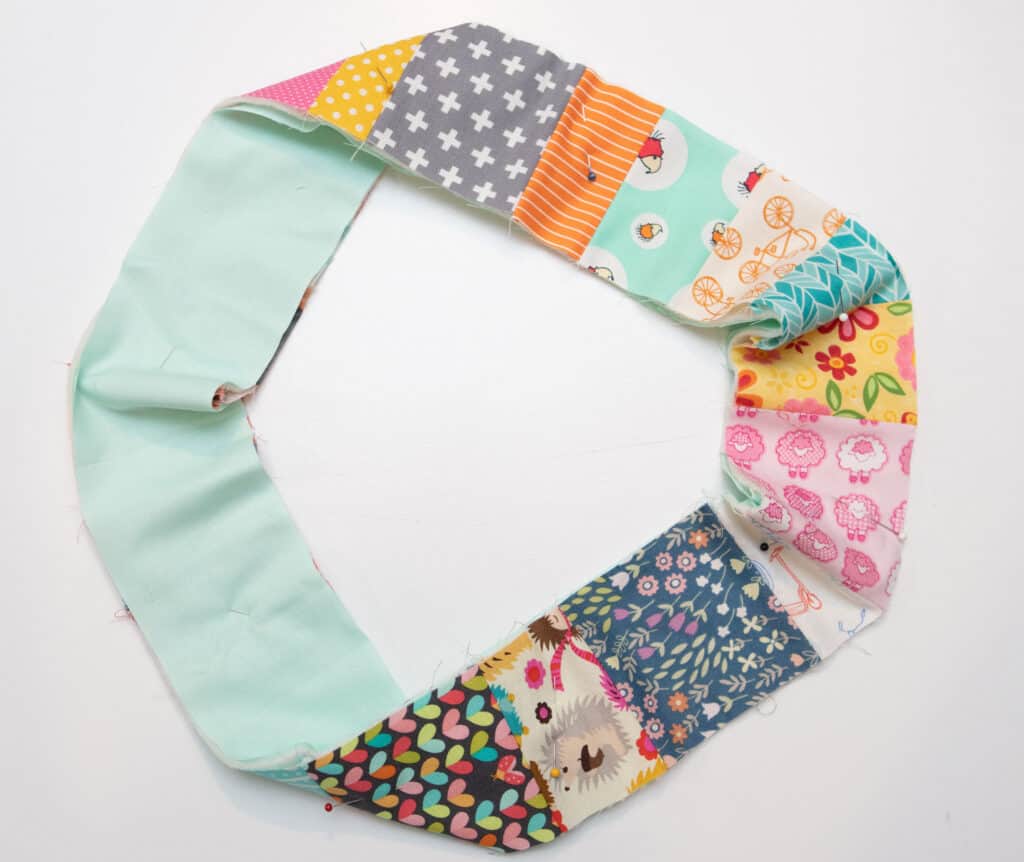
Sew your scrap pieces together using a 1/4″ seam allowance until they measure the diameter of your steering wheel, plus 1/2″. My strip measures 47 1/2″. Press your seams open to reduce bulk.
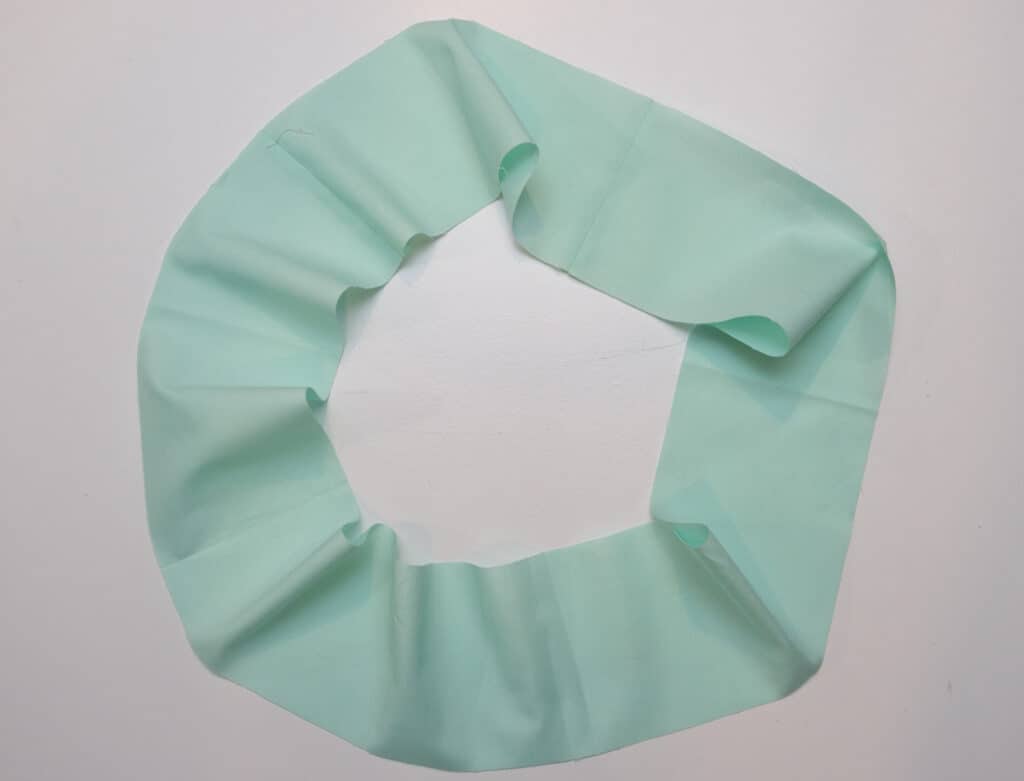
 Sew the ends of your scrap strip together with a 1/4″ seam allowance to create a loop. Press the seam open.

I only had scraps of this cotton Warm and Natural batting, so I cut them to 3 1/2″ widths and them together by butting the ends together and sewing with a wide zig zag stitch.
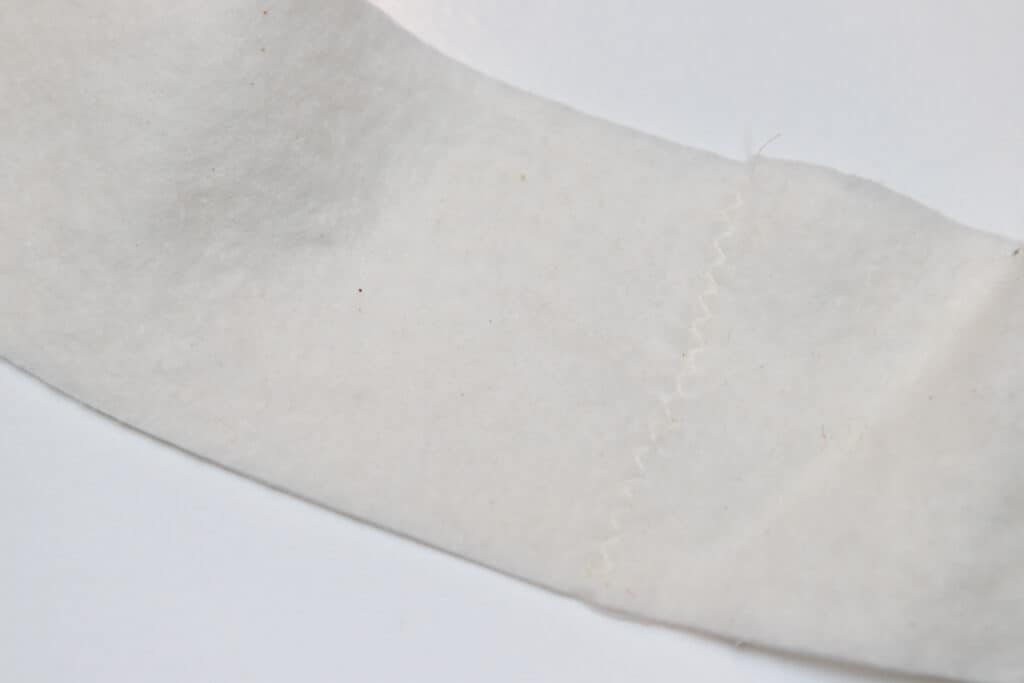
Butt the short edges of your batting together and sew it together with a zig zag stitch to create a loop.
Piece your backing fabric together if needed. Sew the short ends together to create a loop. Press your seams open.
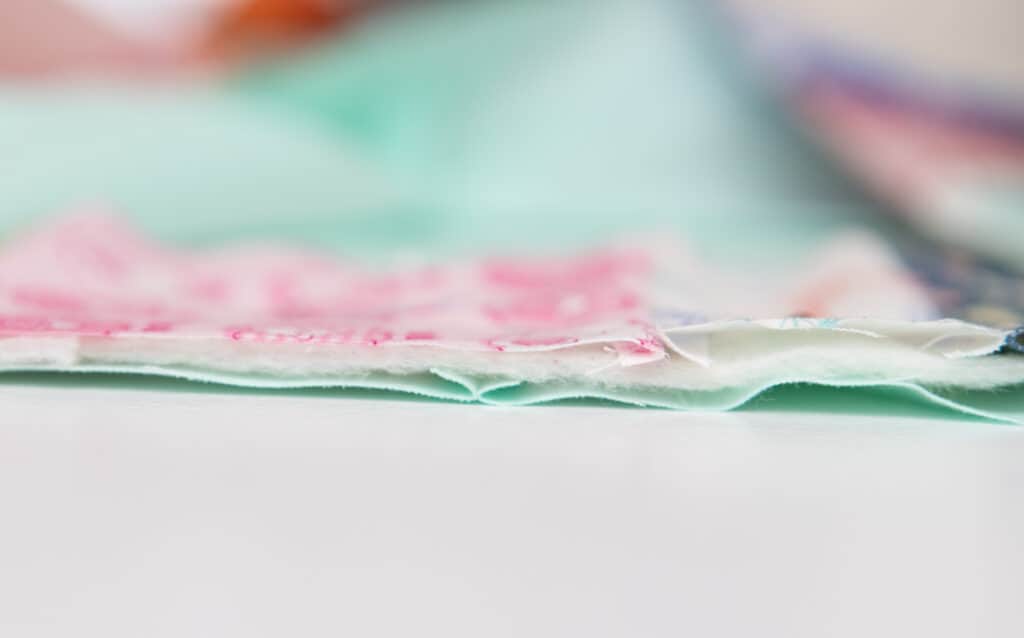
Now, we create a sandwich! If you are a quilter, or pretend to be like me, you are probably familiar with this term. We will be taking the backing, batting and pieced top and layering them together to create a sandwich.
Start with the backing fabric. Next, place the batting against the wrong side of the batting. Then, place the pieced layer’s wrong side against the other side of the batting. Your layers will look like this.
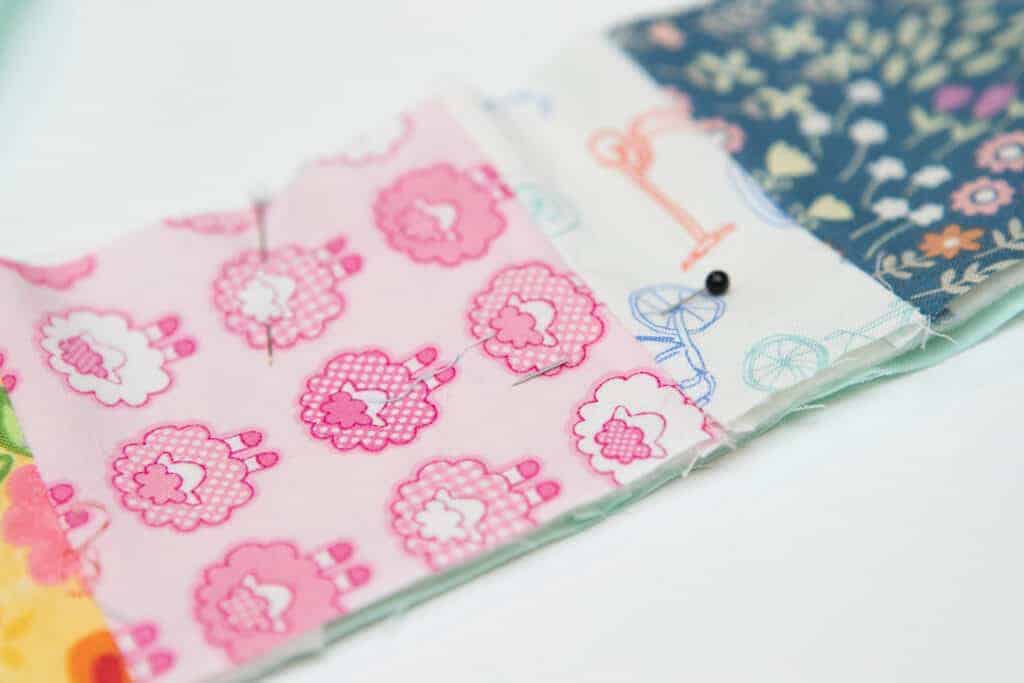
Work your way around the loop lining up the raw edges and pinning the layers in place.
Now we quilt.
Sew the layers together. You can do this in any pattern that you like. Remember that the more you quilt it, the stiffer the cover will become, so less is more for this. I sewed along both sides of each seam for my quilting.
Cut two strips of fold over elastic 60% of the length of your steering wheel’s diameter. For me that is 47 X 0.6 = 28.2. So I am cutting my elastic 28″ plus 1/2″ for seam allowance for a total of 28 1/2″. Overlap the ends by 1/4″ and sew together to create a loop.
Find the quarter points of both the elastic and the cover.
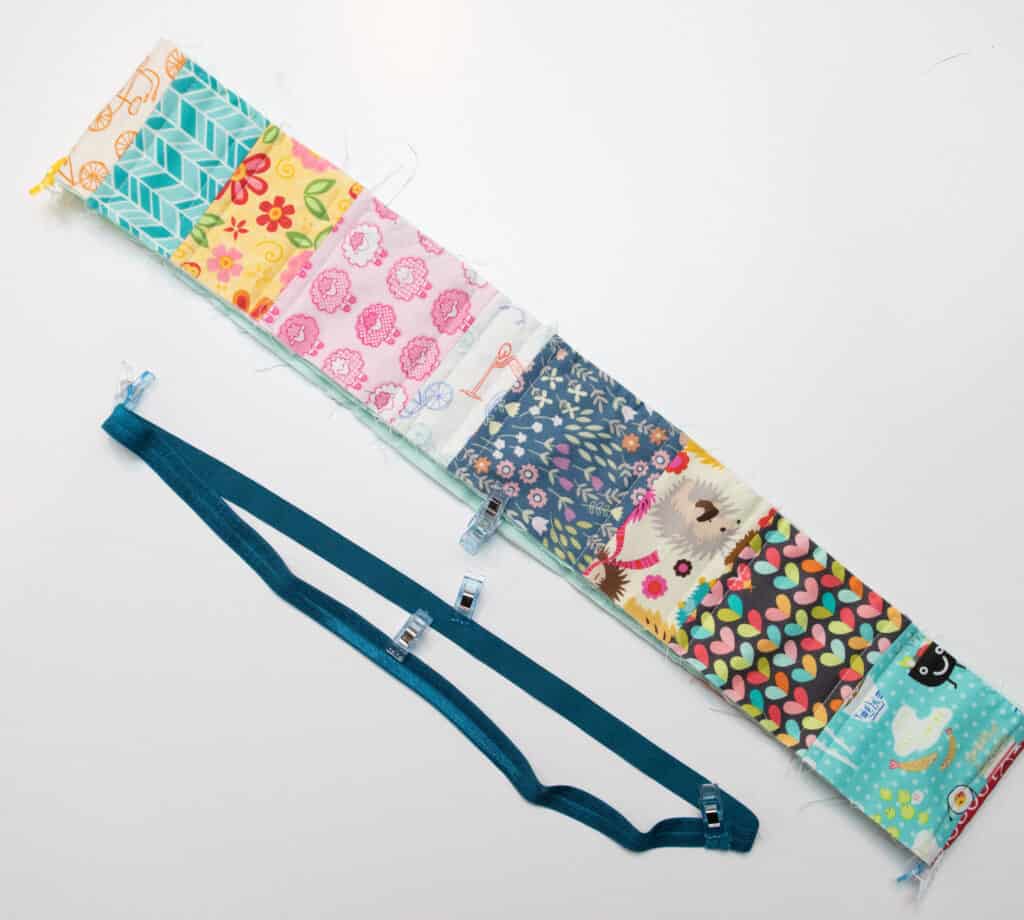
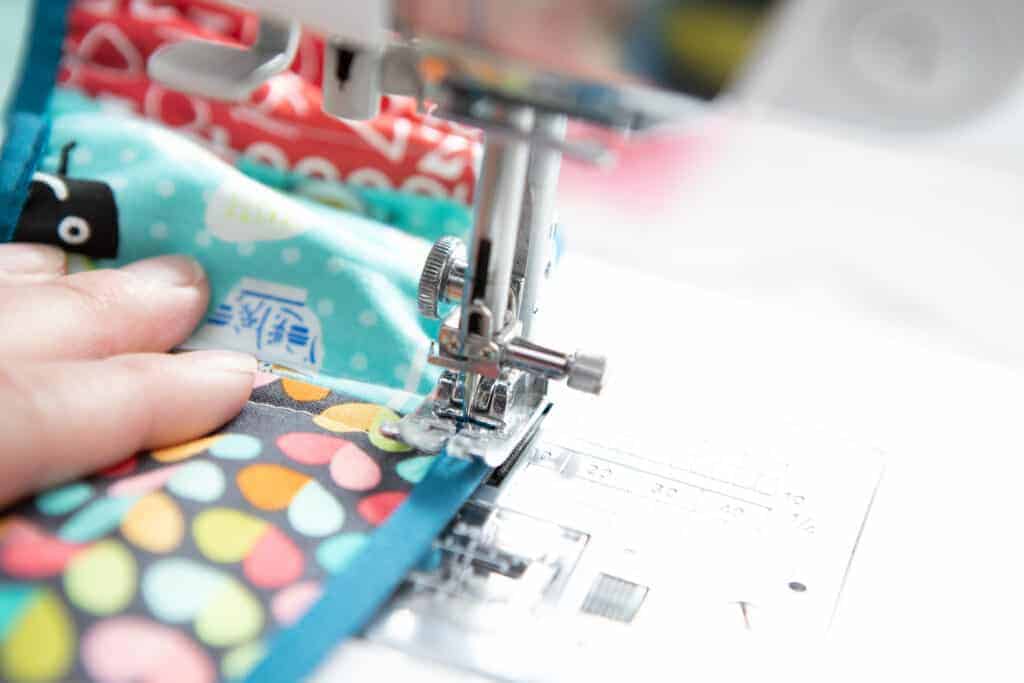
Pin/clip the wrong side of the elastic to the backing of the steering wheel cover. The crease in the middle of the elastic will line up with the raw edge of the fabric.
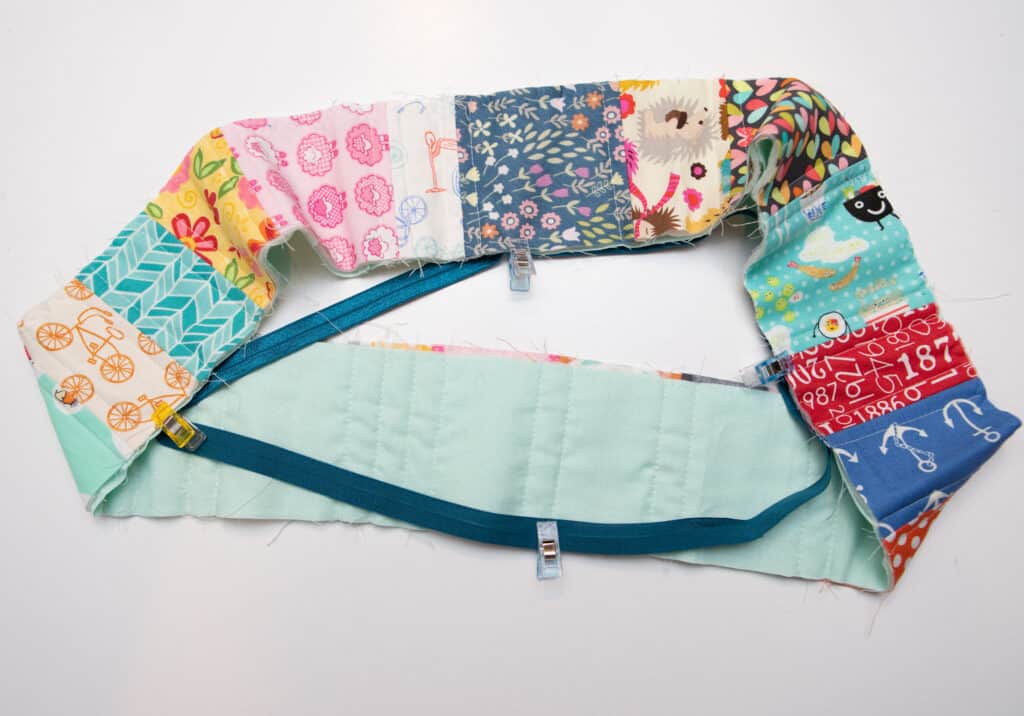
Gently stretch the elastic to fit the cover and sew in place on the back side of the steering wheel cover with a straight stitch or zig zag stitch.
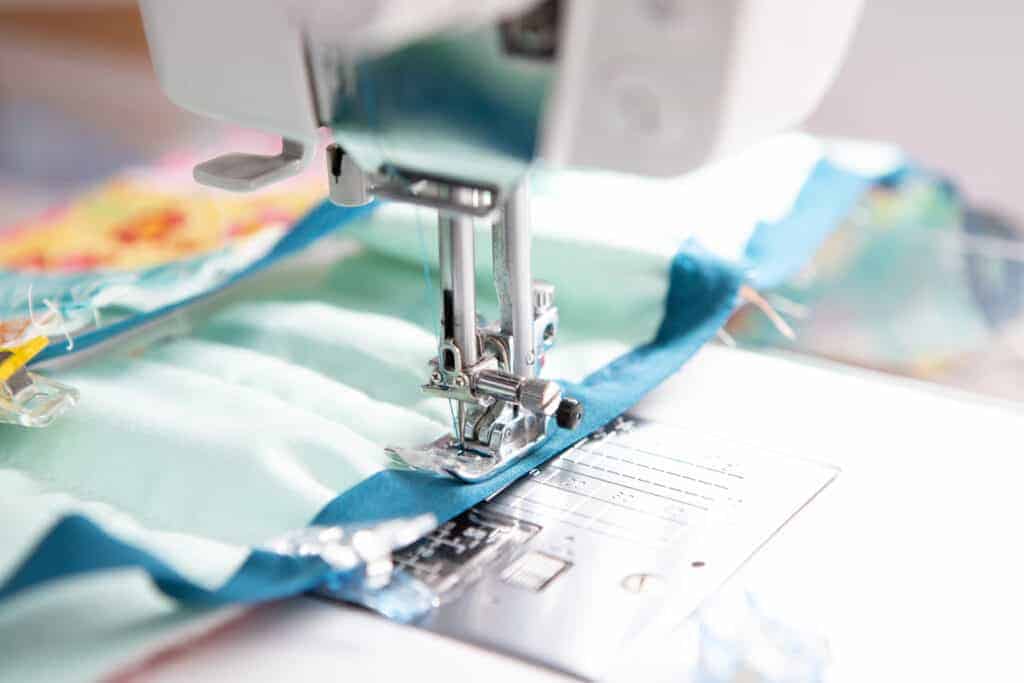
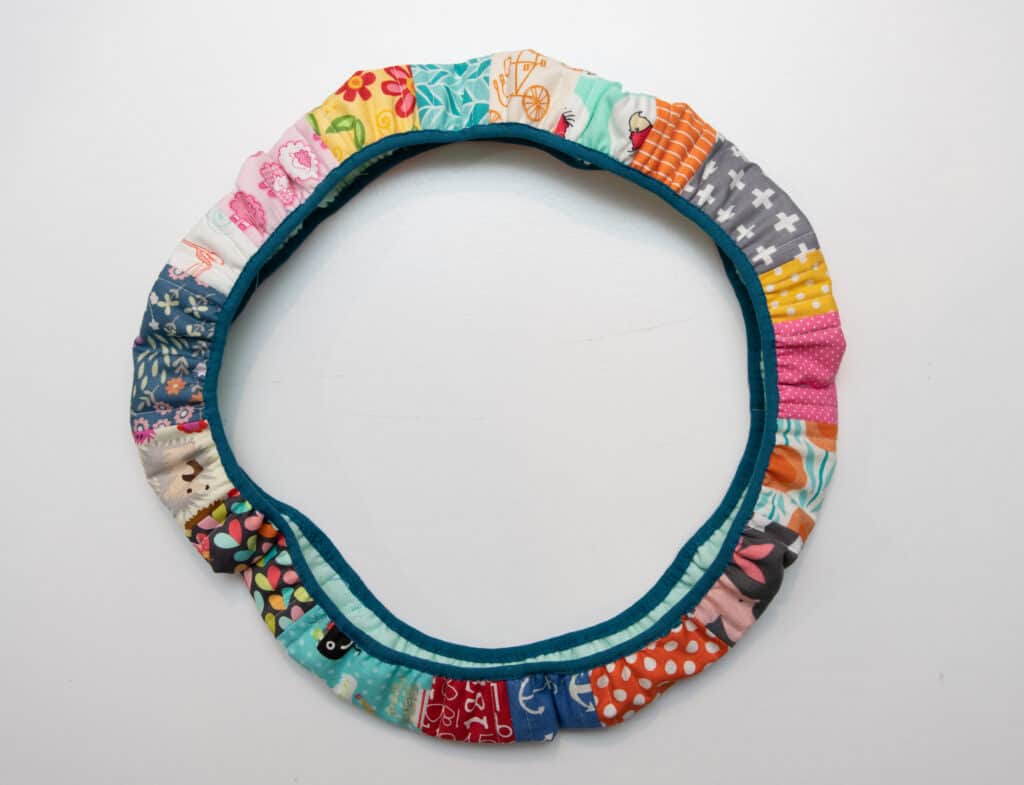
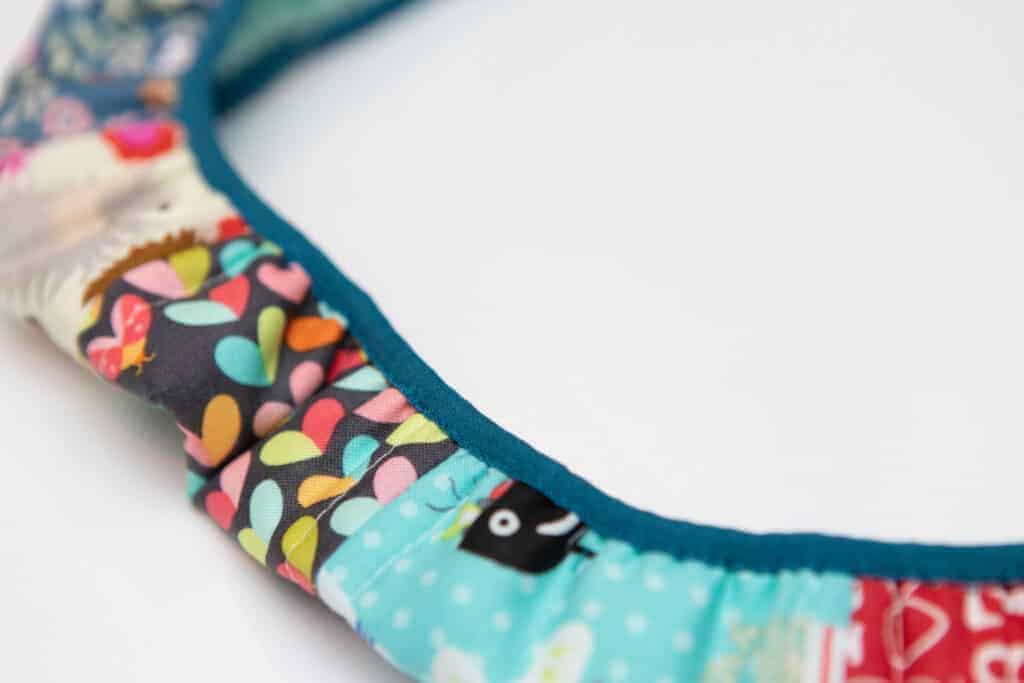
Fold the elastic around the raw edge of the fabric to the right side of the steering wheel cover and pin in place. Sew in place with either a straight stitch or zig zag stitch.
That’s it! You have a cute steering wheel cover!
Steering wheel covers are great for keeping your steering wheel from getting hot in the summer. You can remove the cover when you drive.
Put your scraps to use and sew a cute steering wheel cover today!
There are others that are a part of Batting Busting Week that is being hosted by Jen at Patterns by Jen!
Jump over and see what they are sharing!