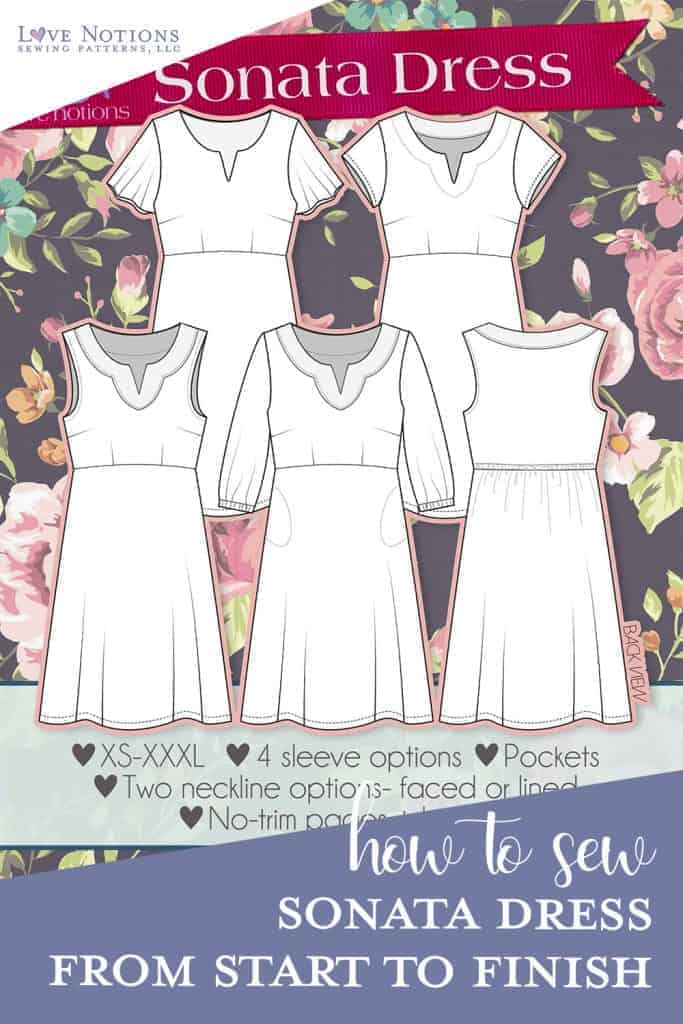
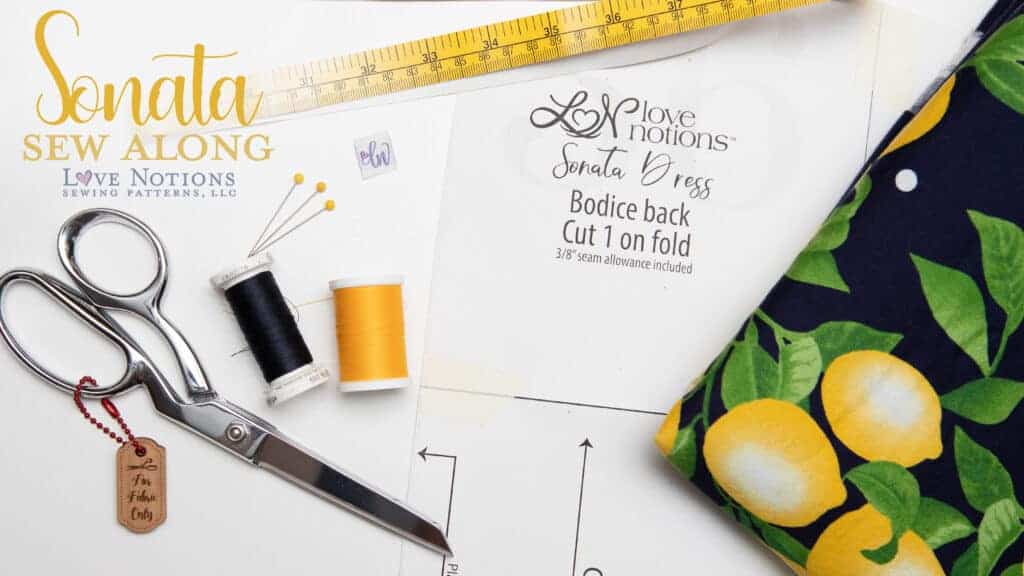
Sonata Sew Along: Day One
Welcome to the Sonata Sew Along! The first day of a new sew along is always so exciting! There is so much to go over; fabric, measuring, making changes. It’s a LOT of information. But, we are going to take it one step at a time and in the end, we are going to have some amazing Sonata dresses to add to our wardrobes!
Let’s start at the beginning, with the fabric.
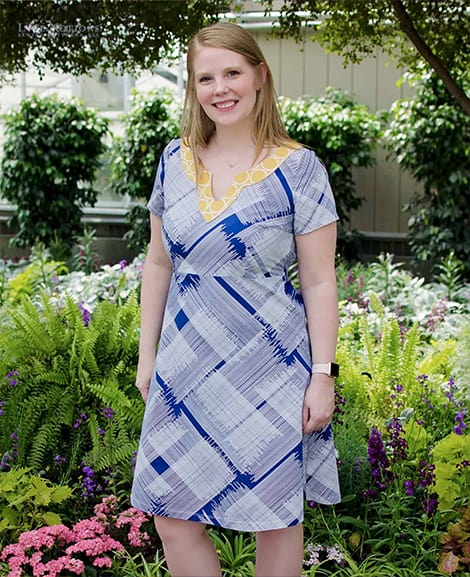
The Sonata Dress stands apart from the other woven dresses in the Love Notions collection. The majority of the dresses in the pattern library do best with light weight fabric with great drape. Well with Sonata, you can definitely use light weight drapey fabric, but it’s also great for fabrics with more structure, even quilting cottons! I think a flannel dress to pair with a cardigan would be great for fall/winter with some thick tights and boots. Or a crisp cotton dress with sandals for spring would work well with Sonata, also. And we can’t forget the beauty of rayon for hot and humid summer days. Sonata is amazing year round!
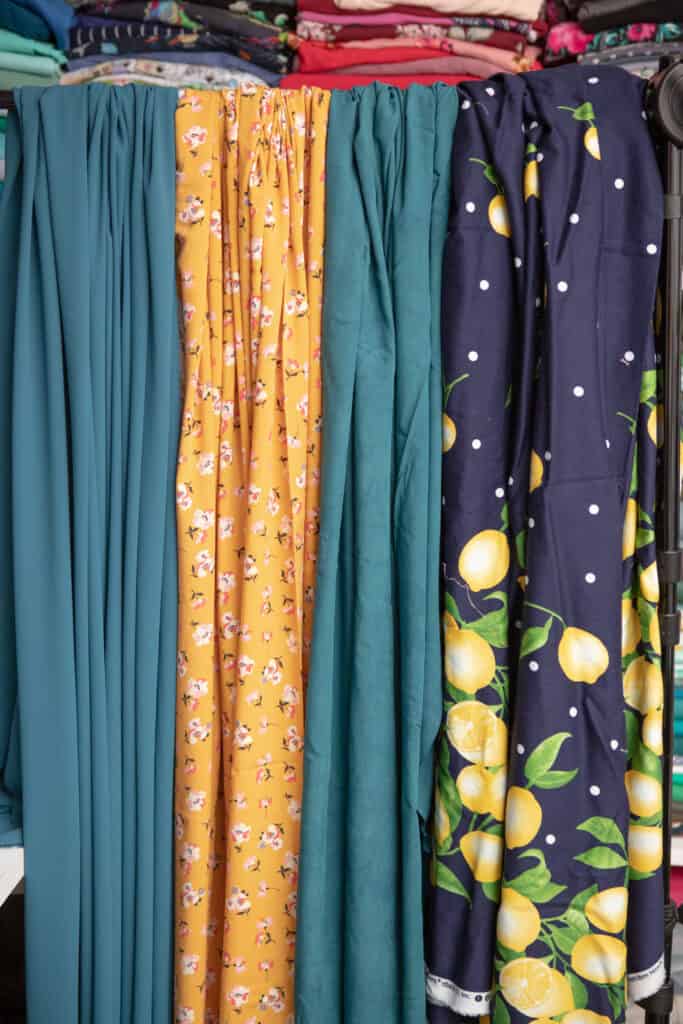
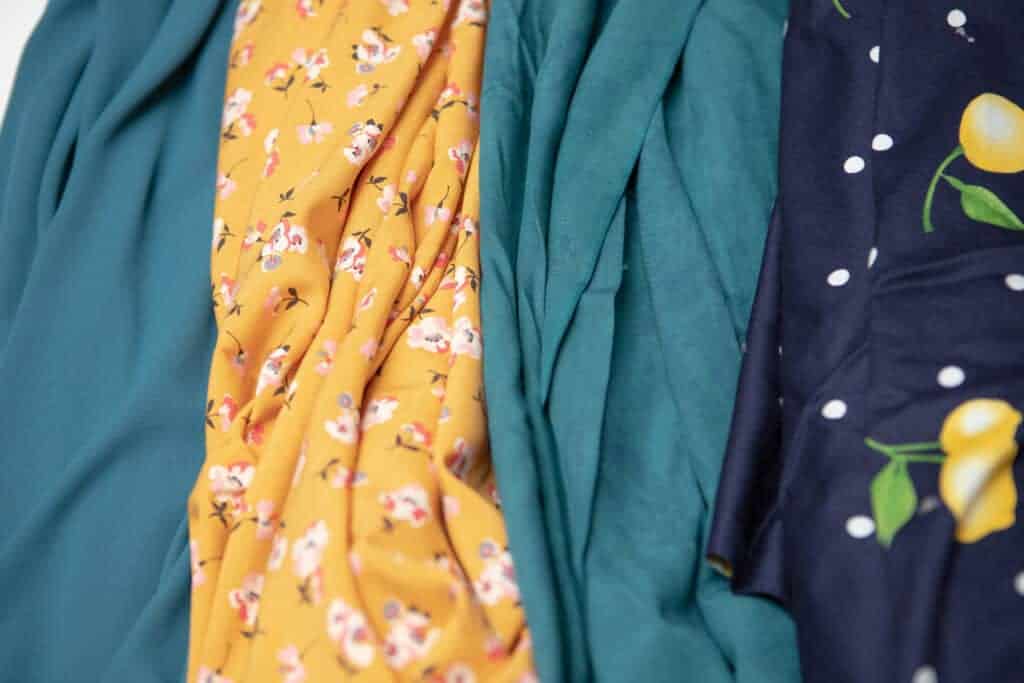
In these photos from left to right we have chiffon, rayon, cotton lawn, and a cotton woven better known as quilter’s cotton. You can see how the drape is different for each fabric. That drape is going to affect the results of your dress. If you want something flowy, go with a fabric with lots of drape, like a chiffon or rayon. If you prefer more structure and want your skirt to hold it’s shape a bit, go for a sturdier fabric like the quilter’s cotton.
How and where to measure.
When we sew our own clothes, it’s extremely important to measure properly to ensure a great fit. Take the time to measure and use your measurements to choose what size to sew, blending sizes as needed. You can not assume that because you are a size medium at the store, that you can sew a size medium, and have it fit. Once you have your measurements, don’t be surprised if you find that you are between several sizes. If that is the case, you want to blend sizes to get the best fit for you.
Start with your high bust measurement. That is going to be your base size. This is the size that you will use for your shoulders and neckline. Now, we need to look at the full bust measurement. This measurement, along with the high bust measurement and some simple math will help you determine what size sewing cup you are. Your sewing cup size is NOT your bra cup. They are two very different measurements!
- full bust measurement – high bust measurement = sewing cup size
- full bust measurement – under bust measurement = bra cup size
Myself, I have a D sewing cup and a DD bra cup. They are NOT the same! And, you may have a B bra cup and find you are a D sewing cup as well. Every single body is different. MEASURE and ensure you are starting with the proper size. This is the VERY FIRST STEP in getting a great fitting garment.
The Sonata pattern includes four different bodice cup sizes to make it easier for you to get a great fit in the bust. (This means no time spent figuring out full or small bust adjustments!) Use the chart on page 3 of the pattern to determine what cup size you need. This is VERY IMPORTANT. Like I said above, picking the correct size is the first step in sewing a garment that fits well!
Creating a custom fit.
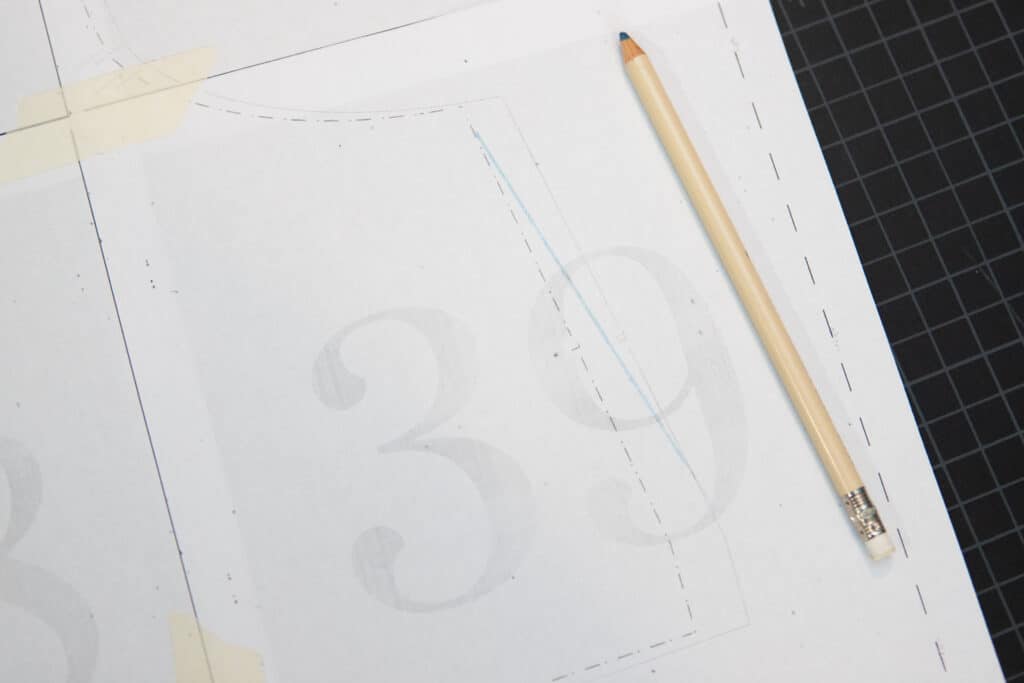
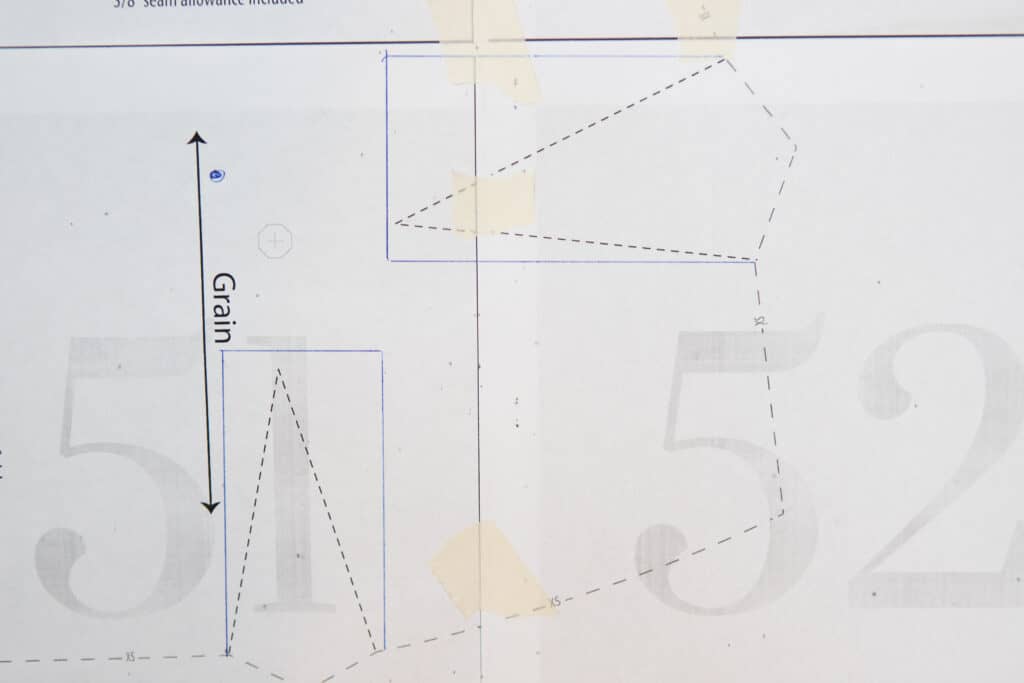
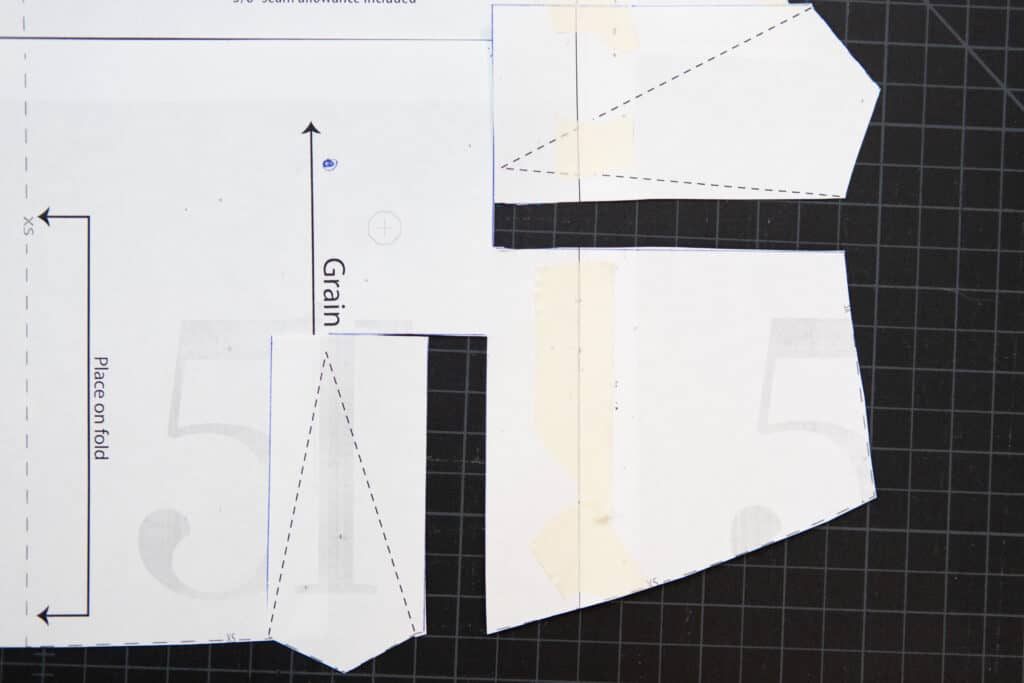
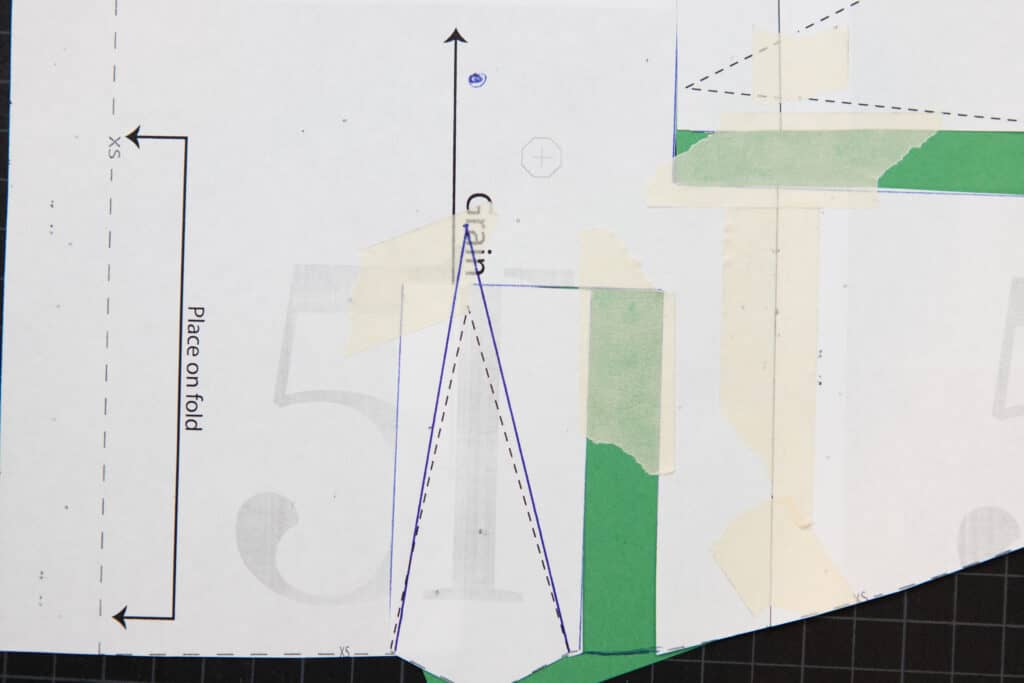
After we have figured out what size(s) to print, we may need to blend sizes or make adjustments for length. Yes, this all takes time for the first Sonata you sew, but you will find that it is all so worth it in the end! If you need a larger waist size than your shoulders and neckline, print both sizes and then blend below the dart out to the larger size. (shown in blue below on the back piece).
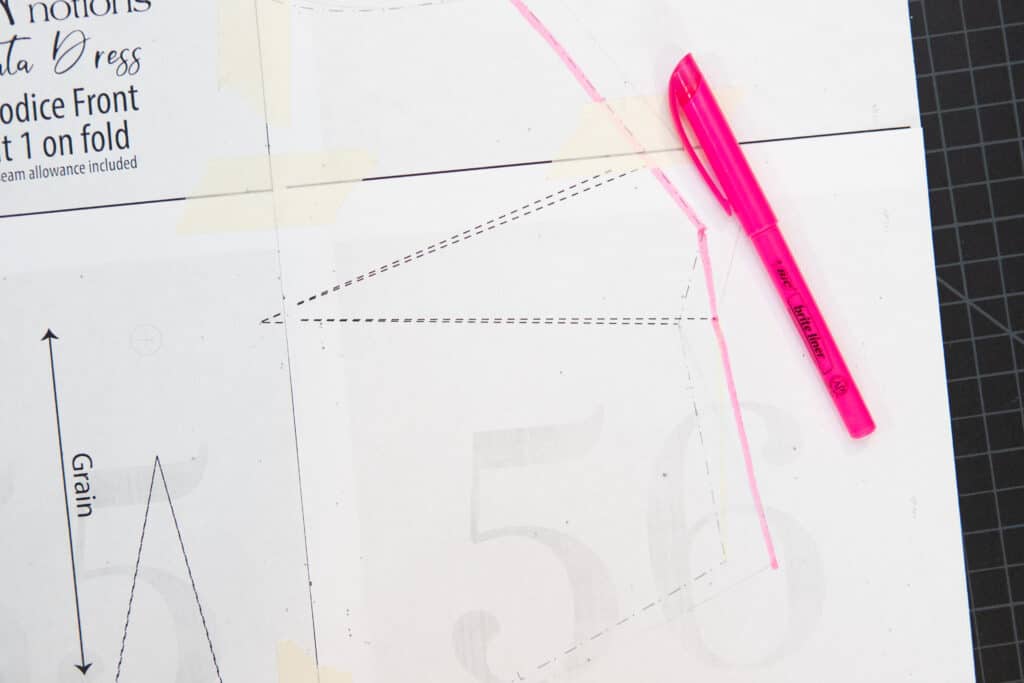
To blend out a size in on the front, I would recommend that you do by jumping to the larger size at the lower dart leg. The highlighted line shows how to blend from a large bust to an extra large waist.
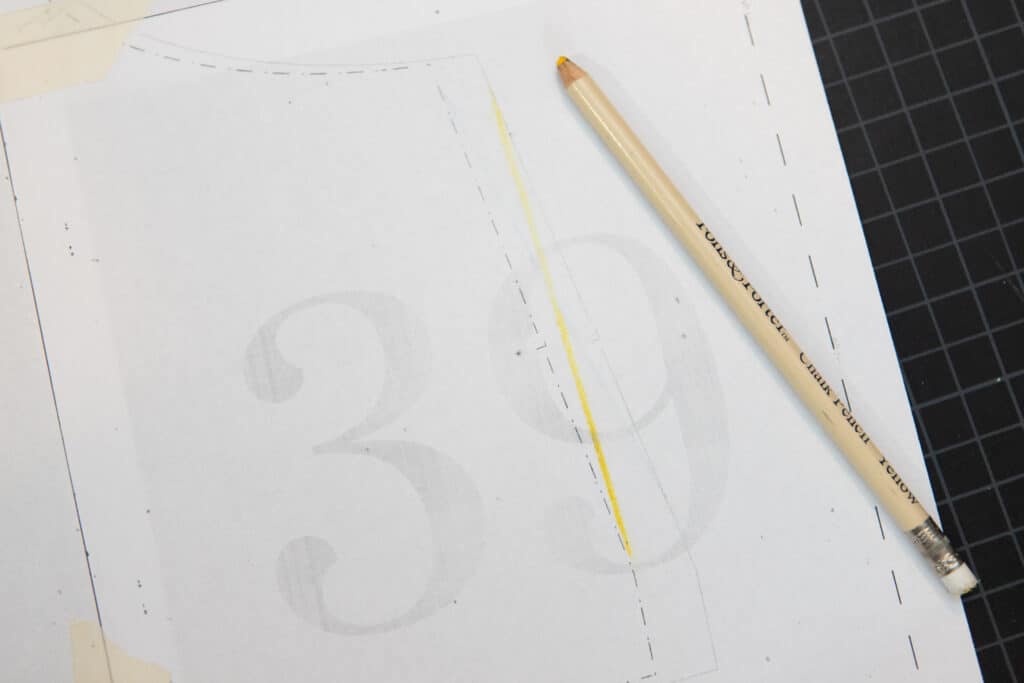
I prefer to trim my dart legs after I have sewn my fabric, but you can trim them on the pattern piece. Just fold the dart into place and mark where the seam line hits on the dart. That is where you would trim. (I have taped the dart down so I could take the picture. Don’t tape your dart, just hold it in place and mark to blend that side seam straight.)
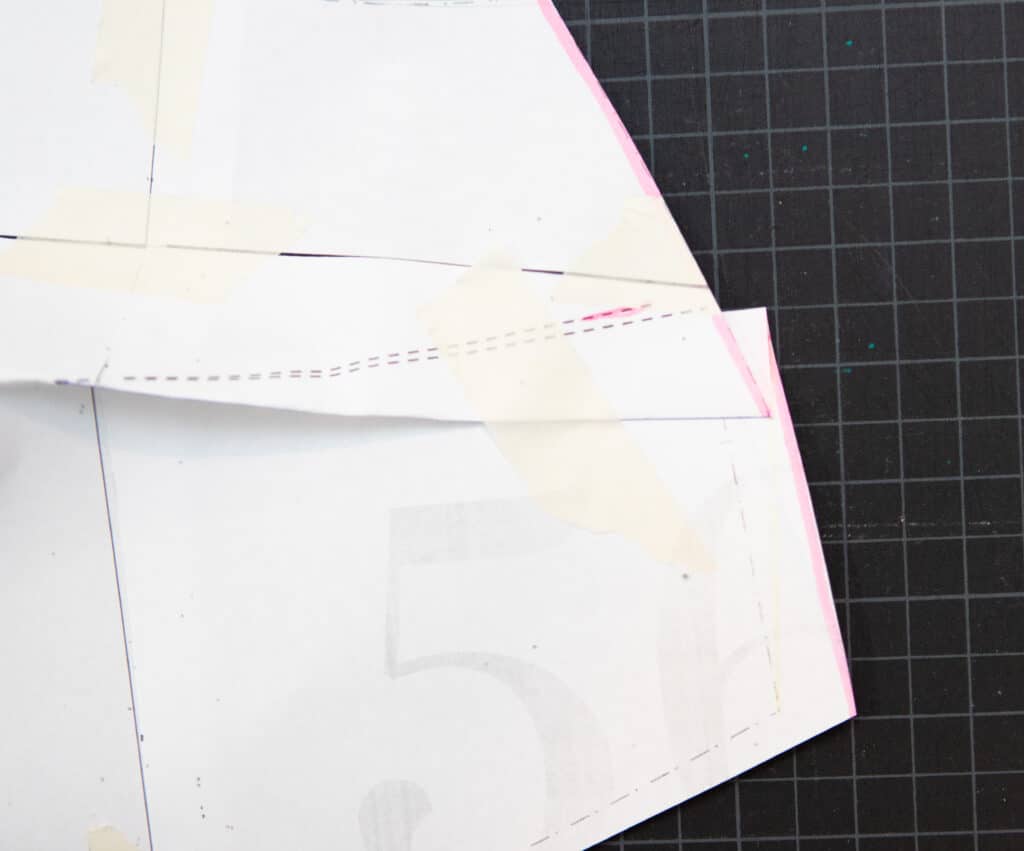
After you sew your dart, you can trim down the dart legs. I prefer to do it after I sew, but you can trim down the pattern piece if you prefer. Just fold the dart in place and mark where to trim.
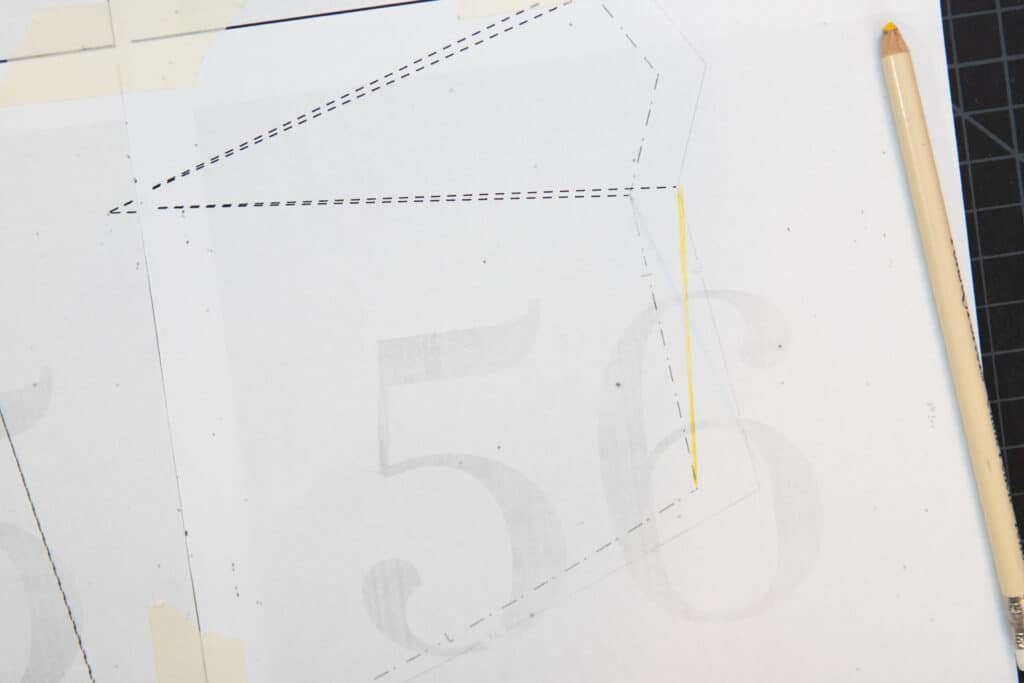
If you need a smaller size waist than shoulders/bust, blend in below the dart like the yellow line below. Again, you can trim down the dart legs if needed after you sew the darts in place.
Blending the back would look like the yellow line below. Then you would use the smaller skirt size.
After we have our sizes blended together and cut out, we can determine if our darts and waistline are in the proper place. After you cut out your pattern, hold the bodice piece up to your chest. Fold back the shoulder seam and make sure the center fold is straight. Now, while standing up straight, take a pen and mark where your apex is. Do NOT bend over and try to see where you are marking. Just poke yourself with the pen on the pattern piece. Now look at the pattern and compare where your apex is compared to the pattern’s apex marking.
In the photo above, you can see three different markings. Bra matters here!! The lowest marking, in red, was done while wearing a cotton lounge bra. You know the type, no cups, no wires, just basically a shelf. They offer little support. I call them sleep bras. The blue mark on the left is an underwire bra that is made from a light weight fabric. It supports fine, but not the greatest. The pink highlighter is my super supportive underwire bra with soft cups. It is the bra I intend to wear with my dress. So, this is the apex marking I need to use. If I used one of the other markings, and adjusted my darts to that mark, my Sonata would not fit properly! The take away here, when fitting, wear the bra you intend to wear with your dress!!
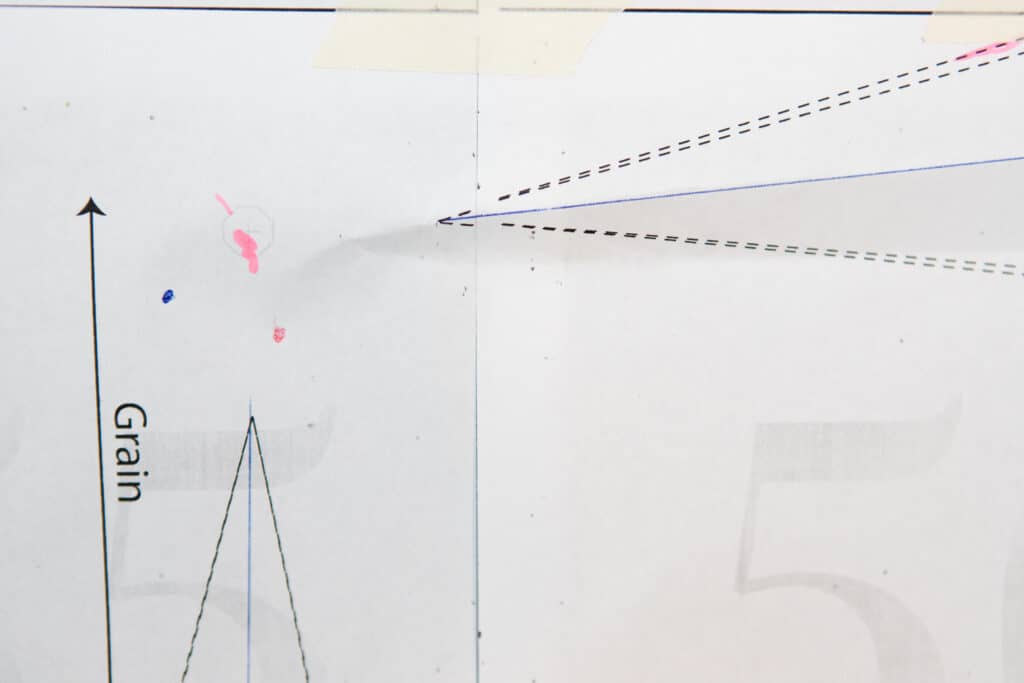
If you find you need to move your darts (like the dot shows below), it’s not too scary of a process. Draw a box around the darts.
Cut the darts out along the box you drew and move them so that the point of the dart points at your apex. Below we had to move the side dart up and the waist dart to the left.
Slide some paper behind the pattern and tape everything back into place. Blend your seams. Because the heigh of our apex changed, we need to also adjust the length of the darts. The end of the darts should be about 1 1/2″ from the apex. Mark that distance from the apex. This is the new end point of the dart. Then draw a new dart connecting that new end point to the ends of the original dart. You need to do this for both the side and waist darts if you had to move your dart horizontally. The picture below just shows the waist dart length adjusted.
Next check that the length of the bodice works for your body. After taking the seam allowance into account, the bottom of the bodice should hit at your natural waist. If it doesn’t, simply lengthen or shorten the bodice at the hem the amount you need.
That was a LOT of information!
After you make all of your adjustments, cut out your fabric and transfer all the pattern markings. If you need help transferring the darts, you can find lots of tips in this blog post.
If you are wanting to join the Sonata Sew Along but need a maternity hack, hop over to this blog post to see what changes you need to make.
Tomorrow is Sonata Dress Sew Along Day Two! Join me as we assemble our bodices.
Sonata Sew Along Schedule:
- Monday: fabric choices, measuring, creating a custom fit
- Tuesday: sewing the bodice, color block skirt hack
- Wednesday: sewing the facing, burrito roll method, gathered skirt hack
- Thursday: lined dress, attaching the skirt, sewing side seams, maxi skirt hack
- Friday: sewing the sleeves, hemming, sleeve hack
Pin this for later!