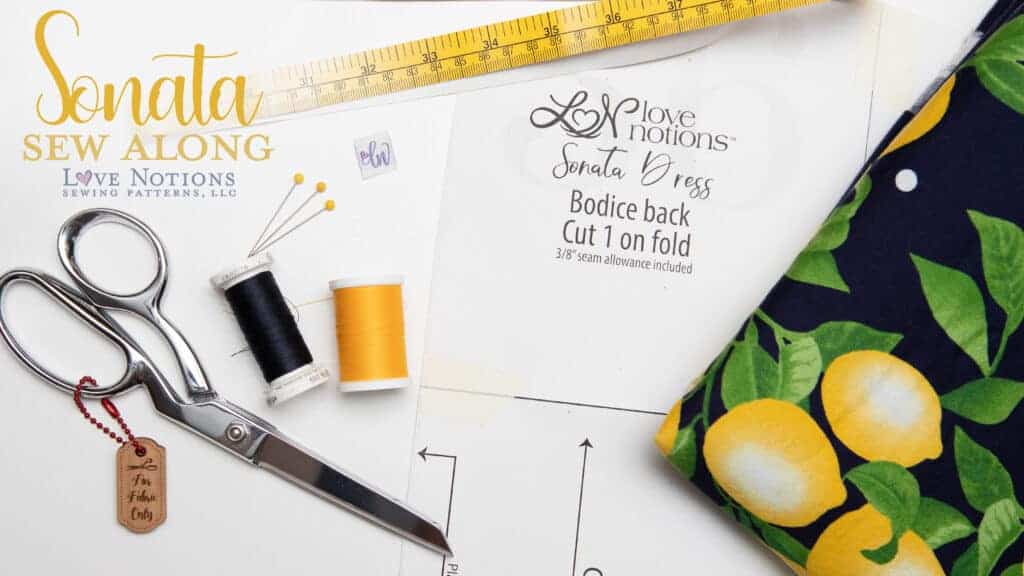
Sonata Sew Along: Day Three
Today on the Sonata Sew Along we will be focusing on sewing the facing on our dresses. The facing of the Sonata Dress gives you a couple of options, you can use the facing as an accent, or have it hidden inside the dress, the decision is yours! I have a trick for you to make sewing the facing even quicker if you are using quilter’s cotton, like I am in this tutorial. And at the end of the post, I will show you how to give the Sonata a gathered skirt!
Facing, the options
That title is a bad play on words. Sorry, but I can’t help it!! Alright, business face. Let’s talk about the facing of the Sonata Dress.
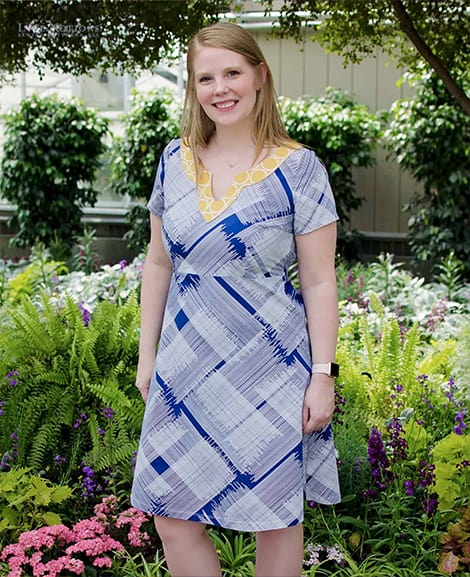
The Sonata Dress pattern includes a facing option or the option to have a fully lined bodice. Today, we are talking about the facing. Tomorrow we will talk about how to do a lining. If you are wondering what the difference is, a facing (shown above) is a piece of fabric that is used to finish a raw edge, in this case, the neckline. A lining (shown below) is when you sew a second bodice front and back (sometimes in a lining fabric, sometimes in the same fabric as the main body of the dress) and attach it to the main bodice at the neckline to finish off the raw edge at the neckline. A lining can also allow you to contain all the bodice seam where as a facing, you will have exposed seams. A lining is great for if your main fabric is slightly sheer. A facing works well if you are using a fabric that has a good weight to is and isn’t sheer.
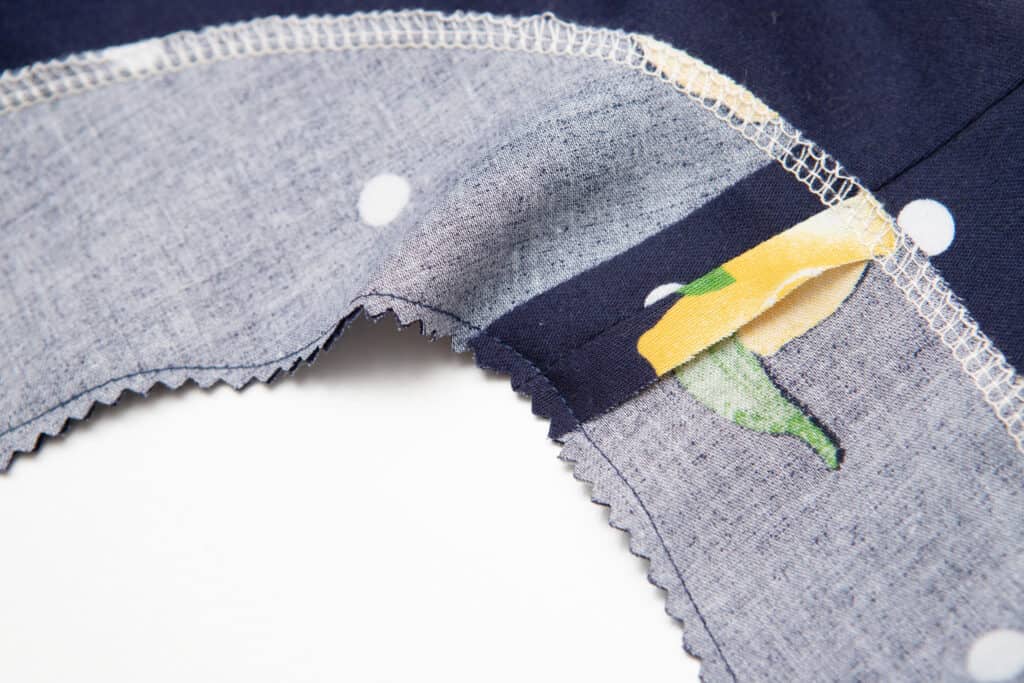
The facing in the photos today are a bit of a hack if you will. The Sonata Dress pattern, as it is written, contains all the raw edges of the facing. It is a beautiful finish and the only way I would do the exposed facing option. However, If you like short cuts, this one is for you! You can cut just one facing front and back, sew them together at the shoulder seams, and then finish the outer edge of the facing with either a serger (like mine) or an overcast stitch. It’s not as clean of a finish as the pattern creates, but hey, it’s quick and sometimes quick wins.
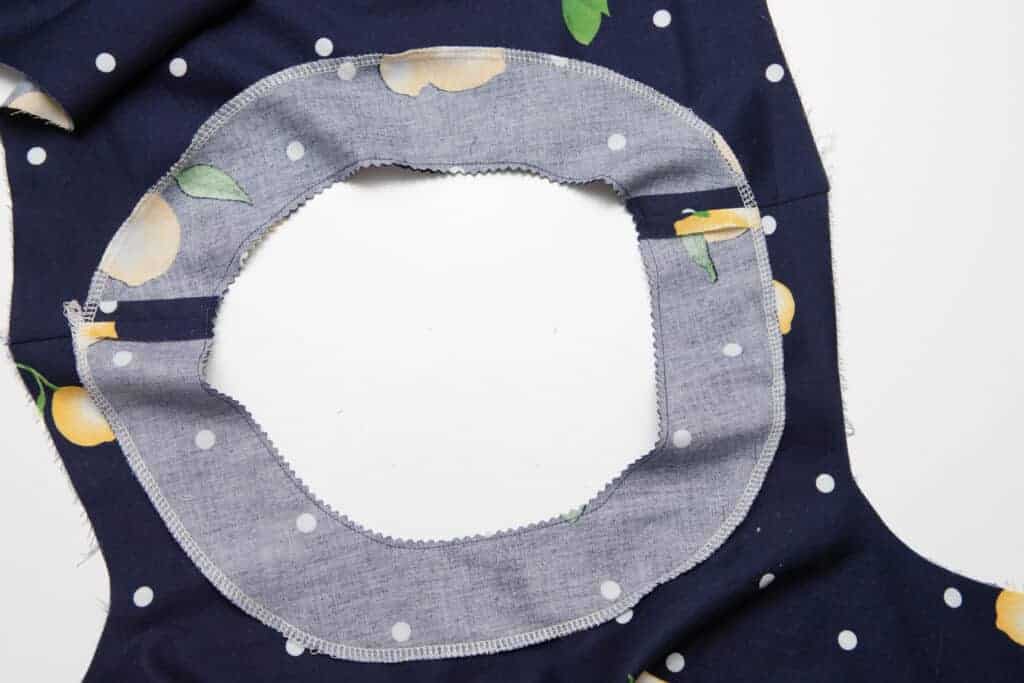
After your facing is assembled, either per the pattern with enclosed outer edges or using the cheater method I have above, place your facing against the right side of your dress, matching the neckline, right sides together. Sew all the way around the neckline with a 3/8″ seam allowance. After you are done sewing, you need to clip the seam allowance. You can cut into the seam allowance with little snips making sure you do NOT cut the stitching, or you can trim back the seam allowance with pinking sheers.
I prefer the pinking sheers method. Clipping into the seam allowance, or trimming back with pinking sheers allows the fabric to lay smoothly once we turn the facing to the back side of the bodice. If you skip this step, you risk not having a smooth neckline. And I know it’s really tempting to serge this seam. Don’t!! all those threads will add bulk to this seam and the neckline may not lay flat. Sew this seam with a straight stitch with your sewing machine for the best results.
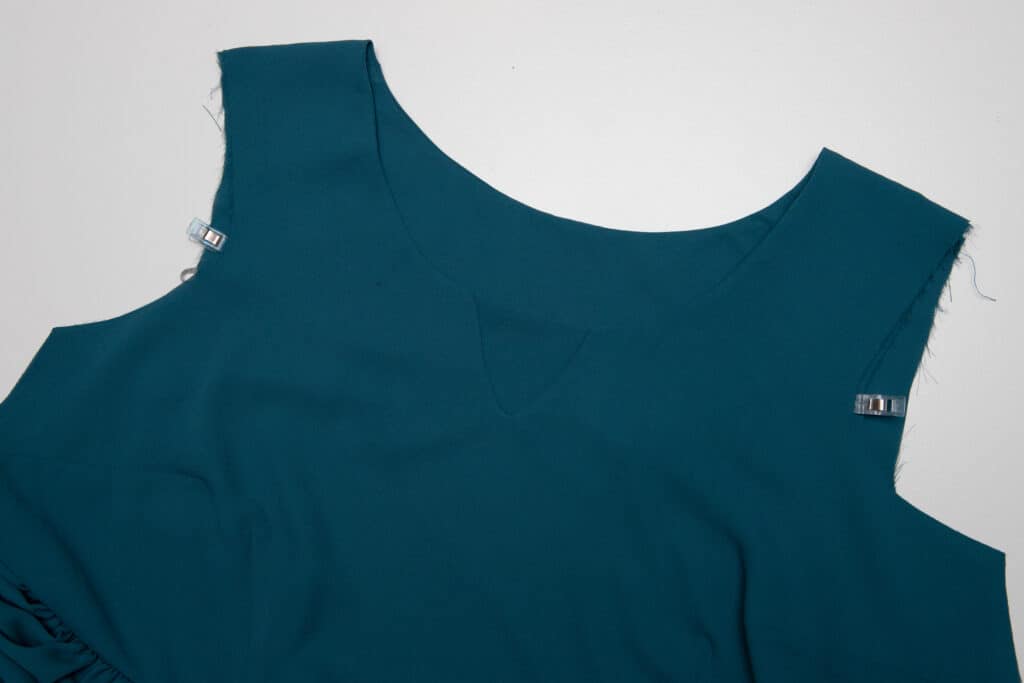
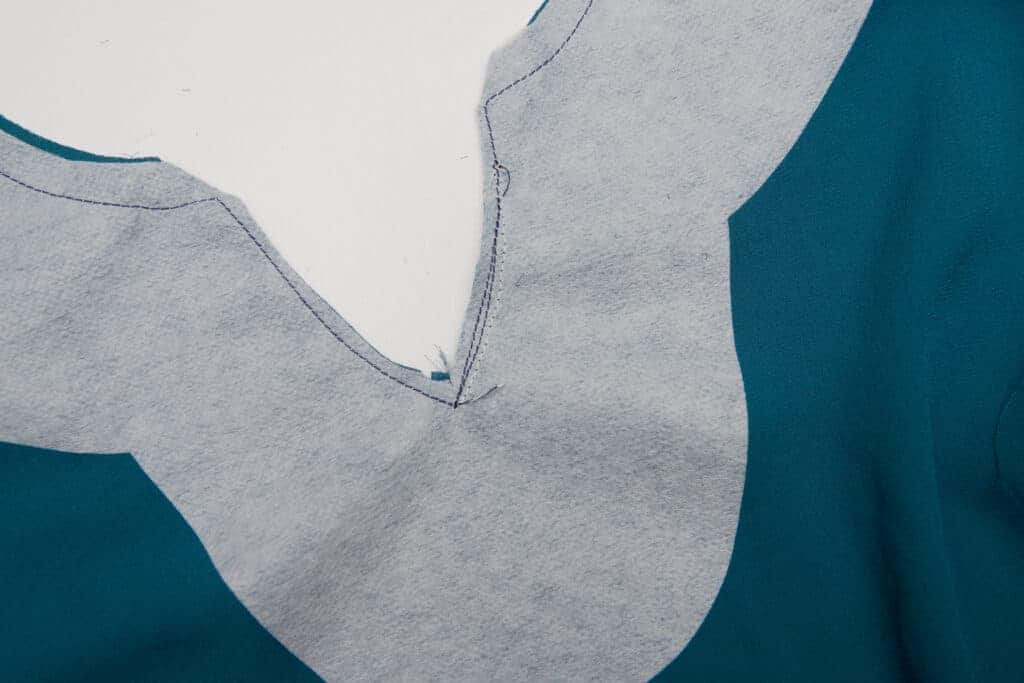
Don’t forget to trim the corners and clip into the center of the v.
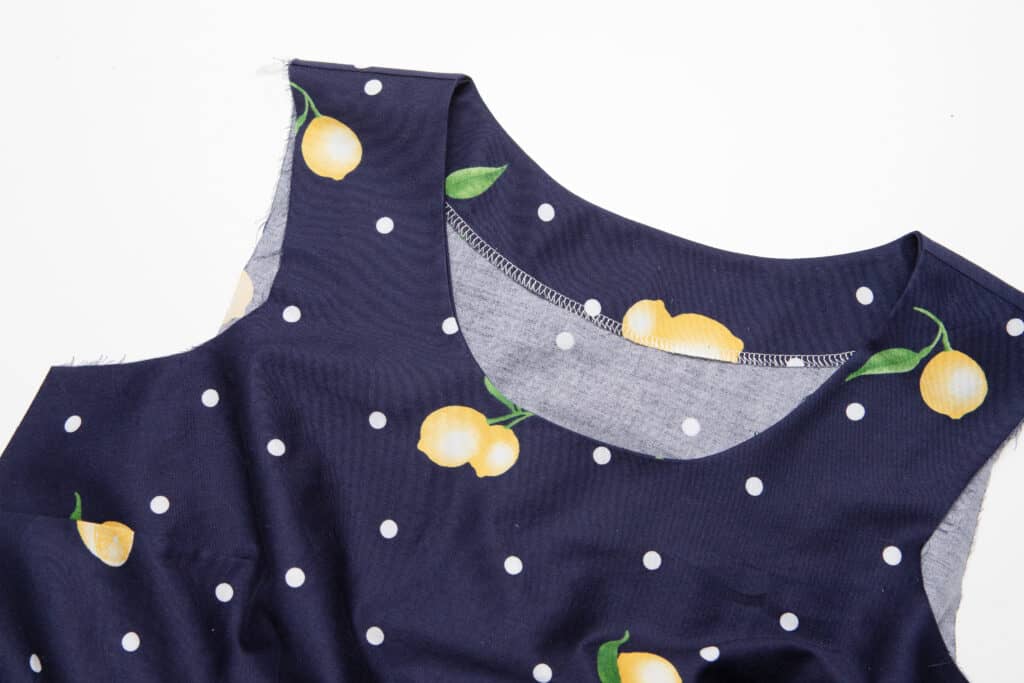
After the facing is turned to the back of the bodice, press press PRESS that neckline for the best results!
And while we are on the subject of sewing seams
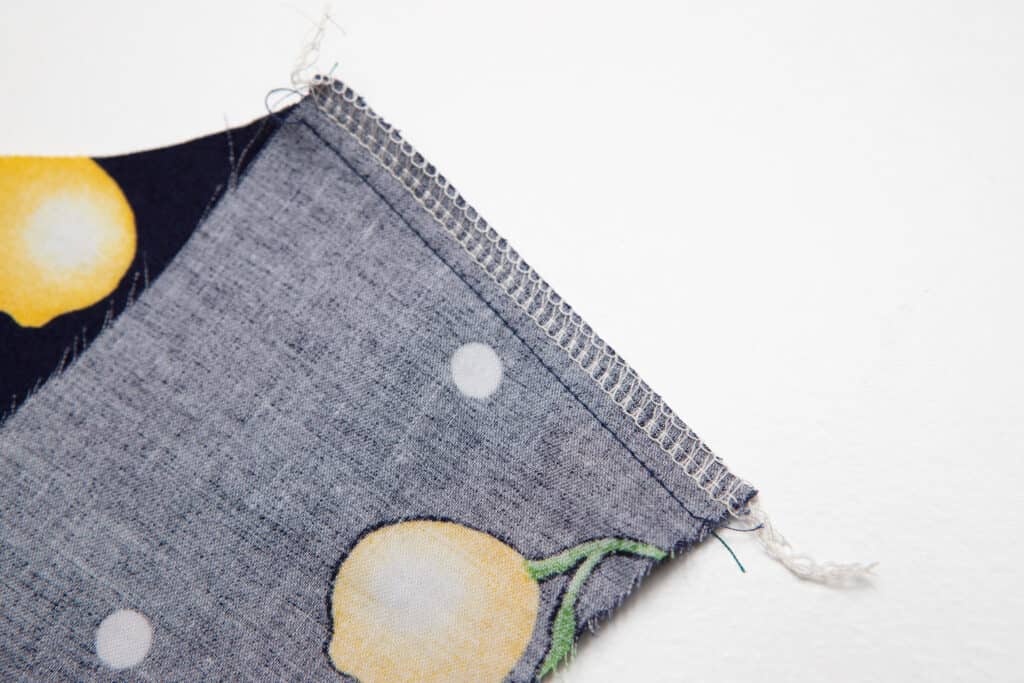
With woven fabrics, you will get your best seam if you sew the seam with a straight stitch on your sewing machine and then go over the raw edge to finish it with the serger. Sergers are NOT meant to construct woven fabrics. Woven fabrics need a seam allowance to keep the fabric from pulling out of the seams. Sew and then serger for the best results.
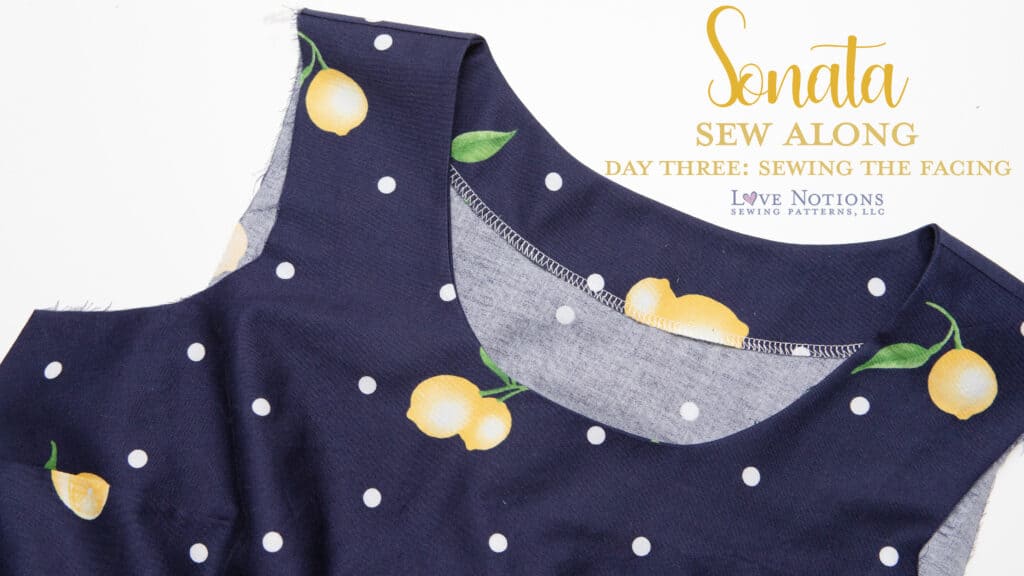
Gathered skirt hack
The Sonata Dress has an A line skirt. It’s classic and doesn’t take up a ton of fabric. Simply put, it’s awesome! But, what if we want to change up the look of our Sonata Dress? Changing the skirt is the easiest way to do that!! I love a gathered skirt with swingy fabric, so it was a must do with this gorgeous teal chiffon.
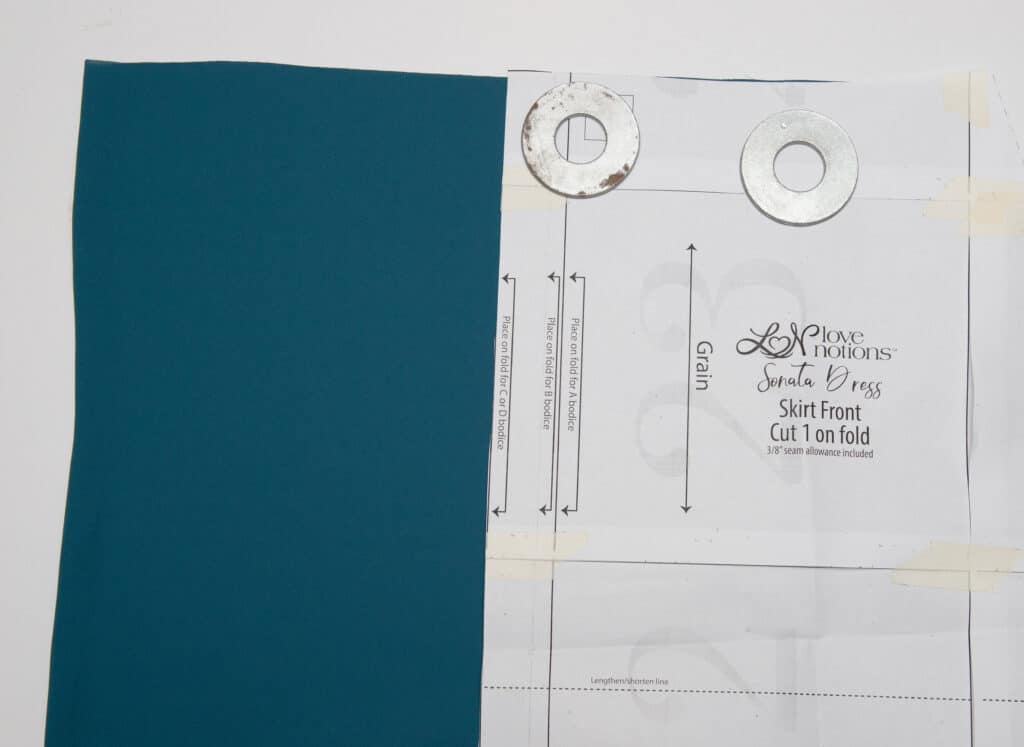
To great a gathered skirt, take your skirt piece and set it away from the fold of the fabric. How far away you place it depends on how much of a gather you want. I like to have about four times the width of the bodice for my gather. Because I am limited to the width of my fabric, I had to cut four panels to get the width I wanted. I placed my skirt piece 9″ away from the fold. This roughly doubled the width of my front skirt piece. I cut two fronts and two backs this way.
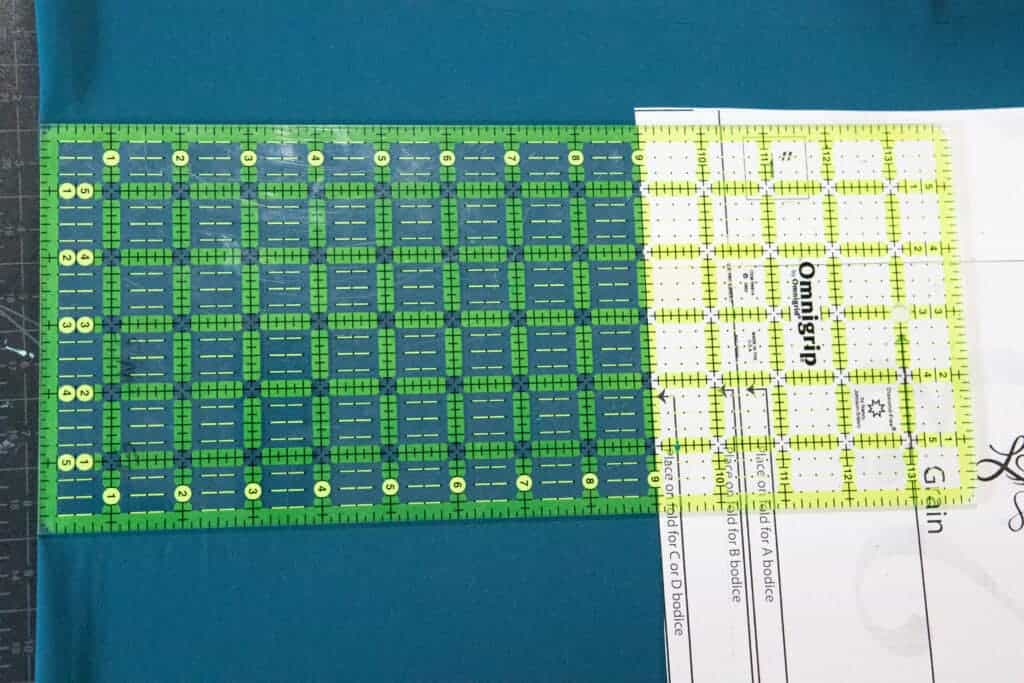
Make sure the fold of the fabric is parallel with the fold marking the entire length of the pattern piece and then cut. Carry the hem and top of the skirt piece straight over to the folded side and then use the pattern piece to cut the rest of the skirt.
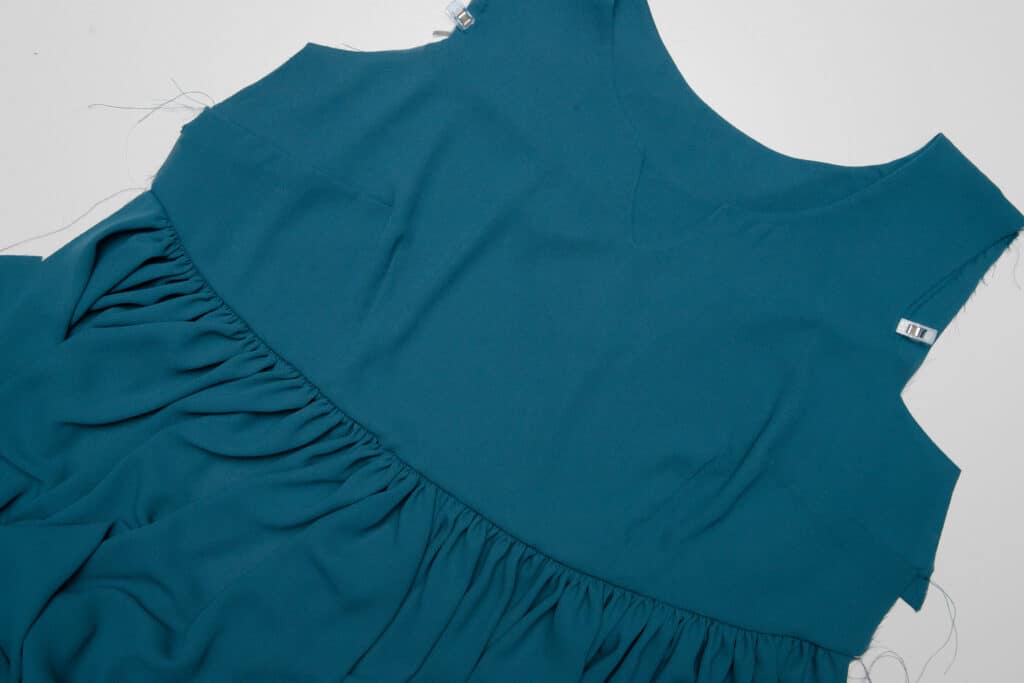
Sew the two fronts together and sew the two back skirt pieces together. (If you used the pockets, you will need to cut off the pockets along the center seam.) Gather the top with two or three rows of basting stitches so that it is the same width as the bottom of the bodice front and back.
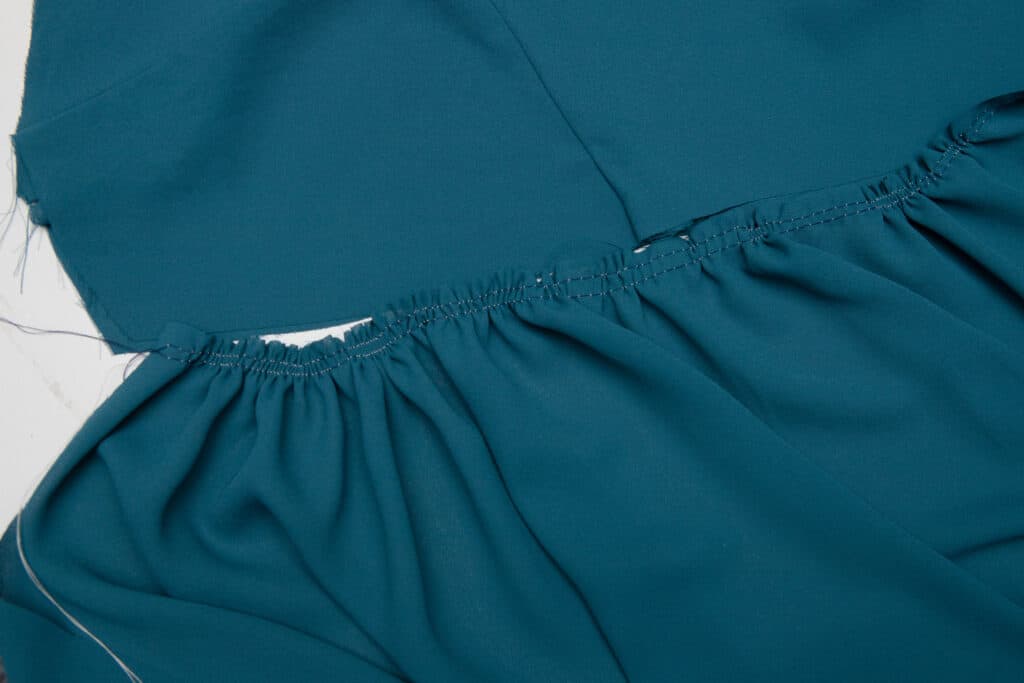
Then attach the skirt just like the Sonata Dress pattern is written and continue on with the rest of the pattern.
Sonata Sew Along Schedule:
- Monday: fabric choices, measuring, creating a custom fit
- Tuesday: sewing the bodice, color block skirt hack
- Wednesday: sewing the facing, gathered skirt hack
- Thursday: lined dress, maxi skirt hack
- Friday: sewing the sleeves, hemming, sleeve hack