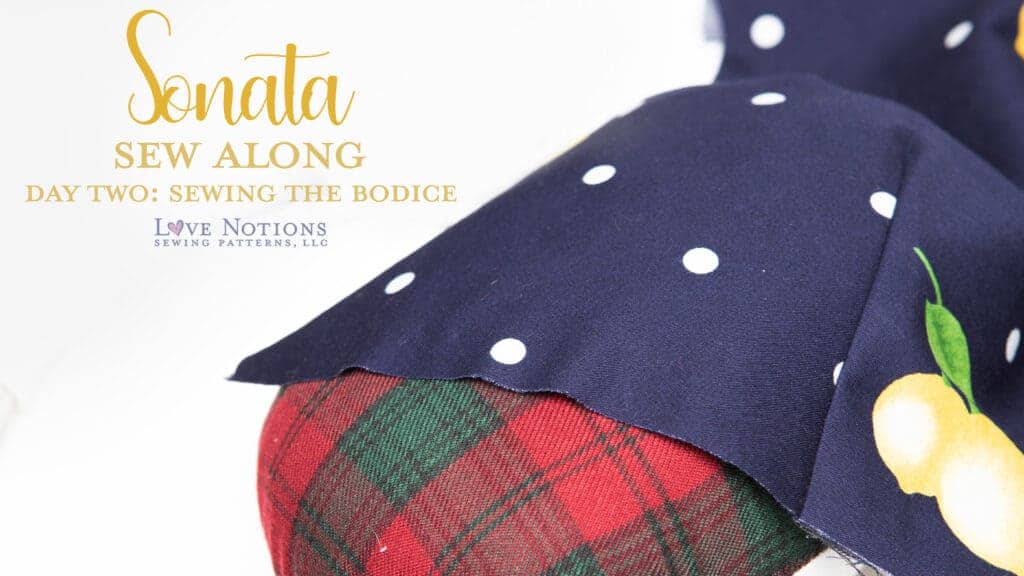
Sonata Sew Along: Day Two
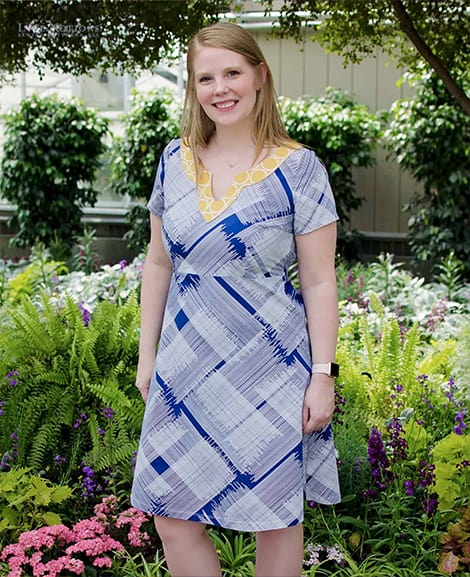
Welcome back for Day Two of the Sonata Sew Along. Today we will be assembling our bodices! This dress really is a great introduction to sewing a woven dress. You can practice moving darts to create a great fit and practice sewing them. If sewing darts intimates you, today’s post is for you! I am going to show you how I sew beautiful darts every time!
How to sew darts
Sewing darts really isn’t difficult once you know the rules. If you can sew a line, you can sew a beautiful dart! The key is to sew right off the end of the fabric! That’s it!! Boom. Class dismissed. Okay, just joking! Come back and let’s go into this dart sewing business into some detail.
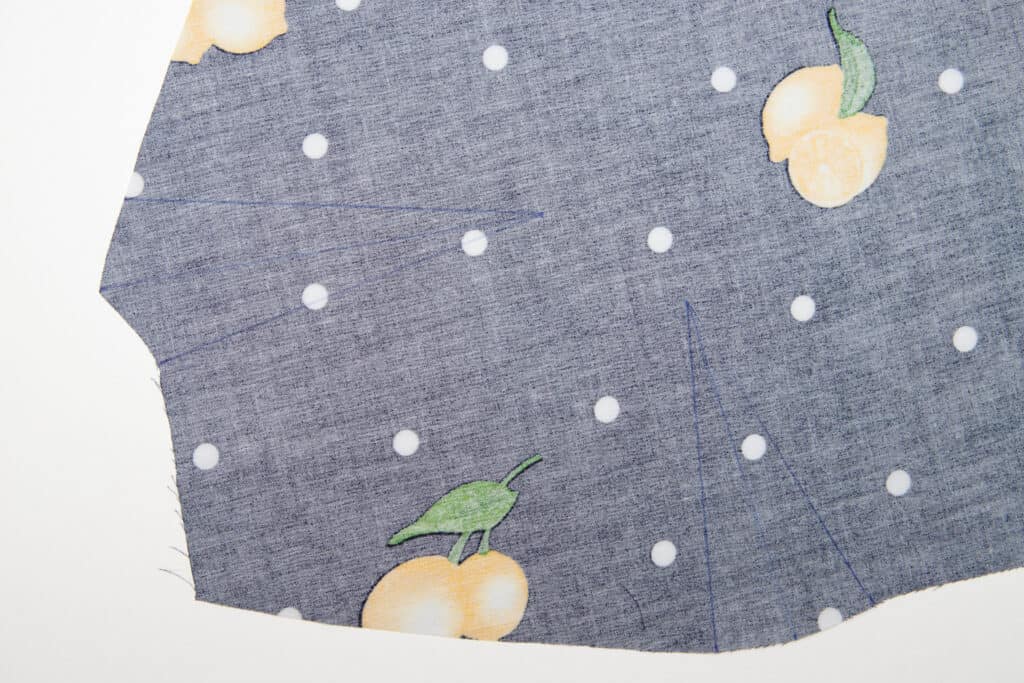
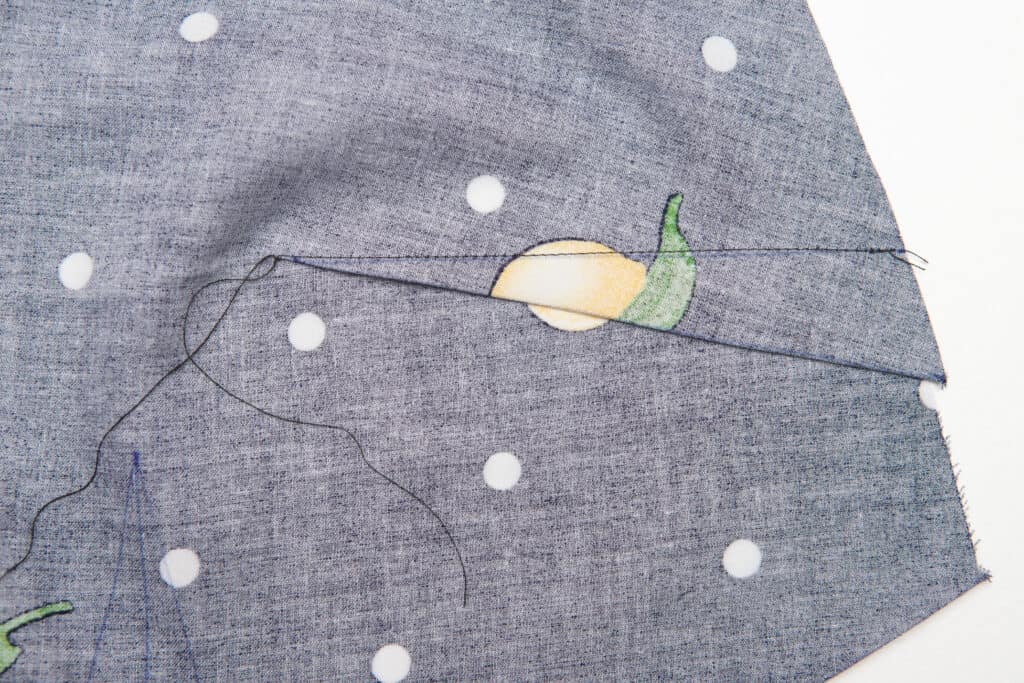
First, I like to mark my dart. One the pattern piece, you will note that just the outside legs of the dart are marked. I like to go ahead and draw in that center line, where the dart folds. It gives me a clear indication on if I am folding my dart on the center. I did mark my darts with an ink pen. I am using dark navy fabric, so I have no fear that the pen will show when I’m done. If you need help in marking your darts, I wrote an entire blog post on marking tools.
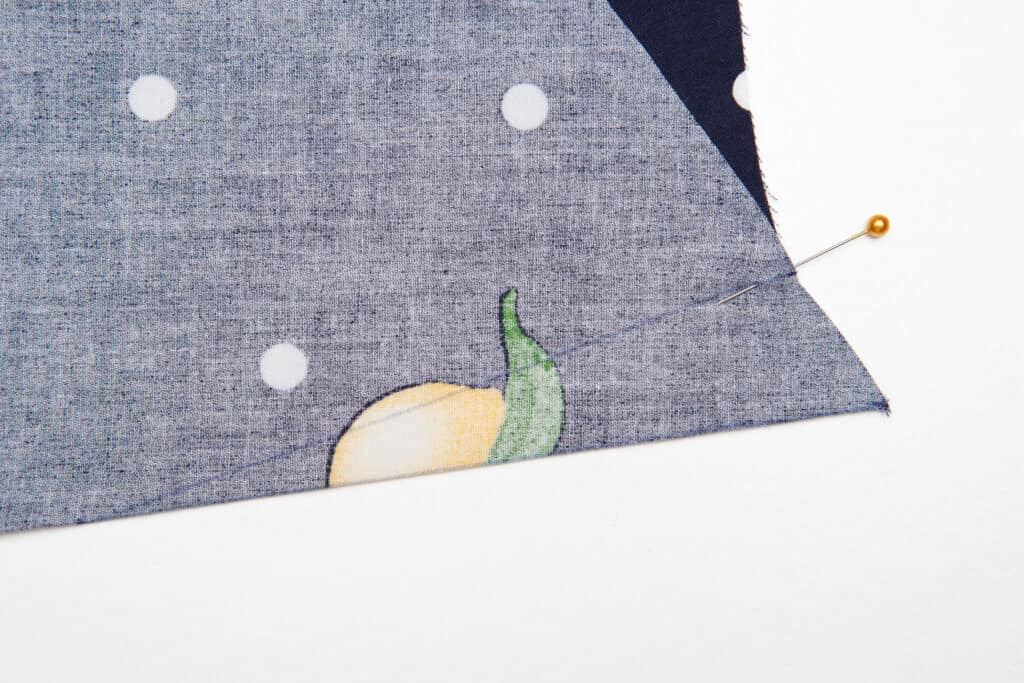
Once you have your darts marked, fold the fabric right sides together along the center of the dart, matching up the legs. I put pins in the ends of my legs to make it even easier to line them up. I like to pin the legs together to ensure they don’t shift. Now press!!! Yes, press that dart on the fold before you sew!! That is going to help your fabric stay in play and not shift around.
Now it’s time to sew. Choose a small stitch, like you would for constructing any seam. Start at the side seam and backstitch. Now, sew to the end of the dart following the line you marked for the dart leg. Sew right off the end of the fabric on that line. Do NOT backstitch at the end!!! You MUST go all the way off the fabric. If you stop even a couple of stitches before the end, you will have a little pucker at the end of your dart. We don’t want that! Once you sew off the edge of the fabric, leave long tails of thread at the end. Gently tie a knot at the end of the tails. Be gentle!! If you pull that knot as tight as you can, you will cinch up the fabric at the end of the seam and cause a pucker. Do you see a trend here? Puckers are the downfall of a beautiful dart. We want to avoid those! On your first step of tying the threads in a knot, be gentle and then on the second step, pull the threads tight to secure the knot. When you trim the treads, don’t cut them right next to the knot, leave an inch or so. If you cut right next to the knot, you risk it coming untied.
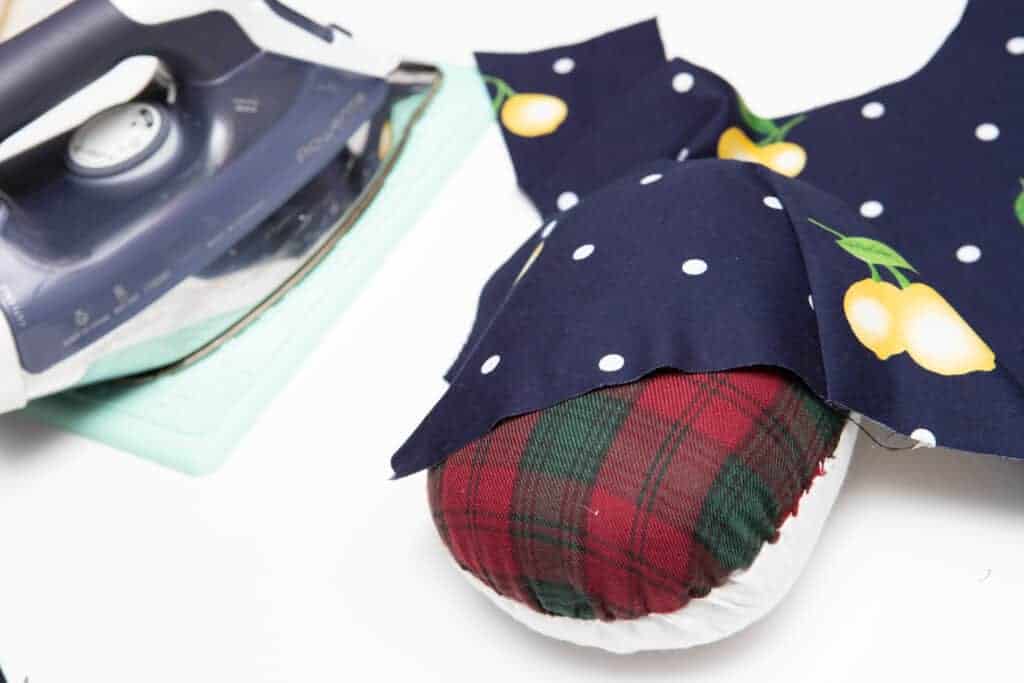
Now, press. For the side seam dart, you want to press the dart downward. If you are sewing the waist dart, you want to press towards center.
A tailor’s ham can make pressing easier, especially when you sew the second dart.
Here is a video of darts being sew.
Sewing the elastic casing
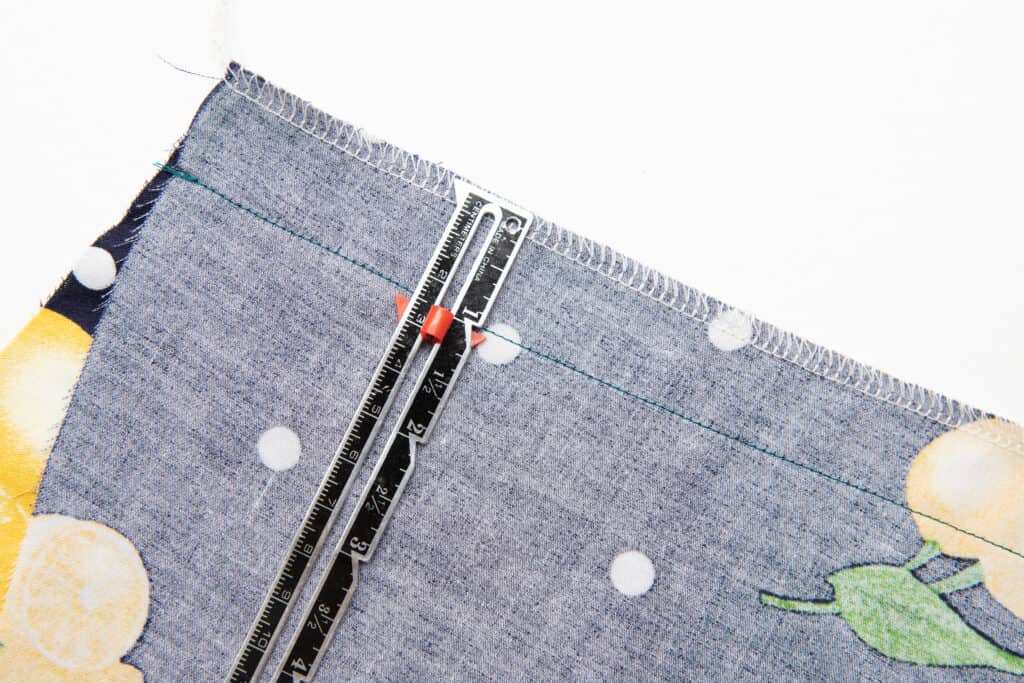
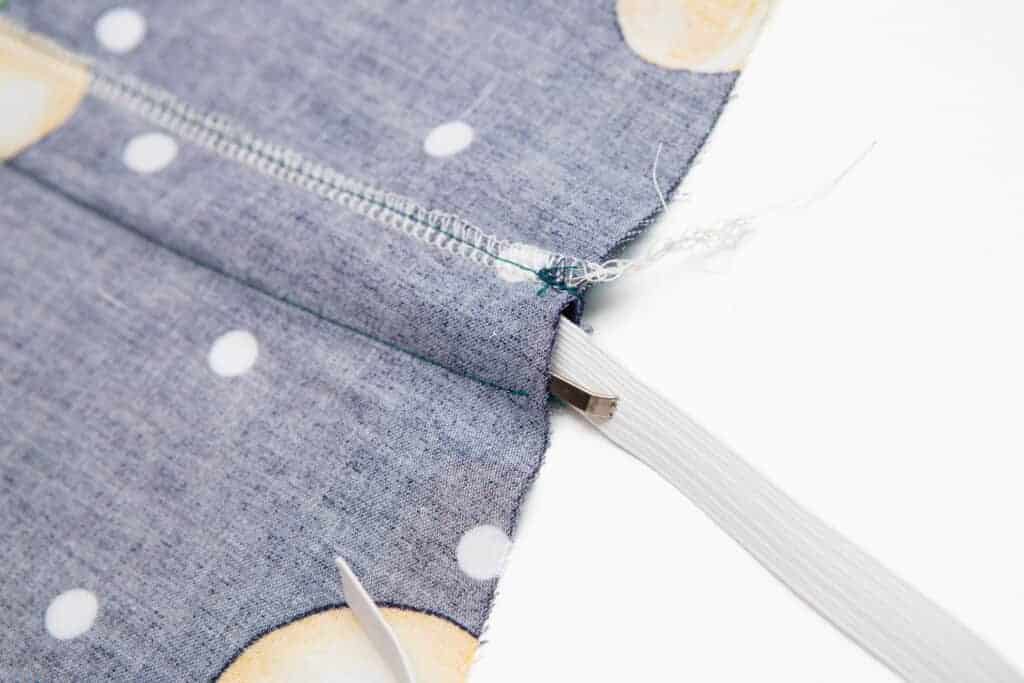
After we have the darts assembled, we need to sew the skirts to the bodice pieces. The back bodice has an elastic casing to create a fitted dress without having to sew zippers or buttons. This feature is another reason the Sonata Dress is the perfect pattern for learning to sew a woven dress!
Attach the skirt front to the front bodice. Do the same for the skirt and bodice back. Now, you will notice that you are creating a casing for the elastic when you attach the skirt and bodice backs. Watch your seam allowance!! You must use a 1″ seam allowance to sew the back waist seam. This creates a casing that encloses the elastic so that it doesn’t rub against your skin. It also create a very nice finish inside.
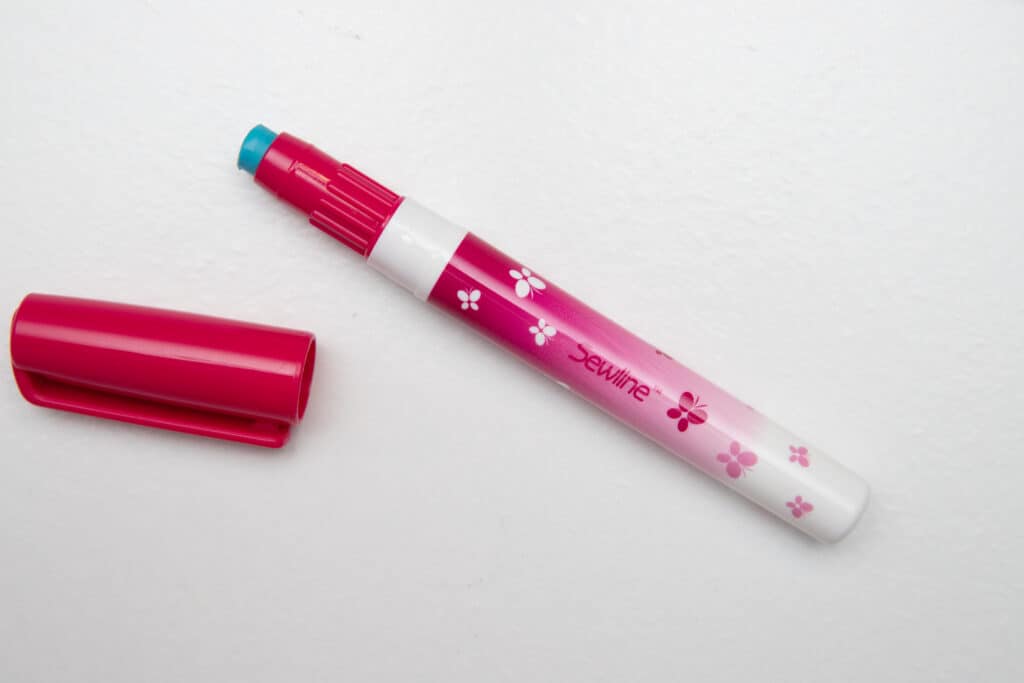
If you have trouble keeping the fabric in place while topstitching the casing, you can use some hem tape or fabric glue to hold things in place. A Sewline Glue Pen is wonderful for this!! I love this thing way more than I ever did the Elmer’s Glue Sticks. It’s not nearly as goopy and has a more narrow stick that makes it cleaner to apply.
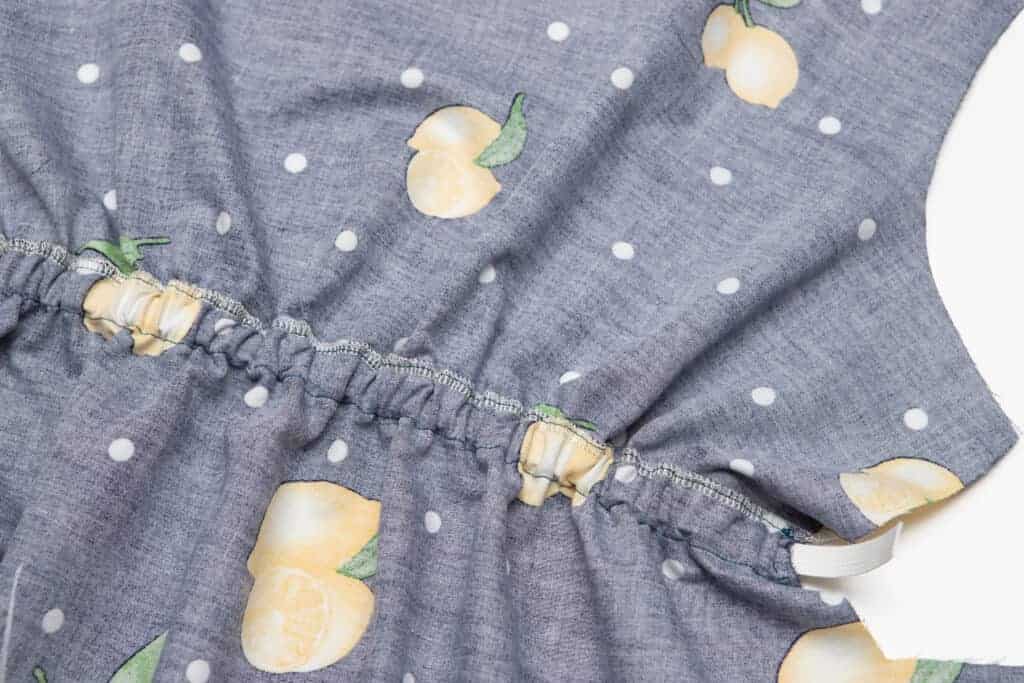
After you have your casing sewn, feed the elastic into place.
Once the elastic is in place, secure both ends with stitching. (I have a bit of a sway back so you may notice that I pulled my elastic a bit tighter. If you think you might need to adjust the elastic, you can pin it into place on one end for now and sew on either side of the casing when sewing the side seam. Then try on the dress and snug up the elastic if needed, then sew the gap closed.)
Colorblock Sonata Dress Hack
If you have been joining me for sewing along for a while, you know I love a good hack! And I’m not about to let you down during the Sonata Sew Along! Now the first hack I’m sharing is one I’ve shared before, but I just love it that much! The colorblock dress hack!
Now, this post is actually two hacks in one. I shared how to create a scoop neck, omitting the keyhole feature. (I have done the same thing to the dress being sewn in this tutorial.) And, I shared how to create a color block design while keeping the curved hem the Sonata Dress has. My daughter got so much wear out of that dress!! Sadly, kids grow and it’s been passed along. But the blog post lives on and you can read all about how I created it!

Sonata Sew Along Schedule:
- Monday: fabric choices, measuring, creating a custom fit
- Tuesday: sewing the bodice, color block skirt hack
- Wednesday: sewing the facing, gathered skirt hack
- Thursday: lined dress, sewing side seams, maxi skirt hack
- Friday: sewing the sleeves, hemming, sleeve hack