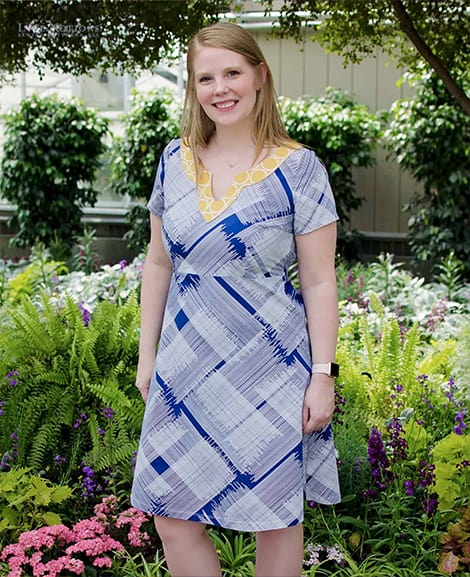
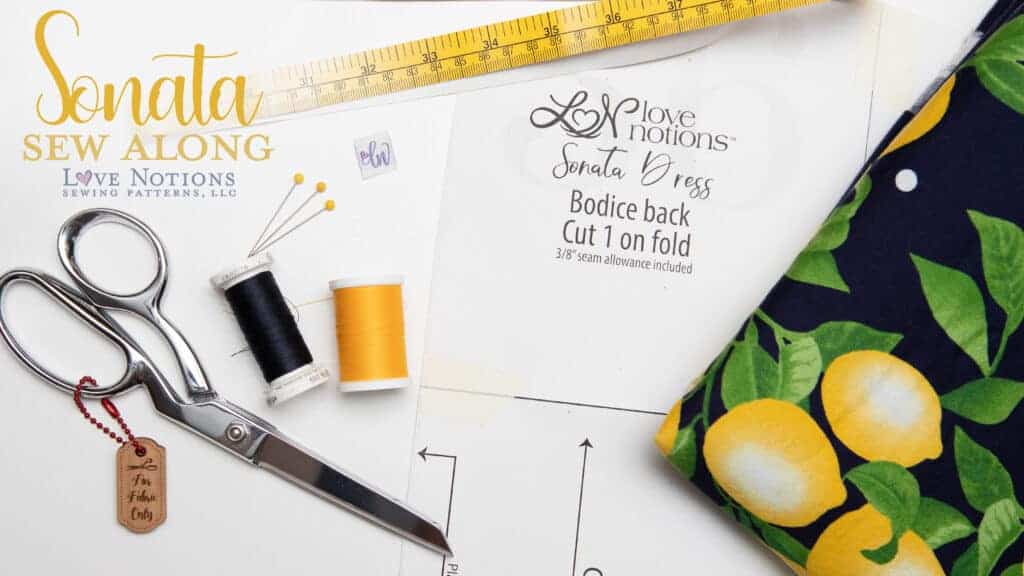
Sonata Sew Along: Day Five
It’s our final day in the Sonata Sew Along. I hope you have had as much fun as I have had! Today, we will be working on sewing our sleeves. The Sonata Dress includes four sleeve options, short sleeve, flutter sleeve, bishop sleeve, and sleeveless. That’s a lot of options! But what if you want more? I’m also going to show you how to add more choices!
Let’s sew sleeves
Before we add our sleeves, we need to sew up our side seams. Remember to resist the urge to quickly sew the side seam with your serger. Take the time to sew those side seams with a straight stitch on your sewing machine. Pivot at the markings around the pocket for a nice clean side to your skirt. To finish the raw edge with either your serger or overcast stitch, clip into the seam allowance so those pockets fold into the seam allowance cleanly.
The first step to sewing a set in sleeve is to sew a couple of rows of basting stitches along the seam cap. This will help you ease the sleeve into the armscye (arm hole) of the bodice.
Sew the bottom seam of the sleeve and press it towards the back. Slide the sleeve into the bodice with the right sides together. Line up the markings (make sure you match the front of the sleeve to the front of the dress and the back to the back!!!) and line up the bottom seam of the sleeve with the side seam of the dress and the center of the sleeve cap with the shoulder seam. Now, slightly gather the fabric along the sleeve cap so that it fits into the armscye space. You aren’t gathering much! Just a bit. And no gathers will show on the sleeve when you are done sewing.
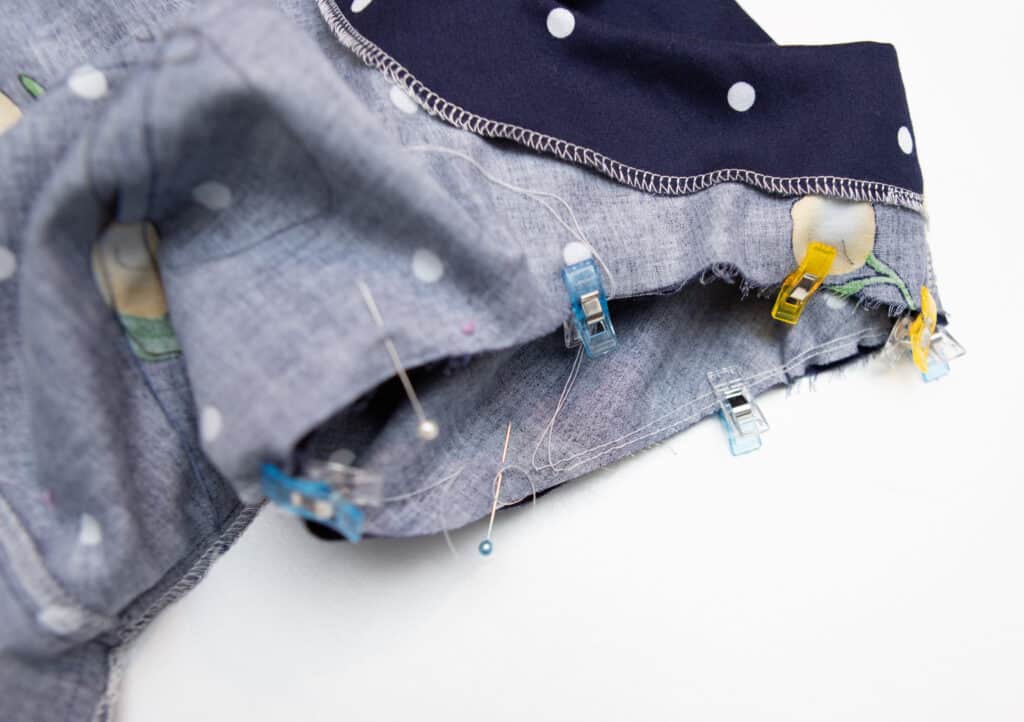
See the slight ripple to the sleeve, that is where the sleeve is eased in.

Sew the sleeve in place, turn right side out and press the seam allowance towards the bodice. Bam! A beautiful sleeve!

How to finish the sleeveless option
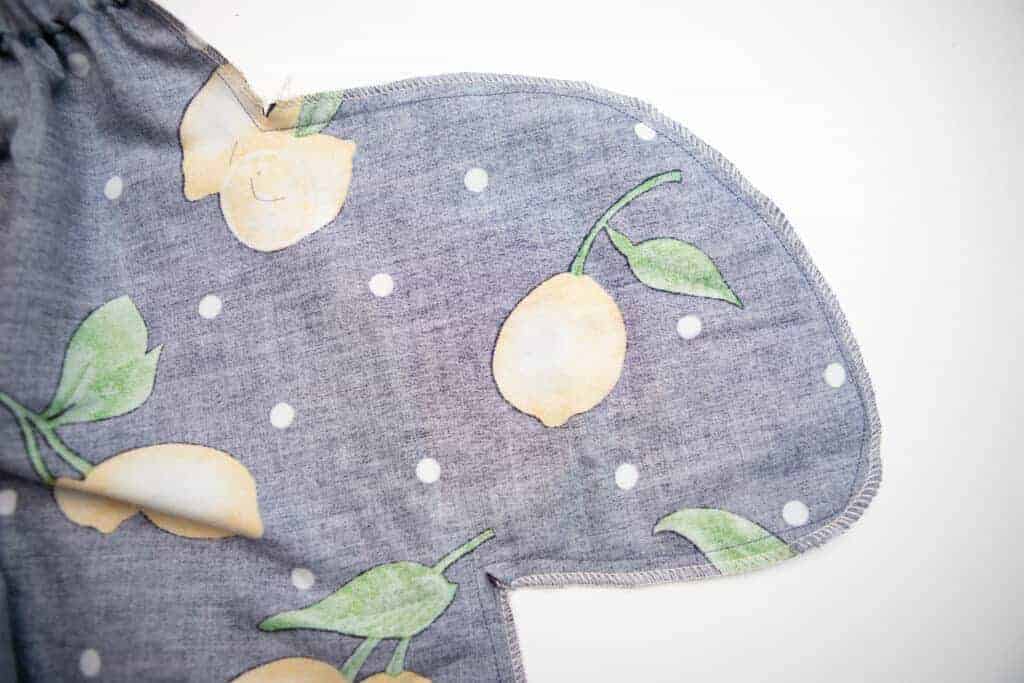
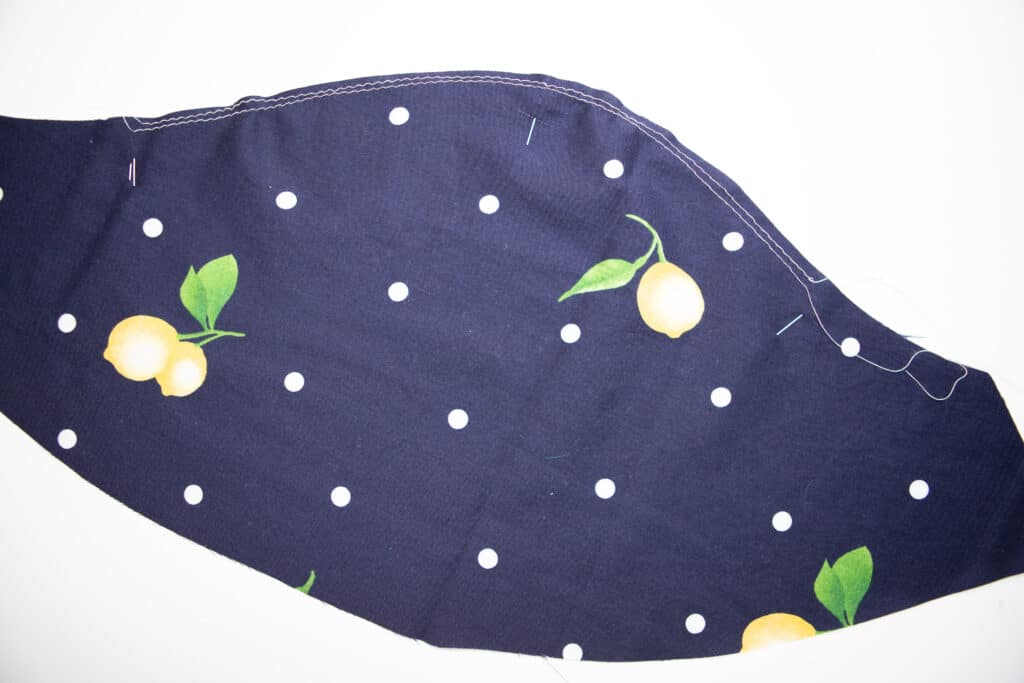
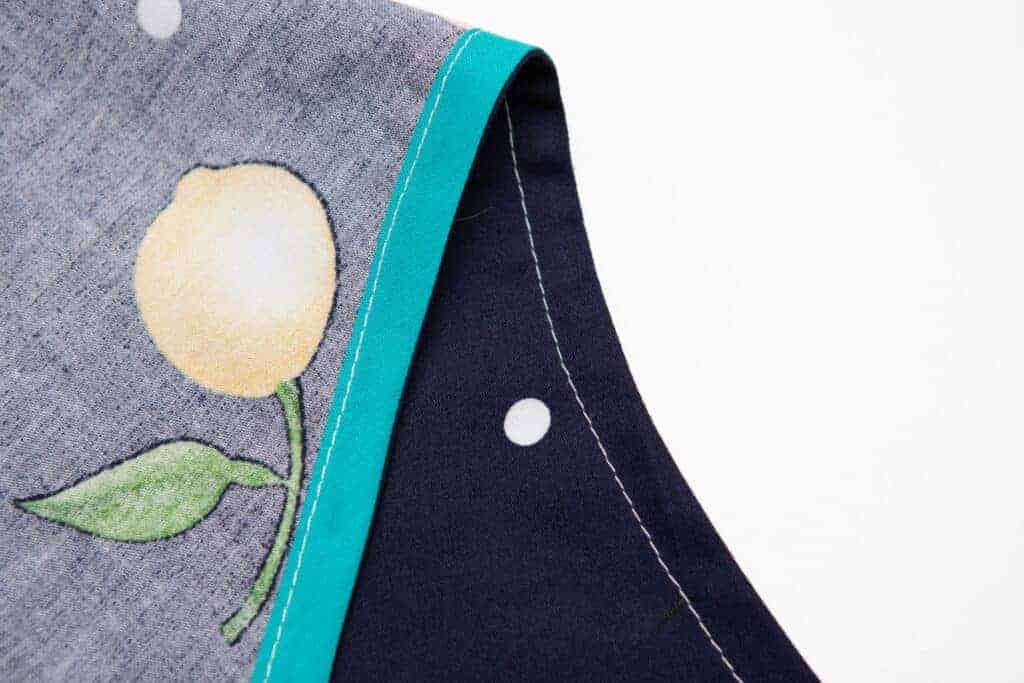
If you are sewing the sleeveless option, you can either sew the lined view and do the burrito roll method as shown in the video in the pattern. Or, if you are using the facing, you will want to finish the raw edge with bias tape. You can make your own bias tape following this tutorial from the Pullover Sew Along. You would want to make single fold bias tape that measures 1/2″ finished width, so you would start with a strip cut to 1″ wide.
Start with your bias tape open and sew along the fold closest to the raw edge of the fabric, with right sides together.
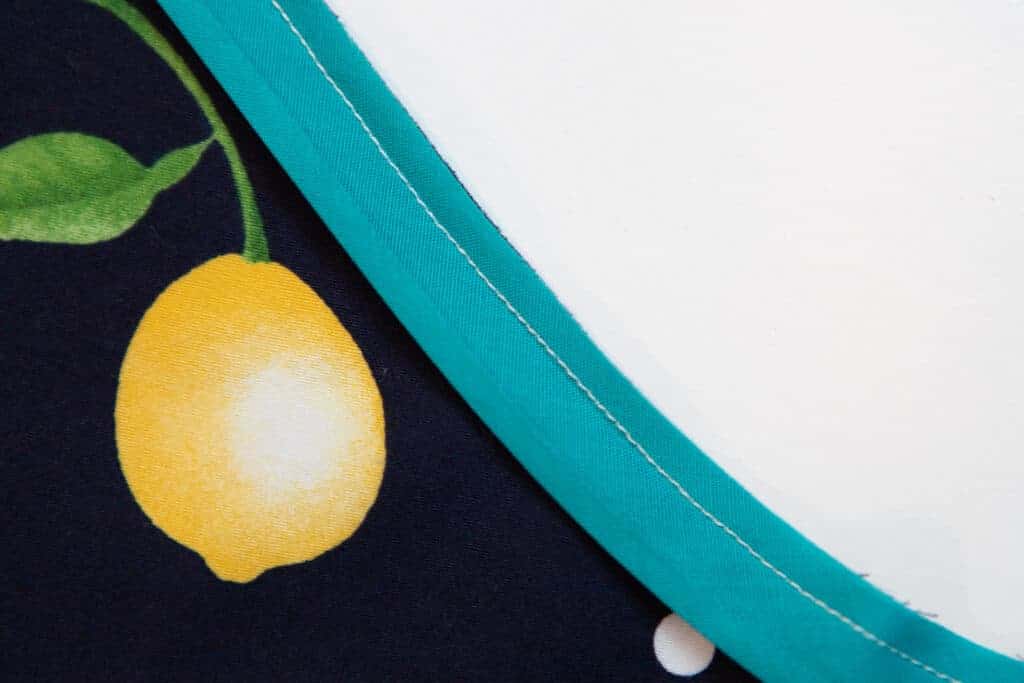
Then, flip the bias tape around to the back along the seam you just stitched. Press in place and then topstitch along the edge of the bias tape. Below shows you what it will look like on both the right and wrong sides of the dress when finished. When you are done, press it again one more time to set the stitches in place.
Mashing sleeves
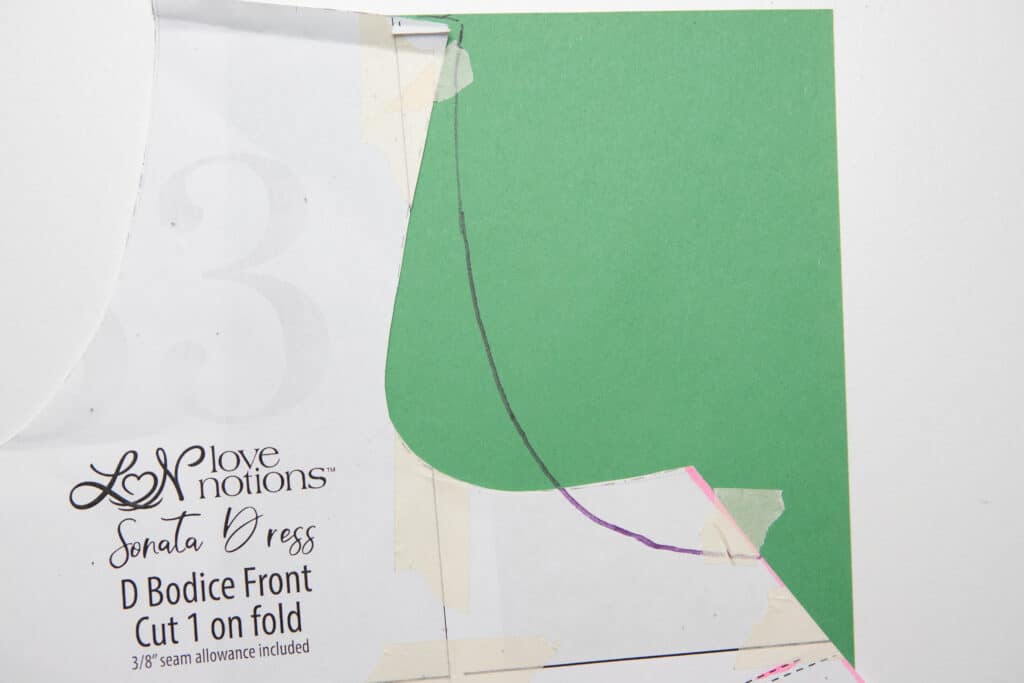
Sonata includes four sleeve styles, but say you want a 3/4 sleeve, or a flare sleeve? Cadence has a variety of sleeve options and is super easy to mash with the Sonata Dress pattern to take advantage of them! To get started, you need the front and back pieces of both the Sonata and the Cadence. Tape a piece of paper behind the armscye of the Sonata Dress.
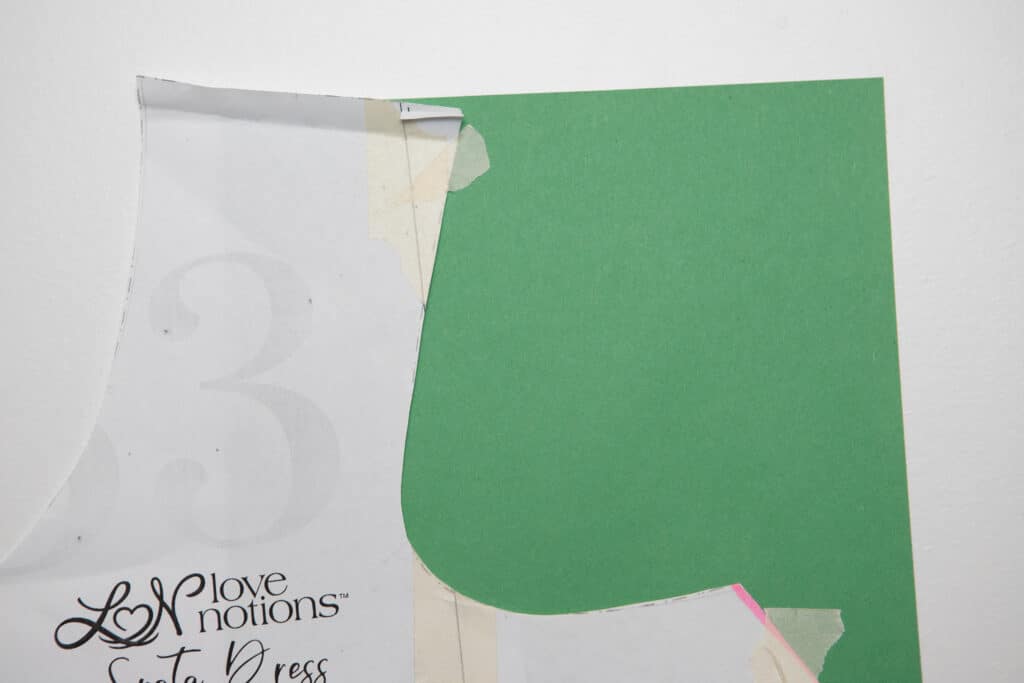
Place the Cadence front on top of the Sonata front bodice. Make sure the side seams and center line up, and trace the armscye from Cadence to Sonata. Do the same for the back.
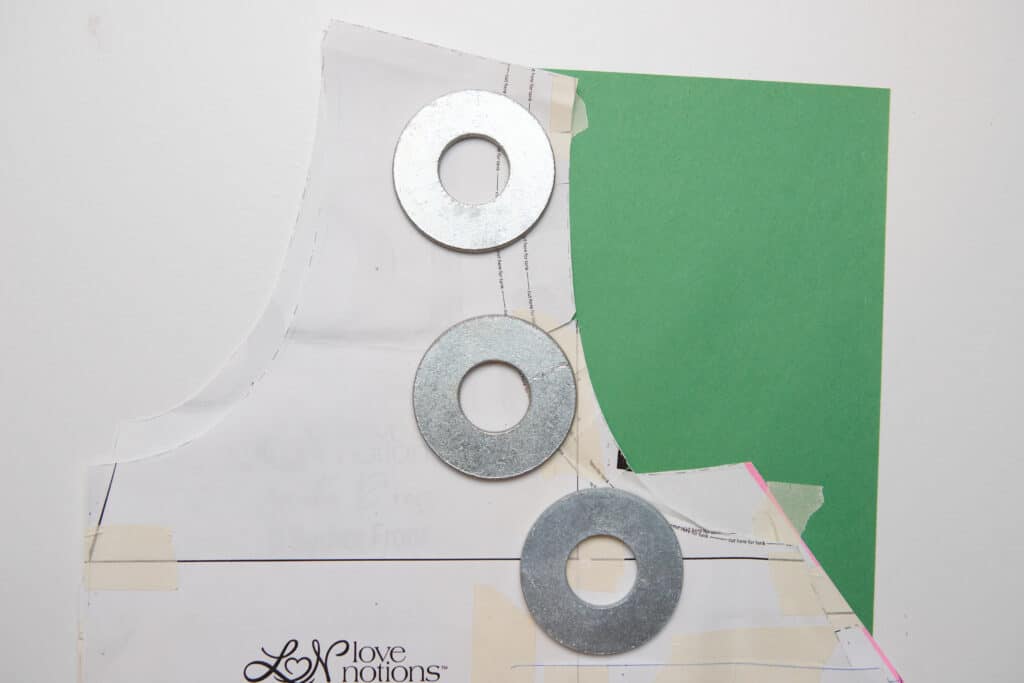
Now, you can use the Cadence 3/4 and flare sleeves on your Sonata Dress!
Sonata Sew Along Schedule:
- Monday: fabric choices, measuring, creating a custom fit
- Tuesday: sewing the bodice, color block skirt hack
- Wednesday: sewing the facing, gathered skirt hack
- Thursday: lined dress, maxi skirt hack
- Friday: sewing the sleeves, hemming, sleeve hack