

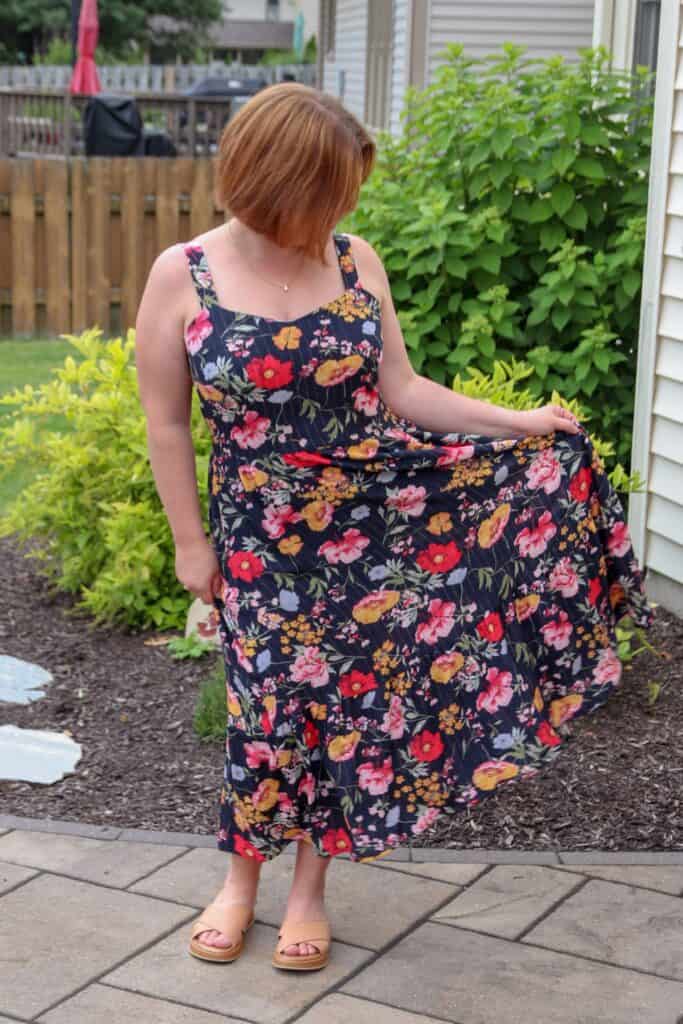
We are thrilled with the new Tempo Sundress and are excited to share a new hack with you for it: a bodice that is all shirring!
Here’s An with the hack tutorial.
The versatility of the Tempo Sundress

Hello everyone! I’m Annick from Flaxfield_Sewing on Instagram and from the blog: Flaxfieldsewing By Anca. I’m a proud ambassador for Love Notions Patterns. If you like my post, I’d be so honored if you would follow me.
Today I would like to share with you my enormous enthusiasm about the Tempo Sundress. This pattern is extremely versatile! From the moment Tami (The designer behind Love Notions) gave us a sneak peek of this dress, I immediately saw so many hacks appear before my eyes.
In order not to make your heads as messy as mine, I’m going to limit myself today to 2 ideas that I would like to share with you.
Are you ready? I’m so excited about this!
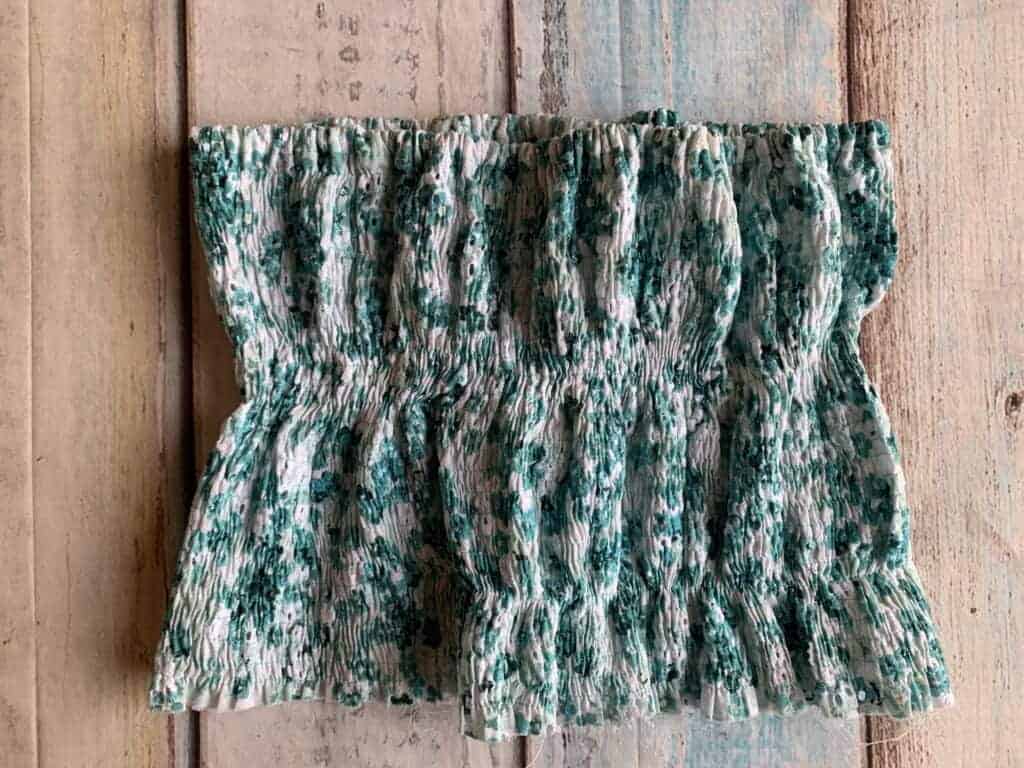
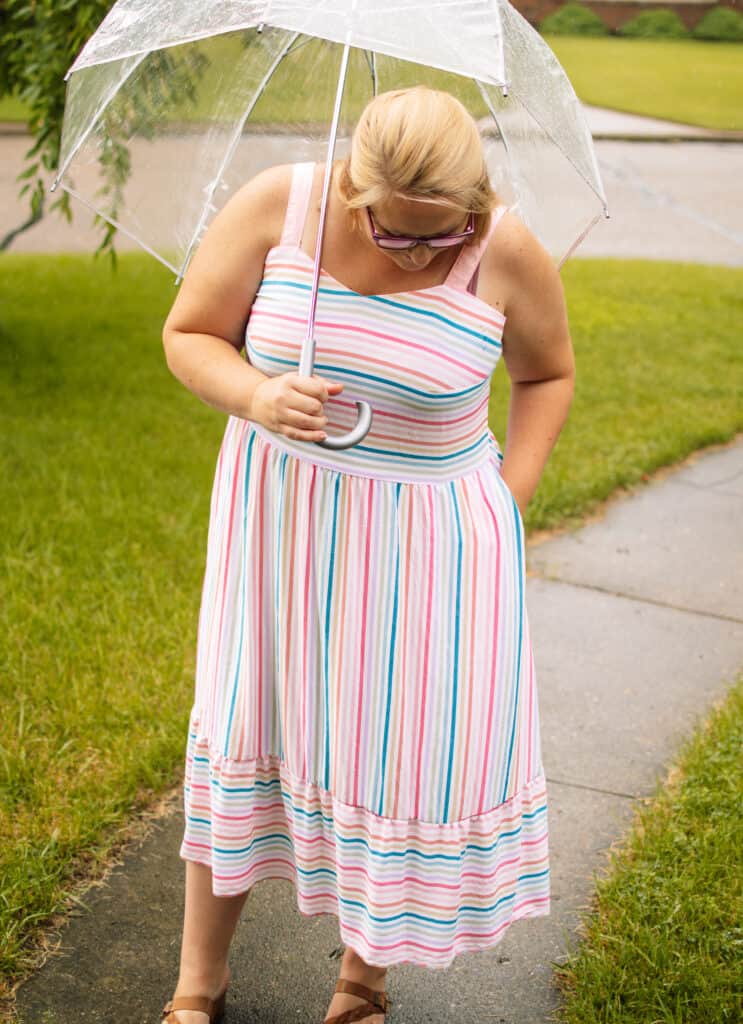
Hack #1: The tempo with a fully shirred top.

What do you need for this beautiful dress?
- The Tempo Sundress Pattern
- 1 to 2 bobbins of shirring elastic
- 0,6 cm or 1/4 inch width elastic
- Clear elastic
Ready to start?
- First we’re going to make the top piece.
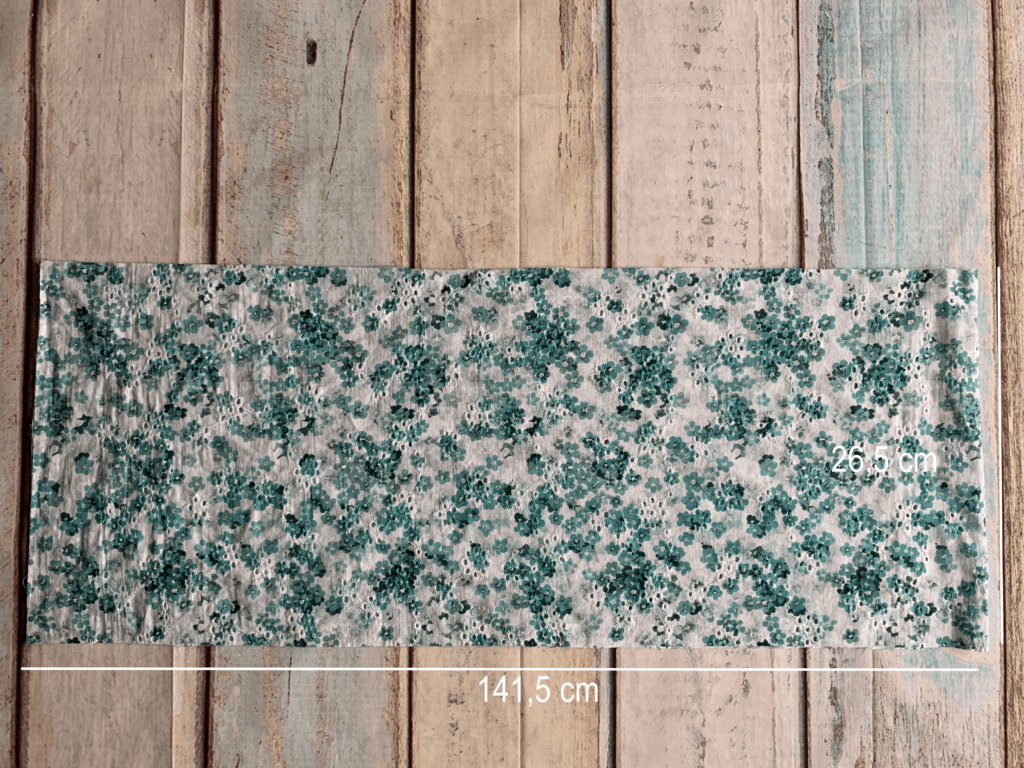
This will be a simple rectangle.
Measure your full bust and multiply this number by 1,5. Now you know how wide you have to cut the fabric for your top. If your fabric is wide enough, you can cut your top out of 1 piece. Then only add 2 cm or 3/4 inch seam allowance to this number. If your fabric is not wide enough, divide the number into 2 and also add 2 cm or 3/4 inch seam allowance on both pieces.
To determine the height, measure from your waist, over your chest. Decide for yourself how high you want your top to come and add 3.5 cm or 1 3/8 inch extra to this number.
As an example, I’ll take my measurements. My chest circumference is 93 cm and I want my top to be 23 cm high.
Width: 93 cm x 1,5 = 139,5 cm + 2 cm Seam allowance = 141,5 cm width (or if my fabric is not wide enough: 2 times 72 cm width)
Height: 23 cm + 3,5 cm = 26,5 cm height
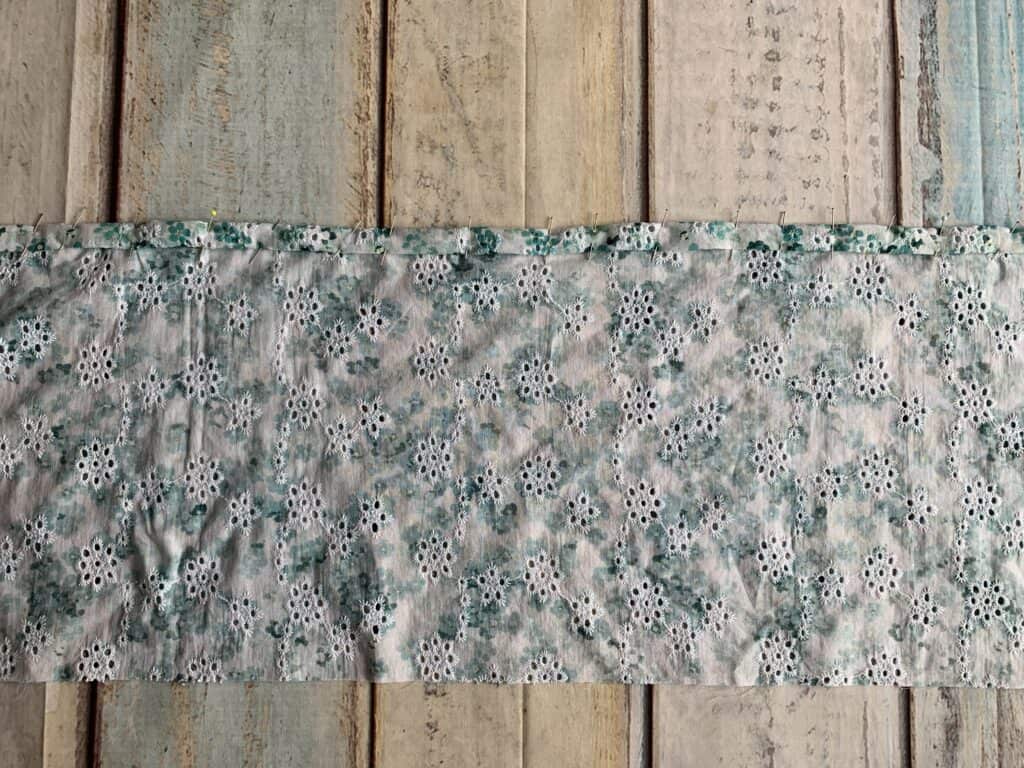
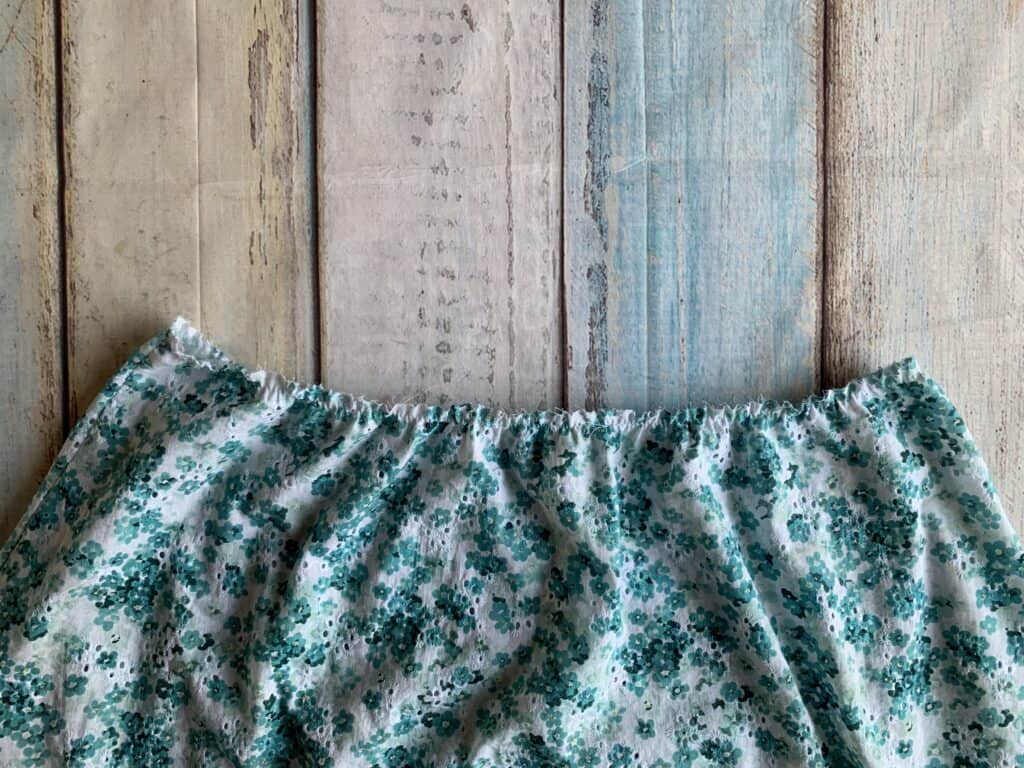
- We now finish the top of the rectangle by first folding it 1cm / 3/8inch and then 1.5cm / 3/5inch. This forms a casing to pass the elastic later. Topstitch in place.
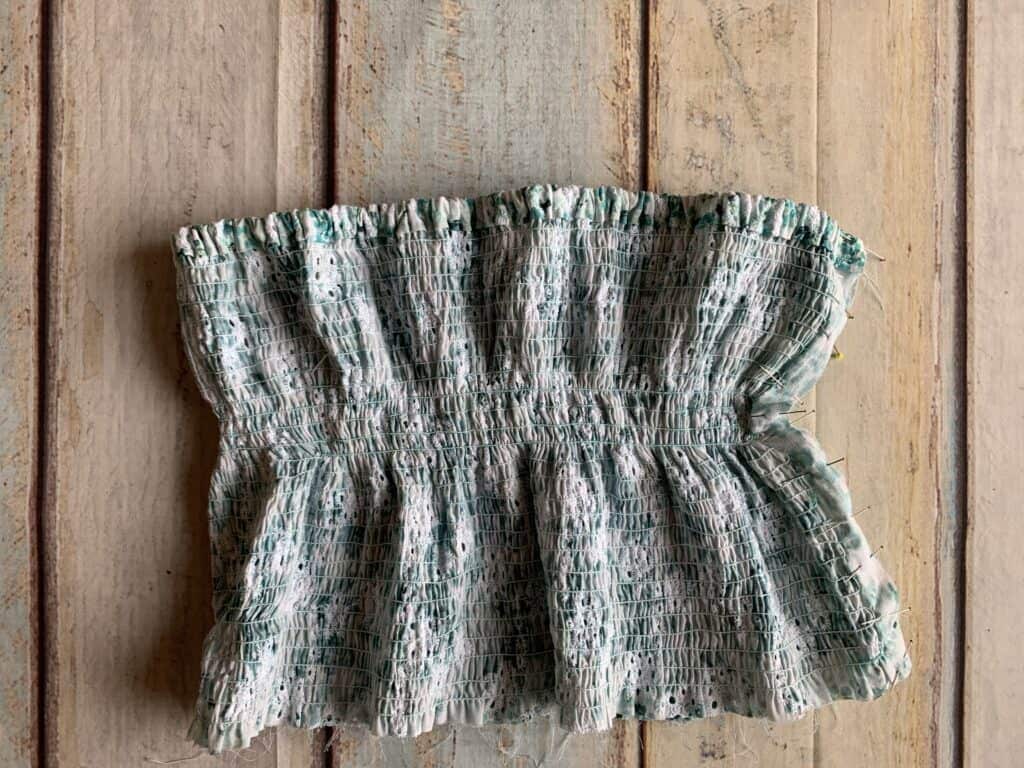
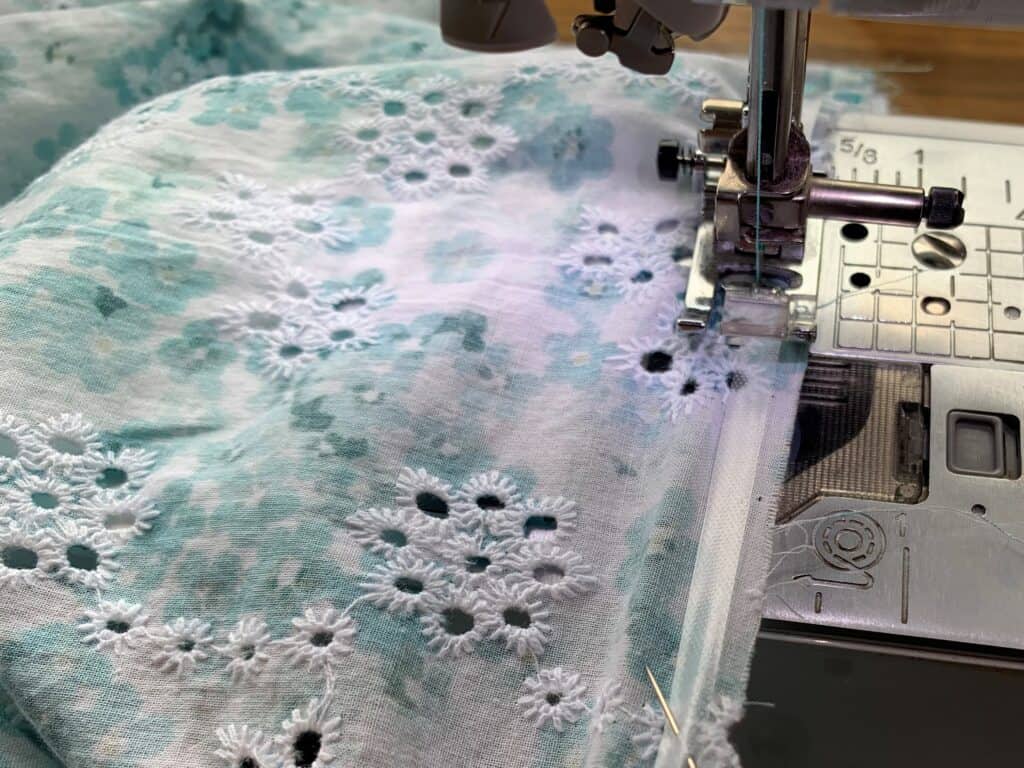
- Now we’re going to start the real thing.
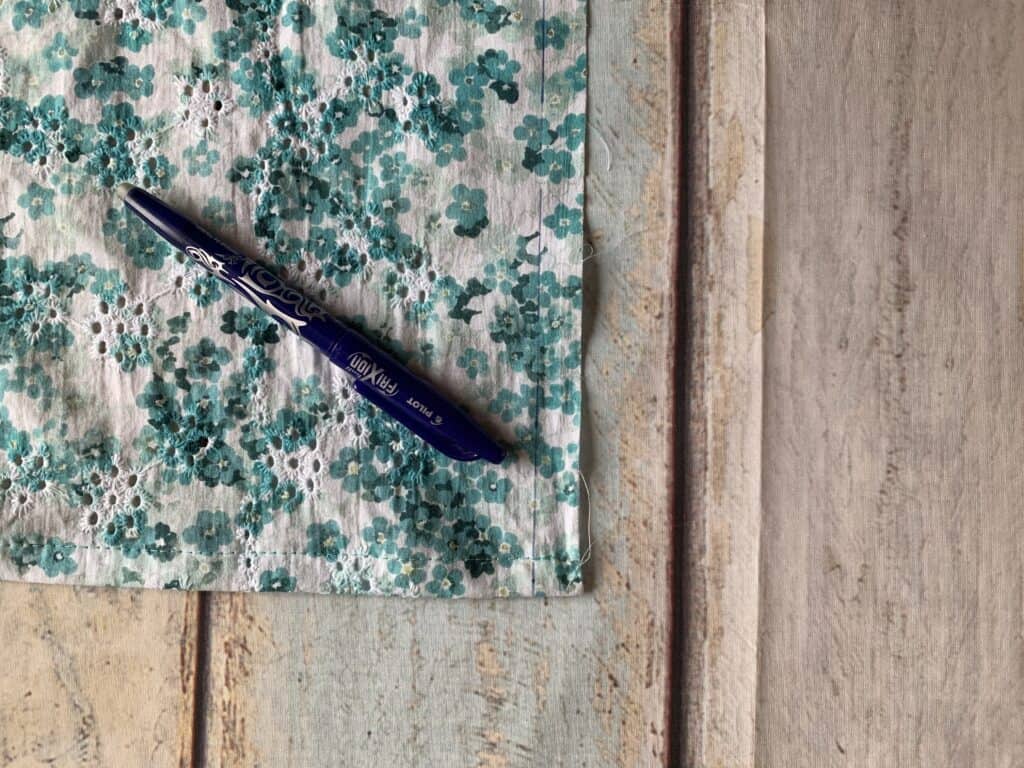
Draw a line at 1 cm or 3/8 inches on both short sides of your rectangle. I use a Frixion pen for this, the ink disappears when ironing.
On this line you will start and end every row.
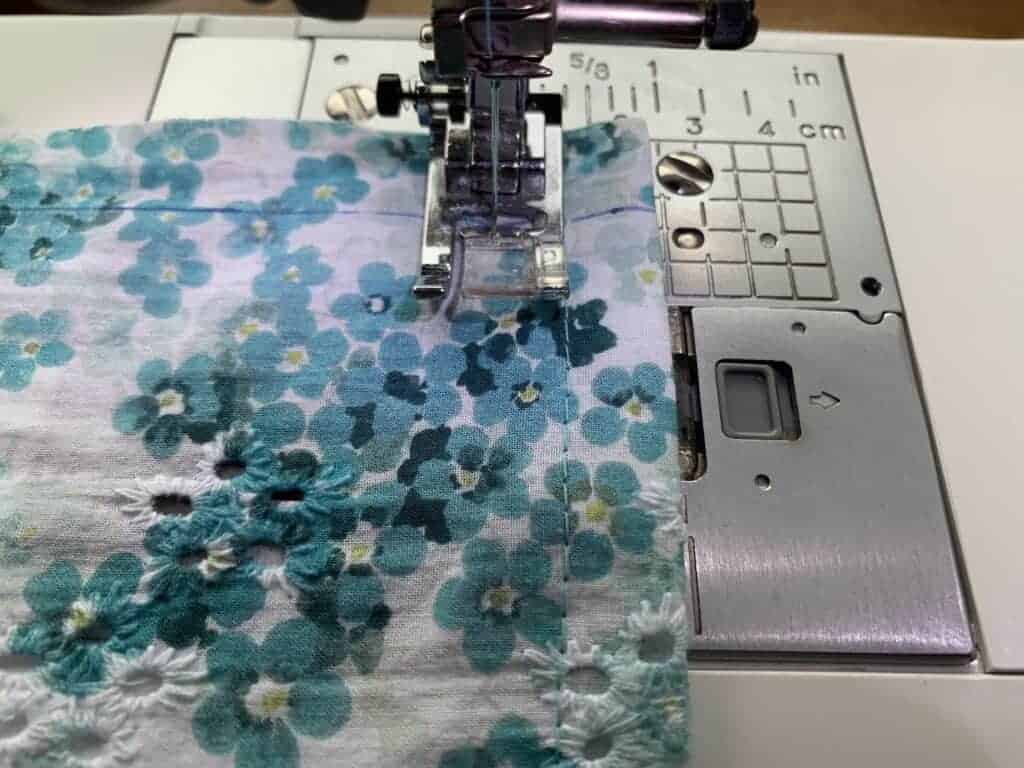
Put your needle in the middle position. I sewed my rows based on the width of my sewing foot. You can also draw lines on your fabric if you like this more. Start and stop each row on the line you’ve drawn before.
Stop sewing rows 1 cm from the bottom edge. This is your seam allowance to attach your skirt to.
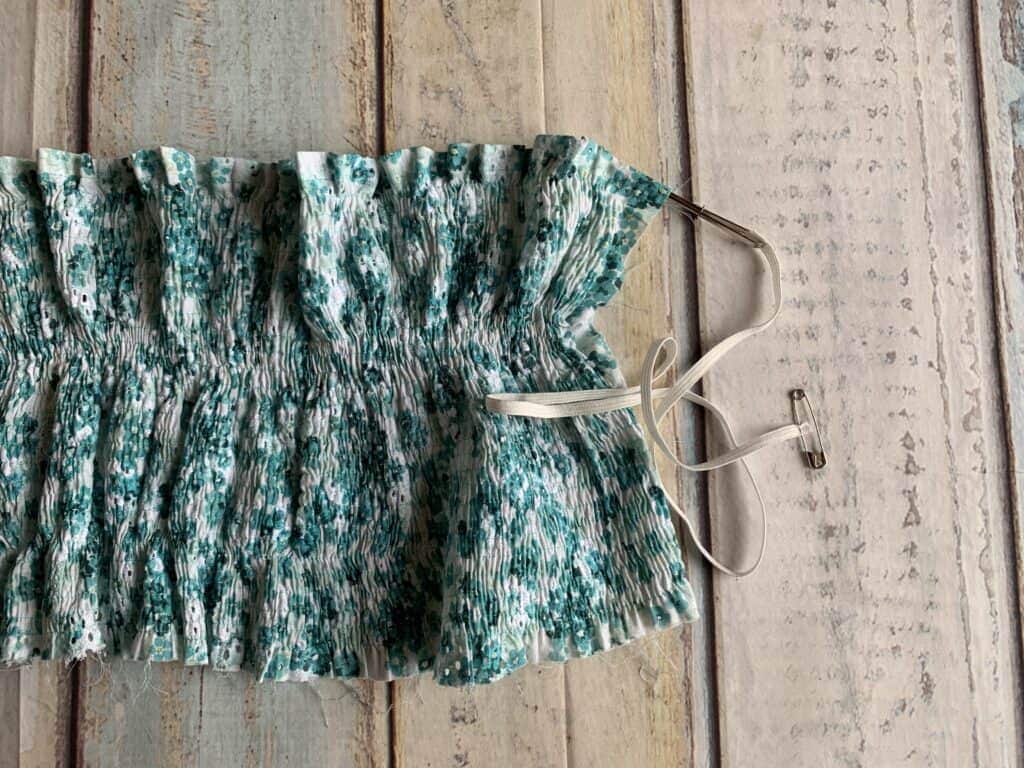
- Wrap your regular elastic around your upper bust. You can do this as tightly as you like. Overlap by 2cm or 3/4 inch. Cut.
Thread this elastic through the casing you sewed in step 2. Sew in place at the beginning and at the end, within the seam allowance.
- Pin your top together along the short side, right sides together. Sew with 1cm / 3/8 inch seam allowance.
- Sew your skirt as described in the instructions.
Now we’re going to gather the skirt. We can’t do this the classic way (with 2 rows of basting stitches) because the skirt has to stretch a lot at the waist. The stitches would snap when we put on the dress. Instead, we’re going to use clear elastic.
Measure the length of your clear elastic. This should be the same length as the bottom of your top + 2cm / 3/4inch seam allowance.
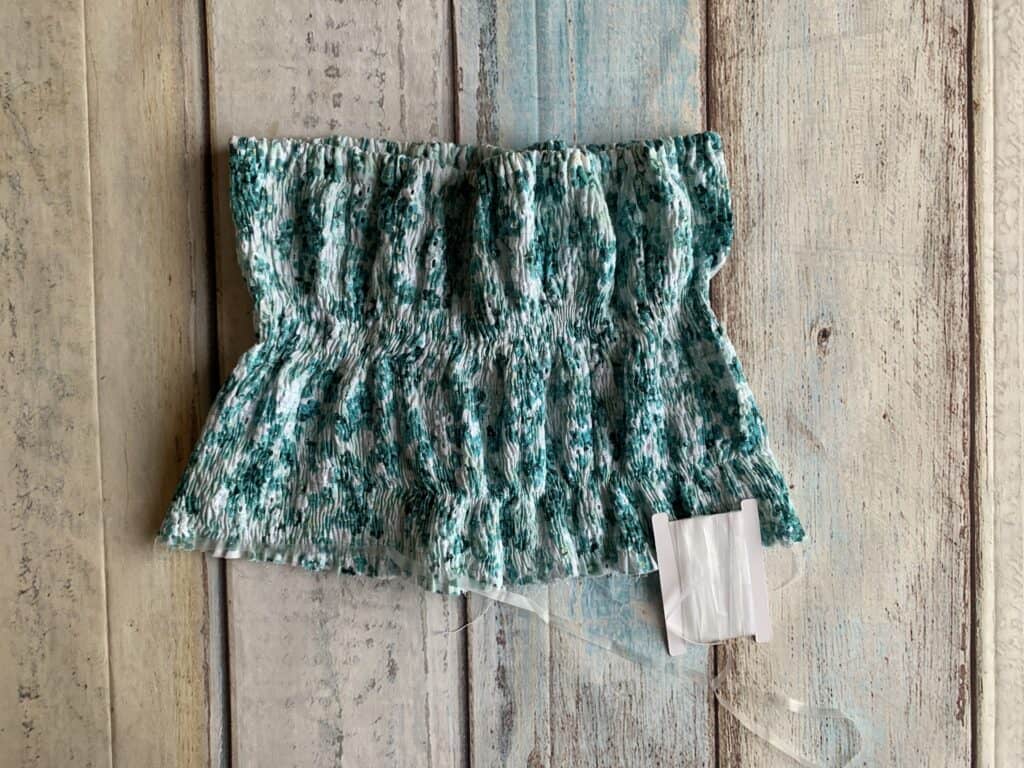
Sew the ends of the clear elastic together. Make sure the elastic isn’t turned. You’re going to have a circle now. Divide this circle into 4 equal parts. Mark each fourth with a pin.
Divide the top of the skirt into 4 equal parts. Pin the 4 points of the skirt and of the clear elastic on each other with pins. Sew the clear elastic on the skirt as you stretch it out and divide it between the pins while sewing. This technique gives you beautiful even gathers and ensures that you can still stretch the waist over your hips.
- Sew the bodice to the skirt in the same way as described in the original pattern.
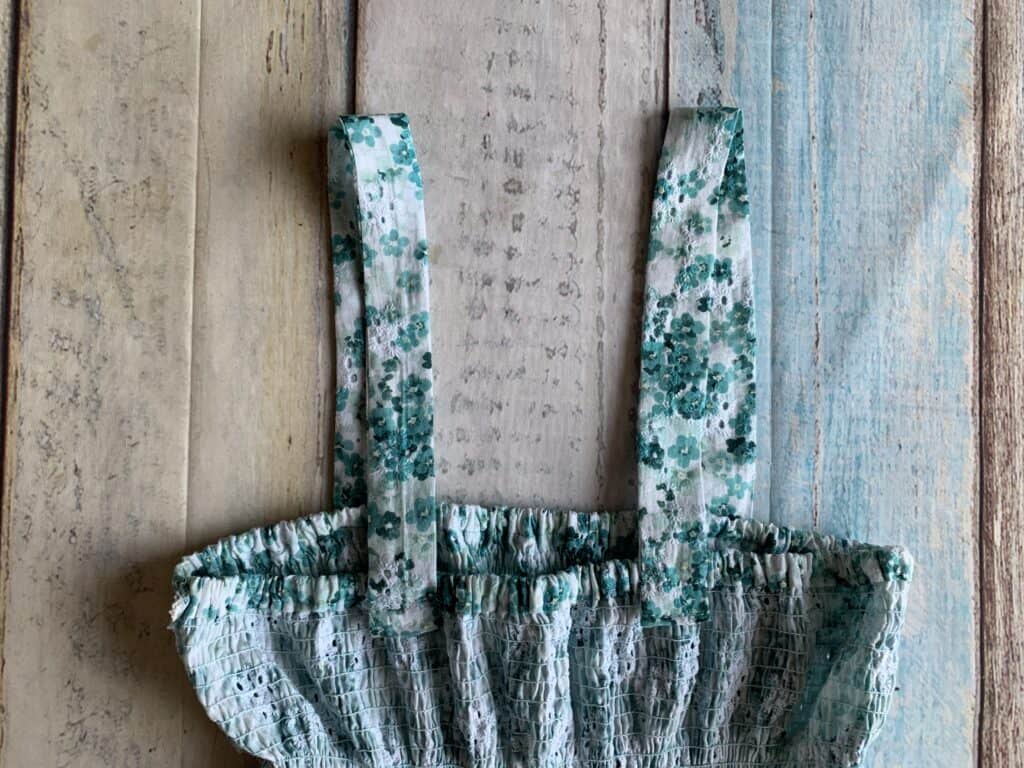
- Put the dress on. You can wear it like this. However, if you want more security, you can certainty adding straps to it. Measure how long your straps should be, with your dress on. Add 5cm or 2inches to this measurement. Take the original strap pattern and lengthen this to de size that you just determined.
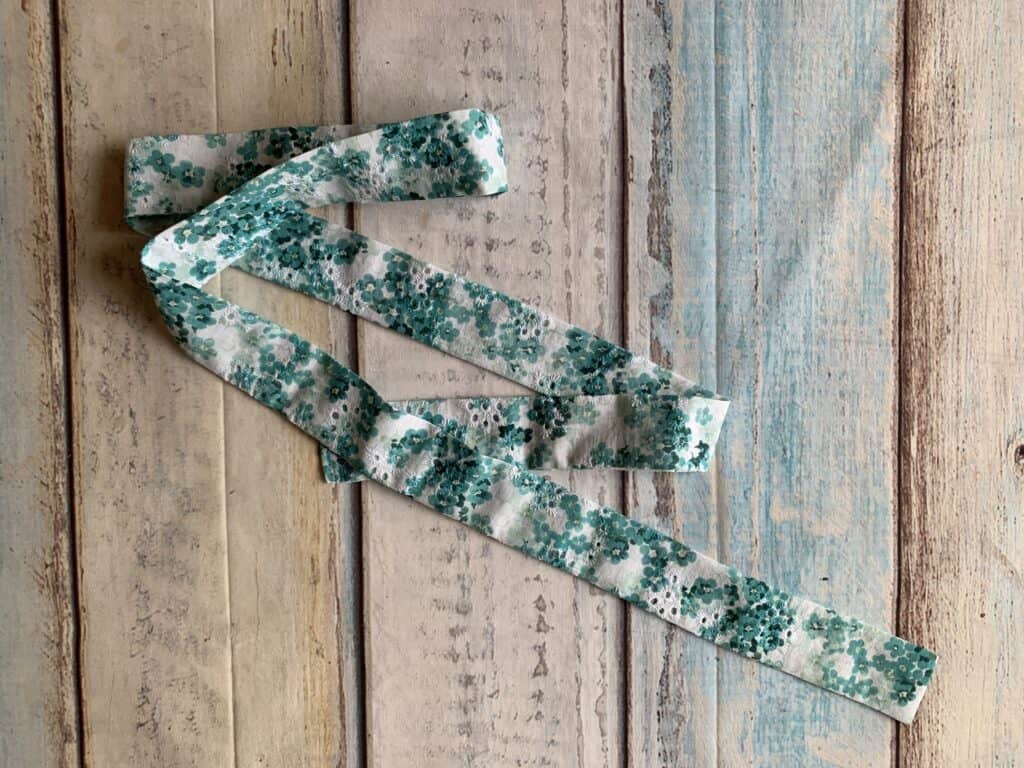
Sew them as described in the pattern, but fold the top and bottom edge 1cm / 3/8inch to the inside before sewing your topstitching.
Pin them to your dress over your bra straps. Use 1.5cm or 5/8 seam allowance. Sew in place.
- If you want, you can also make a belt. I’ve cut a rectangle of 10cm or 2 inches wide over the entire length of my fabric. Sew this rectangle in the same way as you did with the straps.
Congratulations! Your beautiful dress is ready!!!!!!!


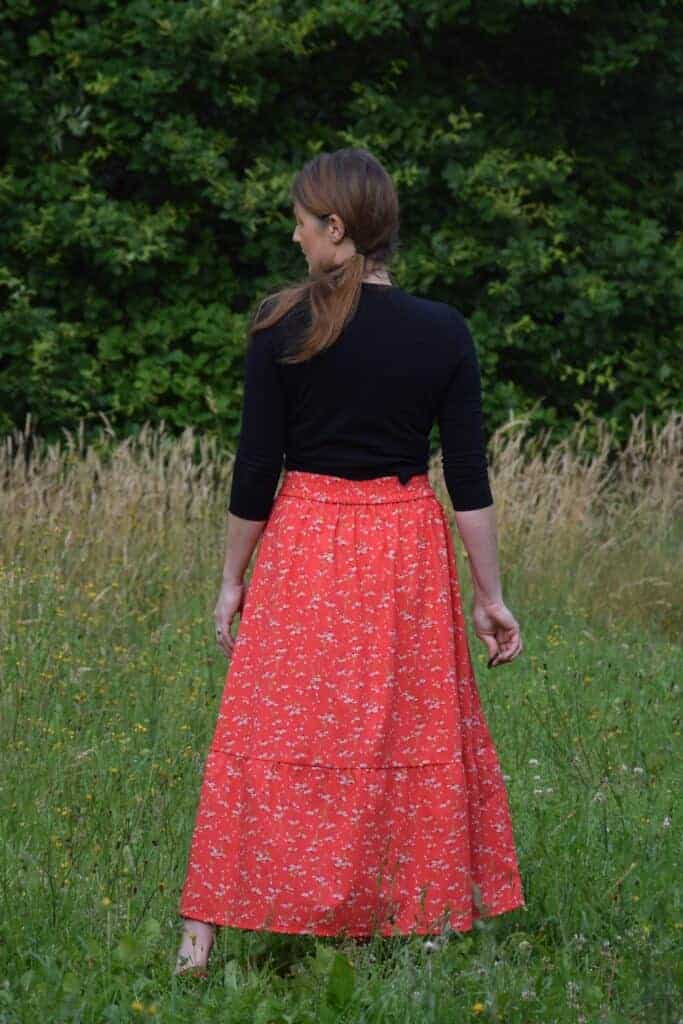
Hack #2: The tempo skirt.

What do you need for this on trend skirt?
- The Tempo Sundress Pattern
- Waist elastic: 5 cm or 2 inches wide
- Non-stretch interfacing
Ready to start?
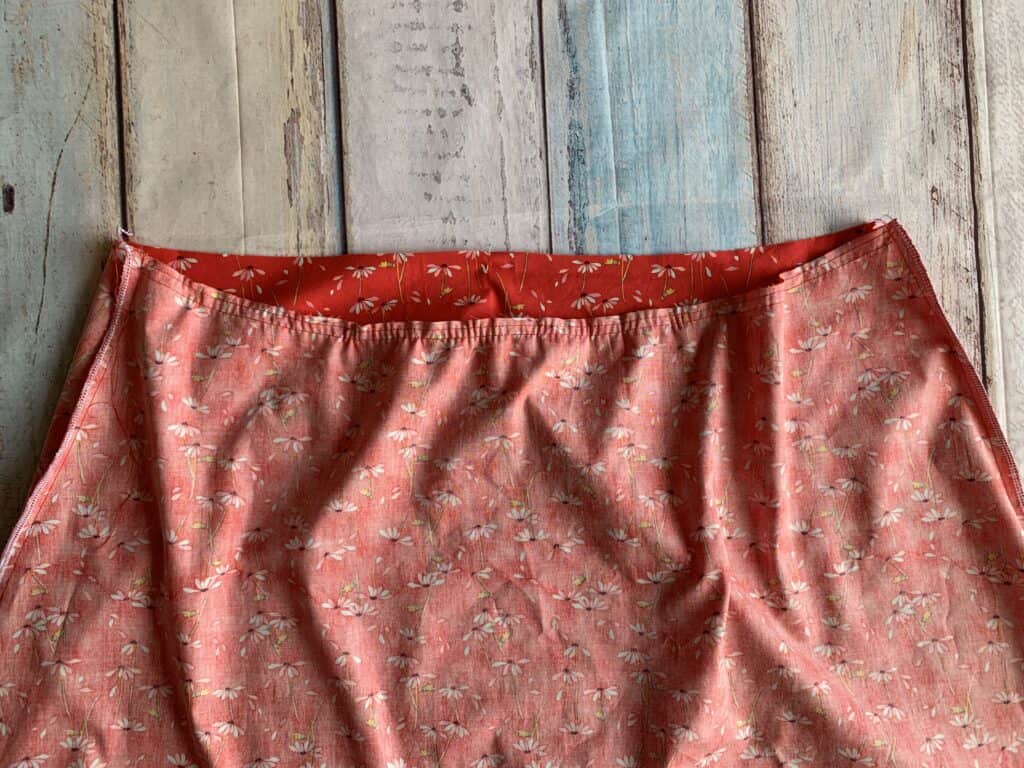
- You need 2X the skirt and 2x the bottom tier from the original pattern. Sew the skirt completely according to the instructions but gather only the front. Don’t gather the back.
- We’re going to sew a waistband onto the skirt now.
The waistband consists of 2 parts: a front waistband and a back waistband.
Take your waist circumference and divide it by 2. This number + 2 cm seam allowance is the length of your front waistband. The width is the width of your elastic + 2.5 cm or 1 inch seam allowance.
Cut this size 1x from fabric and 1x from interfacing.
Measure the waist of the skirt pattern piece (including the seam allowance). This is the length of your back waistband. The width is the same as that of the front waistband.
Cut the elastic to the same length as the front waistband.
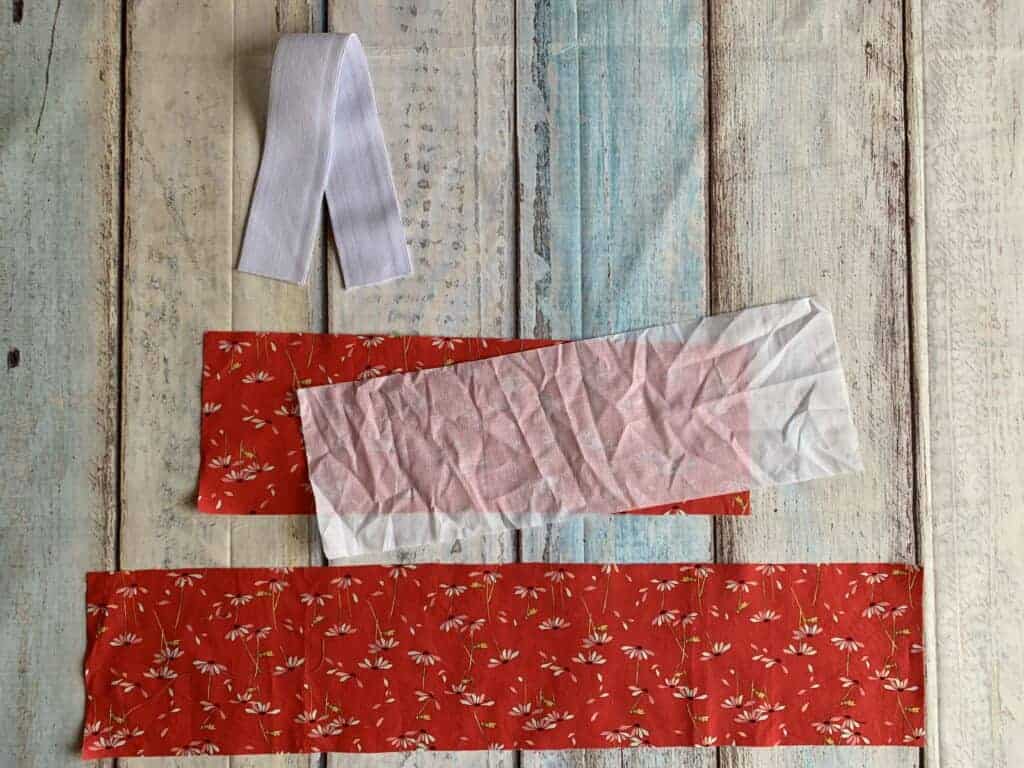
- Iron the interfacing on the front waistband
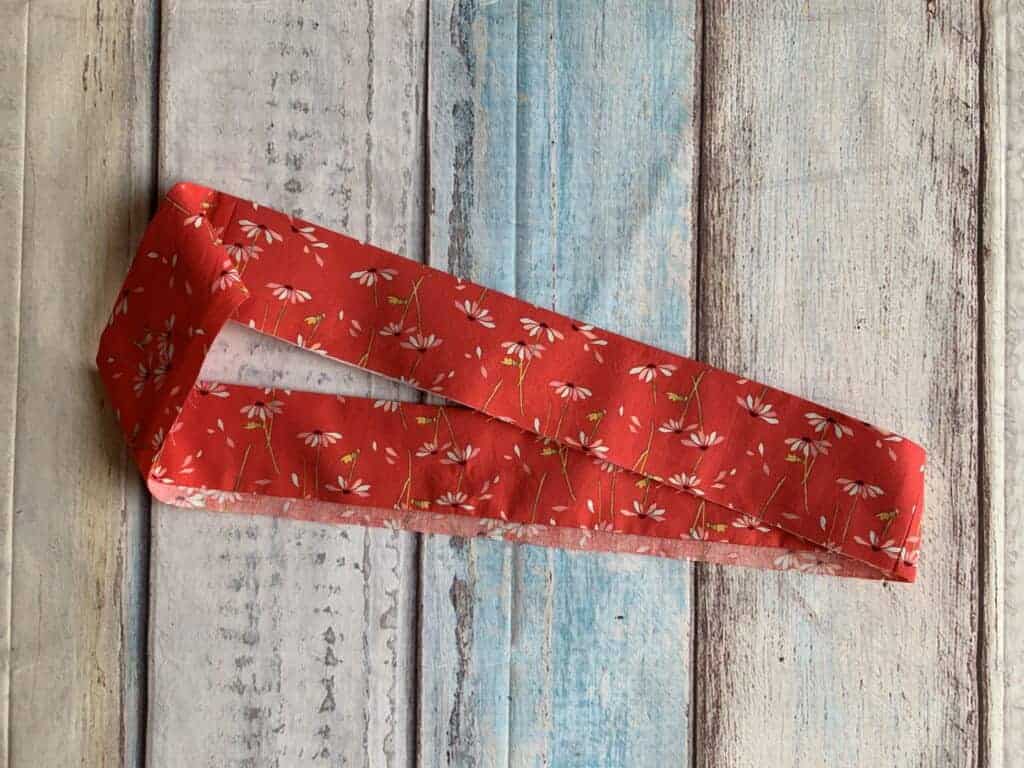
Sew the waistbands together on the short sides, right sides together.
Press the waistband in half lengthwise. Press the seam allowance to the inside on 1 long side.
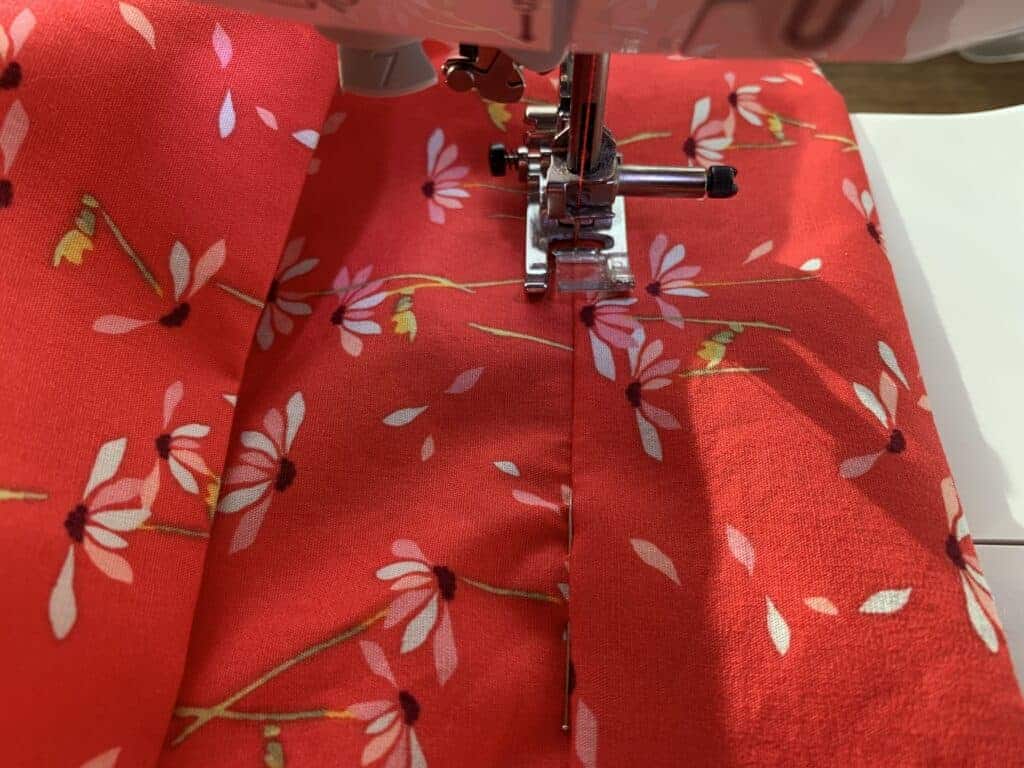
- Sew the waistband to the skirt. Gather the front skirt equal to the front waistband. Sew the back skirt on the back waistband without gathering.
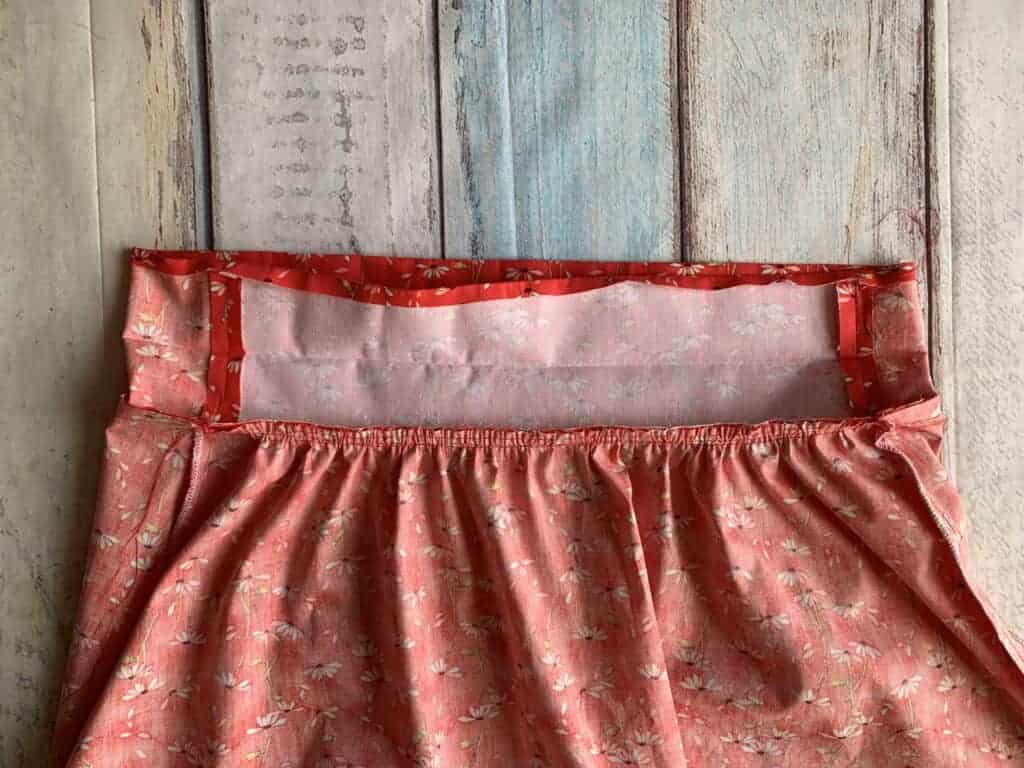
- Fold the back waistband with the help of the fold you ironed in step 3. The long folded edge will be on the wrong side of the skirt, enclosing the sewing line. Pin in place.

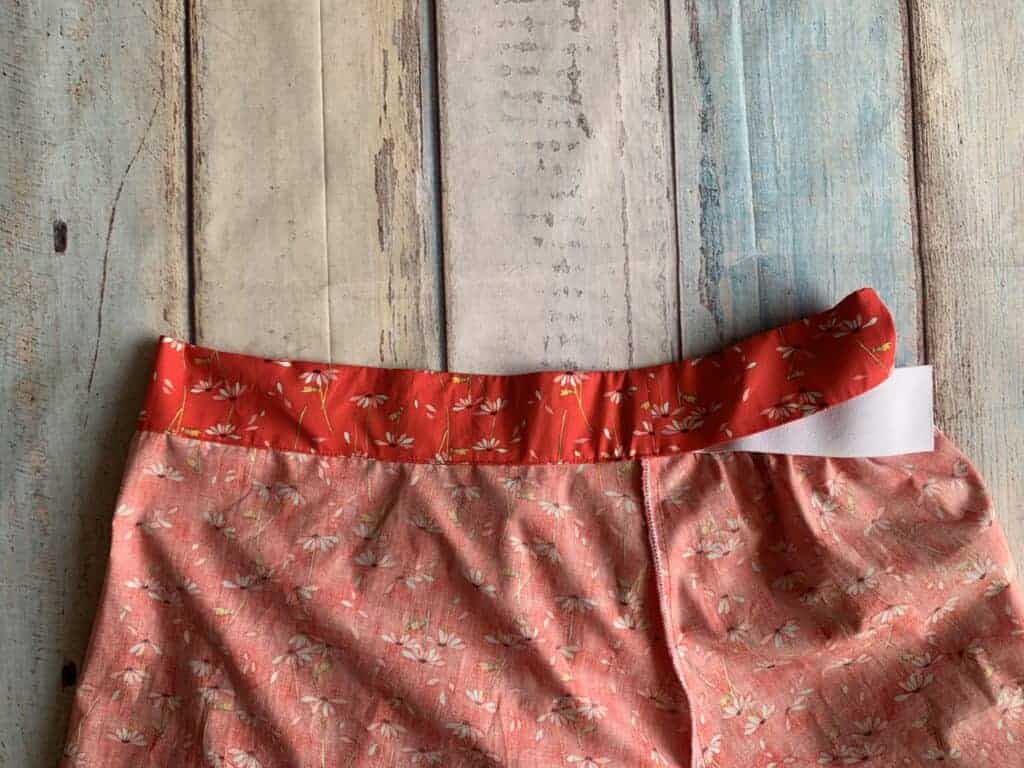
- From the right side, stitch in the ditch along the back waistband only! The front waistband remains open. You forming a casing for the back elastic.
- Thread the elastic through the waistband casing. Sew the elastic in place on the side seams.
- Pin the front waistband in place and stitch in the ditch on the right side. The waist seam is now completely closed.
- Increase the stitch length to 4. Stitch two rows across the back waistband, from one side seam to the other, while you stretching the elastic out.
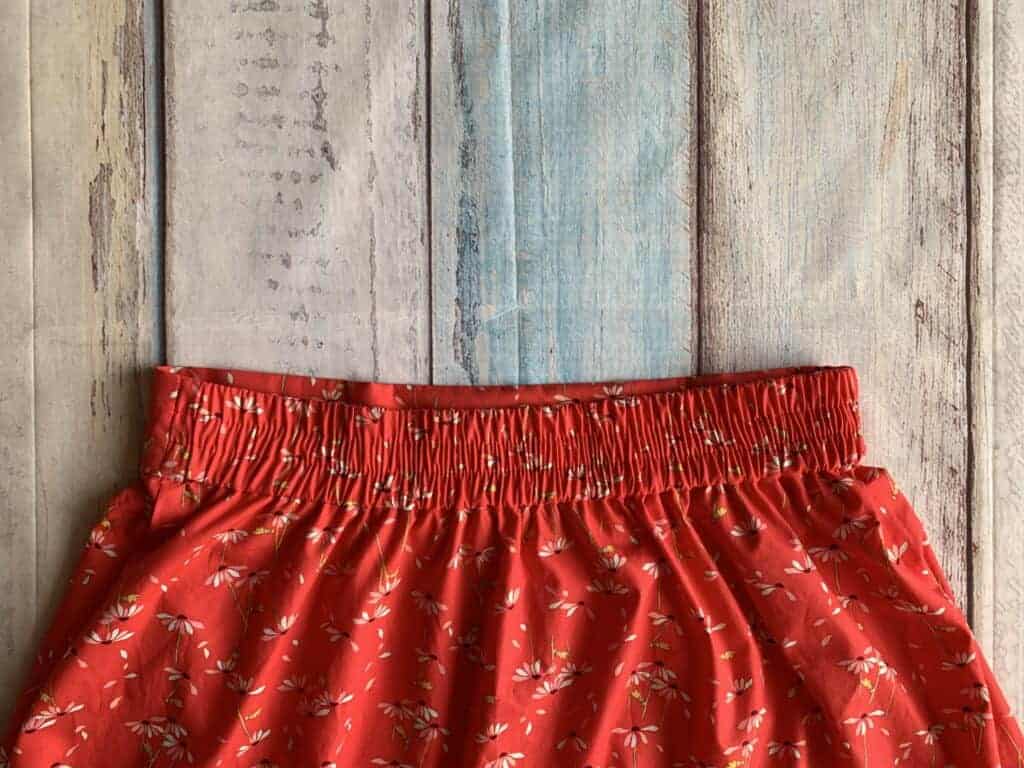
You’re all done. Admire your beautiful skirt and sew another one ????.

I hope you are inspired by this blog post and that you will get started experiment with the Tempo sundress yourself. 1 pattern and you can already make three completely different garments with it!
I am already a huge fan of this beautiful dress.
See you soon!
X
Annick
Want more Tempo Sewing Support? Check out this newsletter link with all of of our ambassador links, hacks, tutorials, and instructions. They have tons of helpful and inspiring content to help you make the most beautiful Tempo Sundresses!


I love your hacks. Thank you.
Dank je voor deze blog èn tutorial! Ik denk dat je mij over de streep trok 🙂
I had a dress just like your hack when i was young and loved. It’s what I nspired me to make the Tempo Sundress in the first place. Thank you
Aww that’s so sweet Marion!! ~k
ME TOO!!! I sure did, And that’s exactly why I wanted to grab this pattern too.