


Welcome back to day 2 of the Tidal sewalong! Yesterday we went over selecting fabric and printing and assembling the pattern. Today we’re going to just dive in and start sewing. The Tidal is such a quick sew, there are just a few seams. You can use a sewing machine or a serger, either will work just fine. Read more to get started.
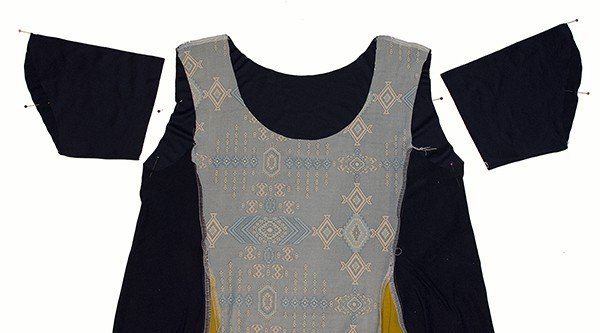
First, if you’re not adding the godet (see Day 1 for the free add-on pattern piece), align the front to the side/back piece, right sides together. Notice that the top of the side/back piece is angled so the front piece will fit right into it when sewing.
If you are adding the godets skip this step.
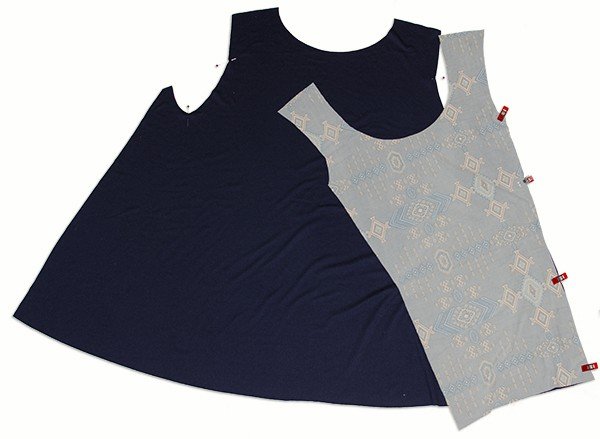
This is how the side/back and front pieces fit together at the angled top. This angle will give us a nice, smooth curve when sewn.
Side note: have you tried out Wonder Clips? They’re a great alternative to pins! I use them whenever I can.
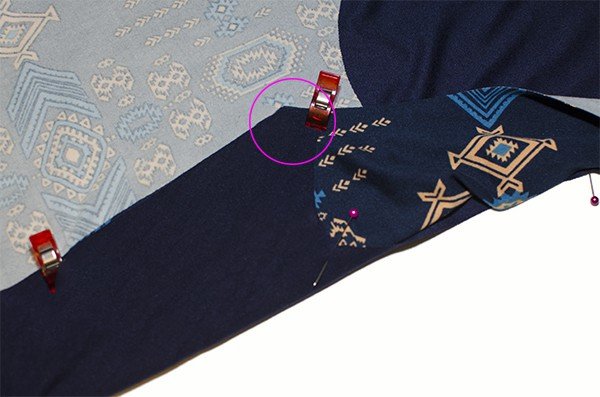
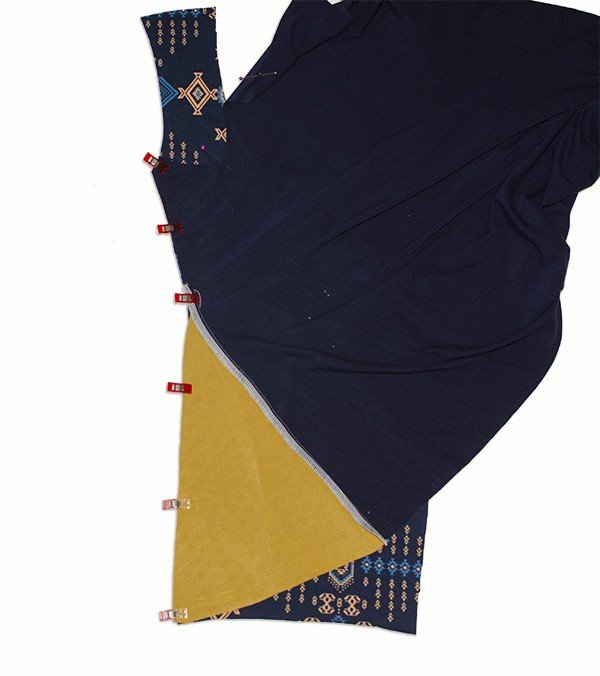
If you’re adding the godets, align them to the side/back piece starting at the bottom, right sides together. Pin/clip the godets to the side. Stitch/serge the godets in place. For drapey knits, I find it a bit easier to use my sewing machine instead of serger. For this sample I straight stitched the godets on and then finished the raw edge with my serger.
You’ll notice the top of the godget looks like it’s not wide enough. Not to worry, when we attach the front that will be covered in the seam allowance.
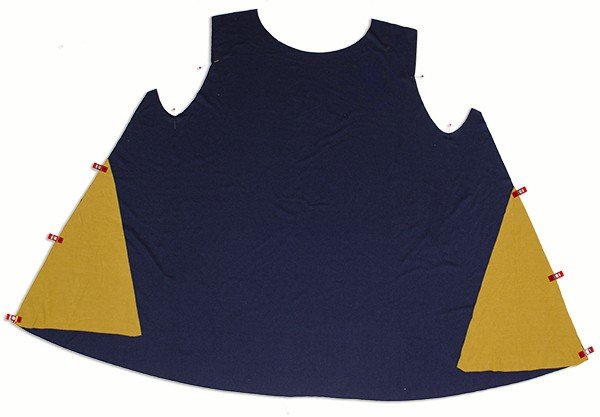
Now align the front to the side/back piece, right sides together. The godet is now part of the side seam of the side/back piece and you’ll be aligning the front to the godet. Pin/clip the side seam.
Repeat these steps for the other side.

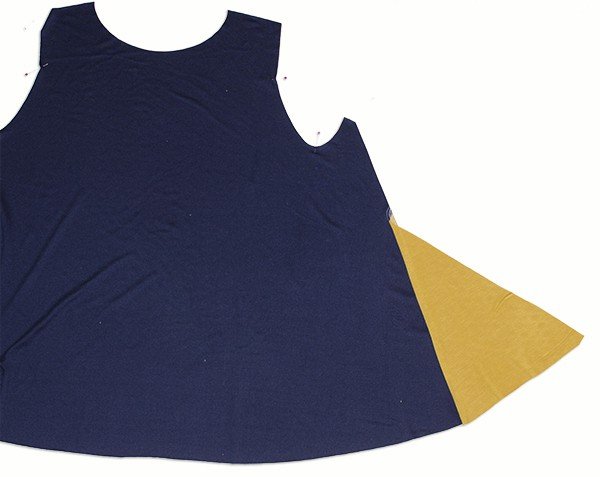
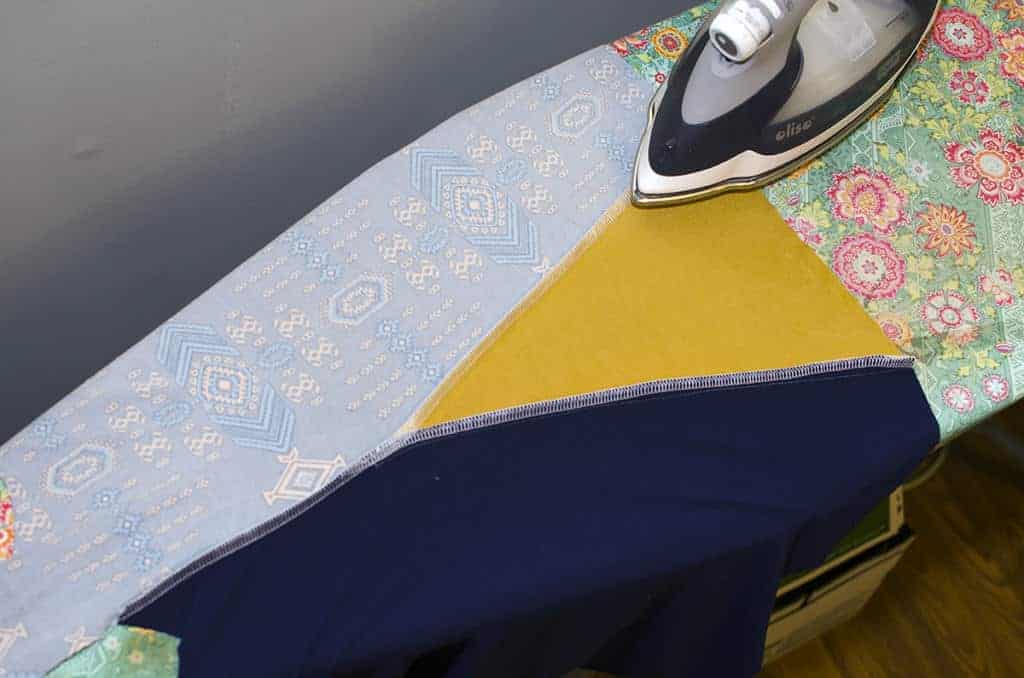
Press the seams towards the front.
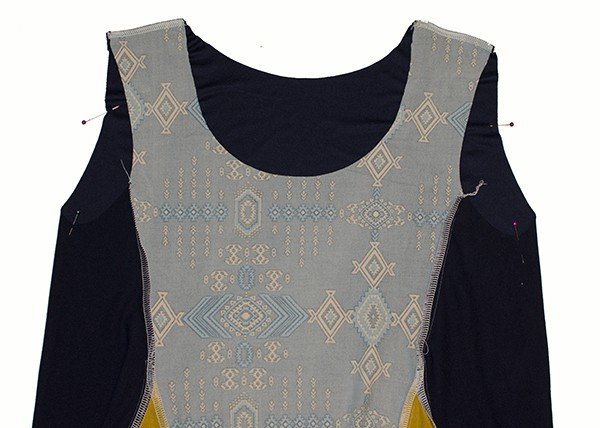
Align the shoulder seams right sides together and stitch/serge.
Stitch/serge the seam of each sleeve, right sides together. Be sure you’ve transferred the pattern markings to the sleeve head. You can see here I marked the center but I forgot to transfer the sleeve back markings.
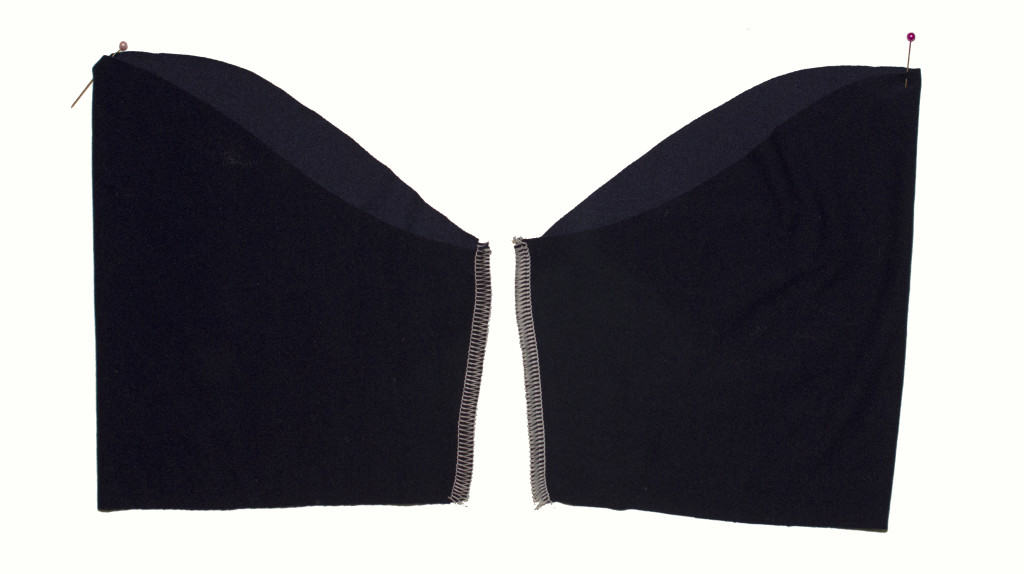
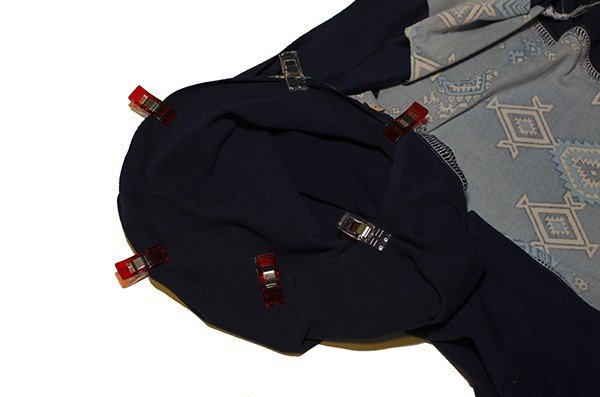
Turn the top wrong side out and the sleeve right side out. These are set-in sleeves so we’ll be slipping the sleeve inside the top, through the armscye. I’m kicking myself for picking a dark color for this top. (I’m just so ready for fall!) It’s hard to tell how the sleeves are going in. Just remember that the side that has the extra marking goes to the BACK of the top and the side that is curvier goes to the FRONT.
Match up the center of the sleeve head to the shoulder seam and pin, right sides together. Match up the seam of the sleeve to the bottom marking on the top and pin, right sides together. Do the same for the back of armscye marking to the back armscye marking on the sleeve. Stitch/serge the sleeve in place. Repeat for the second sleeve.
Turn your top right side out and you are ready for day 3!

Stay tuned, tomorrow we’ll be finishing the top with neck binding and hemming.

