Today on the blog, we have invited Alex Radu to share her deep love of the Tidal Top and Tidal Dress for Ladies. Alex is sharing loads of ways to customize this single pattern into a closet full of creative and unique dresses! Alex gives a few tutorials for her hacks for faux-piping and color-blocking. And be sure to catch her amazing Tidal Dress collection at the end — each one is completely original and imaginative!
Tidal Dress
As soon as I was given the green light to pick today’s Feature Friday pattern, I knew instantly that it would have to be my most favorite Love Notions pattern, the Tidal Top and Tidal Dress. Nothing brings me more joy than to share my love for this fantastic pattern with you all today.


Tidal Dress Tutorials: Color-blocking and Faux-piping
Today I wanted to talk to you about color-blocking and how to add faux piping to your Tidal tops and dresses. As you might have noticed in my many Tidal posts throughout the years, I love using this pattern when I work with adult panels and custom fabric. As a strike off seamstress I am usually sent a yard of fabric and a panel that is a Fat Half size (approximately 36″ tall by 28″ wide). The Tidal dress works beautifully with cotton lycra so I learned a few tricks to make sure the fabric I am sent is enough for it.
Color-blocking with Panels on the Tidal Dress
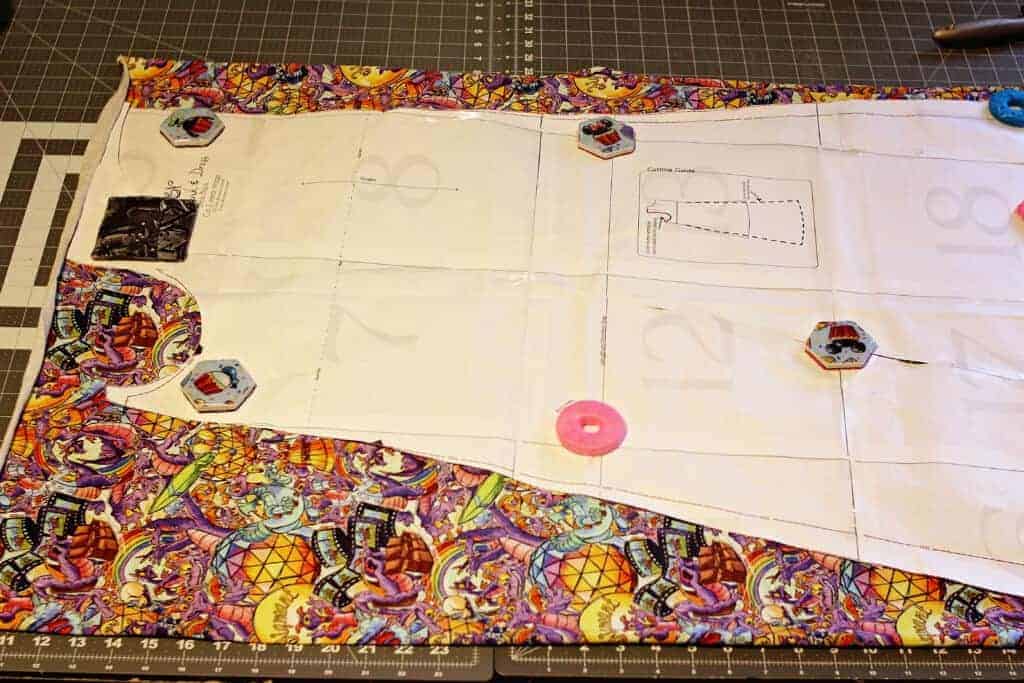
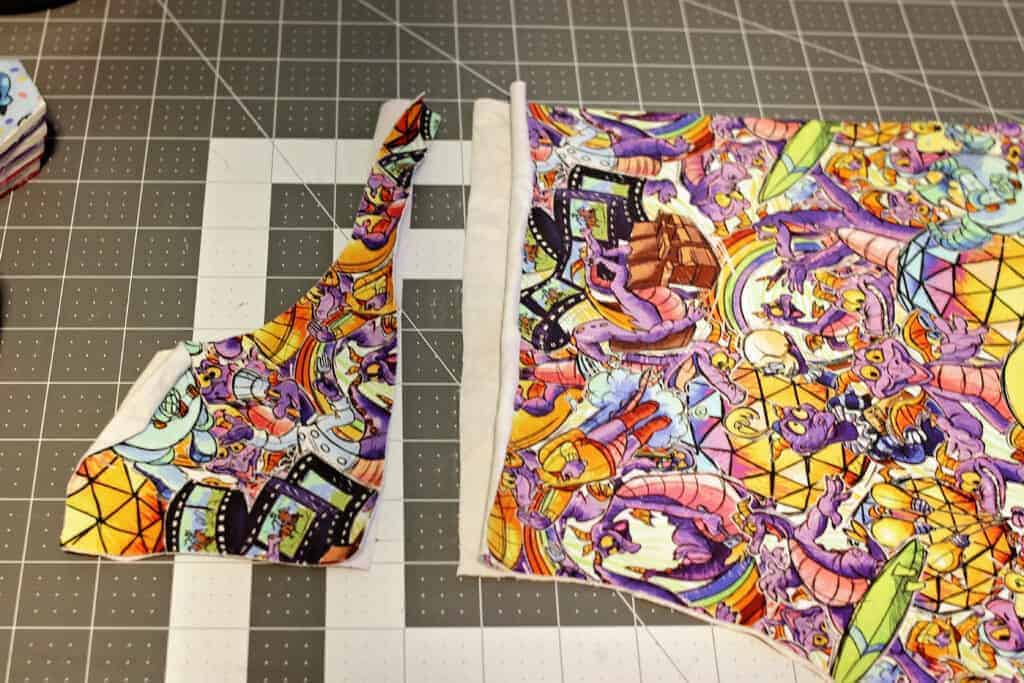
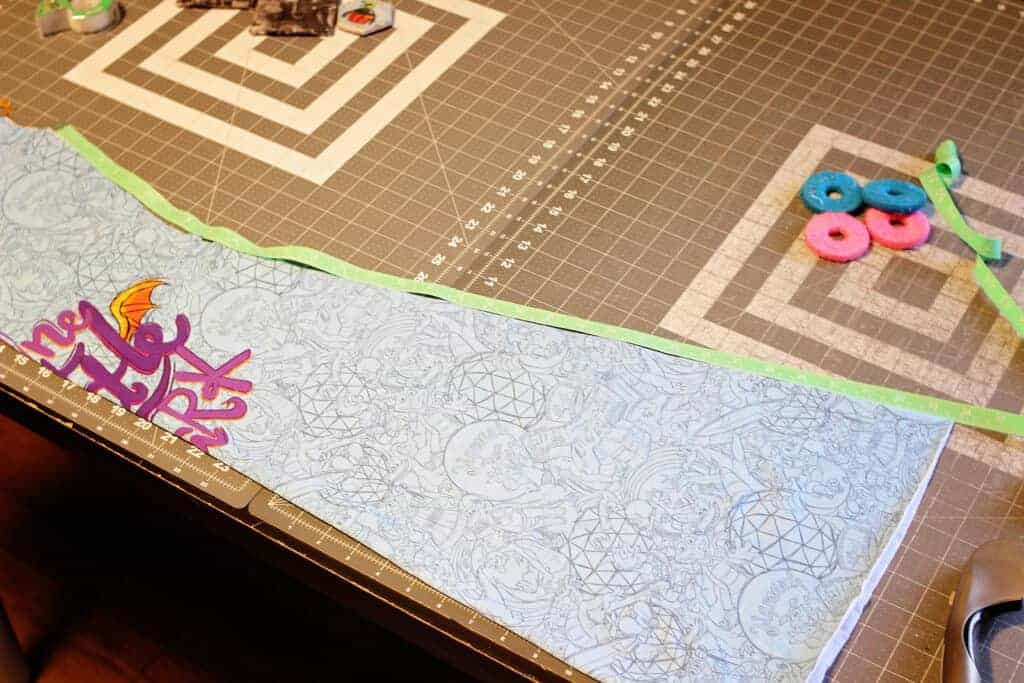
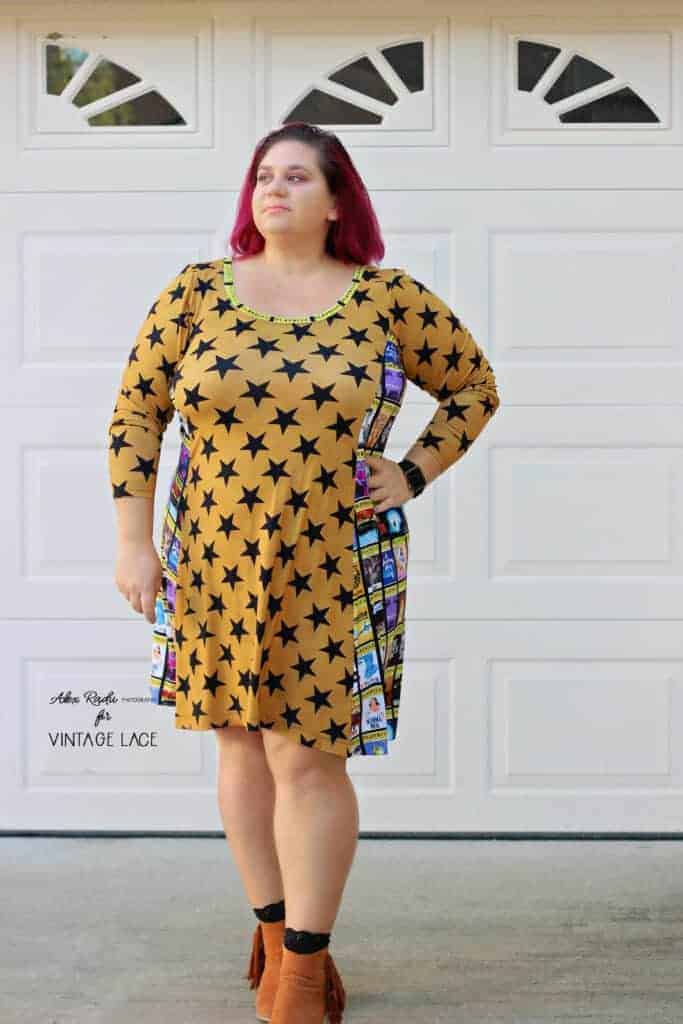
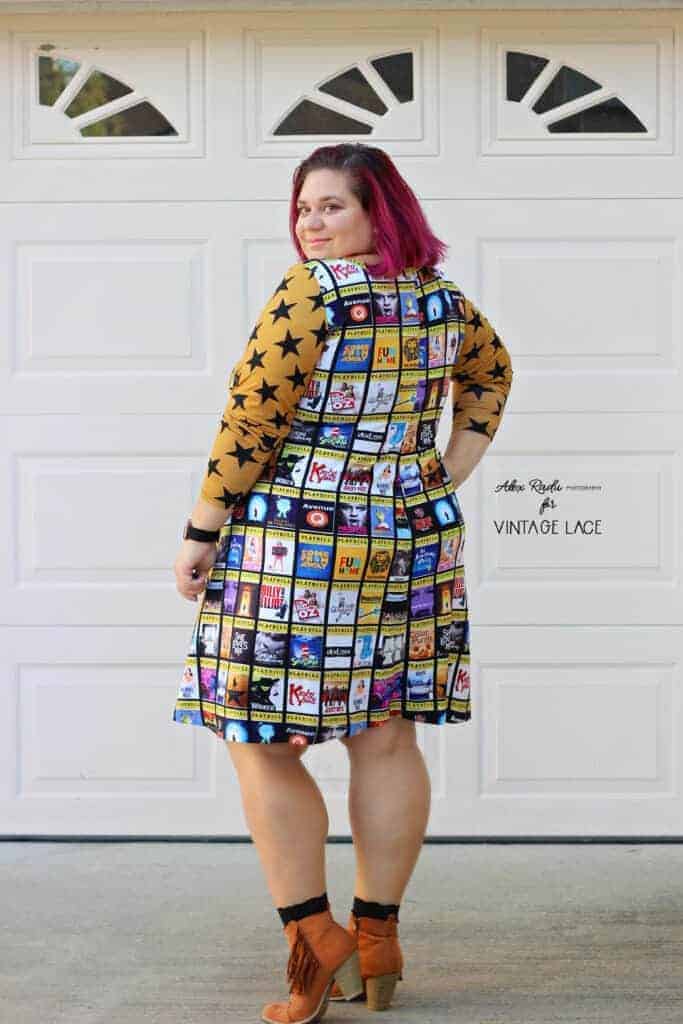
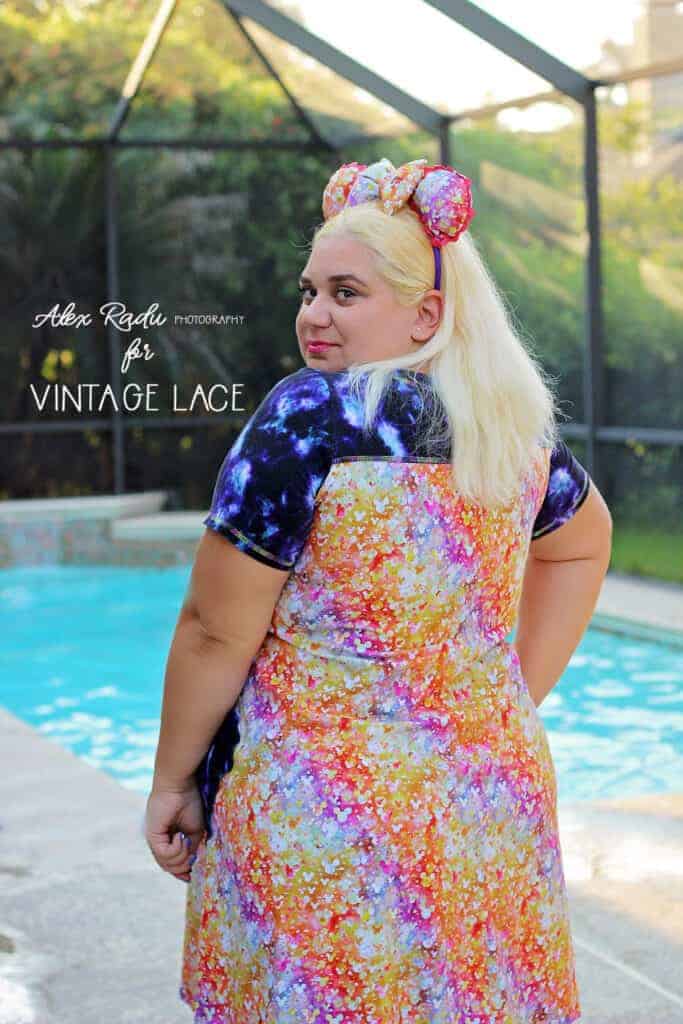
In this first part of the blog I will be featuring the Imagine cotton Lycra fabric and panel from Backstitch Fabrics. As you can tell from the picture below the pattern is slightly longer than the height of the panel. When this happens I, 100% of the time, prefer to color block the top part and not the bottom because it will blend in much better. I like to use remnants of the panel for the top part so it will be basically invisible from a distance.
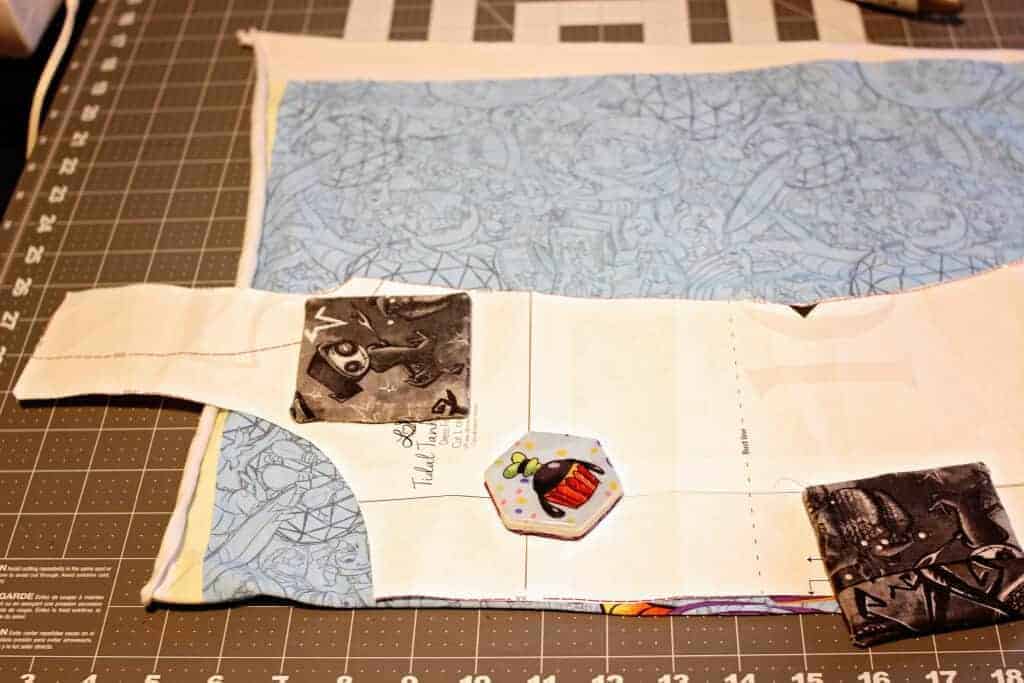
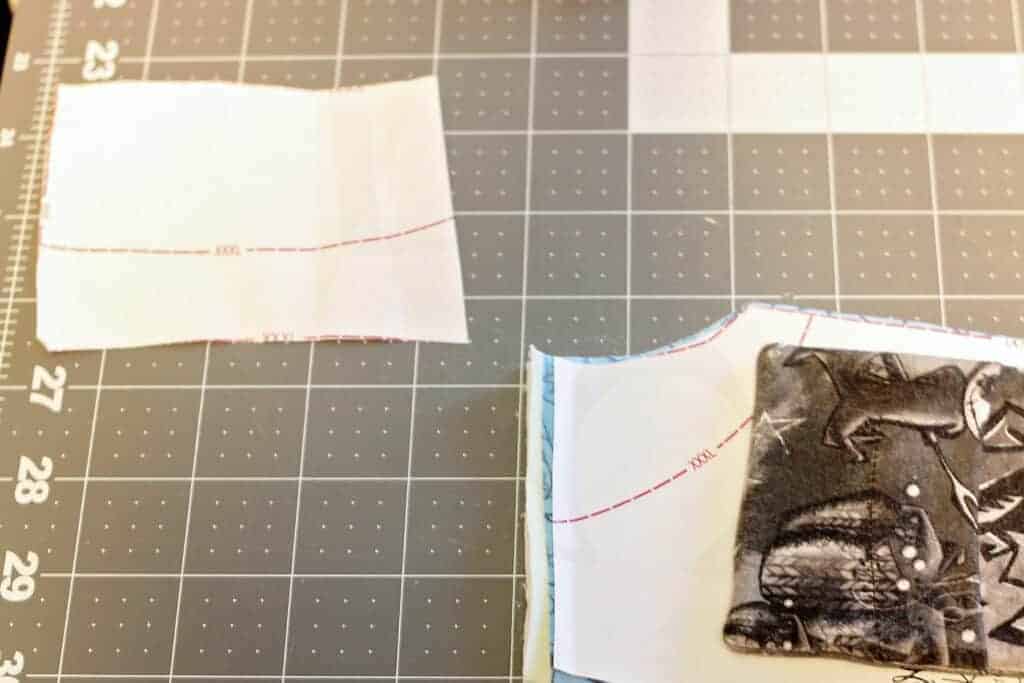
Mark and Cut
Mark where you would need to color block on your pattern piece. Cut your pattern along the marked line. Remember to add additional seam allowance along the cut line on both top and bottom parts of the panel. My preferred seam allowance is 1/4″ because I tend to exclusively sew my Tidal dresses with the serger.
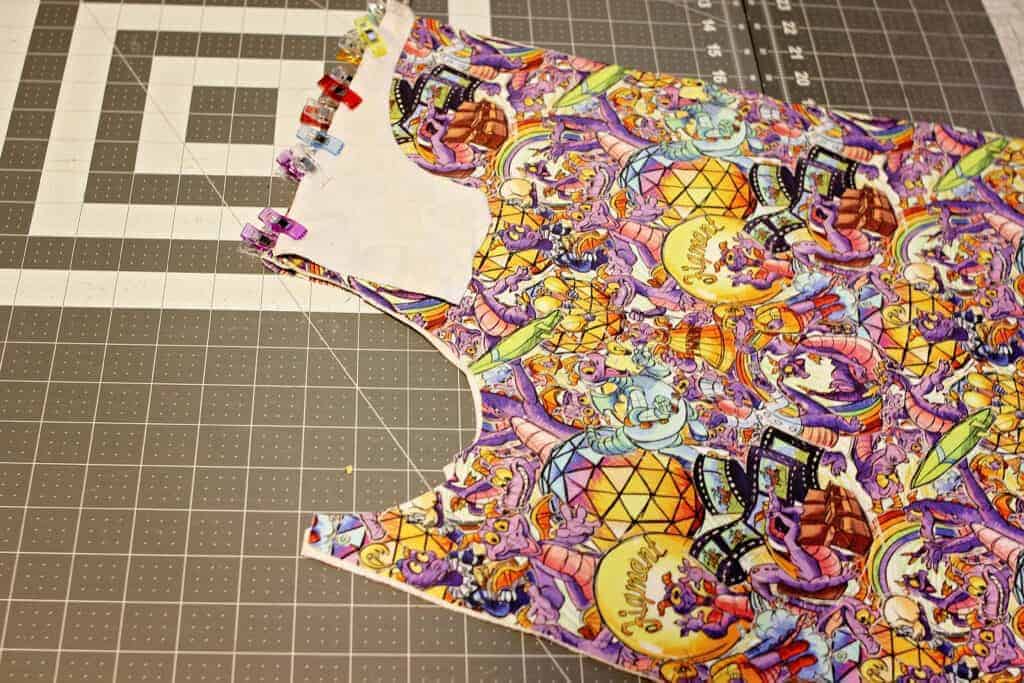
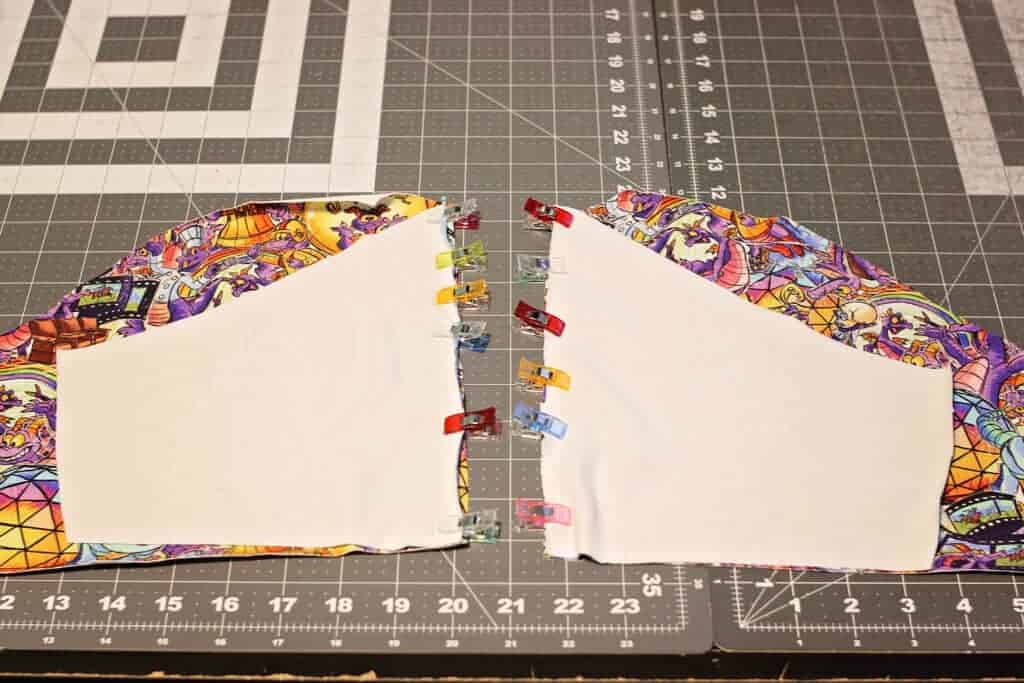
Pin and Sew
Pin the top and bottom pieces right sides together on both shoulders. Sew with the chosen seam allowance. You can sew with a stretch stitch or your serger. Steam press the seam allowance open of you used your sewing machine or down if you used a serger.
TIP: Do not top stitch if you do not want to bring attention to the color-blocking! If you picked a coordinating fabric for your color – blocking pieces, go ahead and top stitch it with a coverstitch or stretch stitch.

Repeat Process with the Back Side
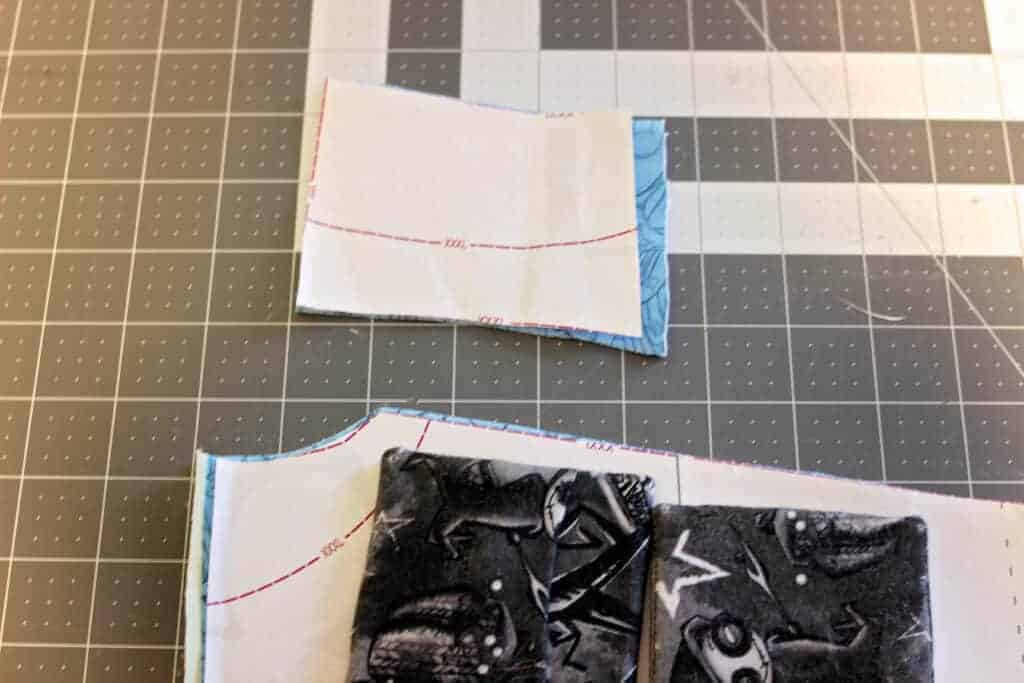
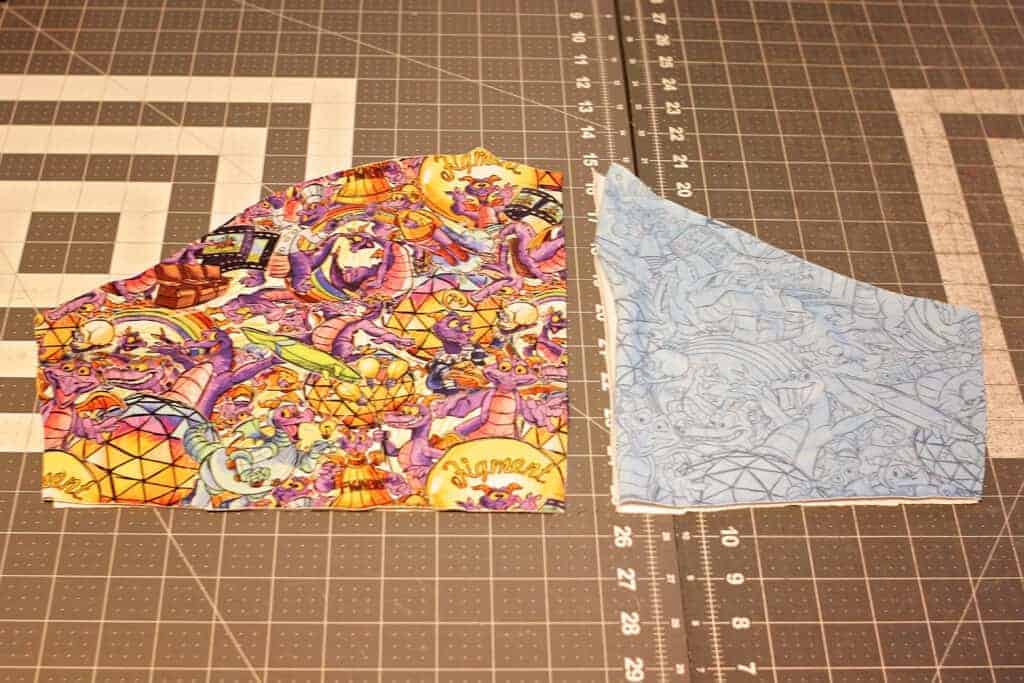
Set the front of your dress aside for now and grab the back/side piece. Did I mention before how much I LOVE that there are no side seams? 🙂 Again, I am working with about a yard of fabric. The pattern piece is slightly longer than my fabric cut so I will be following the same technique as I did for the front panel to color block the back.
For this particular dress I wanted to the color blocking to blend in so I used the same fabric for both parts. There have been times where I color-blocked with contrasting fabric so they both stand out. Get creative!
Sew the top and bottom pieces right sides together and press/steam. Do not top stitch if you want the color blocking to not stand out.
Tidal Dress Sleeves: Great for Color-blocking, too!
Now that you have your front and side/back fabric pieces ready, let’s work on the sleeves. The Tidal pattern has a tank option but I personally love the short sleeve style. Depending on the size Tidal you’re making, you might be able to cut your sleeves from the remnant fabric. If you cannot do that, you can color block the sleeves too. Ideally you can cut the sleeves pattern piece in half along by drawing a vertical line from the shoulder marking, perpendicularly to the hem. In this case, the fabric I had left over wouldn’t have worked for a mid sleeve color-block. My back piece is a little bigger than the front but still looks great.
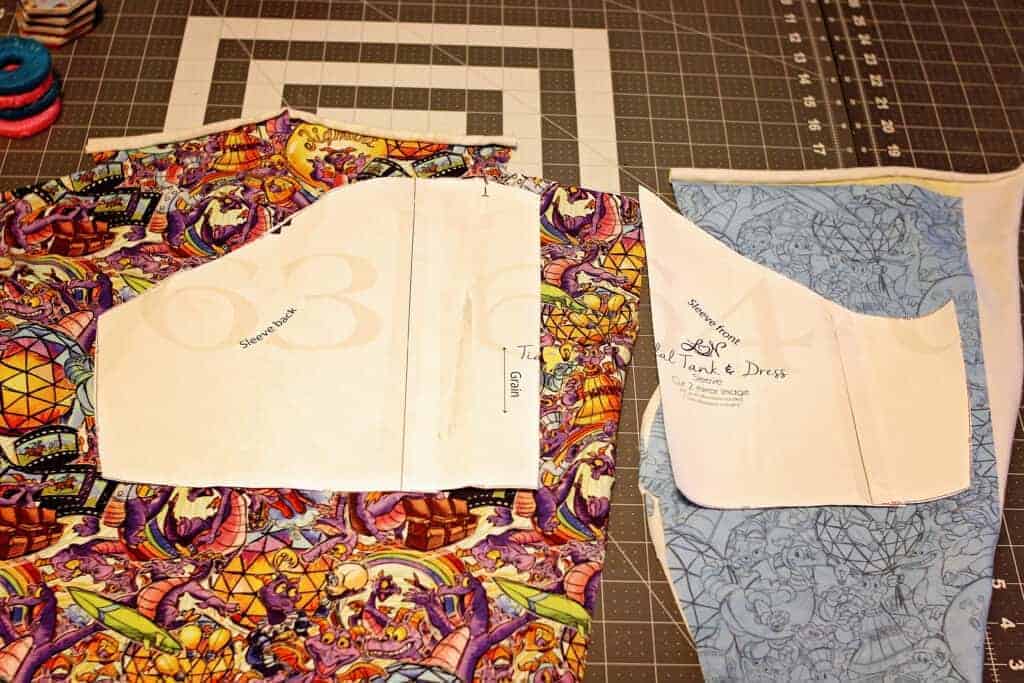
When you cut the two sleeve pieces (you will have 4 total, two mirrored for each sleeve) remember to add seam allowance where you cut the sleeve! Sew the pieces right sides together as before, press and optionally top stitch.
Faux Piping on the Tidal Dress
Now that we have all fabric pattern pieces ready let’s take this Tidal Dress up a notch. One of the easiest ways to emphasize the panel used for the front or simply to add some more dimension is to add piping on each side of the front panel. If you have store bought piping you can most certainly use it! The Tidal dress requires minimal vertical fabric stretch so pre made piping will definitely work.
“Faux” Piping
I wanted my piping to match my neckband so I created some faux piping. What make it “faux” (French for “fake”) ? Well I do not add cording. Classic piping is made from woven fabric cut on the bias with cording inserted in the fold. Faux piping is basically a strip of fabric, folded length wise that will give your garments the illusion of piping.
Measure front panels and cut strips
Take your front panel piece and measure the panel side. This will be the length of your fabric strips. Cut two strips with the stretch of the fabric going along the length. The width of the strip will vary based on your intended look. I cut mine at 1.5″ but you could cut it 1 1/4″ too if you want to have a “slimmer” piping showing.
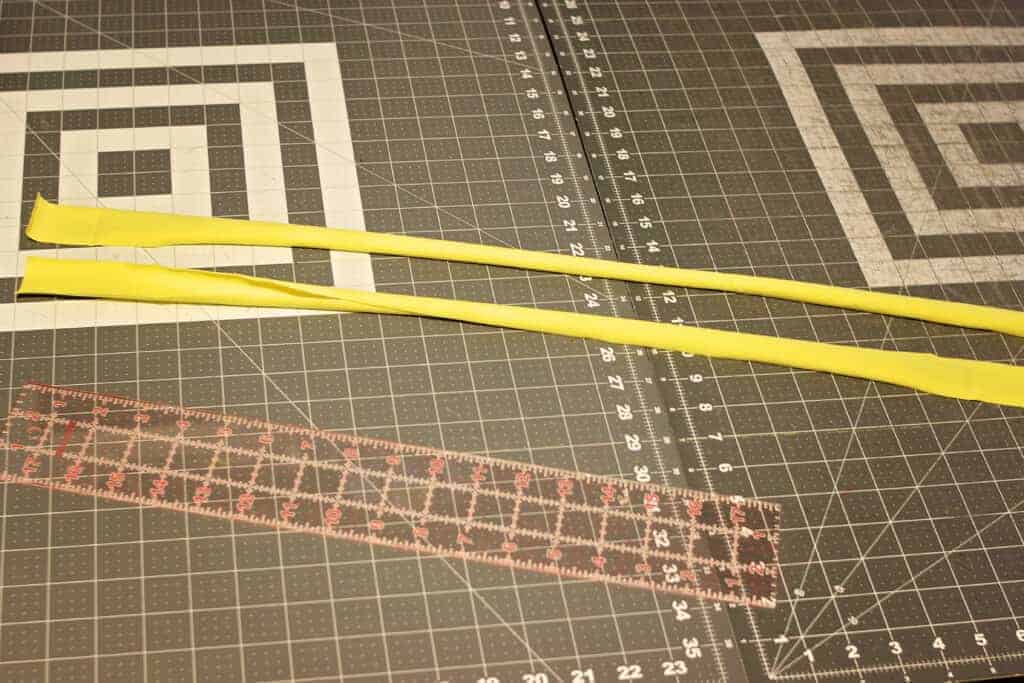
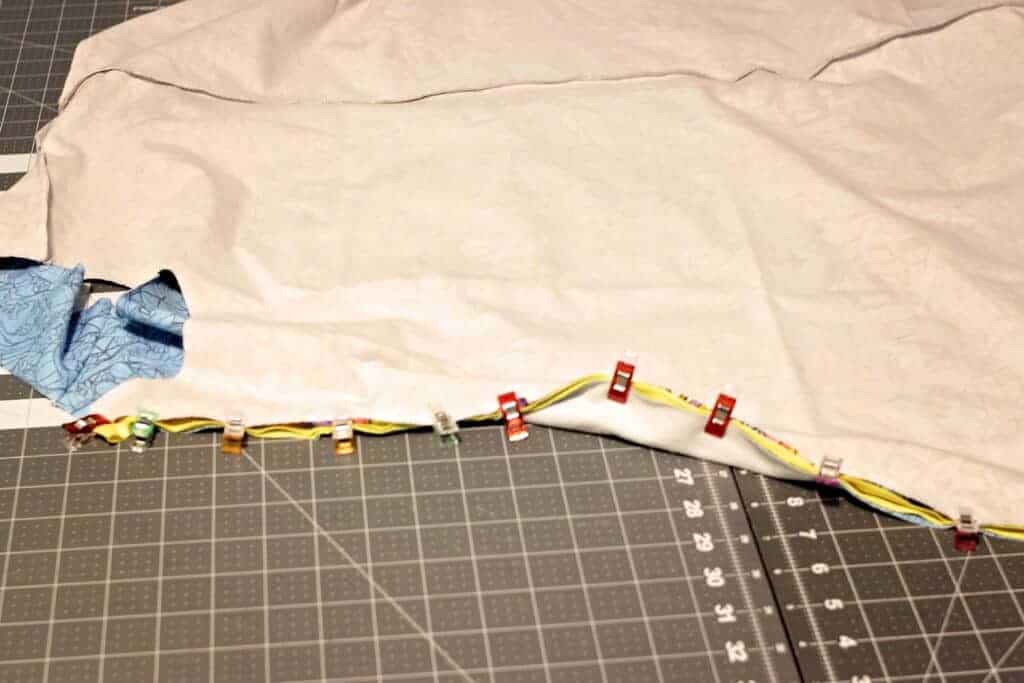
Fold, Press, Pin
Fold the strips of fabric wrong sides together length wise, press and steam them. Pin the faux piping to the front panel, curving the top of the strip as shown below. The bottom of the piping can be left as is when you pin it because it will be enclosed in the hem.
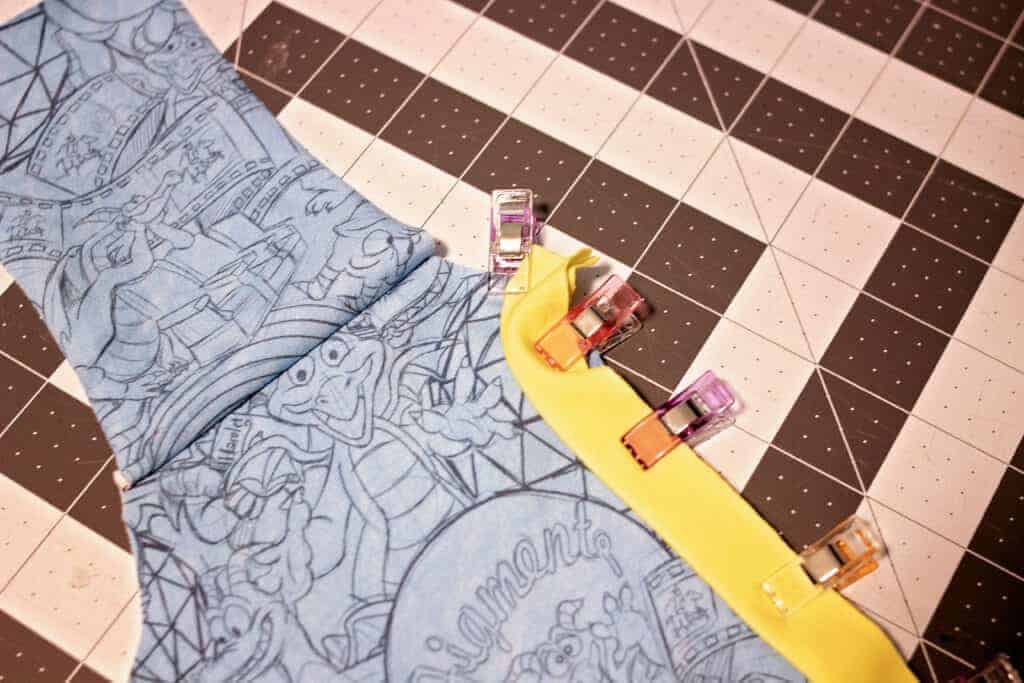
Sandwich between front and back panel
Once you pinned the piping to the front panel, you can baste it in place or skip this step and place the back/side pieces on top, right sides together. Your piping strips will be sandwiched in between the front panel and the size/back panel. Sew them with a 3/8″ seam allowance (as instructed in the pattern tutorial).


Finish Sewing
Optionally, top stitch with the seam allowance towards the side panel. Press the piping toward the front panel. All you have to do now is to finish sewing the top or dress as per the pattern instructions.
One Tidal Dress Pattern- Limitless Possibilities!
I could not end this Tidal Dress blog post without a stroll down memory lane to show you a few different looks, all achieved with the dress option and various color blocking and fabric bases.
Cotton Lycra and Poly Rayon Spandex
For the dress below I used custom cotton lycra for the side/back pieces and a poly rayon spandex blend for the front panel and sleeves. I had a little cotton lycra left so I appliquéd two strips on the sleeves, just for an extra touch. Easy peasy!


Cotton Lyrca and Faux Piping
We talked about faux piping above, well for this White Silhouette fabric I used store bought piping in a pretty light pink color. It’s subtle but it adds definition to the panel. 100% of this Tidal is custom cotton lycra fabric.


Tidal Dress and Tessa Sheath Dress Mash Up
When Floridian winter hit and I wanted a long sleeves Tidal, I simply mashed the Tessa Sheath Dress sleeves with the Tidal ones and made myself a long sleeve version of my favorite dress. 🙂 The fabric I used is custom bamboo lycra.
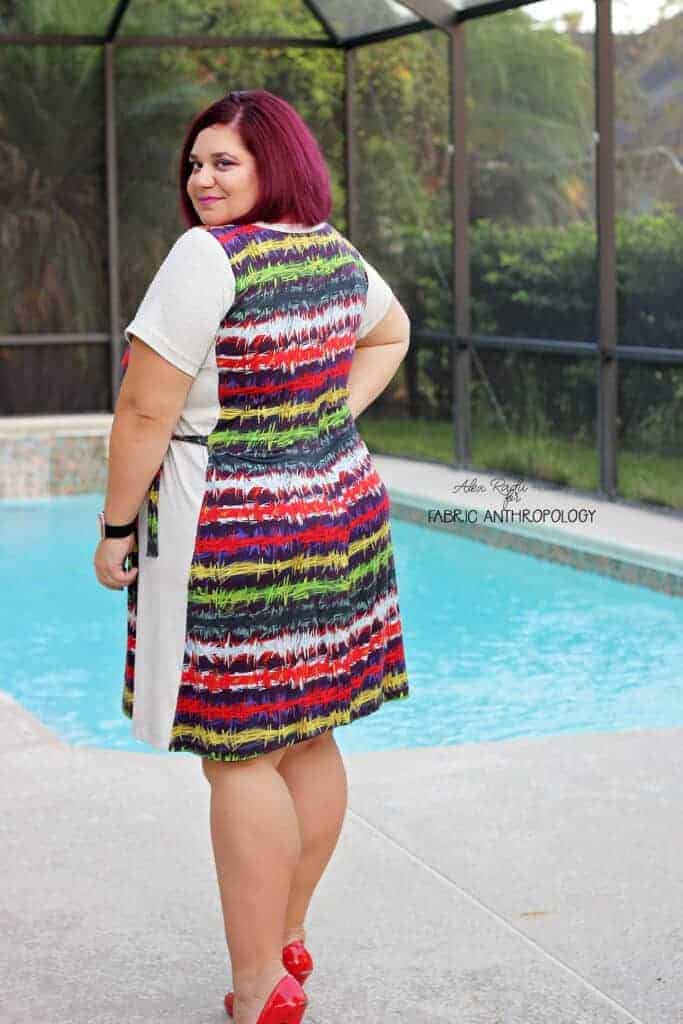
Faux Waistband
If you want to add a faux waistband, simply applique a strip of fabric along the waist part of the front panel. That’s what I did when I made this CL/rayon spandex Tidal with color blocked sleeves.

Halloween Tidal Dress
For my Halloween Tidal I went simple, with just a custom cotton lycra panel and a poly blend, really inexpensive fabric for the side/back panels. I did shorten this Tidal about 1.5″.


Tidal Dress + POCKETS
Did you ever think of adding pockets to your Tidals? Well, simple patch pockets, like my Mickey shaped ones, take very little time to make and you can just sew them on when you finish your dress/top.

Christmas Tidal Dress
We talked about Halloween above so now let’s move on to Christmas 😉 This Grinch Tidal is a perfect example of mixing and matching fabrics. The front is custom cotton lycra, the side/back panels are custom bamboo lycra and the sleeves are rayon spandex.


Hemmed Neckline
Sometimes I prefer to just hem the neckline 1/2″ instead of adding the neckband. Call me a rebel 🙂 It will yield a lower and wider neckline, so keep that in mind if you choose to try this style too.

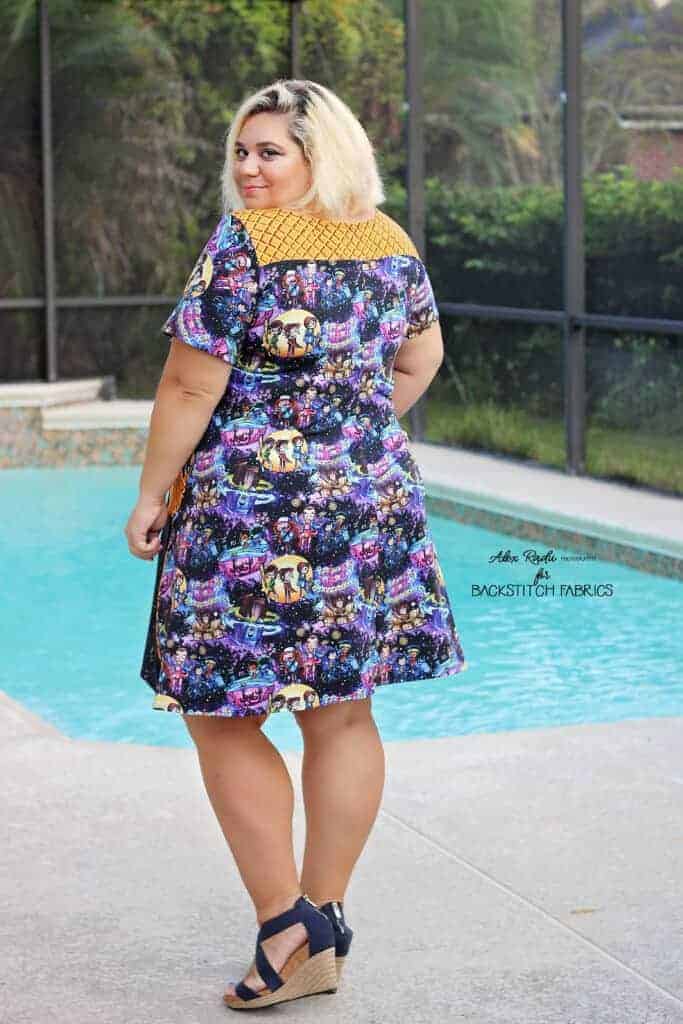
Pockets, Color-blocking, Faux-piping
This Tidal below is probably one of my favorite! It has waffle pockets after all. You can see here the back is color-blocked in contrasting fabric and I added faux piping too.

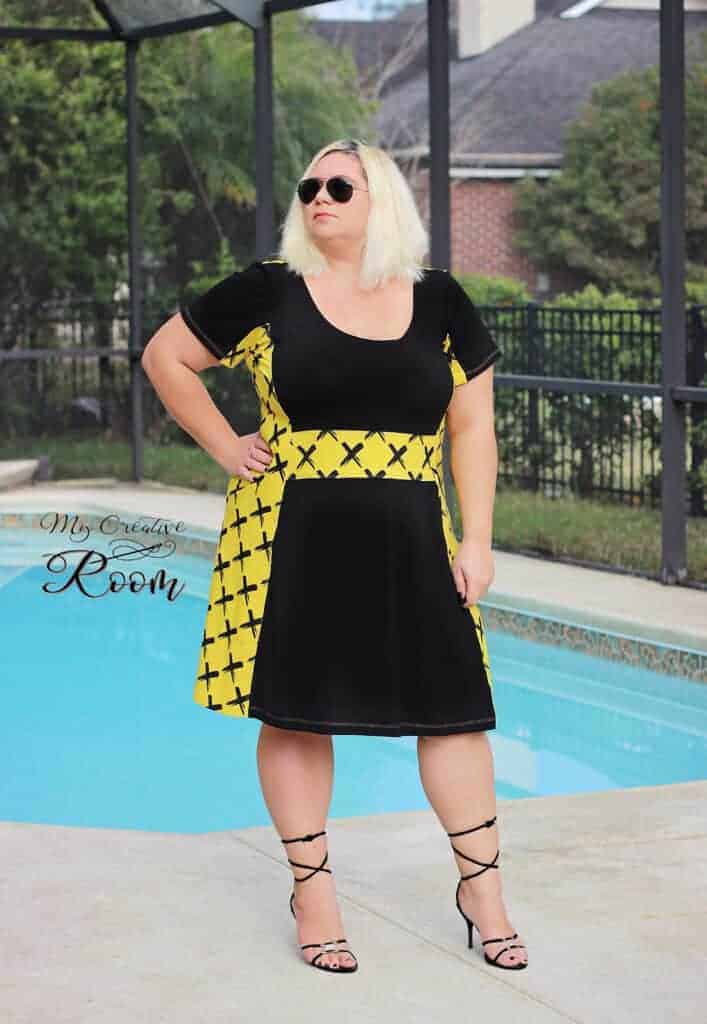
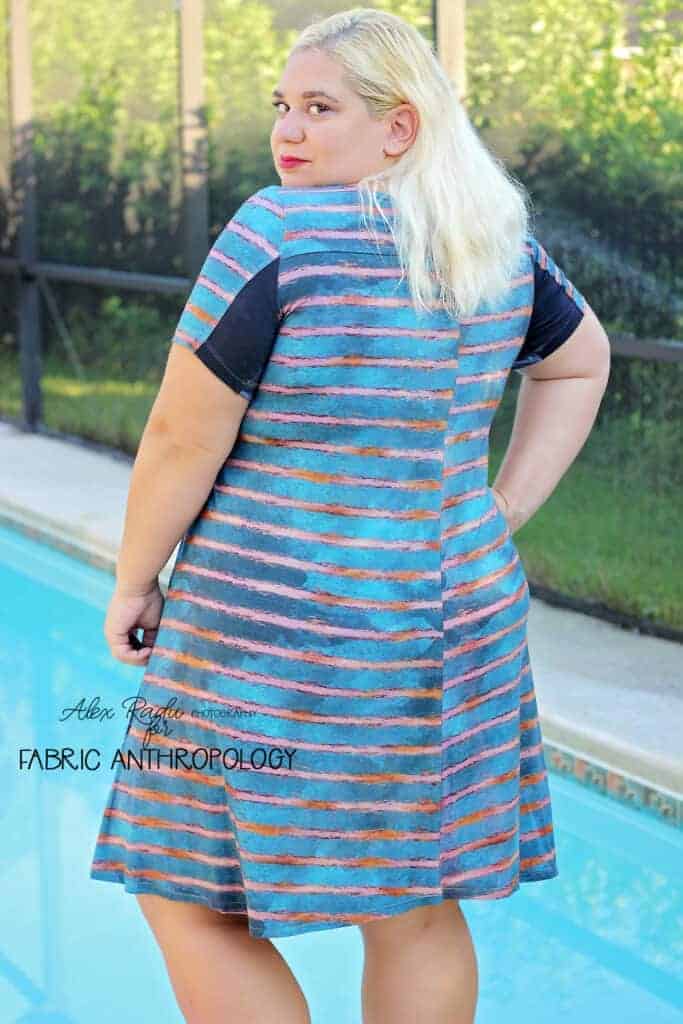
Side Ties and Vertical Color-blocking
You heard me talking about color block a lot, but only “horizontal” cut lines. Well, in the example below, I took my color blocking “vertically” on the back/side panel and added some ties for visual interest. The stripes fabric is custom bamboo lycra and the grey is solid cotton lycra.

Sweet and Simple
Last but not least I wanted to show you a classic, (almost) single fabric version of the Tidal dress. The example on the left is poly blend with piping and the one on the right is cotton lycra.


Tidal Dress and Top- One Pattern, Limitless Possibilities
I hope these examples will inspire you to make your own Tidal dresses and tops. If you haven’t taken advantage of today’s Feature Friday price, go ahead and grab the pattern here. I cannot wait to see what you create!
Alex