I am so happy you have joined me for day two of the Tranquil Nightwear Sew Along! Today we will be sewing the neckline of the shirt, or nightshirt. This detail is a beautiful touch to this piece. Don’t let it intimidate you! Even a confident beginner can tackle this. Just take your time and before you know it, you will have a beautiful new piece to add to your wardrobe.

Sewing the neckline
After you sew the shoulder seams of your Tranquil Nightwear shirt or nightshirt, you will need to finish the neckline. The tutorial offers two options for this, fold over elastic (commonly called FOE) or knit binding. The photos below will demonstrate how to attach knit binding for the neckline. Scroll towards the end of the post for a video on attaching knit binding.
Today’s YouTube video features fold over elastic in the neckline! You can view that below.
To attach the knit binding
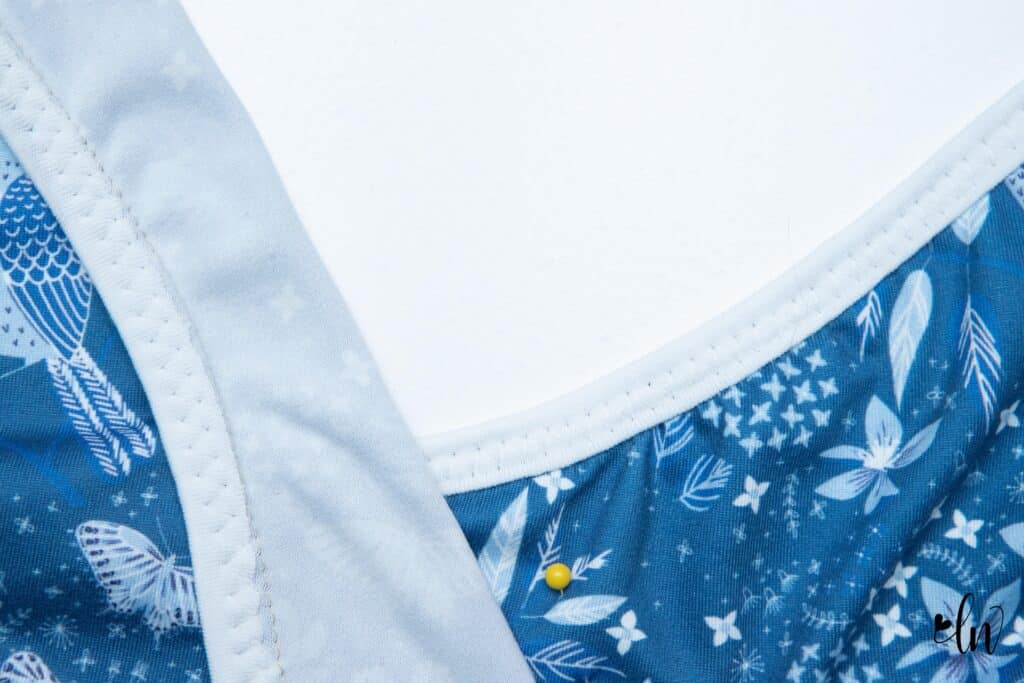
First, cut your binding to the proper length. You can find a cut chart on page 5 of the tutorial of the Tranquil Nightwear. Make sure you cut the binding with the stretch going across the piece! Place the knit binding right side together with the neckline. I like to match the center of the binding to the center of the neckline (this is NOT the center of the back) and then pin the ends in place. This helps ensure that I stretch the binding evenly around the neckline. When you stretch the binding, make sure you are not stretching the neckline also!
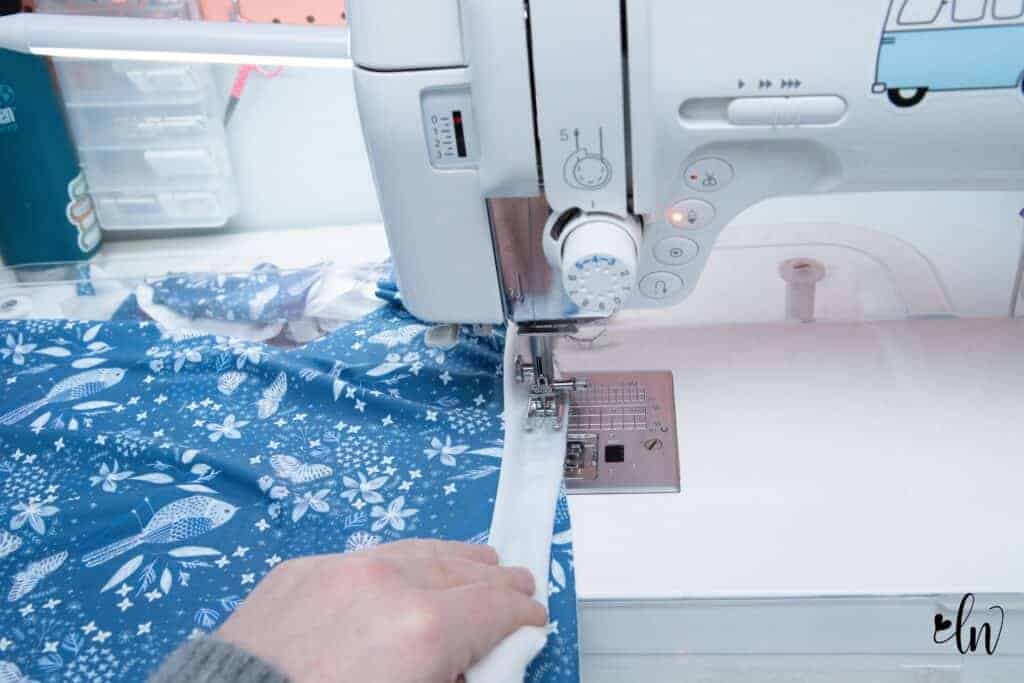
Below is the binding attached to the front of the neckline. I have a bit of puckering. My scrap fabric that I used had a LOT of recovery and I should have cut my binding pieces a bit longer. Sometimes we have to make adjustments like that because of the individual properties of the fabrics we are using. I just marched ahead instead of pulling out my seam ripper and recutting.
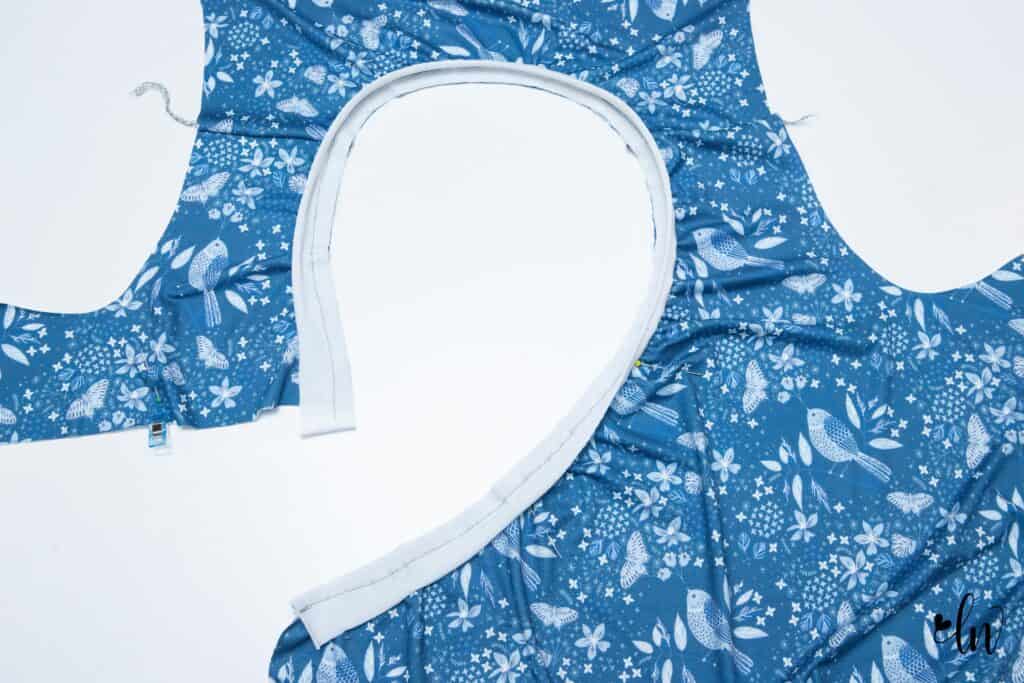
After you have folded the binding to the back, topstitch into place. I kept missing the raw edge, so I did this with a wide zig zag stitch.
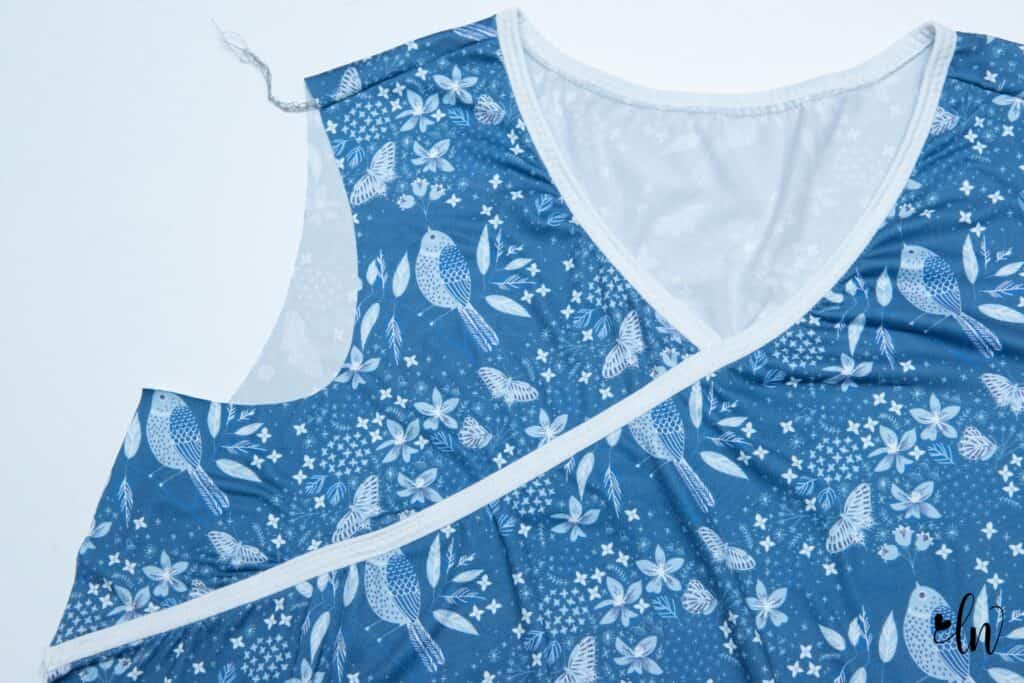
Once the neckline is finished, we need to match up the markings with the wrong side of the main piece against the right side of the smaller accent piece. These pieces will overlap 3/8″. If you have a hard time keeping them lined up, you can secure them with some narrow hem tape prior to topstitching into place. I used a long straight stitch for this and stitched right along the bottom of the knit binding to secure it.
Lace trim or piping
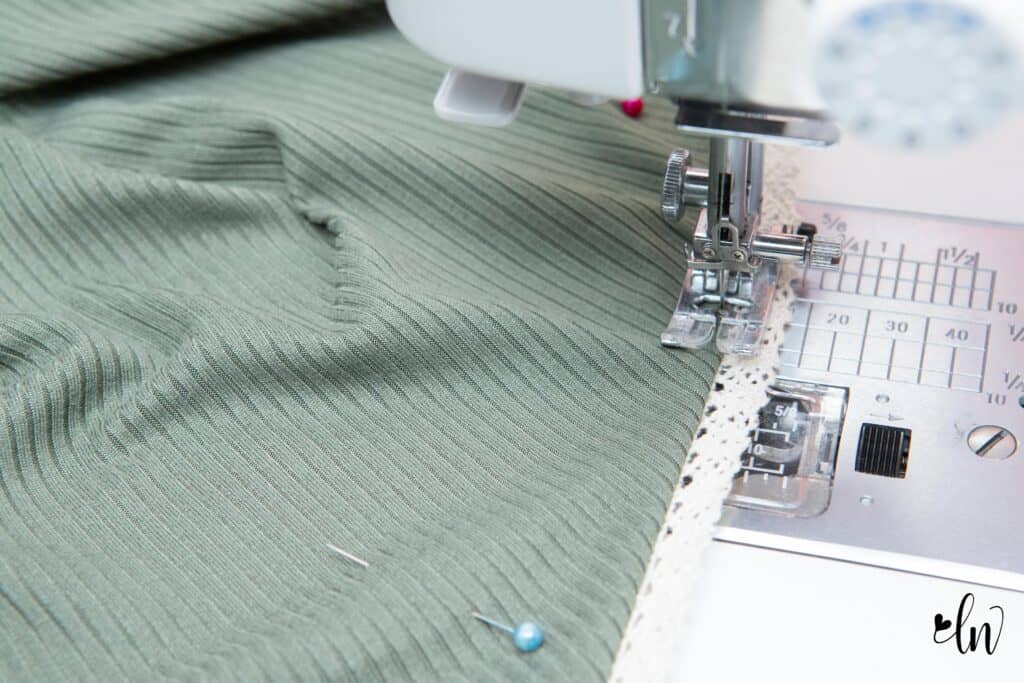
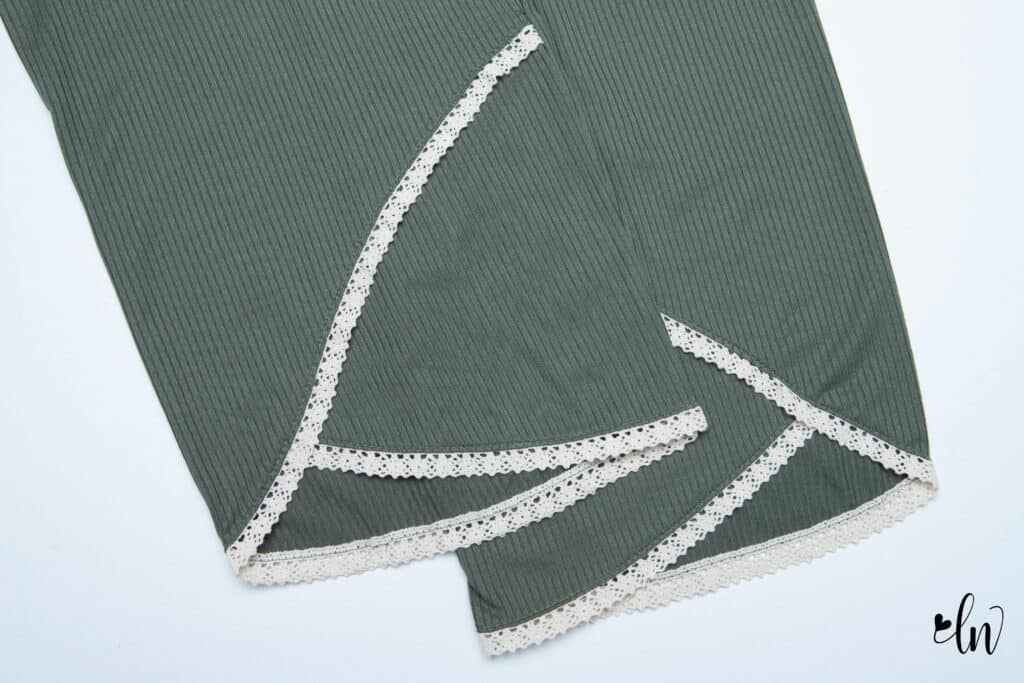
You can switch up the look of your Tranquil Nightwear by using piping or lace trim for the neckline and hems of the pants. I wouldn’t recommend this with the sleeve hems, you need some stretch there, but you can get away with non stretch lace or regular piping for the neckline and pants!
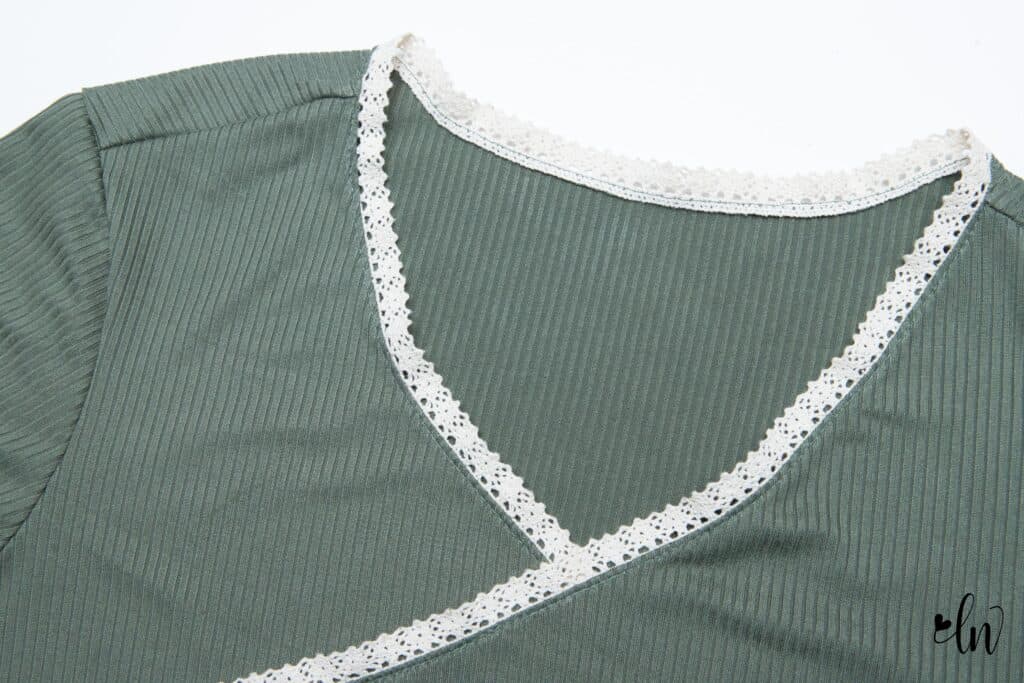
Place your lace trim or piping right sides together and stitch into place. A straight stitch is fine.
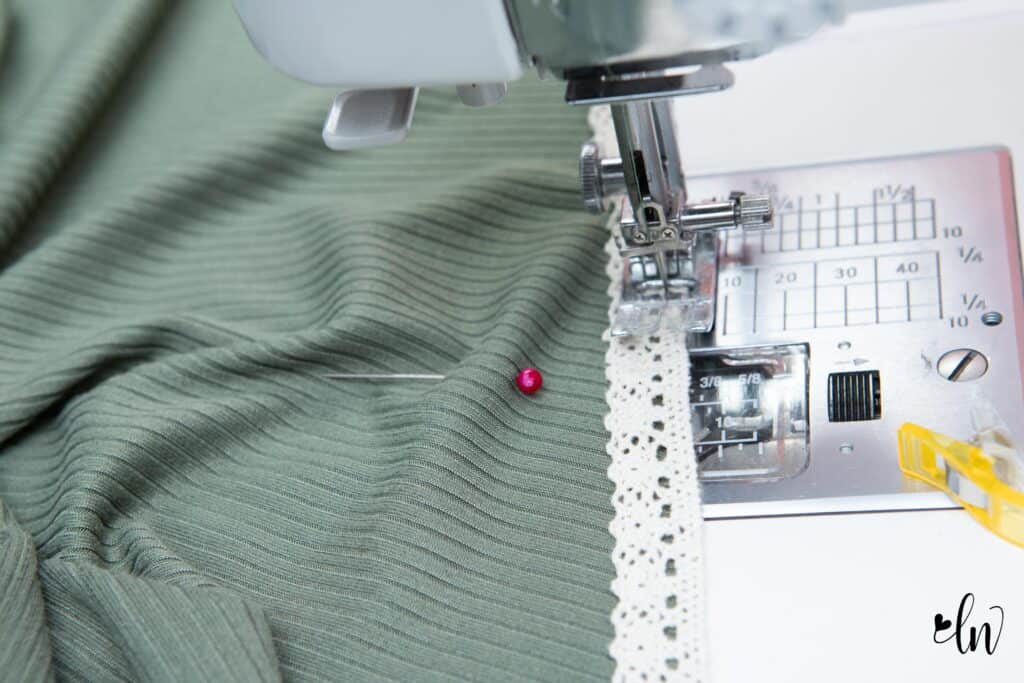
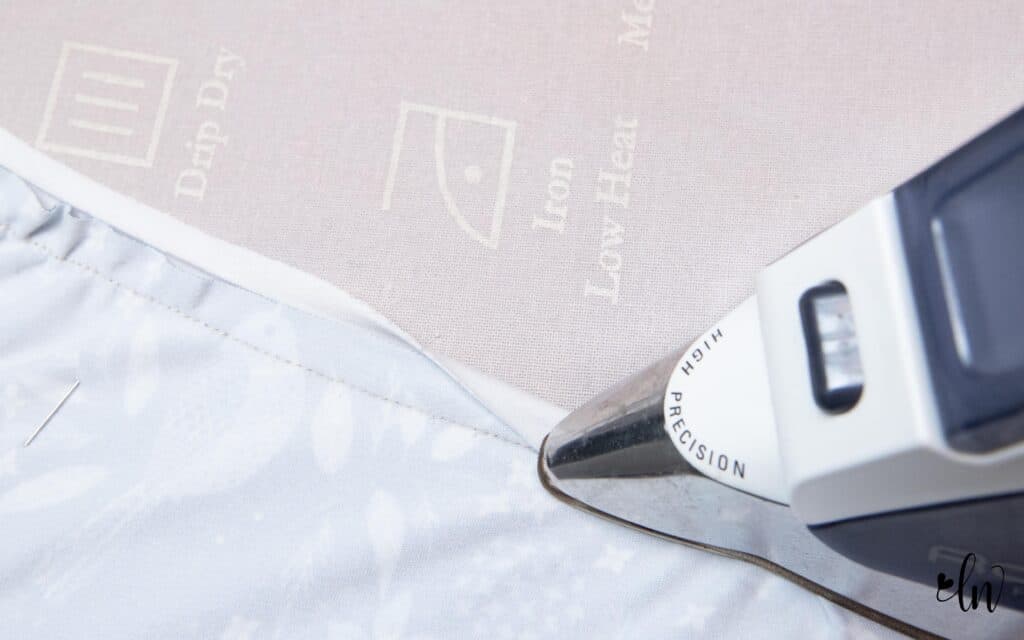
Then press the seam allowance towards the wrong side and topstitch into place. This will flip the lace away from the body. This technique is just like applying picot trim in the video below.
I want to add lace to all the things now! I love the touch it adds to the hem of the pants!
That is our stopping point for day two
Join us back here tomorrow for assembling the hem of our sleeve and attaching the sleeve to the body of the shirt of the Tranquil Nightwear.
Are you on social media?
Sewing with friends on a common project is a great way to socialize and “meet” new people! Join our Tranquil Nightwear Sew Along Event happening in our Facebook Support Group. There you will get daily reminders for blog posts and YouTube videos, be able to ask questions in a friendly environment, and enter to win a prize at the end of the week! One lucky person will win a $50 gift certificate from Love Notions Patterns (good on all PDF patterns).
Tranquil Nightwear Sew Along Schedule
Monday: Fabric, adjustments, cutting
Tuesday: Sewing the neckline
Wednesday: Creating the faux hem/ sewing the sleeves, BONUS: banded finish option
Thursday: Sewing the elastic waistband
Friday: Hemming, BONUS: faux wrap nightshirt hem

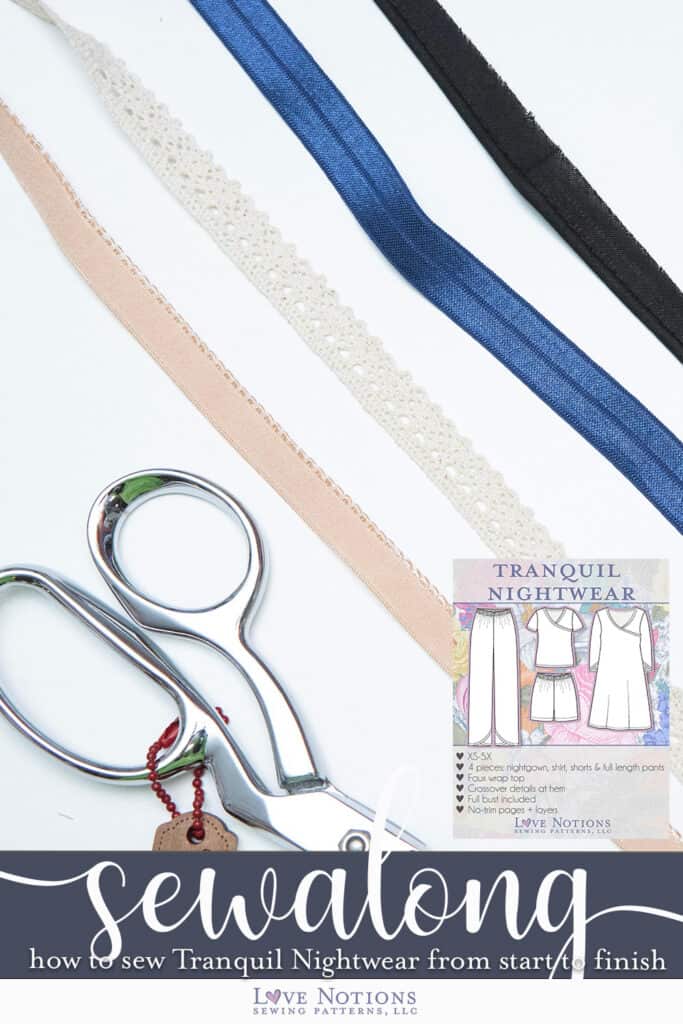
Save this to pinterest!