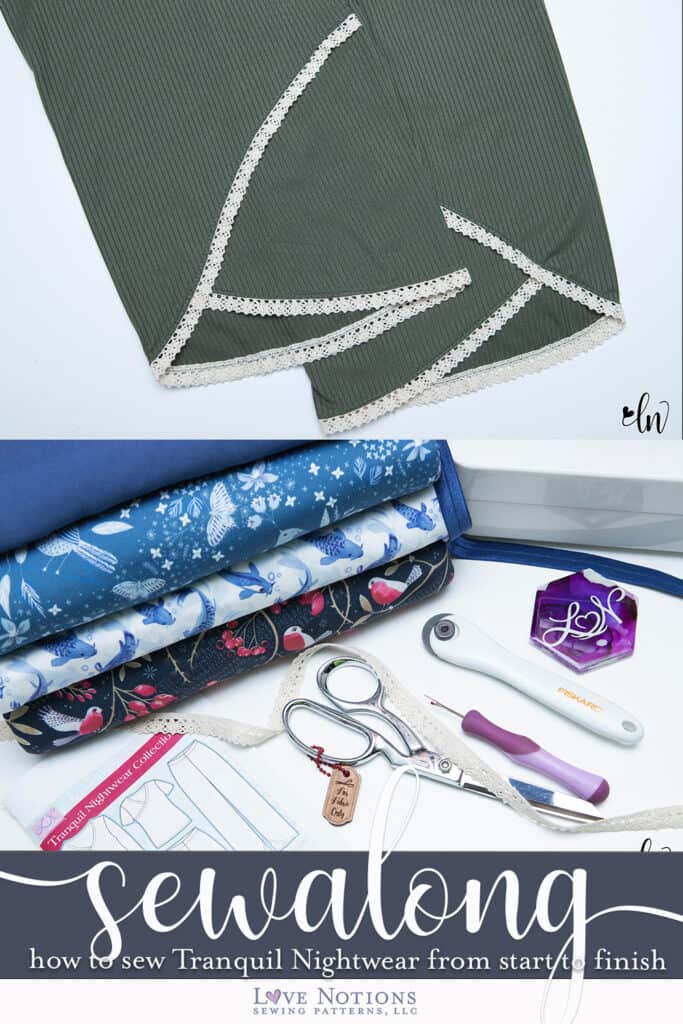
Day three of the Tranquil Nightwear Sew Along focuses on assembling the faux wrap sleeve and attaching the sleeve to the bodice of the shirt. You will be surprised at how simple the beautiful feature is to achieve! Just take your time and you are well on your way to a gorgeous and comfortable new piece for your wardrobe.
Sewing the hem
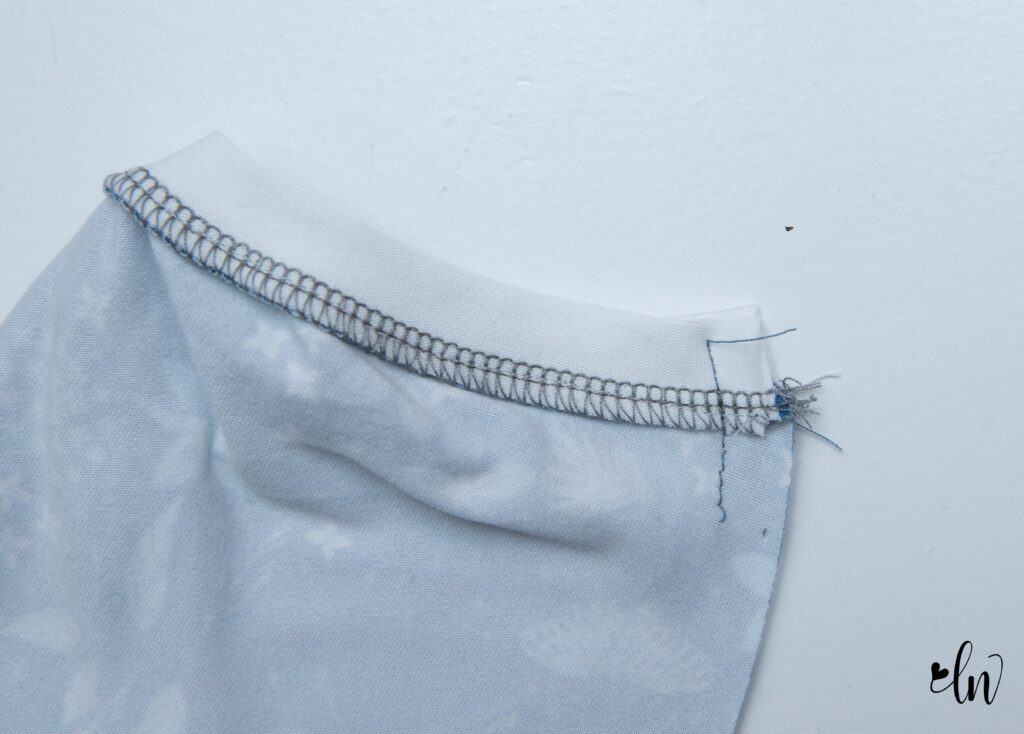
Beautiful details can often seem difficult, but I am here to assure you that this one is not! Let’s construct the faux wrap hem on our Tranquil Nightwear. The raw edges are finished in the same manor as the neckline. If you missed yesterday’s post on the Tranquil Nightwear Sew Along, you will want to jump back and read that before going forward for tips and tricks.
If you have an eye for detail, you may notice that my finish is not the same as the neckline on my Tranquil Nightwear I did yesterday. That fabric was just TOO fiddly for me to do more knit binding from it. So, I decided to try a band! I love how it turned out and I’ll share with you how to do the same at the end of this post.
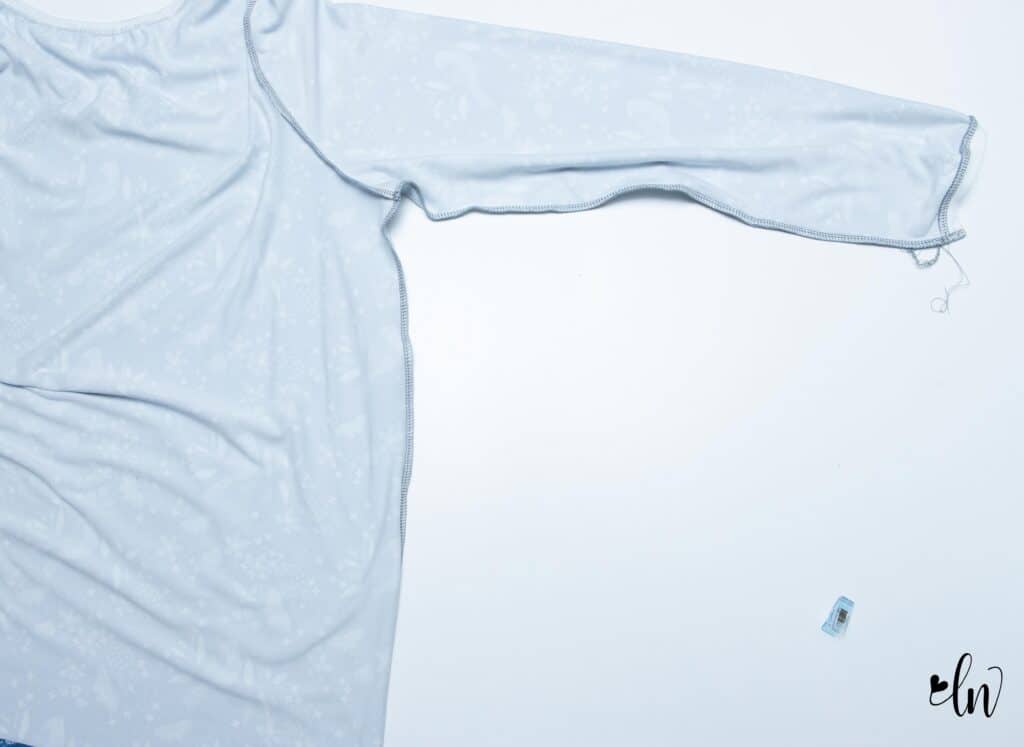
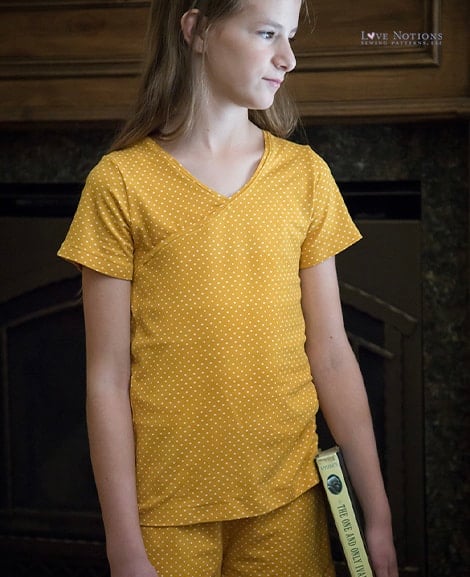
Don’t mind that puckering you see on the curve of the sleeve. It’s because this beautiful double brushed poly from Cali Fabrics is a lighter weight, so the fabric doesn’t hold the shape of the curve. Not to worry, the sleeve still turned out great!
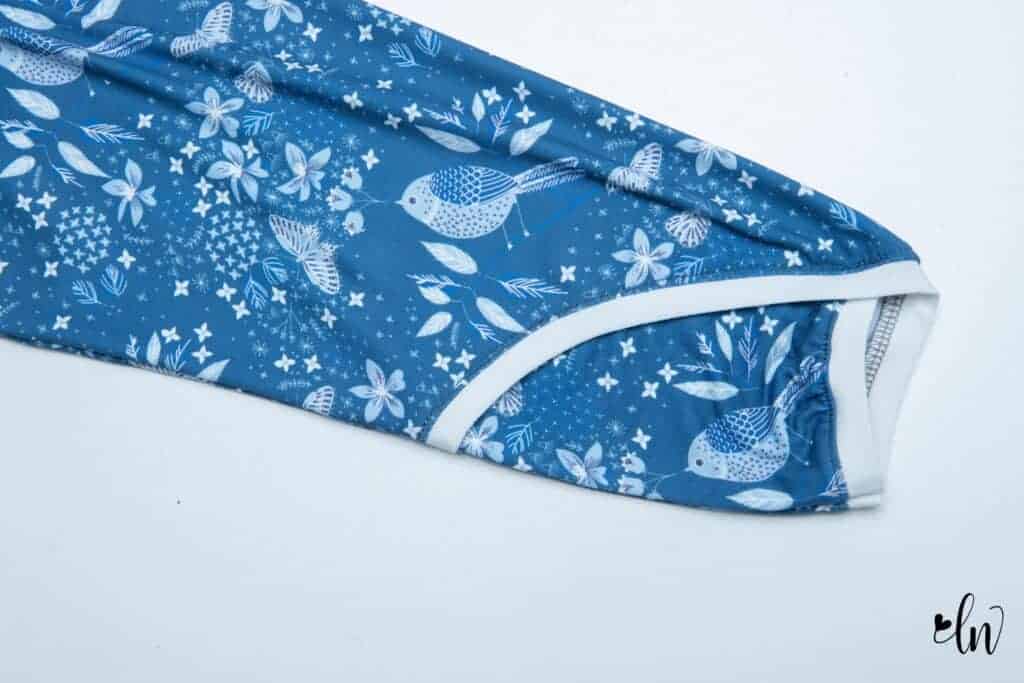
After the raw edges are finished, place the smaller accent piece in position. The right side of the accent piece will be against the wrong side of the sleeve. Match the end of the accent piece up with the marking on the hem. Topstitch in place. You can use some hem tape to keep the accent piece in place if needed, while you topstitch.
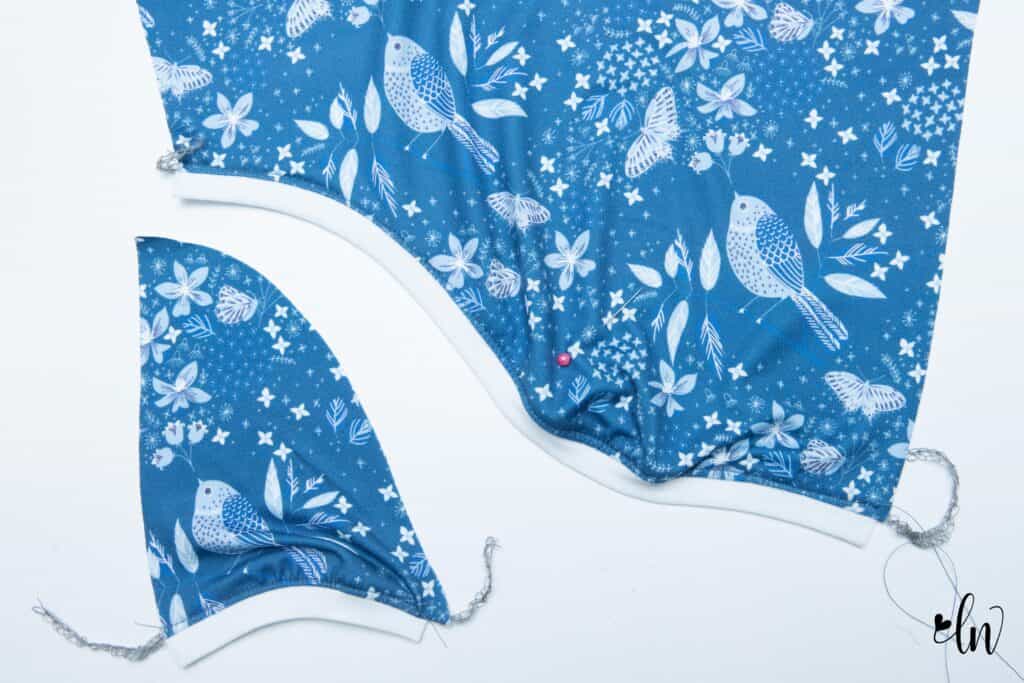
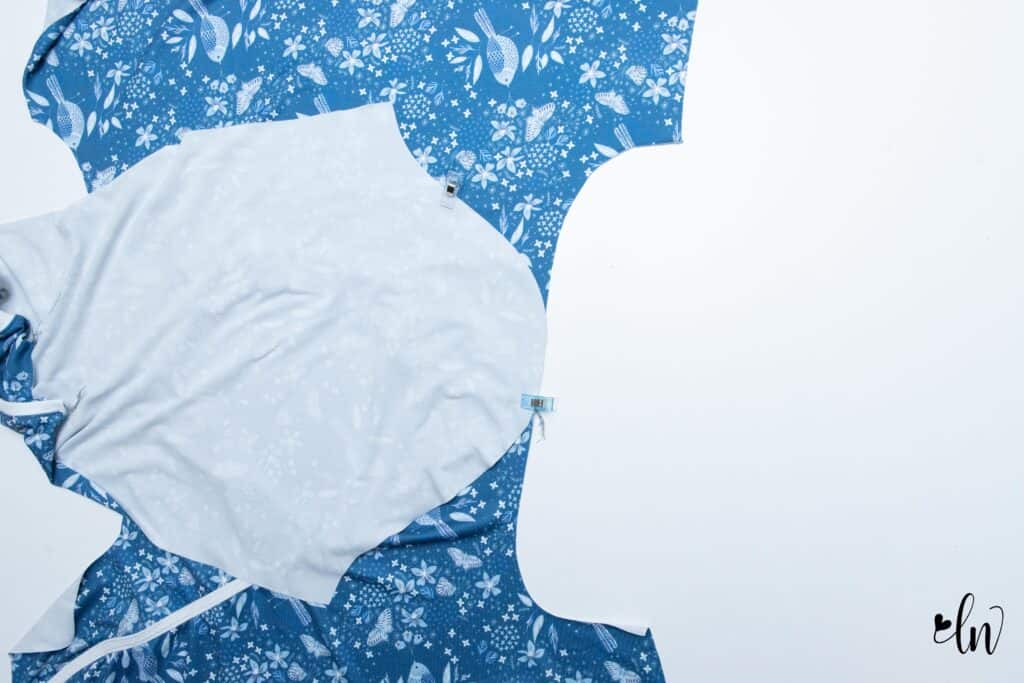
After the sleeve hem is constructed, we are going to attach the sleeves. Place the body of the shirt right side up. Place the sleeve next to it, also right side up. Match the center marking up with the shoulder seam and match the front and back markings to the front and back armscye. Just like I have below.
Now, take your sleeve of your Tranquil Nightwear and turn it over so it is right side against the right side of the shirt. Be sure to keep the markings all matched up!!! The center will line up with the shoulder seam and the back markings will match the back markings of the armscye. Clip the center to the shoulder seam. This should look just like the diagram in the tutorial.
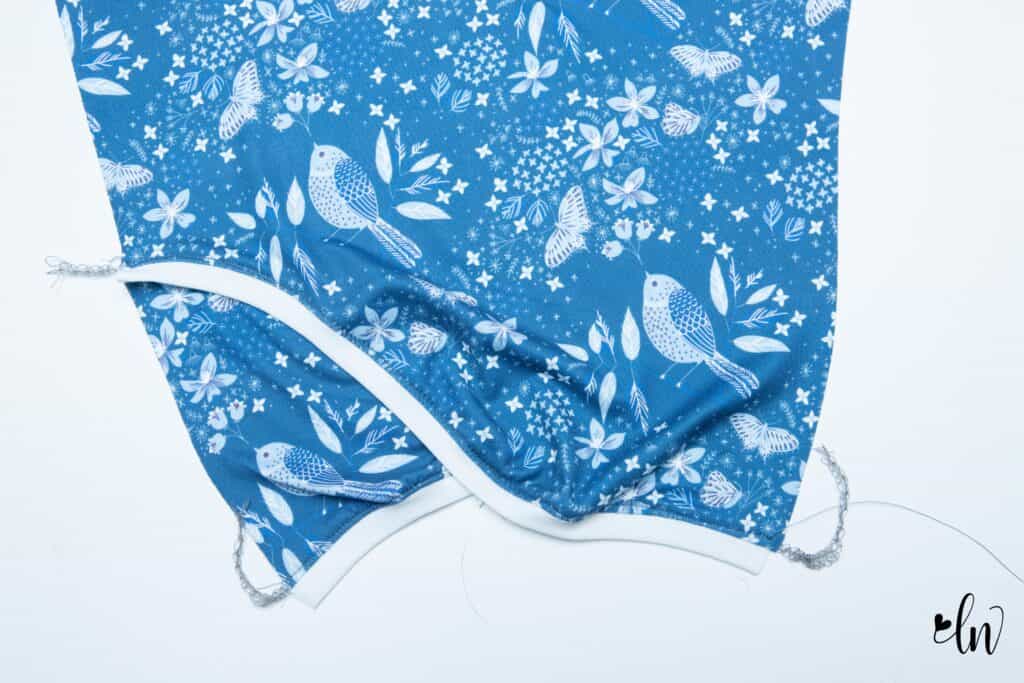
Next match the back markings and front markings. It won’t look pretty. You are matching opposite curves here. Just take your time and use as many pins or clips as you need to match up the raw edges. Now stitch them in place.
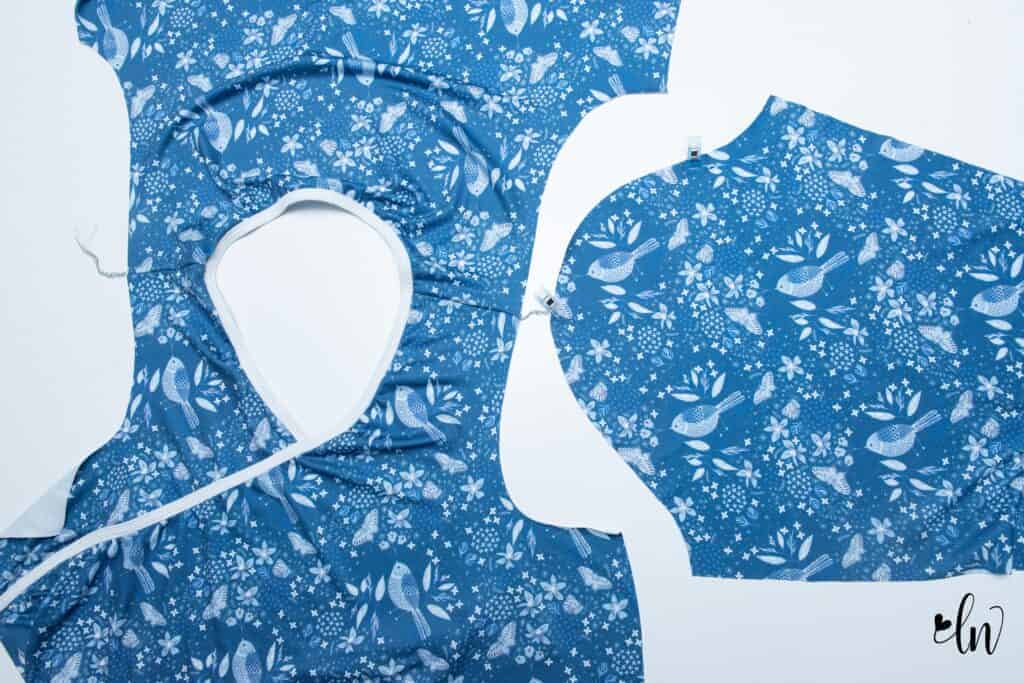
After you have the sleeves attached, match up the seams right sides together and sew in place.
Here is a little tip for keeping the trim lined up when sewing with a serger! I like to baste the ends in place with my sewing machine before I use the serger. This keeps the seams lined up and provides a clean finish.
That’s all for today
After you have the body completed, you have reached day three’s stopping point. Continue reading below for how to create a banded finish.
Watch how to sew the sleeve
Create a banded finish
If you want to make sewing the Tranquil Nightmare a bit faster, create a different look, or just defeat a fabric that is fighting you, I have a quick hack for you today! I am going to show you how to finish the neckline and wrap hems with a band instead of binding or fold over elastic. It’s quick and easy and looks great!
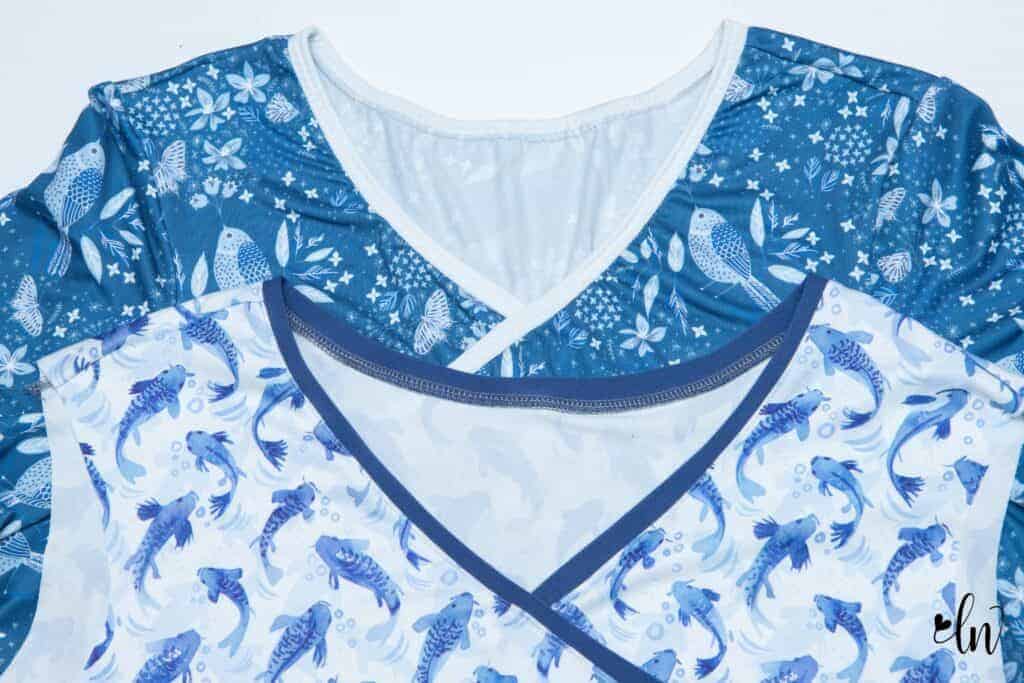
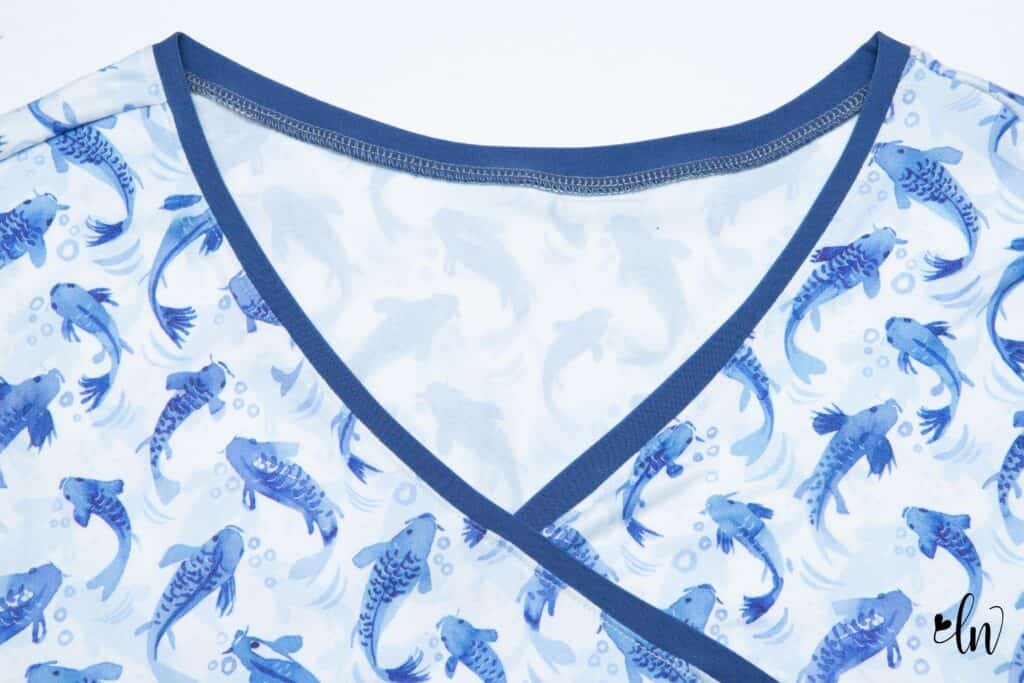
In the photo below, you will see the difference between the two looks. The blue birds fabric has the neckline finished with the knit binding. The blue koi fabric uses the banded hack I am going to share.
Cut your band
For my neckline and the hem of the sleeves and pants, I simply used the knit binding measurements from page 5 of the tutorial. Simple as can be! This will provide you with a band that is about 3/8″ wide.
After you have your pieces cut, fold them in half with wrong sides together and press. Place your band against the right side of the shirt with the raw edges lined up. Gently stretch the band while attaching it, just like we did for the binding. You want to use a 1/4″ seam allowance for this! If you prefer to use a larger seam allowance, I would suggest you cut your band 1 1/2″ wide to use a 3/8″ seam allowance.
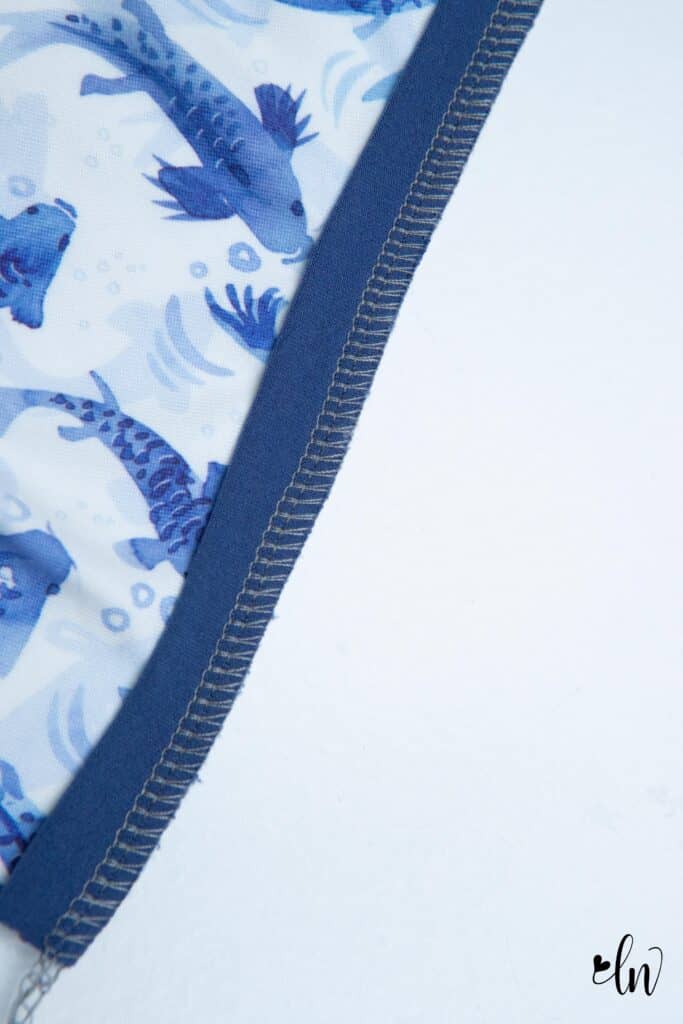
Press the seam allowance to the wrong side and the band away from the body. Topstitch the seam allowance in place.
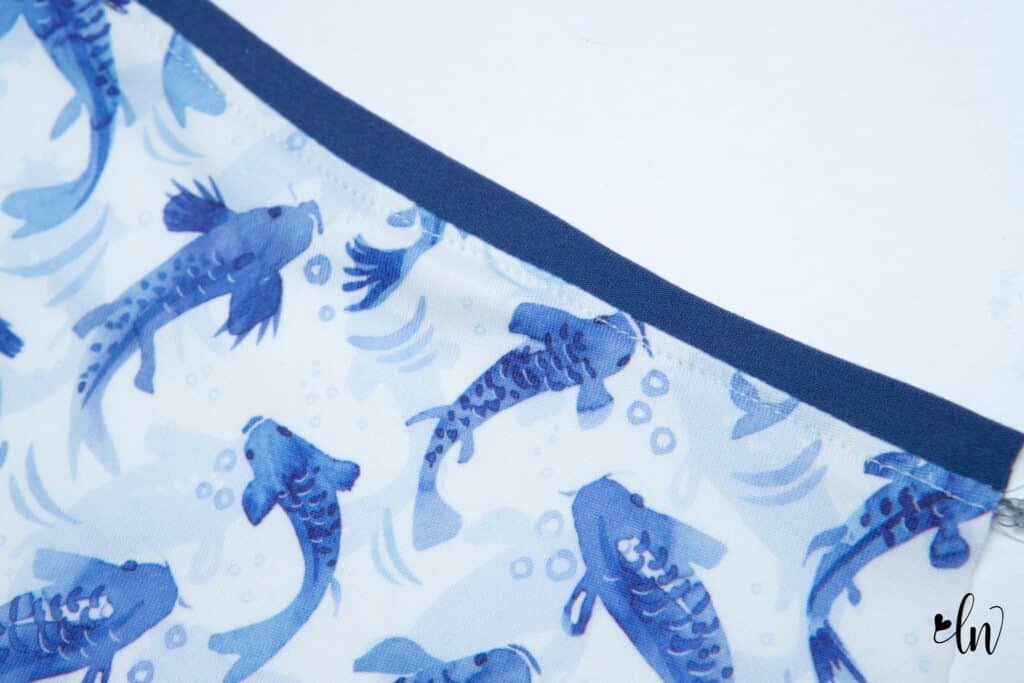
That’s all there is to the band! Complete the wrap features just as the tutorial states after the bands are attached.
Are you on social media?
Sewing with friends on a common project is a great way to socialize and “meet” new people! Join our Tranquil Nightwear Sew Along Event happening in our Facebook Support Group. There you will get daily reminders for blog posts and YouTube videos, be able to ask questions in a friendly environment, and enter to win a prize at the end of the week! One lucky person will win a $50 gift certificate from Love Notions Patterns (good on all PDF patterns).
Tranquil Nightwear Sew Along Schedule
Monday: Fabric, adjustments, cutting
Tuesday: Sewing the neckline
Wednesday: Creating the faux hem/ sewing the sleeves, BONUS: banded finish option
Thursday: Sewing the elastic waistband
Friday: Hemming, BONUS: faux wrap nightshirt hem

Save this to pinterest!