A Sewing Game Changer:
with Katie Kennedy
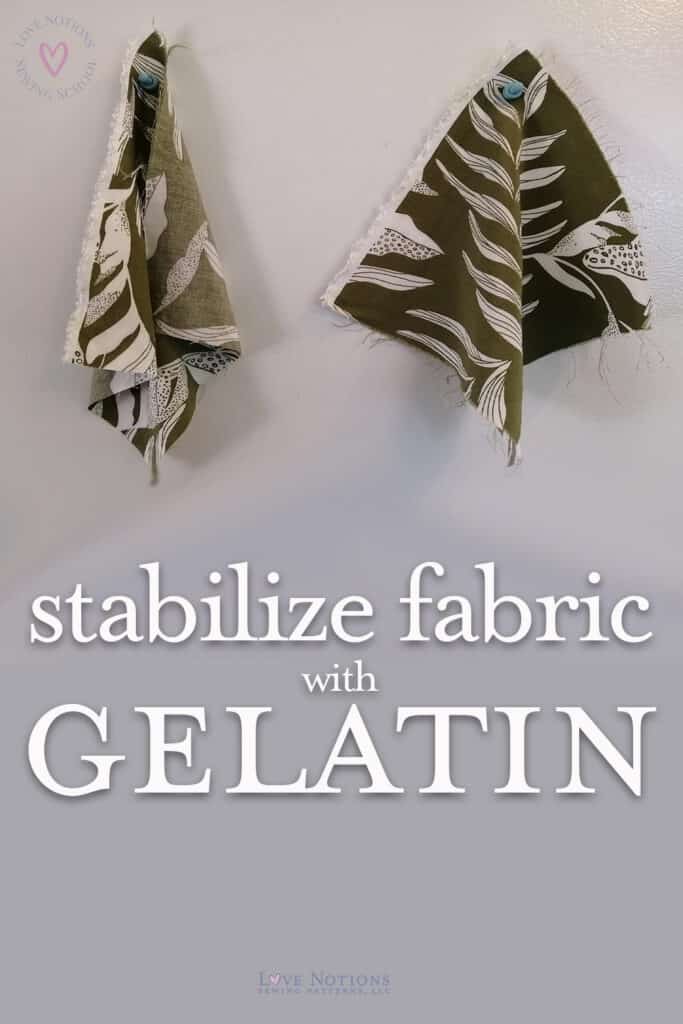
Stabilizing lightweight woven fabric with gelatin
Why, hello there, friends! Spring is in the air and what do we want? Lightweight, breezy blouses to add to our wardrobes! When do we want them? Right after we figure out how to tame slippery, wicked woven fabrics!
A Lightweight Woven Blouse Sewing Pattern


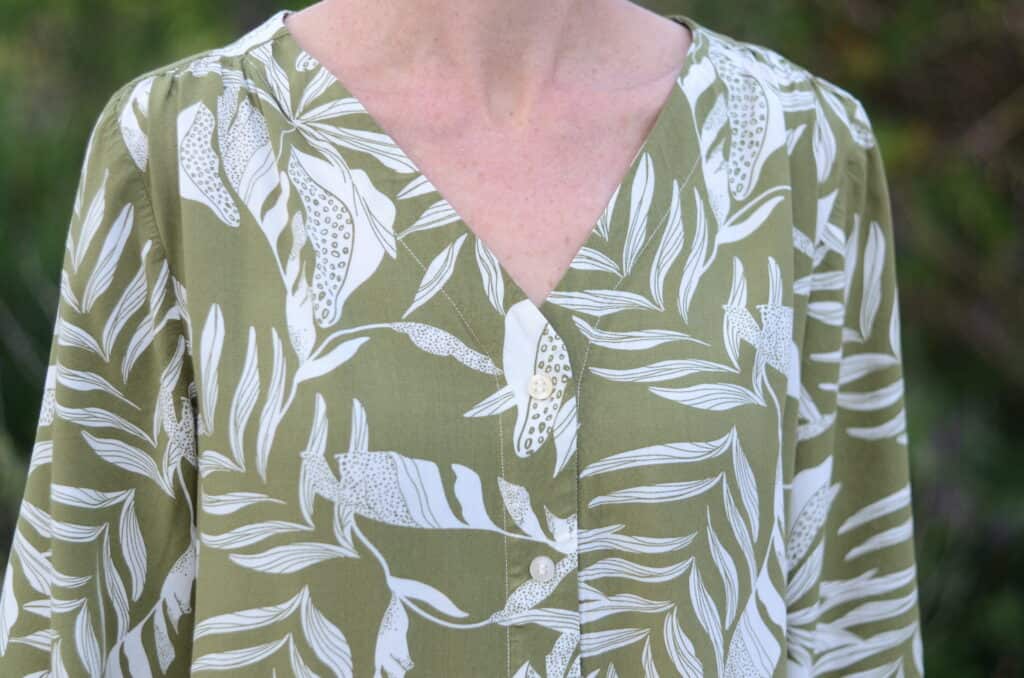
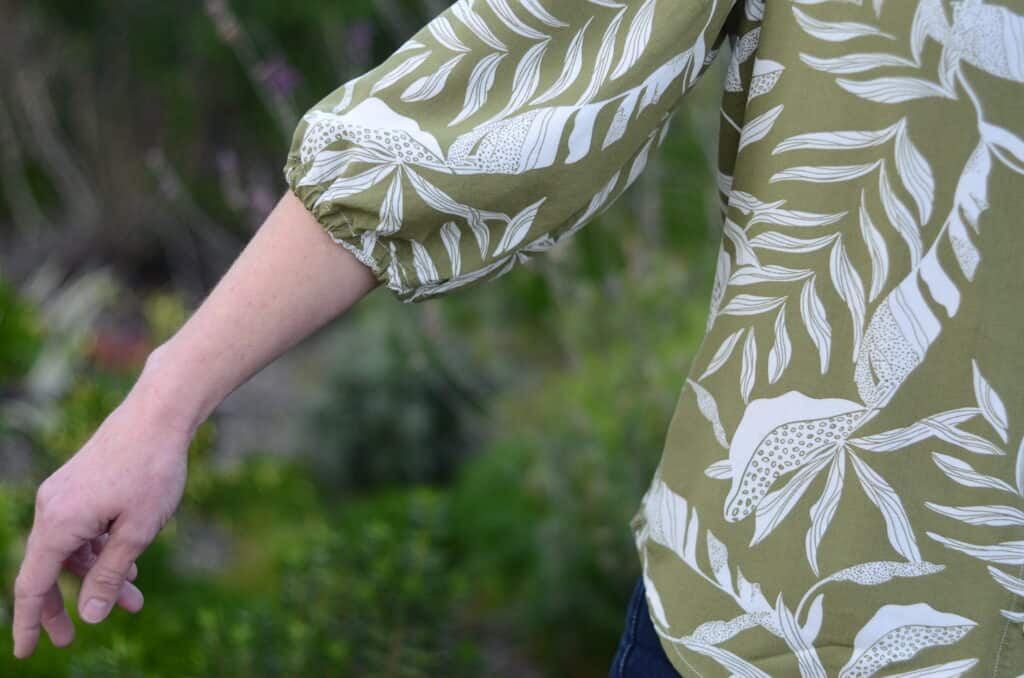
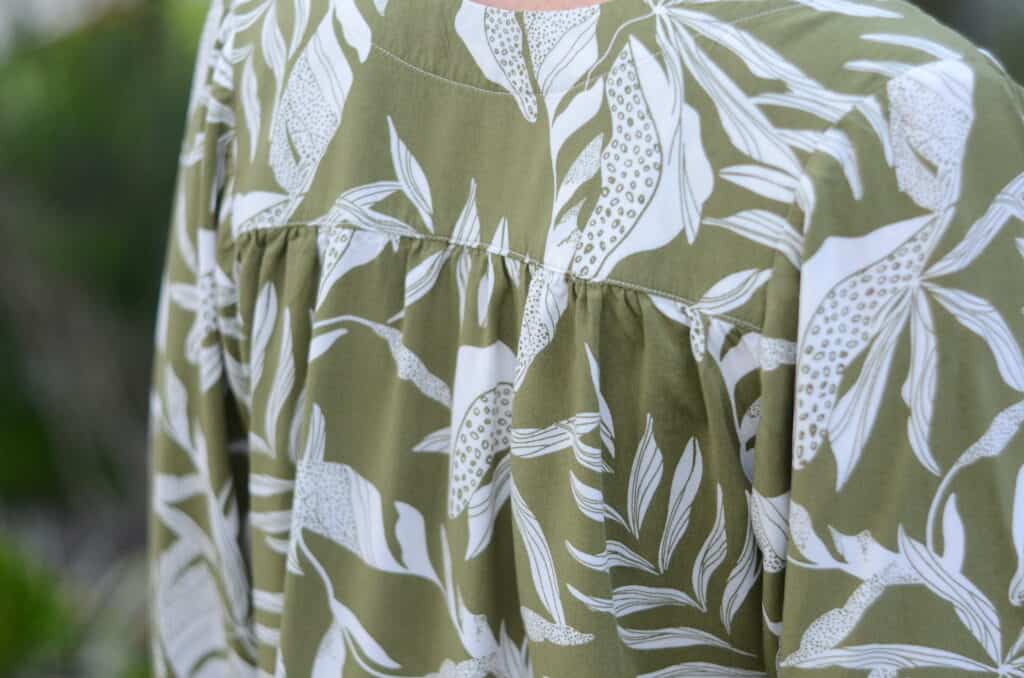
The Ballad Blouse screams to be worn in warming weather, does it not? Pretty gathered or shirred features are beyond beautiful in a suitably lightweight woven fabric, and that light, whispery fabric feels so amazing in the sunshine. I, for one, am welcoming the departure of chilly weather and I’m ready to bare some skin! Elbow length sleeves are so spring-tastic, are they not? I’m sewing a gathered Ballad and removing six inches from the sleeve length for a fun forearm-exposing style. In rayon challis, no less!
Get yourself a copy of the Ballad Blouse pattern right here!

Slippery Fabric? Here’s my technique to make it easier to work with
I’ve been wanting to share a simple technique I’ve used for many years in order to make sewing slippery lighter-weight woven a heck of a lot easier. You know what I mean, all the shifty challis, shreddy chiffon and problematic silk that you want to wear, but have a swear-inducing time cutting and sewing. I’ve been there, gritting my teeth in frustration at beautiful and obnoxiously uncooperative fabric.
Fabrics to use with this technique
I’ve used this method across the scope of woven fabrics, ranging from challis, chiffon, silks, rayon, poly, viscose, just really anything lightweight (but not knit). The added body and crispness really makes cutting and print/stripe matching far, far easier to manage. I even find that the fabric frays less at cut edges; the fibers are all rather stuck together.
How to prep your fabric
When I’m preparing initially, I pre-wash my fabric on the warm/cool setting as usual, but skip the drying and head directly to the soaking station. (The kitchen… the soaking station is just my kitchen.) Or if I just need one or two new cuts to sew, I wash, dry, and store the others like usual to be stabilized another day. (BUT also, I have stored gelatin-treated fabrics in my plastic bins long term without any issue.)
Supply List
Next, gather your supplies. You’re going to need just a few items:
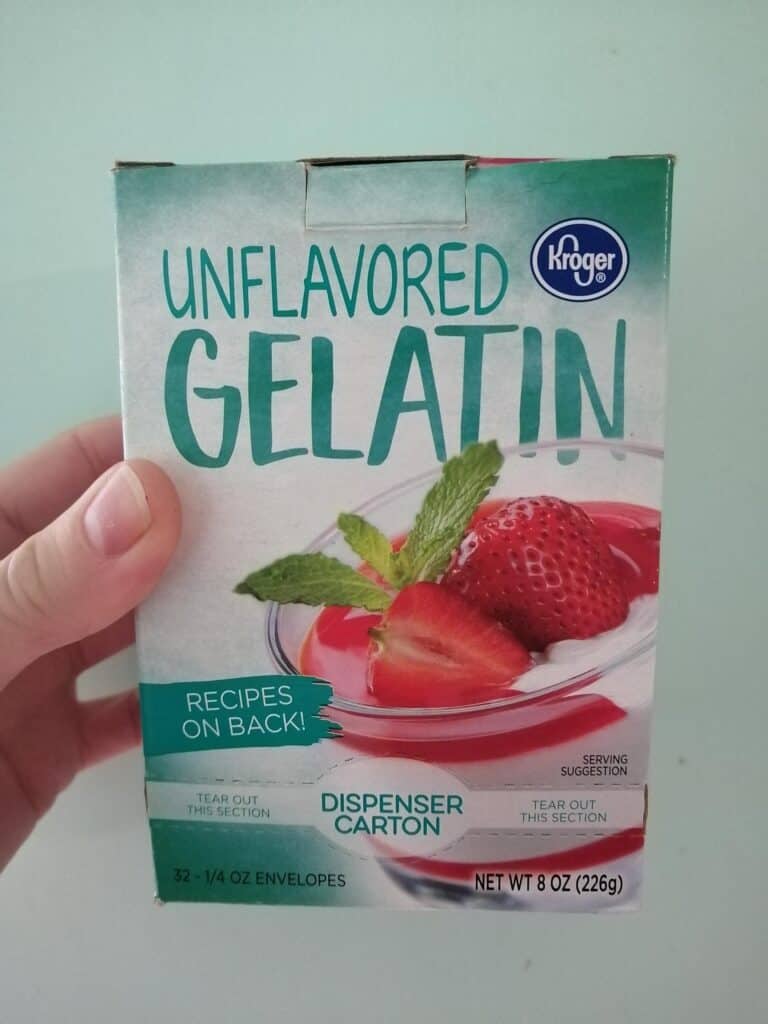
- Unflavored gelatin. (I get the cheap bulk box of store brand.)
- Large bowl or stock pot, bucket, sink, etc. Pick your favorite vessel to hold water.
- Water: some hot, some less hot.
- Optional whisk for fanciness.
But I’m rambling…

Step One: Dissolve the Gelatin Powder
Dissolve a packet of plain gelatin powder (mine measure 1/4 ounce, which appears to be a scant tablespoon or approximately 21 grams) into a cup of hot water to make sure it completely dissolves. Add to the larger pot of quite warm water and stir (here’s where the optional whisk comes in handy). Or you can just add an inch of hot water to the bowl, stir in gelatin powder and then dilute with more warm water. Of course, you can experiment with adjusting measurements, but—fair warning—I did once practically turn silk into paper because it dried so crunchtastically.
I use my tallest stock pot which is around 8 quarts and probably fill it about 2/3 full, and that easily fits 2 or 3 yards/meters at a time. Honestly, I leave the whole pot in the kitchen sink to catch spills so I’m free to get splashy.
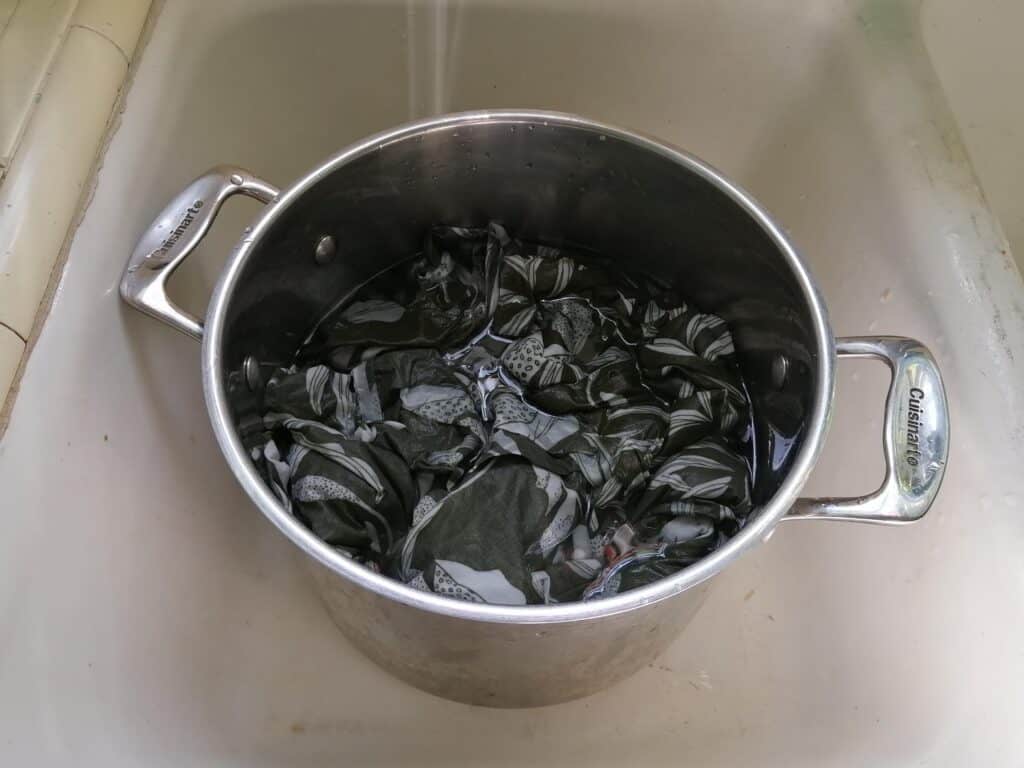
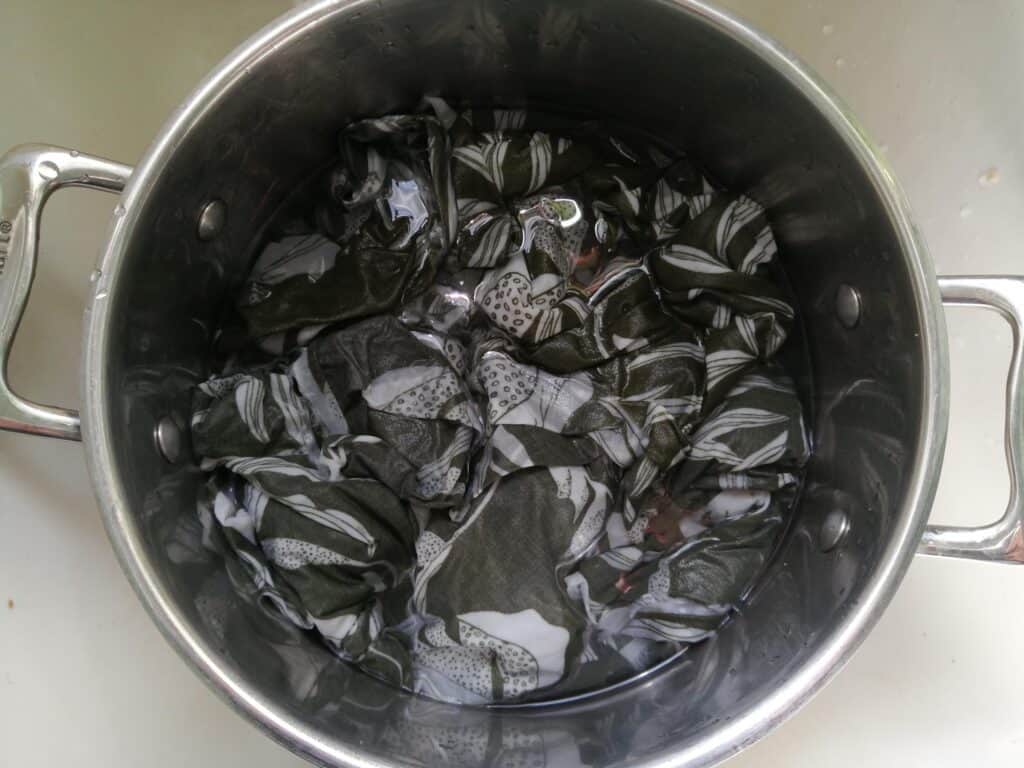
Step Two: Combine Fabric + Gelatin
Add fabric and gently agitate and turn over a few times. If your gelatin solution got all foamy, never fear, adding the fabric will pop all those bubbles. Make sure your fabric is completely unfurled and unfolded so all sides are exposed. I give it some loving underwater squeezes to ensure there are no secret air pockets. I soak for around 30 minutes and make sure I’ve given the yardage some stirring and movement a few times during the duration to get the fabric all evenly coated.
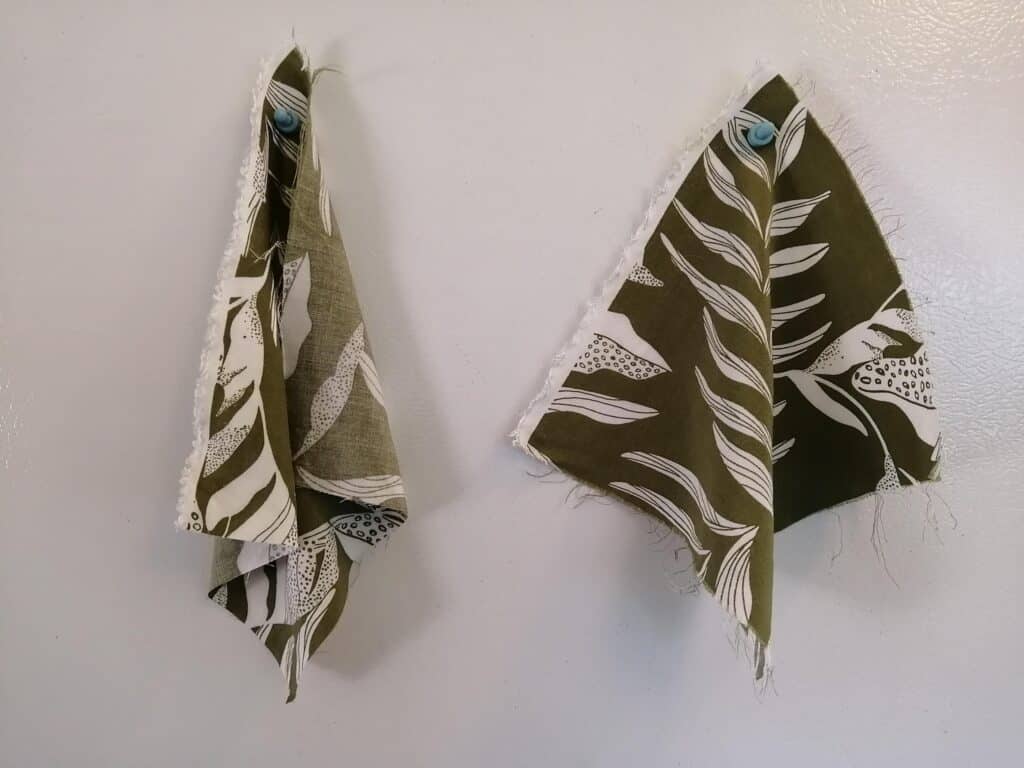
Now, I’ve definitely reused the gelatin-infused water for a second soak, but be sure to start with your lighter colored fabric because sometimes there’s dye residue left behind, especially with pinks and reds like you’d expect. My personal rule is soaking from lightest to darkest if I’m preparing multiple cuts. This particular green and white challis left my water a dark indigo, if you can believe that! There are all sorts of exciting surprises to be found in fabric dyes, I’ve learned. I’m sure there are some marvelous scientific explanations for these, but today we’re here for the art of stabilization, so we must focus.
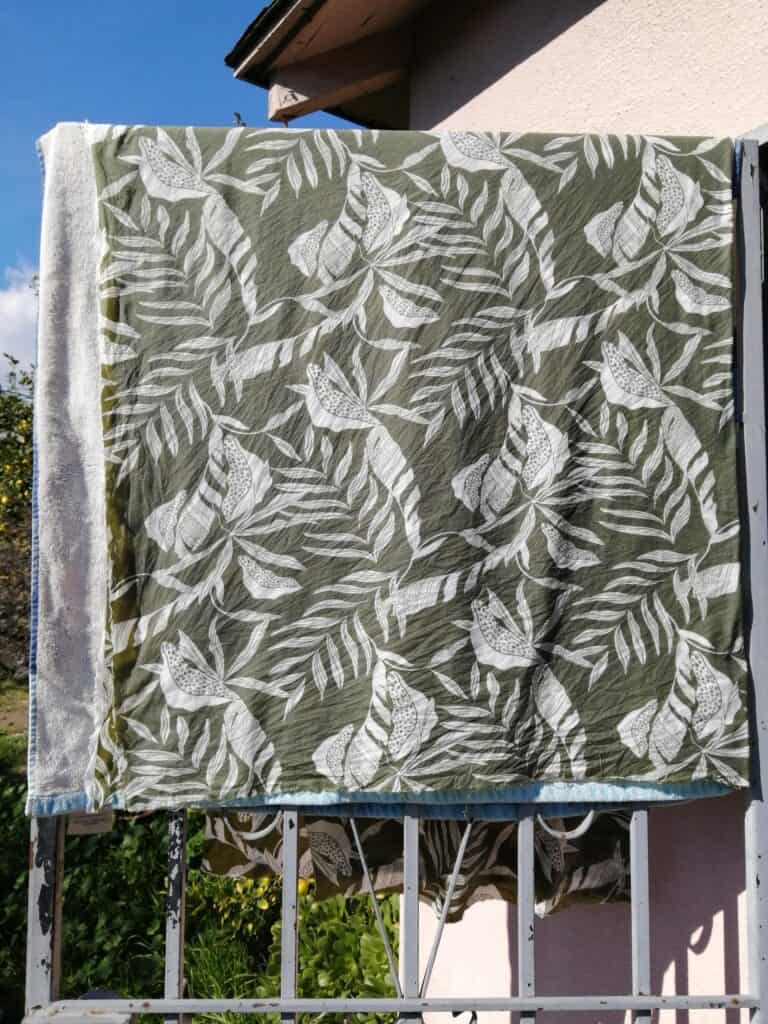
Step Three: Hand-squeeze Water Out
When your timer goes off, gently hand-squeeze the excess water out of your fabric, fold it in half with right sides together, smooth out wrinkles, and hang it to drip and air dry over a towel on an outside door. I recommend limiting this to 2 yard cuts because of the wet hanging weight and you don’t want any stretching or warping to occur. My other drying practice is to lay out some beach towels on my boys’ trampoline and then lay the fabric on top to dry flat.
Step Four: Dry Fabric
Warning: Resist the urge to tumble dry since that removes the crispness we’re going for—don’t let all this prep be for naught!
I’ve found that the fabric treated in this way will dry quite smooth and flat, but if you need to iron, use low or no steam so things don’t get sticky. I really haven’t come across any issues with ironing these treated fabrics, but also check and clean off your iron plate afterward to be sure!
Step Five: Stable Fabric Achieved!
The gelatin won’t exactly turn your challis into quilting cotton, but there is quite a bit of body and stability added. There’s just so much less shifting and wiggling that the garments I sew in this manner undoubtedly turn out better. I won’t even sew these types without preparing them first.
Here is a comparison picture to show the difference. Left is untreated, right is soaked and then air dried.
Hooray, your fabric is prepped and dry, and you are ready to get started! Lay out your now-stabilized fabric and proceed to cut and sew as per the instructions. Do handle your lightweight woven gently as usual. Don’t permit any fabric to hang off your cutting table and keep your cut pieces on a flat surface.
After your garment is finished, give it a quick handwash to remove the gelatin and then a final press. Maximum flutteriness and drape restored, voila!
I hope this stabilizing technique helps you tame the beast, this tactic utterly changed the game of sewing lightweight wovens for me. Wearing these fabrics is a delight, and now sewing them can be too!
Please feel free to join me over on Instagram for more sewing projects!
Save this article to your sewing board on Pinterest

More sewing patterns to use with this technique
-

Somerset Top & Bottoms
$12.50 -

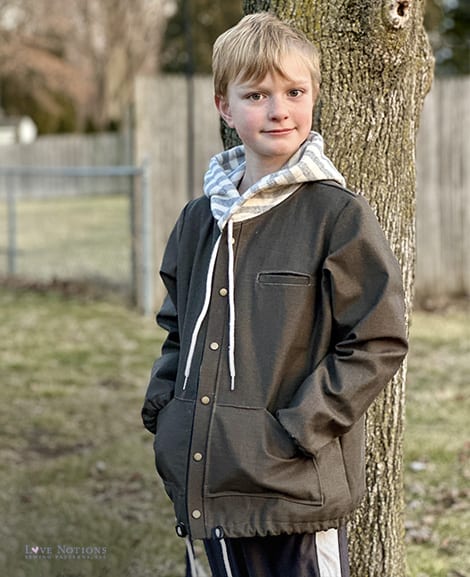
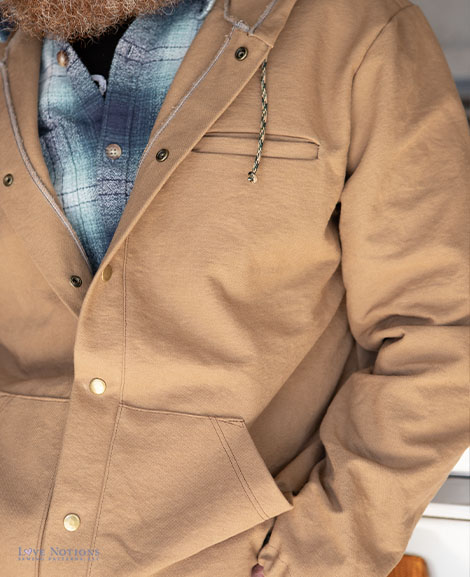
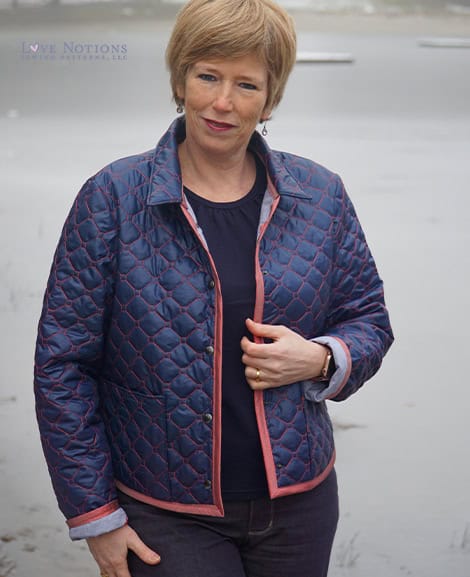
Interlude Jacket
$12.50 -

Muse Blouse
Price range: $12.50 through $23.00 -

Opus Vest
$12.50 -

Meadowlark Pants
$12.50 -

Bluegrass Buttondown Shirt and Dress
$12.50 -

Pianoforte Jumper
$12.50 -

Men’s Band Camp Shirt
$12.50 -

Band Camp Shirt
$12.50 -
Timbre Peasant Top & Dress
Original price was: $12.50.$5.00Current price is: $5.00. -

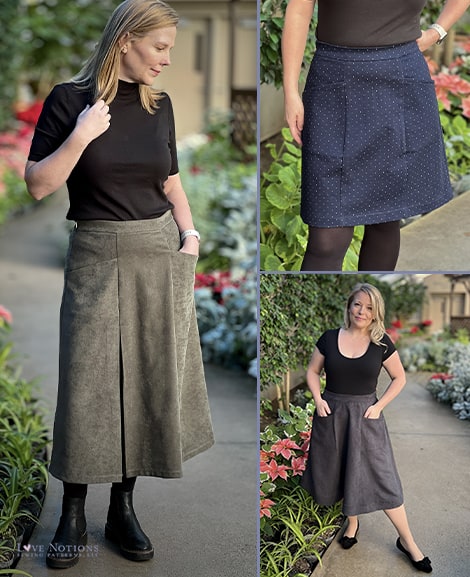
Caprice Skirt
Price range: $12.50 through $23.00 -

Crescendo Jeans
$12.50 -
Treble Clef Coat
$10.50 -
Bass Clef Coat
$12.50 -

Clef Coat
$12.50 -
Encore Skirt
$12.50 -

Frankie Polo
$12.50 -
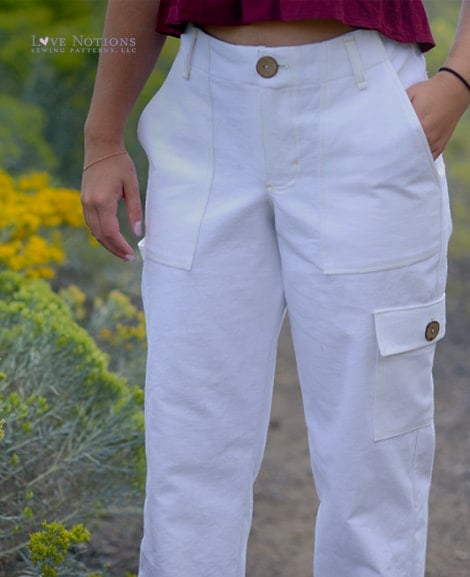
Largo Cargos
Price range: $12.50 through $23.00 -

Tinley Shorts, Skirt, and Skort
$12.50 -
Coda Quilted Coat
Price range: $12.50 through $23.00