5 Ways to Sew Gathering
Ah, sweet beautiful gathers. This style detail has really stepped up to the forefront of many designs in the past couple of years, and nailing the dainty, even gathers you can proudly wear can feel a bit overwhelming!
Let’s explore some techniques to familiarize you with what might work best with your fabric and machine.
A few things to note.
- Stitch length – Your stitch length depends on your fabric. The lighter weight the fabric, the smaller stitches you can get away with for teeny, delicate gathers. I, however, am never really sewing items of heirloom quality and I sweepingly apply my machine’s longest stitch length of 5mm to everything I’m sewing.
- Backstitching – No backstitching here, and please leave yourself some long tails at the beginning and the end of each stitch row so you can easily grab ahold of the loose thread ends to manipulate your fabric.
- Preserve your fabric – You also want to pay attention to your fabric and how removing stitches affects the surface. For instance, sometimes custom fabrics show tiny marks where the print has been punctured by the needle, or rayon challis’s delicate weave that is capable of leaving marks (or pulls!) when basting or gathering stitches are removed. You need to figure out this info in advance so you don’t run a row of gathering thread that will leave marks and blemish the right side of your final garment!
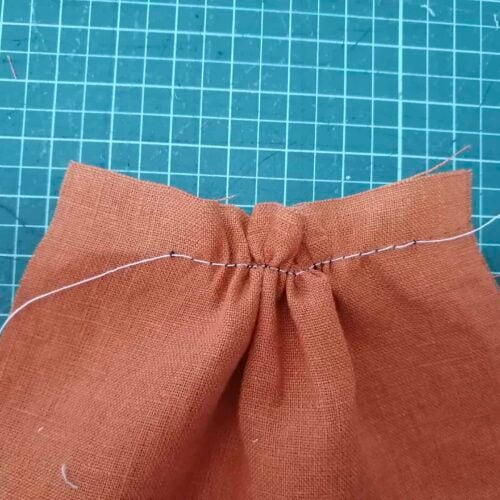
- Work with the Bobbin – Pull the bobbin thread for tension when gathering! You are far less likely to break a thread and force a do-over if you can keep this in mind. Feel free to use this catchy phrase I just made up: Needle thread? No way! Bobbin thread? Boom.
- Markings – Ensure you have carefully marked your beginning and ending points for gathering before you get started. I like to use an extra long line in chalk opposite my fabric color so that I don’t lose the marks in the gathers themselves (something that is surprisingly easy to do!) I recommend the same exaggerated marks for noting the quarters or halfway points on pattern pieces like a gathered skirt or tiers. I even mark the halfway point on gathered sleeve hems to ensure I can distribute all those gathers evenly into a cuff.
So here we go! I used gray for needle thread and white for bobbin thread to easily differentiate them for this post.
The Pattern
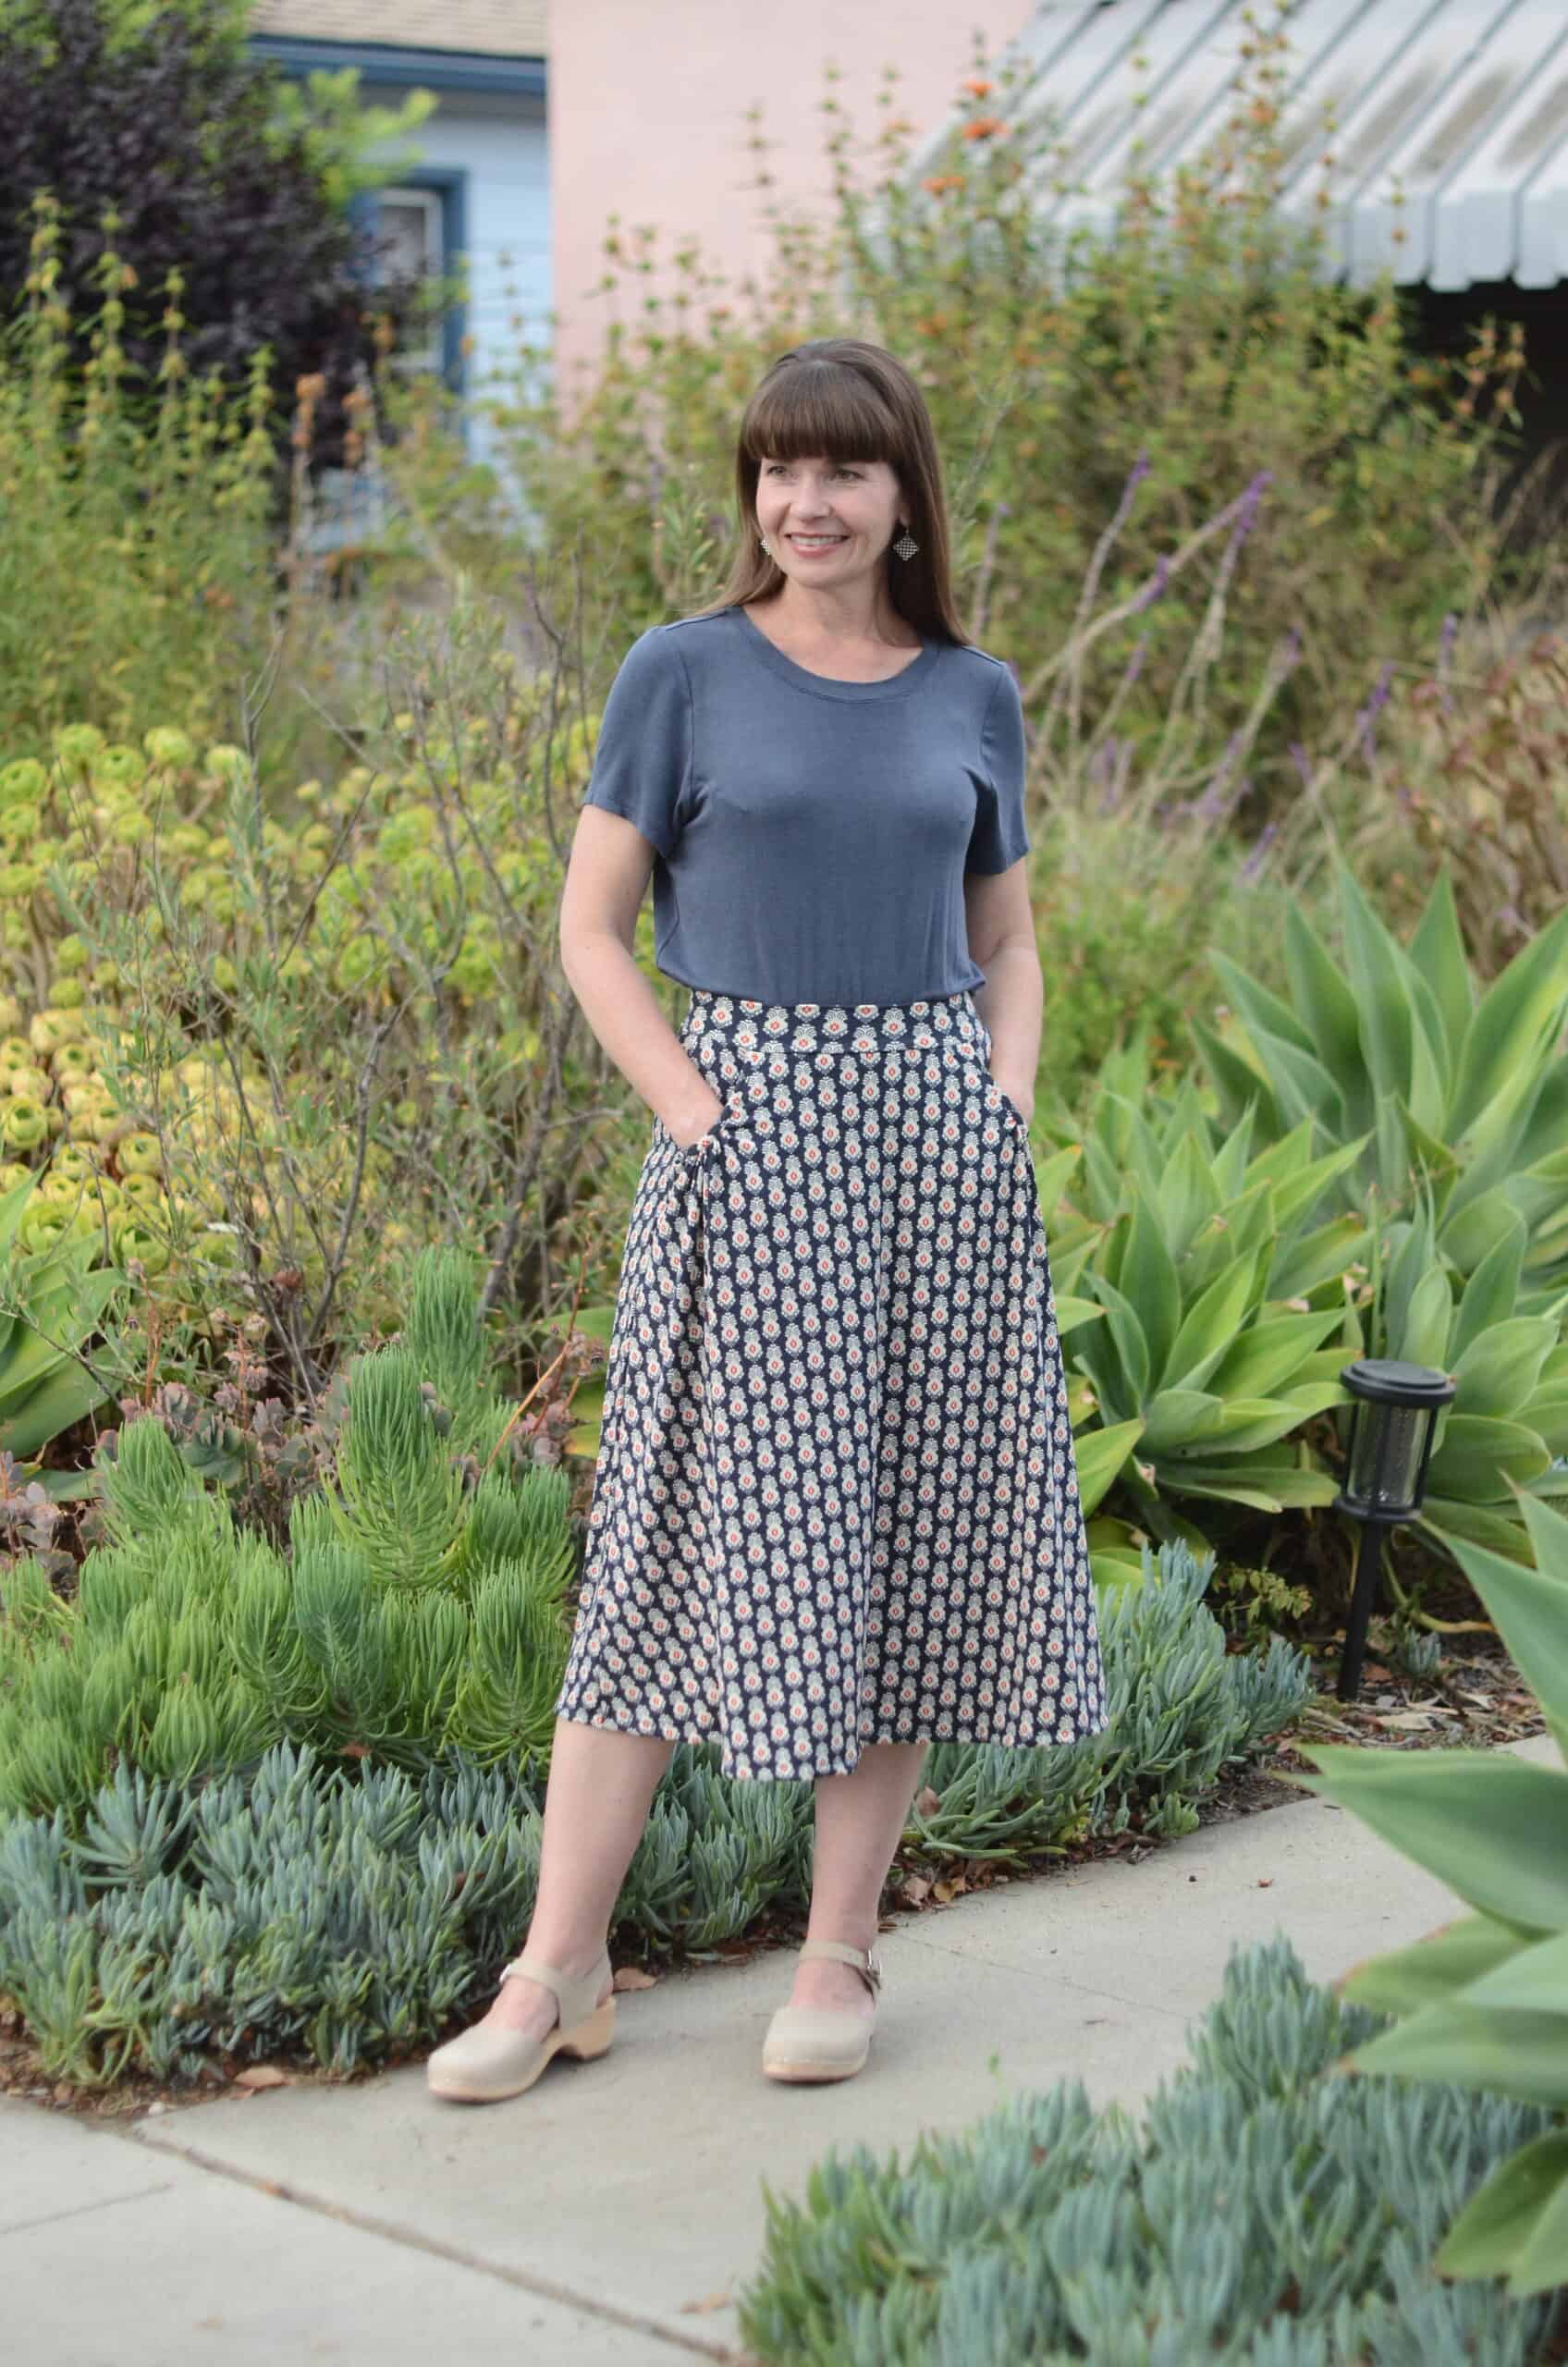
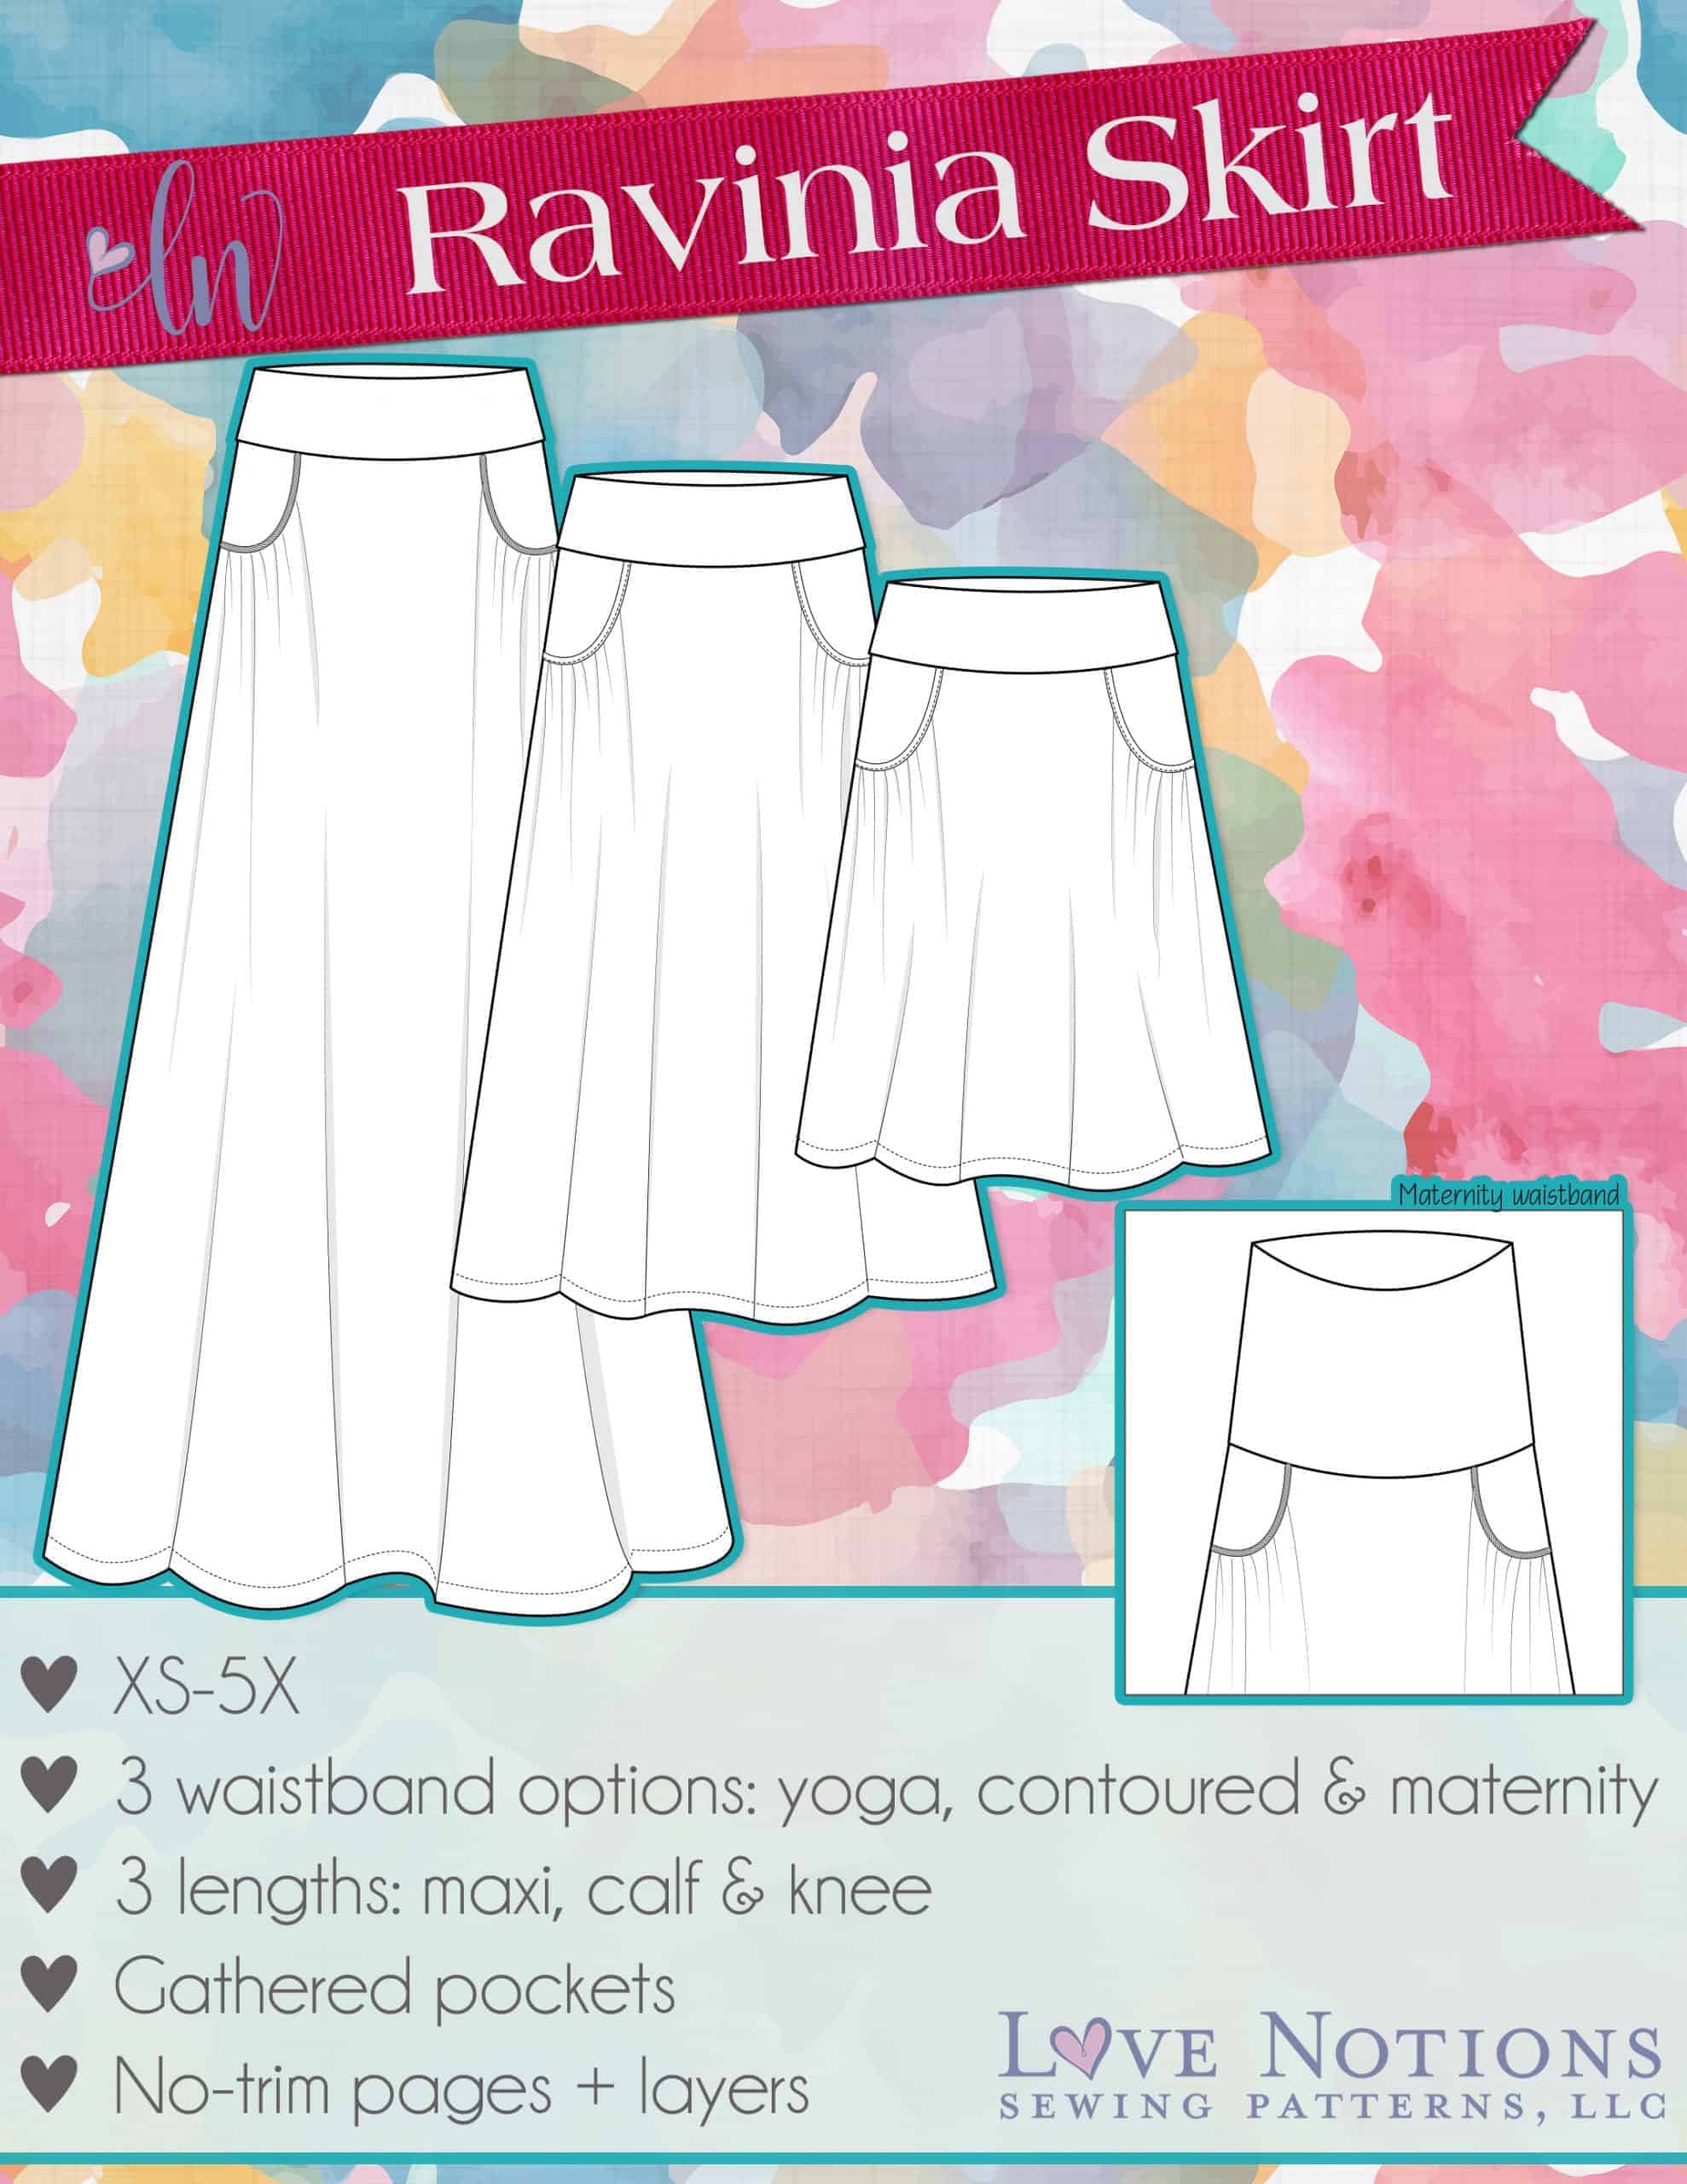
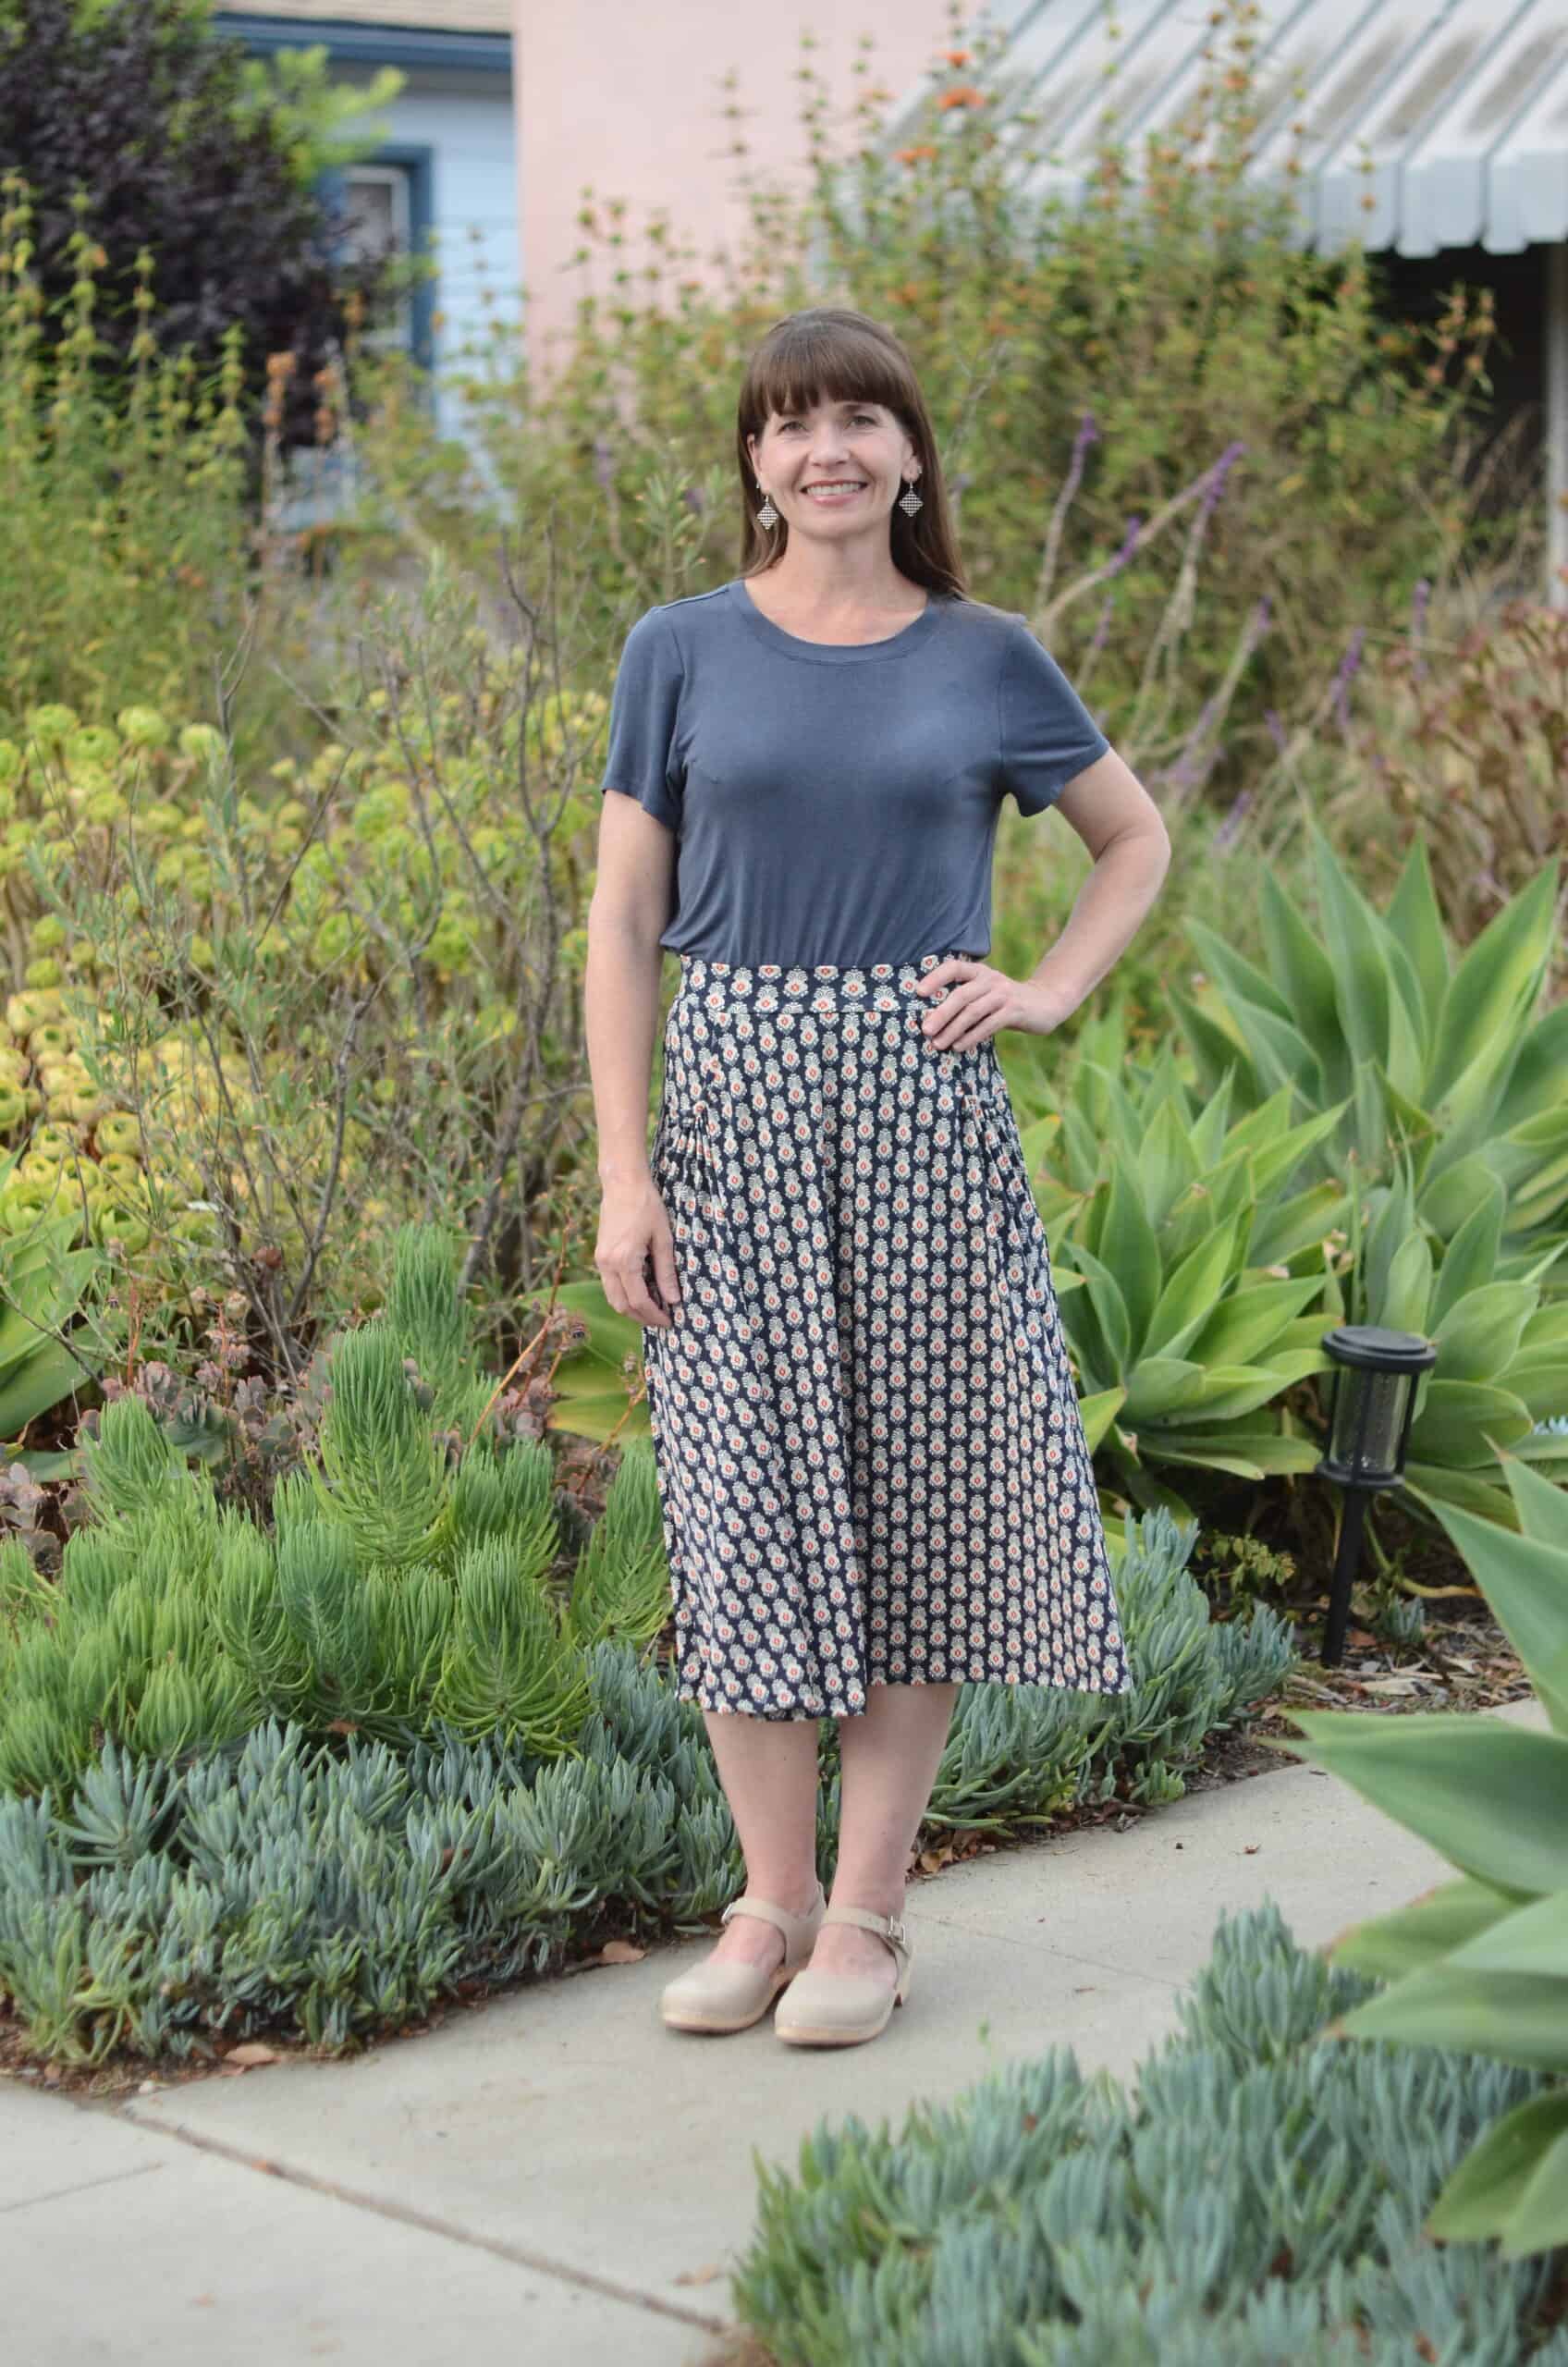
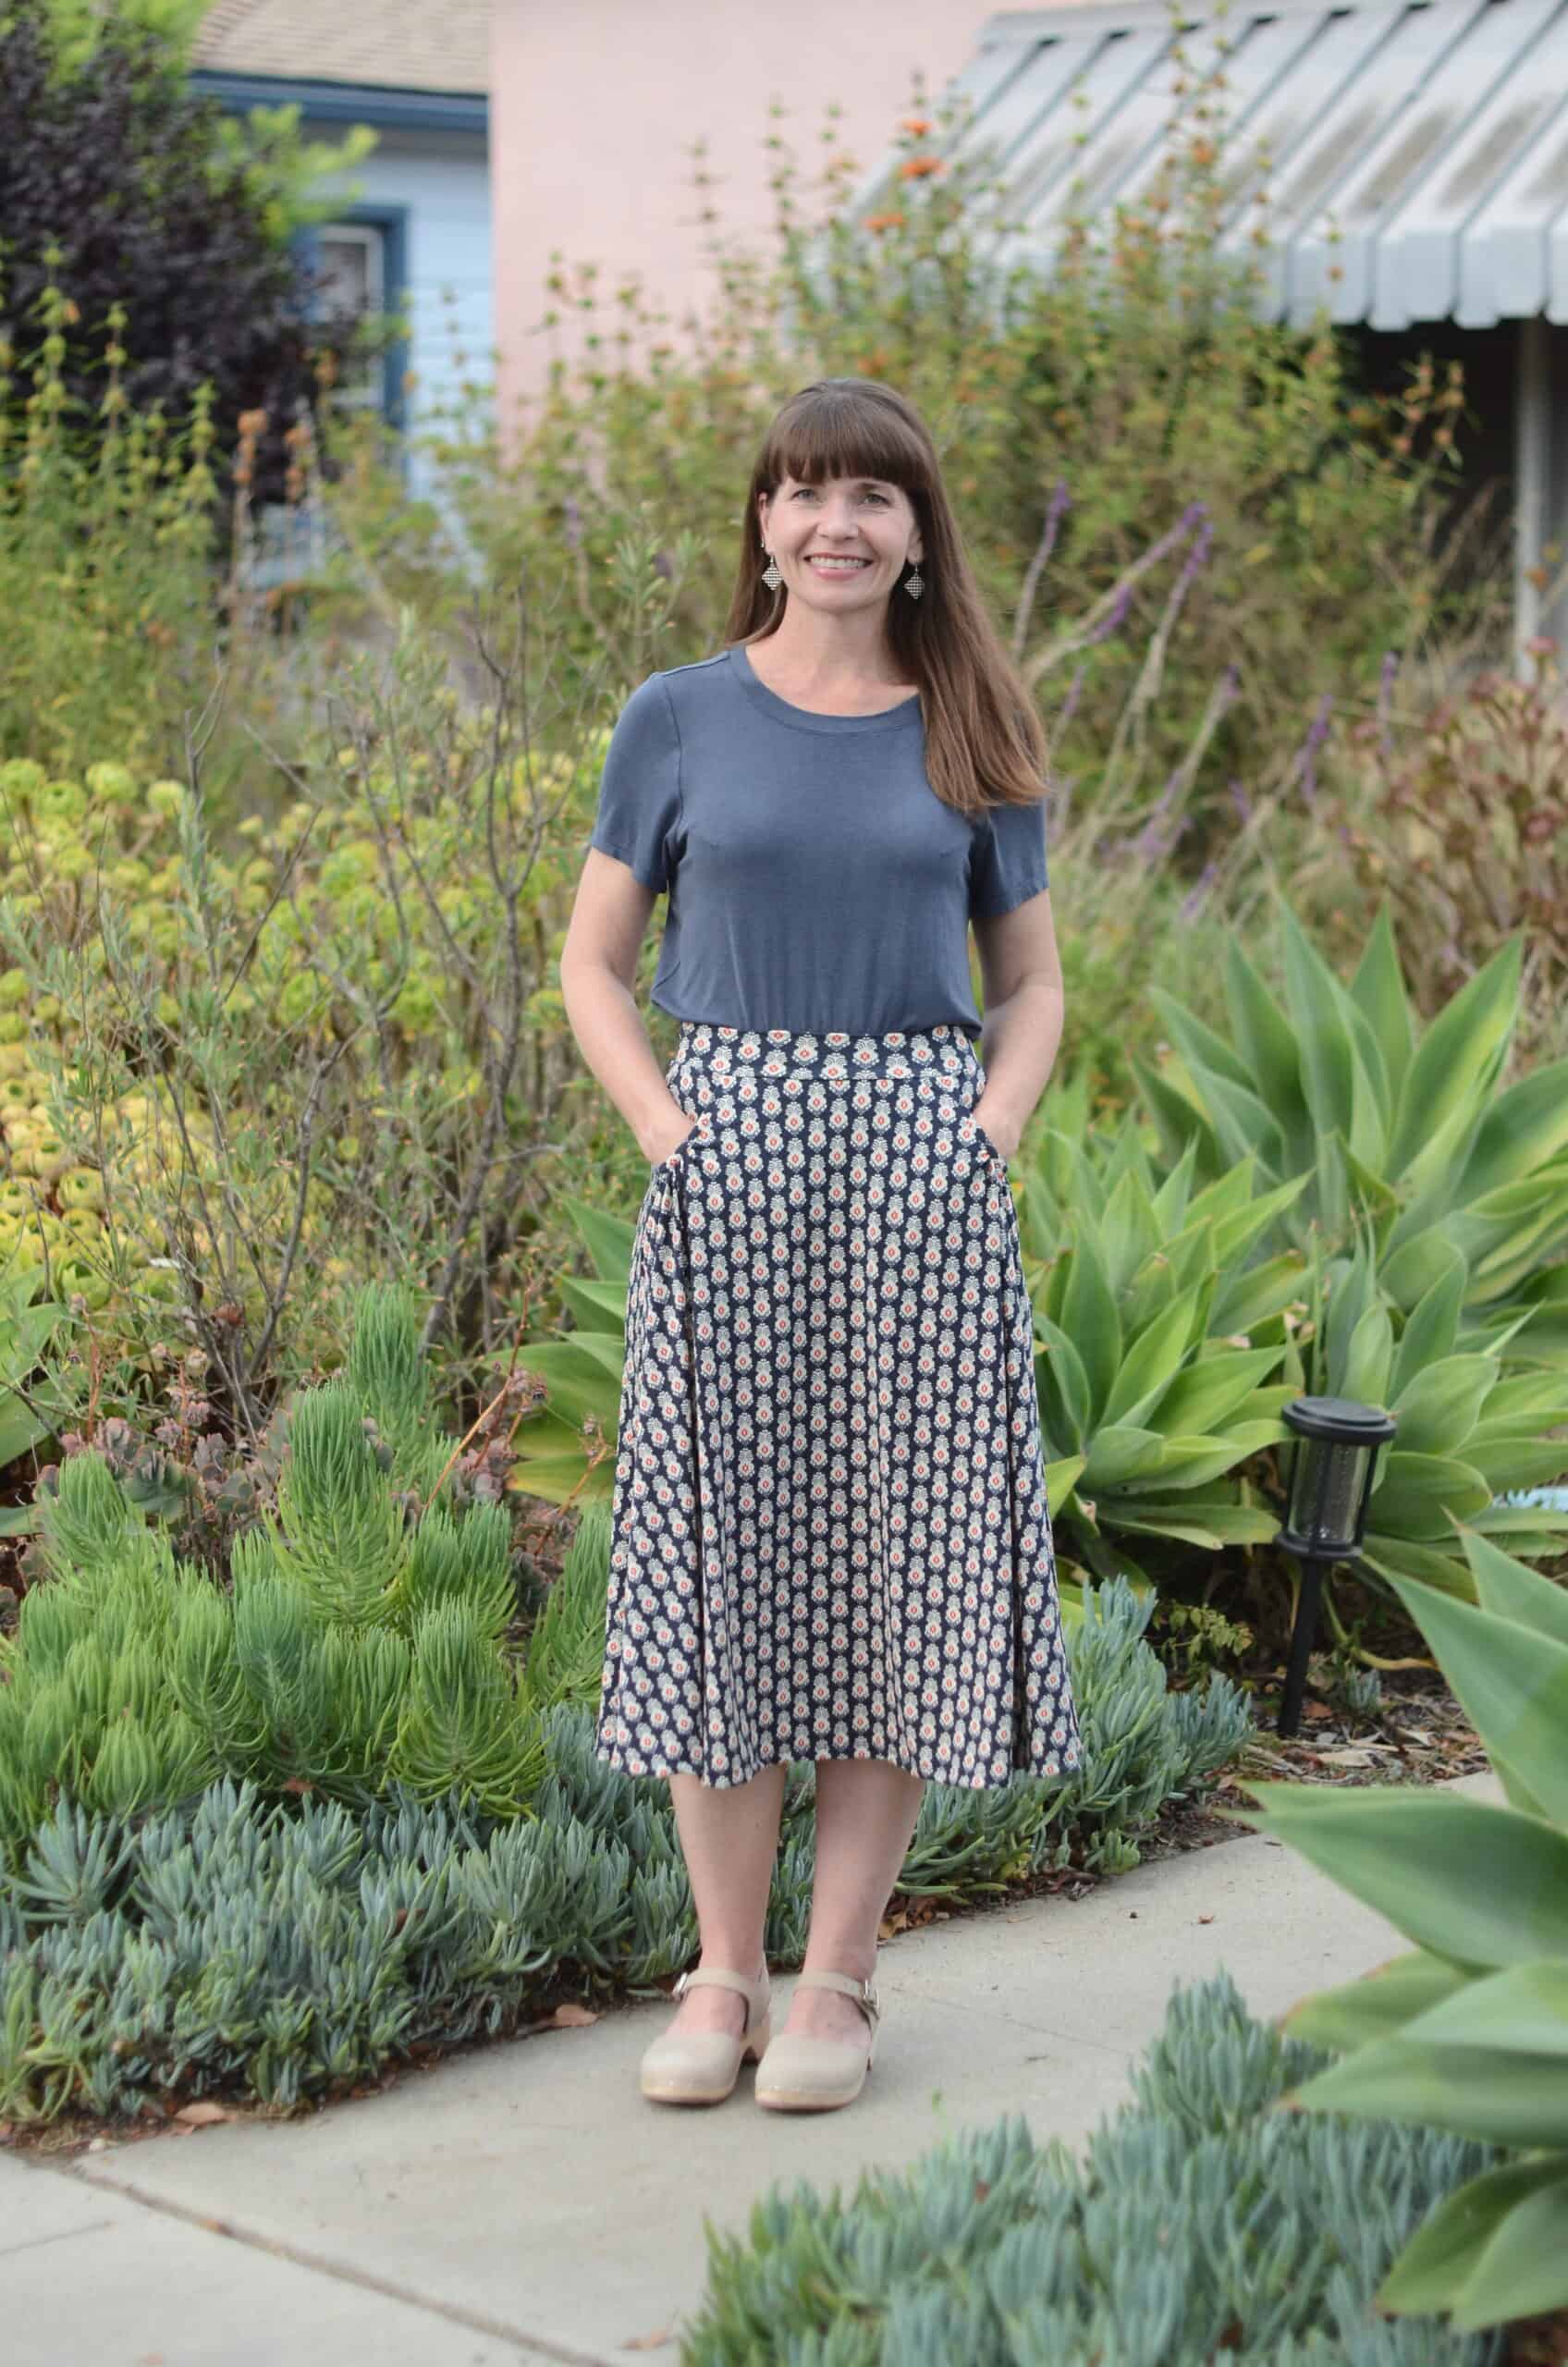
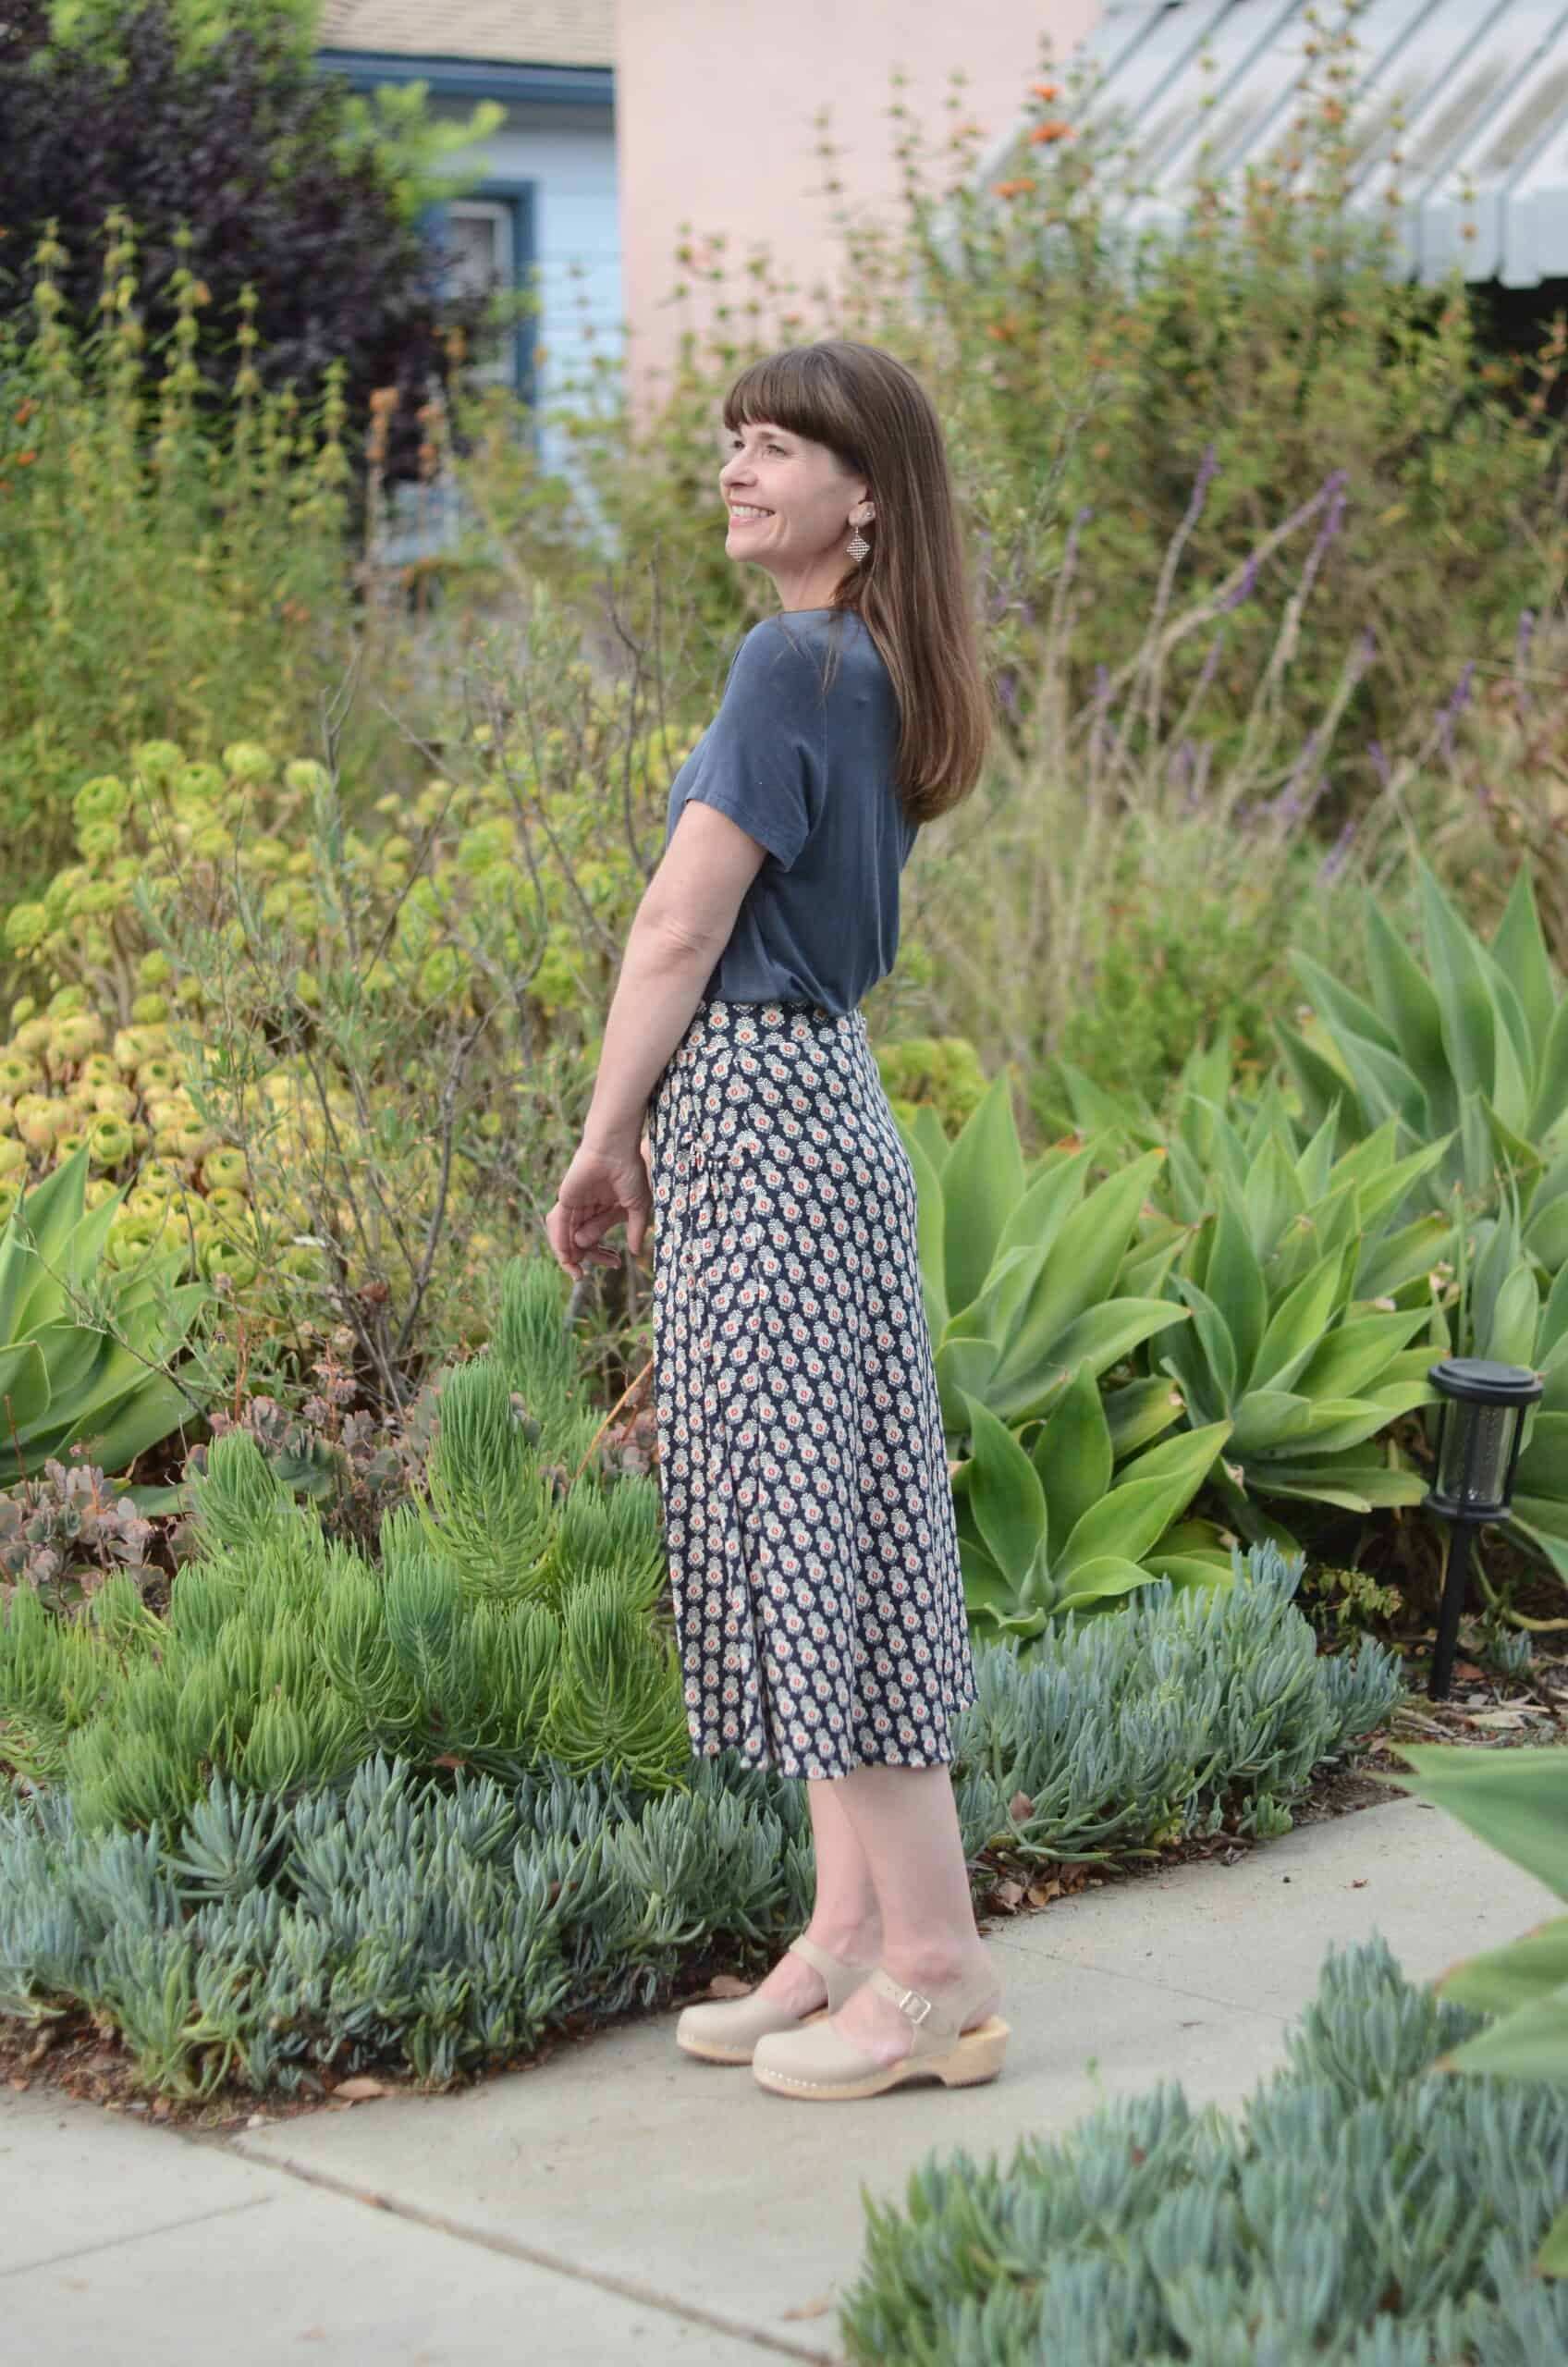
Today’s Feature Friday pattern is the Ravinia Skirt and you can grab it at the $5 sale price, but only for today so hurry!!! Ravinia is a beginner-friendly skirt pattern with tons of potential – plus, those functional pockets are the perfect spot to practice your gathering technique. Try the various waistband options as well as the knee-length, midi-length, or full length versions of this classic pattern.
Method 1: One Stitch Line
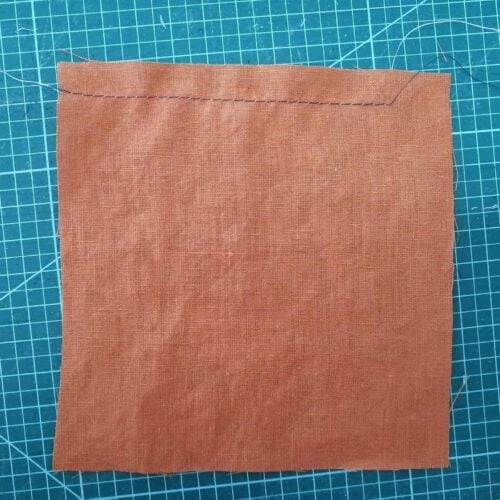
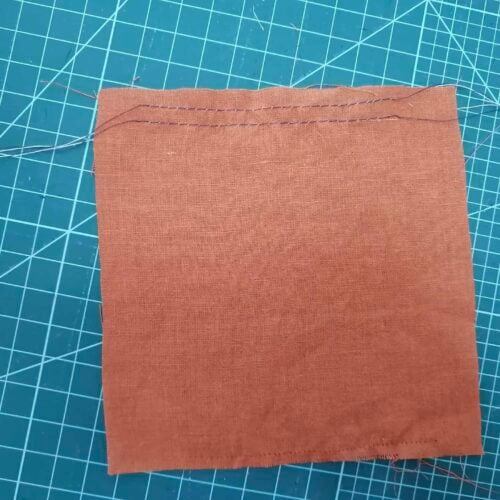
This is a super simple way to gather, but better results are certainly possible. Sew one row of stitches at your longest stitch length. One row can be plenty for easing in a woven sleeve, but really there’s not much else that this method works great for. Wait, I spoke too soon. You know when you “forgot” to staystitch because getting started on actual construction was more exciting? When the neckline won’t match the interfaced facing due to some slight growth after cutting and handling, this is a good use for one row gathering as well. Stitch that line around the neckline and gently ease that neckline back into shape. Just a sneaky little gather to correct some impulsive sewing zeal. No one will ever know.
Method 2: Two Stitch Lines
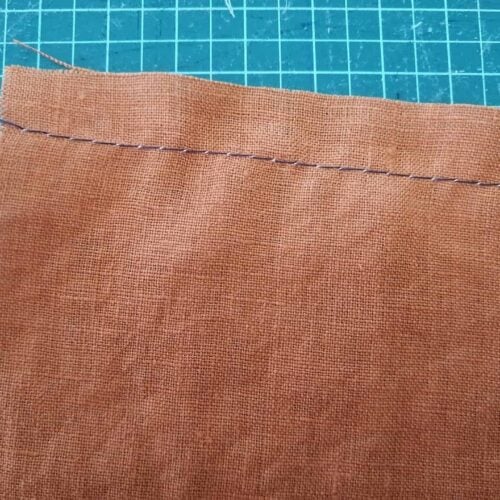
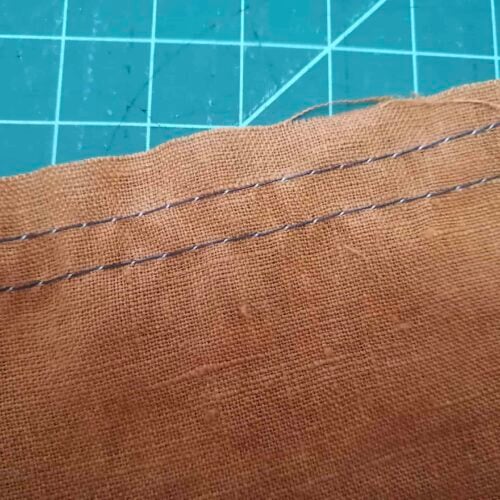
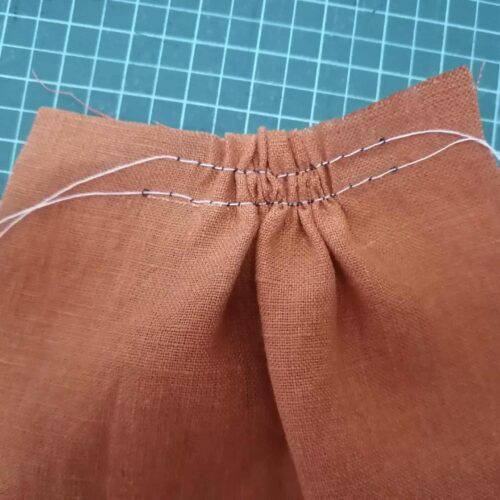
I can only assume this is the most common method. When I have a fabric that can handle unpicking without showing evidence, I prefer to stitch one line inside the seam allowance and the other line outside the seam allowance. This creates a tidy little hedge that you stitch across while the fabric is perfectly held in place on both sides of the needle while you sew the final and permanent stitch line.
Method 3: Three Stitch Lines, what?!
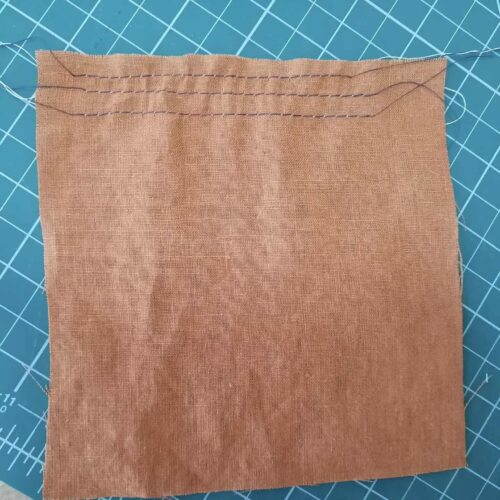
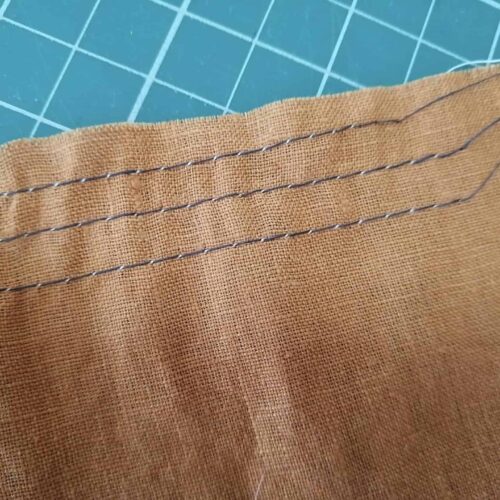
Unless you are working with a 5/8″ seam allowance and can fit in your three rows inside the seam allowance at 1/4″, 1/2″, and 3/4″, I would instead ensure my fabric is a hardy fiber or most knits in general and then stitch the final row outside of the seam allowance. This third row adds stability and gatherability and you will enjoy a very beautiful gathering result. I tip my hat to your dedication!
Method 4: Zig-Zag Stitch and Floss/String
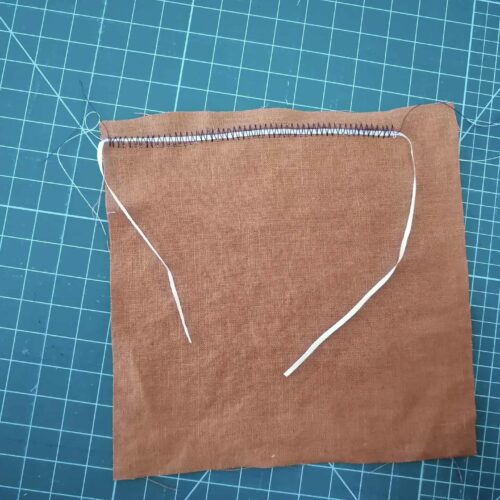
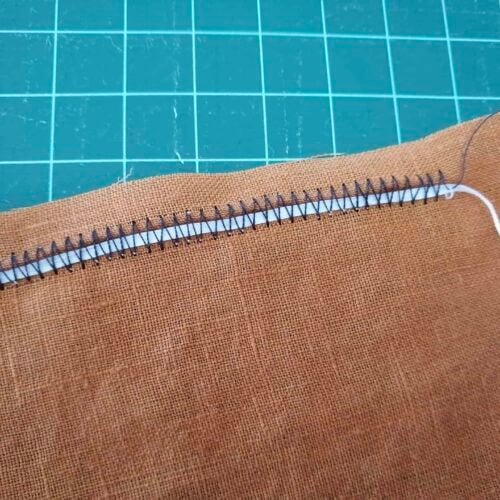
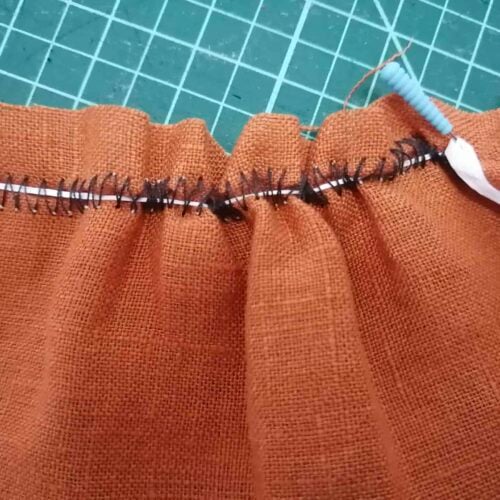
This method is pretty novel. This works great for heavier fabrics and it does take some care when applying. Essentially, you are sewing a wide zig-zag stitch and centering a thicker gathering string in between the stitches so that once done, you can easily slide the fabric gathers along the trapped string or floss to create the gathers. I will mention that floss is great and fabric slides along the length very easily, but due to the slick texture, it also ungathers fairly well on its own, so you’ll need to take care to secure the ends as you go or you’ll lose your pretty gathers!
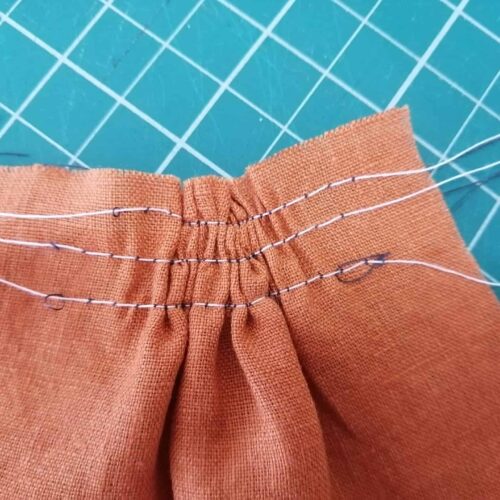
When you have your threads or string pulled and you want to secure them for final sewing, slip a pin perpendicular to the gathered stitch row and wrap the loose thread around it in a figure eight. (This applies to any method.)
Method 5: Serger
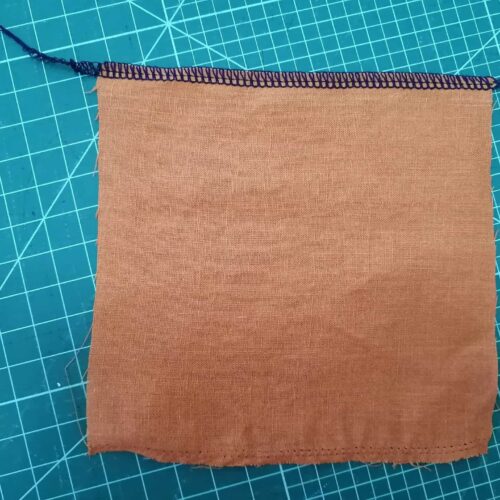
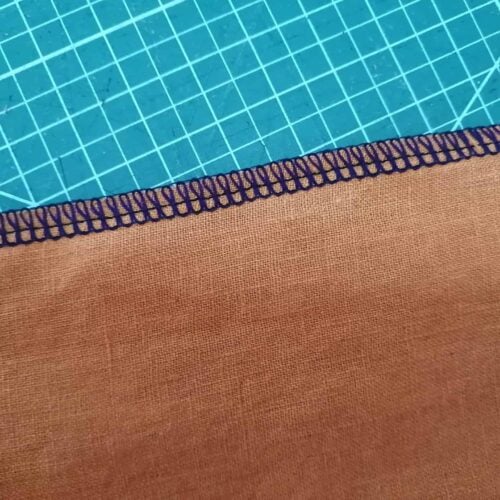
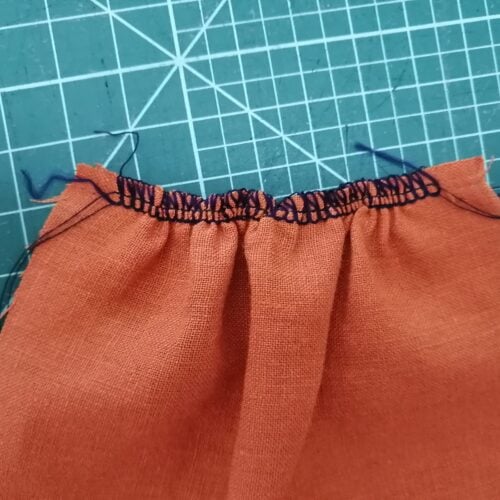
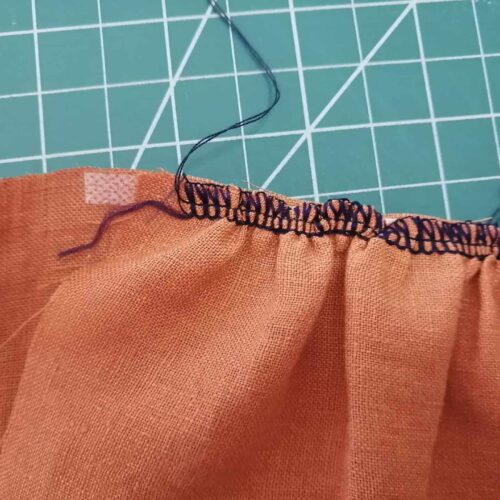
It’s definitely fast, but is it best? There are two slightly varying options here. First, you can serge with your normal settings and then pull the needle thread to gather your necessary amount, or two, you can adjust the serger settings to do much of the gathering for you. You’ll still need to finesse the final gathered length, but the machine has taken care of most of the work. This method is pretty much my default. I love the security of the looper threads containing the raw fabric edges as I’m scooching along on the needle threads. However, you also might want to remove all these serger gathering threads before finishing your seam as this could end up extra bulky.
An important note! Ensure your fabric is WRONG side up when you are serging your raw edge. You want the needle threads easily accessible when you are arranging and pinning your gathered piece to your flat piece with right sides together.
Serger Gathering Tips:
- Feel free to turn off your blades for gathering. I like to just graze the raw edges and remove any fraying or loose fibers in the same pass, so I leave mine engaged. I always think of Bob Ross and his “a hair and some air” line when I’m doing this activity. You’re not aiming to remove any seam allowance, just gently clear the edge.
- In general, you can make the following adjustments to your machine dials for gathering, (and you don’t need a special foot or any other extraneous equipment) but also check your manual because it will undoubtedly include this information.
- Crank the dIfferential feed up to 2
- and the stitch length up to 4 and that is a good start.
- Definitely run a test scrap to see what you come up with, and further adjust from there since every fabric will behave a little differently, not to mention thread can play a role too.
A Gathering Sewing Notion
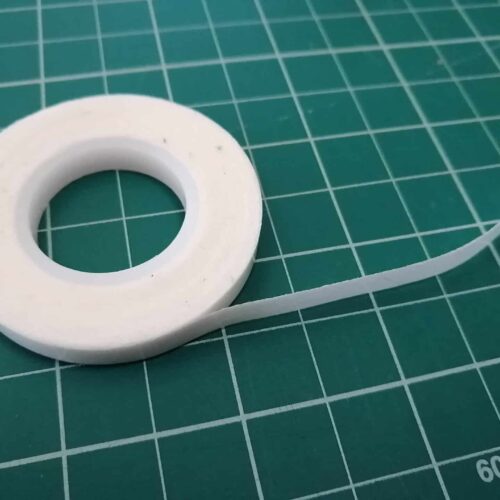
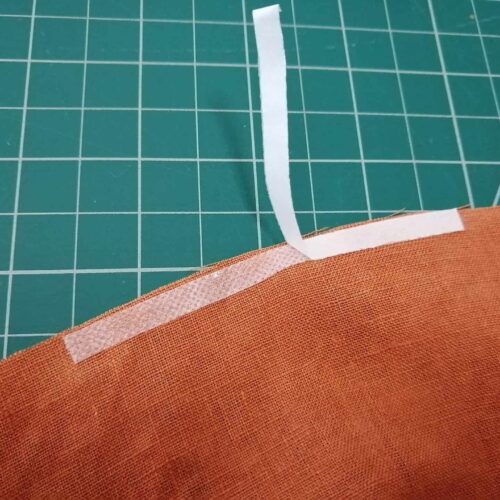
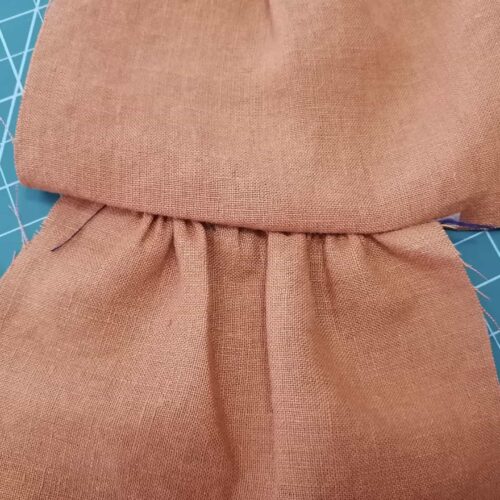
I must mention one extremely helpful notion that works especially well if you’re using the serger gathering technique. Get some washable narrow sewing tape and use it to adhere the smooth pattern piece to the gathered one. Your gathers will all be stuck in place beautifully while you add your final stitch line, plus you can flip it over to see how they’re laying and do a bit of readjusting. I have used both a generic from Amazon as well as Dritz Wash Away Wonder Tape with success. The tape does not stay sticky long-term, so store the roll in a sealed plastic bag and once you’ve applied the tape to your fabric, don’t wait long to sew.
Now, which gathering method will you use?
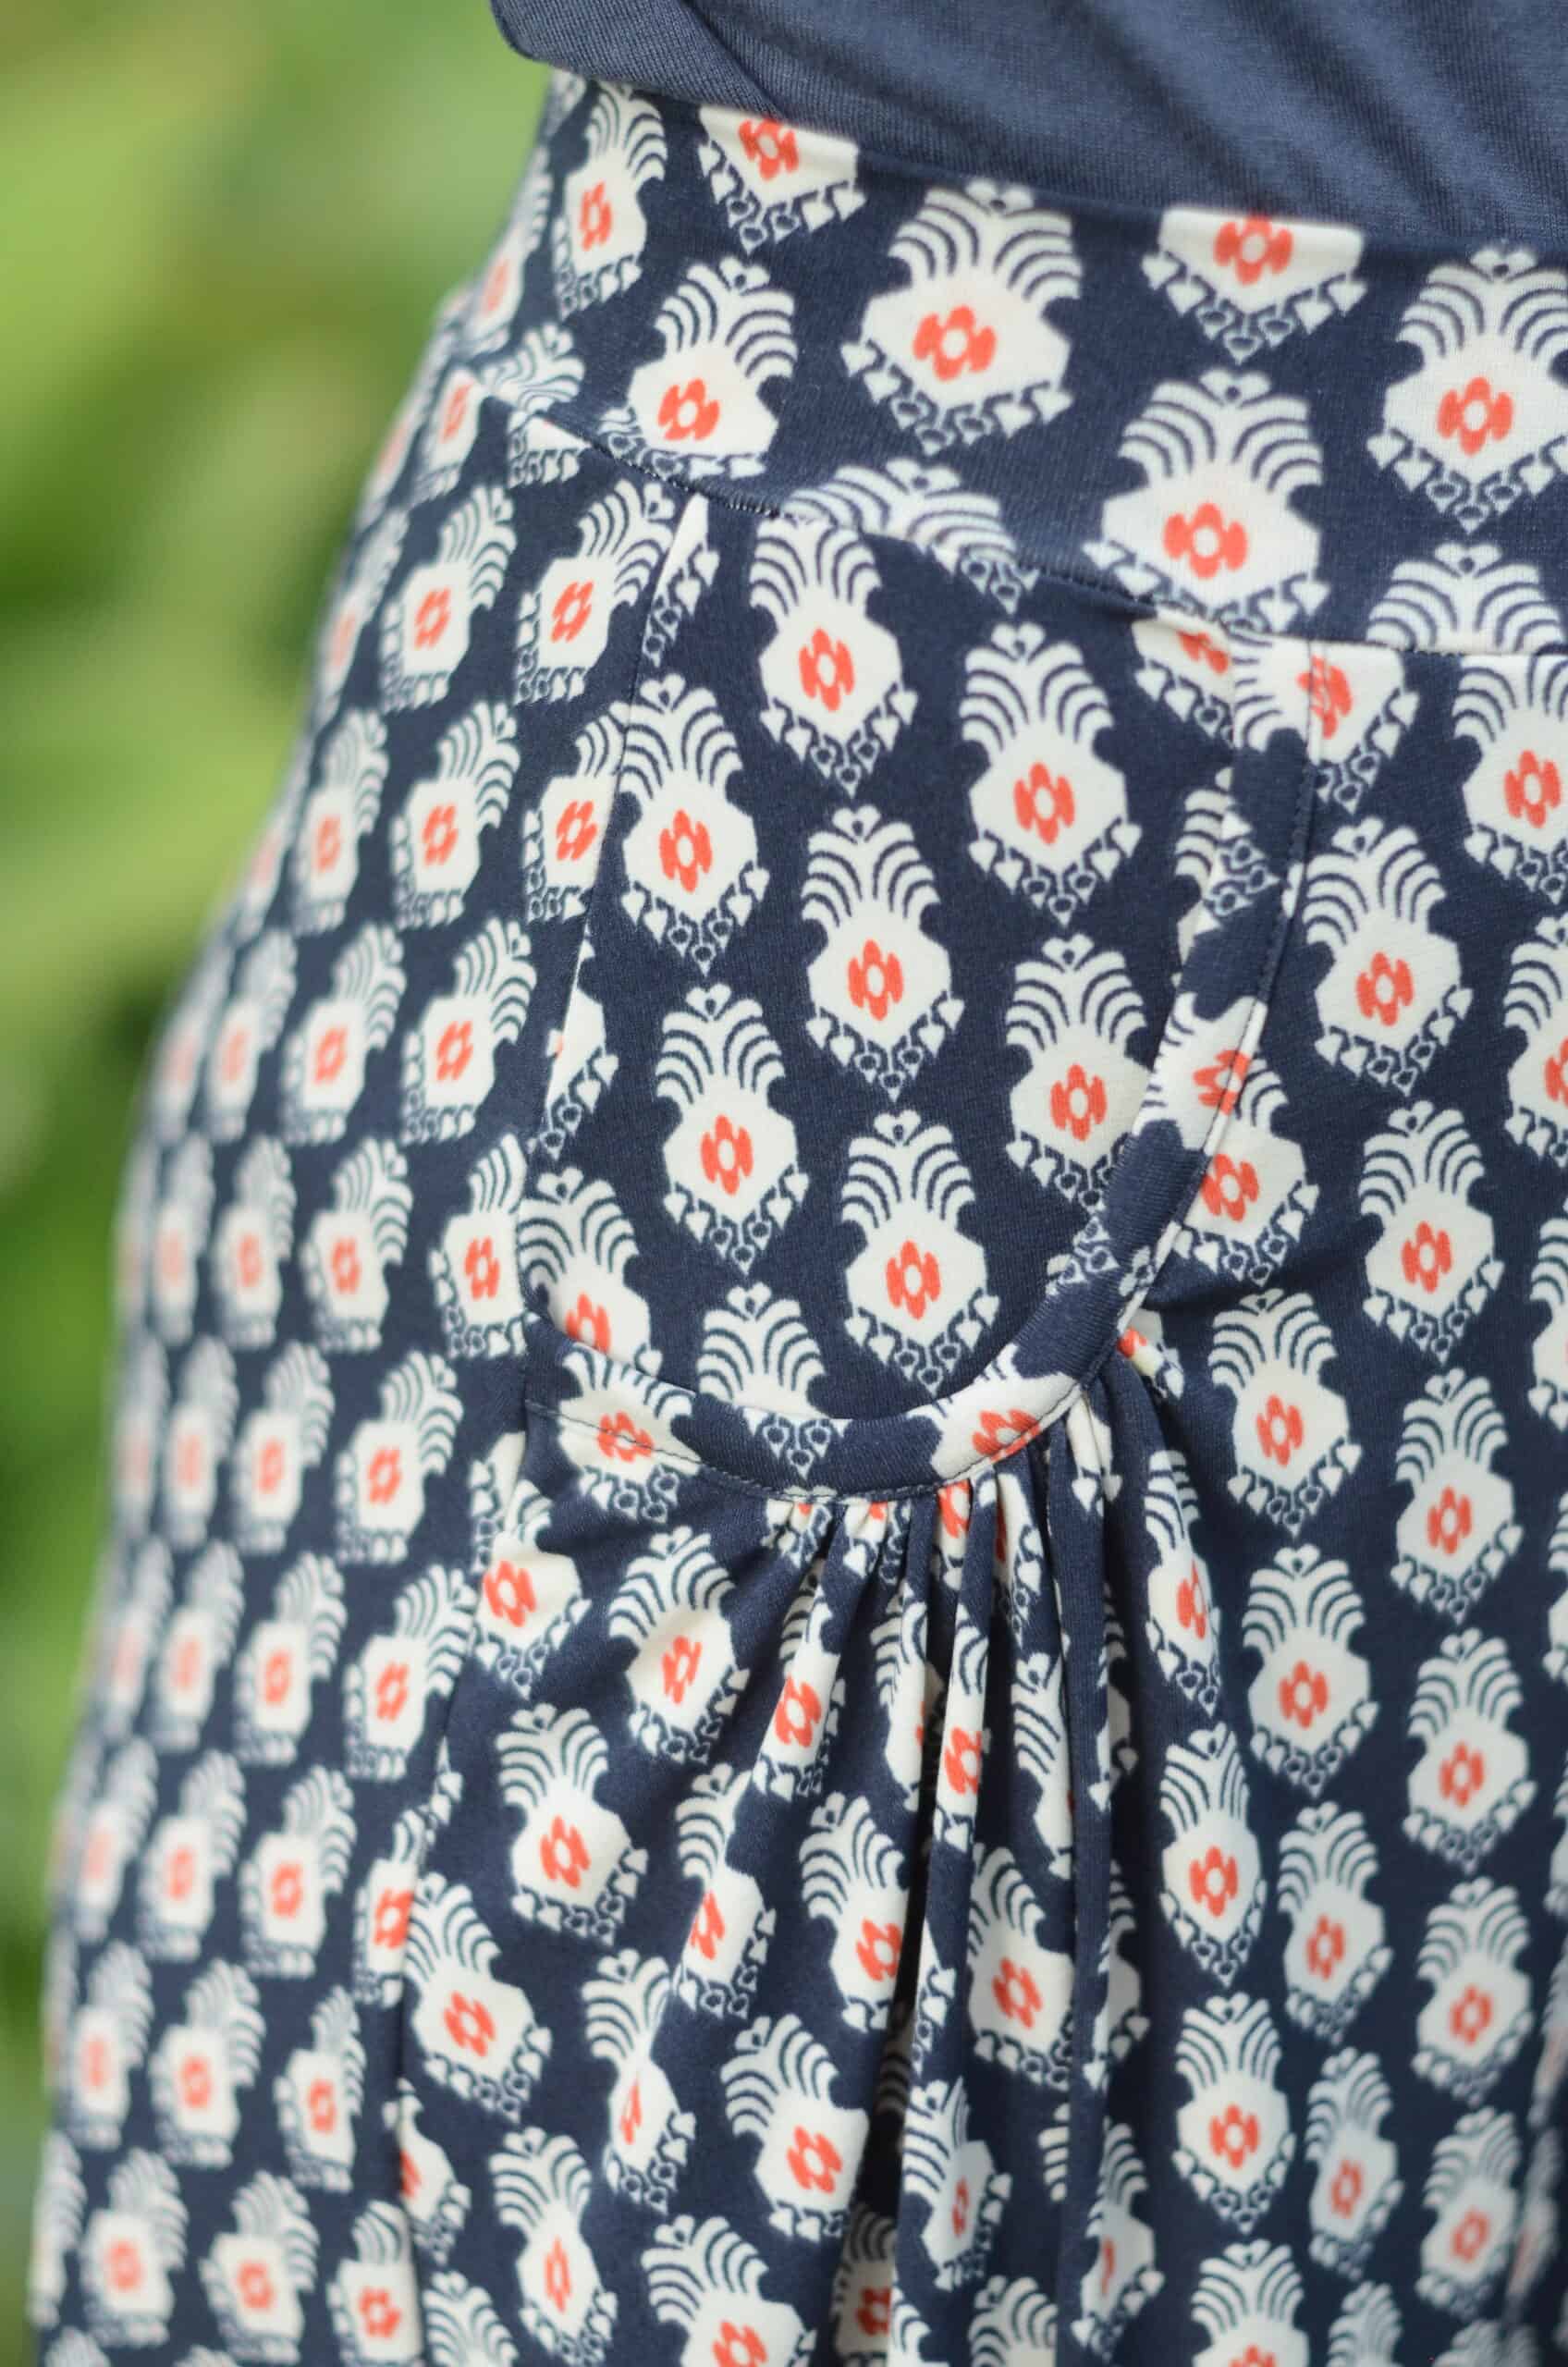
Thanks for traveling along with me and exploring gathering techniques! You can now try your hand at the Ravinia Skirt, which boasts a beautifully gathered front pocket detail. This is a perfect small amount of gathering that you can test out and get your feet wet.
Happy sewing!
$12.50Add to cart
-
Bass Clef Coat
$12.50 -
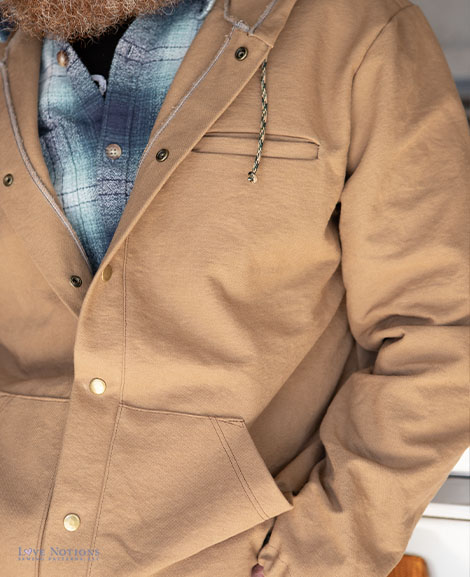
Tailgate Sweatshirt and Hoodie
$12.50
Save this article to your sewing Pinterest Board




Excellent. Thank you.
I have used buttonhole thread in the zig zag method for its strength and slipping ability. I had not thought of dental floss…..
I also like the idea of the two lines of stitching either side of the seam line.
I started using the zig zag over dental floss back in the early to mid-1970s when making clothes for our daughters. I have used it on baby clothes to formals to wedding gowns.