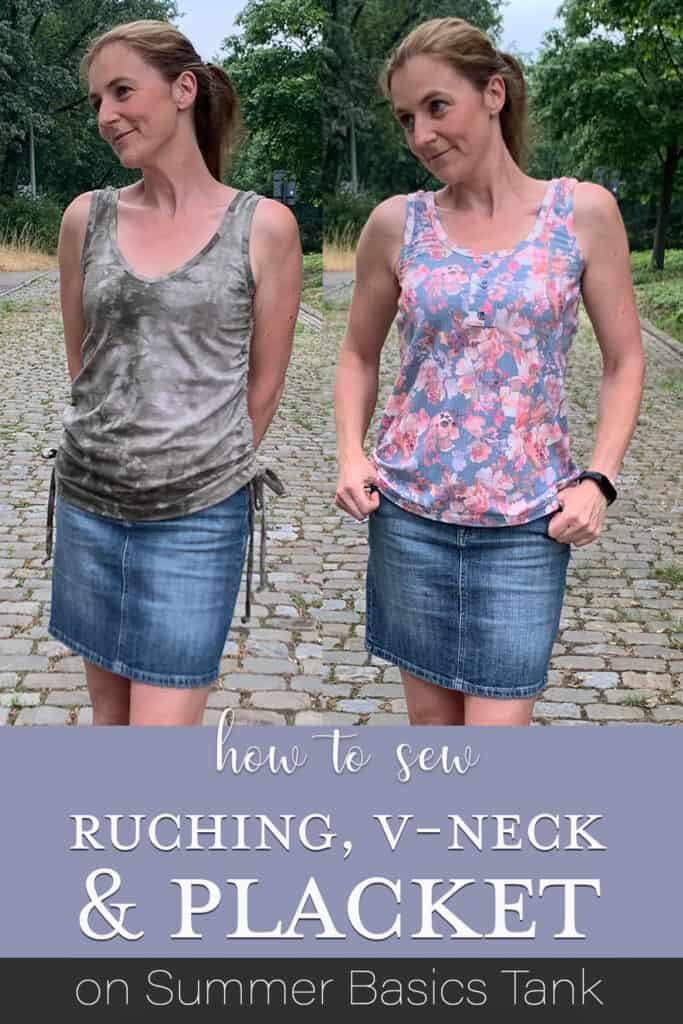
Ruching, V-neckline, and Placket
Hi everyone! I’m Annick, An Ca, from flaxfield_sewing and I’m so happy to share my excitement about the versatile Summer Basics Pattern!
As Love Notions itself says: “What’s more basic than a tank top and tank dress? Not much when it comes to summer clothing!”. And wouldn’t it be fantastic if you could vary endlessly in your wardrobe with this well-fitting basic pattern? It’s possible!
I’m going to give you 3 super cute hacks in this blog post to get the most out of 1 pattern!
For version 1 of my new Summer Basics tank, I made not one but two hacks.
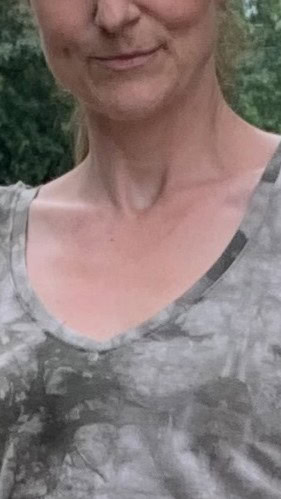
V-neck Hack:
The first one is really easy. I made a V-neck from the round neckline. You can do this by applying a few simple steps and a bit of calculation.
Step 1: Extend your neckline in a straight line to the center front (green line). Cut your pattern on this line.
Step 2: Drawing the neckband: This involves a little bit of calculation. Take the pattern pieces from the front and the back and measure the neckline (without the seam allowance). Count these two numbers together and take 90%. This is the total length of your neckband (don’t forget to add the seam allowance along 1 side). Draw your new pattern part according to these dimensions. The original width remains the same.
For my neckband, I used the following calculation: VP + AP = 91cm -> 90 % = 82cm. Cut out this new pattern piece.
Fold your neckband into 2. Take your protractor and place the angle as in the picture, with the legs against the vertices. Draw this line and sew your neckband together on it. Cut next to your sewing line and cut in the tip of the v up to the stitching.
Step 3: Sewing your neckband on: If you’ve never done this before, I can definitely recommend Kelly’s sublime tutorial on the Love Notions blog.
Your first Hack is done!
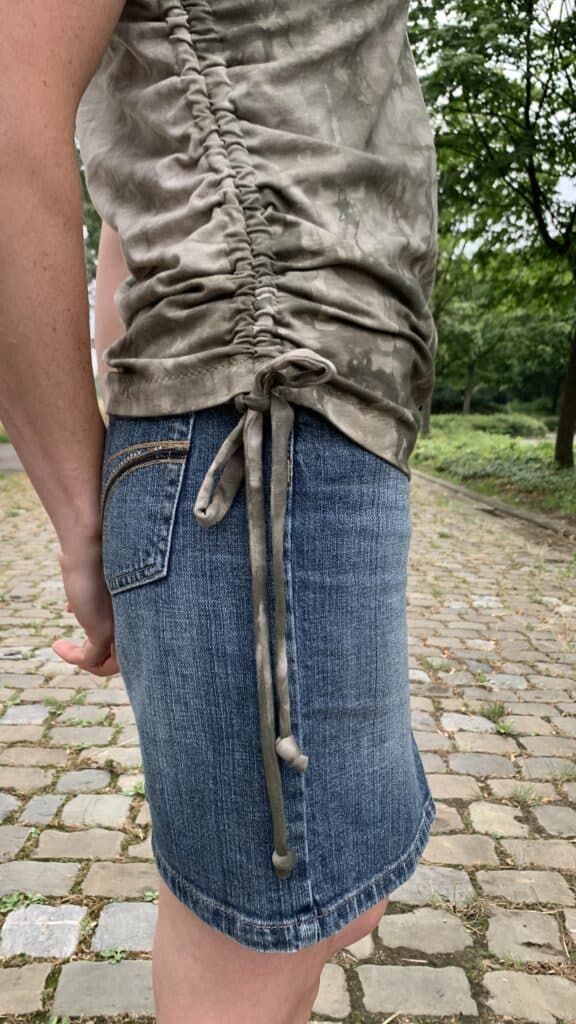
Side ruching hack:
The next hack is also very easy: adding side ruching to your tank top.
Step 1: Add extra seam allowance to the side seam of your front and back (green line). The pattern has a seam allowance of 1cm, so I added 1 cm extra.
You can do it on your pattern, or like me, cut the extra seam allowance directly out of your fabric by using magnets on your scissors.
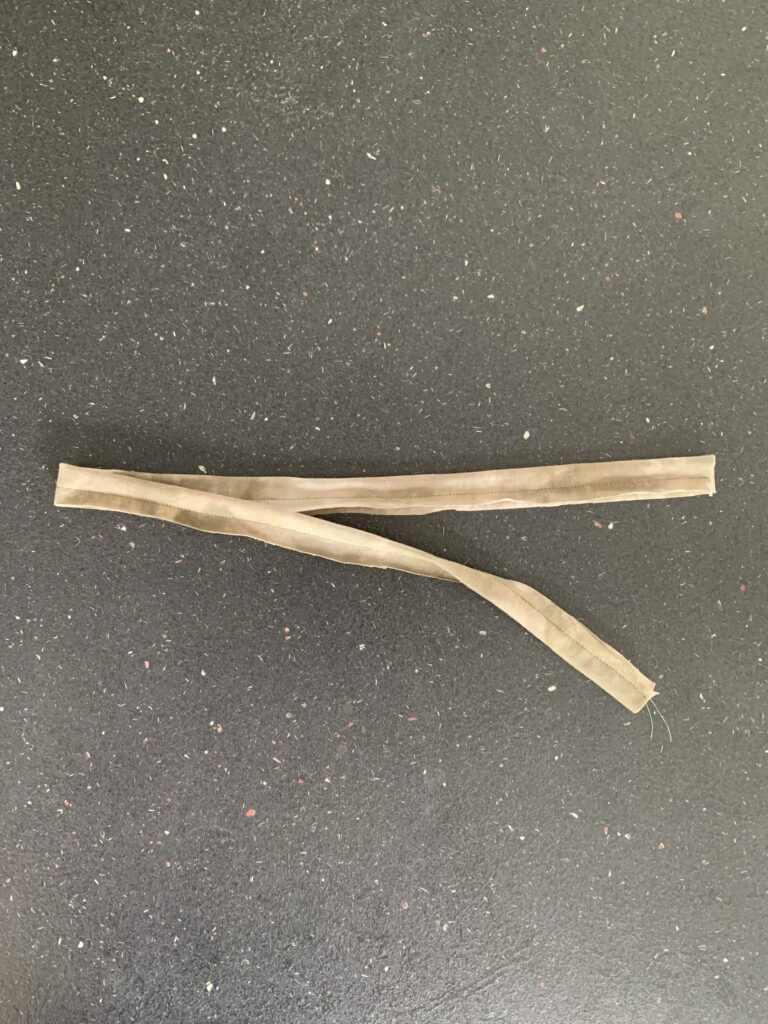
Step 2: Now you have to make your cords. Of course you can buy cords, but you can also make them yourself from the same fabric as your tank.
To determine the length of your cords, first measure the side length of your tank and then add 25 cm (10”). I made them 5 cm (2”) width.
For my cords, I used the following calculation: Side seam + 25 cm = 49 cm + 25 cm = 75cm x 5 cm width. Cut out this new pattern piece 4 times.
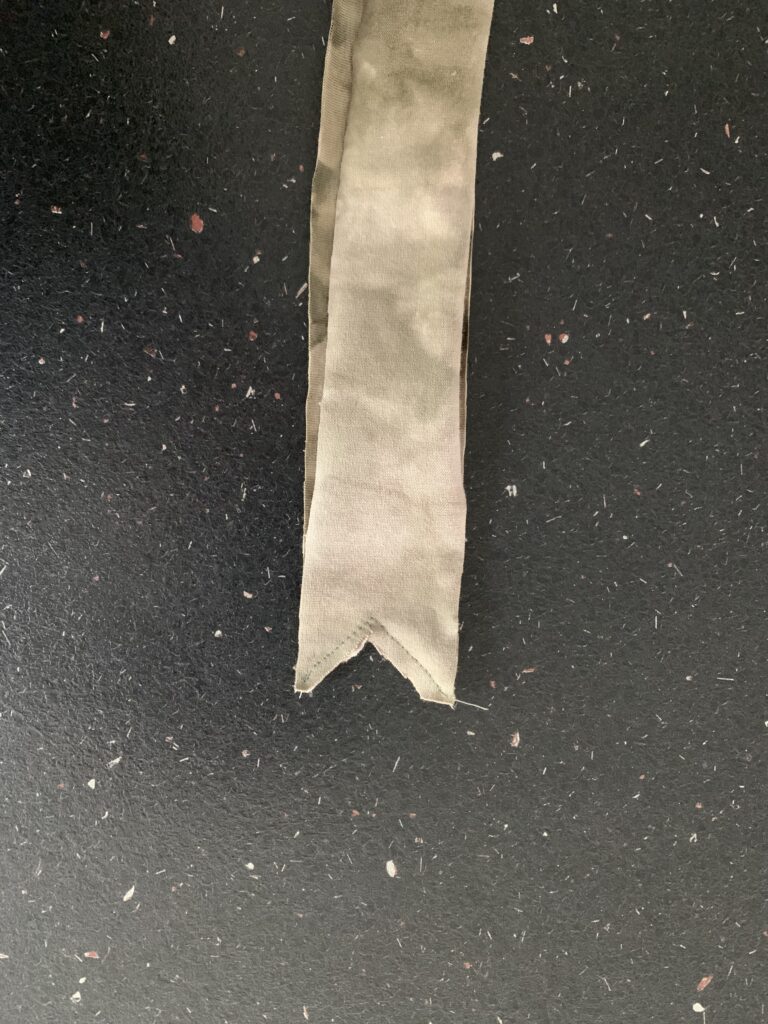
Fold the cords, RST, and sew the long side with 1 cm seam allowance. Turn the cords to the right side and make a knot in one end.


Step 3: Now back to the pattern.
We are now going to sew the top together. For this we change the order of the different steps a little. First you’re going to hem your front and back. Then you can close your side seams. Remember that you now have a seam allowance of 2 cm in your side seam.
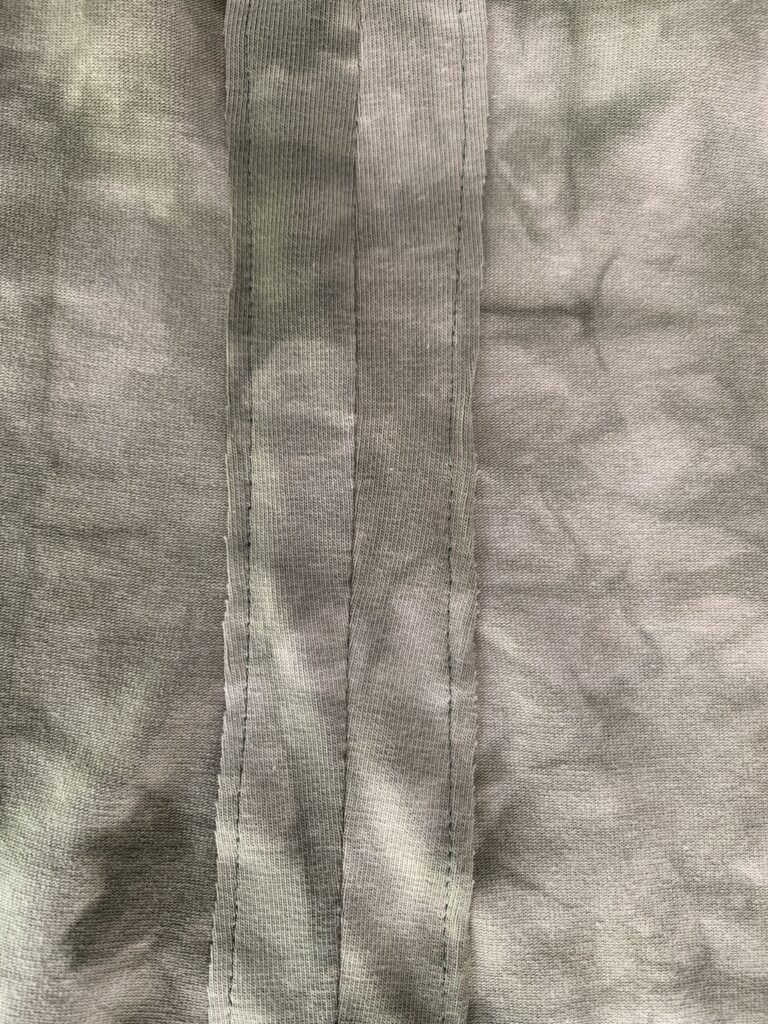
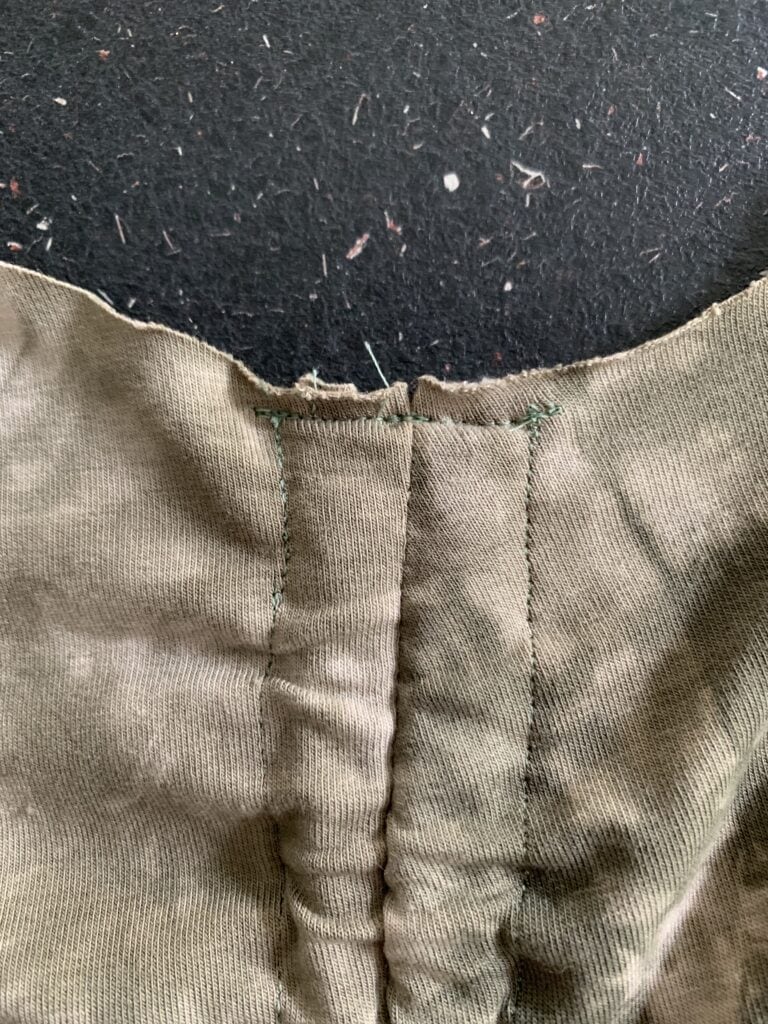
Press the side seams open and edge stitch them to your tank top. They form the tunnel for your cord.
Now bring the cords into the tunnels. You can use a safety pin for this.
Sew them into the side seam at the top so they won’t move while sewing the arm bands.
Second Hack done! Now sew the rest of the tank top as described in the instructions.


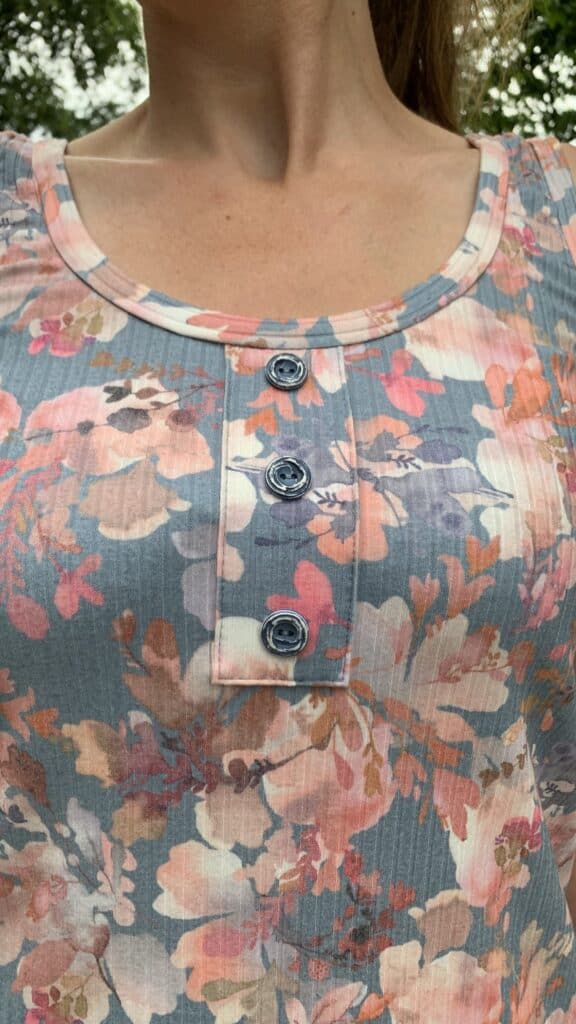
How to sew a Button Placket
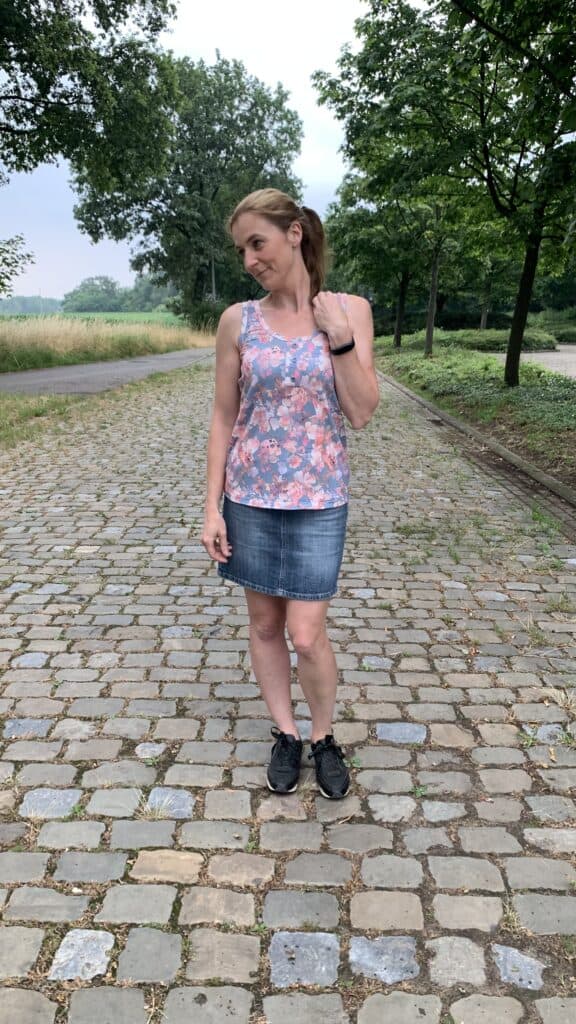
My second Summer Basics tank top has a really cute faux placket in the front.
I’ll guide you true the different steps to make this placket.
Button Placket Hack:
Step 1: Cut out your placket. You can use your main fabric or a contrasting fabric.
You can choose the size yourself, as long as it is a rectangle. My placket is 8 cm (3”) wide and 15 cm (6”) long.
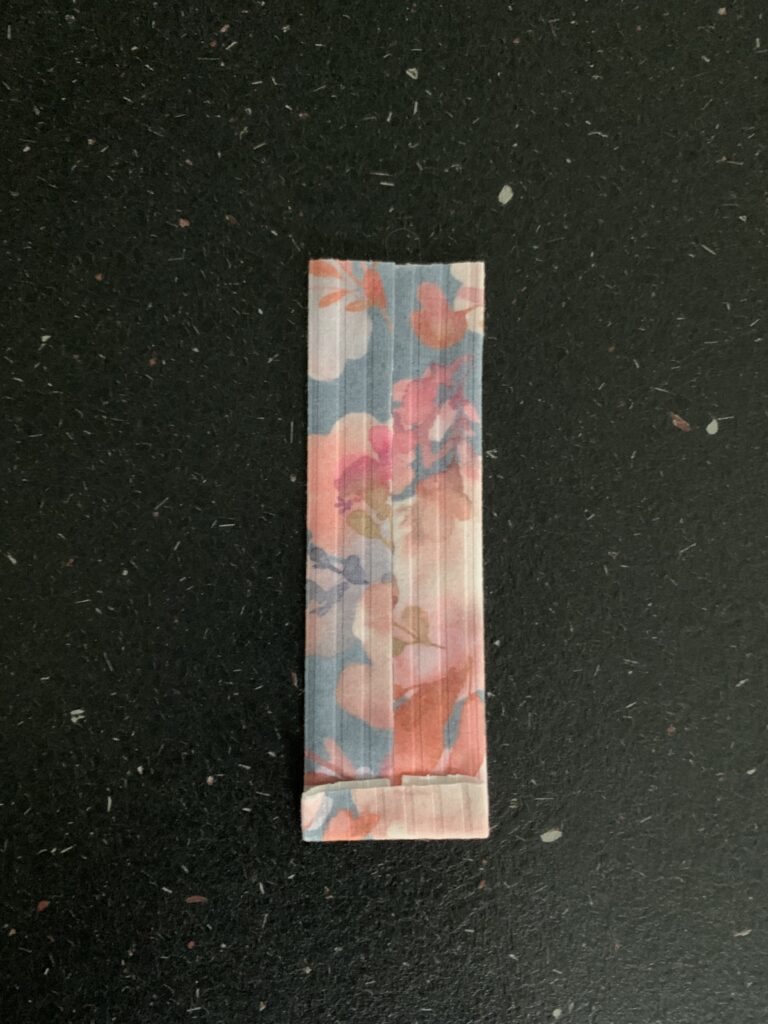
Step 2: Fold the long edges of your placket into the center, then fold up one short end up.
Step 3: Take your front and fold it into 2, iron the fold. The fold is your center front. Now place the center of your placket with the wrong side against the fold on the wright side of your Sumer basics front.
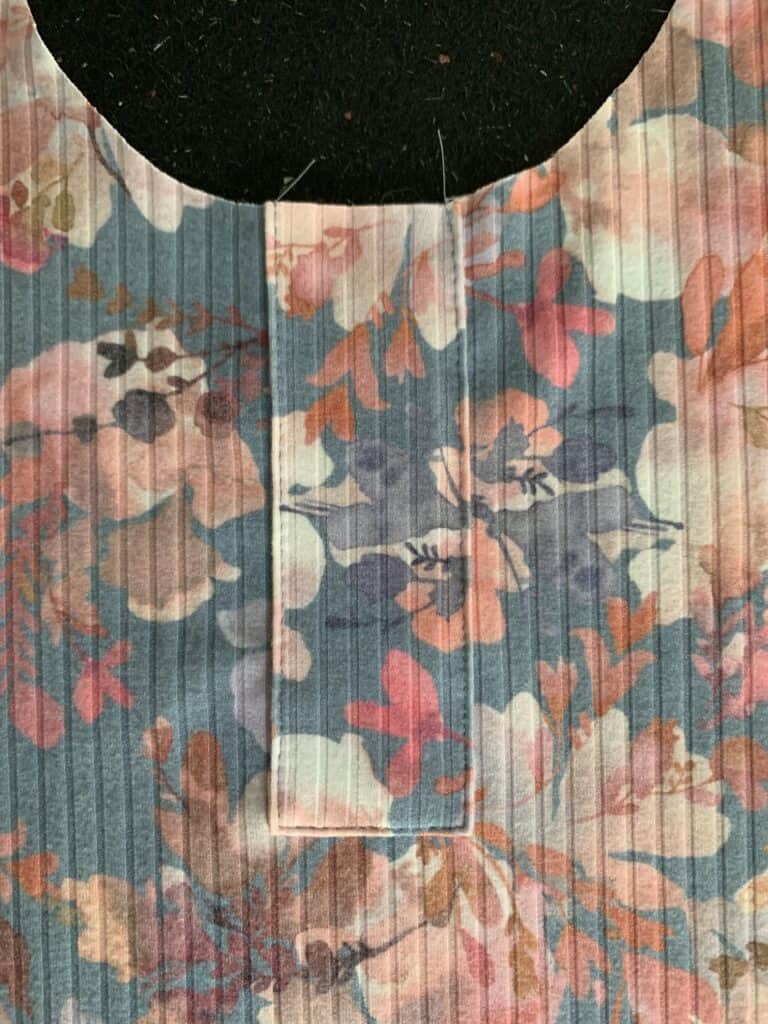
Step 4: Pin the placket in place and edge stitch the sides.
Step 5: All you have to do now is sew on the buttons. You are of course free to choose the number, but I always like an odd number the best, so I chose 3 buttons.
Third hack done! Now sew the rest of the tank top as described in the instructions.


I’m sure you’ll enjoy your summer basics pattern as much as I do. I hope my hacks have inspired you and maybe you can think of another one?
Happy sewing!
Xxx
Annick
Save this post to your sewing board on Pinterest