Boyfriend Cardigan Sew Along Day 2
Welcome to day 2 of the Boyfriend Cardigan Sew Along! If you missed yesterday’s post, you can find it here. Today, we will be tackling the pockets and sewing the back and shoulder seams and attaching the sleeves.
But first, let’s talk about what type of needle to use.
Since sweater knits are, well knits, it’s best to use a ball point needle with them. The size of needle will be determined by how thick your sweater knit is. I’m using some slightly light weight, loose weave sweater knit, so I’m using a size 80 needle.
Now, how about finishing the raw edges of our sweater knit. Hold on to your seats here. I don’t. Yes, you read that correctly. I don’t typically finish the raw edges of my sweater knits. After checking out the seams of several store bought caridgans and sweaters, I found that most didn’t have any finished edges. The raw knit curled in and didn’t unravel. And it was still super soft. Which, is the benefit of a sweater knit, right! If it’s a really loose weave, I make sure I use a nice short stitch and if I’m anxious about the fabric unraveling, I may do two parallel rows of straight stitches. But, I don’t do that very often, at all.
Now, let’s sew!
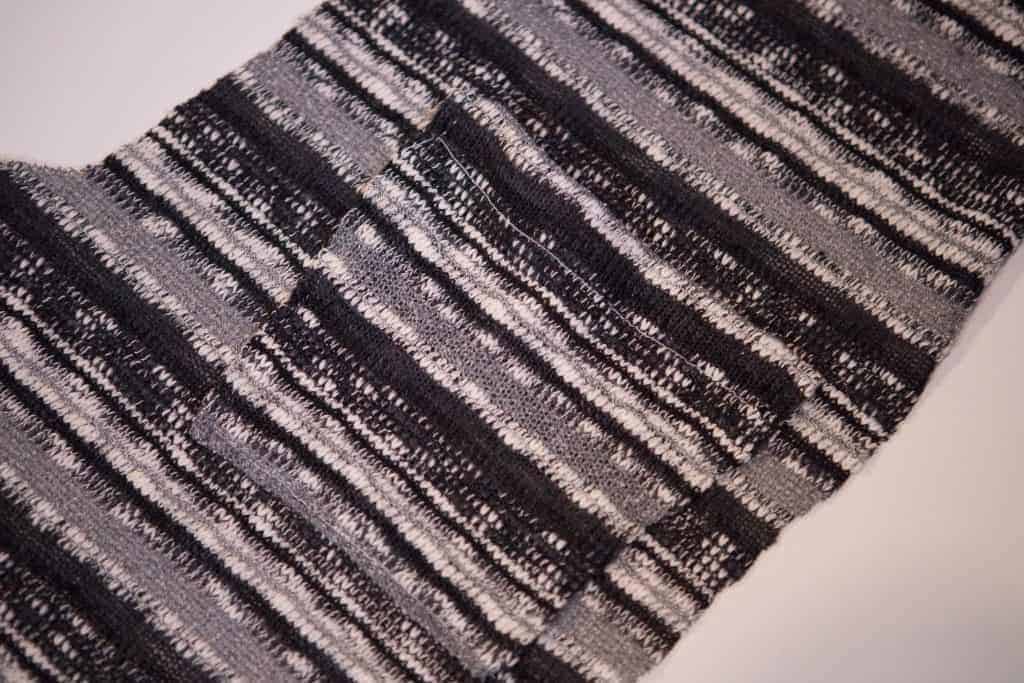
Begin by assembling your pockets per the tutorial instructions. Make sure to press them well! But watch your iron temp! You don’t want to melt your pretty fabric! Use a lower temp and a pressing cloth, if needed.

After you have your pockets sewn, attached them to the cardigan front at the markings. Pin well! Or, you can use some fusible web (Stitch Witchery) to help keep your pockets in place. Do whatever works for you! One of the Facebook Group members suggested using fabric glue to keep pockets from shifting while sewing them on! What a great idea!
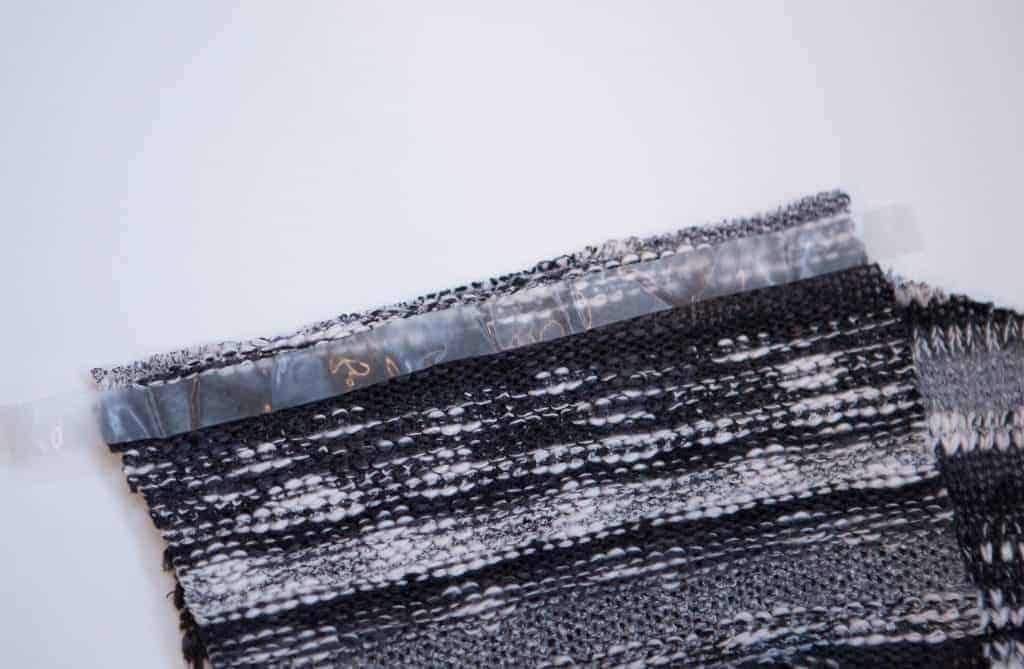
After the pockets are assembled, sew up the back seam and sew the shoulder seams. If you want to reinforce your shoulder seams, you can place clear elastic, or even straps of woven fabric, ribbon or twill tape on the seam before you sew and sew it into the seam.
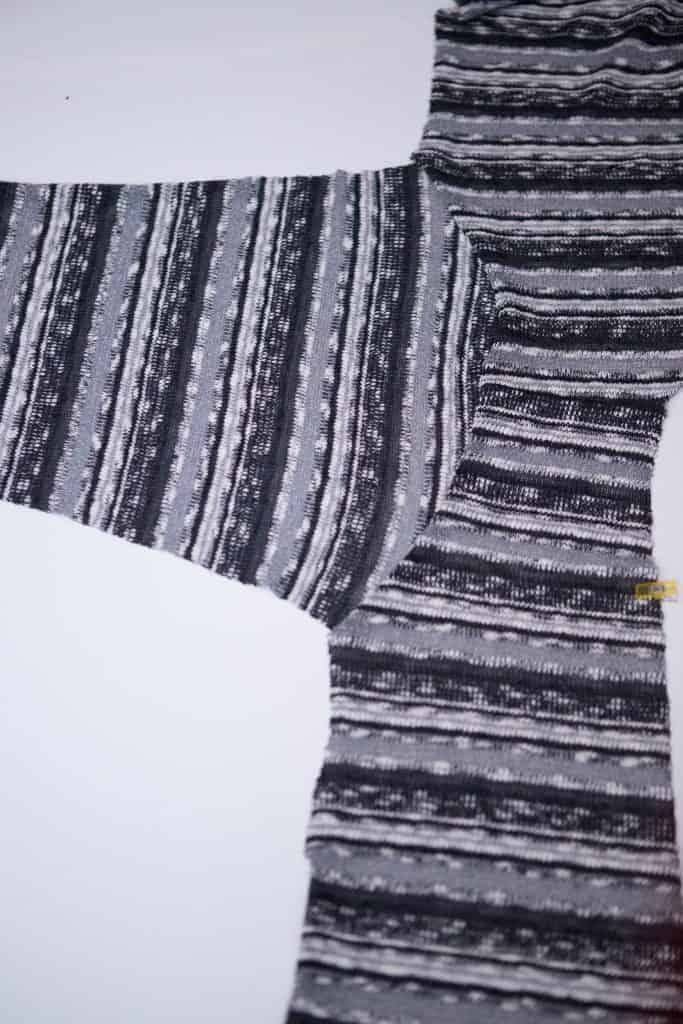
Now you just need to attach the sleeves and you are done for today! Remember to match up the triangle markings. After clipping in place at the triangle markings, clip the ends in place and ease the rest together.
That’s if for today!! To watch these steps while I sewed LIVE in the Facebook Group just click on the video below. If you would like to comment on the video, you will have to watch it in the group here. See you tomorrow!!