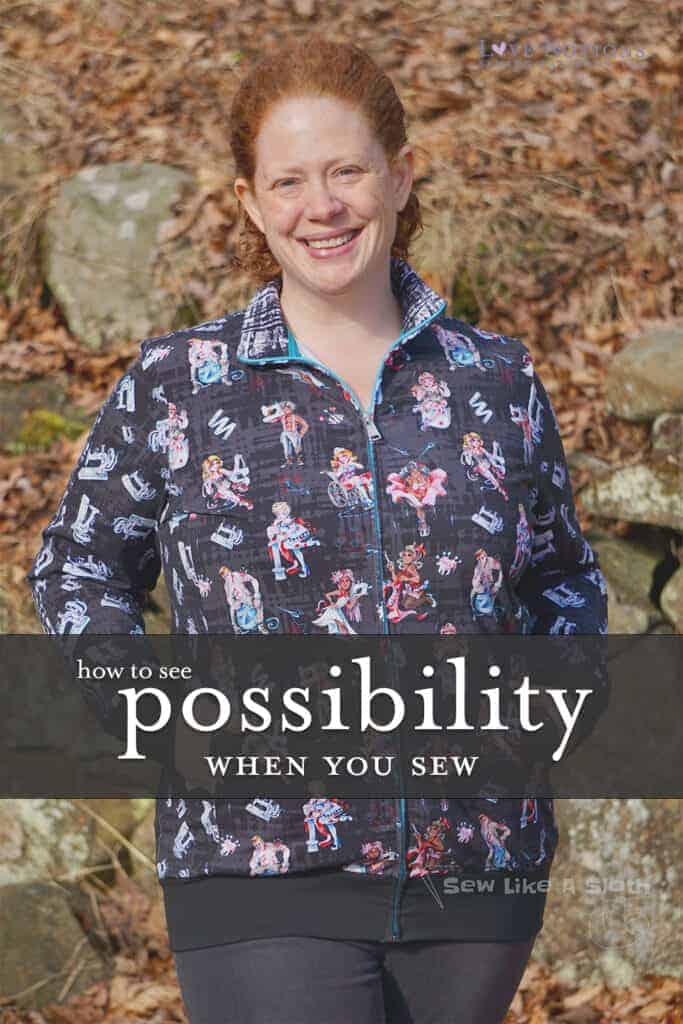
Pullover Possibilities: How to see pattern hacking possibilities when you sew
Hello fellow sewists! It’s Caroline, the zany redheaded sewist. I’m going to share one of my favorite garments with you today, my sewing jacket. My sewing area gets chilly, so I like to have a lightweight layering piece when I’m working on projects. Thus the sewing jacket was born! I made several modifications to hack on one of my favorite patterns, the Constellation, to create my precious sewing jacket. This dandy pullover, along with the North Star and Navigator, also happens to be the Feature Friday pattern! These patterns are well worth their regular price – $5 each is a steal! Everyone in my family has at least one and they’re always asking for more! So trust me when I say, grab them all for this price while you can. Haha! With the pattern modifications I’ll show you in this blog, you’ll have extra options as well. 🙂
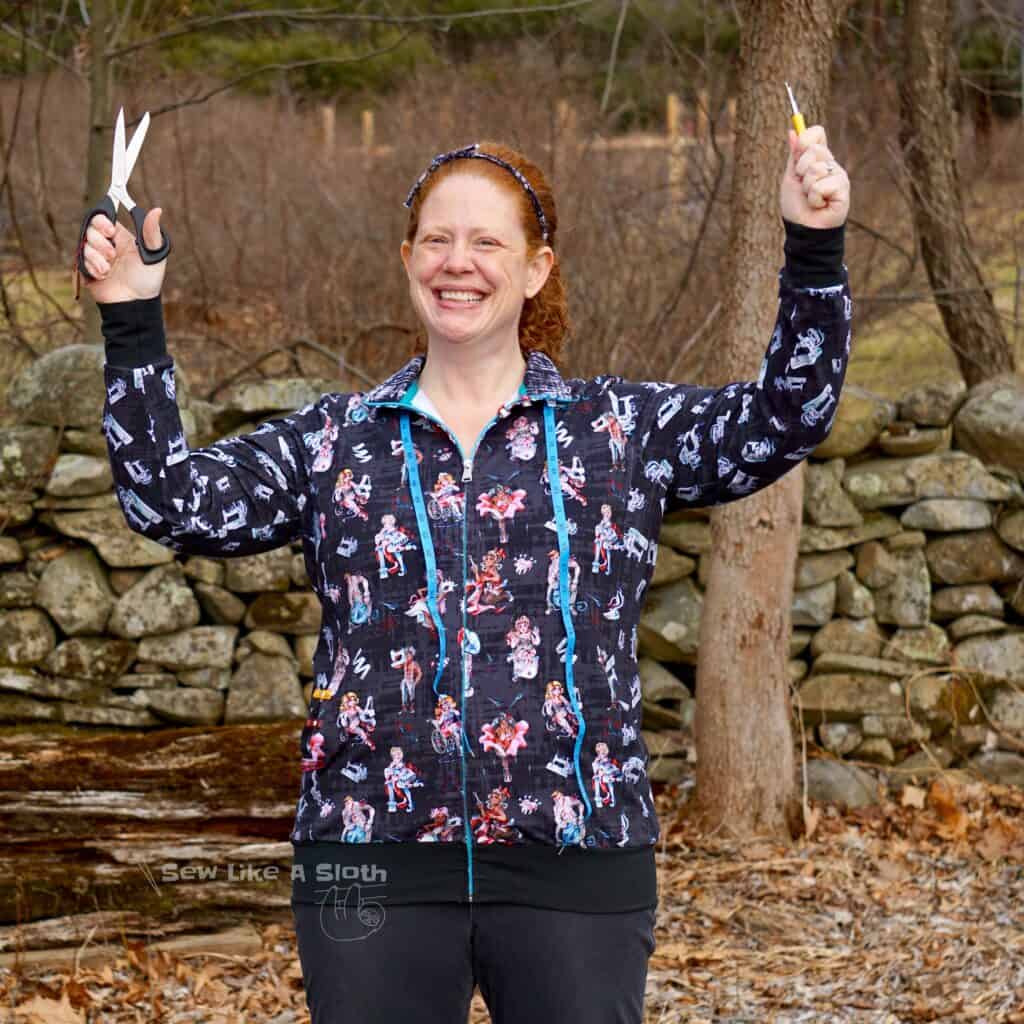
When a sewing project goes right!
I made this sewing jacket a few months ago and received an overwhelming response. So, I’m gonna show you exactly how you make one of your own! Though I’m showing the pattern mods on the Constellation, they can easily be applied to any of the Love Notions pullovers. I hope this post will not only give you insight into a super handy hack, but will also encourage you to see the possibilities in all your patterns.
encourage you to see the possibilities in all your patterns
It’s fun to break the rules when pattern hacking
Sometimes I do not have the brain power to do anything but follow the pattern exactly as written. Sometimes I don’t want to make any changes. But sometimes inspiration strikes and I don’t want to follow the rules. I want to color outside the lines! When you have a good pattern, you can make it exactly as written or use it as a base from which to create something new. Don’t be afraid to follow your creative whims. Sometimes it’s a sewing fail, that’s true. (Like that time – my second time working with knits – when I sewed the entire jumpsuit base for my son’s Darth Vader Halloween costume against the stretch. So he couldn’t fit in that at all, obviously. And then I frantically threw him in pajamas with a handmade chestplate. That was fun! haha!) But more often than not you end up with something really cool. Like this awesome sewing jacket of mine! Either way, you always learn something on the journey. I will never ever forget to check the stretch ever again, for example.

This is what I do to sewing projects gone wrong.
You need a tried and true pattern when hacking
I’ve probably made more Constellation/Navigator/North Stars than any other Love Notions pattern. And that’s saying something because I’ve made a lot of Love Notions patterns again and again. Why have I made so many?
- Because my whole family loves it and requests it.
- Because it’s a great, versatile pattern.
- Because it’s infinitely hackable.
Here are just a few I’ve made without hacks. The toddler is bigger now, so she’s gonna need a new one this year!

I’ve hacked these pullovers more than any other pattern.
Maybe it’s because the names harken to the joy of discovery (navigating the seas by following the north star, looking to the constellations). Or maybe it’s just because I love a good hoodie/pullover. Because I really do. All comfy, all cozy, all the time. 🙂 Either way, I’ve hacked and mashed this pattern to bits and I still have plans for more! The hack I’m going to show you today was born out of a need to stretch fabric and out of a desire for a sportier look (based on a jacket I used to own). This hack is actually a bunch of modifications to achieve one look. It involves a little freehand color blocking, accent piping, princess seaming, pattern mashing, and adding a full zipper. If you just read that and went “NOPE” do not despair! I know it sounds like a lot, but each alteration is pretty simple, and I’m going to walk you through each step. You can use any one of these alterations for your next pullover, or you can mix and match to bring your own vision to life!
Let’s get to it!

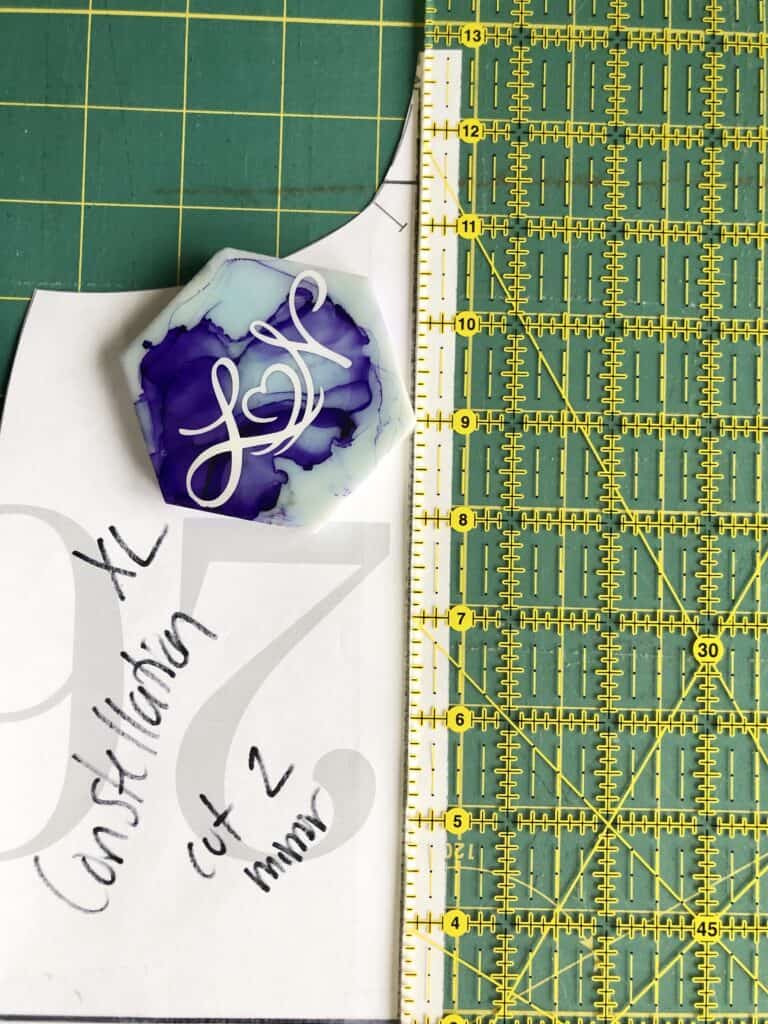
The Constellation, unhacked.
Colorblocking Modification
What you’ll want to have handy:
- Ruler/quilting ruler
- French curve or, heck, a large bowl or some other curved edge will work
- Scissors
- Pencil/pen
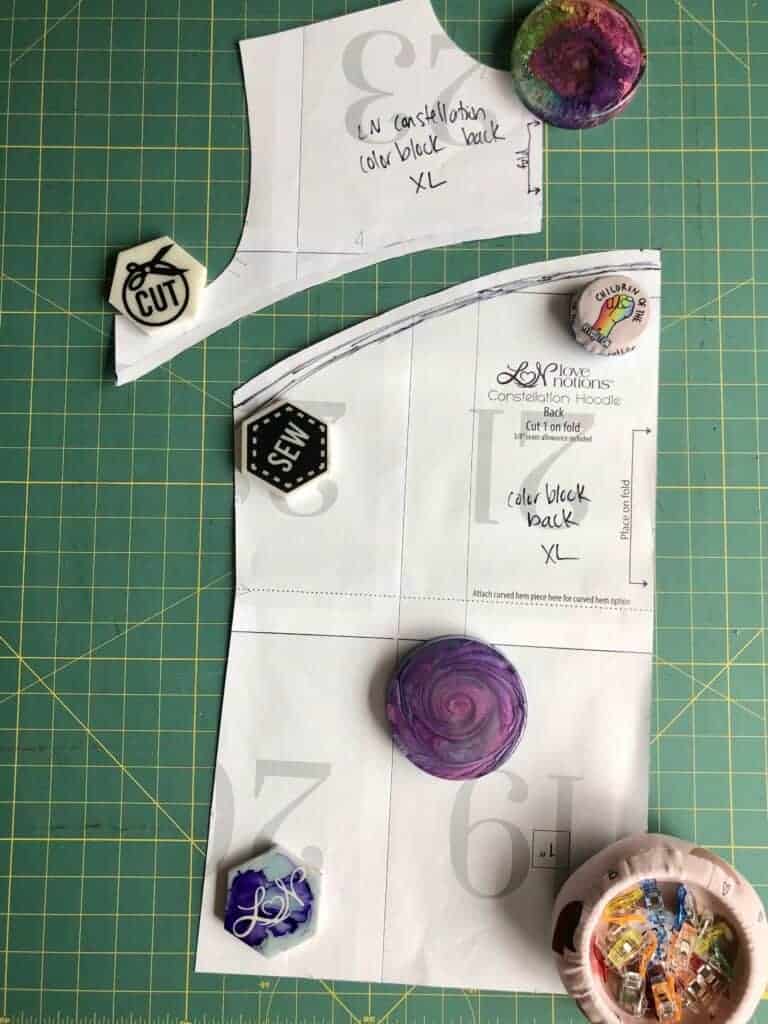
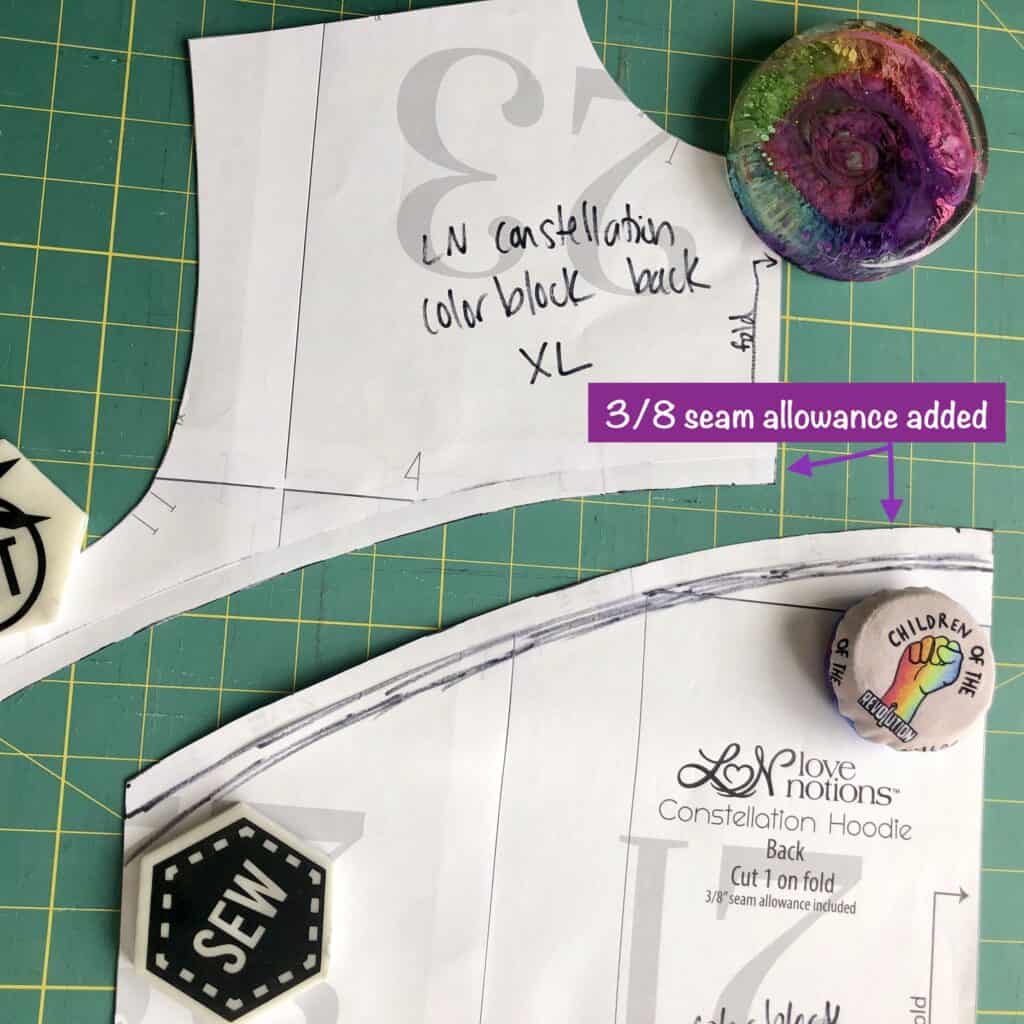
The first hack is a basic colorblock. I did it to give a little pop to a panel. And what an awesome way to use your panels, folks! I expect to see all of us walking around in our Constellations with special panel backs like an awesome sewing club. The way I did this colorblock is essentially adding a back yoke with accent piping. I added a little flair to the yoke by curving it, rather than cutting straight across. As you can tell by my multiple sketch lines, I free handed my curve. I like to live dangerously! Haha! I’ve also done this by using a french curve or, honestly, a big mixing bowl from the kitchen.
Once you have the curve looking the way you’d like it, cut along the line you’ve drawn. Then go back and add ⅜” strip for seam allowance. It will look like this:
If you’d like to add an accent strip of faux piping, all you need to do is cut a 1-2” strip of fabric (depending on how much you want the piping to show) the same length as that back curve you’ve cut. Cut generously. You don’t want to stretch it while you’re sewing it on. You can always trim the excess later. The piping in my jacket was 2”.
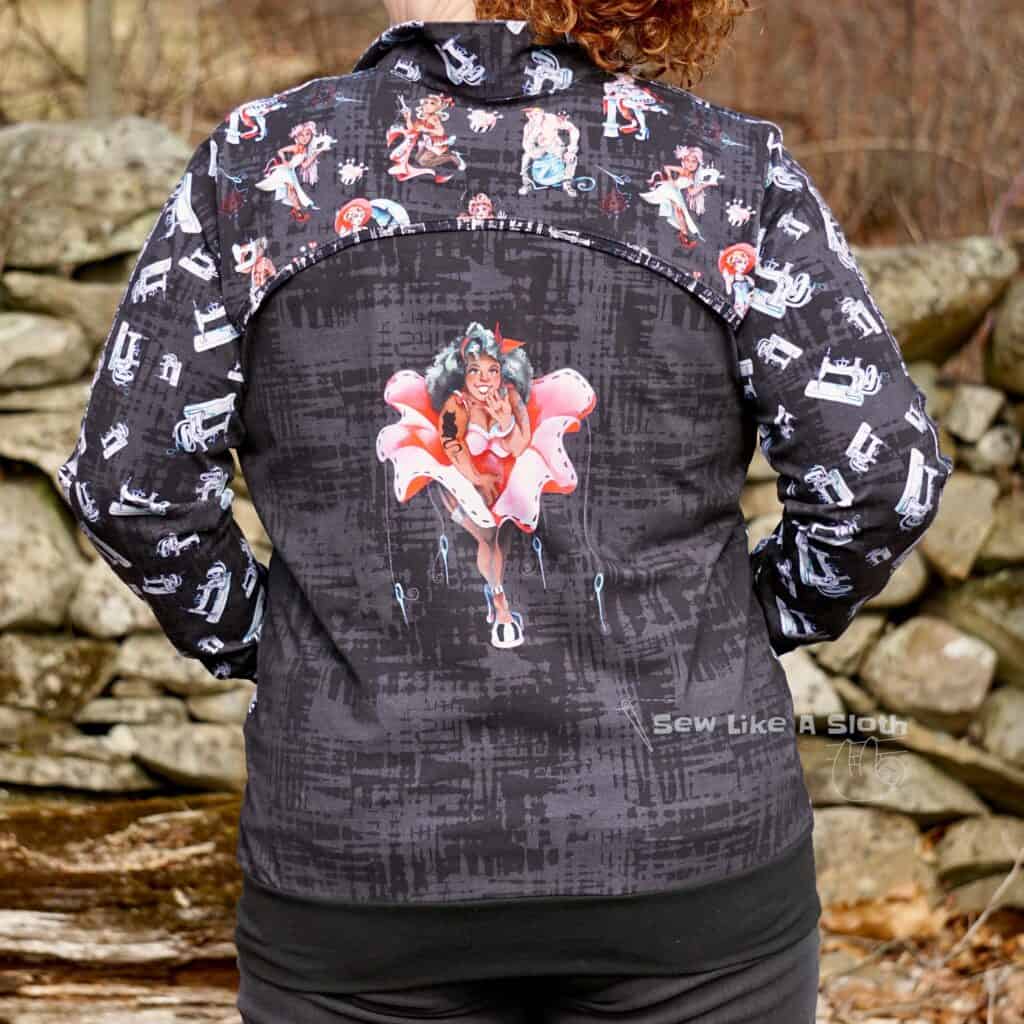
The final result. I love how this frames the panel!
Sporty Arm Stripe
What you’ll want to have handy:
- Your accent fabric
- Ruler/quilting ruler
- Fusible web interfacing (such as Wonder under)
This is so easy, I feel silly mentioning it. Once you have sewn your shoulder seams and added the arm piece, but before you add the collar, measure the length from the neckline to the wrist. Cut 2 1-2” strips of fabric (one for each arm). Mine is 1”. Follow the interfacing instructions and iron it to the fabric strips. Then center it on the shoulder point and iron it to the shoulder seam and sleeve. Using a lengthened straight stitch or decorative stitch of your choice, sew next to the edge of either side of the strip to secure it to the jacket. Done!

The accent arm strip featuring my love for a good seam ripper.
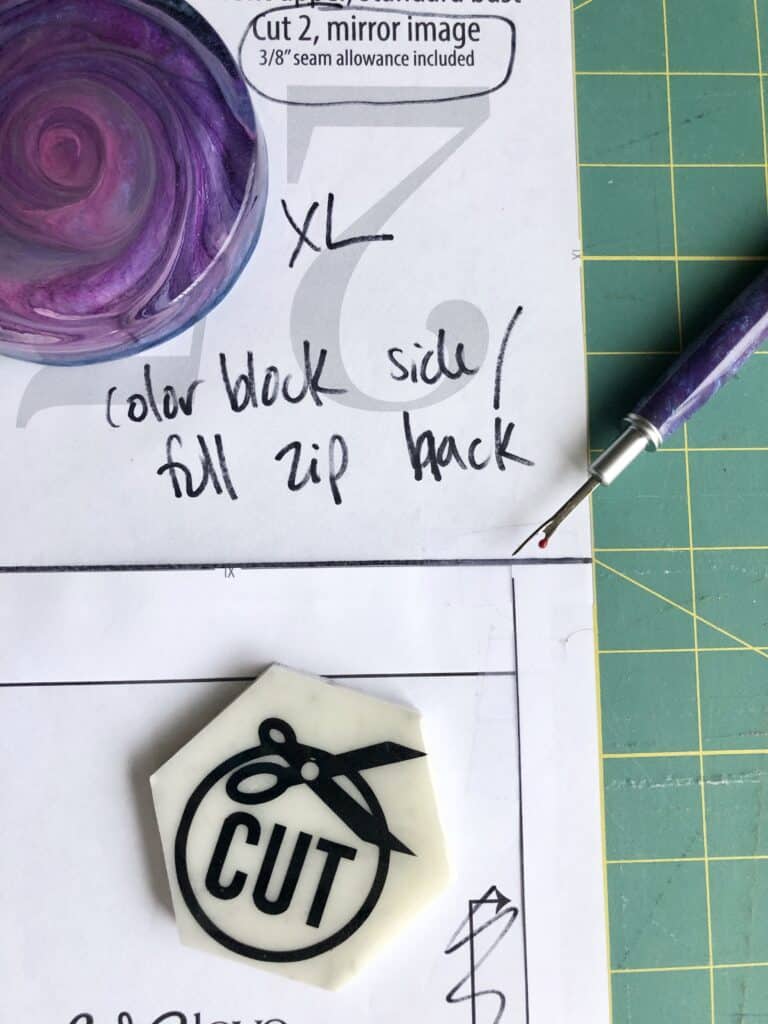
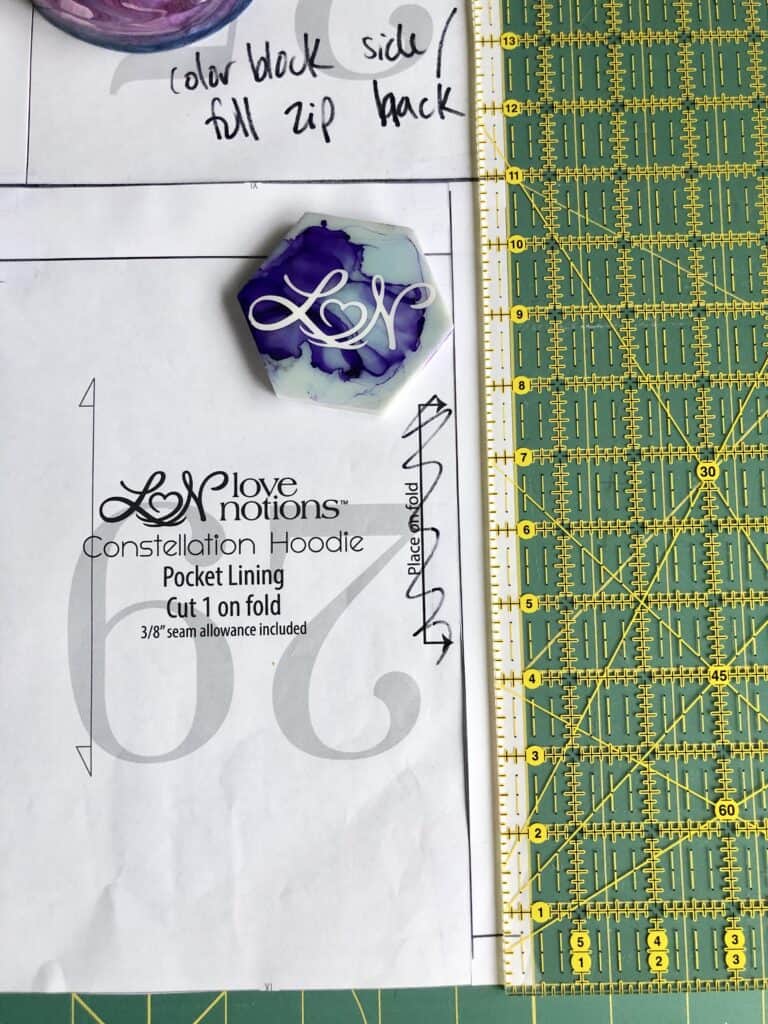
Modifying For a Full Zipper (solid front)
What you’ll want to have handy:
- The front upper and lower piece (not the pocket)
- Ruler/quilting ruler
- Pencil/pen
- Additional paper (printer paper, Swedish tracing paper, etc.)
- You’ll need a separating zipper for this hack. Length will vary by size. I used a 24” for my XL. Longer than needed is okay, because it will get trimmed off when you add the collar or hood.
Using your quilting ruler, mark a line ⅜” in from the bottom of the upper Front piece. Tape the lower front piece along the marked line, lining it up at the side seam. (You’ll be ⅜” short at the edge. That’s okay, we’re about to fix that.) This removes the seam allowance, allowing you to have two solid front pieces.
Taping the upper and lower pieces together. My seam ripper is showing you the beautiful SA line I drew.
Now you’ll need to tape a strip of paper to the lower piece, so that it lines up with the upper piece, making a straight edge where you will sew in the full-length zipper. The pattern piece will look like this:
You can essentially follow the pattern instructions to insert the full-length zipper. But you will want to add your bottom band first. I cut my bottom band with an extra 1” added to the length. Then I trim off any extra after I’ve sewn it.
For more detailed instruction on adding the full length zipper, see Kelly’s awesome Sew Along hack! I love having the full zip option!

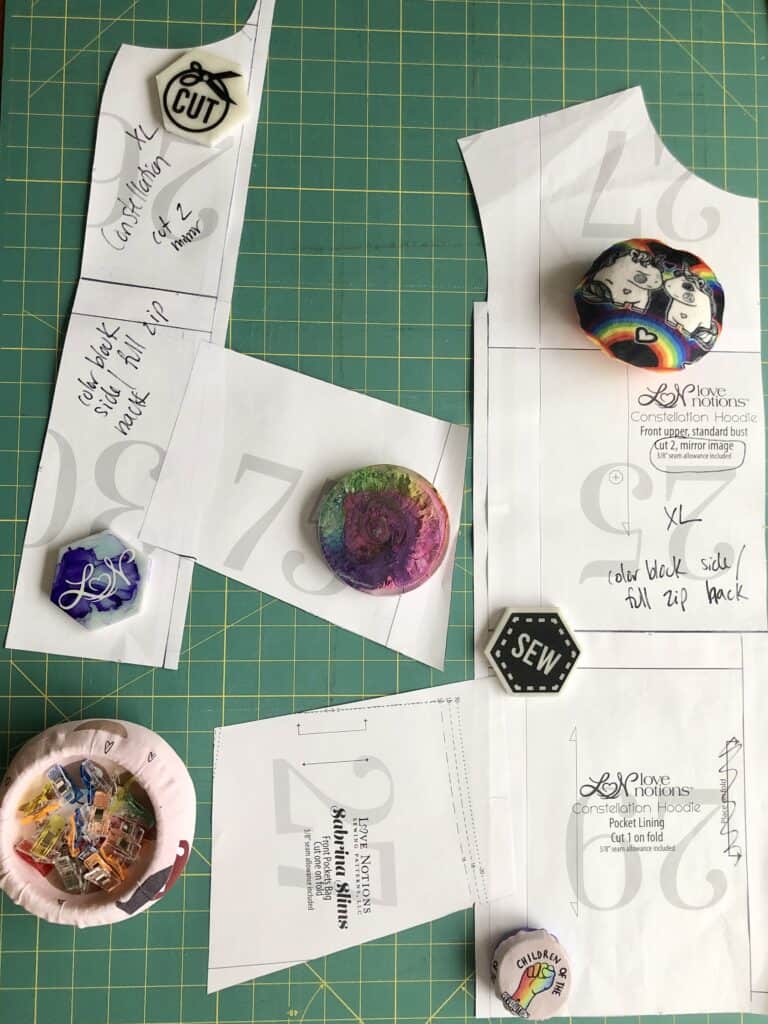
Princess Seaming, the Final Hack
What you’ll want to have handy:
- The taped together front upper and front lower piece
- Ruler/quilting ruler
- Pencil/pen
- Scissors
- Additional paper (printer paper, Swedish tracing paper, etc.)
- The pockets from View C of the Oakley
When you complete this modification, your pattern pieces will look like this:
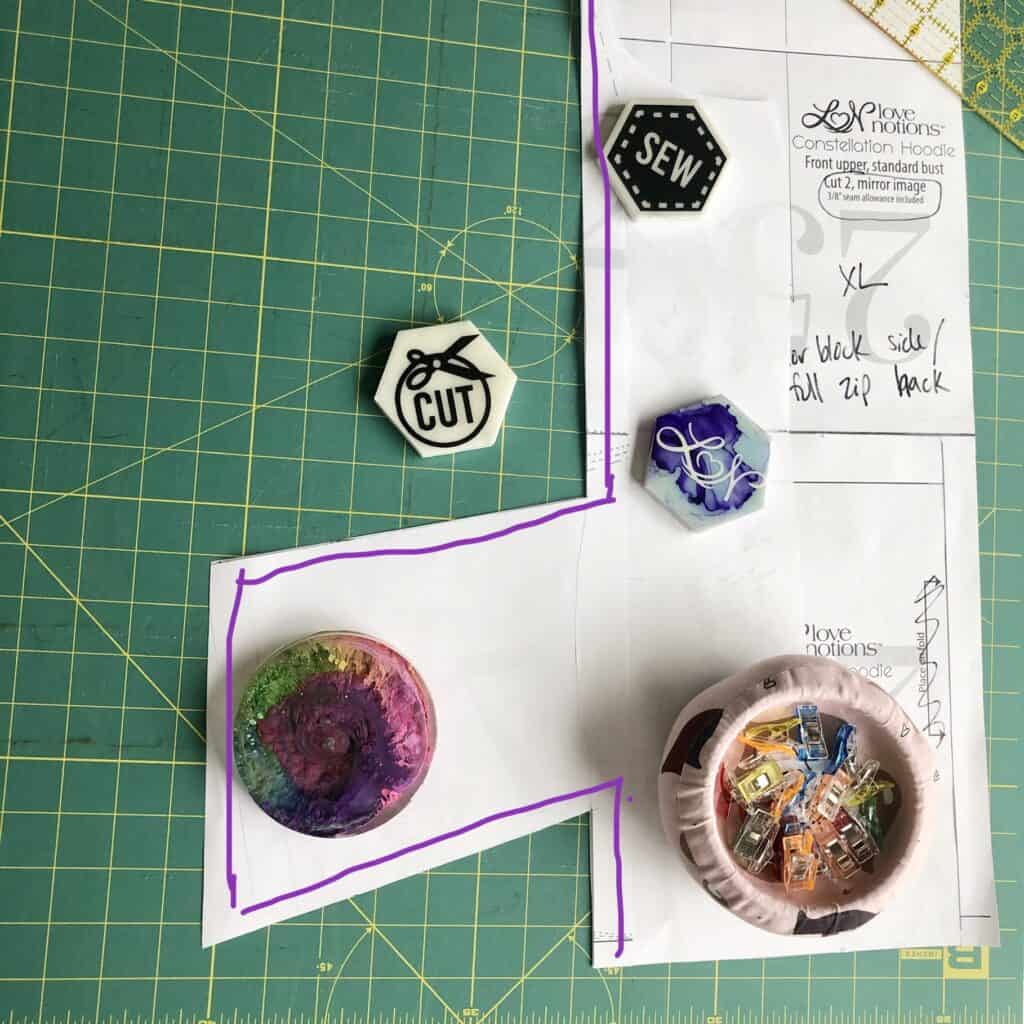
First, you will pick a point at the armscye where you want your princess seam to hit. I went about 4” up the armscye curve.
Using your quilting ruler or straight edge, draw a line from the armscye to the bottom hem. Cut along that line. You’ll then have two pieces. Your main front piece, where the zipper will attach, and your smaller side piece.
Next, you’ll need to add seam allowance. Add ⅜” strip at the line you just cut. It will look like this:
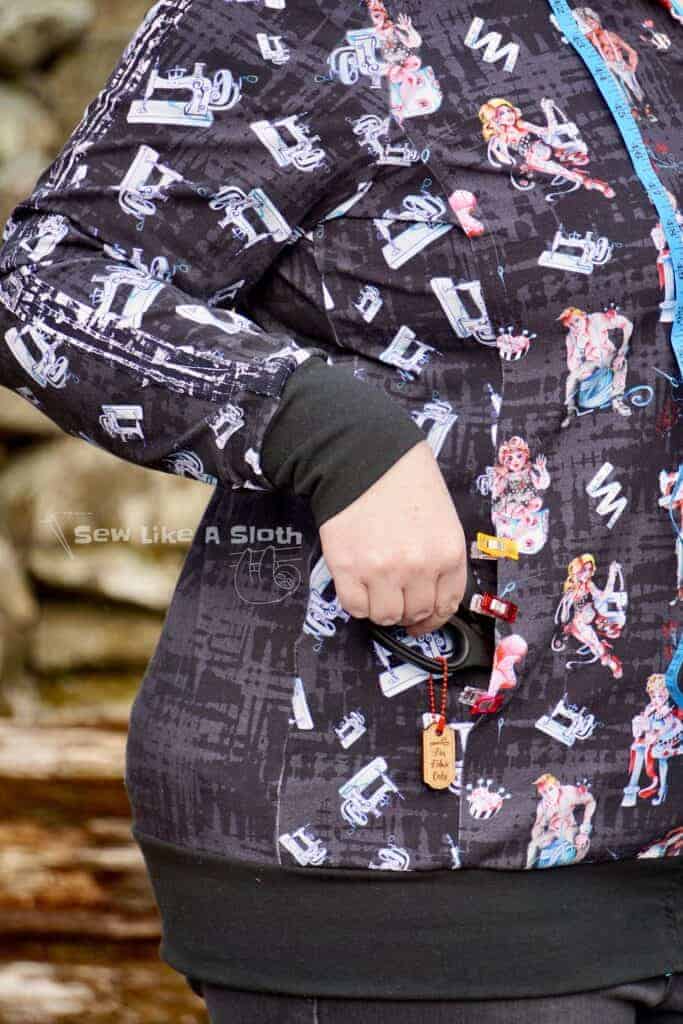
Now you are going to add the Oakley pocket pattern pieces. I selected these pockets for a reason. They’re big and can actually hold stuff, which is key. But I knew they were long enough that I could sew them into the zipper seam, so I wouldn’t have dangly, wobbly pockets that fly all over the place. I used the full Oakley pattern piece as my guide for pocket placement. I added the pocket piece to the main bodice piece ¾” from the princess seam and about 1 ¼” down from the line where I taped the upper and lower front pieces together.

The pocket piece is taped on at a slight angle so that the pocket edge will line up with the straight edge of the zipper. I checked my pocket alignment and depth by flipping it over and lining it up with the zipper seam. Once I had the pocket set on the main bodice piece, I laid the other pocket on top, to make sure my pockets were lined up. Then I laid the side piece on top, lining that up along the seam allowance with the main bodice piece. I marked my pocket and then taped it together.
Proceed with cutting out your fabric using your new pattern pieces. Sew your front pieces together along the princess seam, following the purple line in this picture:
Once your fabric is sewn together, press well, pressing the pocket toward the zipper. You will sew together the rest of the pattern according to the tutorial (with the exception of the full zip). When you sew in the zipper, use some hem tape or a glue stick to keep your pocket edge in place behind the zipper, so that it gets caught in your stitch line. If you miss it, that’s okay! Then your zipper gets a double stitch line. Lucky zipper! 😉
In the end, you’ll have a spectacular pocket and a really cool princess seam, which gives you an awesome opportunity to play with accent fabric.
Play with your patterns!
So there you have it! My hackarrific Constellation blog. 🙂 I hope you try out one or all of them. I think they’re really fun. But more than that, I hope this inspires you to find new ways to play with your patterns. Obviously I love Love Notions patterns as they are. But a good pattern can be a launching point for anywhere your imagination takes you. There is no limit! And if I can do it, anybody can. It just takes a little gumption, willingness to problem-solve, a smattering of sewing tools, and dash of creativity. Having caffeine on hand doesn’t hurt. 🙂
Happy sewing my friends! Don’t forget to grab your Constellations, Navigators, and North Stars at this amazing Feature Friday price. I look forward to seeing your pullovers and to seeing your own creative pattern hacks in the Love Notions Facebook group!

When you finally get that pattern hack just right
Save this post on pinterest!